Step by step procedure to Create product in graphy app.
Prerequisites: Alredy sign in in Graphy app.
-
1.
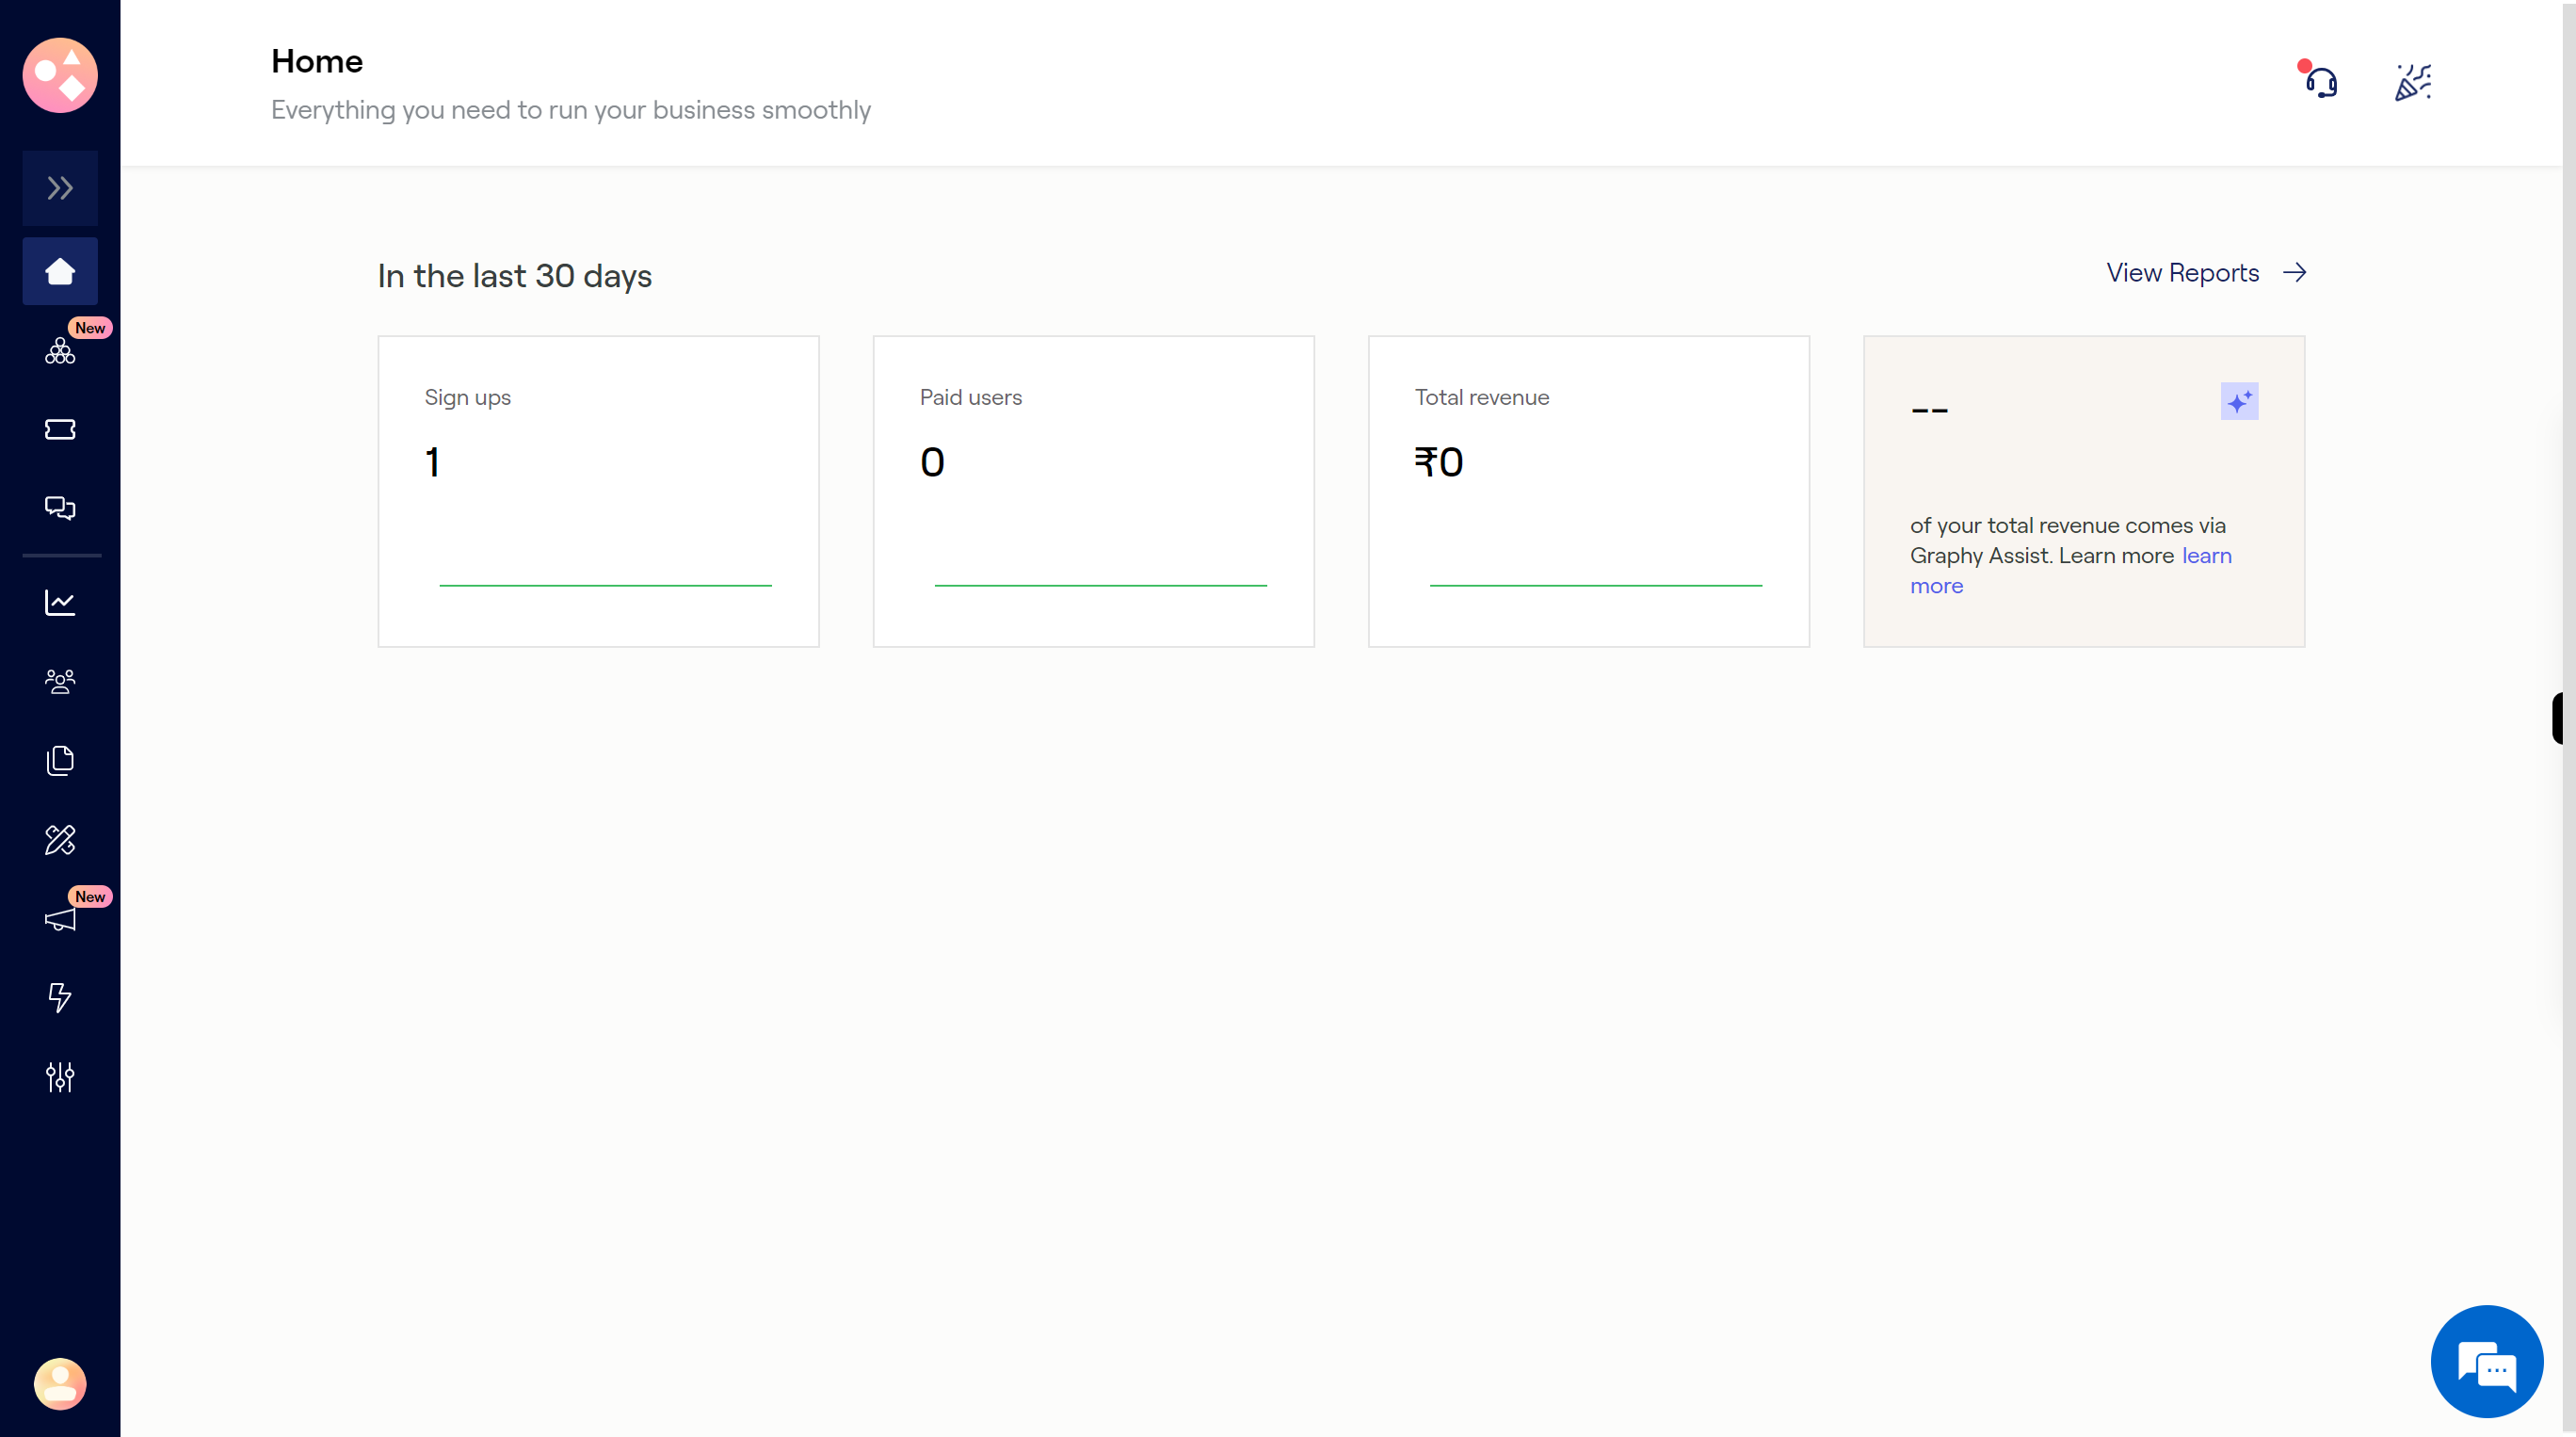
Open Home
-
2.
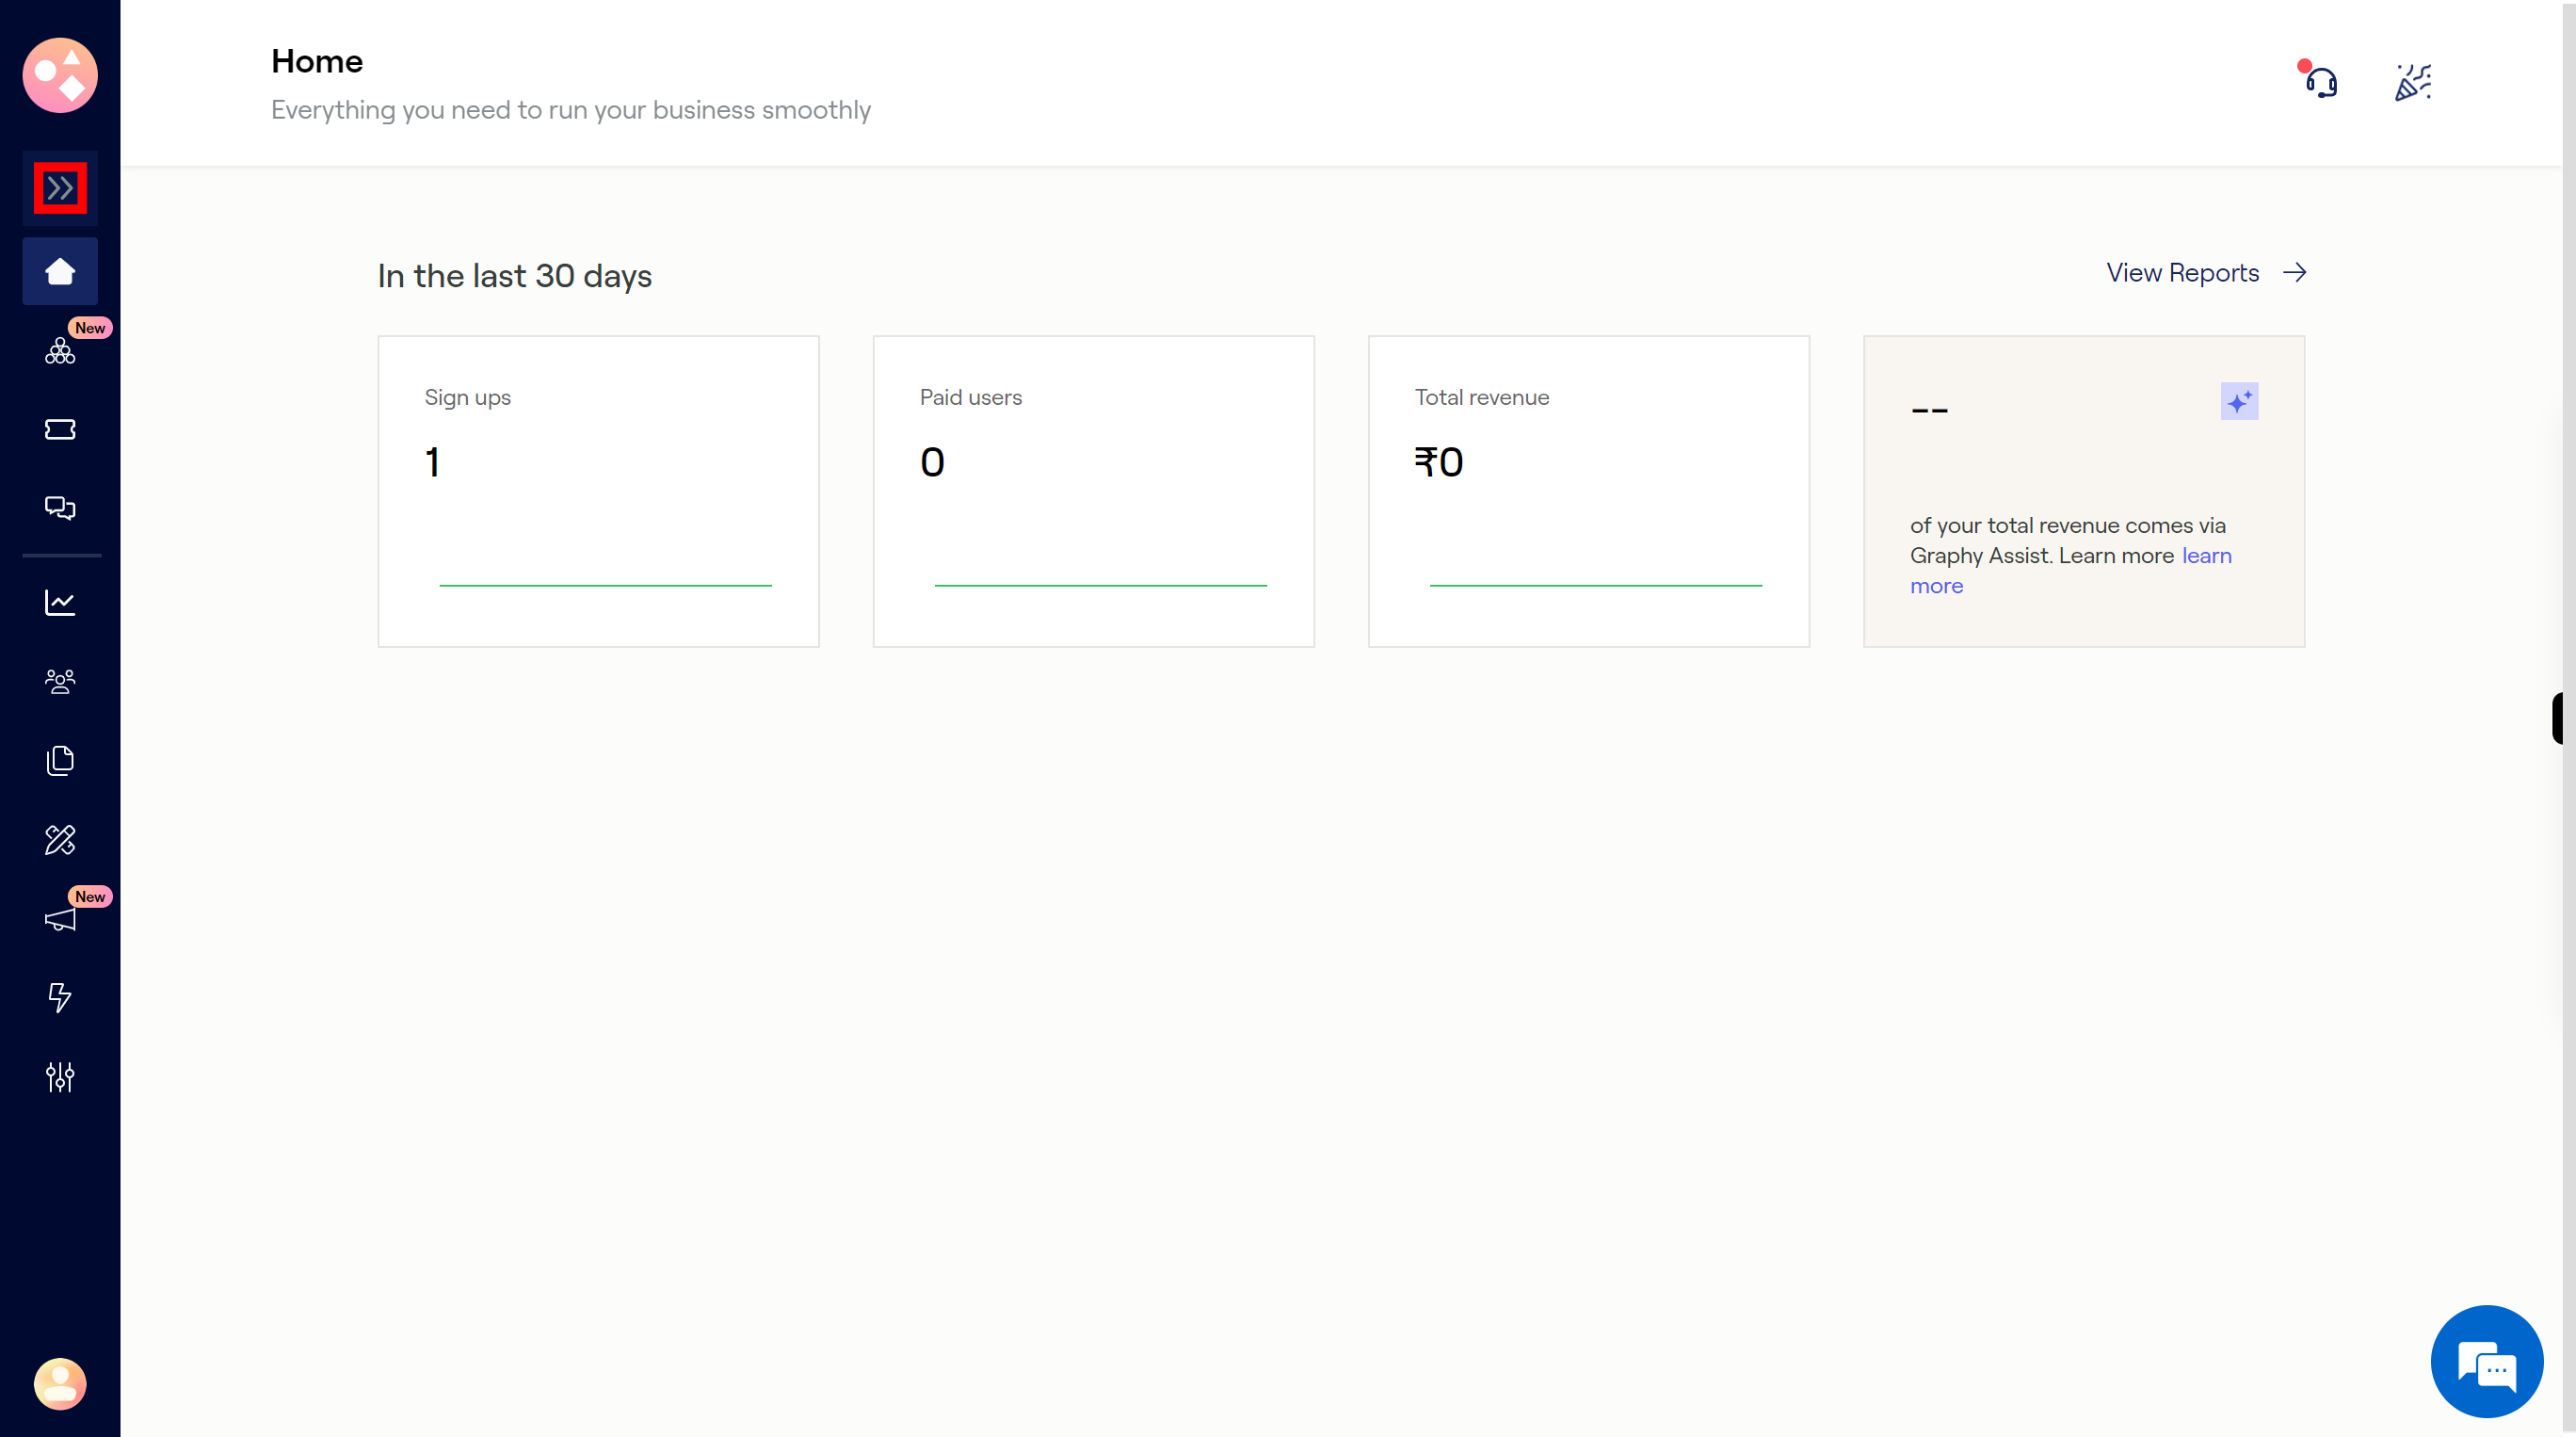
Click on the ">>" double greater than symbol, it opens the all tooltips.
-
3.
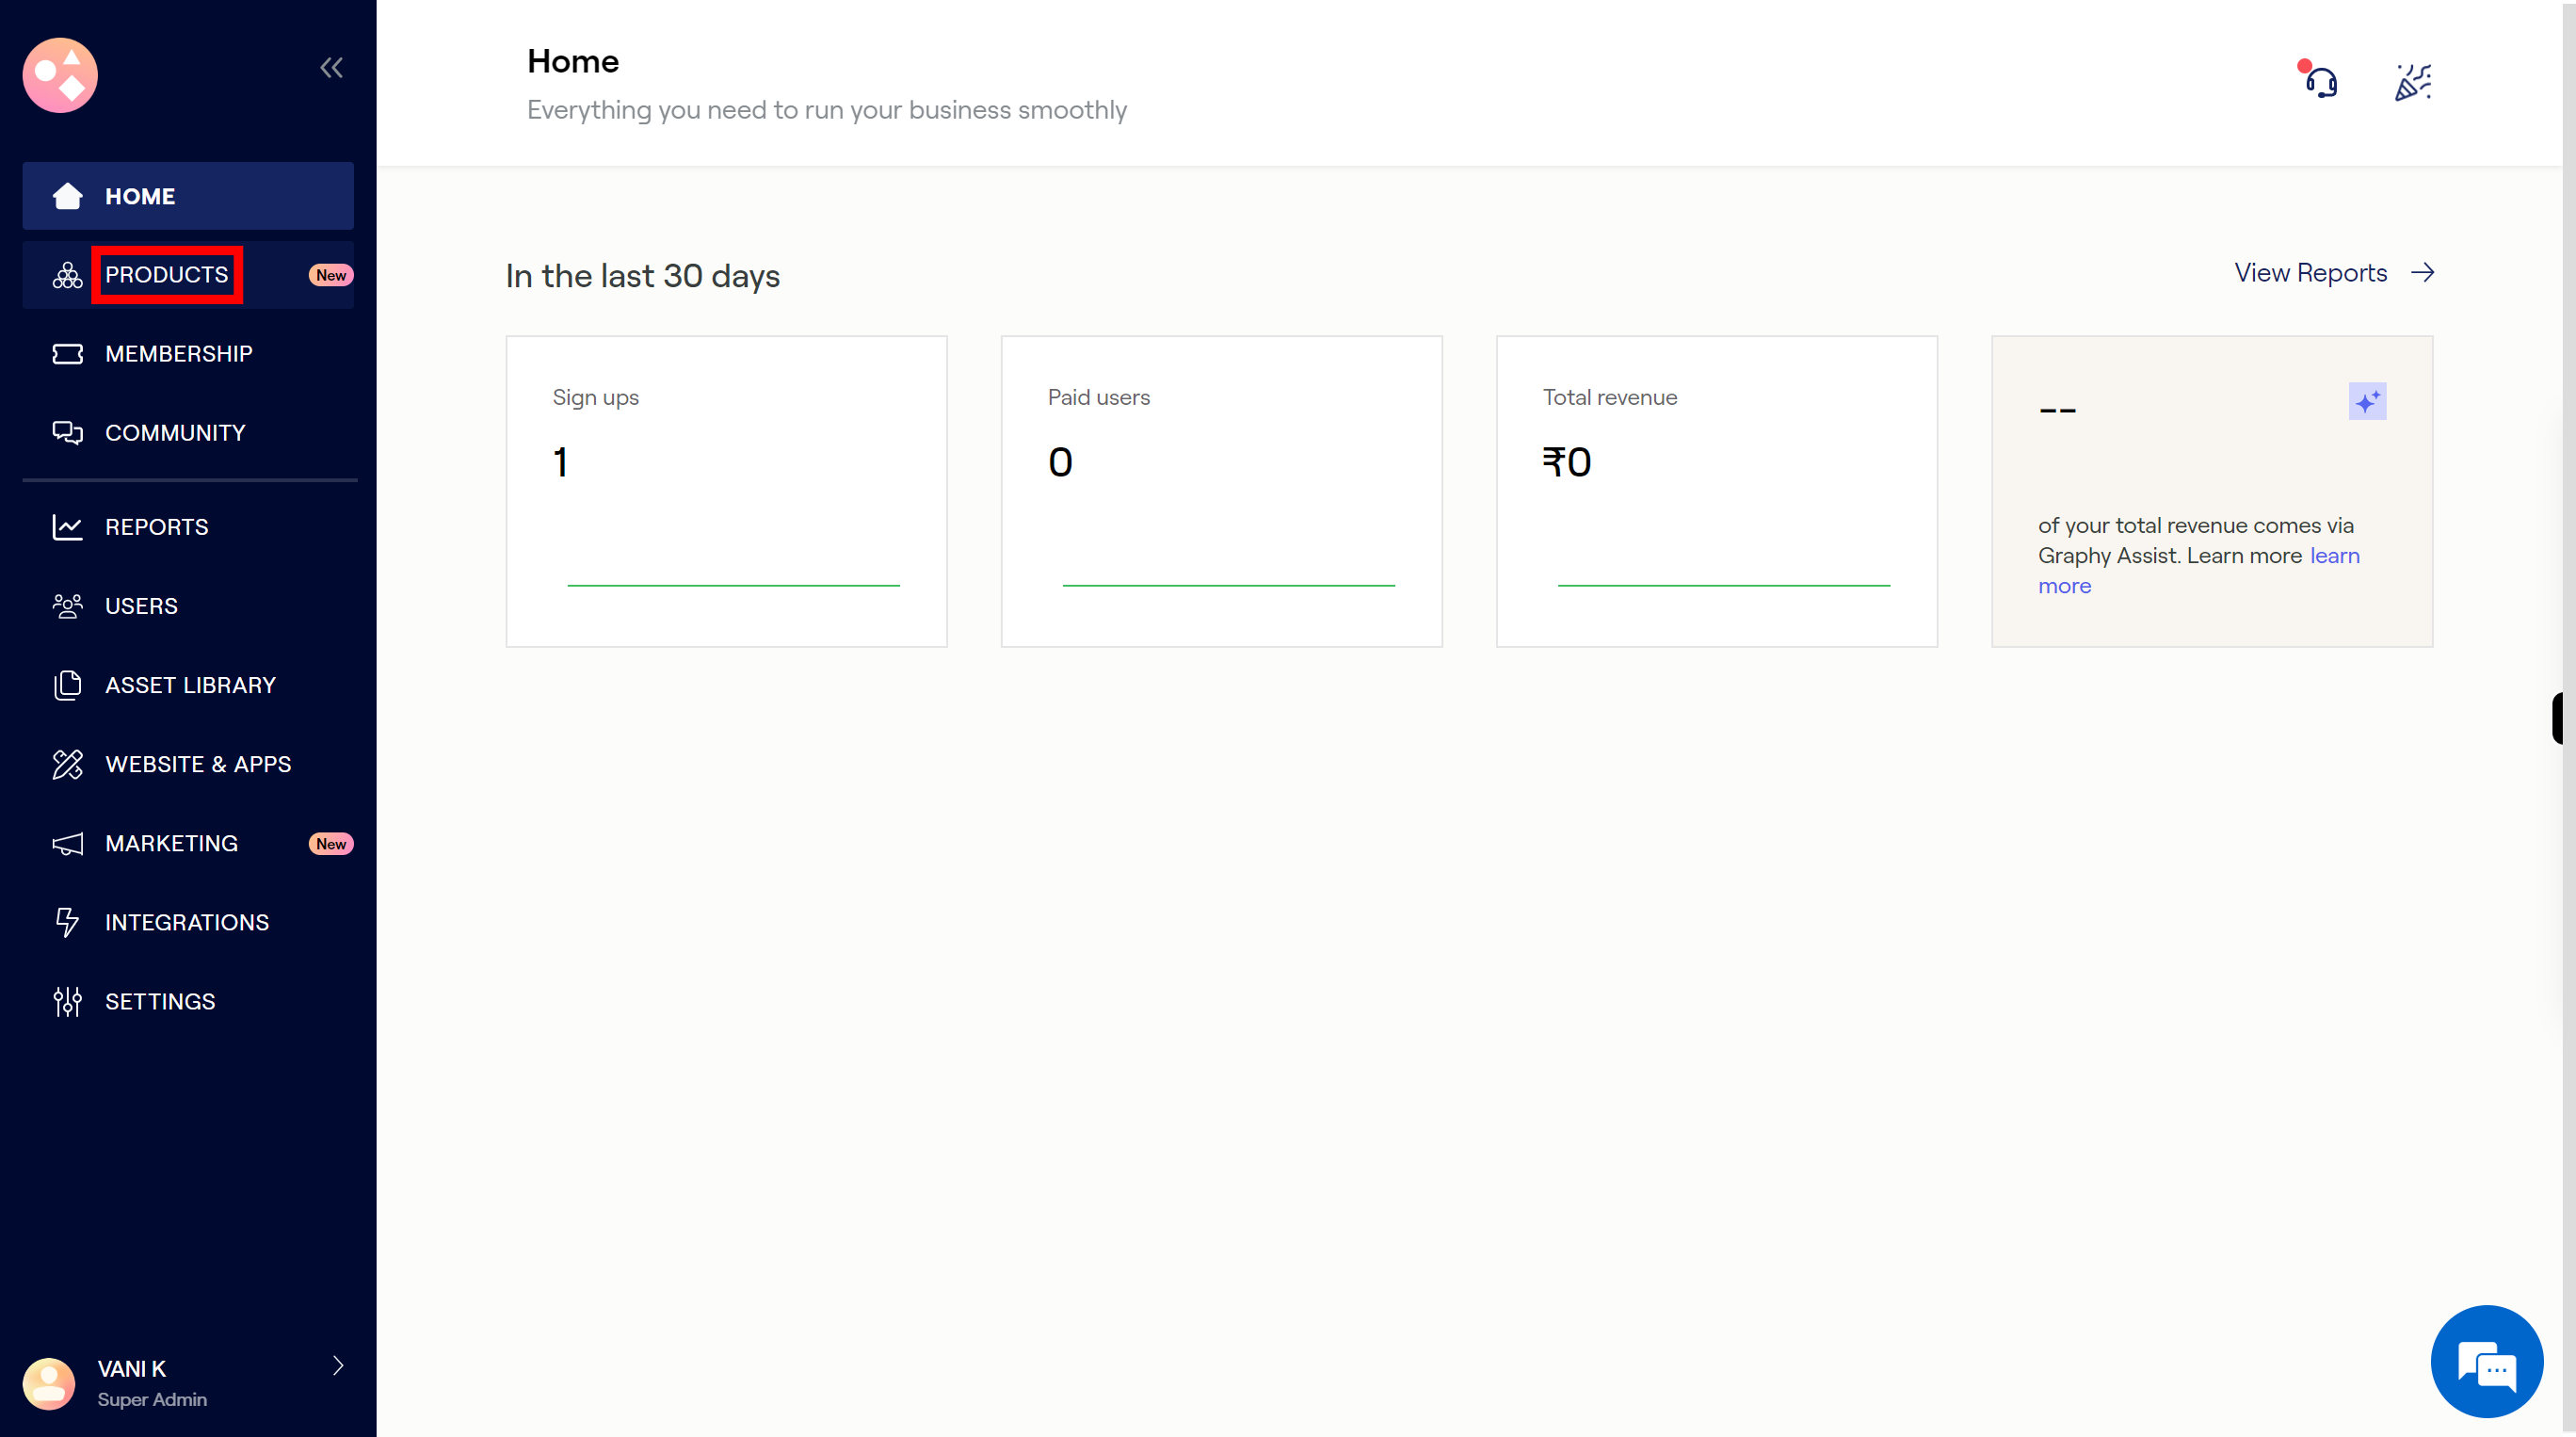
Click on the "Products" icon, to create the new products.
-
4.
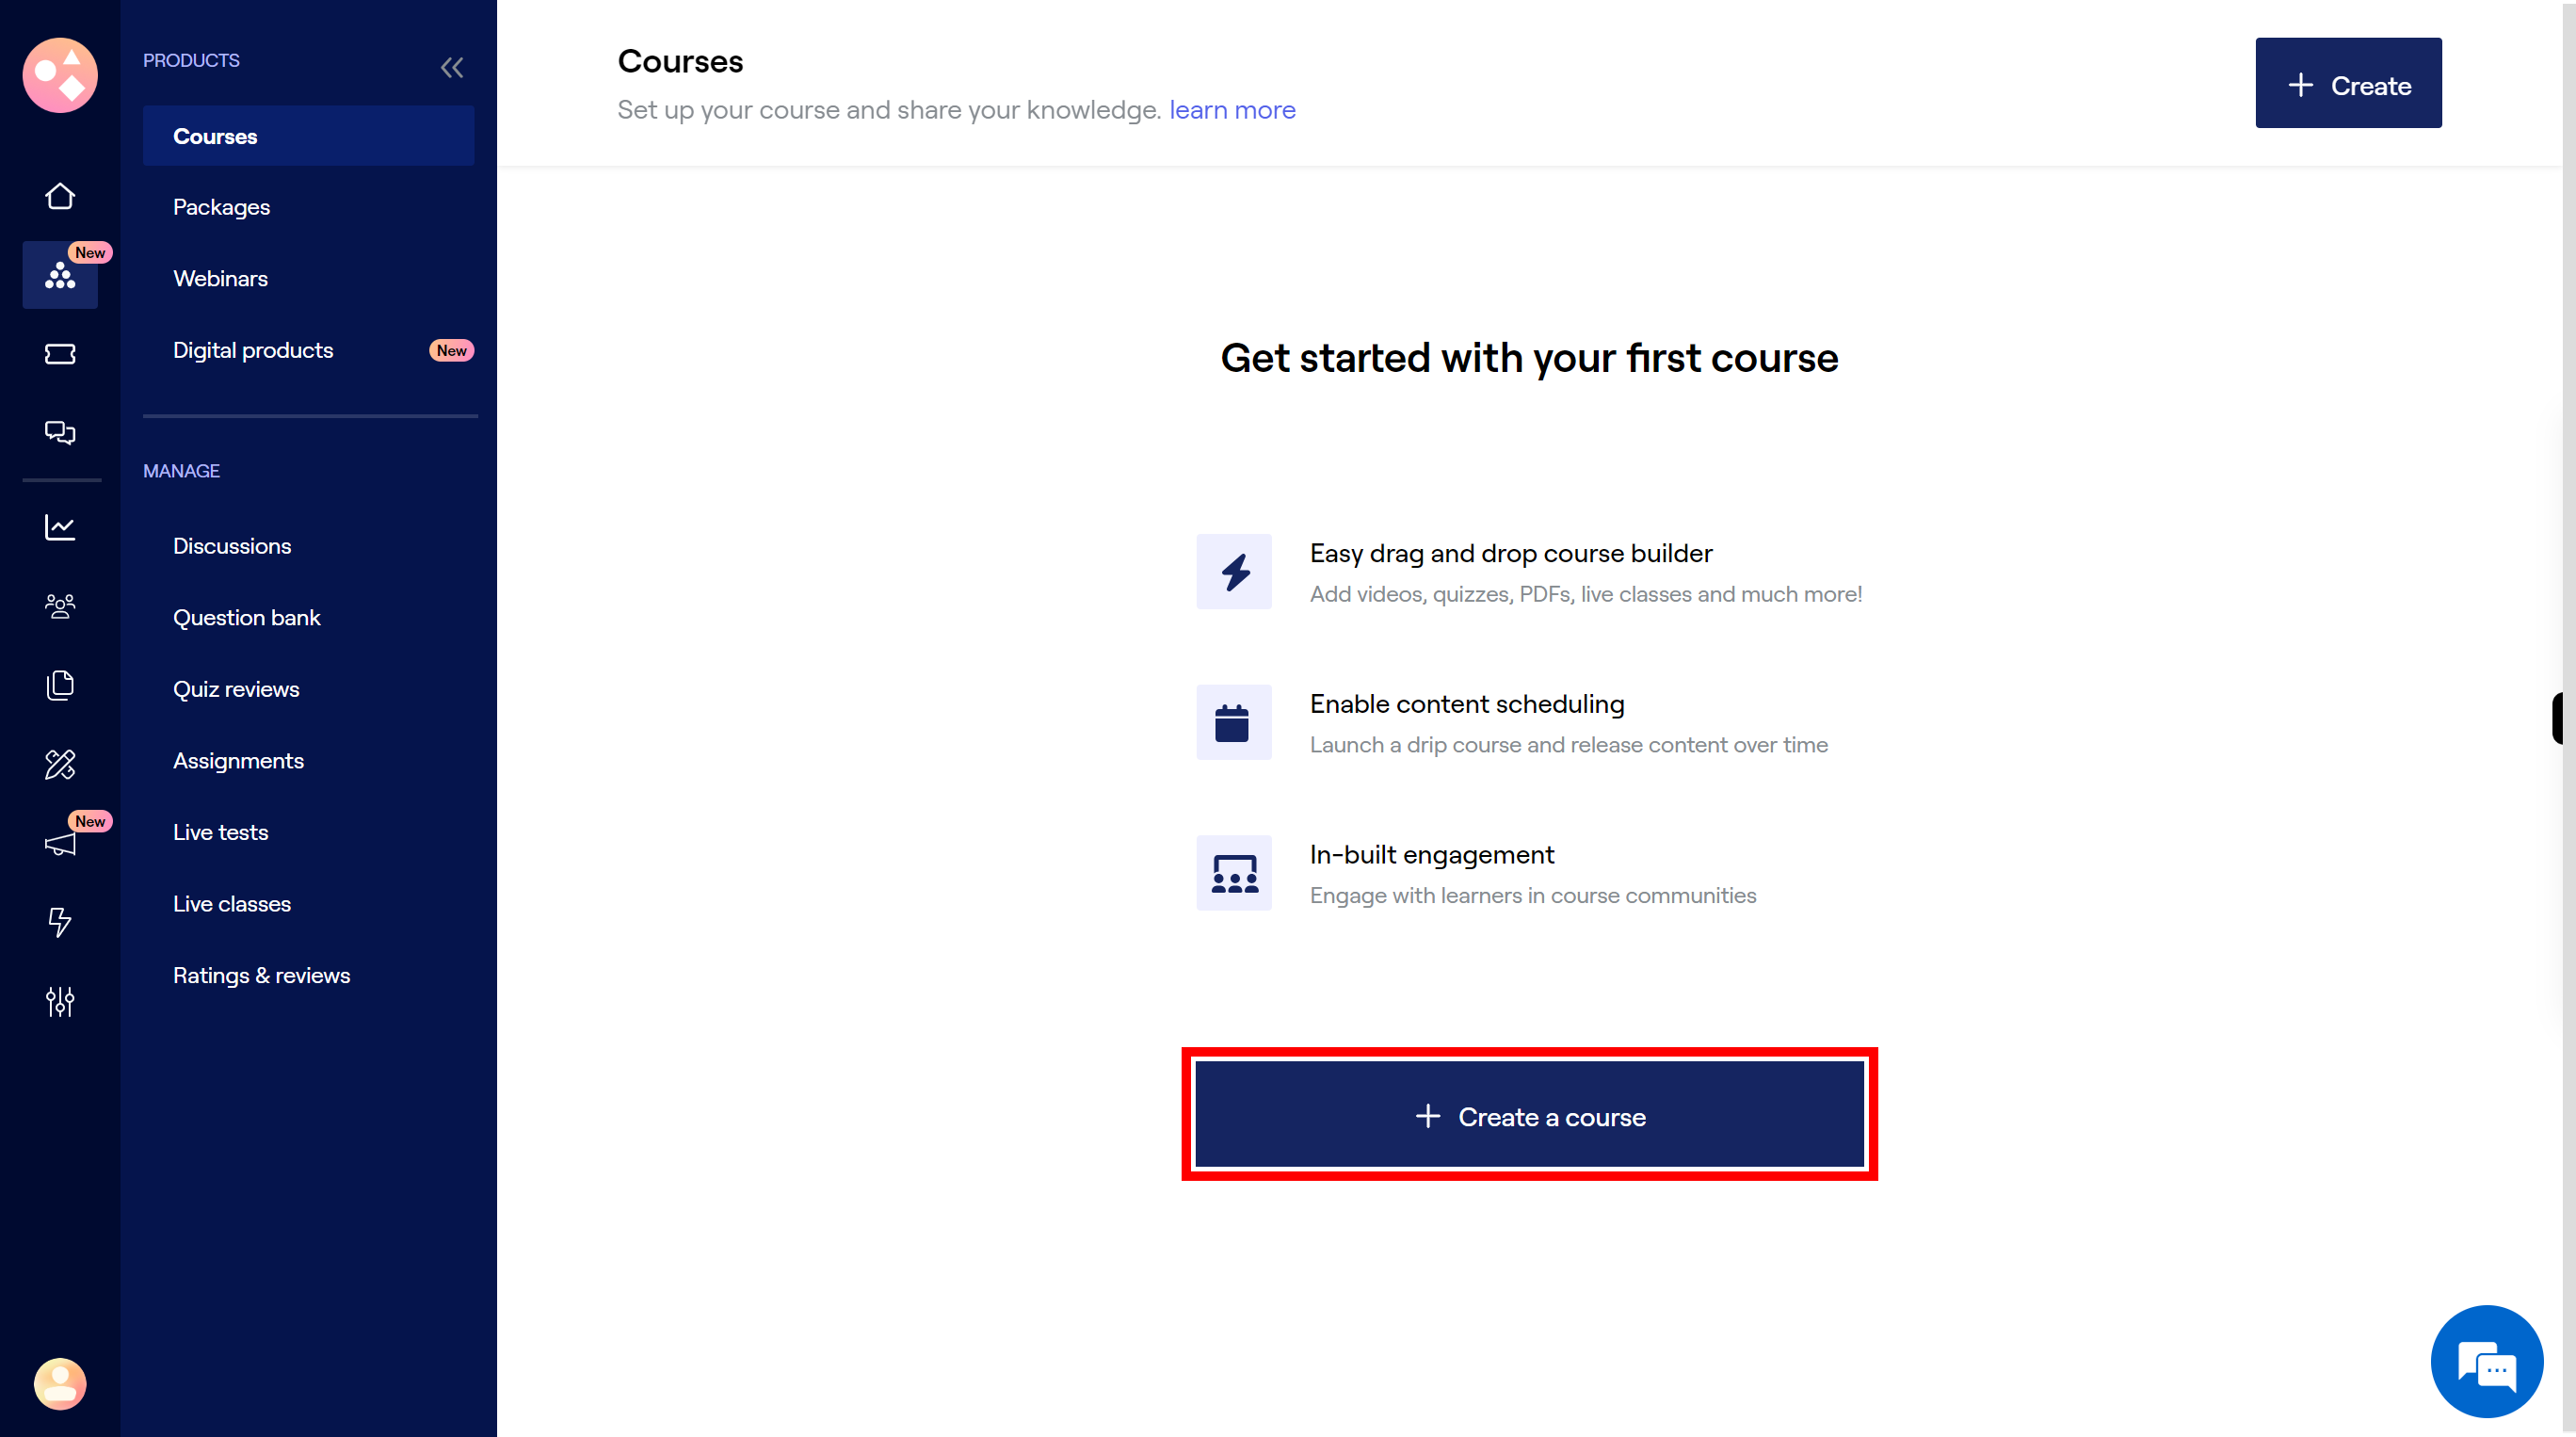
Click on the "Create" button to create a new course.
-
5.
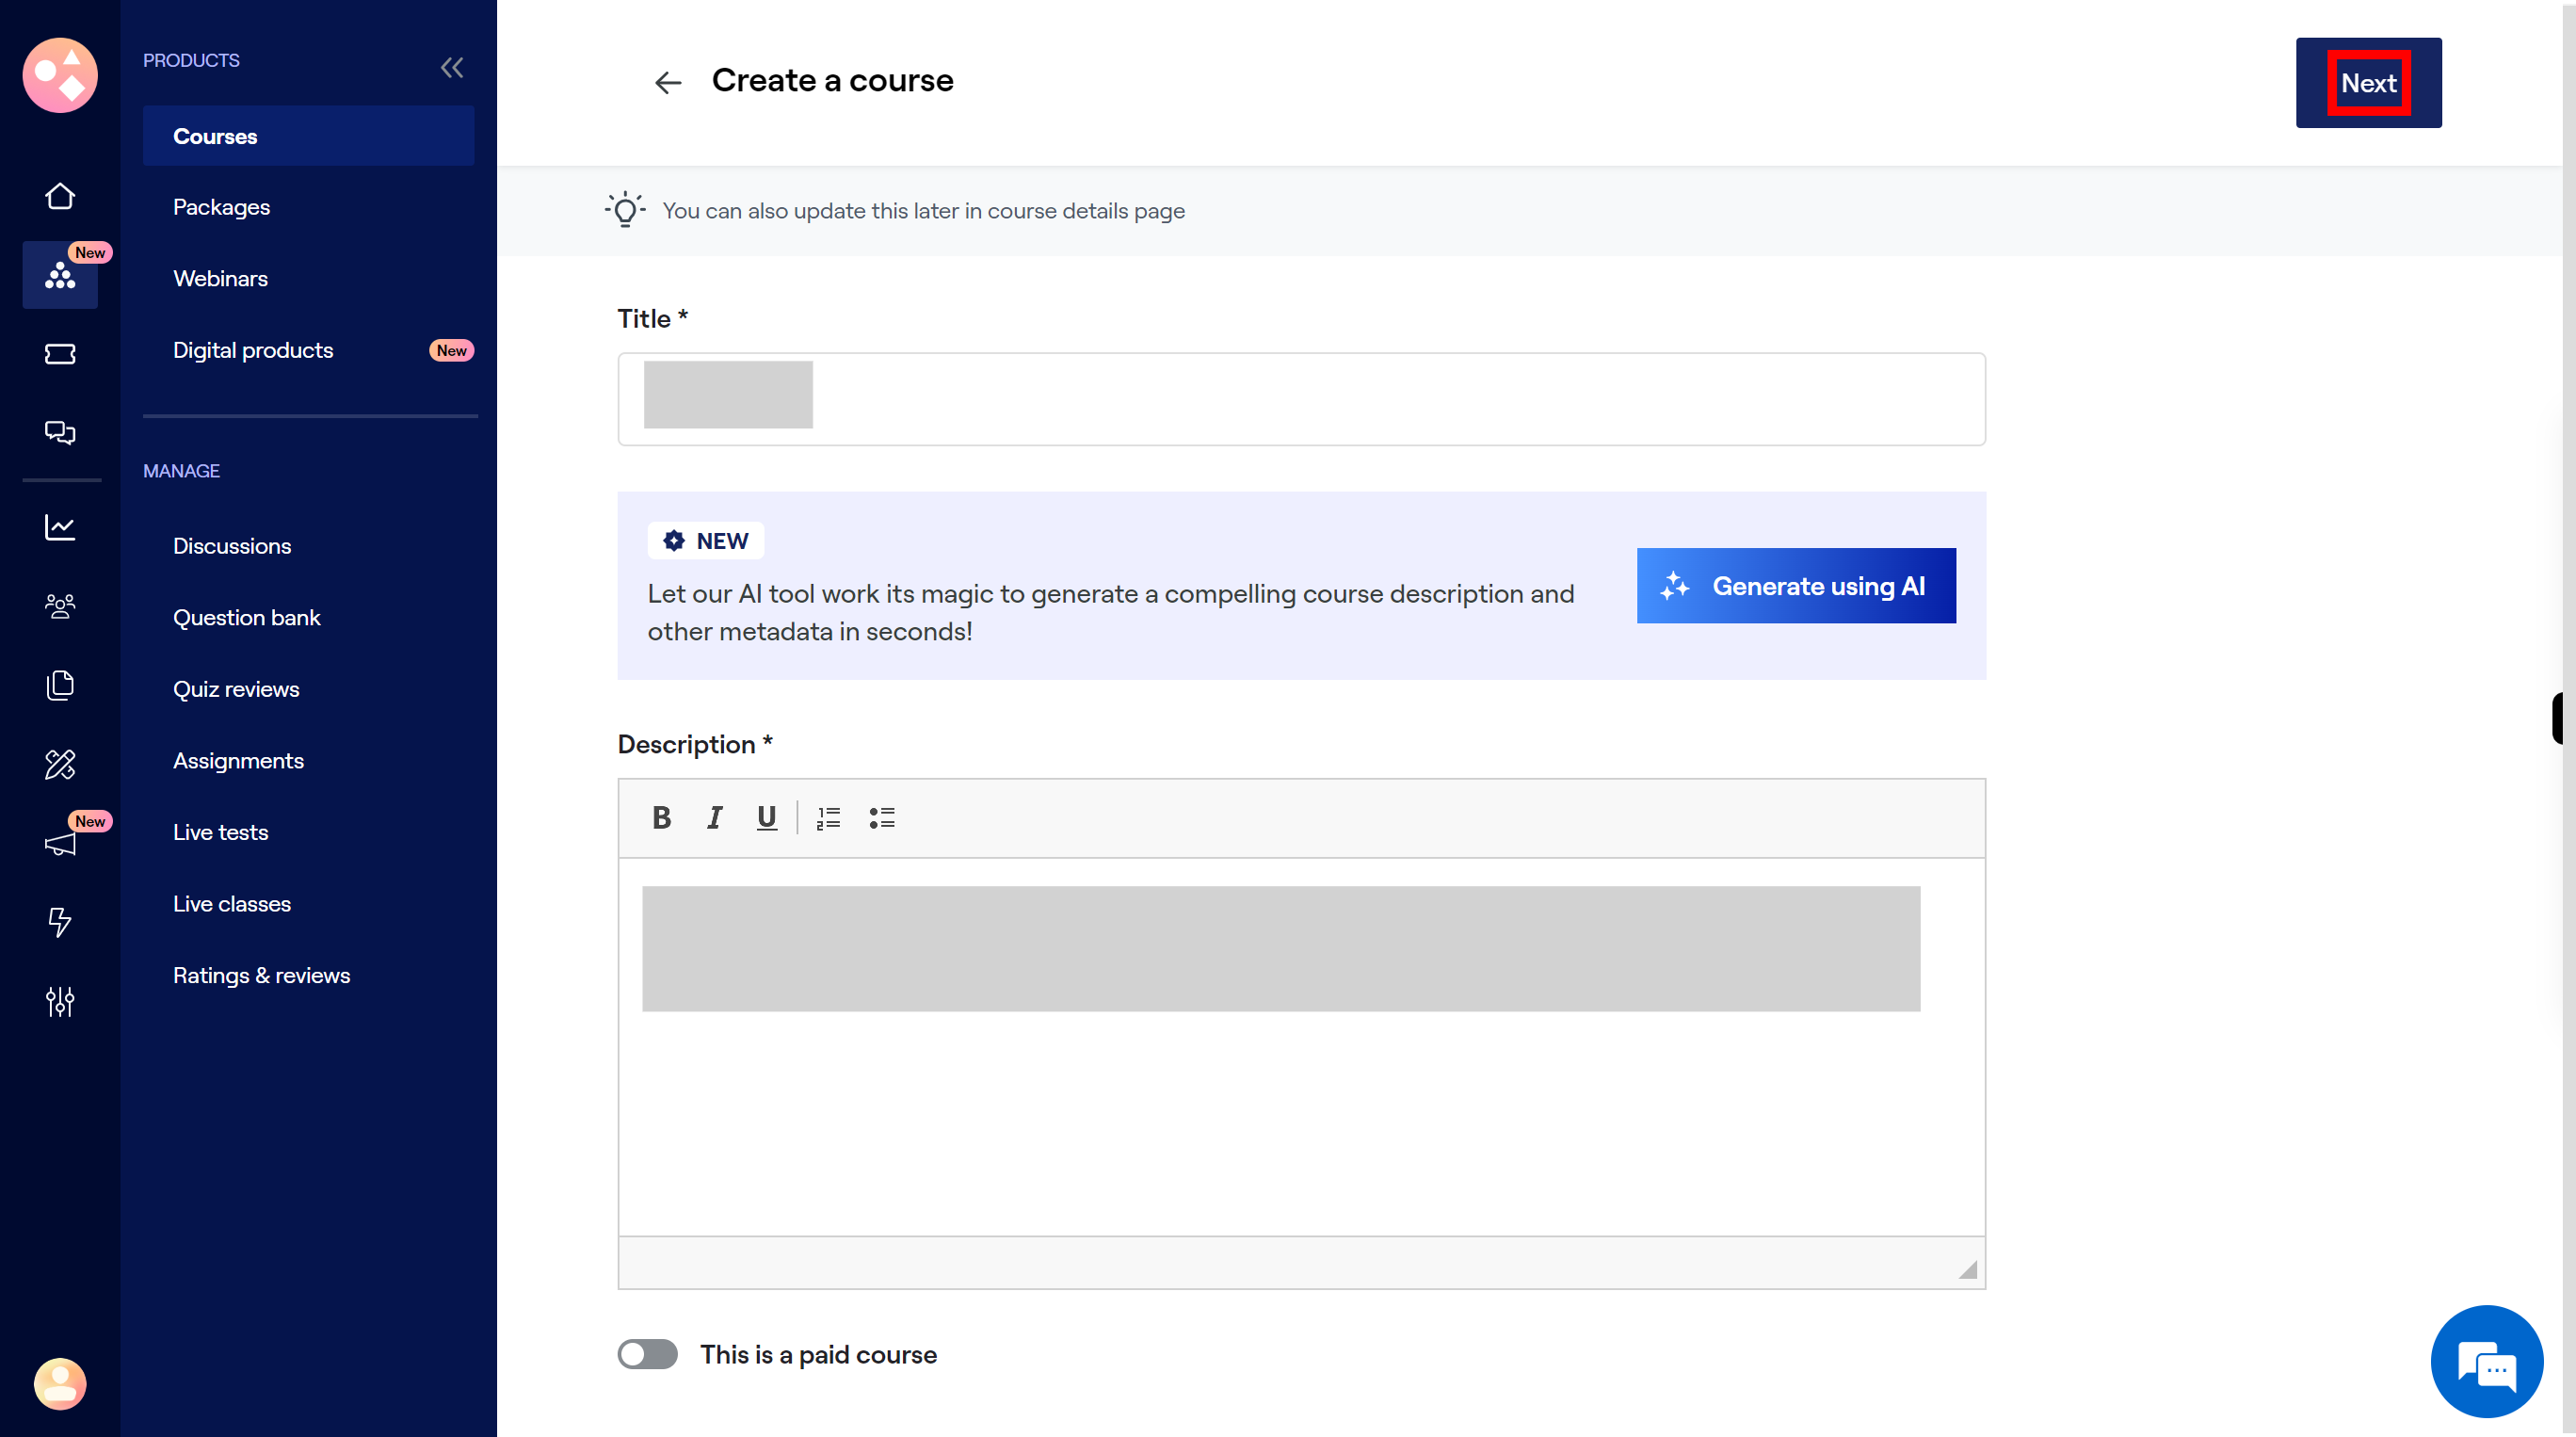
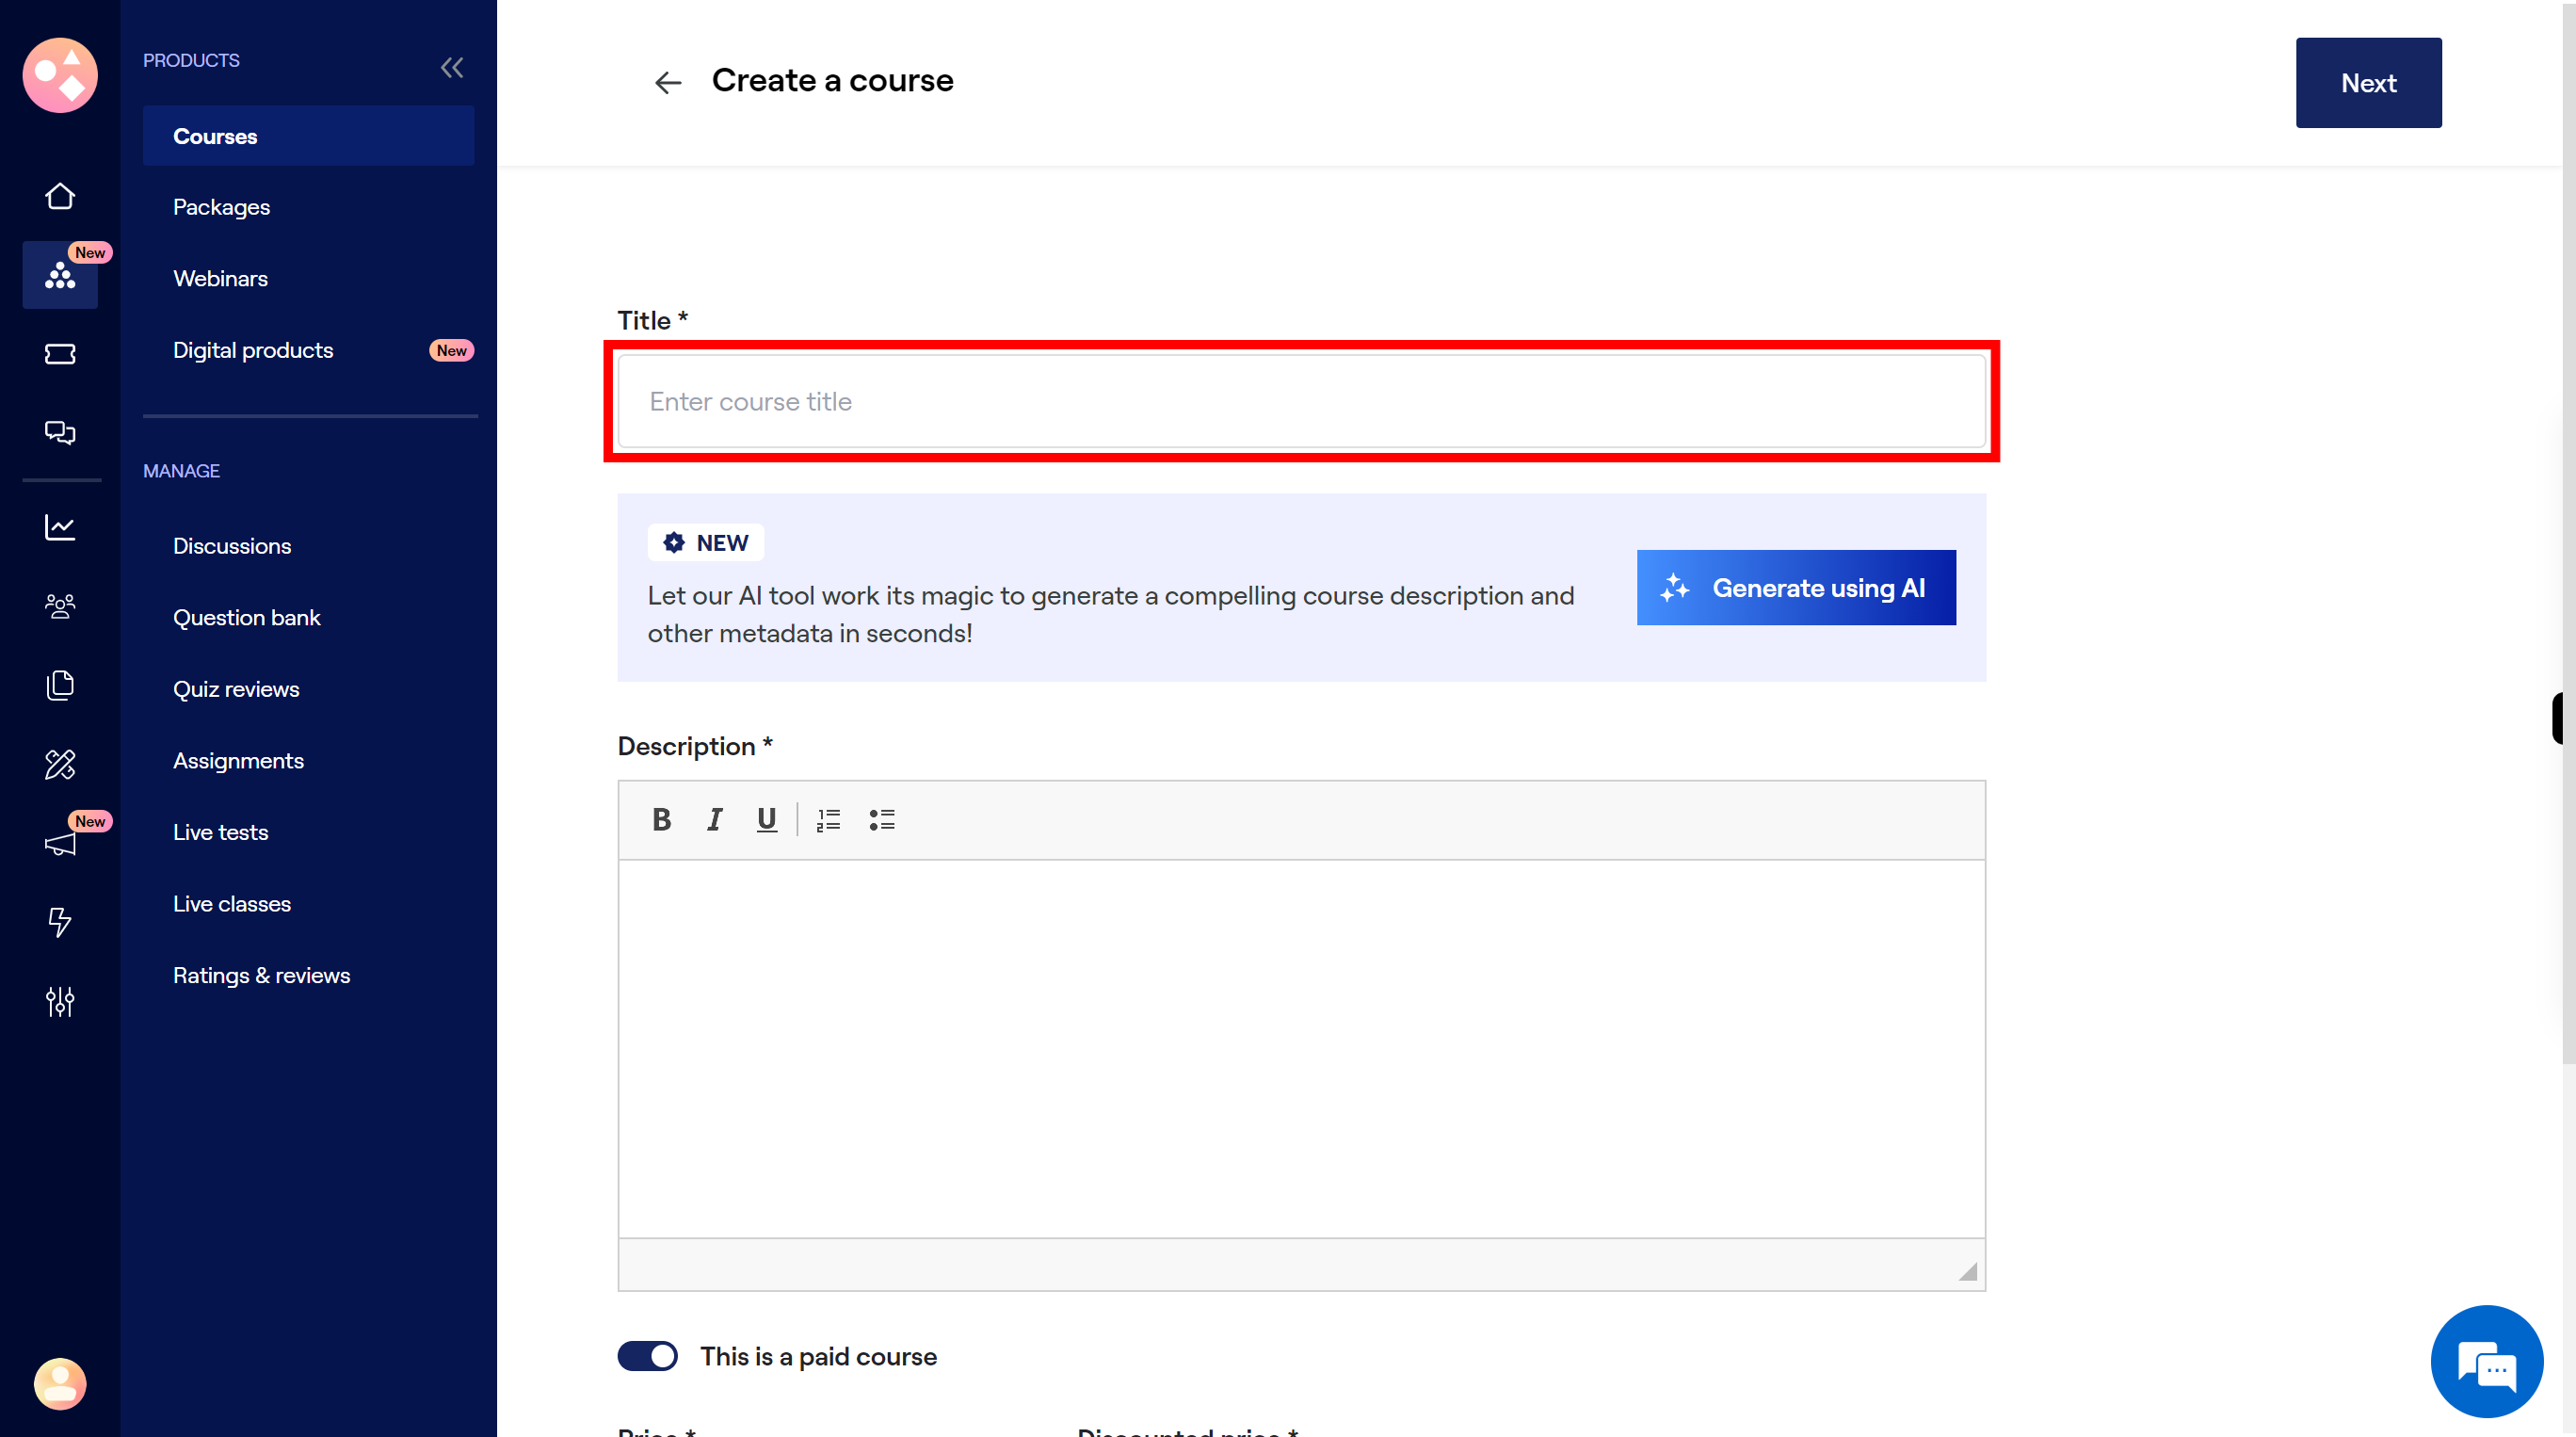
Click on the "Title" field, enter course title. Once done, click on the "Next" button on the Supervity instruction widget.
-
6.
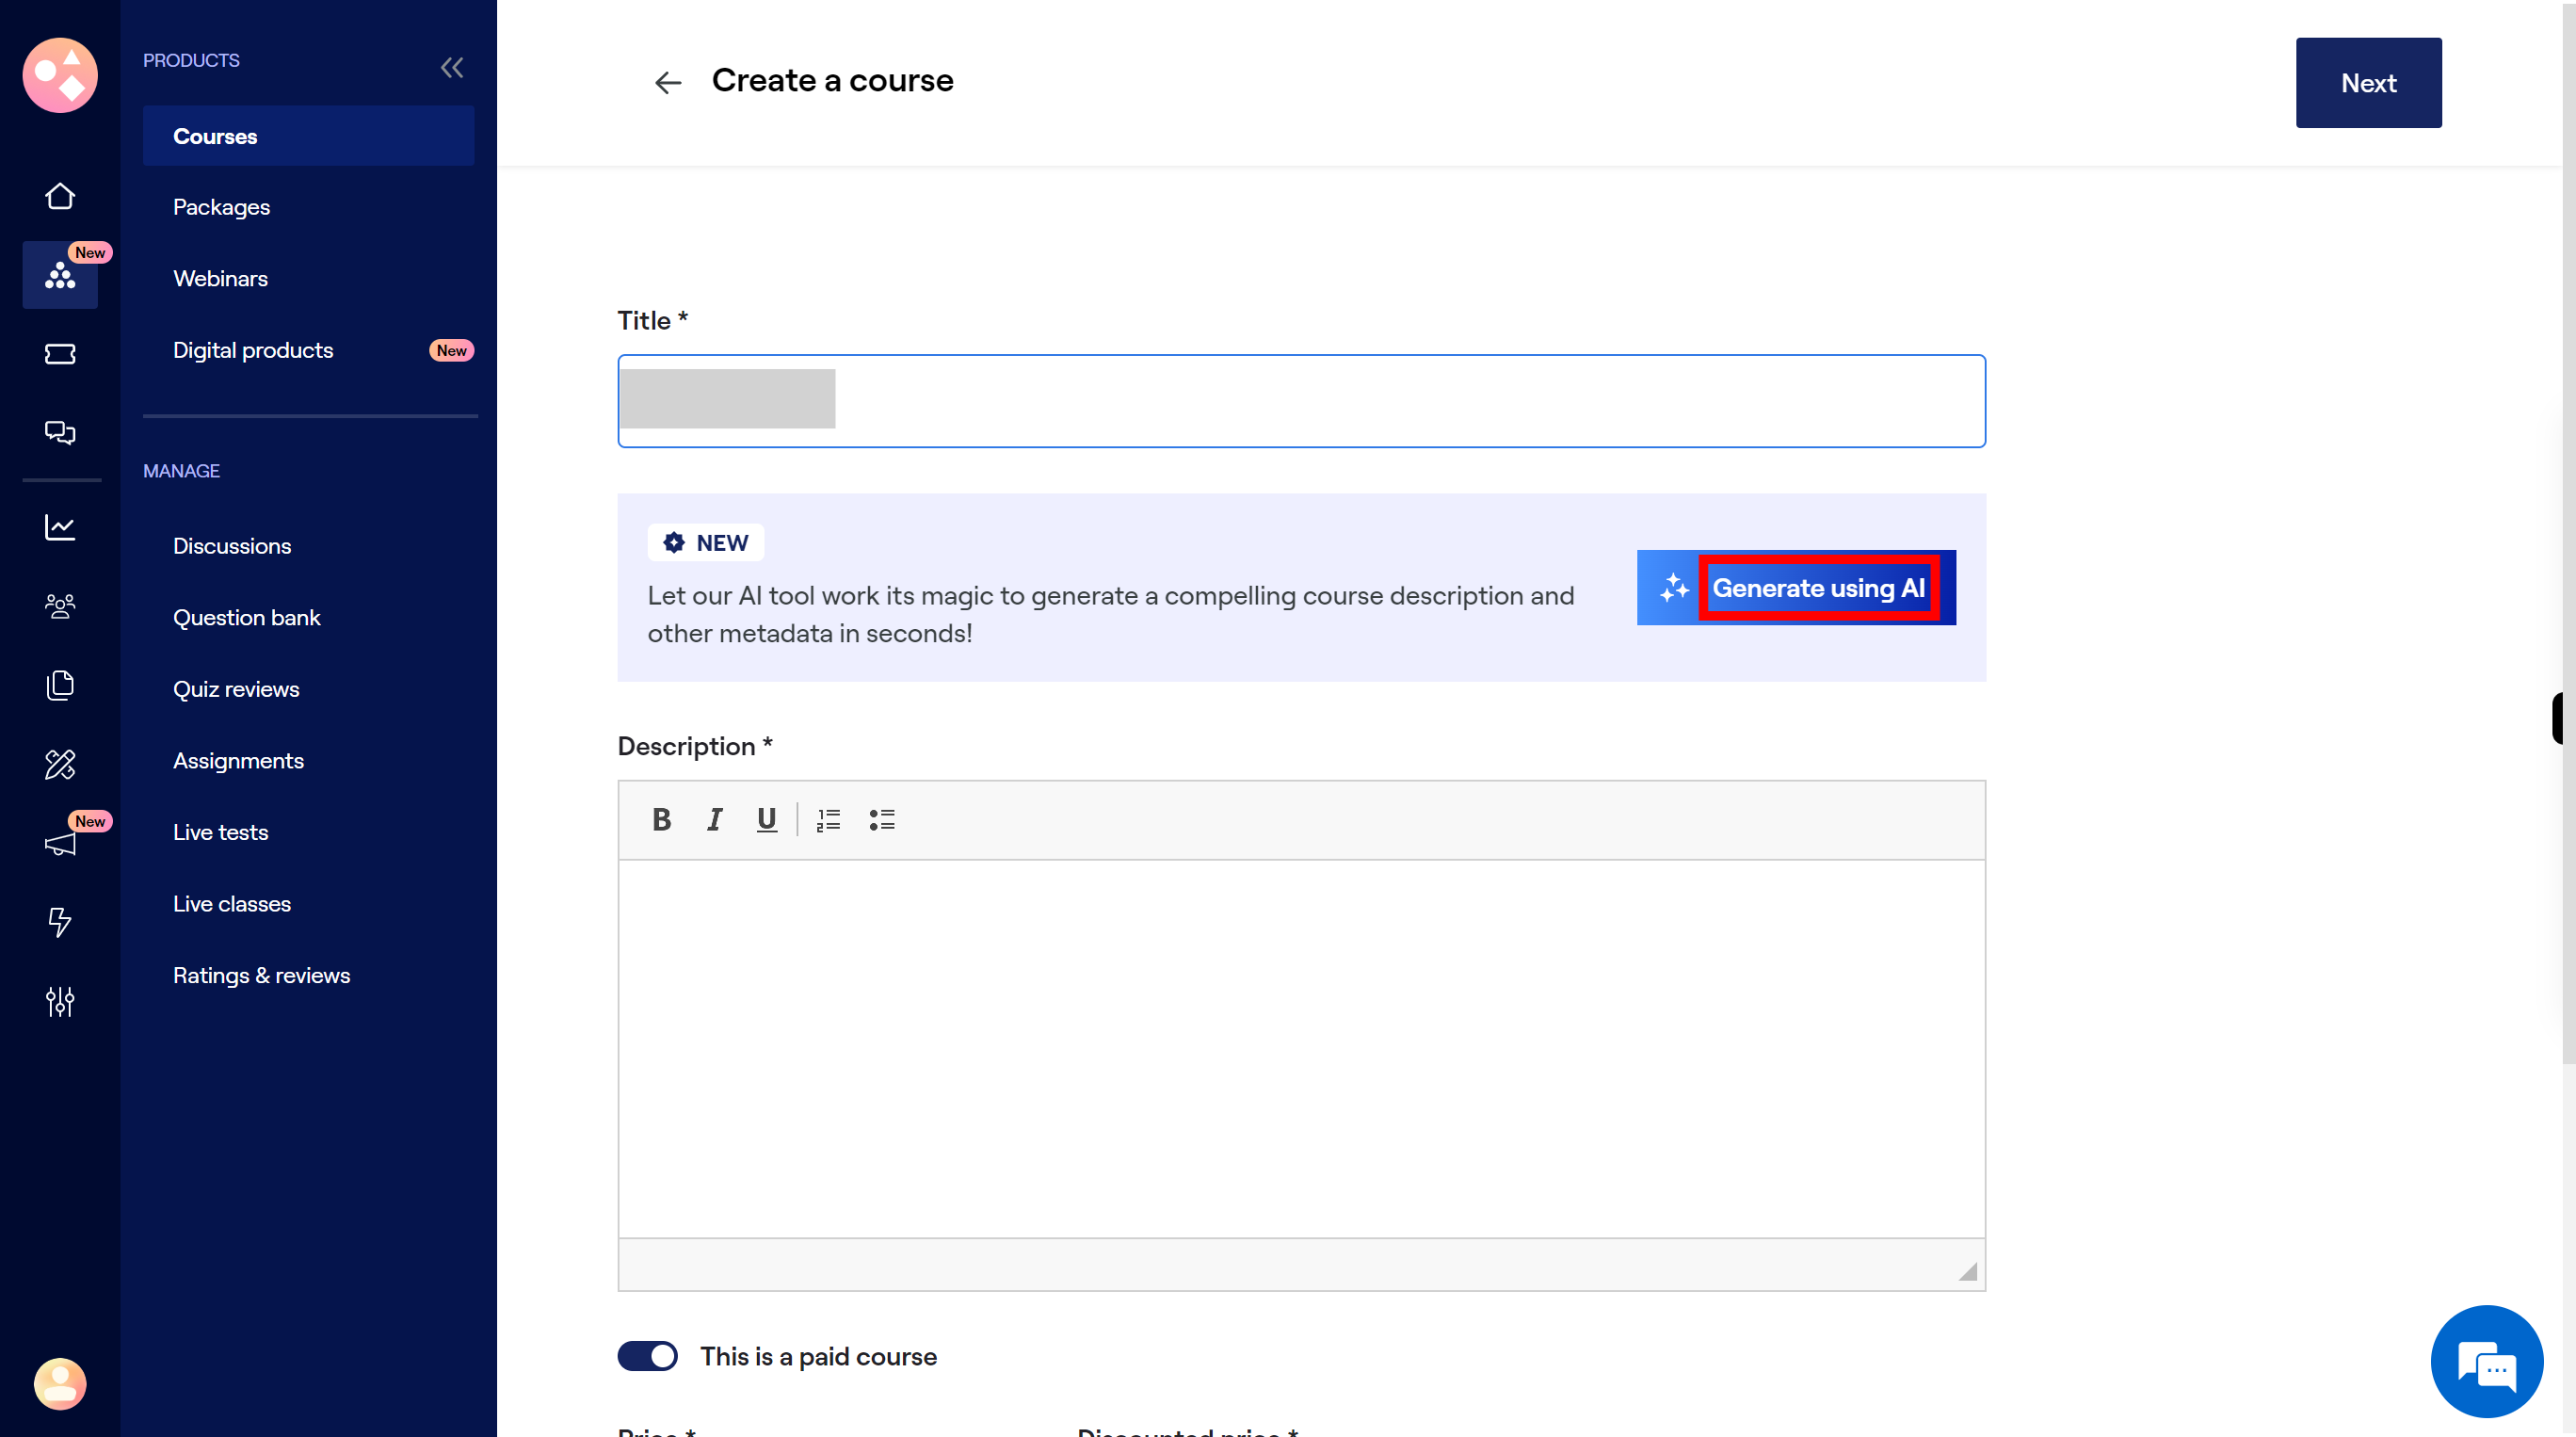
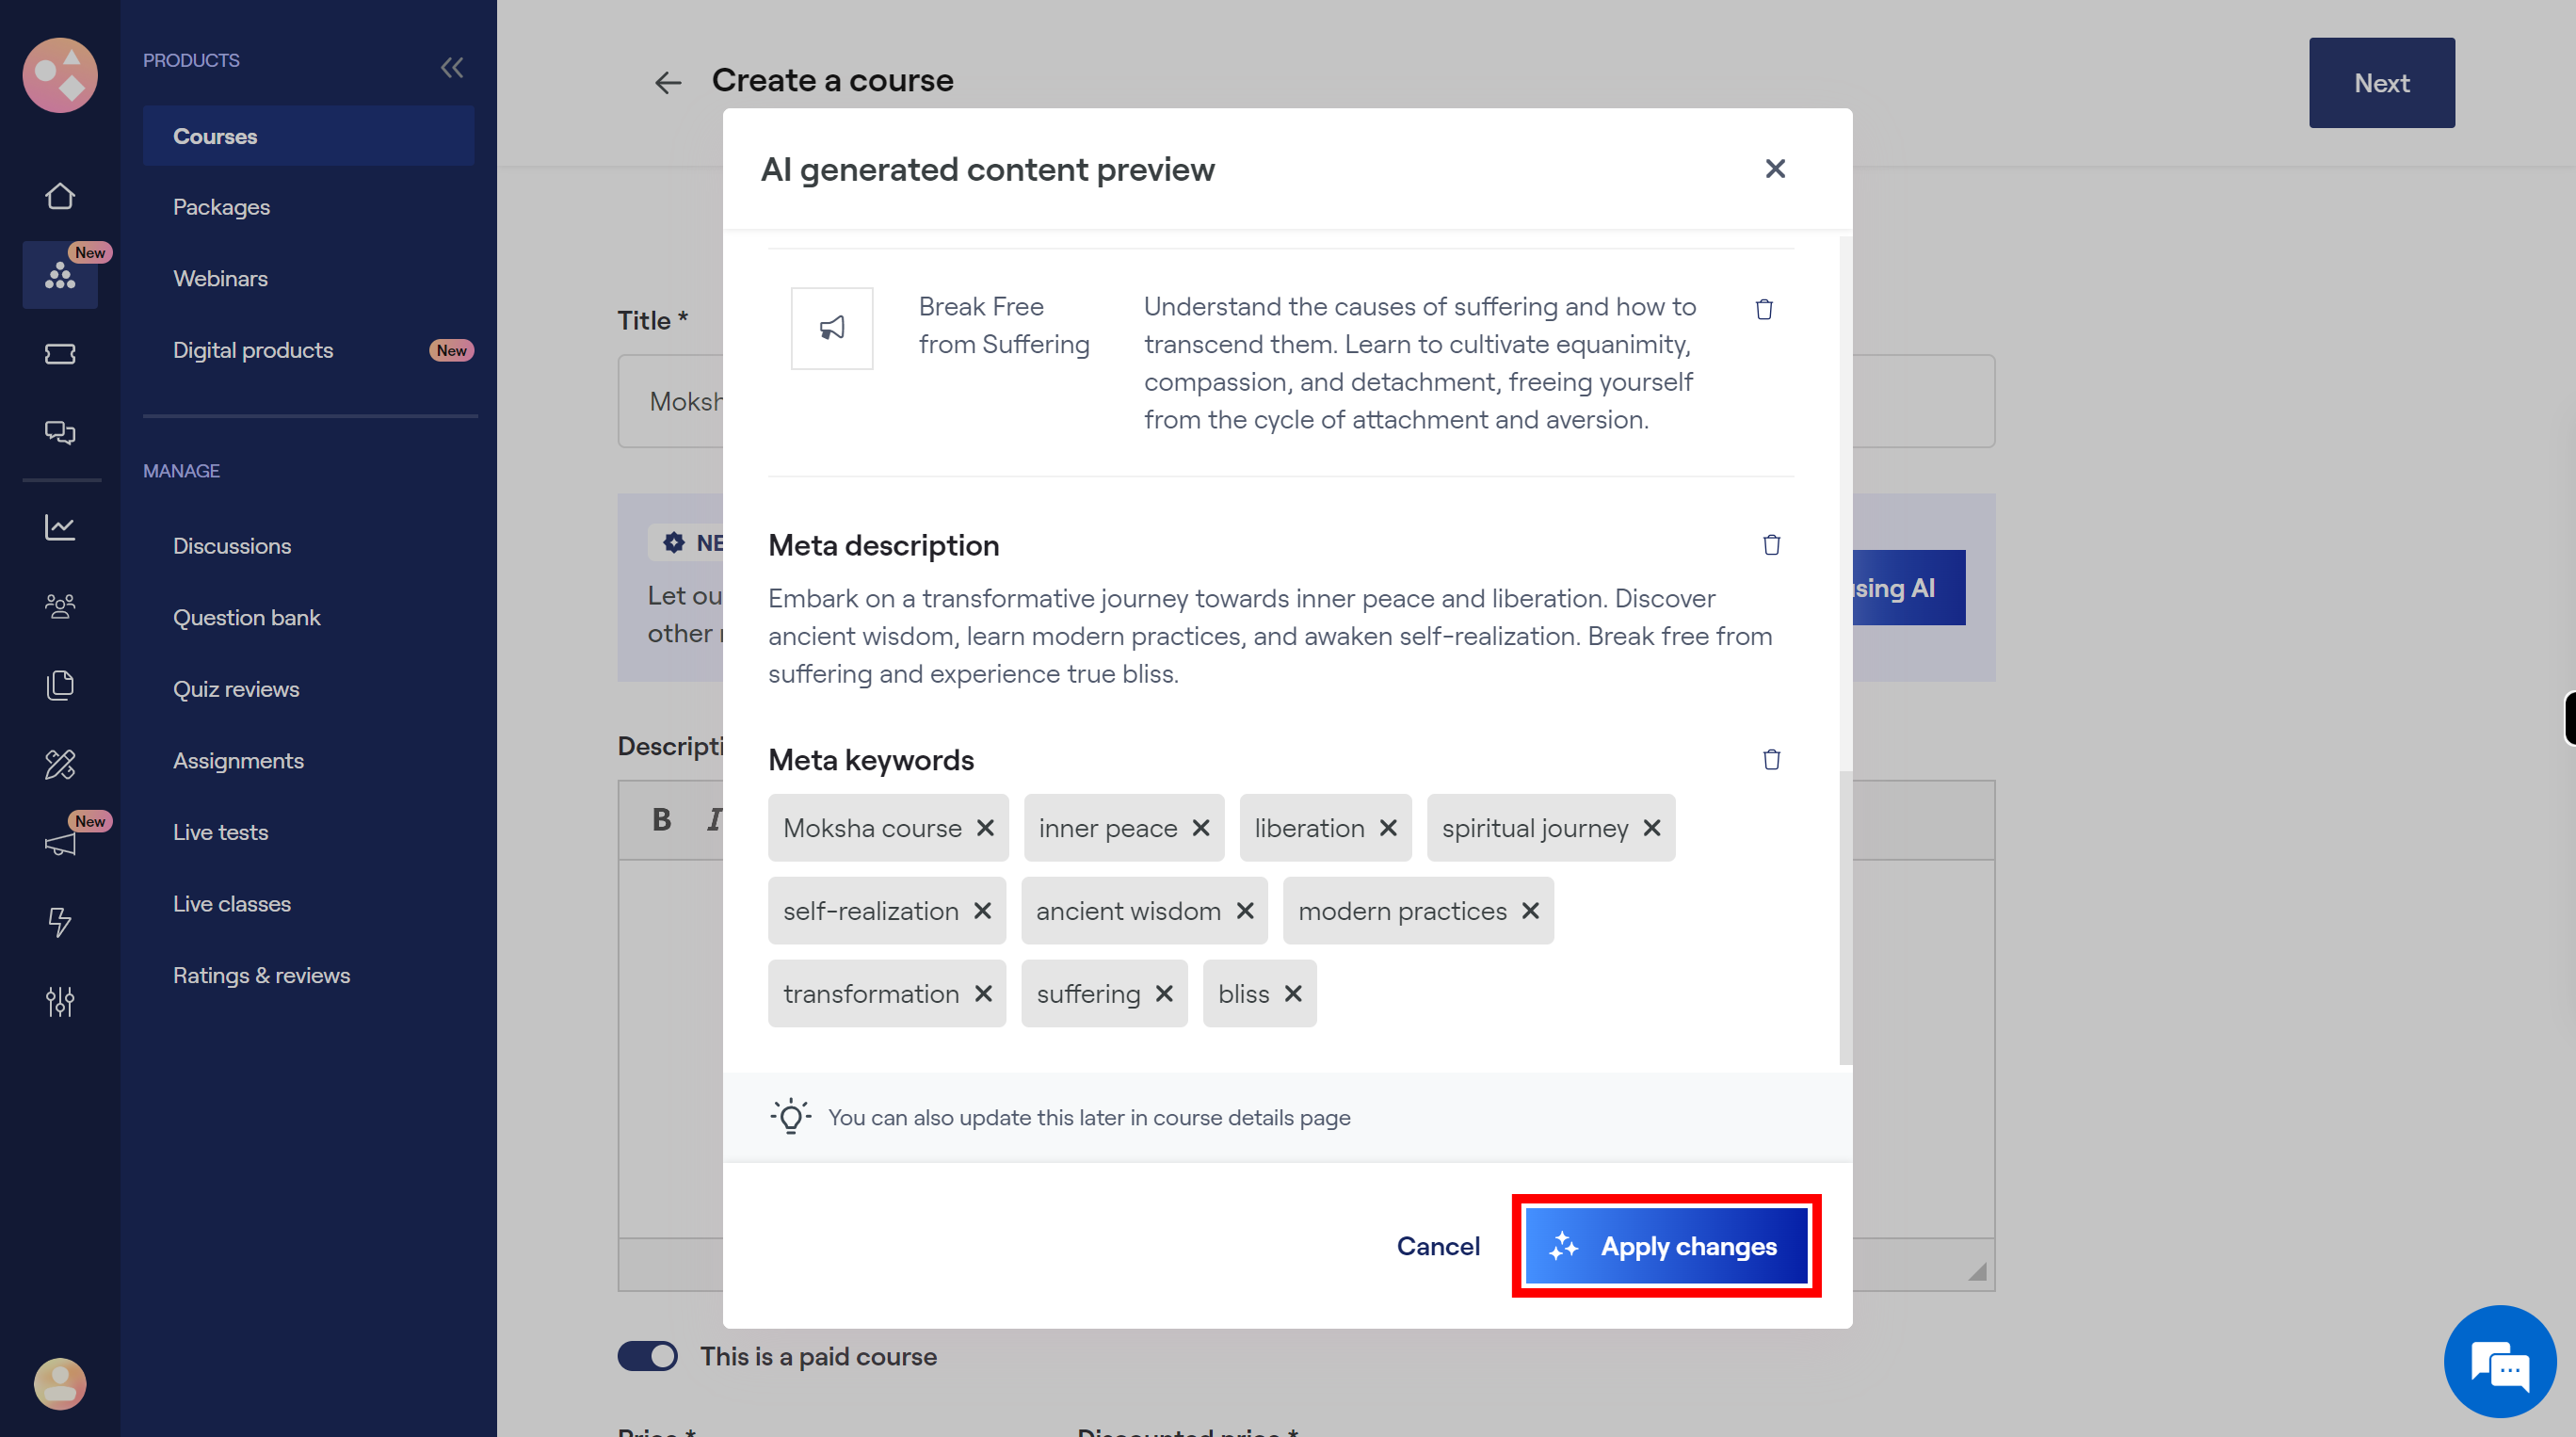
Click on the "Generate using AI" button, it will automatically create course description and other metadata in seconds. If not interested we can add description manually.
-
7.
First scroll down the content preview and check the content. Then click on the "Apply changes" button.
-
8.
Select the course is paid course or not by using this button. If select the paid course, enter the price and Discounted price amount. Once done, click on the "Next" button on the Supervity instruction widget.
-
9.
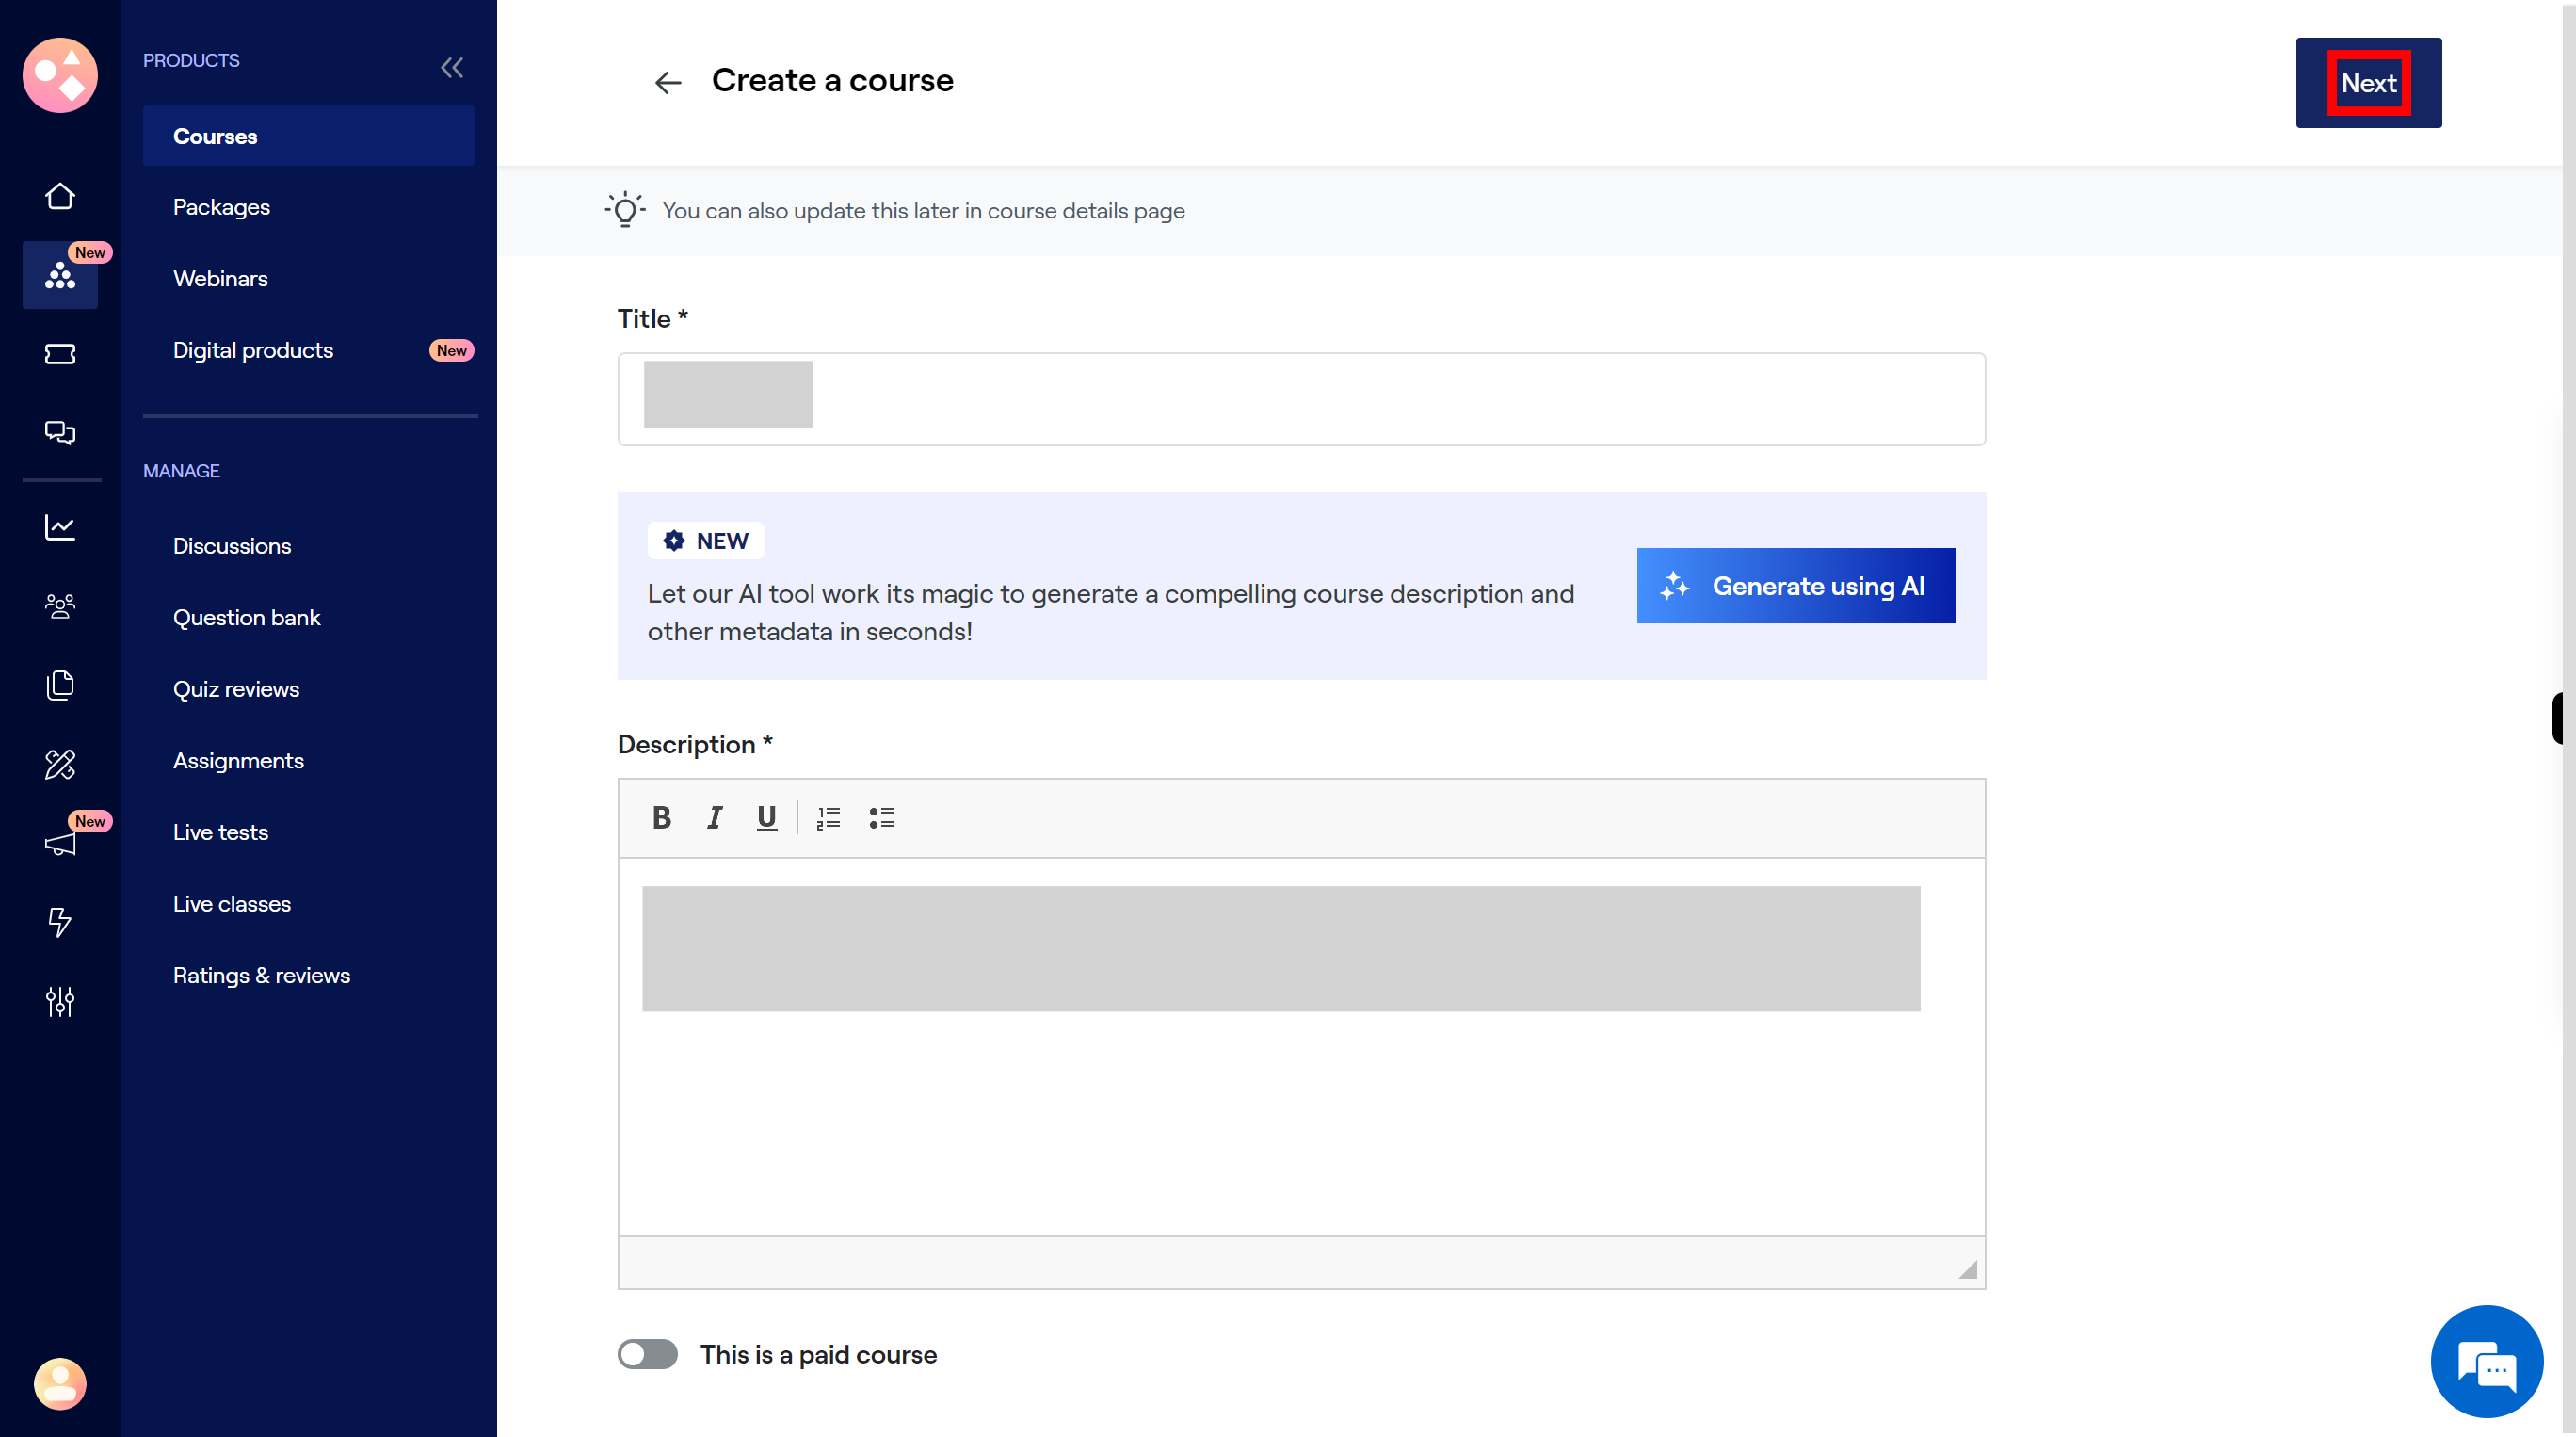
Click on the "Next" button to continue.
-
10.
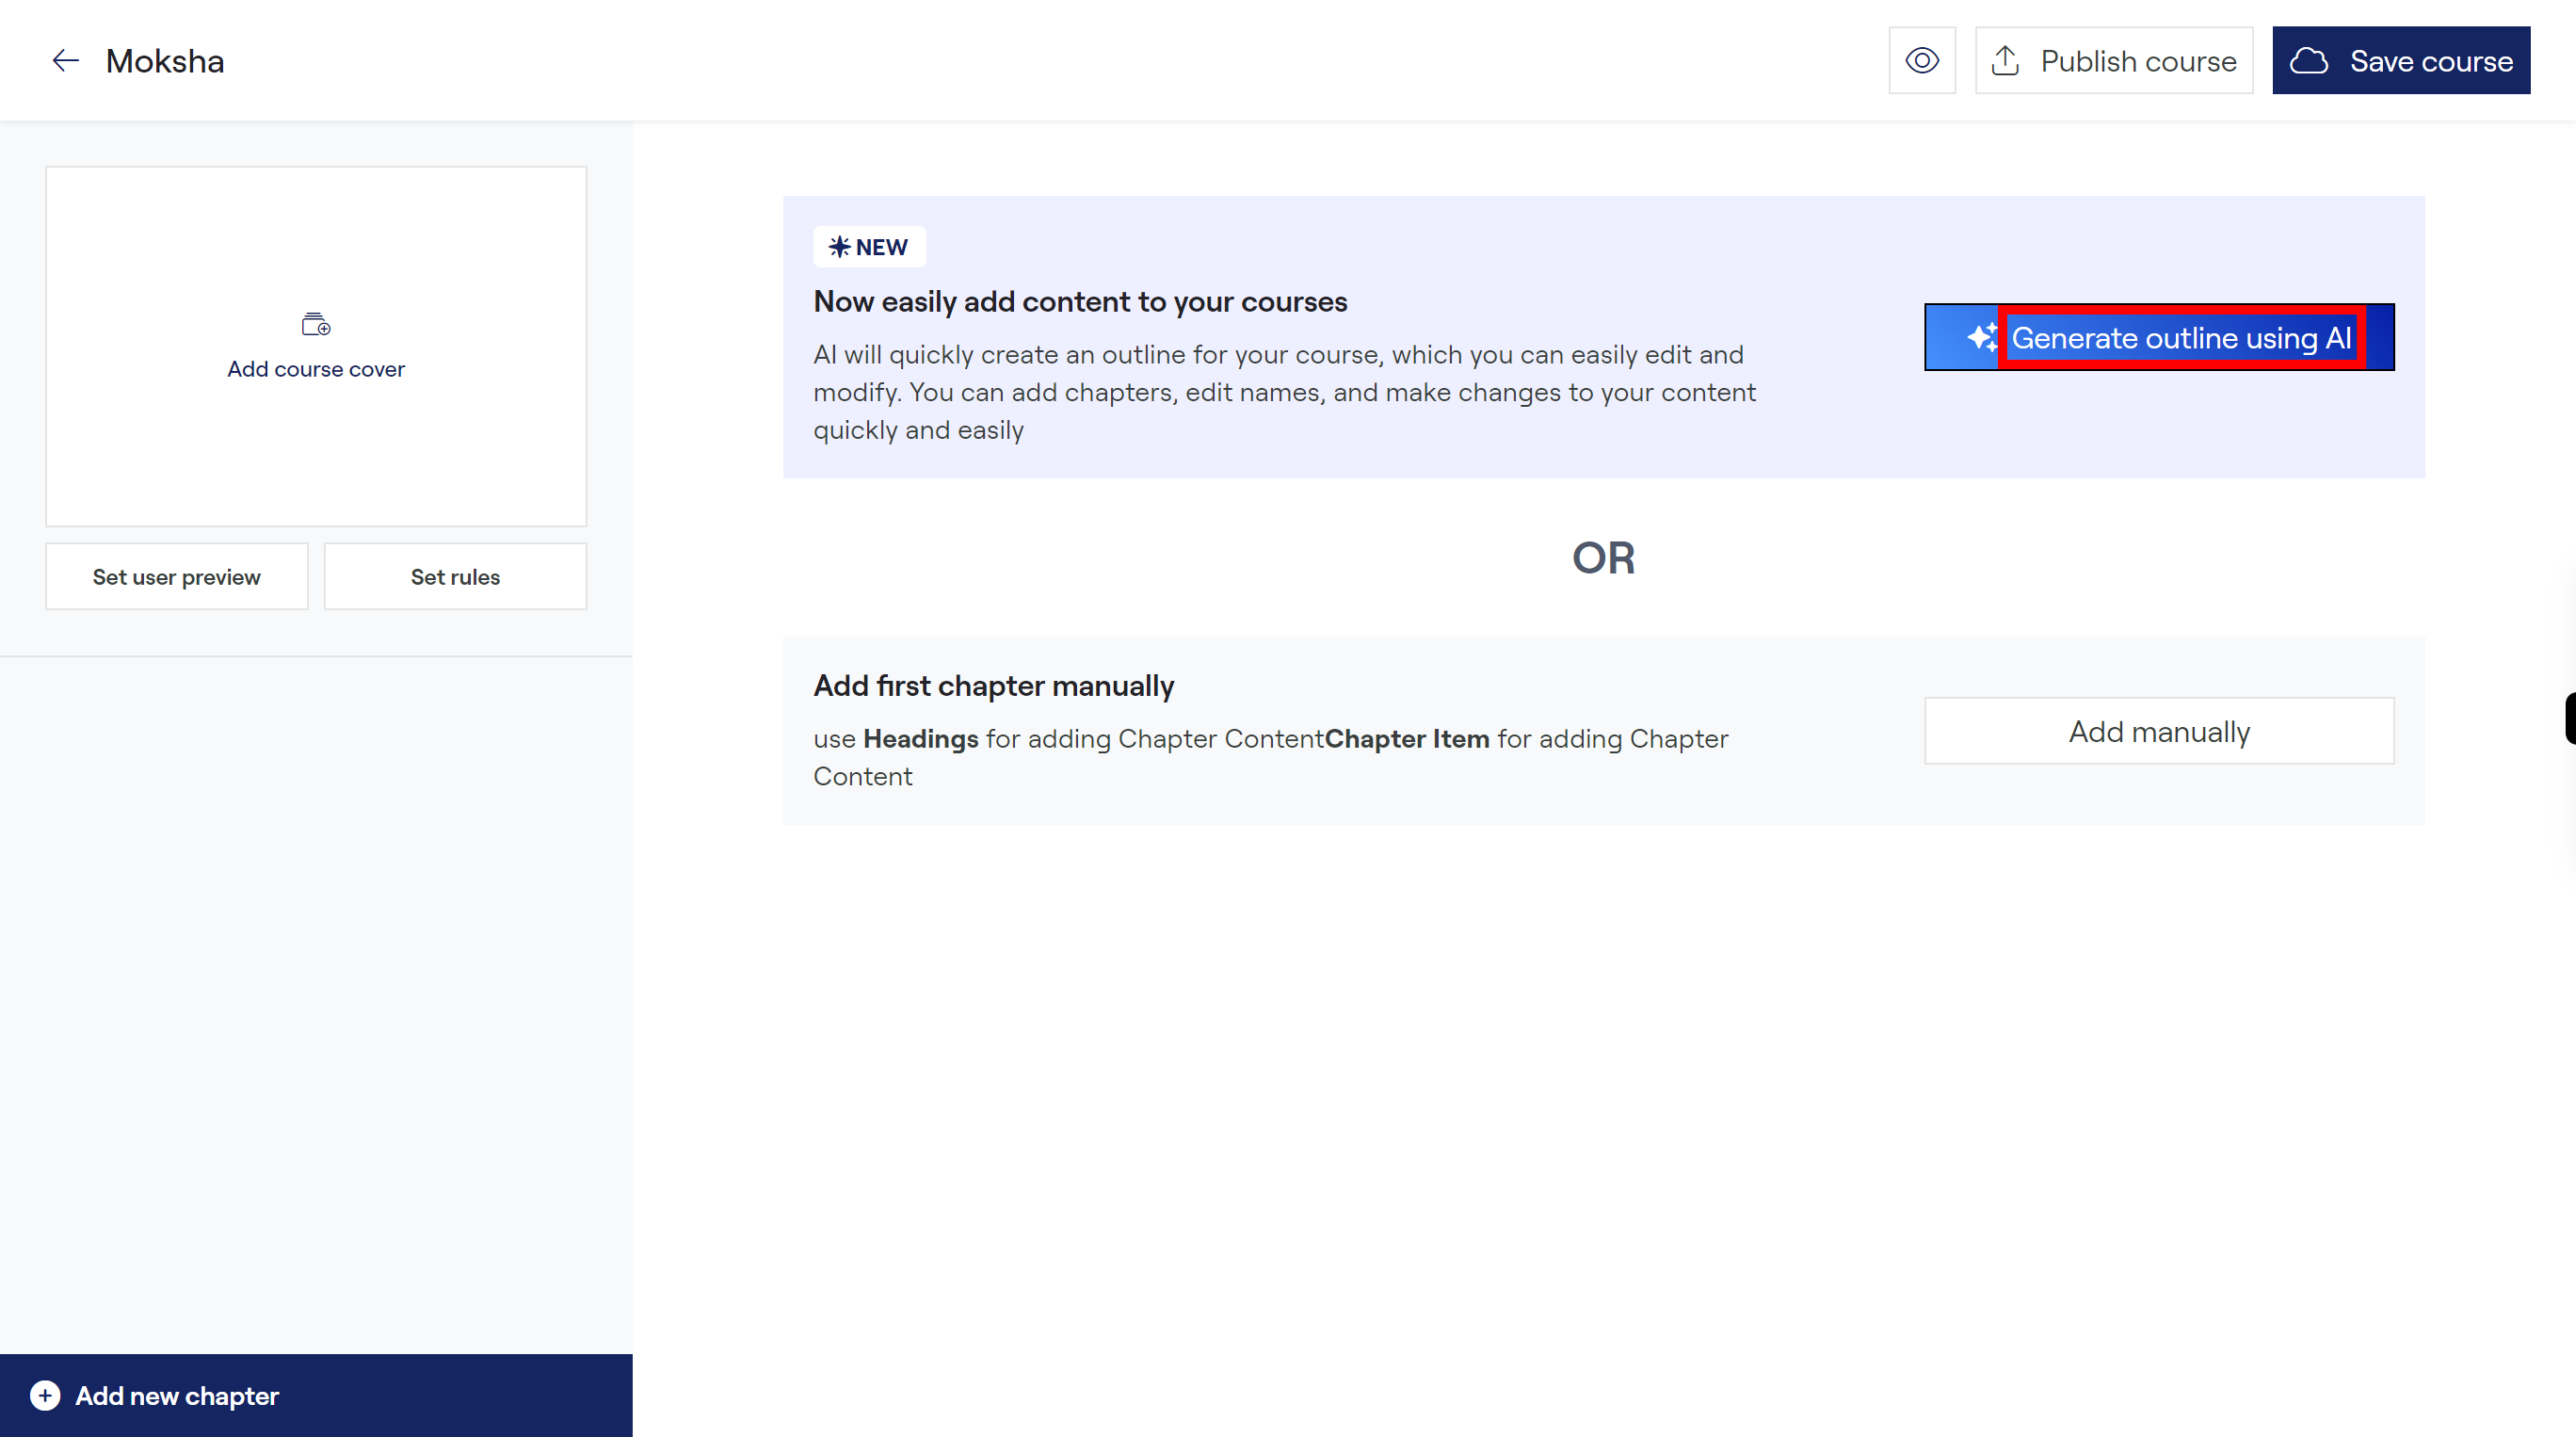
Click on the "Generate outline using AI" button, to create an outline for the course.
-
11.
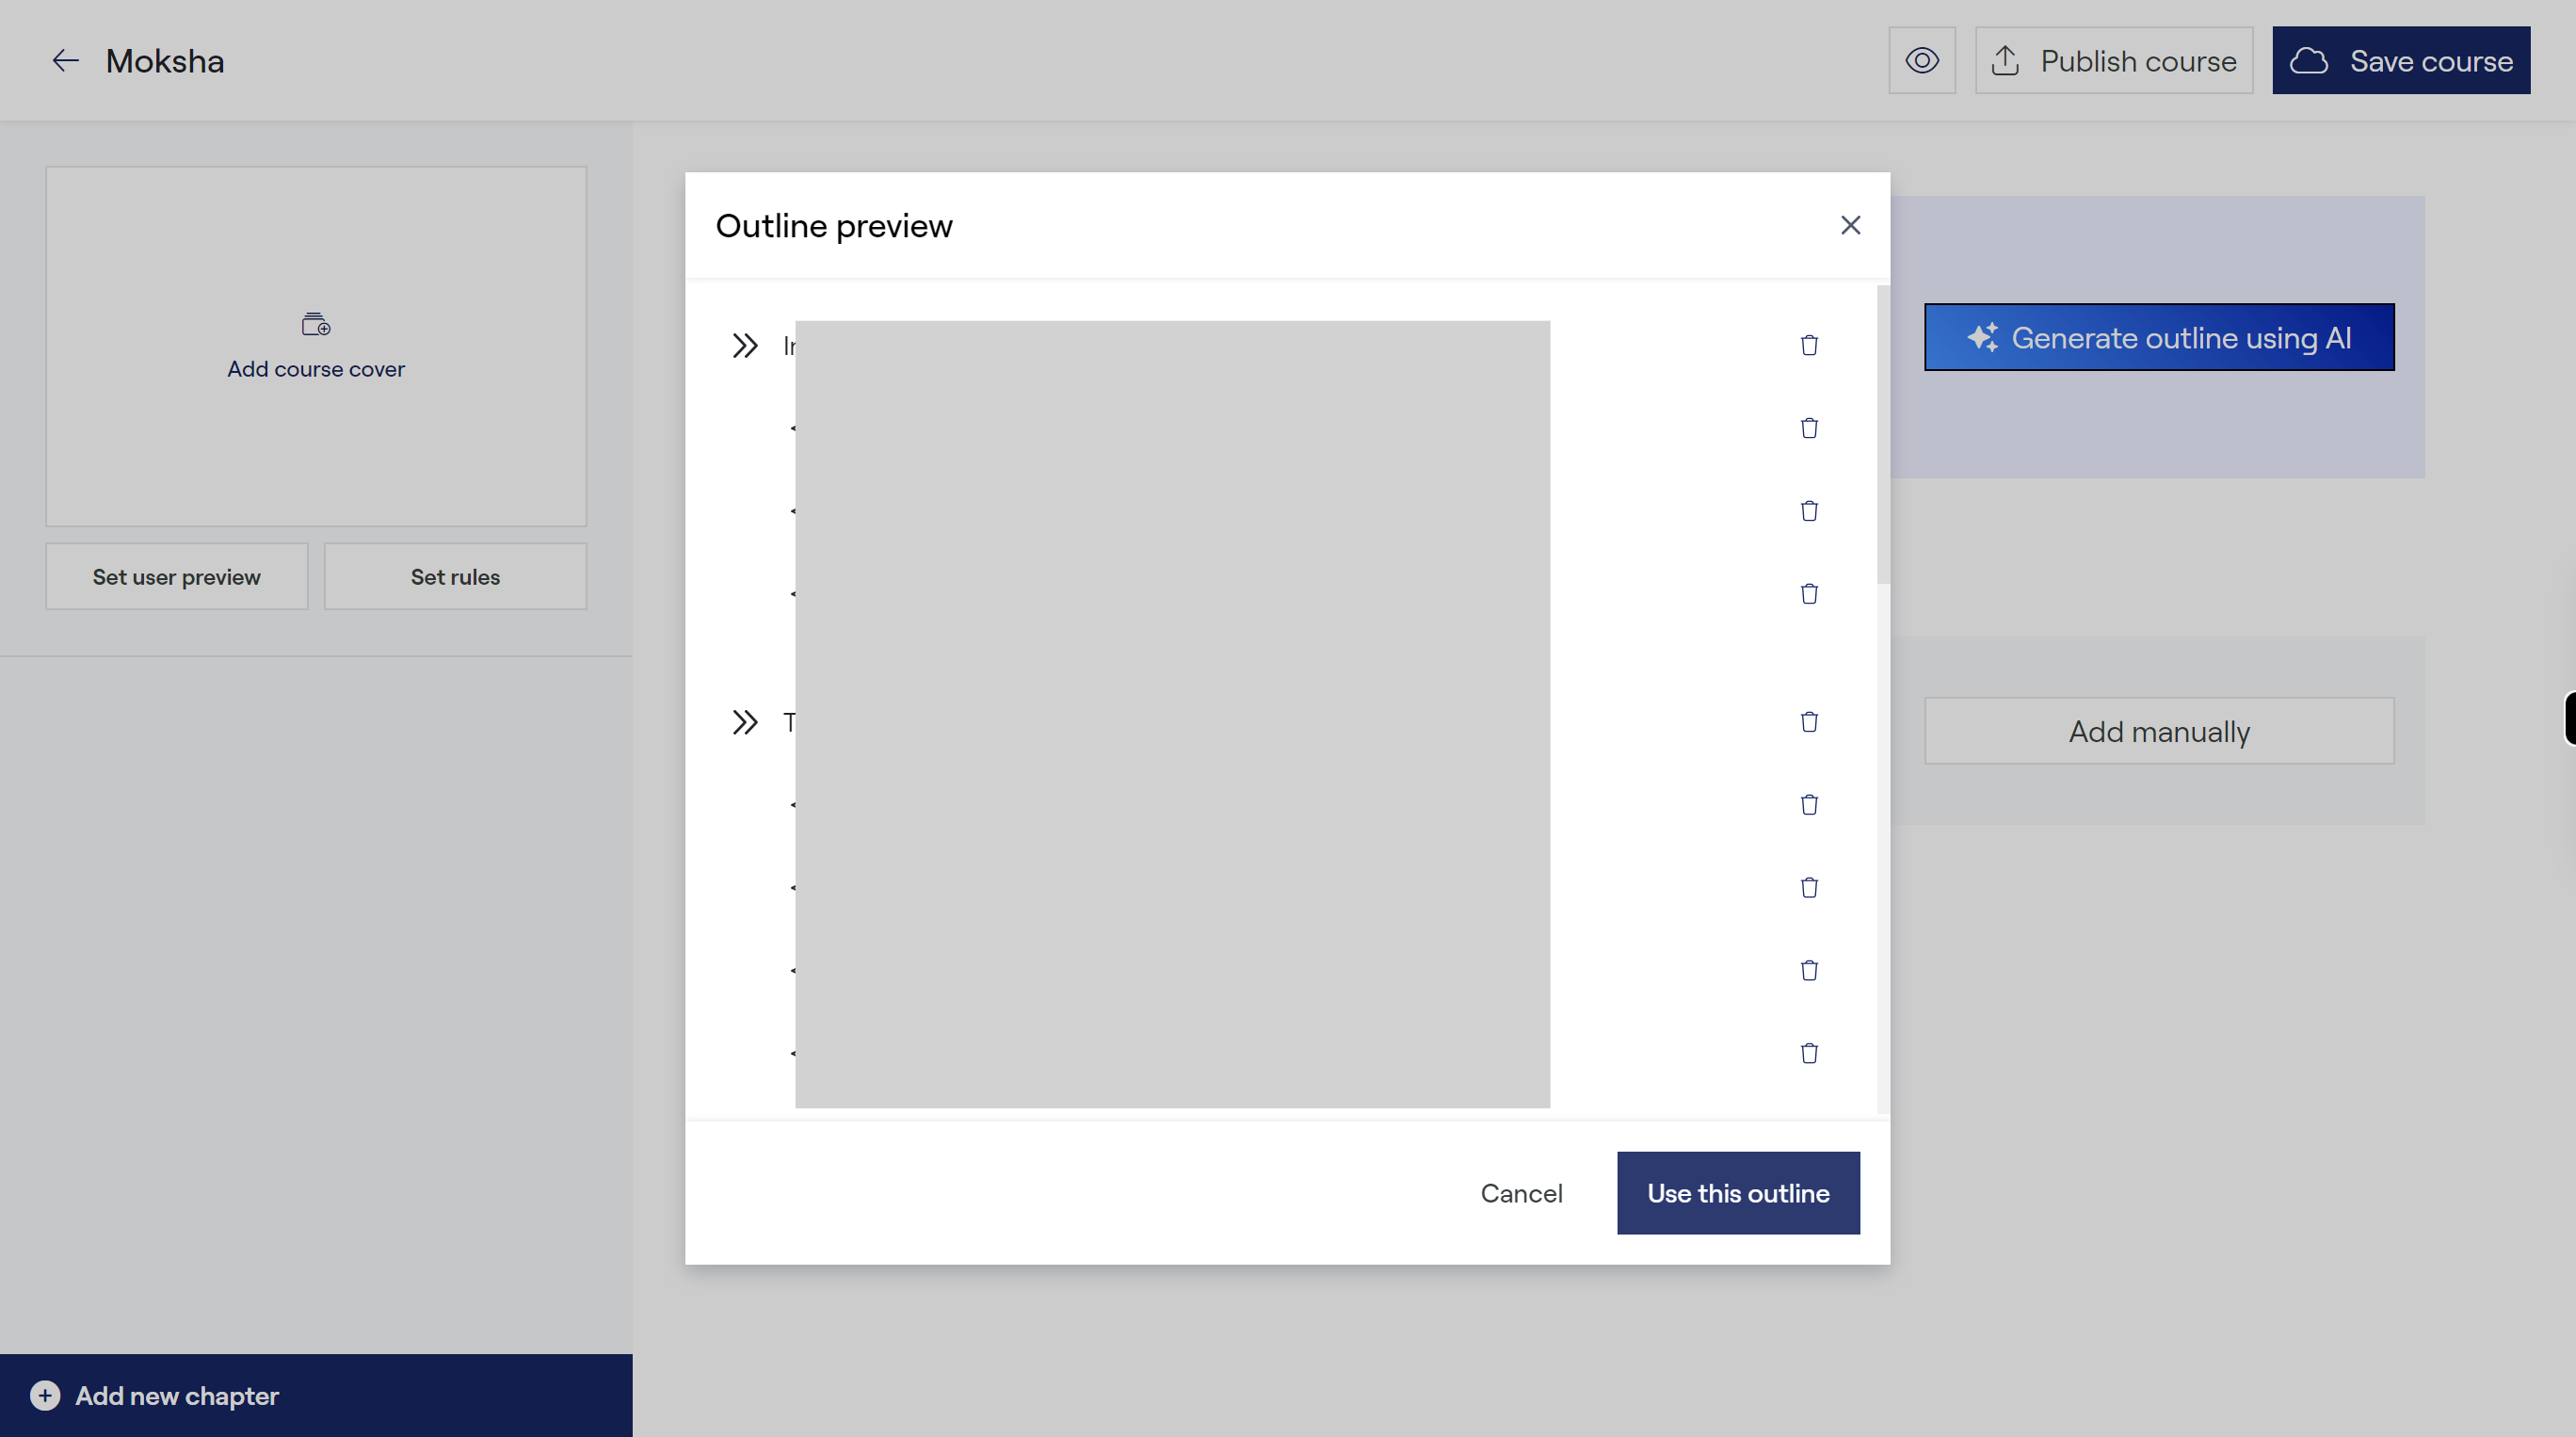
Check the Outline preview content and then click on the "Use this outline" button to add the outline.
-
12.
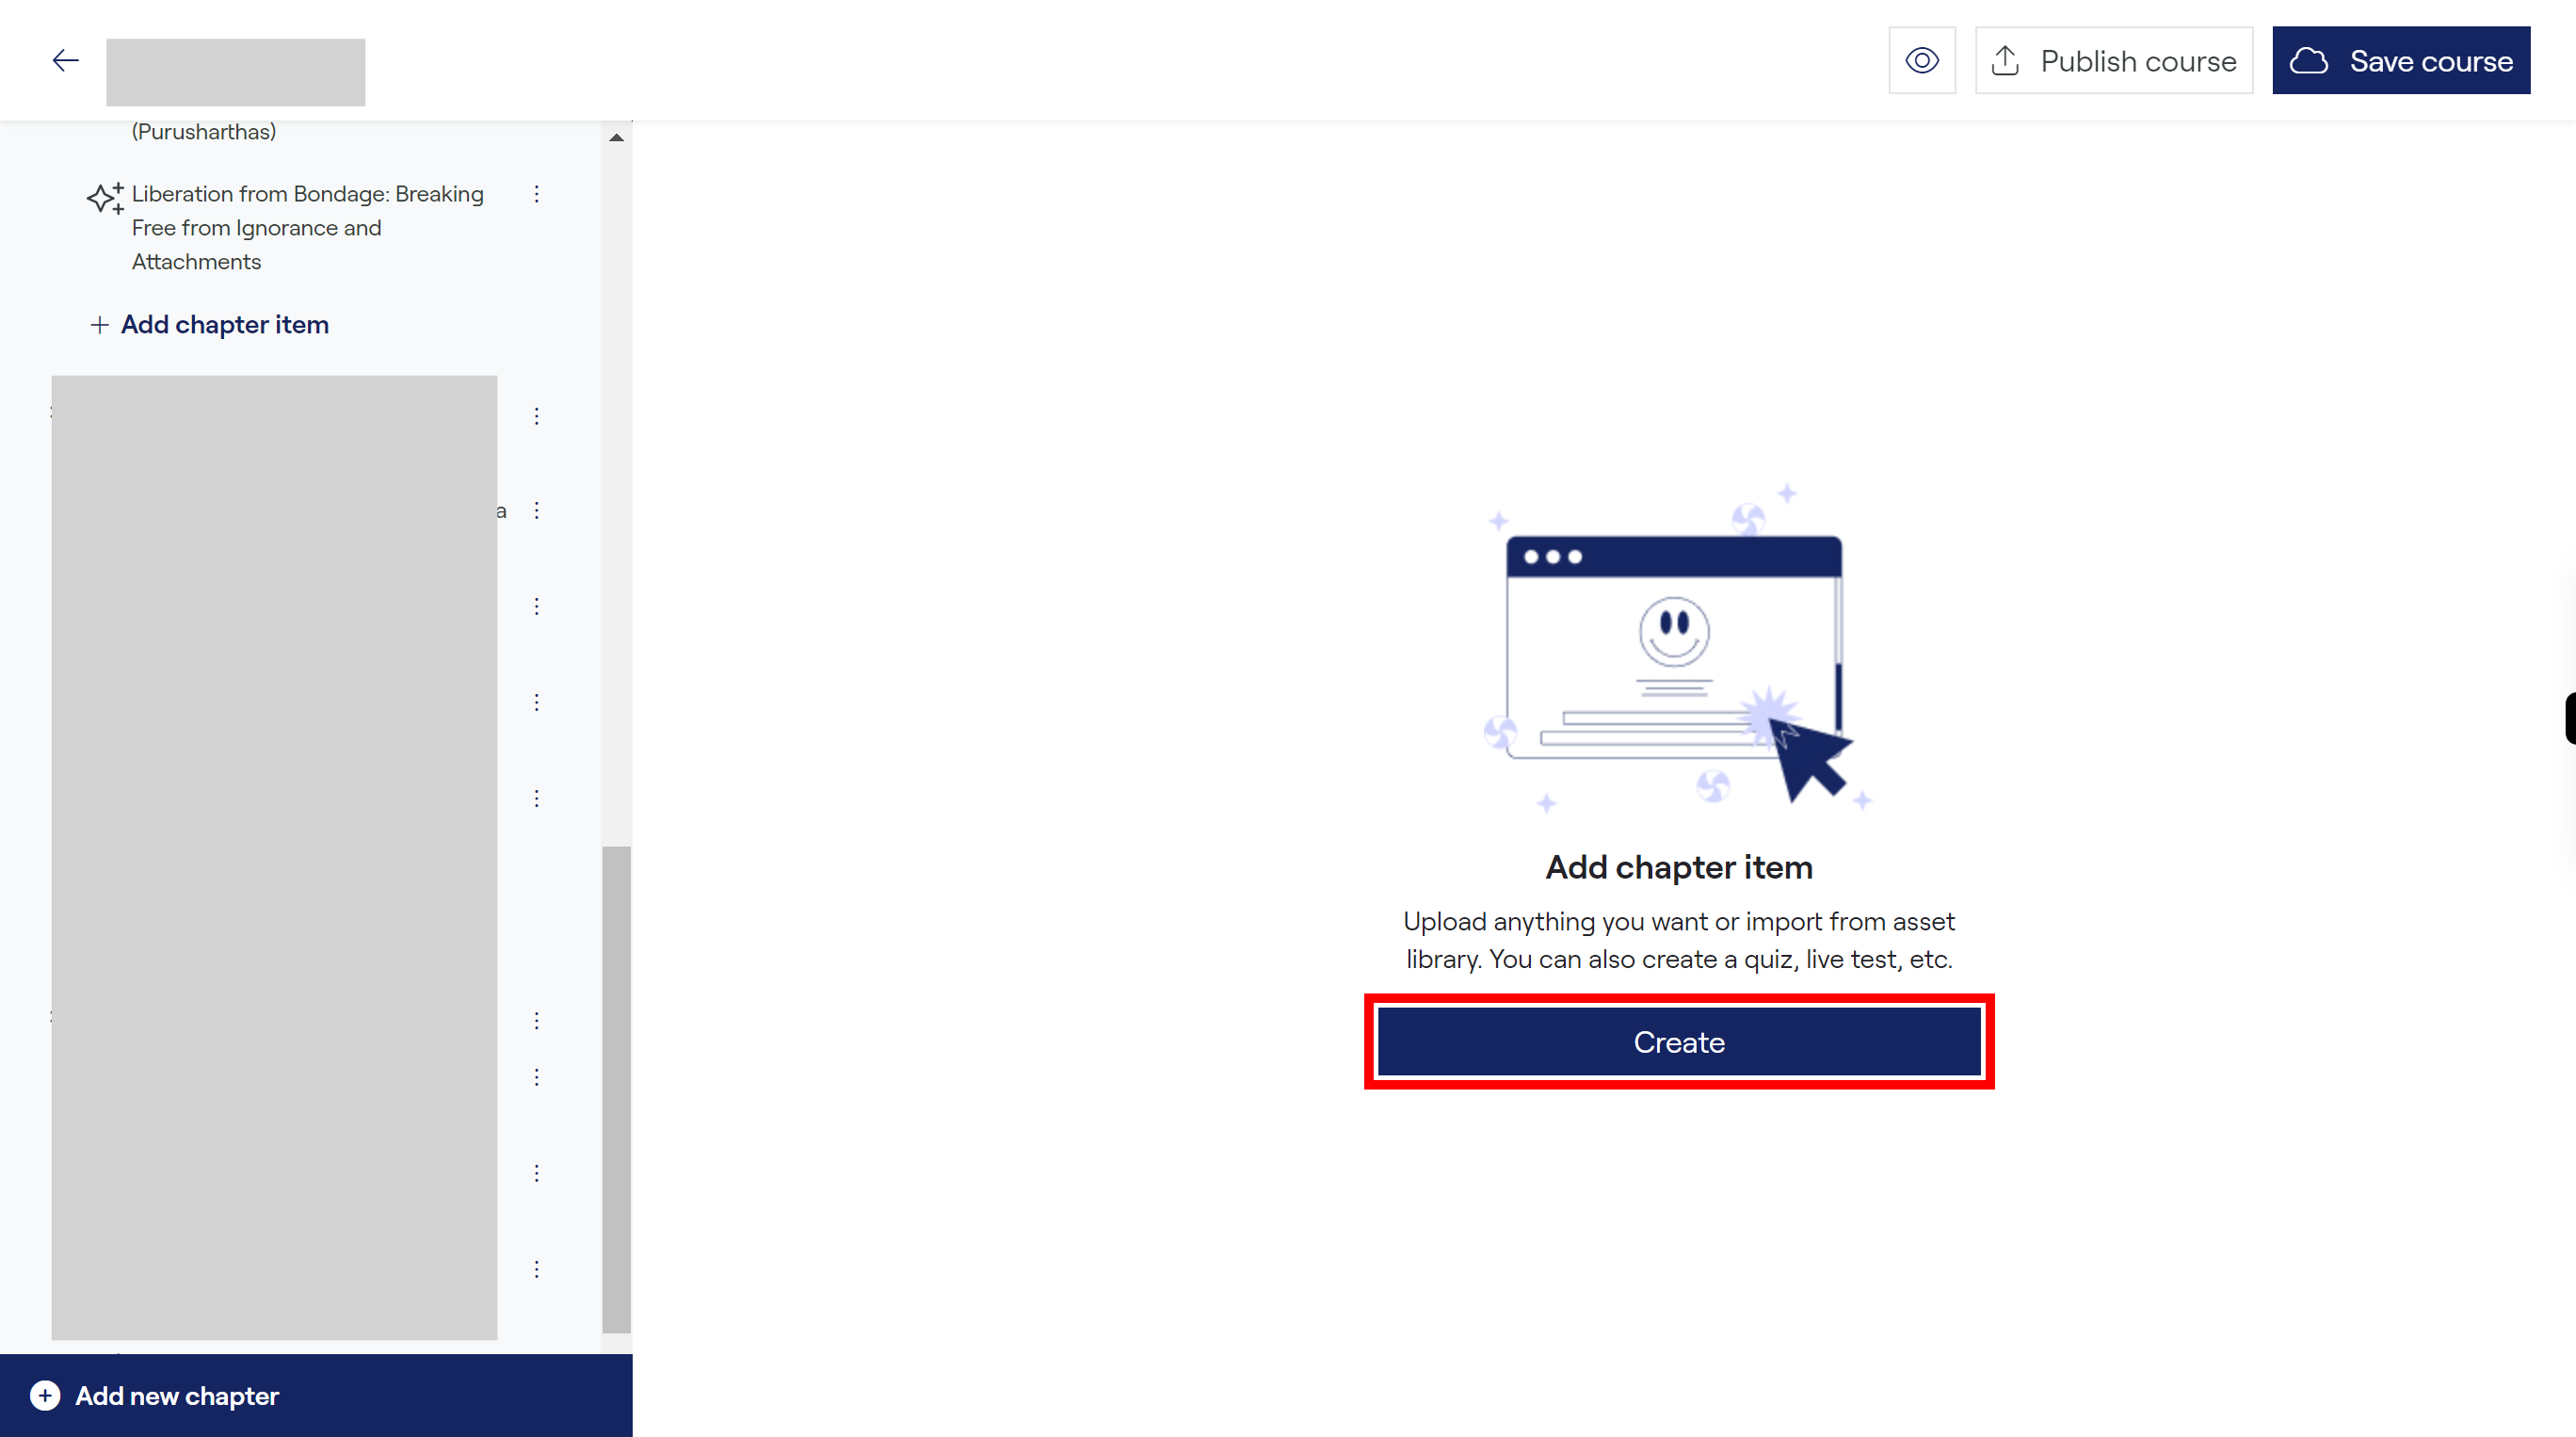
Click on the "Create" button to add chapter item using uploading data.
-
13.
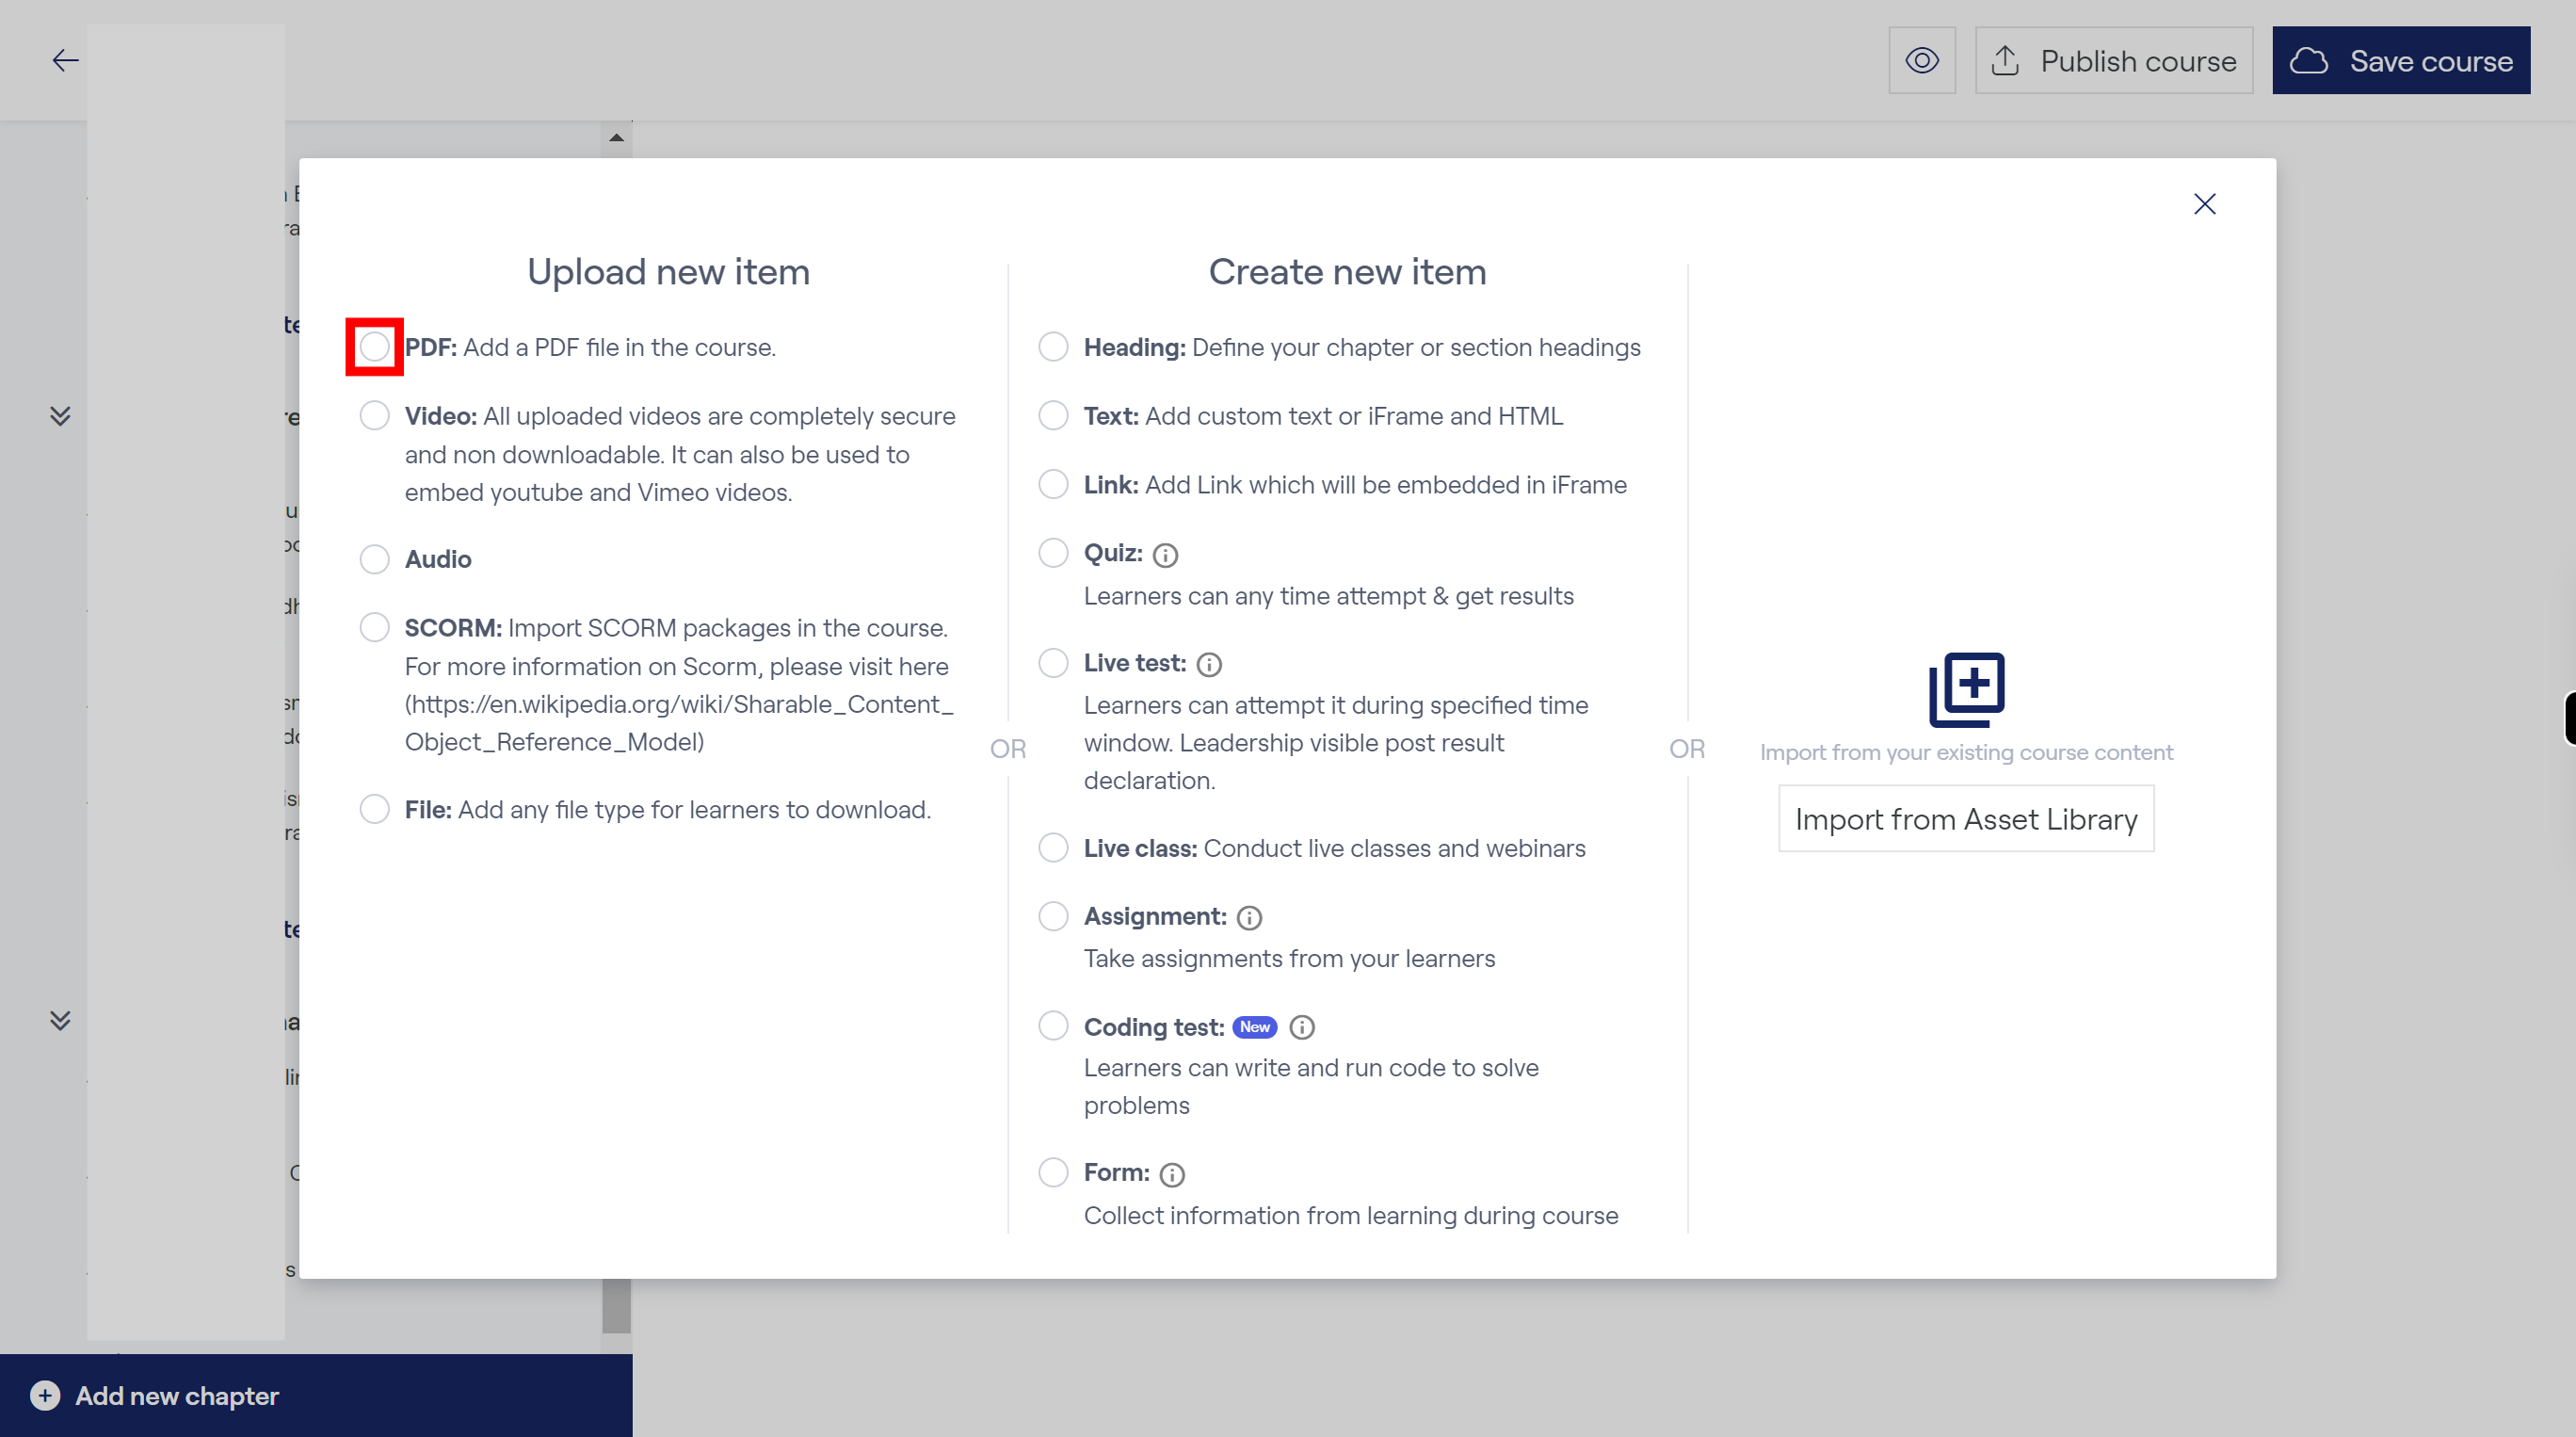
Select one of the following file mode need to upload and follow the process to upload. If there are no upload files, then go to Create new item tab and add the below content. If you need to Import from Asset Library click on " + " button to add the content. If no files are present in Asset Library it shows empty. Once done, click on the "Next" button on the Supervity instruction.
-
14.
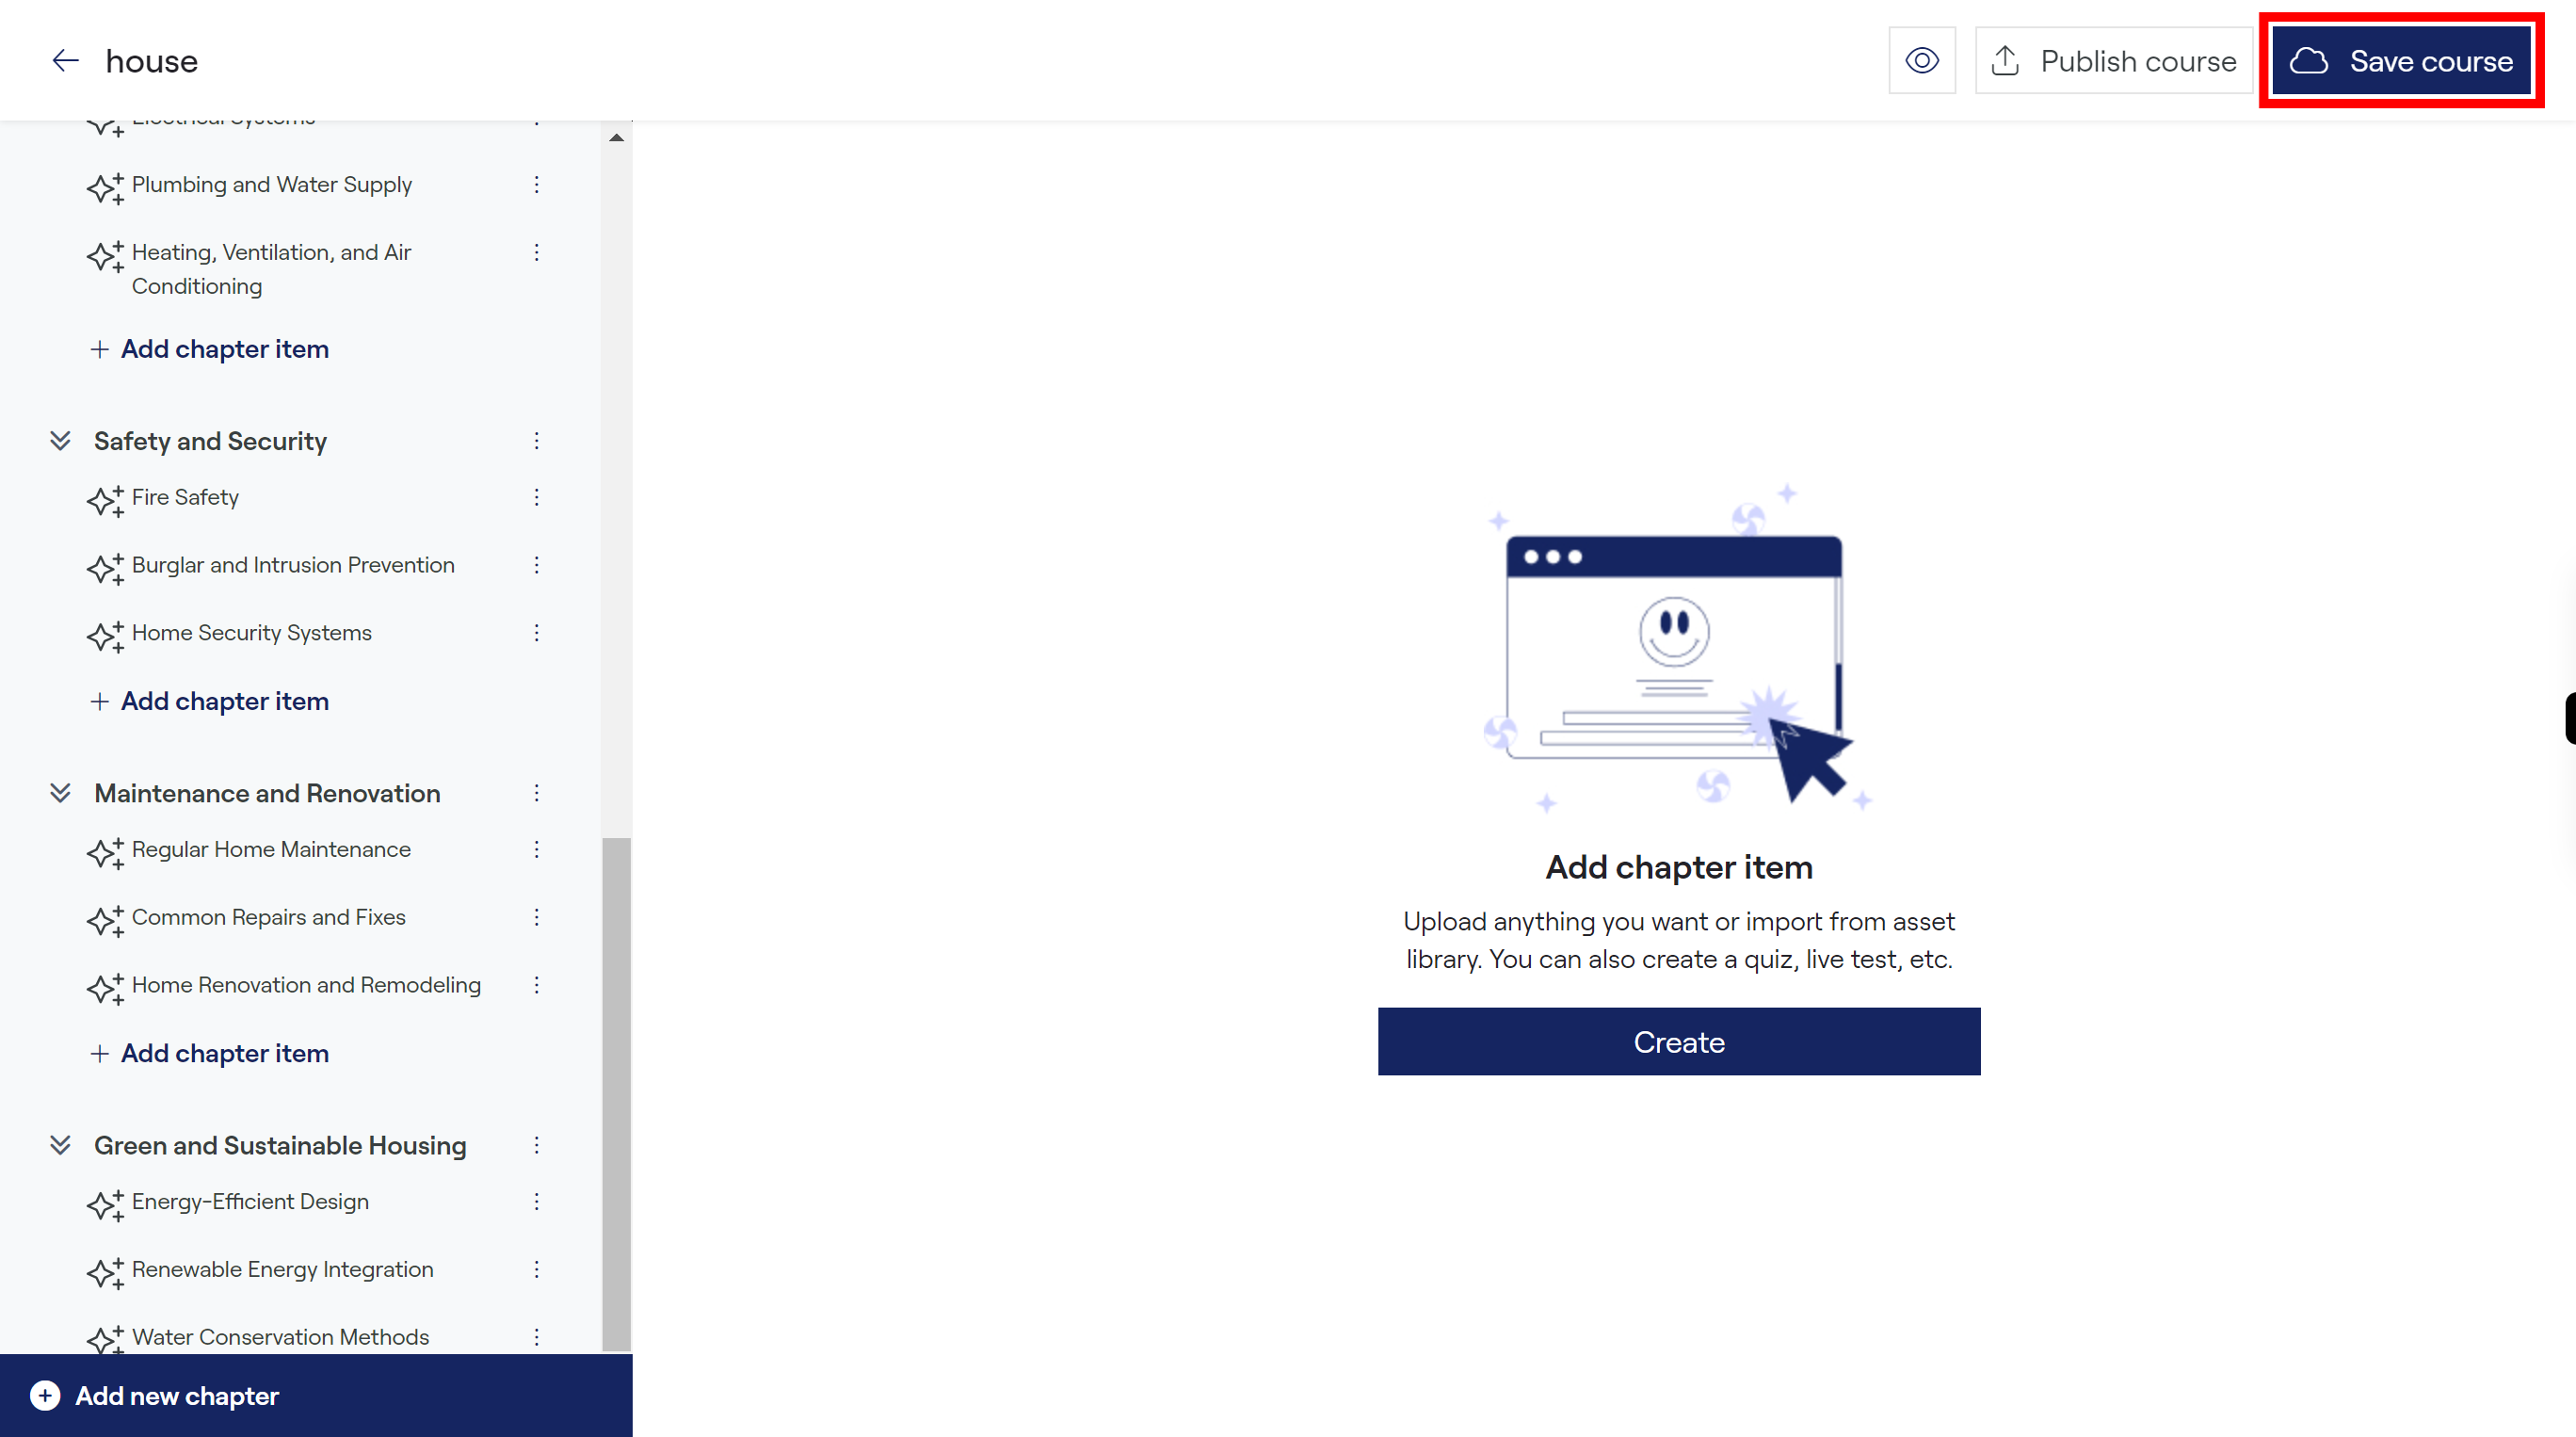
Click on the "Save course" button to save the course.
