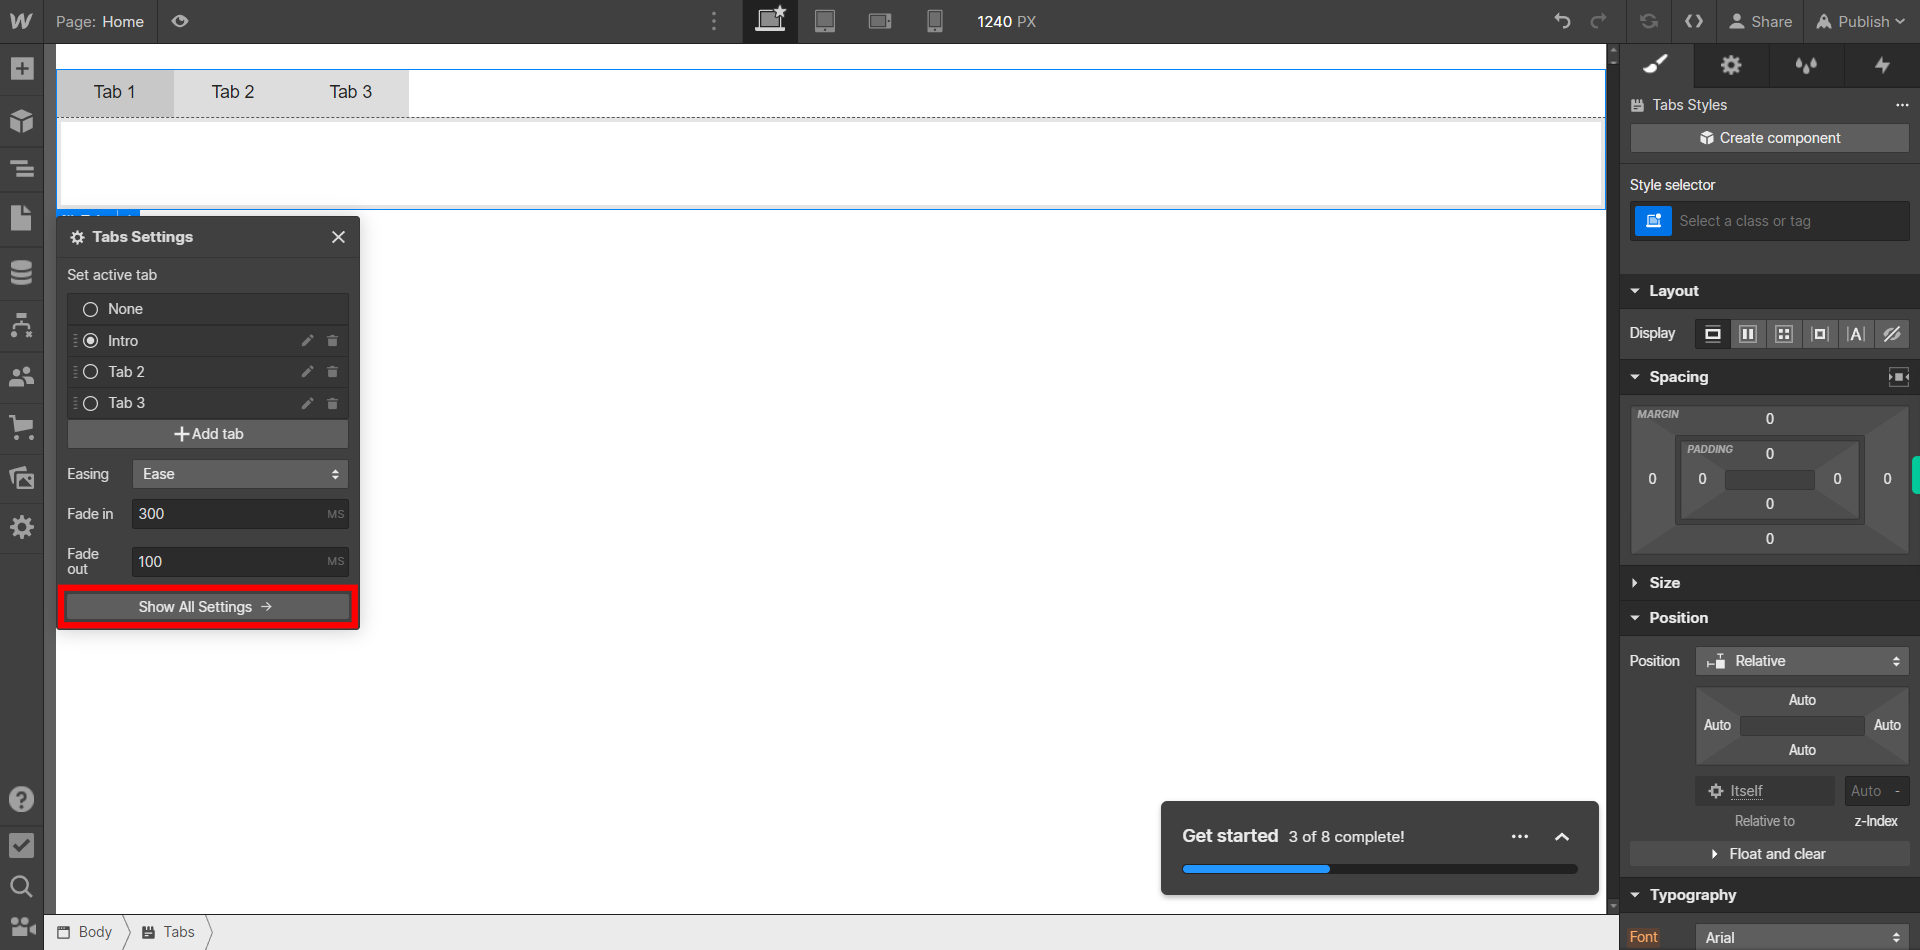
This skill shows the steps to be followed to create and customize Tabs on Webflow. Prerequisites:To ensure that you have at least one project available in the Webflow dashboard. [NOTE: Please make sure that log in to Webflow website before playing the skill]
-
1.
Open Webflow Dashboard.
-
2.
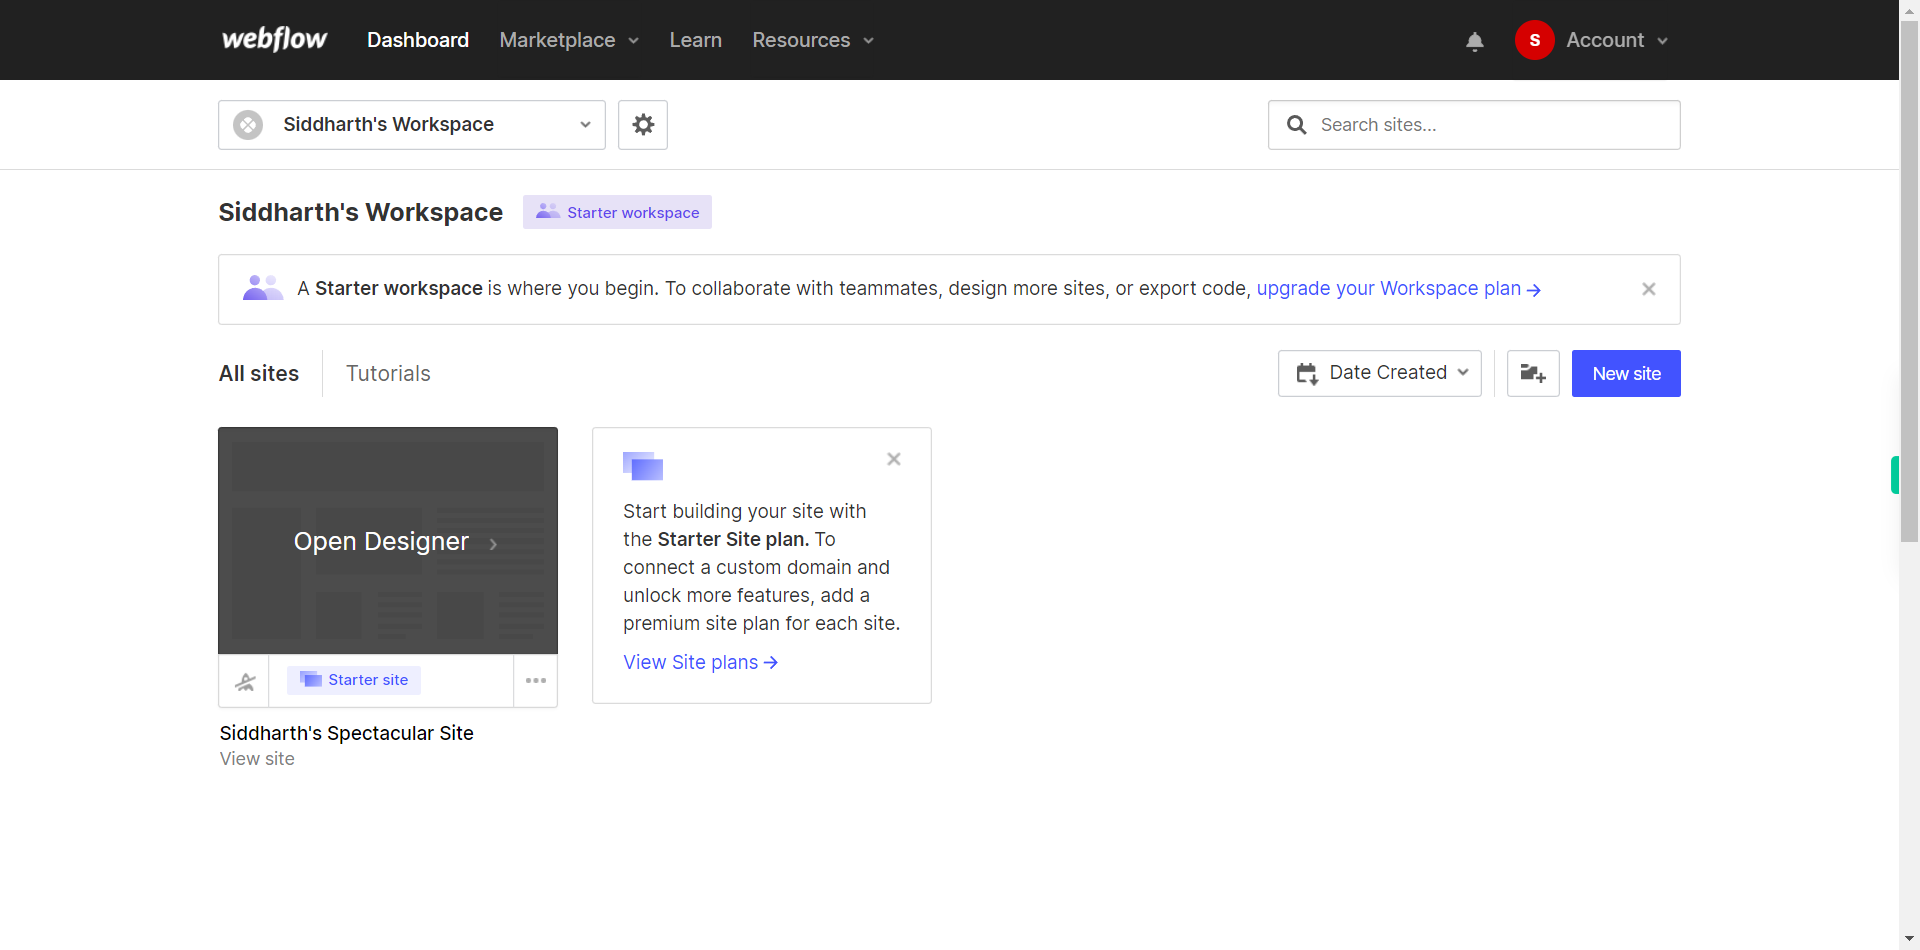
Click on the Next button in the Supervity instruction widget and then Open the Project or the Site you want to work on by clicking on "Open Designer" option which is on each website.
-
3.
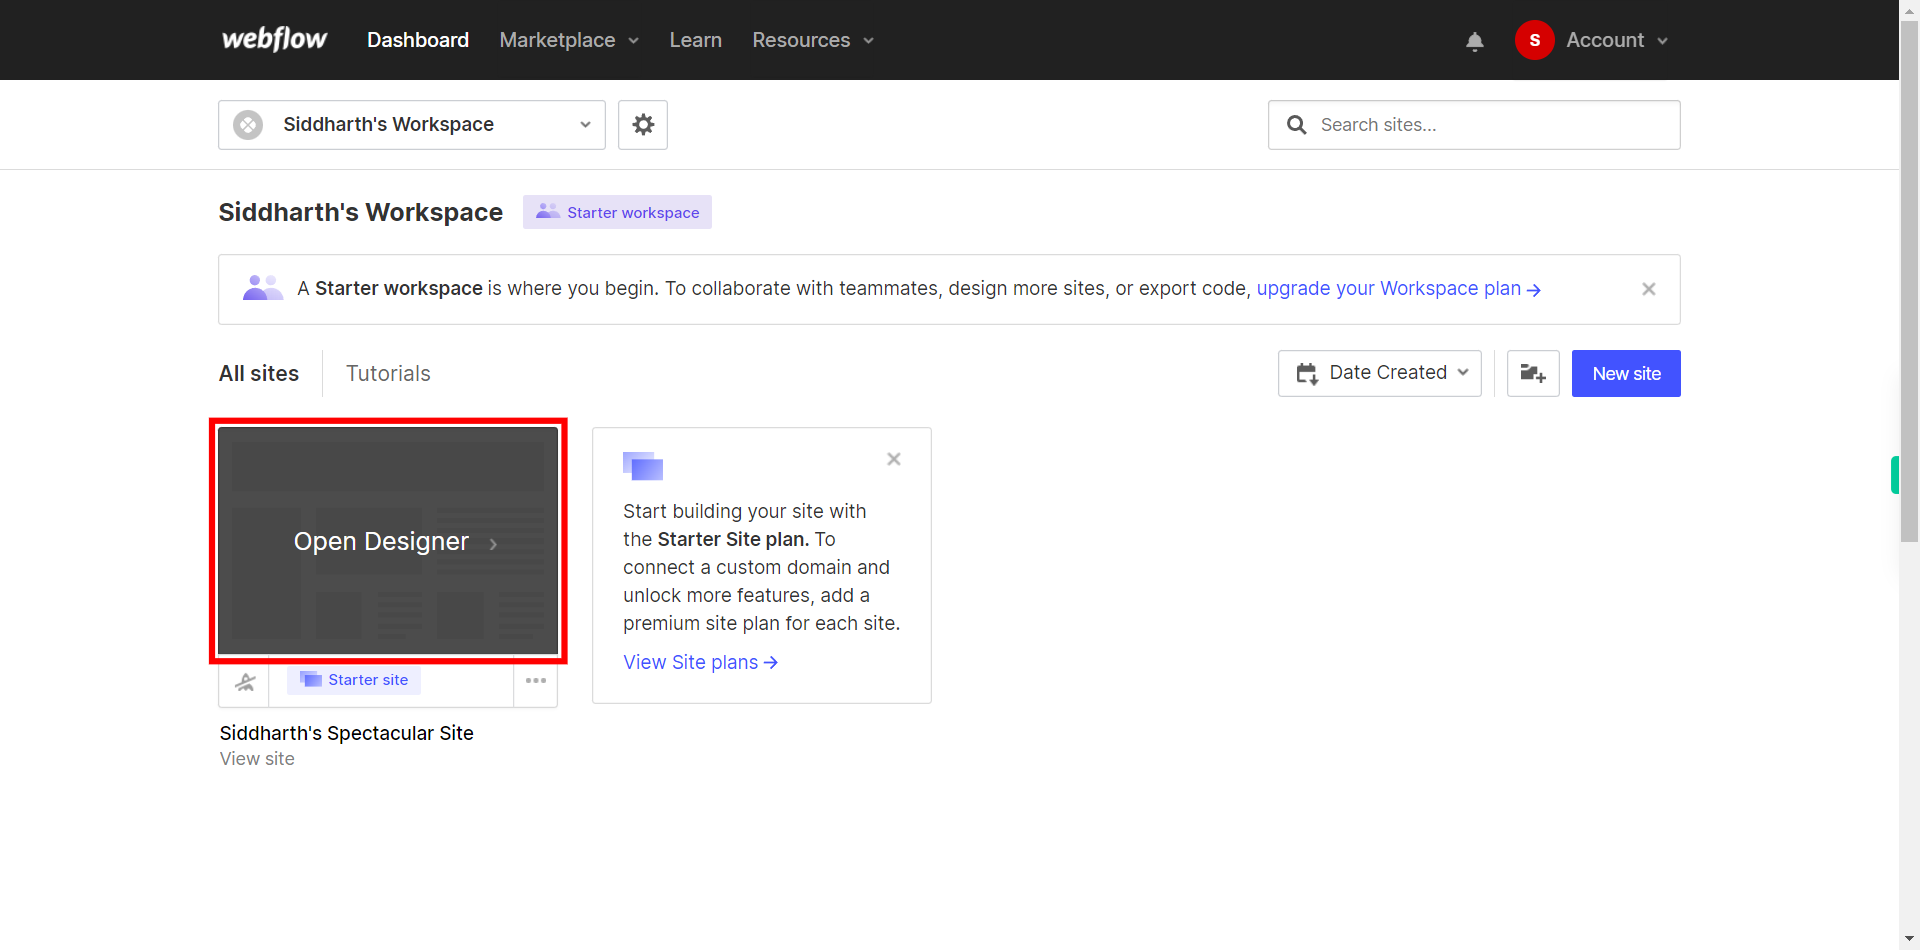
If you're unable to find the "+" icon to edit a web page in Webflow, there is an alternative method to access the design controls. First, click on the "Edit" button, usually located at the top right corner of the page or within the editor toolbar. This will open the editing options. Follow the below steps select design control->design here->OK. Click on the Next button in the Supervity instruction widget. To add elements to your project in Webflow, locate and click on the "+" icon or the "Add Elements" button. This action will open the elements panel, where you can find a variety of pre-built components and elements that you can add to your web page.
-
4.
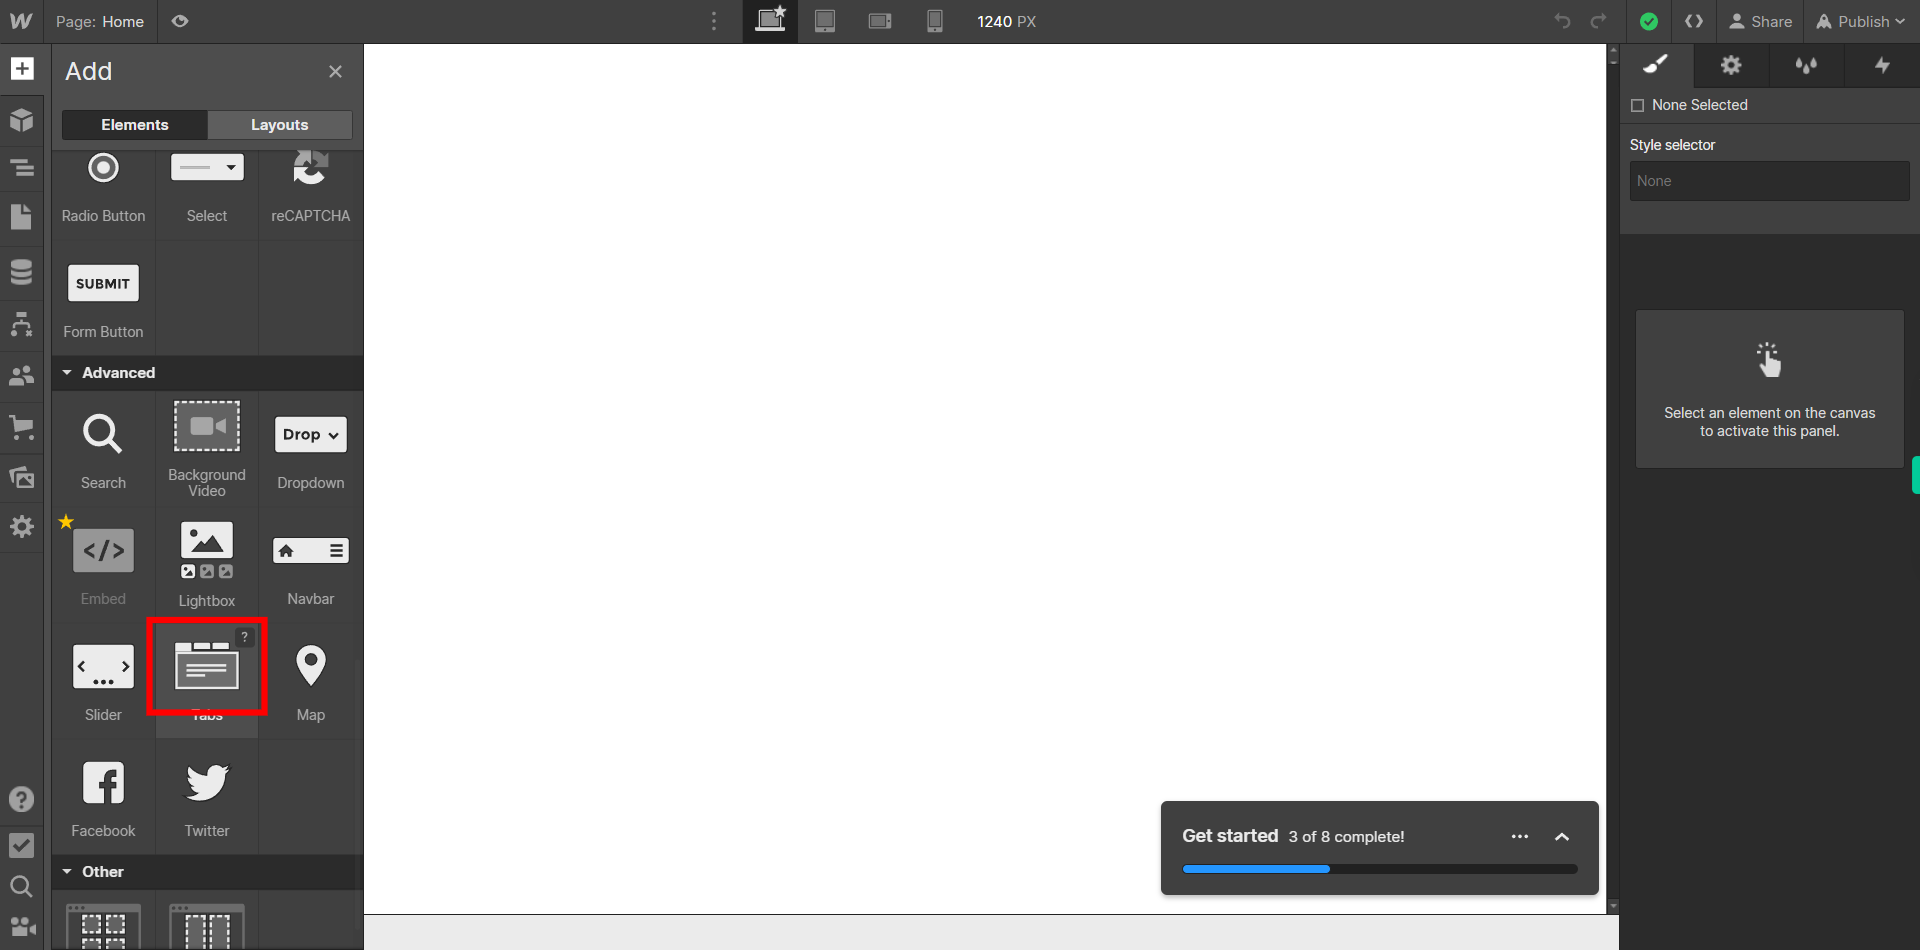
Click on the Next button in the Supervity instruction widget and then from the Panel on the left side, Under "Advanced" menu Click on "Tabs" to add Tabs to your site or You can also Drag the Tabs option wherever you want on your Site.
-
5.
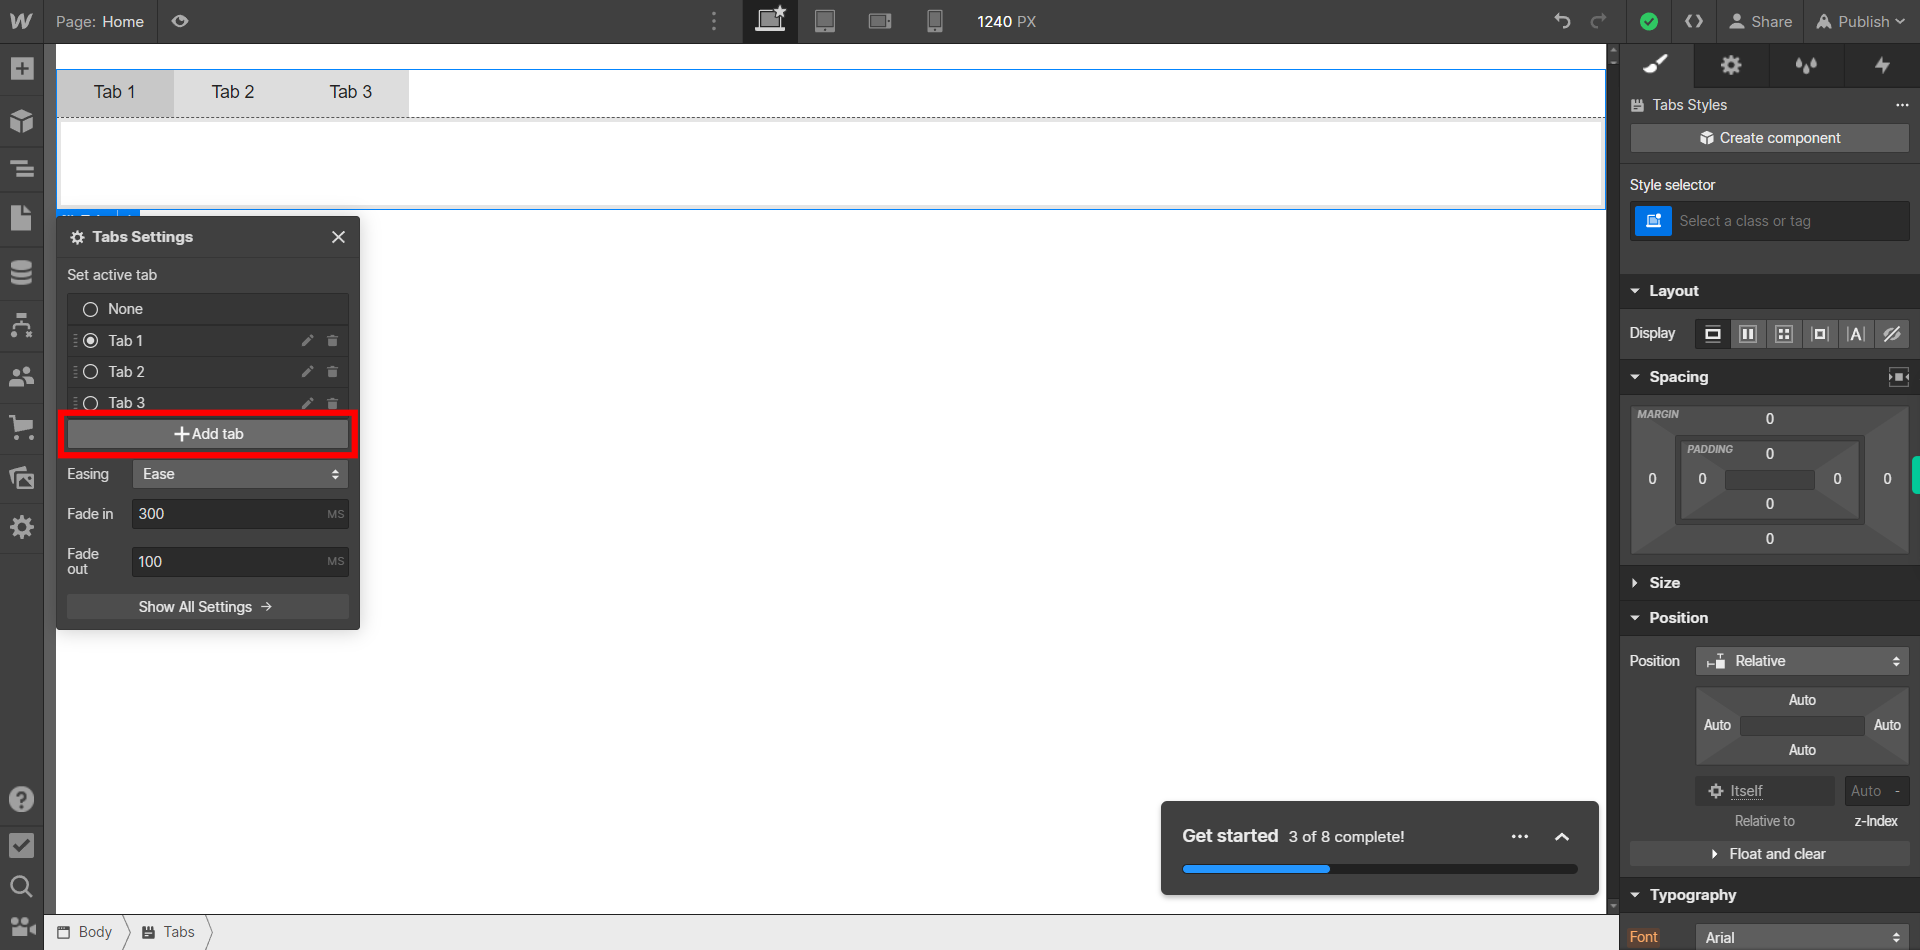
You can Add more Tabs by clicking on the "+ add Tab" button on the "Tabs settings" panel. Click on the Next button in the Supervity instruction widget.
-
6.
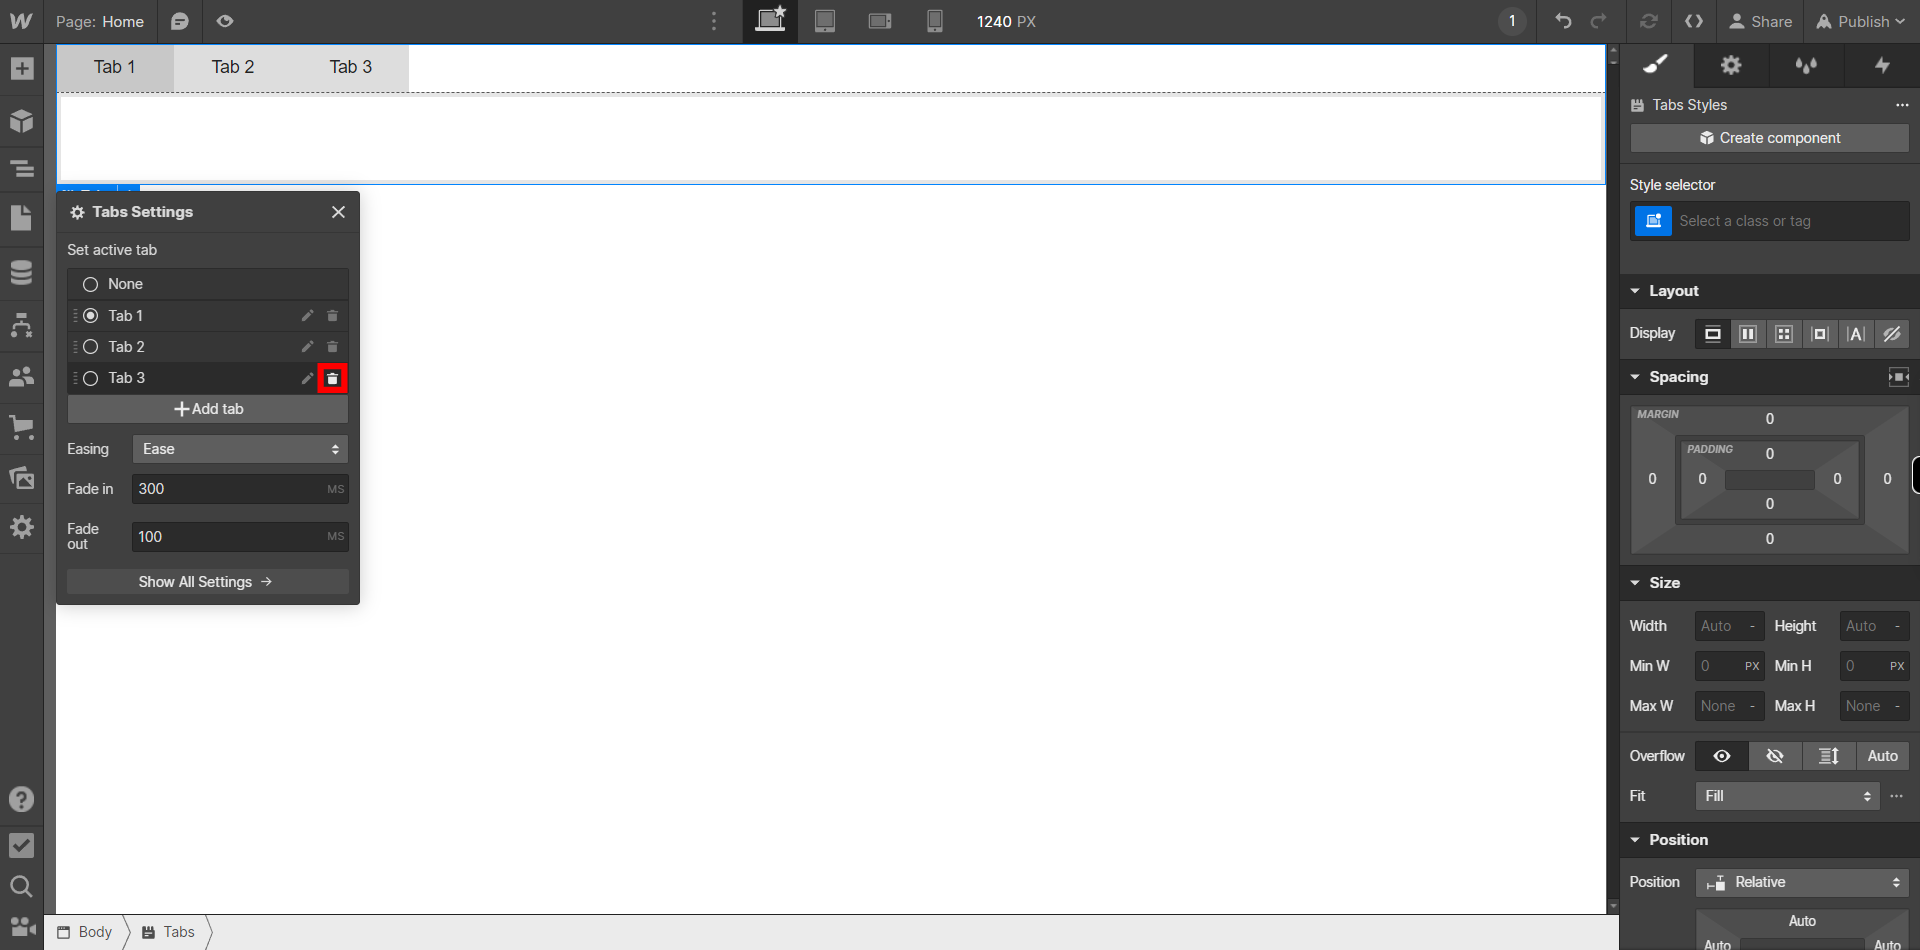
Click on the Next button in the Supervity instruction widget and then You can delete a tab by clicking on the "Bin" icon on the "Tabs settings" panel beside the desired Tab.
-
7.
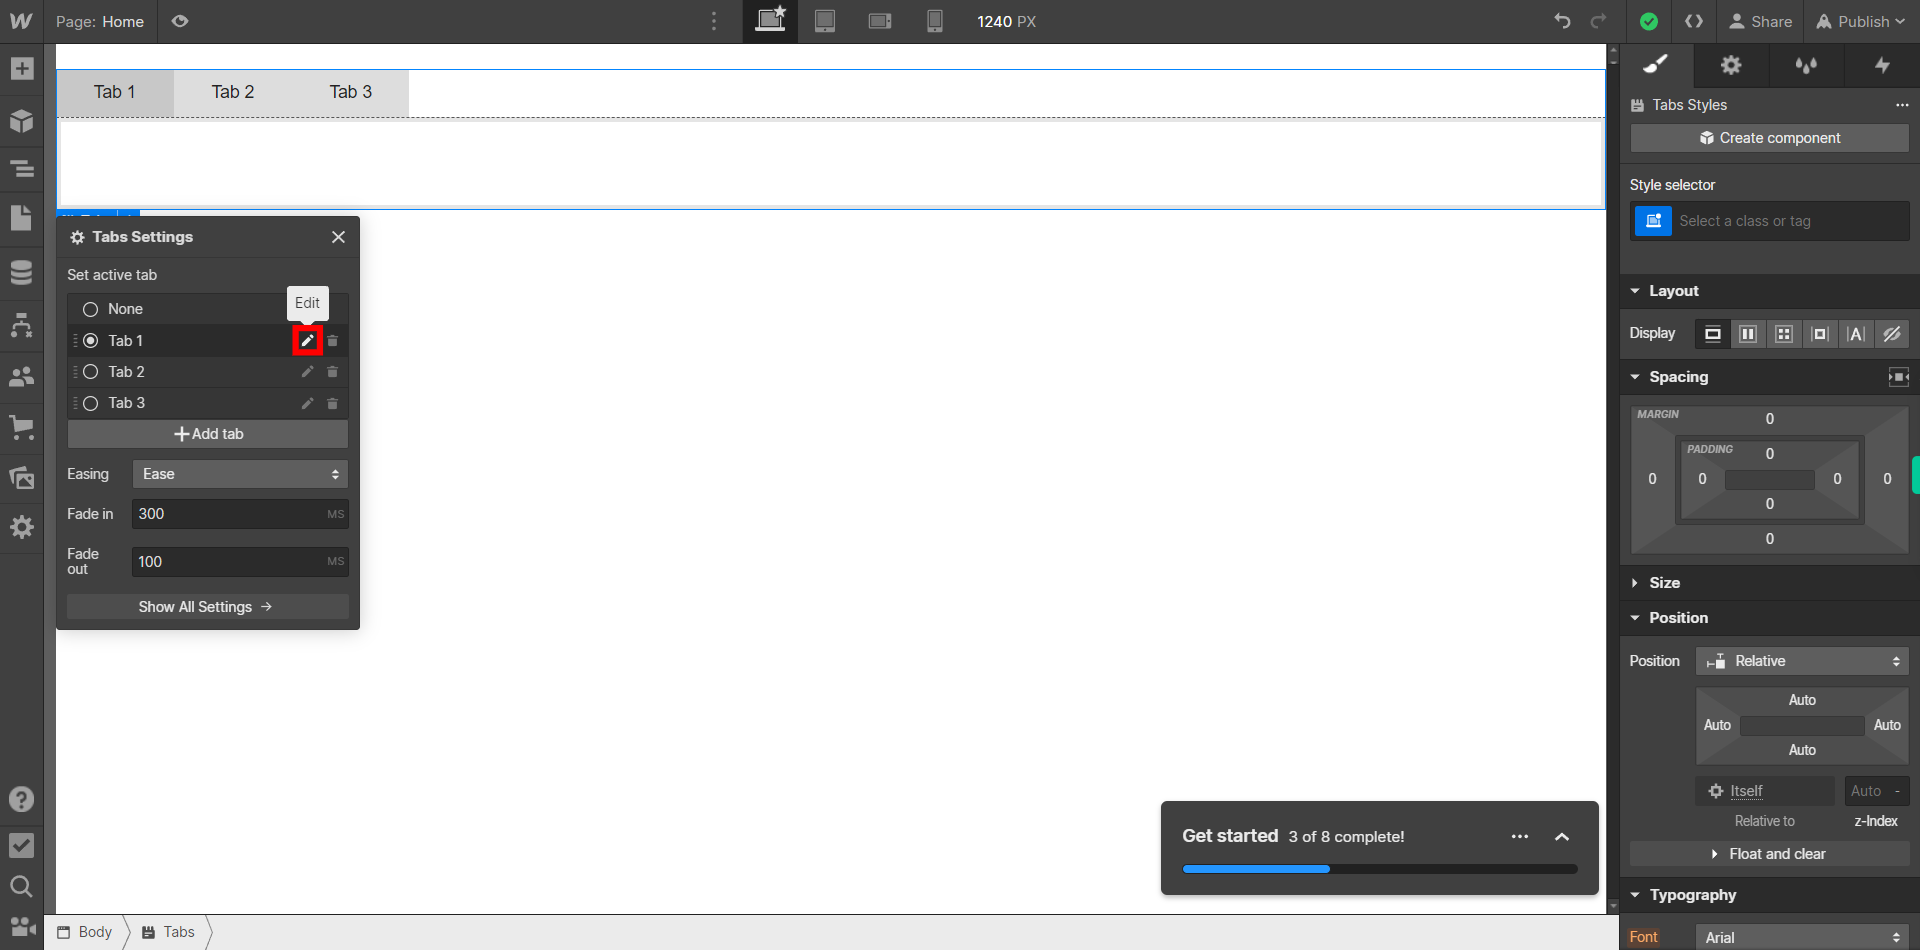
Click on the Next button in the Supervity instruction widget then You can Name your Tab by clicking on the "Edit" icon which looks like a Pencil beside each Tab on the "Tabs settings panel".
-
8.
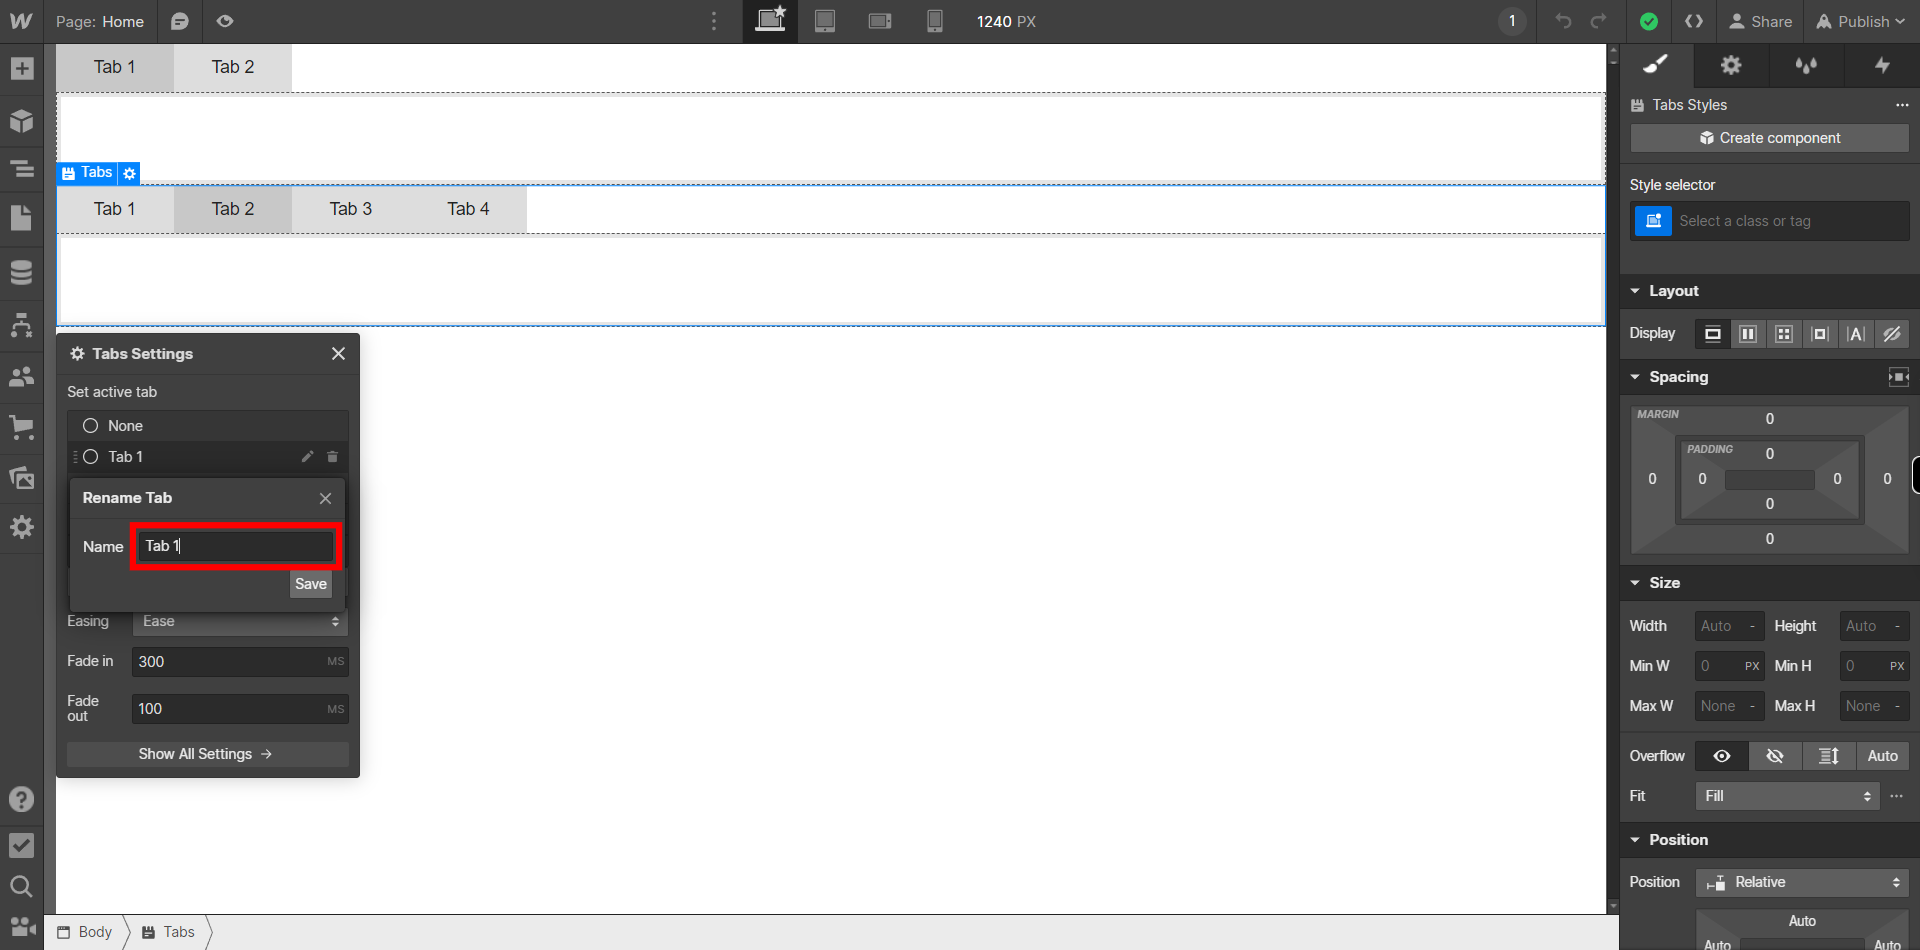
You can type the name you want in the box beside "Name" and then click on "Next" button in the Supervity instruction widget.
-
9.
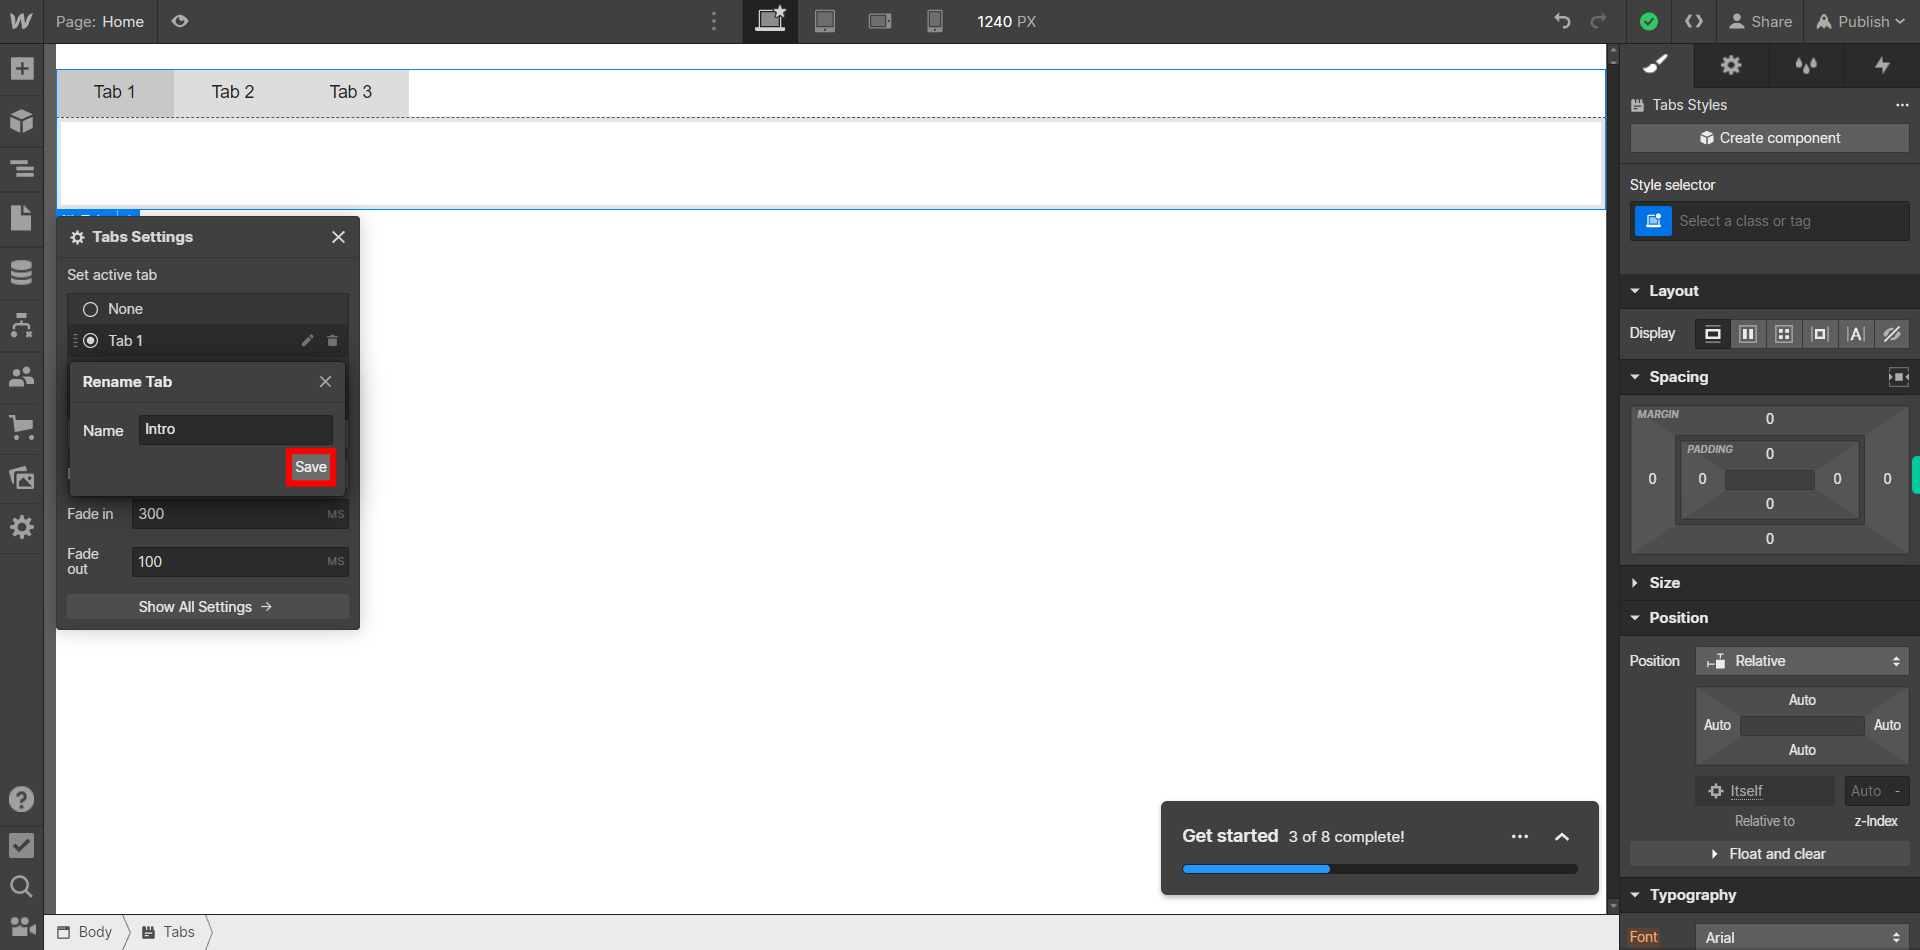
Click on "Save" button to save the Name you have entered for your Tab.
-
10.
Click on "Show All Settings" button to open a panel on Right side where you can do more settings to your Tabs according to your site. You can switch between Tabs and Make changes to them by clicking on the Small circle before each Tab under "Tab Settings" option. To control the behavior of the tabs, you can add interactions or custom code. a. Interactions: Select the "Tabs" component, go to the "Interactions" panel, and create a new interaction. You can specify trigger events like click or hover and define the animation or transition effects for the tab panes to show or hide. b. Custom code: If you need more advanced functionality, you can add custom code using the embed feature in Webflow. For example, you can write JavaScript code to handle specific interactions or add additional features to the tabs.
