Step by step process of Giving Data validation to the Cells, Rows, and Columns in the Outlook Excel Web NOTE: to use this skill User need to Login into Microsoft Applications
-
1.
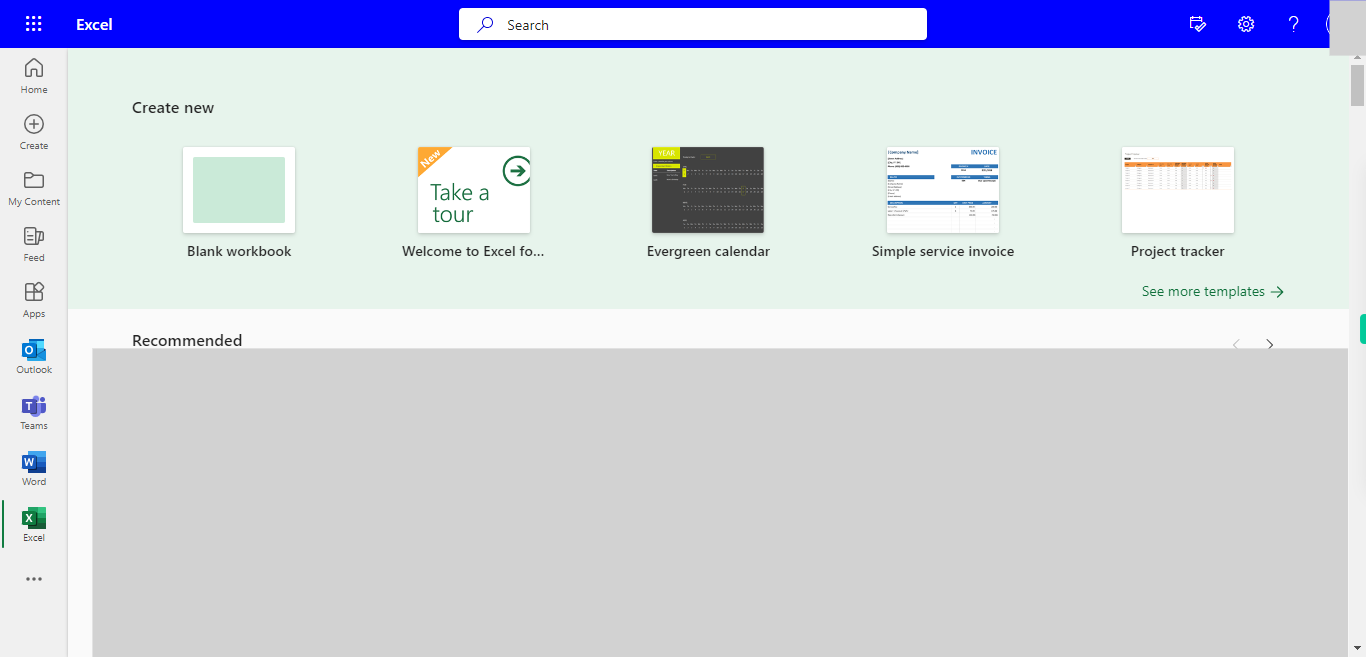
Open Microsoft Excel on the Web
-
2.
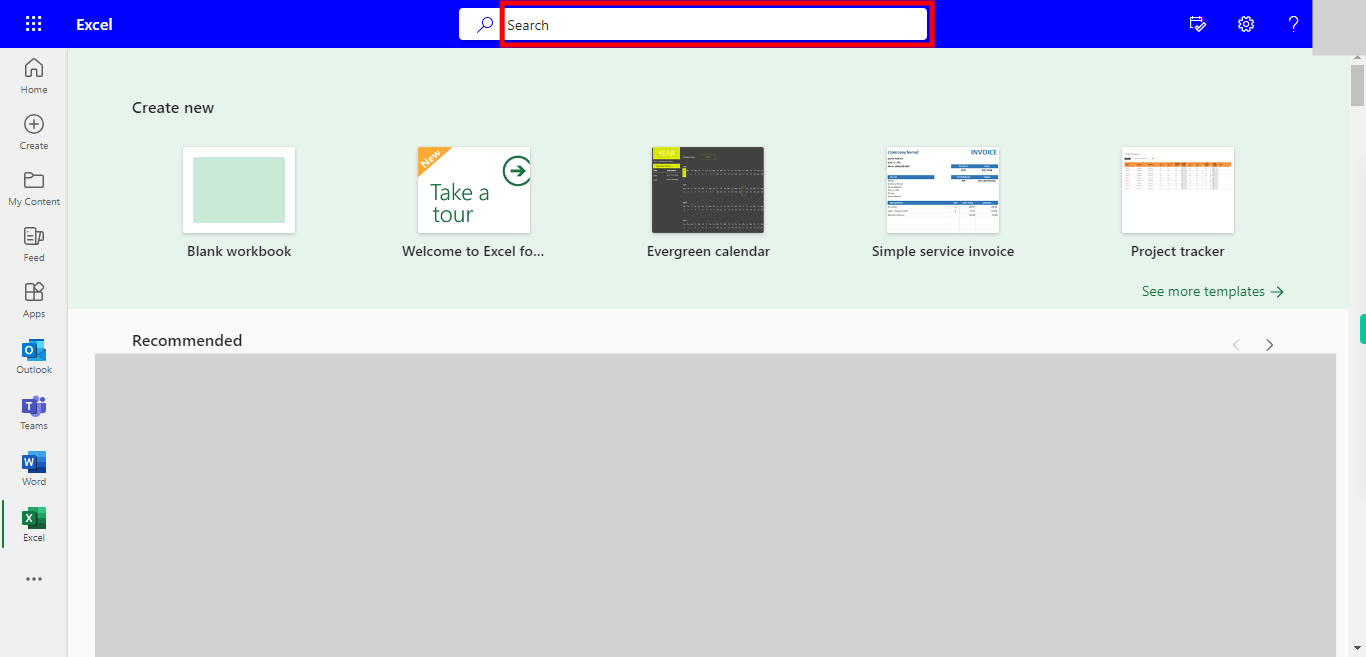
Click on Search Bar, Which enables the User to find the files in Outlook Excel. Type the file name, which will show recently Opened files. Once done, click on the "Next" button on the Supervity instruction widget. Open the File under the Search bar.
-
3.
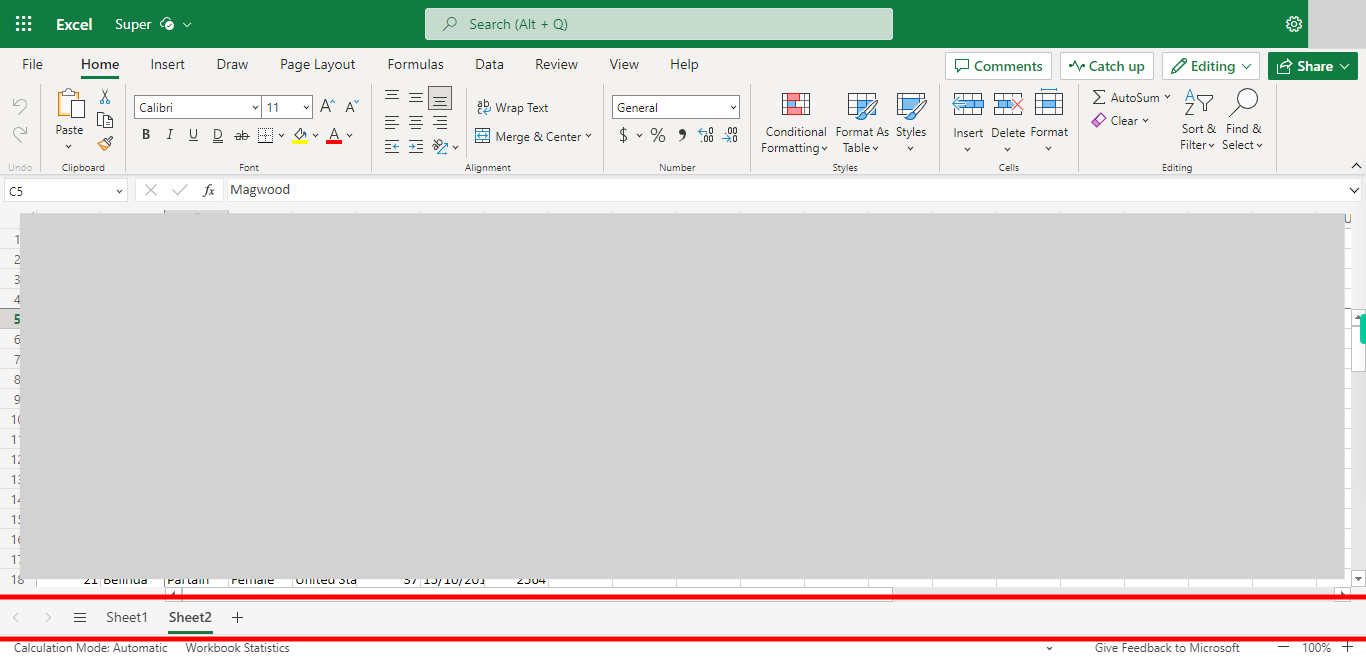
Go to the Sheet Where you want to apply the Data Validation. Once done, click on the "Next" button on the Supervity instruction widget.
-
4.
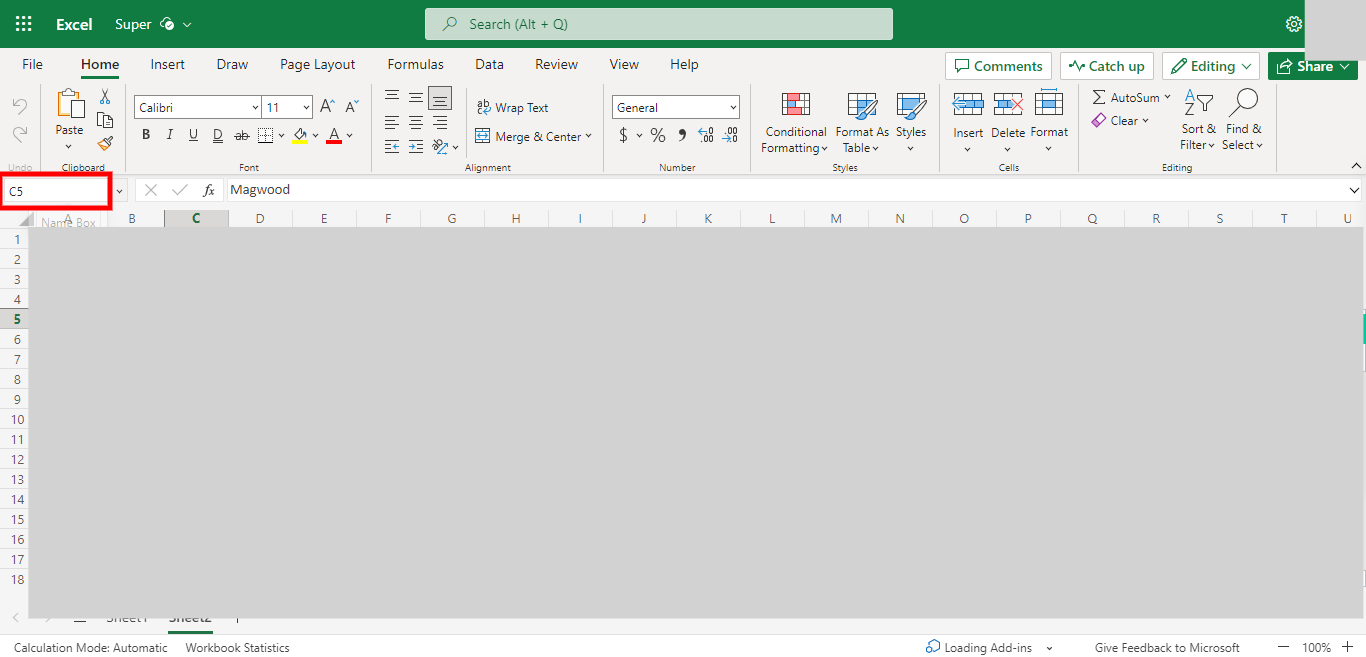
Select the Cell / Row /Column in the Sheet, where you want to Apply the Data Validation. Once done, click on the "Next" button on the Supervity instruction widget.
-
5.
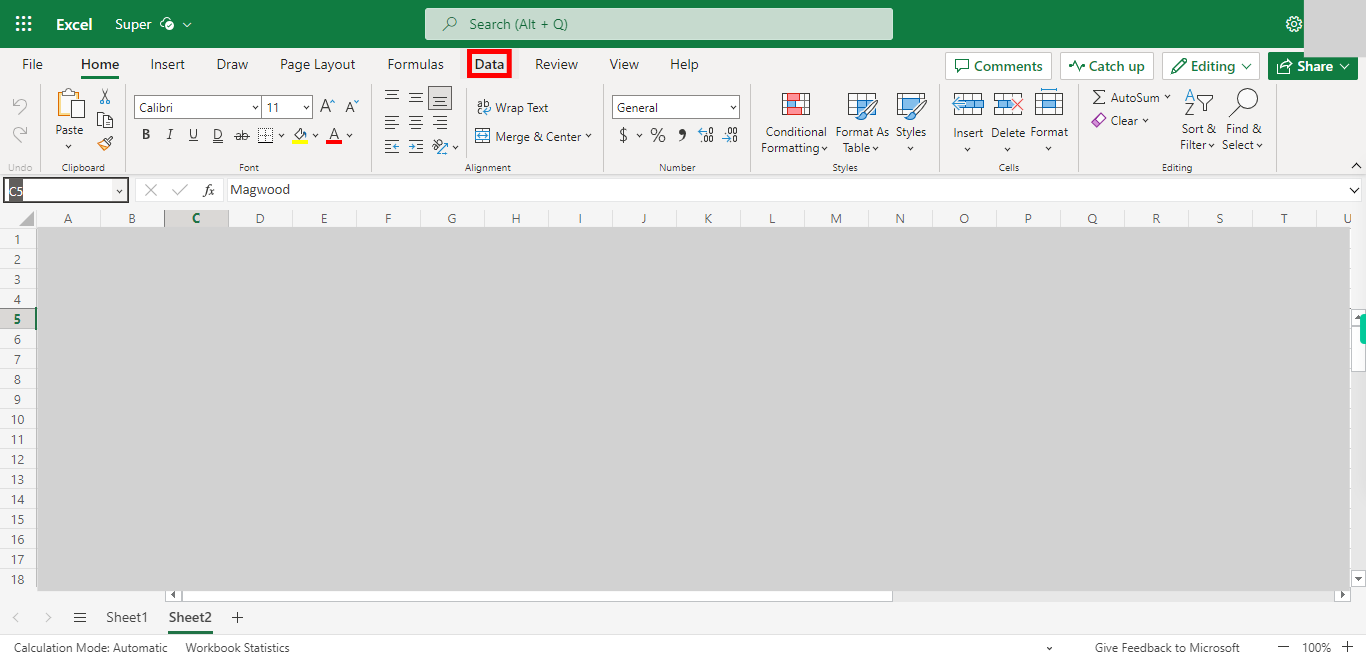
Click on the Data Button.
-
6.
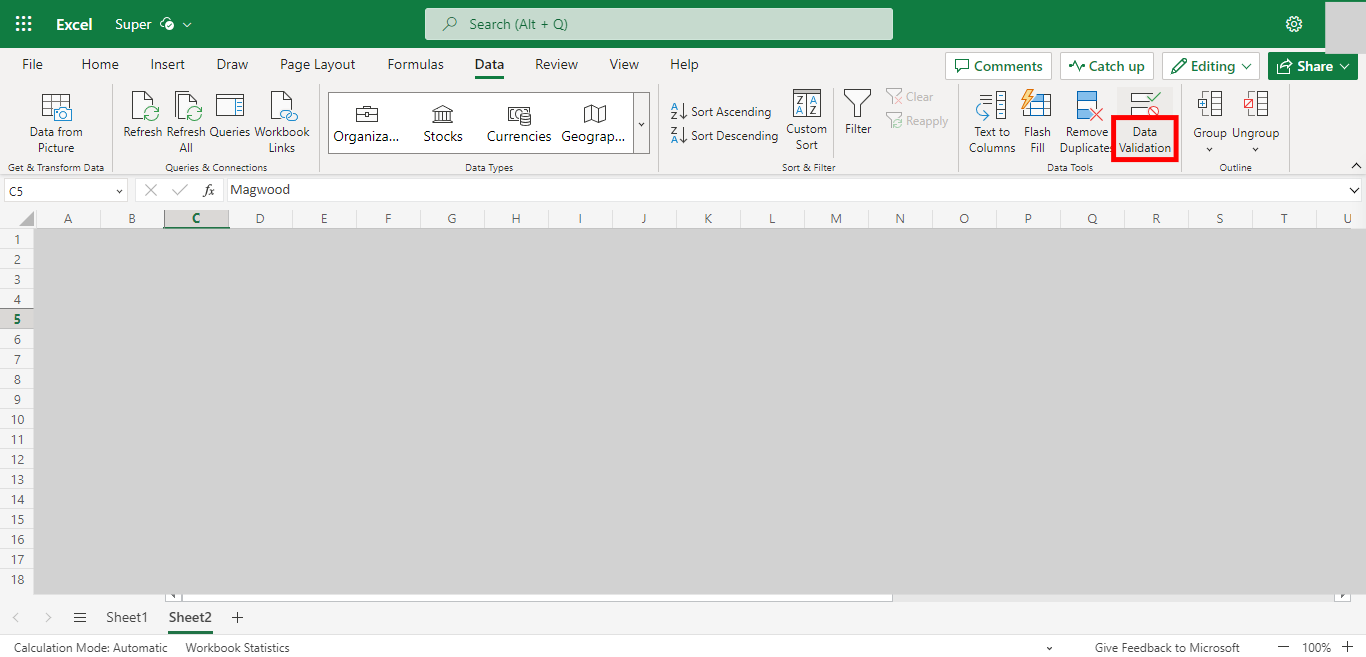
Click on DataValidation.
-
7.
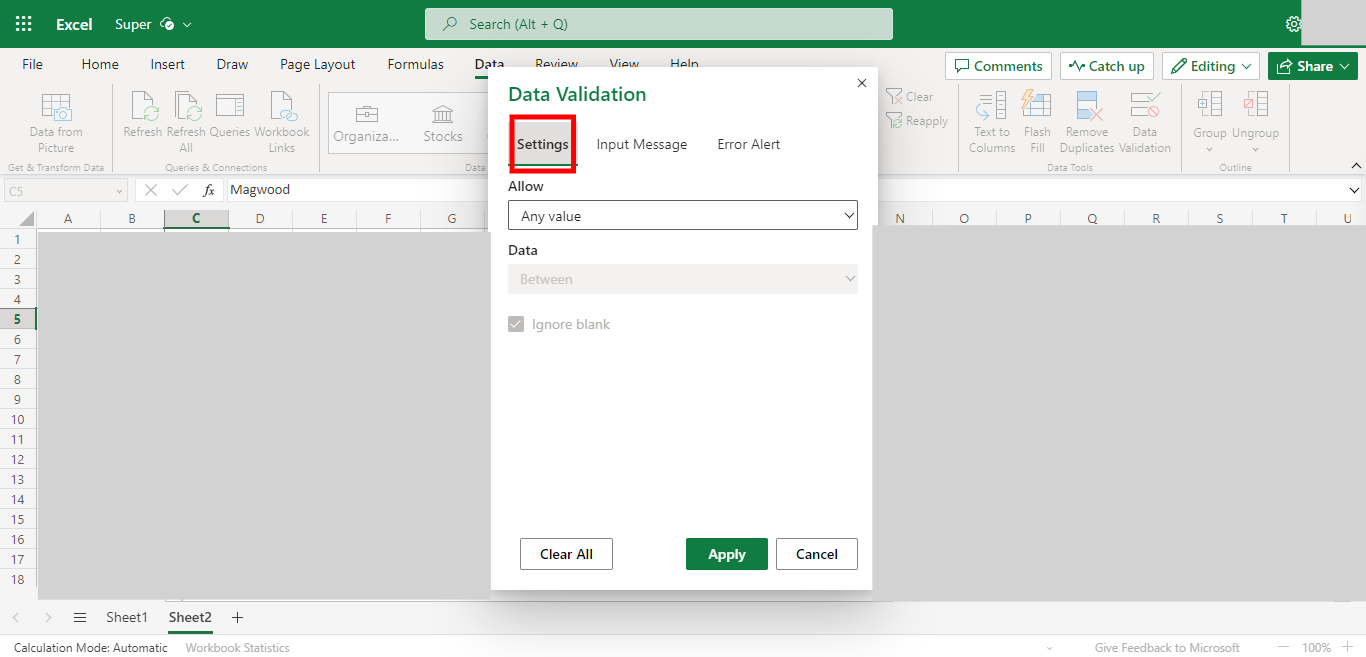
Click on Allow Value drop-down, and Select the input value type. Eg: to Allow only numbers to select Whole Numbers, We also have the option to give a range of numbers or equals to or in Between. Please Select the required details. Once done, click on the "Next" button on the Supervity instruction widget.
-
8.
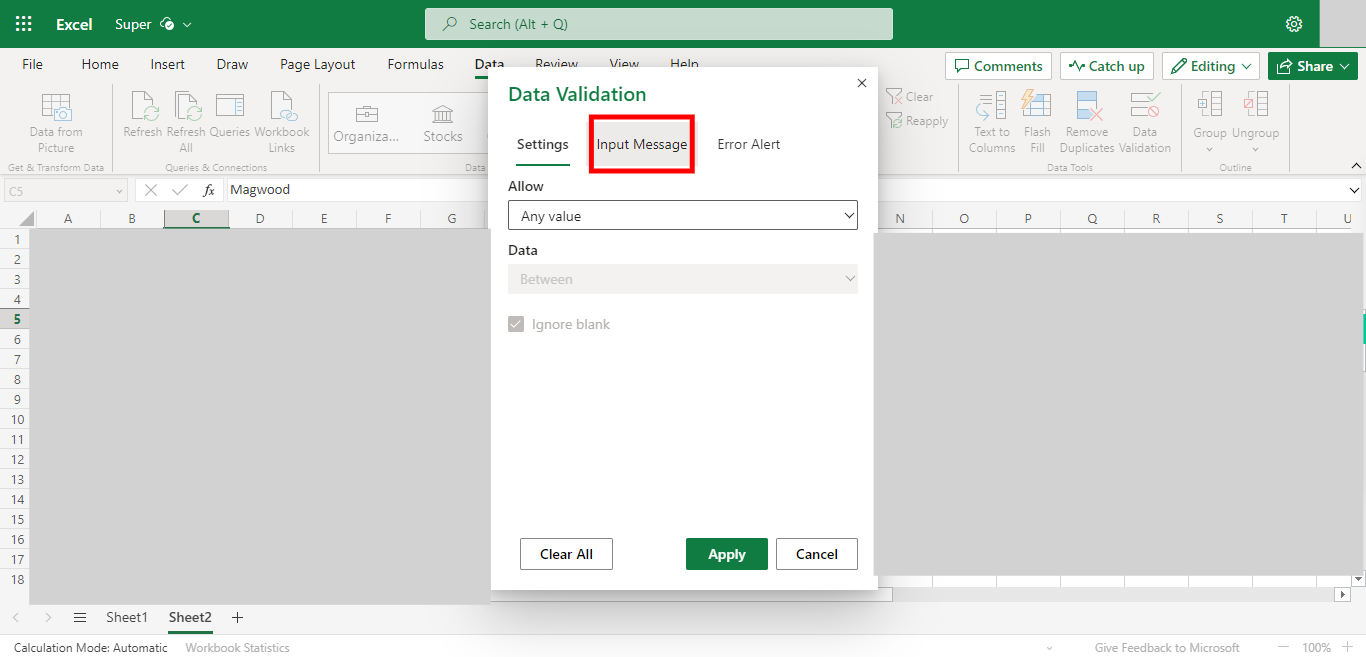
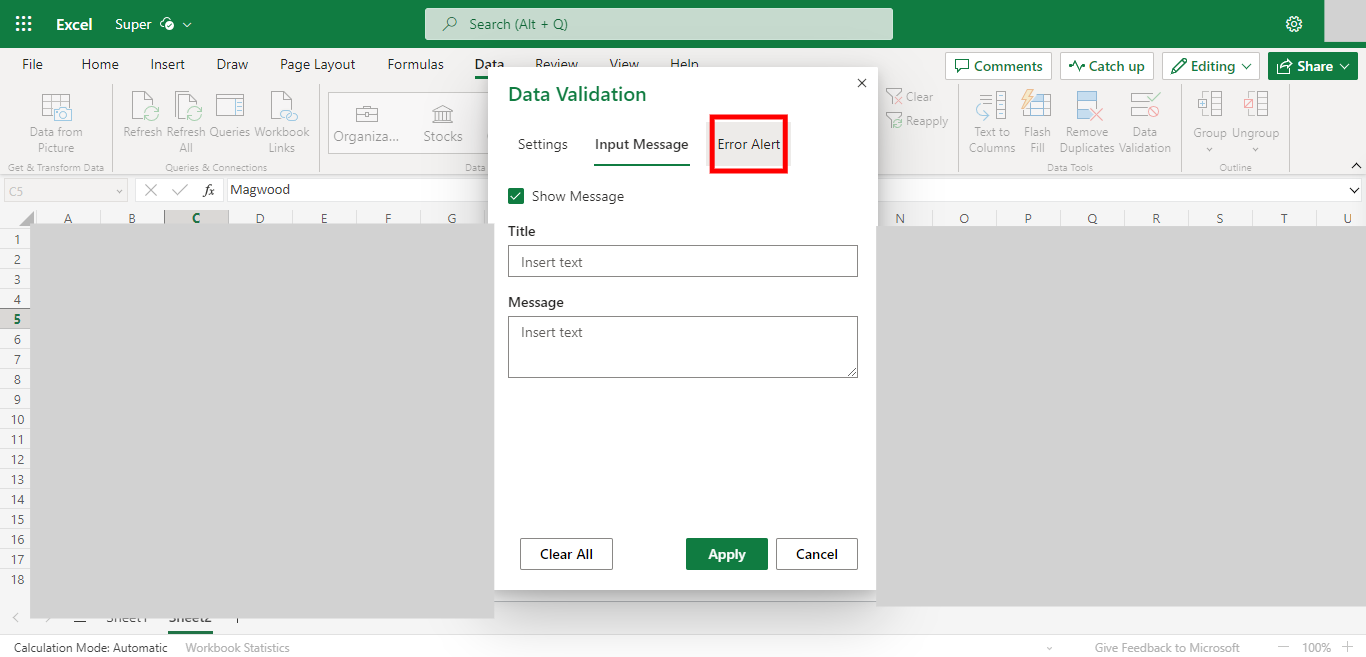
Click on Input Message, Give the Title to show the Selected cells, and Message the other person what type of value the user needs to enter in the cells. Once done, click on the "Next" button on the Supervity instruction widget.
-
9.
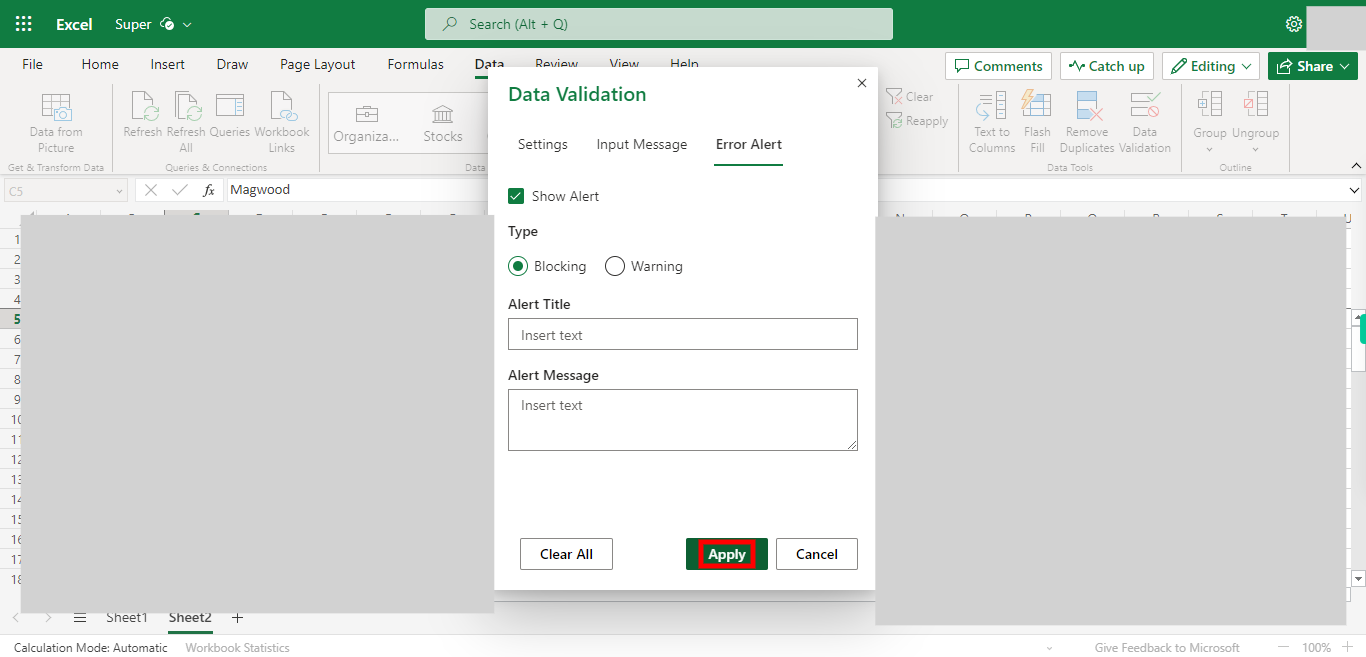
Click on Error Alert, and Select the type of action You want to do if the Other person enters a different Value in the cell. We have an Option for Blocking and Warning, Blocking will Restrict the user to type anything in the Cell, and Warning will Warn the User to use the correct format of values in the Cell. Give the Title and Message for the Block or Warning Pop-up. Once done, click on the "Next" button on the Supervity instruction widget.
-
10.
Click Apply


