This skill shows the steps to be followed to you can enhance the visual appeal of your website by adding engaging and interactive animations to your elements. Prerequisite: The web page contains at least one element.[NOTE: Please make sure that log in to Webflow website before playing the skill]
-
1.
Open Webflow.
-
2.
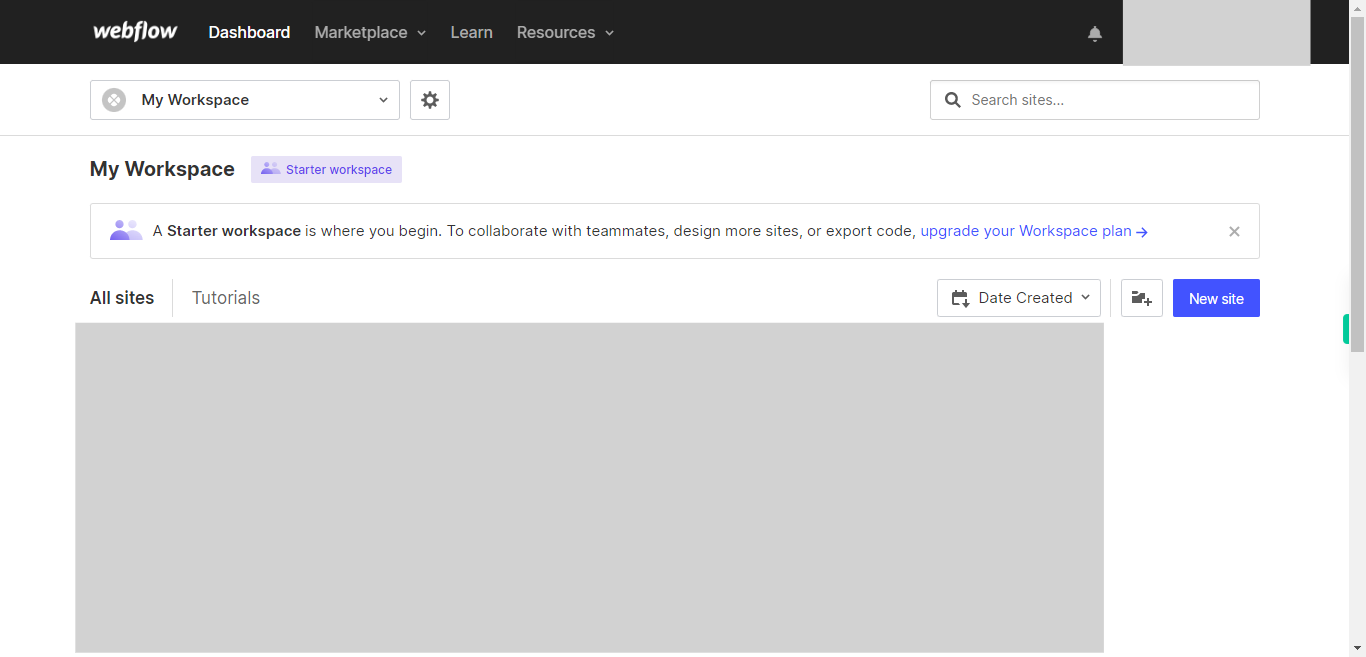
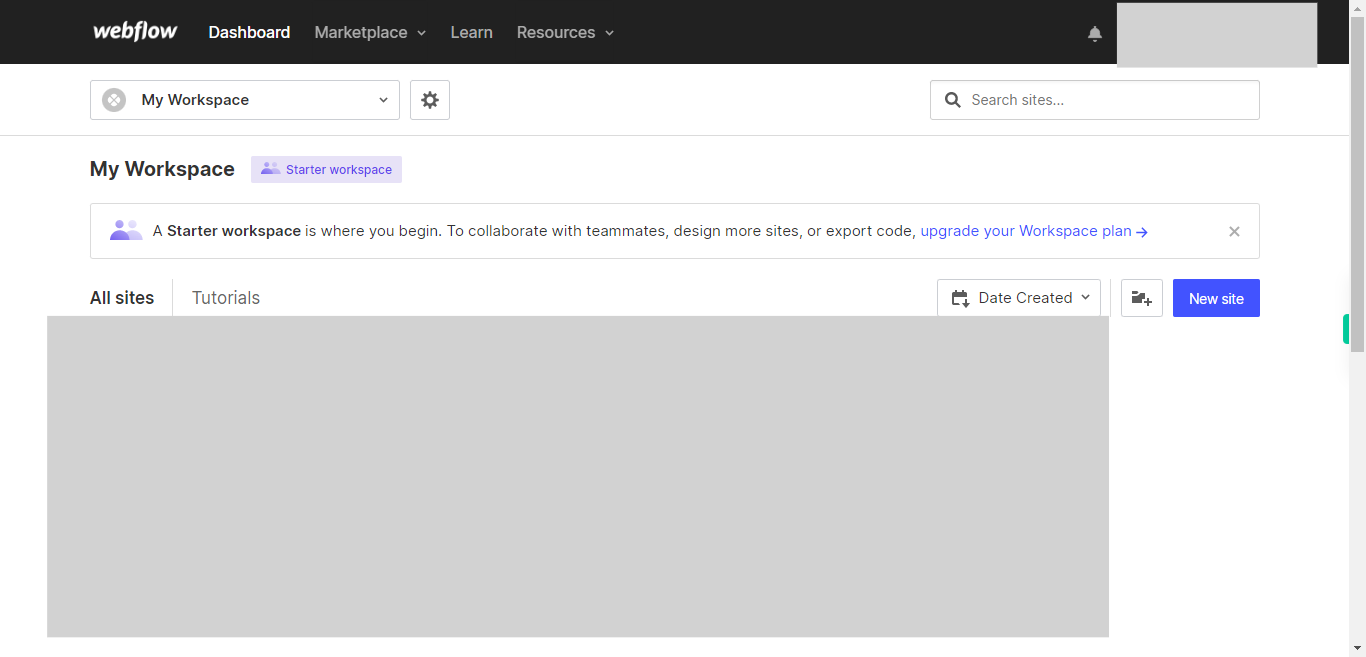
Click on the Next button in the Supervity instruction widget. you will see a list of your projects. By selecting the specific project you want to work on, you can access its editing interface.
-
3.
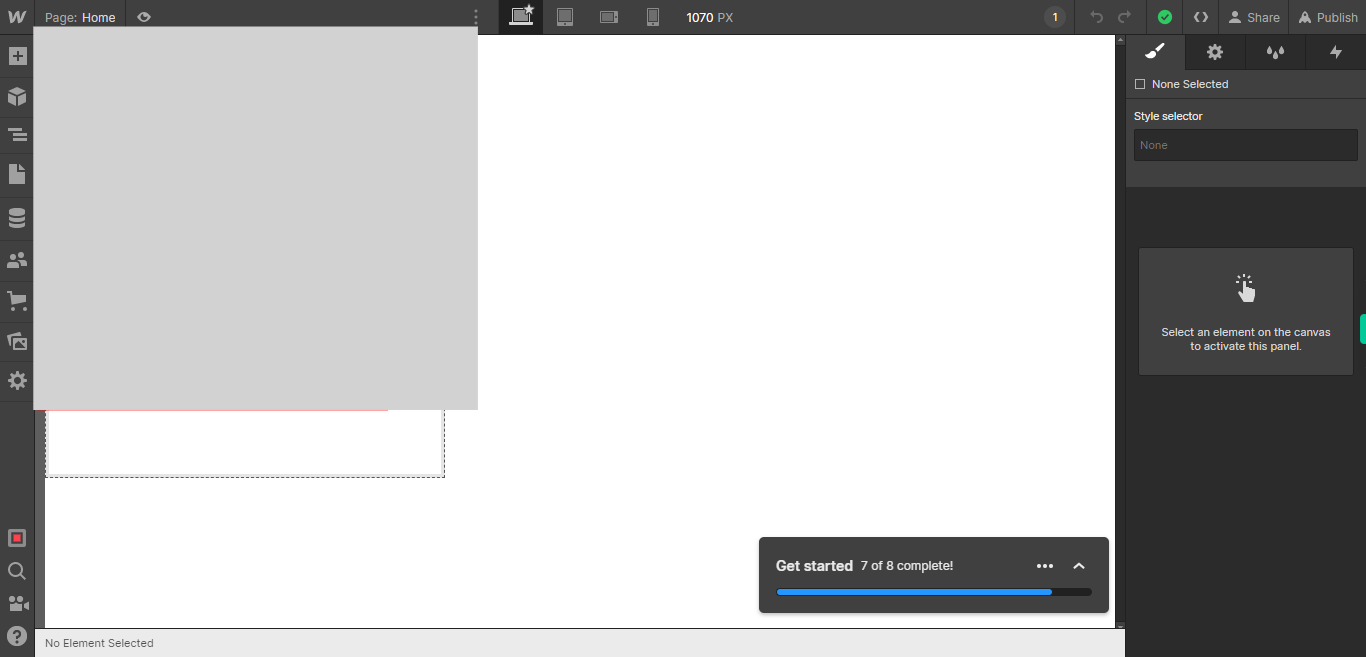
If you're unable to find the "+" icon to edit a web page in Webflow, there is an alternative method to access the design controls. First, click on the "Edit" button, usually located at the top right corner of the page or within the editor toolbar. This will open the editing options. Follow the below steps select design control->design here->OK. Choose the element to which you want to apply an animation effect. Click on the Next button in the Supervity instruction widget.
-
4.
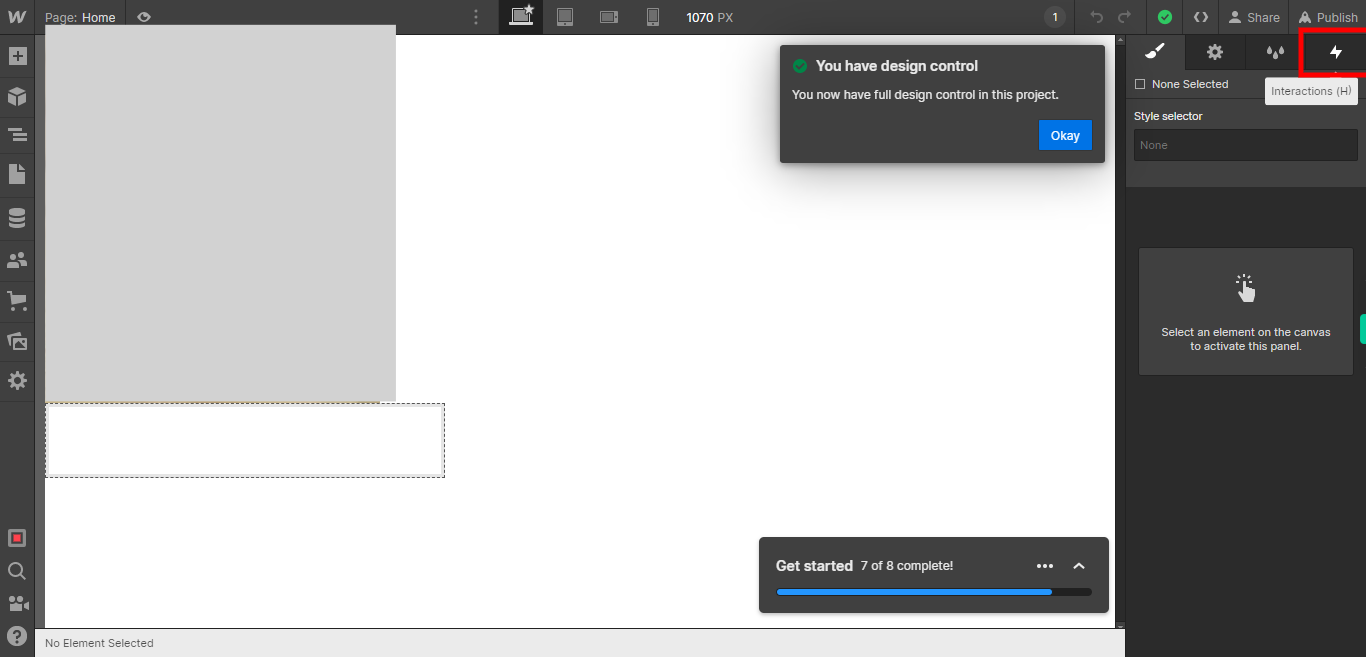
To access the interaction settings, click on the "Interaction" option in the interface. This option allows you to define and customize interactive behaviors and animations for elements on your web page.
-
5.
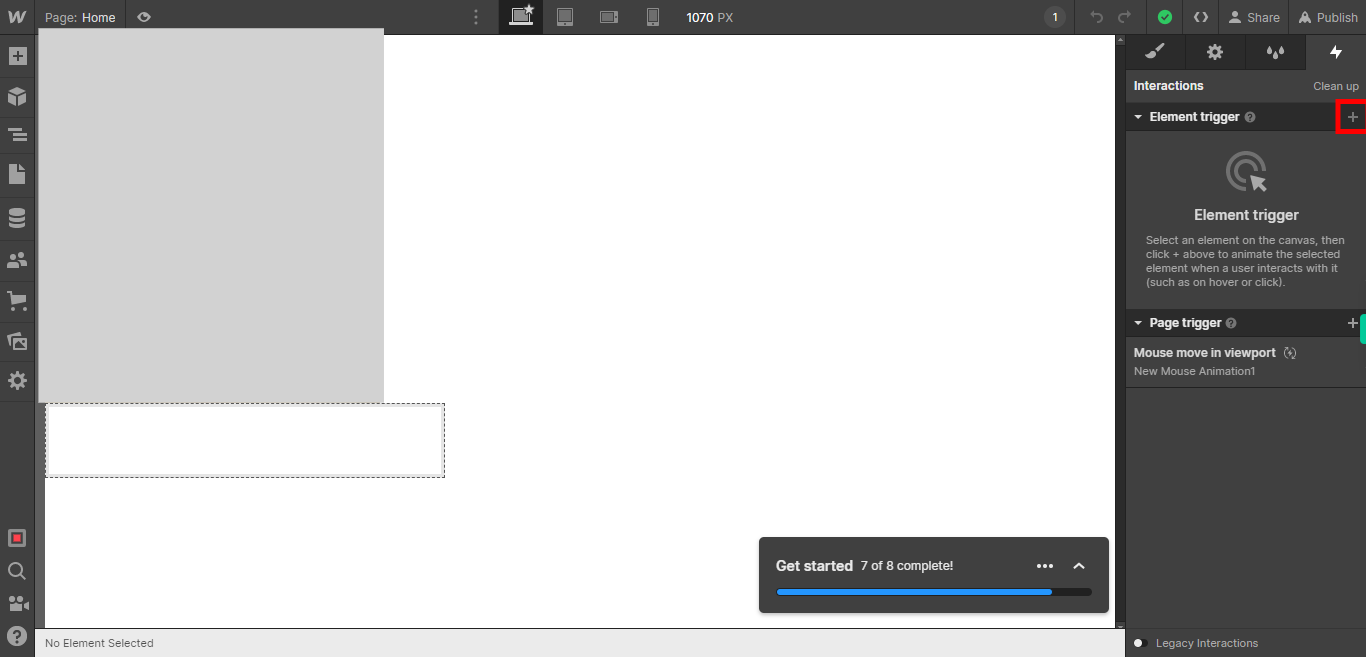
To add element interactions, click on the "+" icon in the interface. This will open up a menu where you can select and configure various interactive behaviors for your elements. Click on the Next button in the Supervity instruction widget.
-
6.
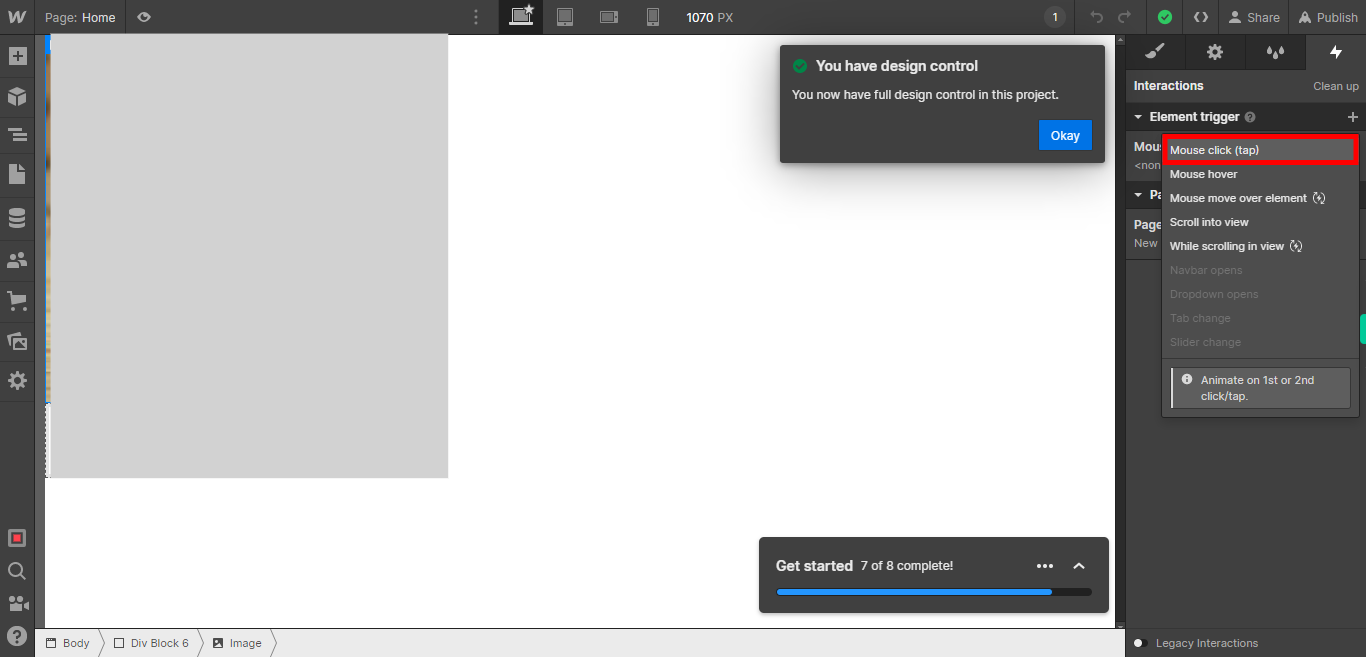
Click on the Next button in the Supervity instruction widget. Select one of the options based on your specific interest or desired interactive behavior. The available options may include actions such as hover, click, scroll, or other custom interactions. Choose the option that best suits your needs and proceed with configuring the interaction accordingly.
-
7.
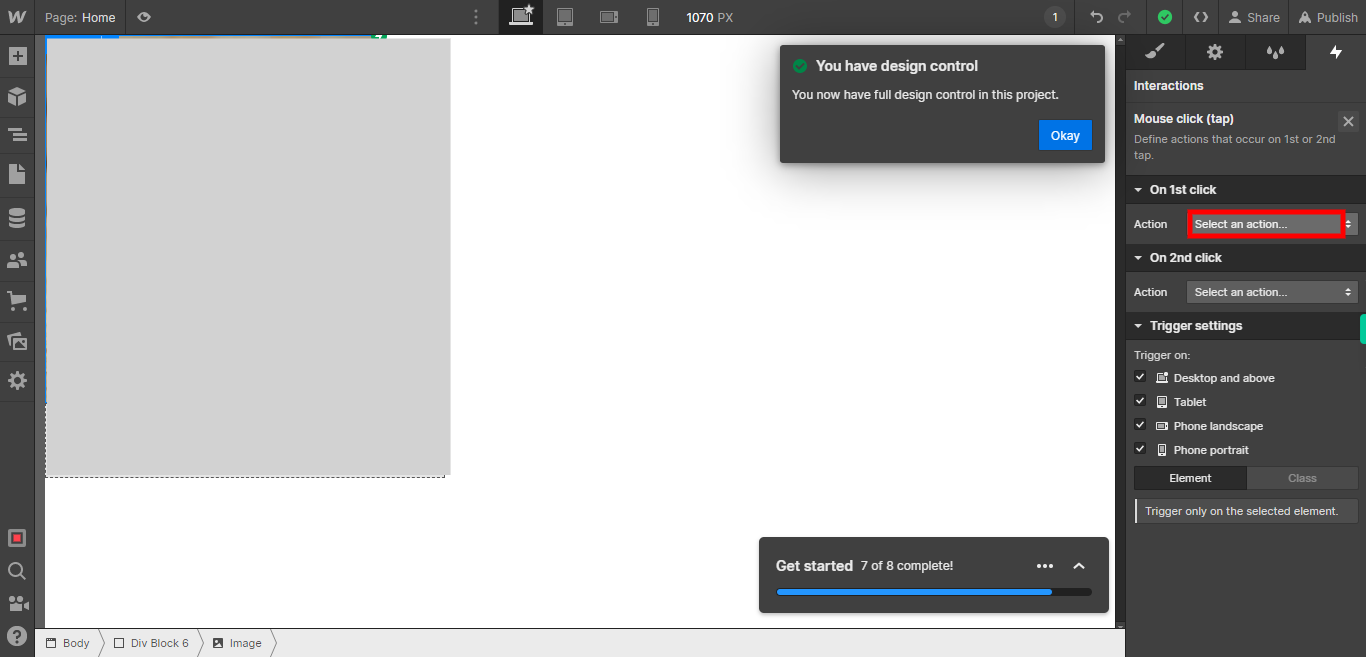
Select the "Input" action option, which allows you to define interactions based on user input, such as typing, clicking, or scrolling. Depending on the specific interaction you want to create, you may need to provide additional values or parameters, such as the specific input type or the desired behavior when the input is triggered. Adjust the settings as needed to customize the input action according to your requirements. Click on the Next button in the Supervity instruction widget.
-
8.
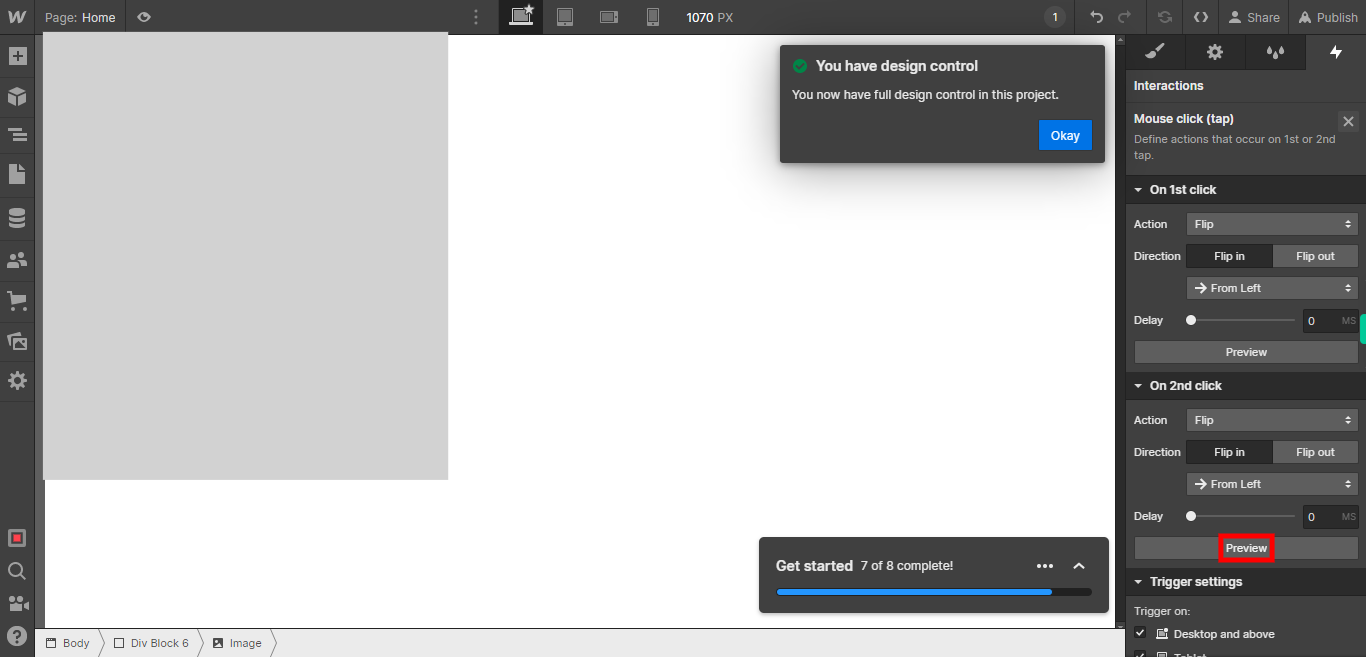
Click on the "Preview" button to see a preview of how the element is animated. This allows you to visualize the animation and make any necessary changes or adjustments. If you are satisfied with the animation, you can proceed without making any changes. However, if you want to modify the animation, you can go back to the interaction settings and make the necessary adjustments until you achieve the desired result.


