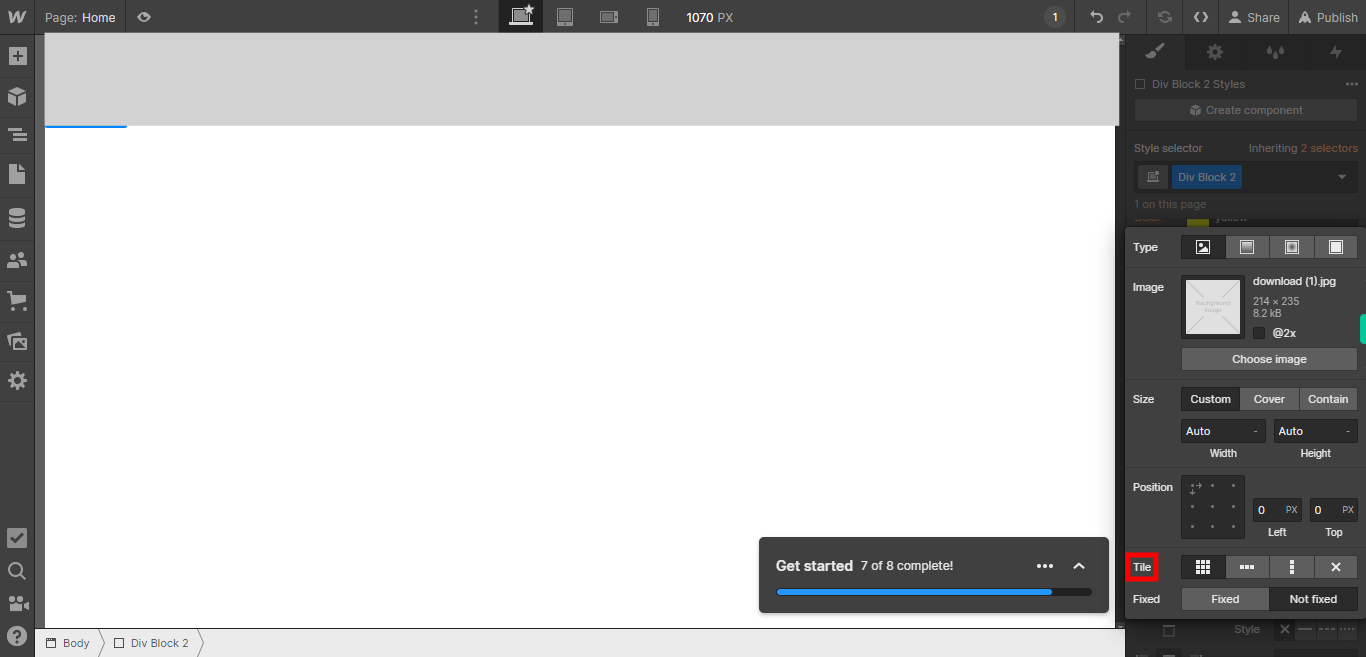
This skill shows the steps to be followed to adding background images to the website will create a great impact on the website design.Prerequisites:To ensure that you have at least one project available in the Webflow dashboard.[NOTE: Please make sure that log in to Webflow website before playing the skill]
-
1.
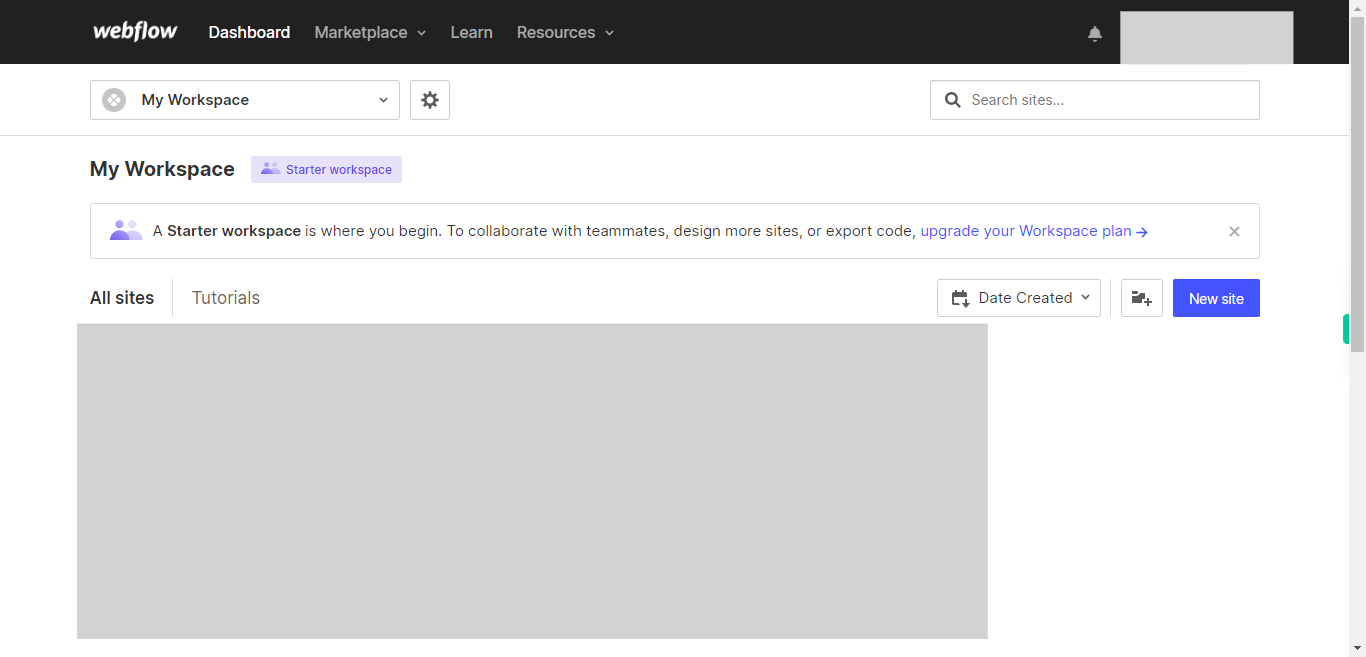
Open My Workspace Sites.
-
2.
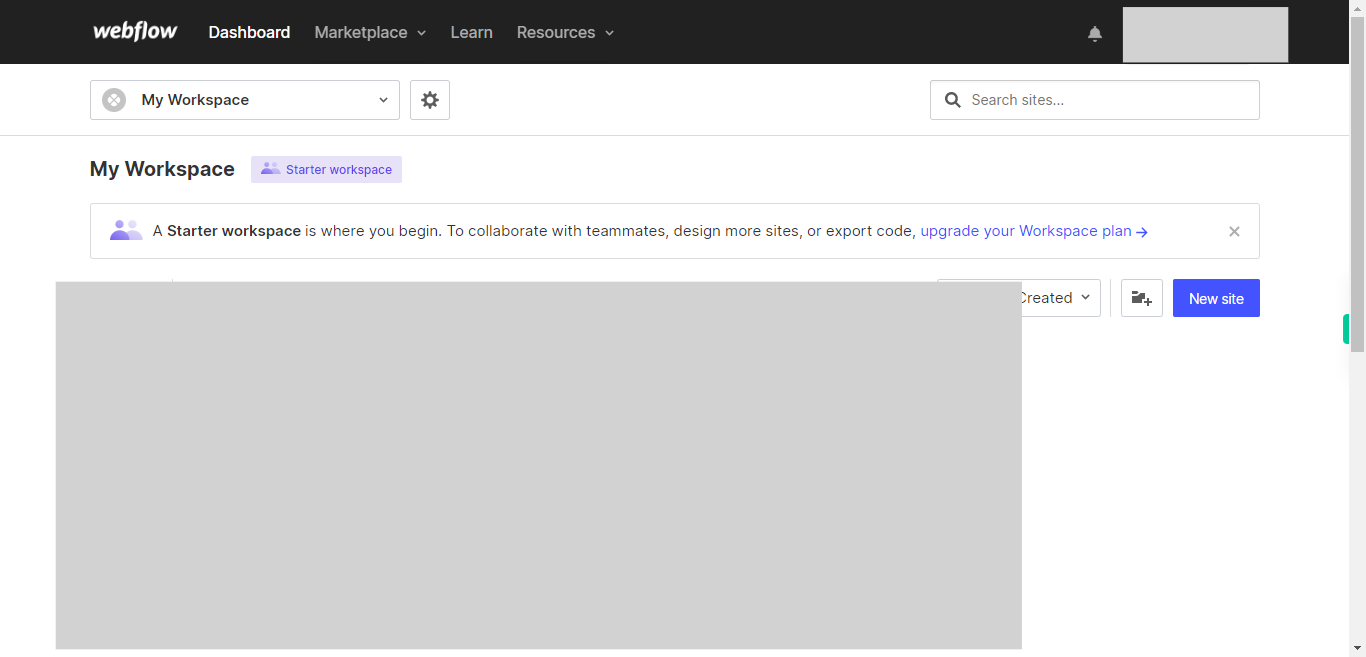
Click on the Next button on the Supervity instruction widget. you will see a list of your projects. By selecting the specific project you want to work on, you can access its editing interface.
-
3.
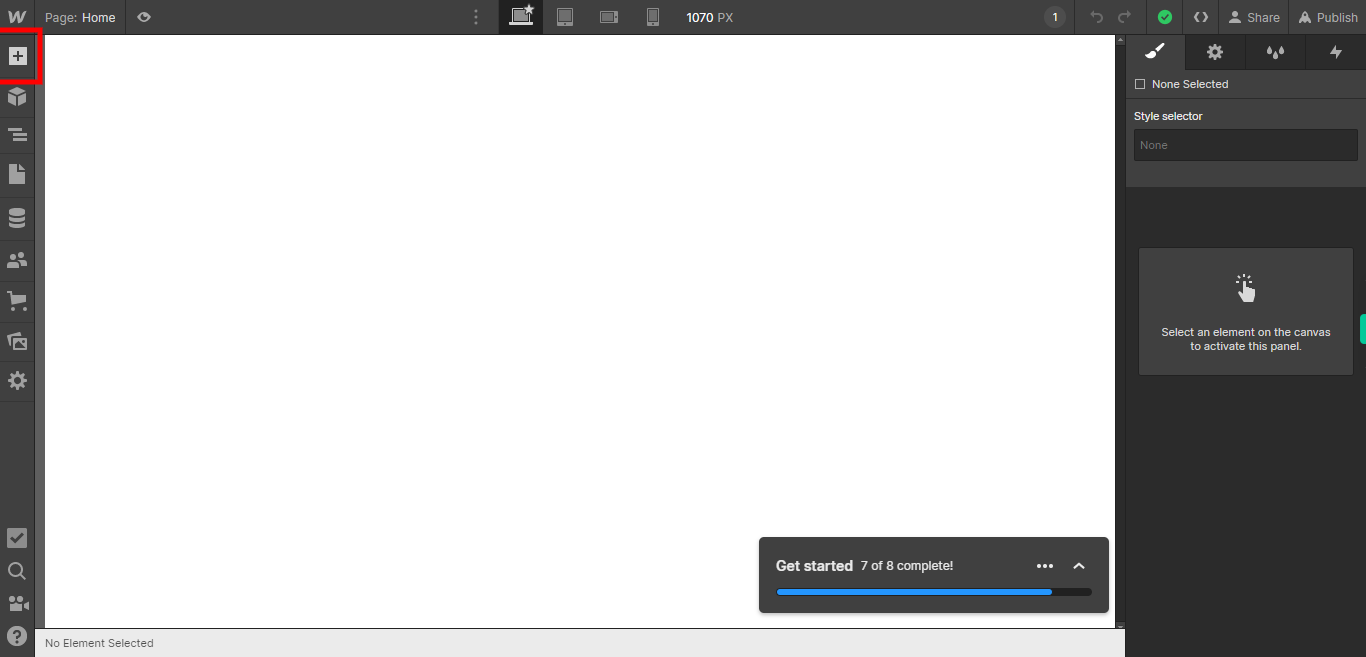
If you're unable to find the "+" icon to edit a web page in Webflow, there is an alternative method to access the design controls. First, click on the "Edit" button, usually located at the top right corner of the page or within the editor toolbar. This will open the editing options. Follow the below steps select design control->design here->OK. Click on the Next button on the Supervity instruction widget.
-
4.
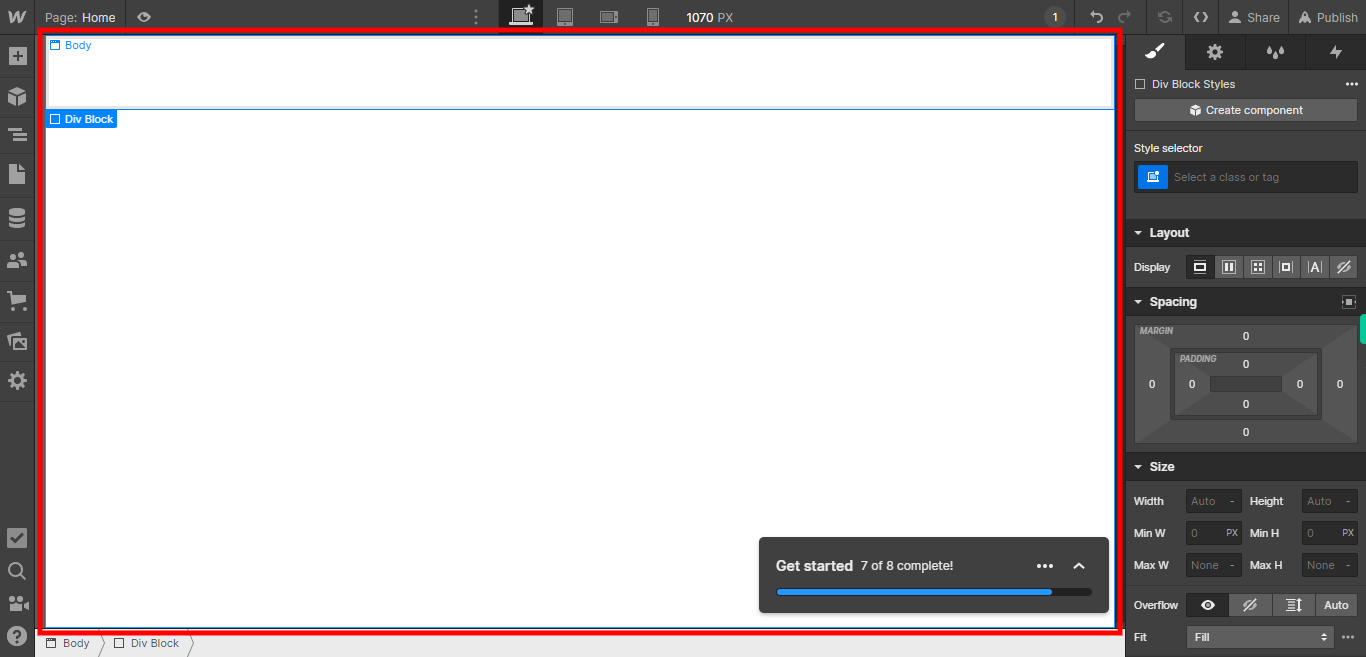
To apply a background image to a specific element or section, select the desired element or section on your web page. Click on the Next button on the Supervity instruction widget.
-
5.
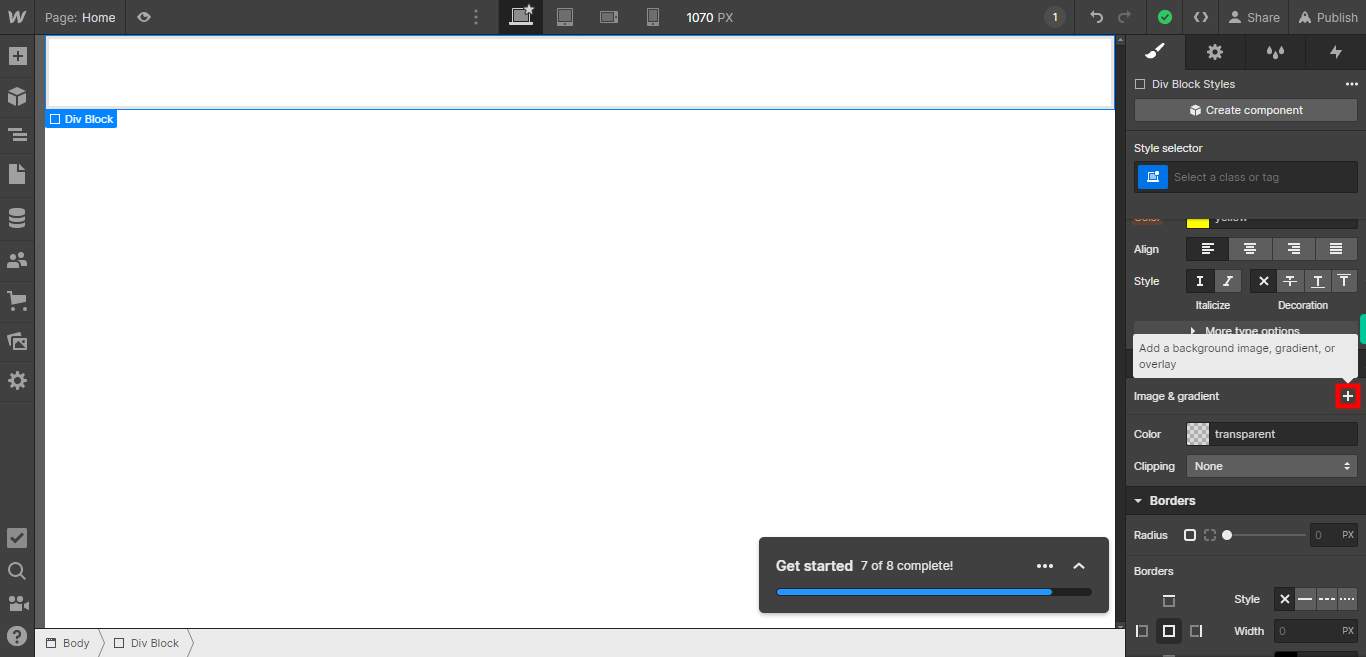
To add a background image, locate and click on the "+" icon, which is usually found in the options or settings related to the background of an element or section. This action will allow you to browse and select an image file from your device or choose from a library of available images. Once you have selected the desired image, it will be applied as the background for the selected element or section on your webpage.
-
6.
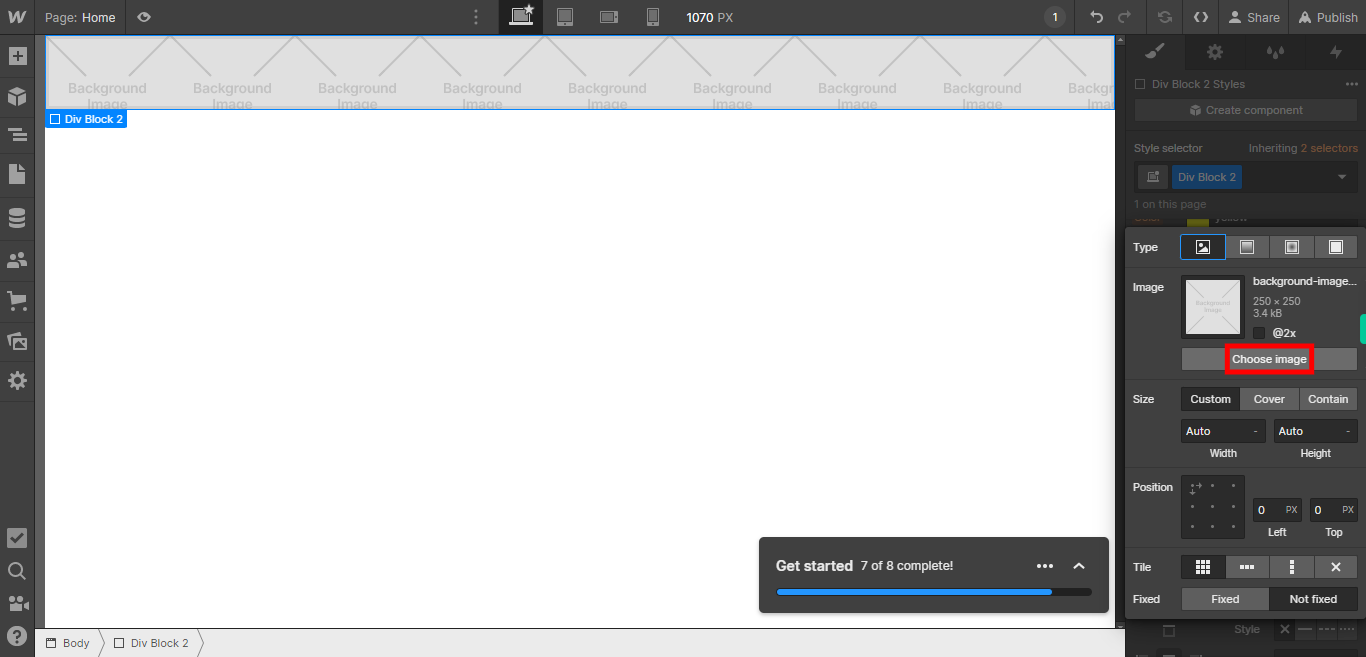
Click on the Next button on the Supervity instruction widget. To choose a background image from a library, click on the "Choose an image" or similar option. This will open a library of pre-existing images that you can select from. Browse through the library and choose the image that you want to use as the background. Once selected, the image will be applied as the background for the specified element or section on your webpage.
-
7.
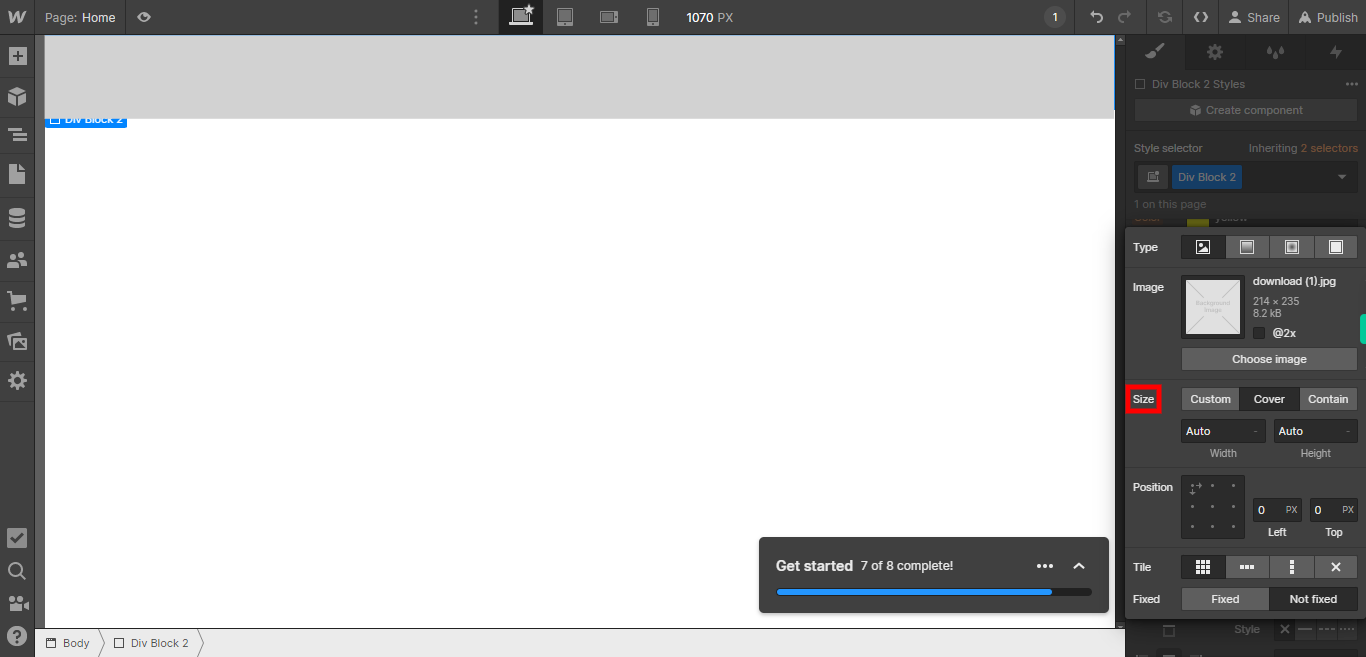
To specify the size of the background image, select the appropriate size option. This could be options like "Original size," "Cover," "Contain," or custom dimensions. Choosing "Original size" will display the image in its original dimensions, while "Cover" will scale the image to cover the entire element or section, and "Contain" will scale the image to fit within the element or section without cropping. Click on the Next button on the Supervity instruction widget.
-
8.
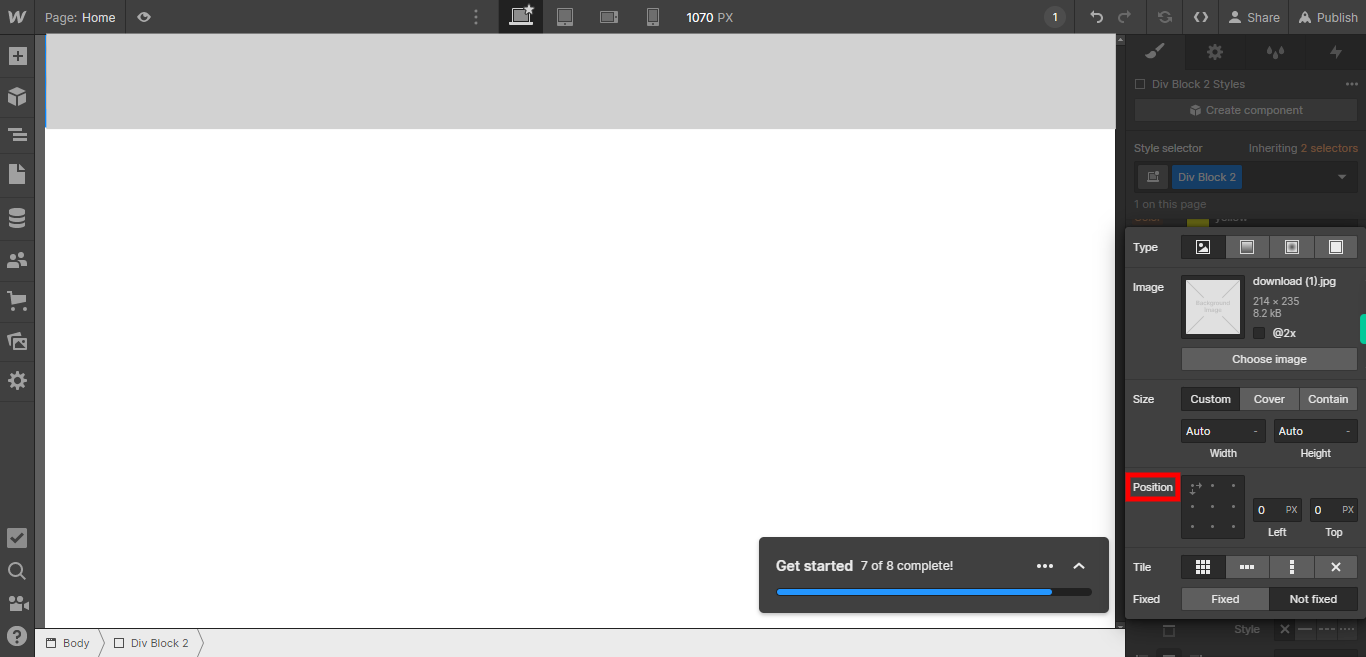
To determine the position of the background image, select the desired position option. This allows you to control how the image is aligned within the element or section. Common options include "Center," "Top," "Bottom," "Left," "Right," or combinations like "Top Left," "Top Right," "Bottom Left," "Bottom Right." Choosing a specific position will determine where the background image is placed within the element or section, providing flexibility in achieving the desired visual effect. Click on the Next button on the Supervity instruction widget.
-
9.
To control the tiling behavior of the background image, select the desired tile option. This allows you to determine whether the image should be tiled, repeated, or displayed as a single instance within the element or section. Options may include "No Repeat," "Repeat," "Repeat X," "Repeat Y," or "Cover." Click on the Next button on the Supervity instruction widget.


