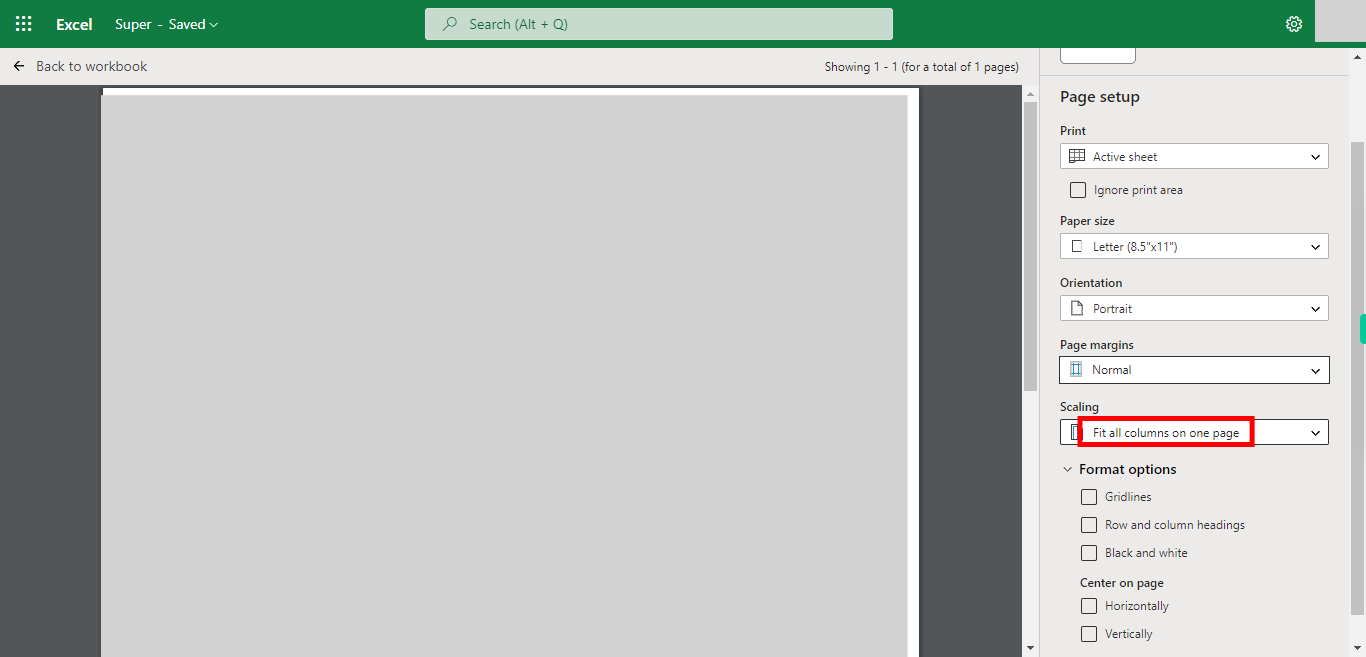
Step by step Process of Printing the Outlook Excel file as a PDF NOTE: to use this Skill User need to login into Microsoft Applications
-
1.
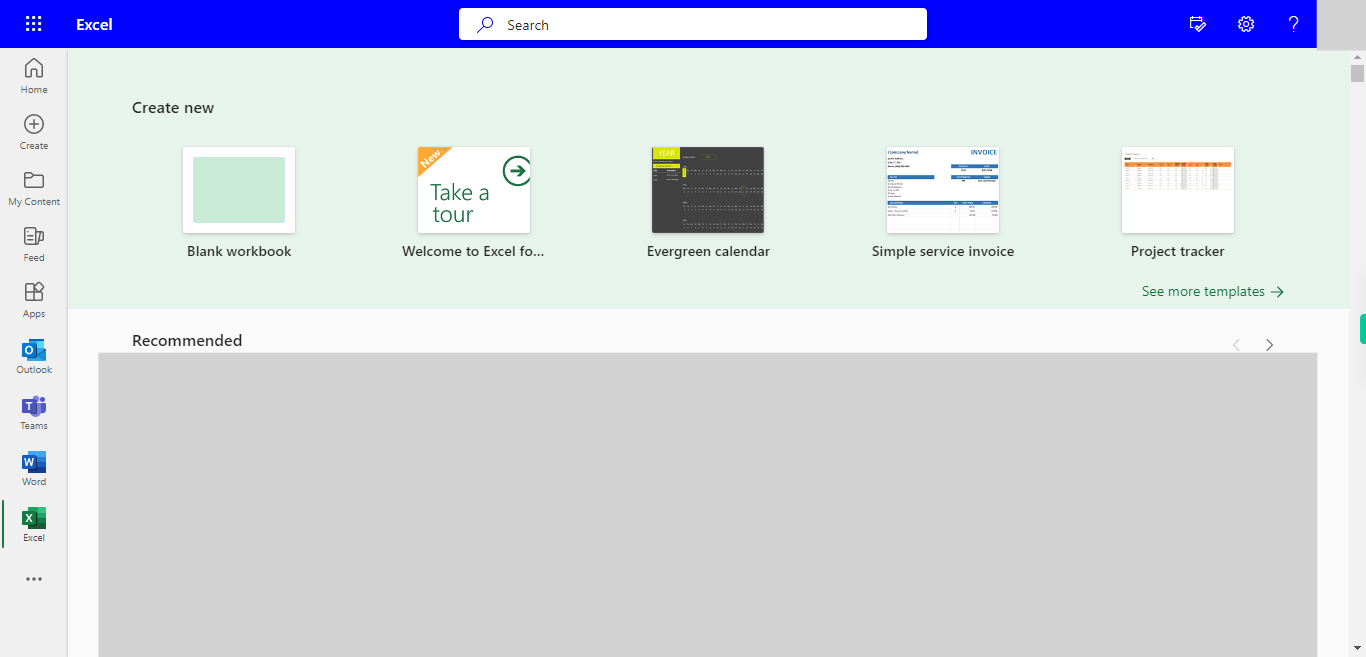
Open Microsoft Excel on the Web.
-
2.
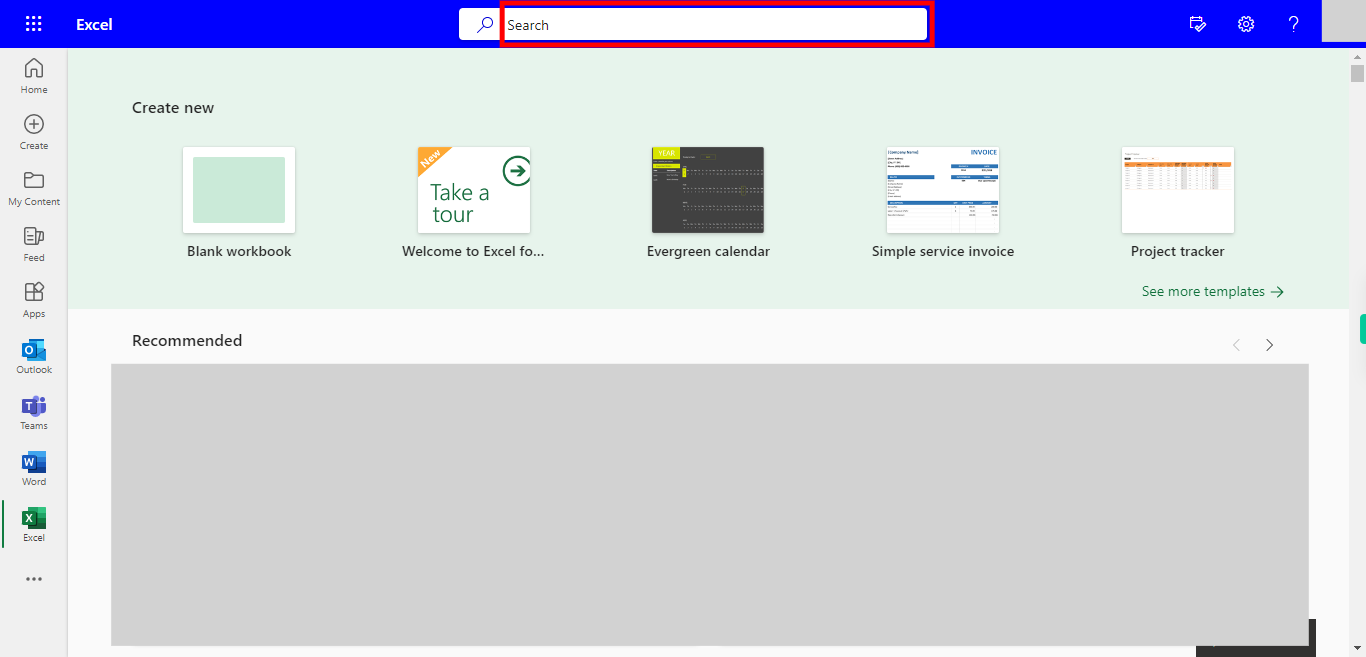
Click on the Search bar, which will Enable the user to find the files from multiple folders is Outlook Excel. Type the File name in the Search bar, the Recently used files will appear under the search bar. Once done, click on the "Next" button on the Supervity instruction widget. Open the file under Search Bar.
-
3.
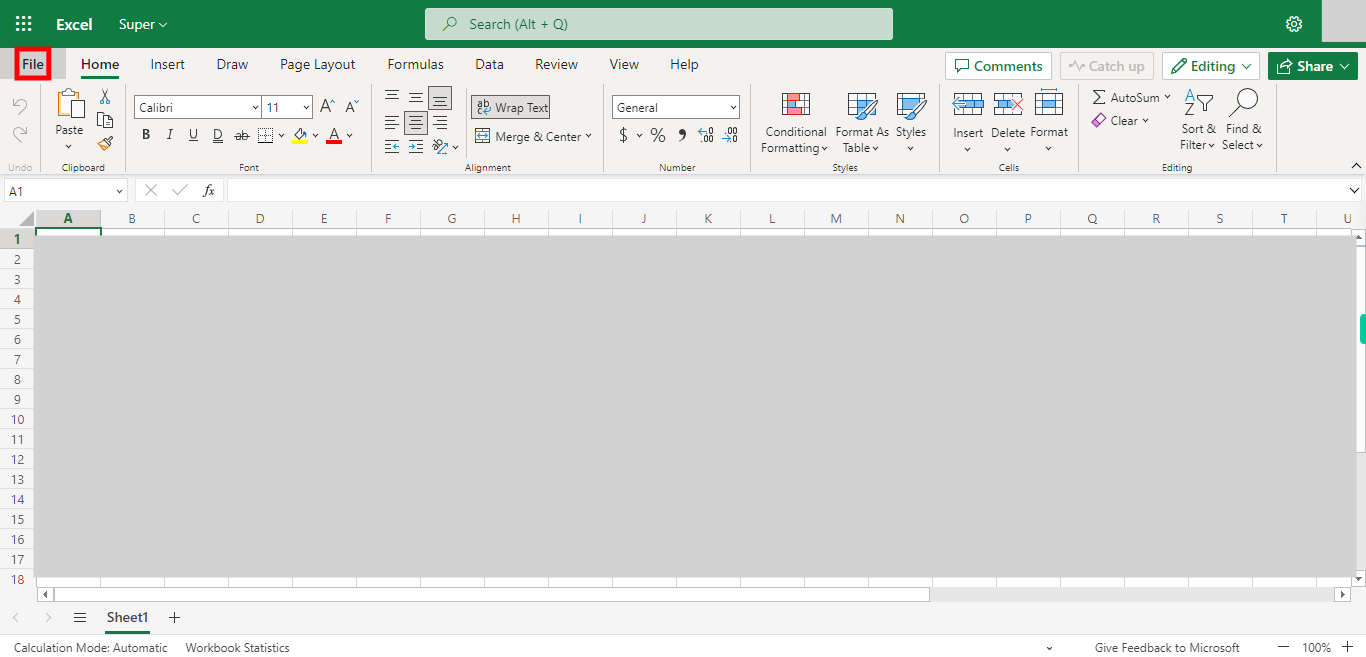
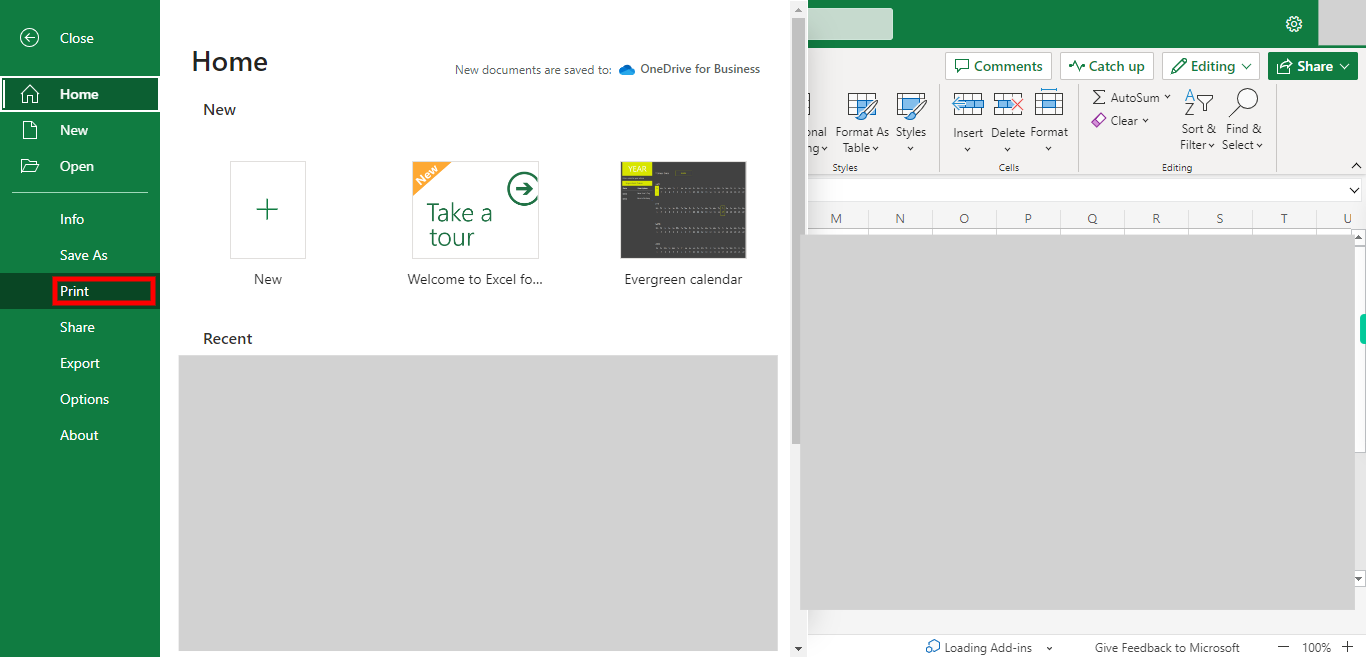
Click on the File Button.
-
4.
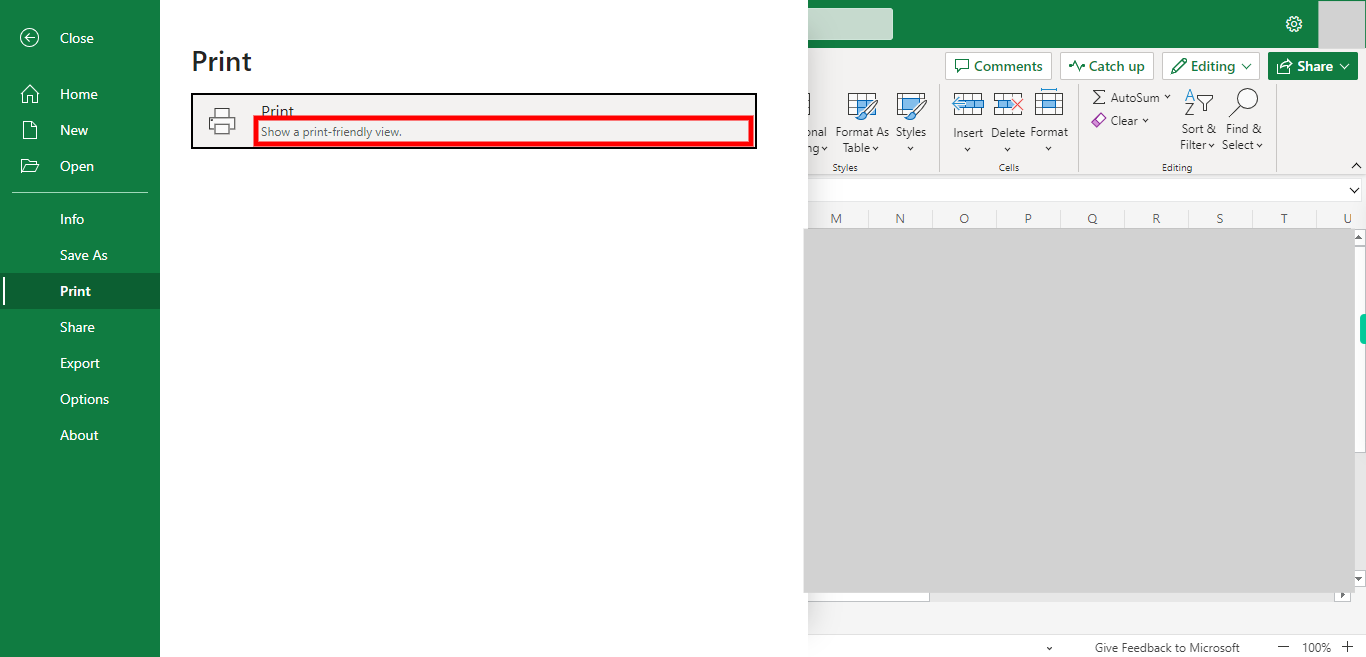
Click on Print, Which will show the Options for Priting the selected Excel.
-
5.
Click on Print
-
6.
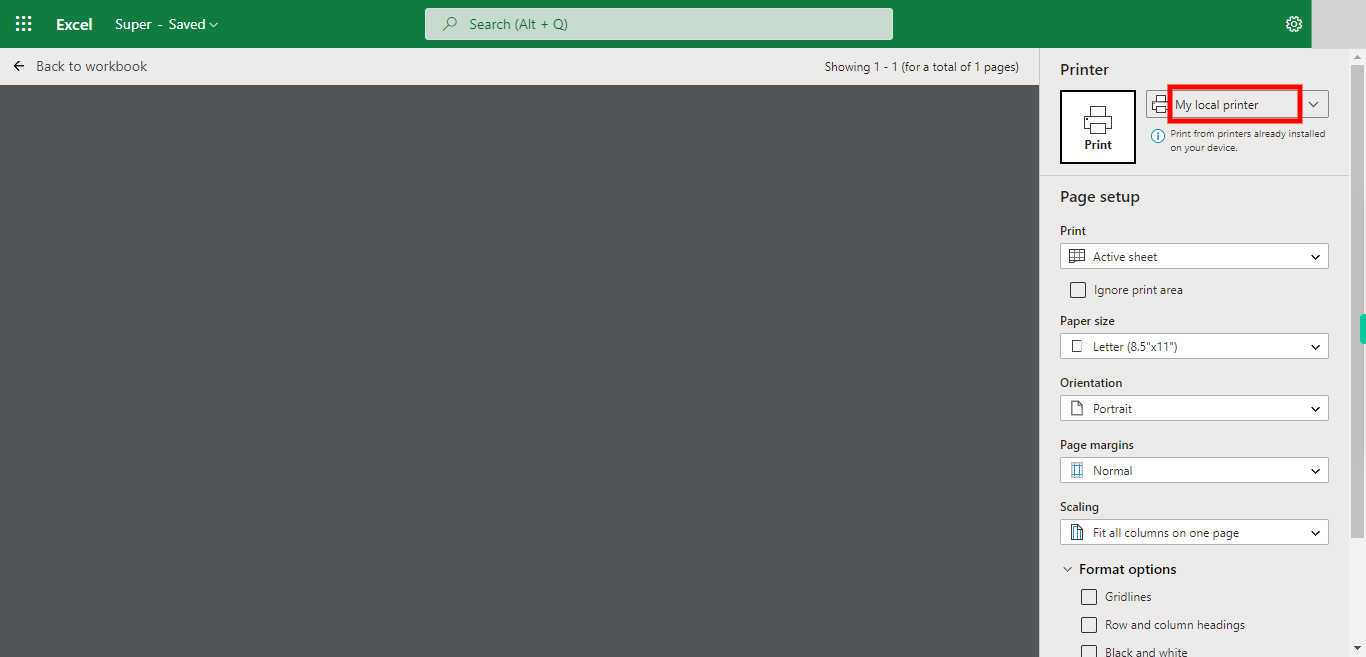
Click on Printers Drop-down which will show the Available Printers in your System.
-
7.
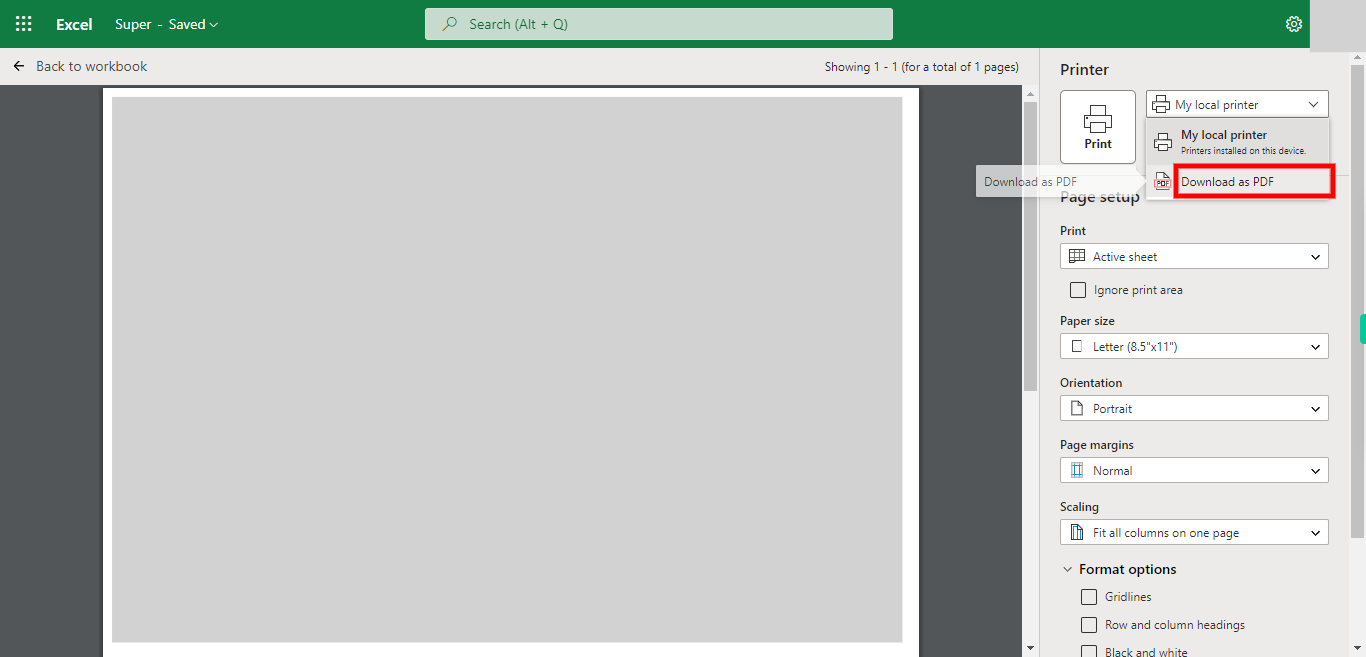
Select/Click on Export as PDF.
-
8.
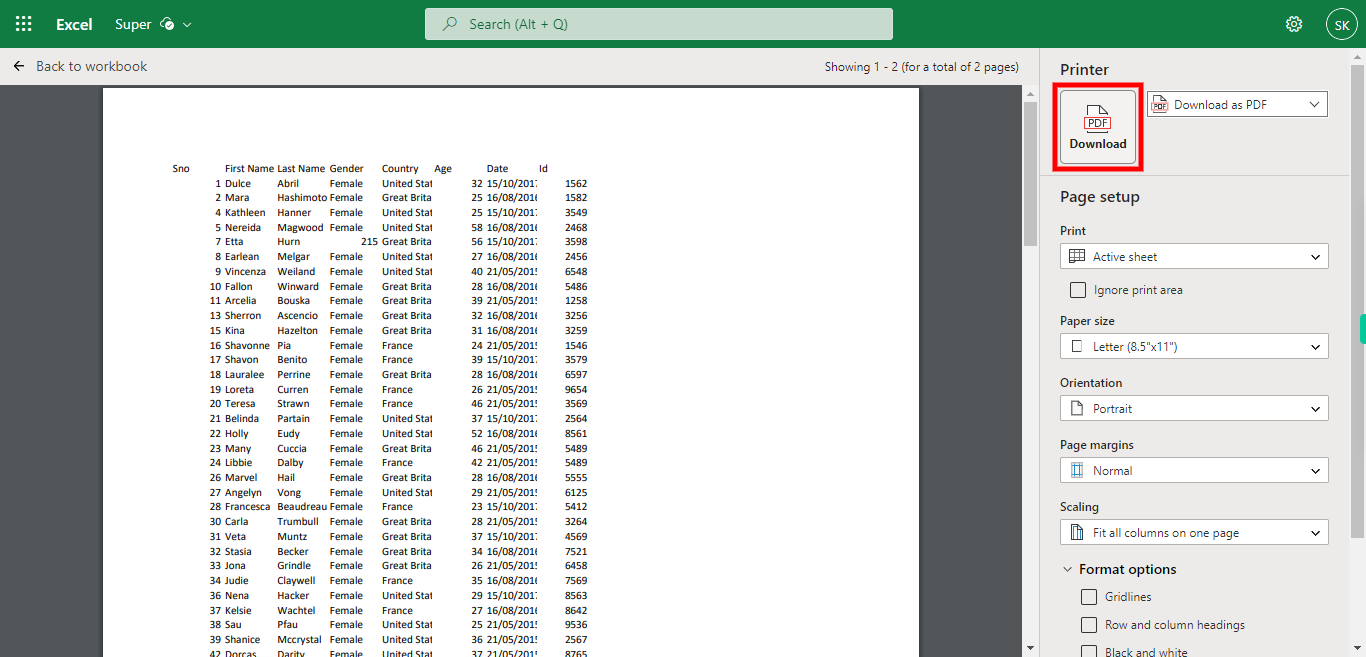
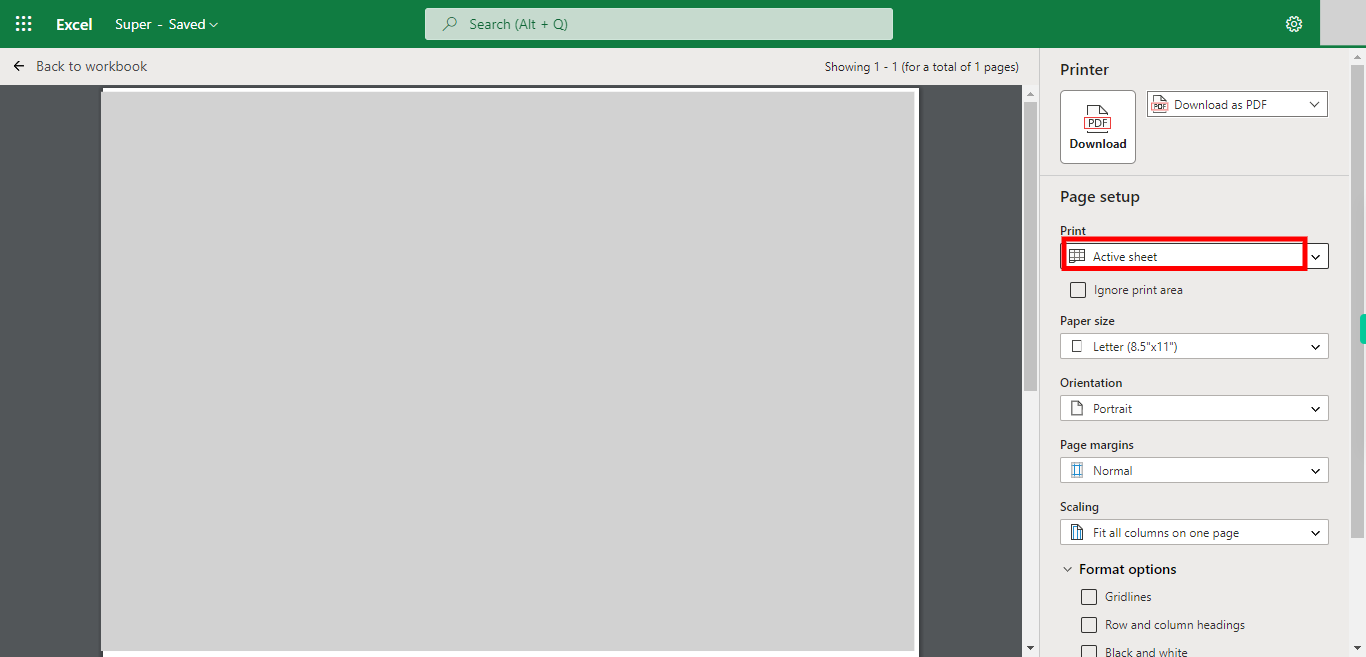
Click on Active Sheets to select the no of Sheets or data you want to print. Once done, click on the "Next" button on the Supervity instruction widget.
-
9.
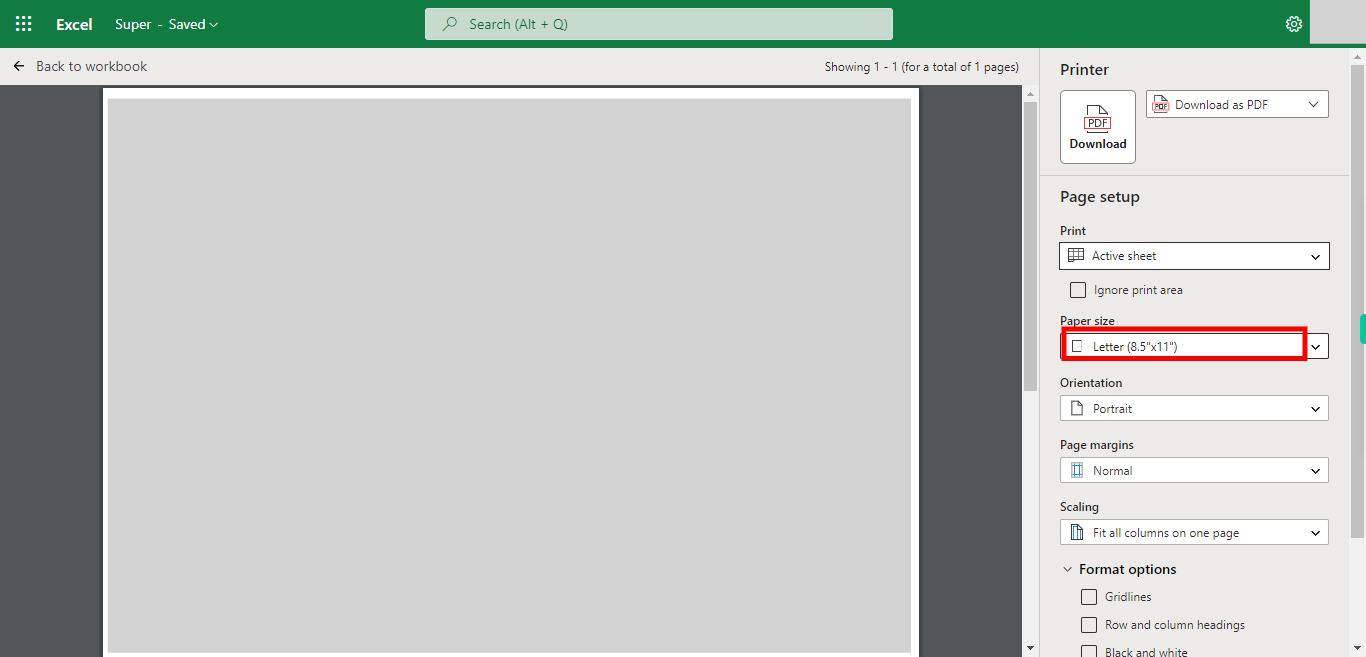
Click on the Paper Size, and Select the Required size for your PDF. Once done, click on the "Next" button on the Supervity instruction widget.
-
10.
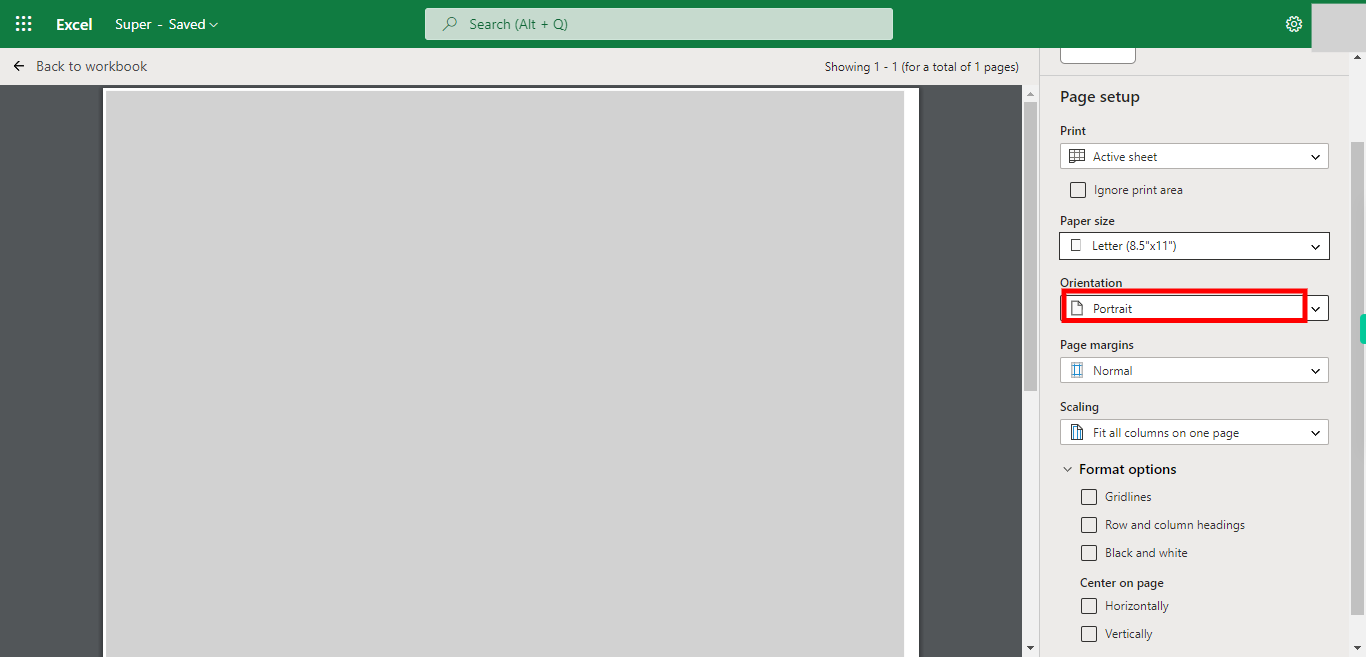
Click on Orientation, and Select the Orientation (Portrait / Landscape) Once done, click on the "Next" button on the Supervity instruction widget.
-
11.
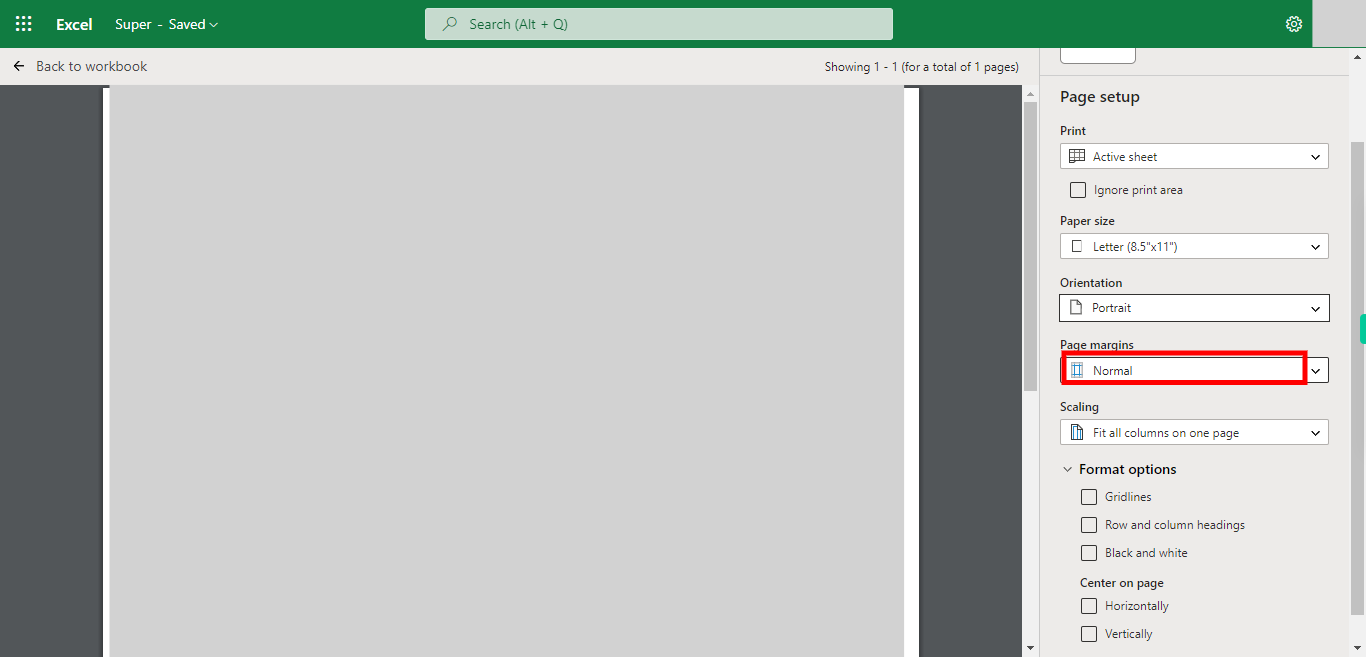
Click on Page Margins, Select the Page Margins from below mentioned options. Once done, click on the "Next" button on the Supervity instruction widget.
-
12.
Click on Scaling, Select the type of scaling required for your Excel. Once done, click on the "Next" button on the Supervity instruction widget.
-
13.
Click on the Download button after seeing the print preview on the Left, After Clicking on Download, User will be given to select the path for the download file. Please select the Path and click on Save.
