This skill guides you to create an announcement in SharePoint, which you can share within your organization or people, Pre-Requisites: Make sure you have sites or groups in your SharePoint, also ensure that you have the necessary permissions and access rights to connect the Announcements list to Outlook and work with the content in both platforms. NOTE: Please sign in to your web Microsoft 365 account and then execute this skill.
-
1.
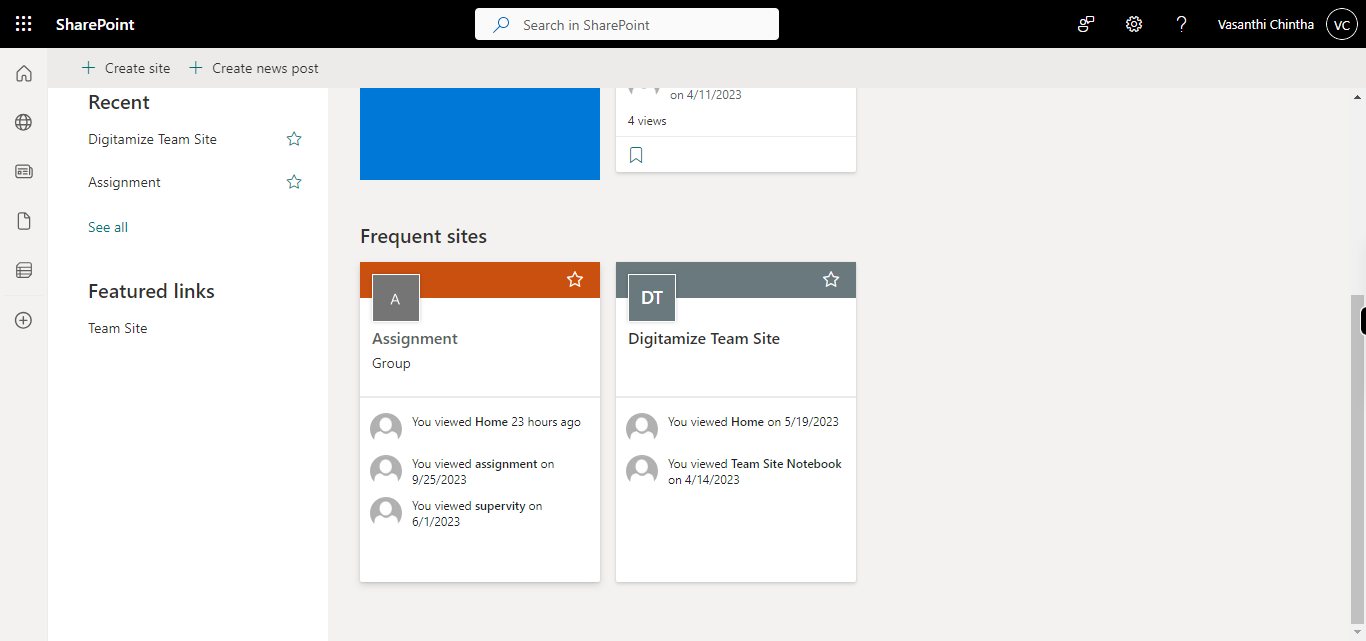
Open SharePoint on the web.
-
2.
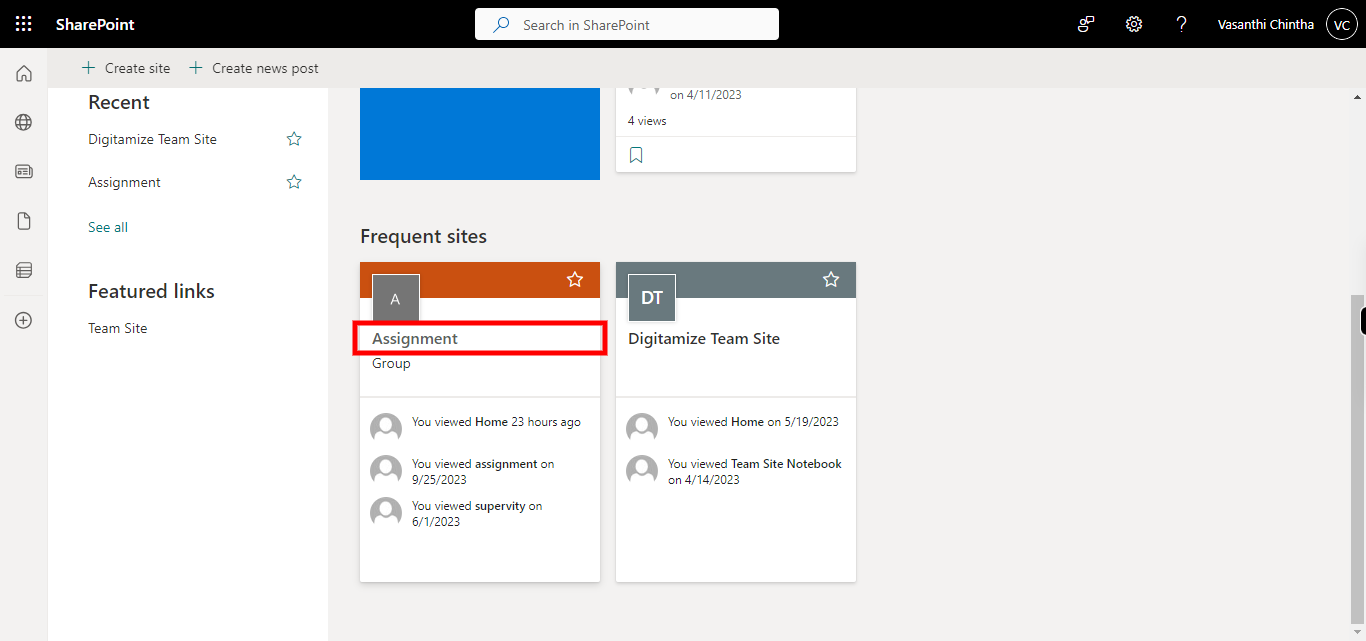
1. First, click on the "Next" button in the Supervity instruction widget, and then pick any site of your choice.
-
3.
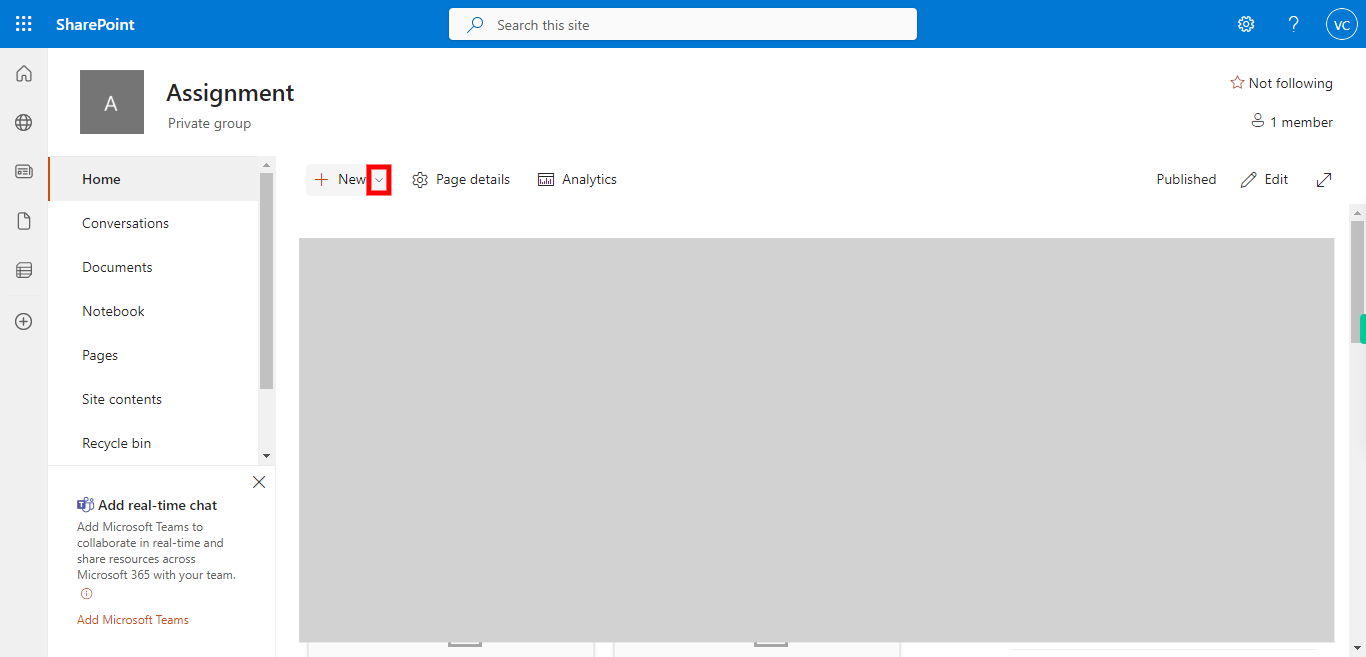
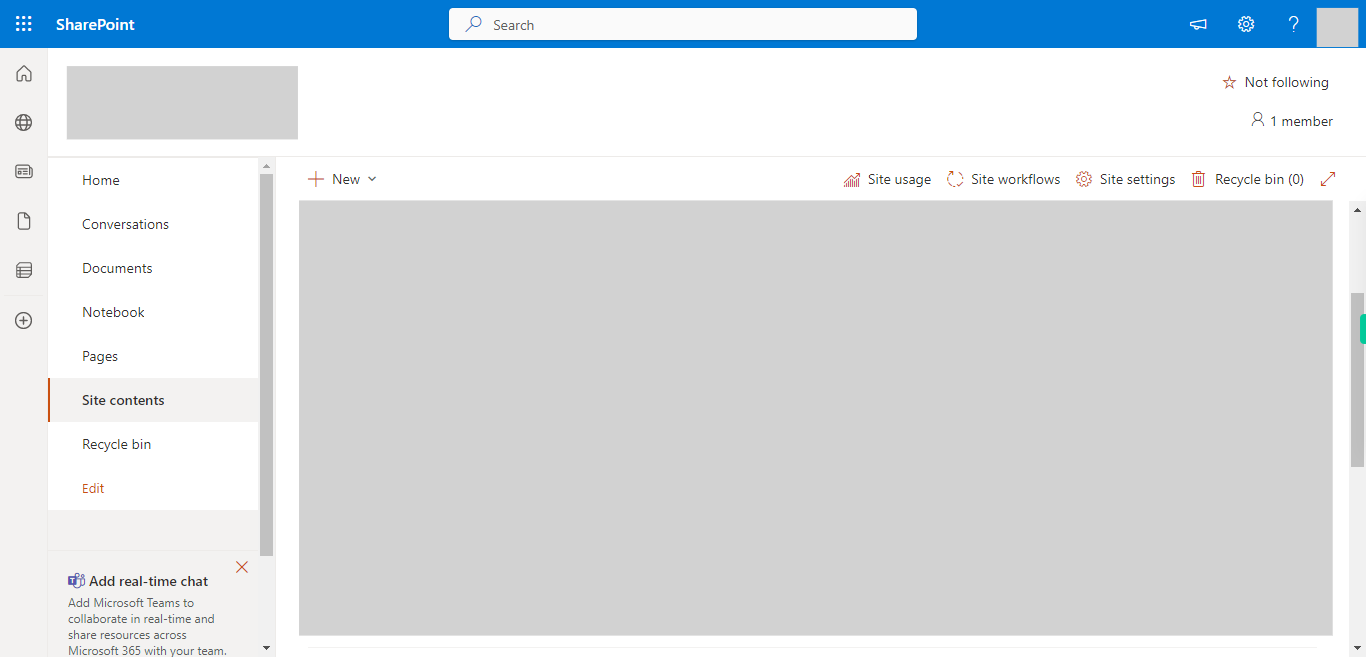
2. Click on the + New drop-down icon, to add a new app.
-
4.
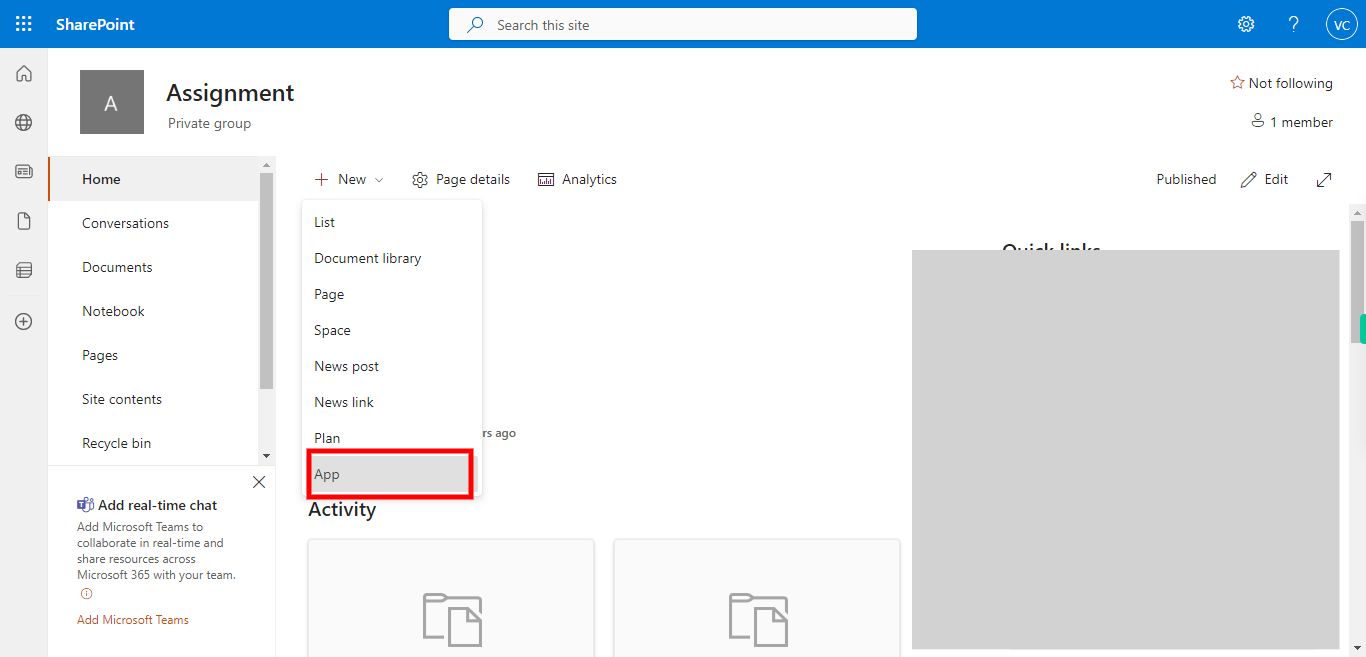
3. Select App from the drop-down list.
-
5.
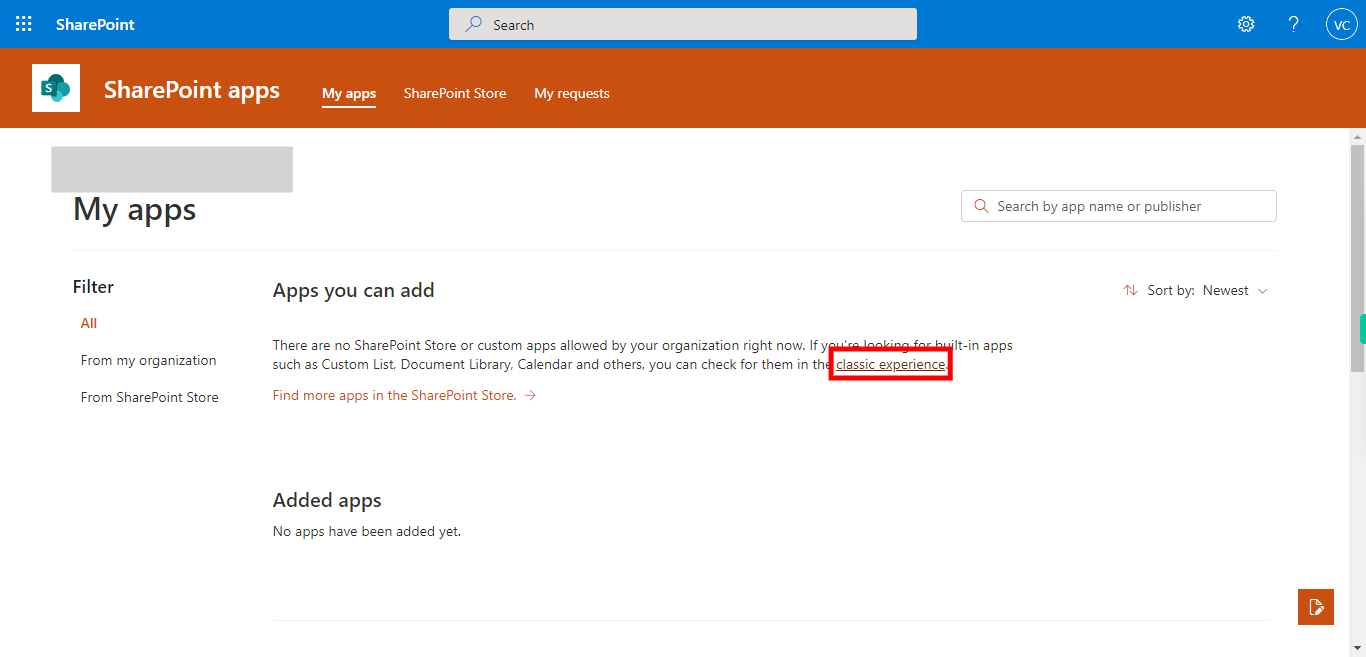
4. Click on the "classic experience" highlighted in red to go to the apps page.
-
6.
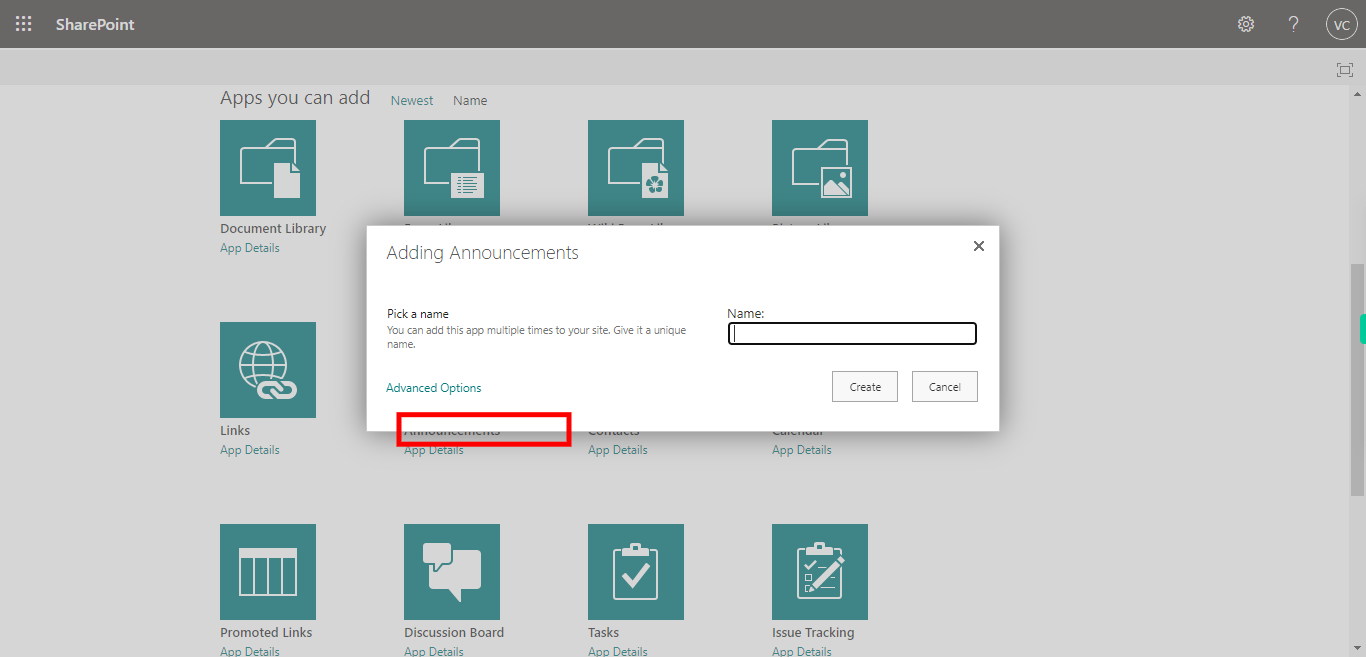
5. Select the Announcements app.
-
7.
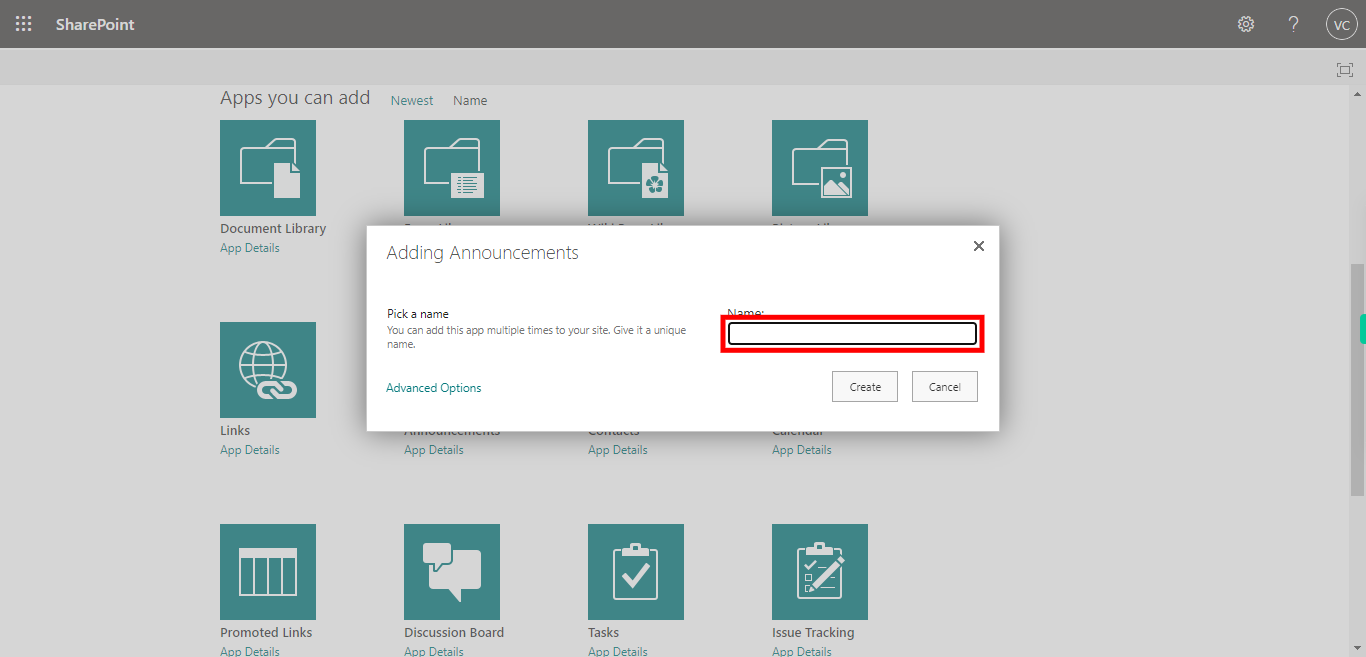
6. Give the name of your Announcement, and then click on the Next button in the Supervity instruction widget.
-
8.
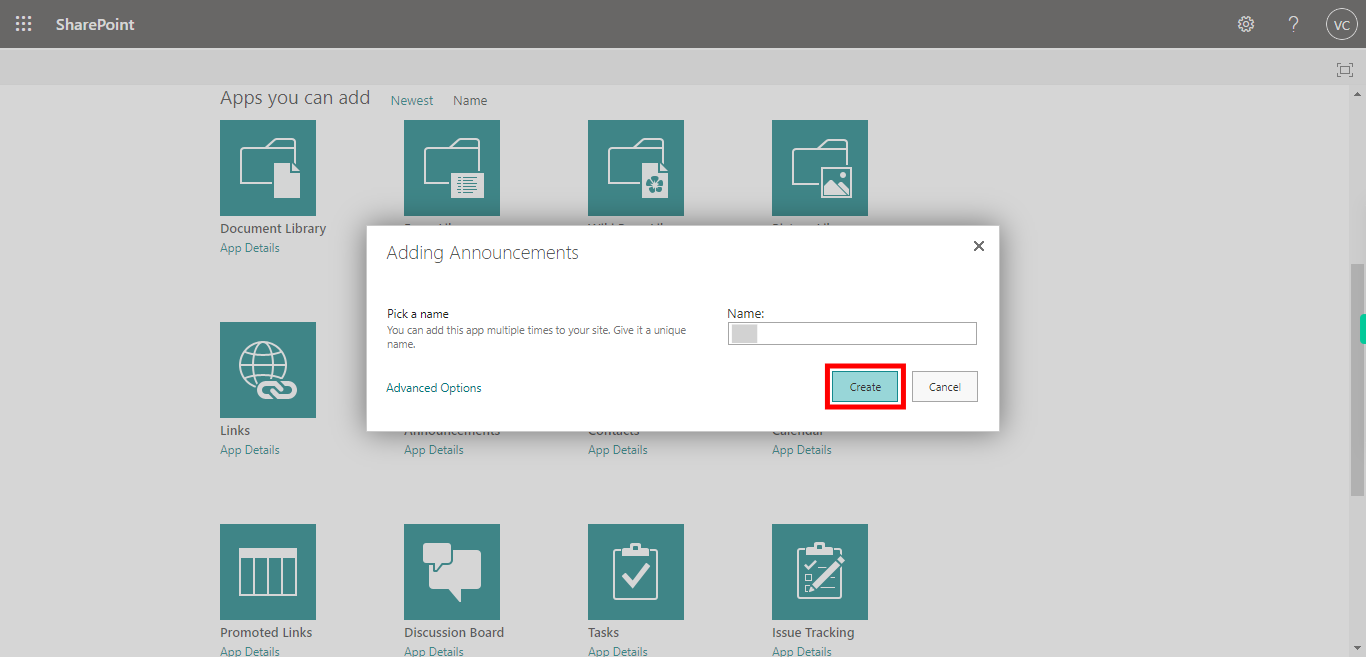
7. Click on "Create" once after the announcement name was provided.
-
9.
8. First click on the Next button in the Supervity instruction widget, and then select the announcement that was created now.
-
10.
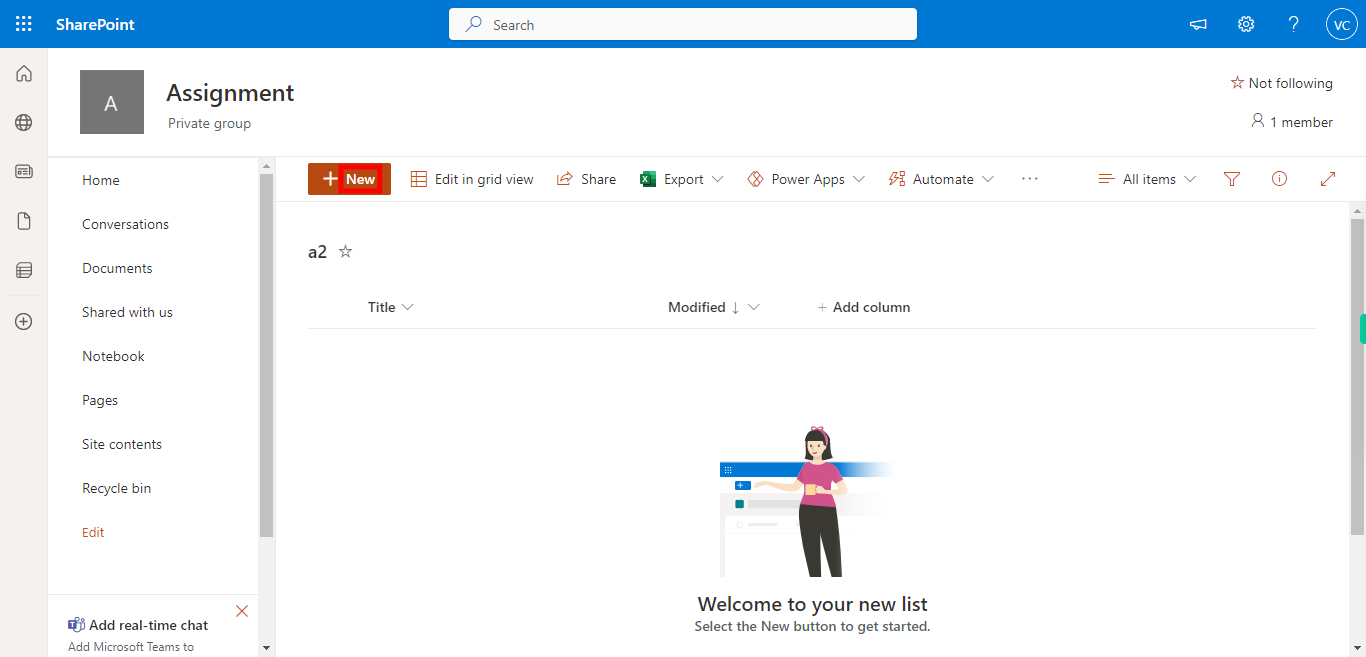
9. Click on the "+ New" button to add a new announcement.
-
11.
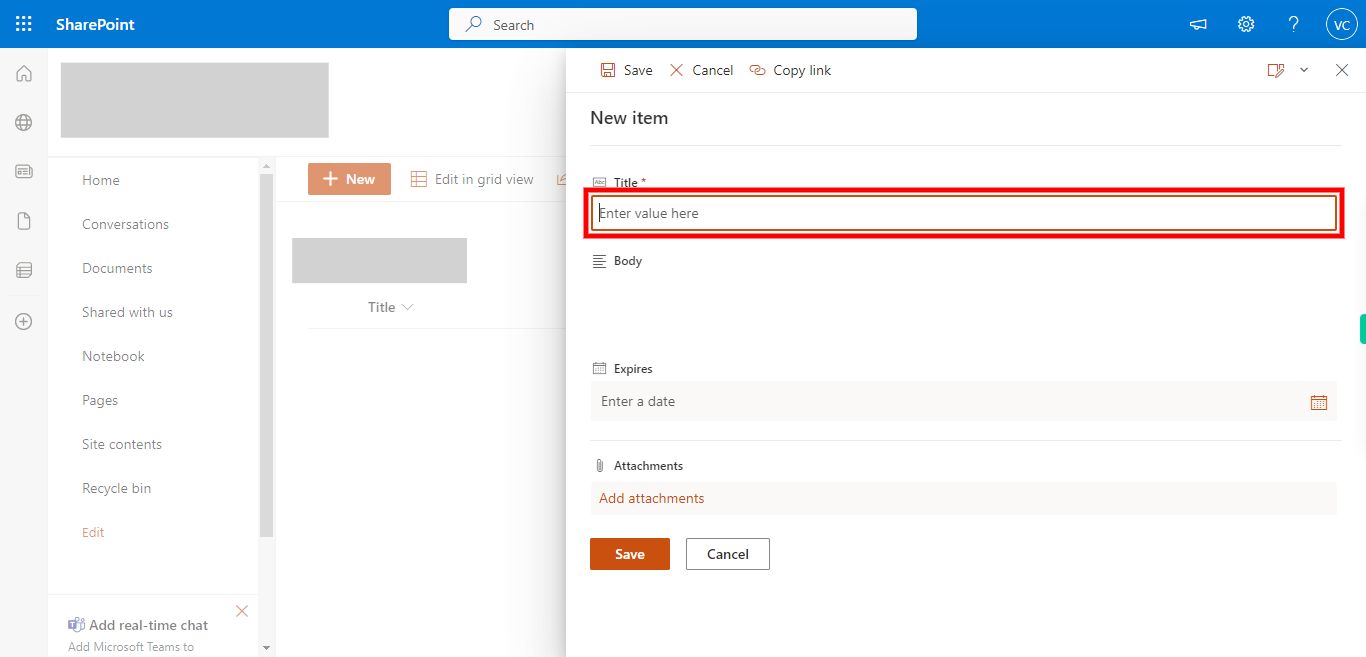
10. Title field is mandatory, so fill in the title of your announcement and then click on the Next button in the Supervity instruction widget.
-
12.
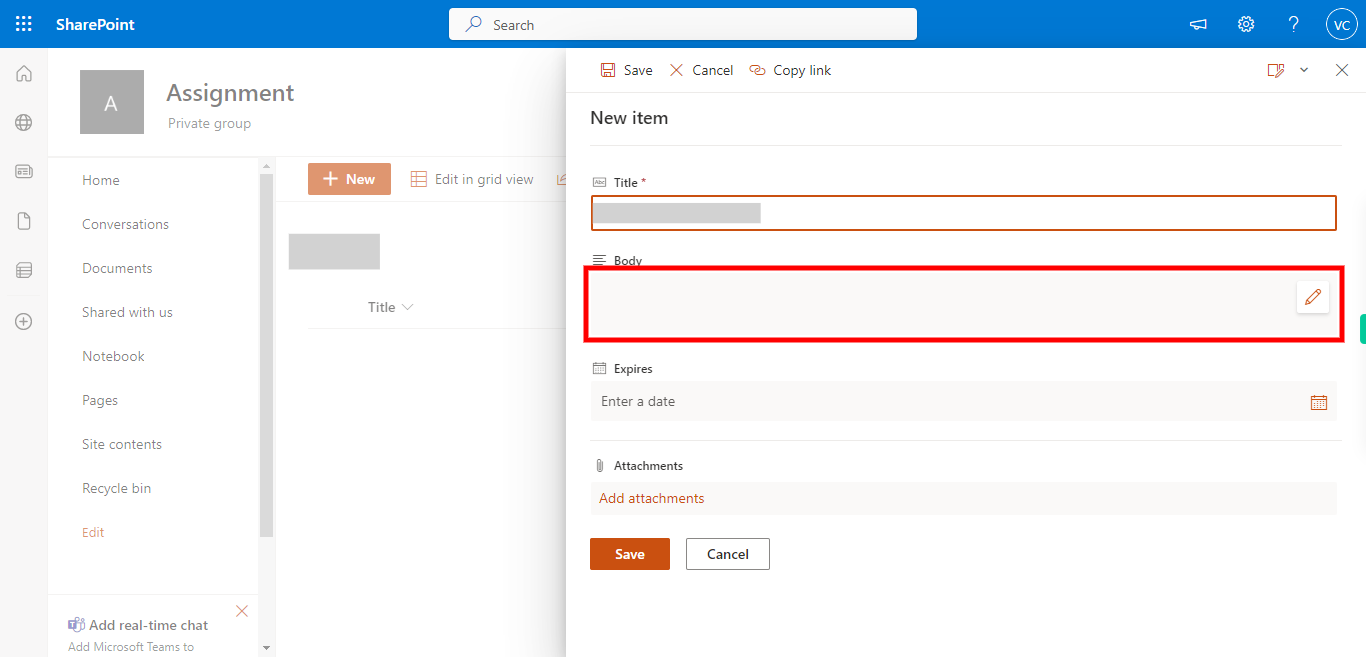
11. Click on Body, then you will get the edit icon.
-
13.
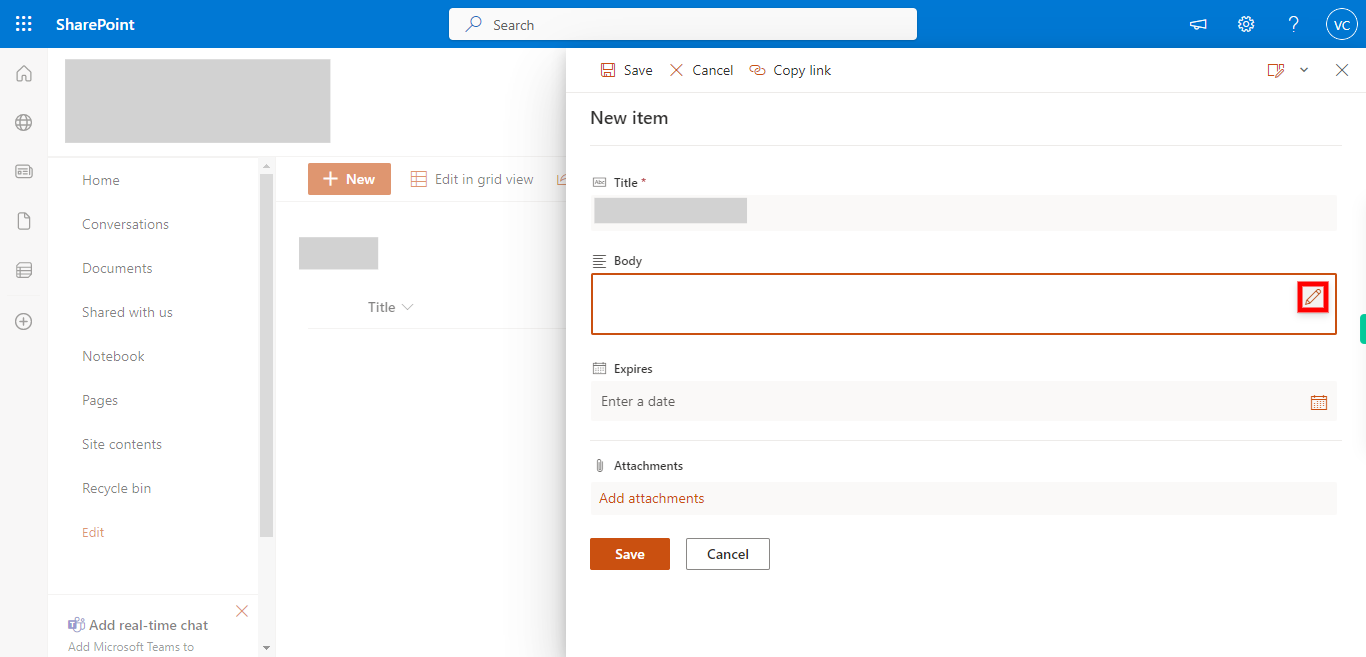
12. Click on the edit icon ✏ to add a body for your announcement.
-
14.
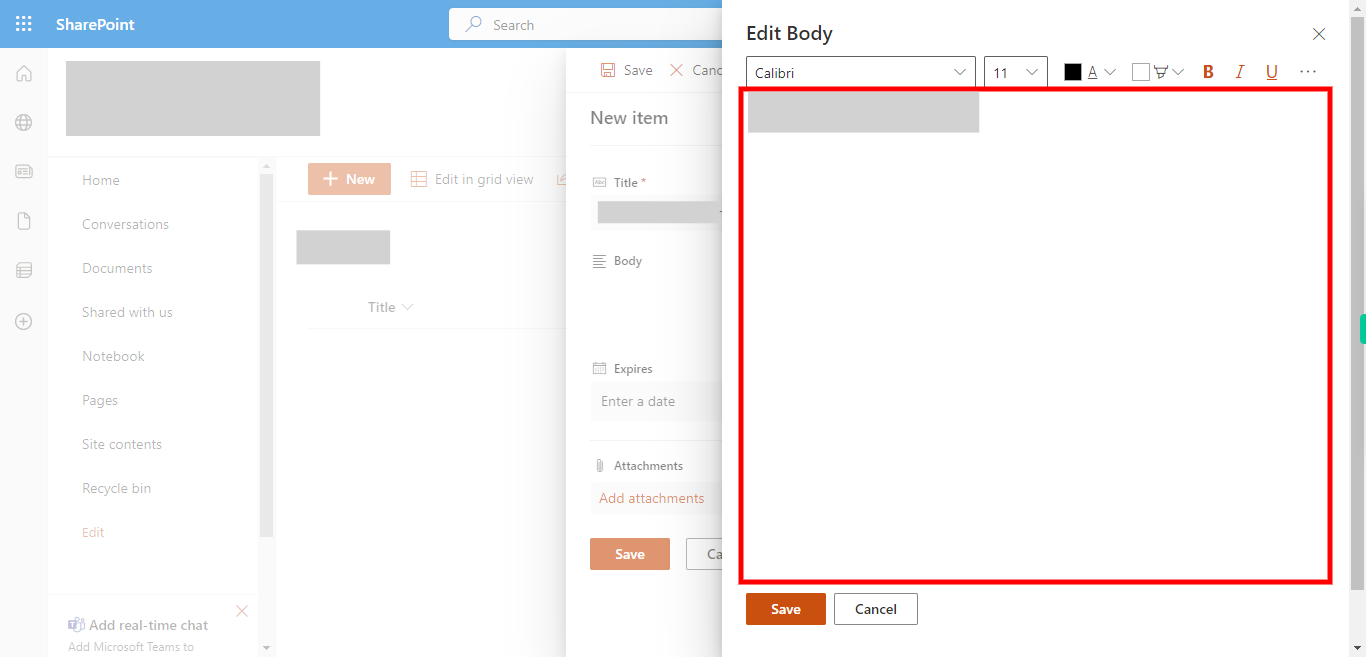
13. Type in the content or body of the announcement, then click on the Next button in the Supervity instruction widget. In the new Announcement form, enter the content, and any other relevant information for the announcement. You can format the text, add images or attachments, and customize it as needed
-
15.
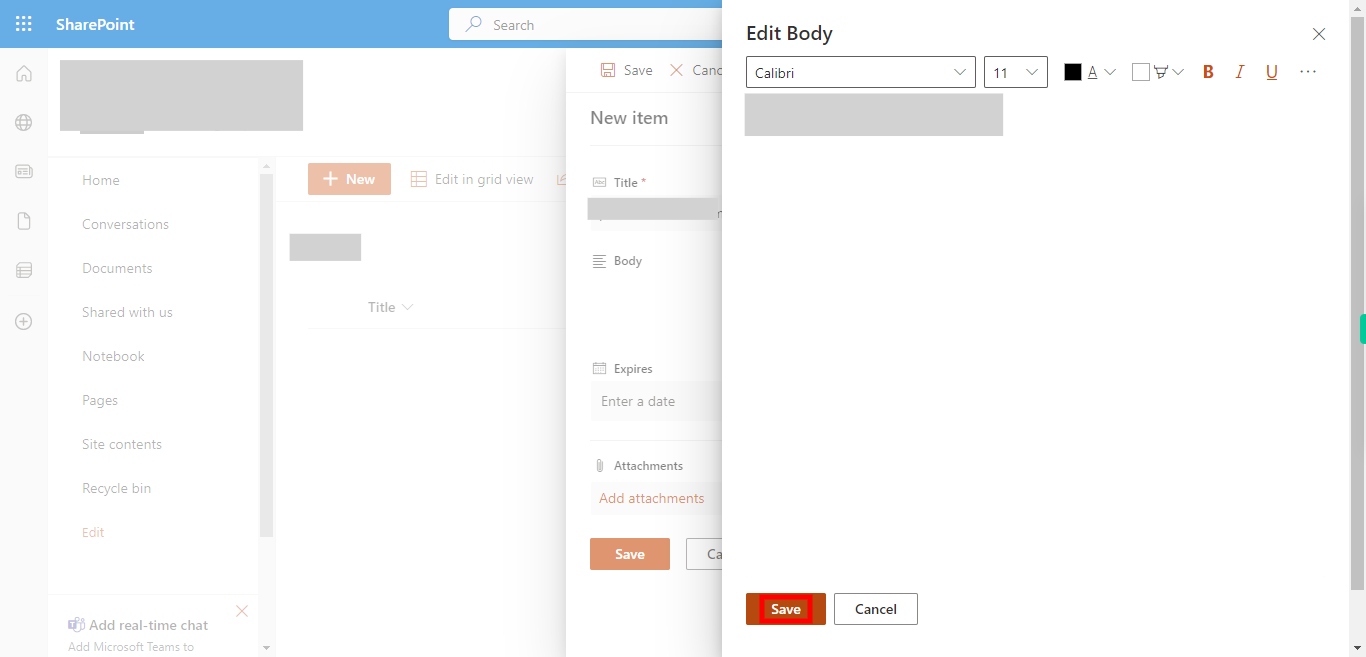
14. Once the text got added click on the "Save" button.
-
16.
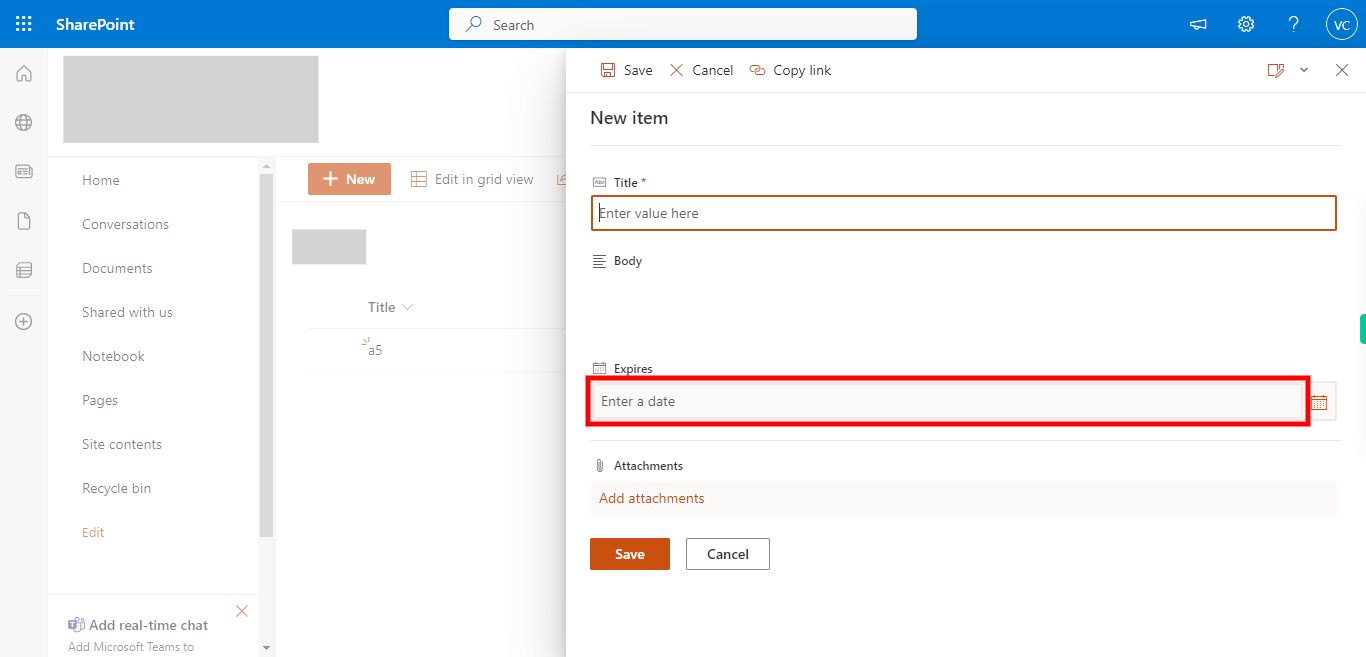
15. First click on the Next button in the Supervity instruction widget, and then add the expiry date 📅 of your announcement.
-
17.
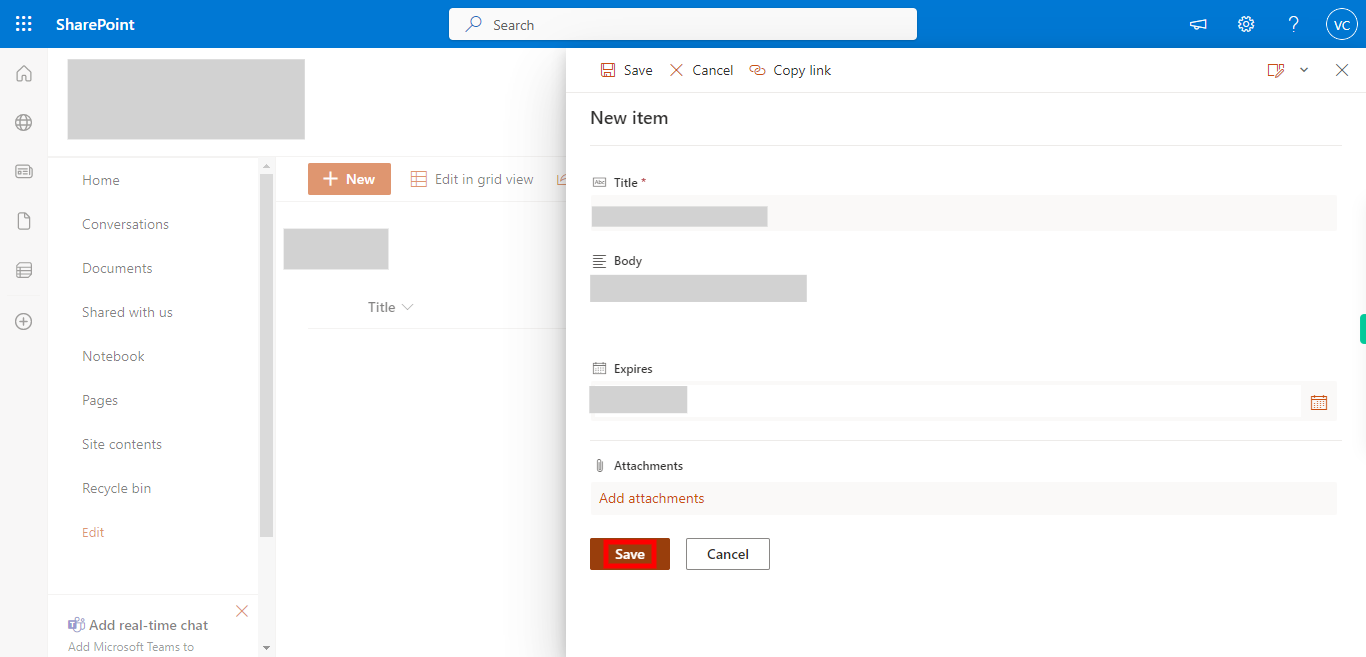
16. Once all the required data was added click on the "Save" button.
-
18.
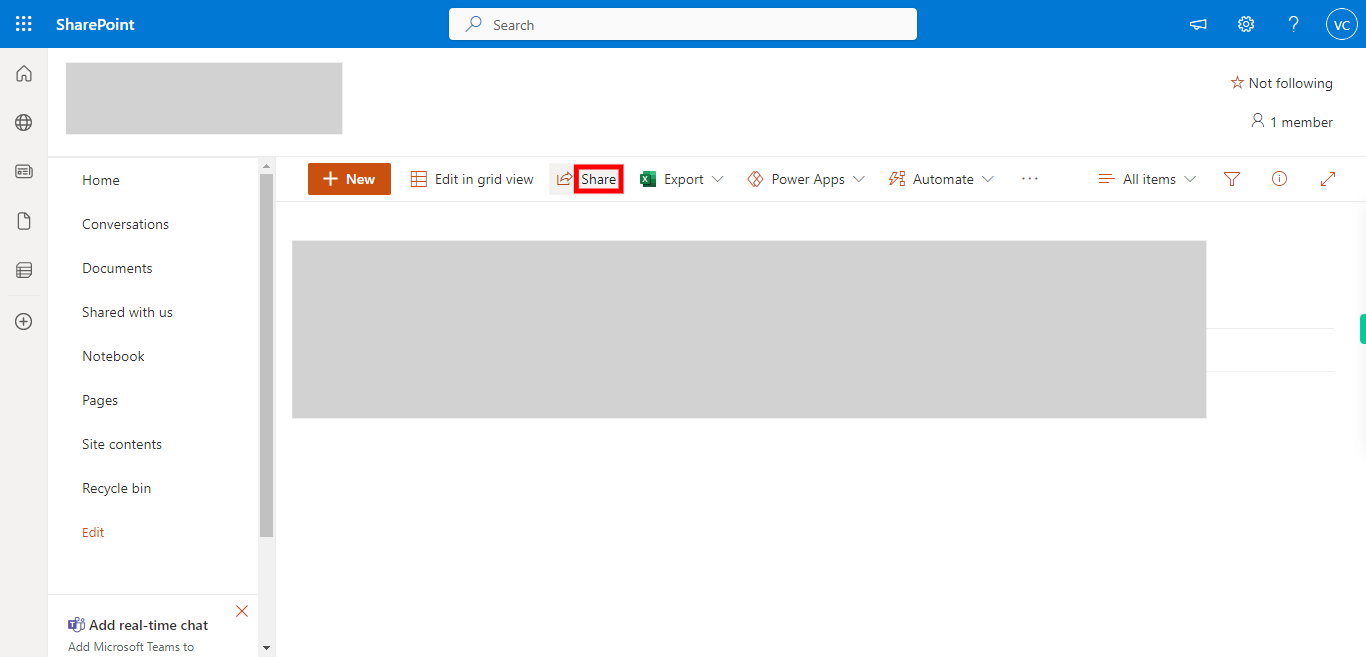
17. Click on "Share" to share the announcement among the people.
-
19.
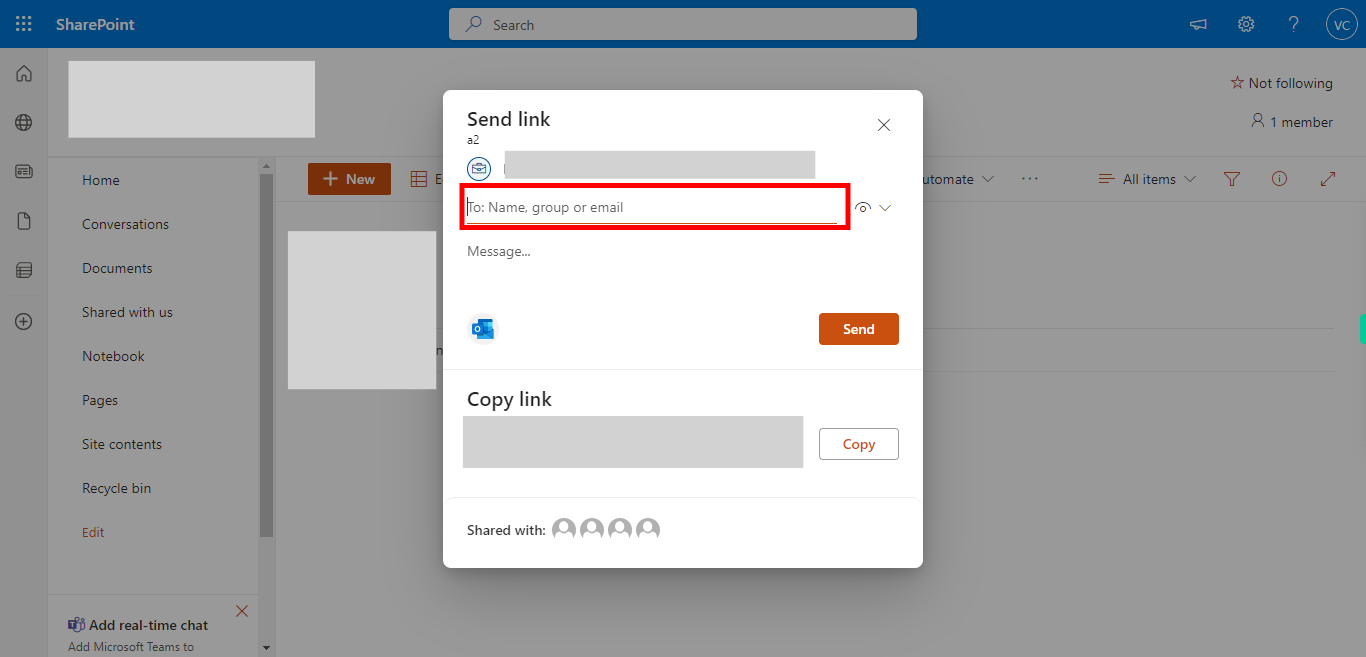
18. First click on the Next button in the Supervity instruction widget, and then add the mail IDs to which you want to post the announcement.
-
20.
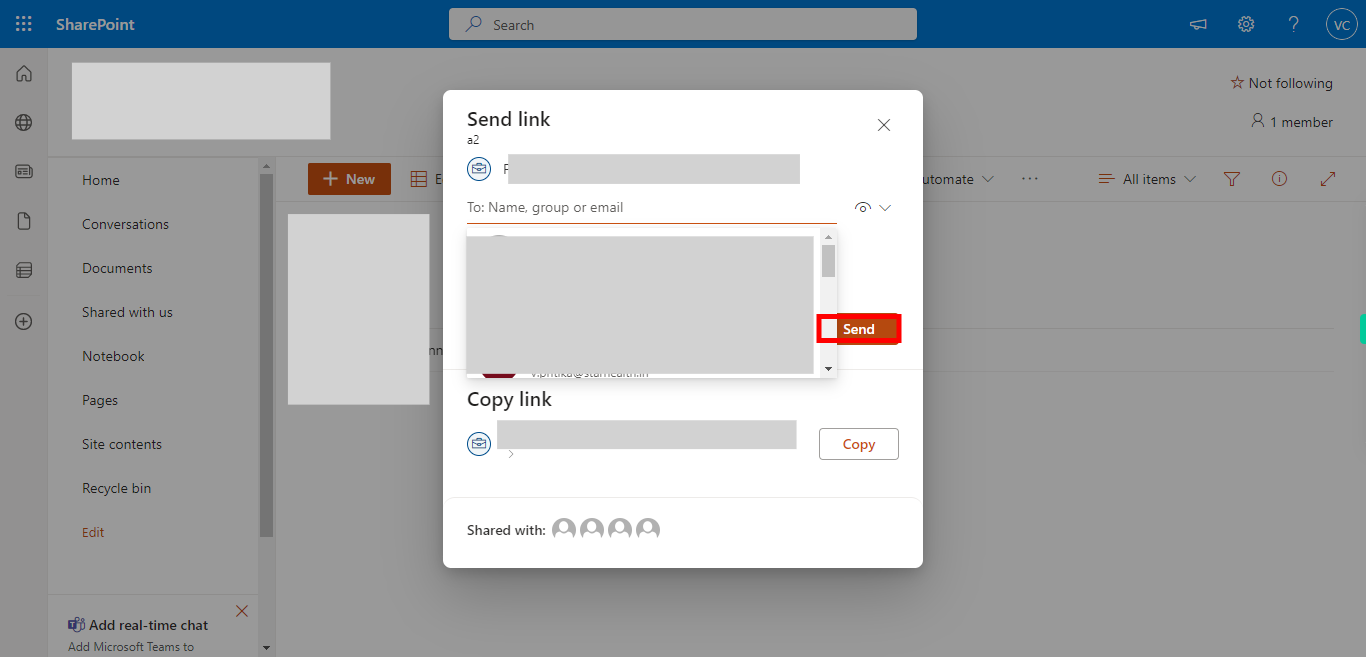
19. Click on the "Send" button, once after adding all the required mail id's. It will be added to the Announcements list in SharePoint and synchronized with Outlook. Now, the Announcement you created in SharePoint will be visible in Outlook, allowing you and others to view, edit, and interact with it directly from within the Outlook application. Any changes made to the Announcement in Outlook will be synchronized with the SharePoint Announcements list.


