Step by step process of Updating the Gmail settings on web. NOTE: Make sure that, you have already logged into the Gmail application on web.
-
1.
Open Gmail web application.
-
2.
To initiate the process, go to the Gmail web interface home page. Look for the icons or menu options on the right-hand side of the screen. Click on the "Settings menu," typically represented by a gear icon, located at the top right corner of the web page.
-
3.
In this dropdown, click on the "See all settings" icon, which will redirect you to the Gmail Settings page.
-
4.
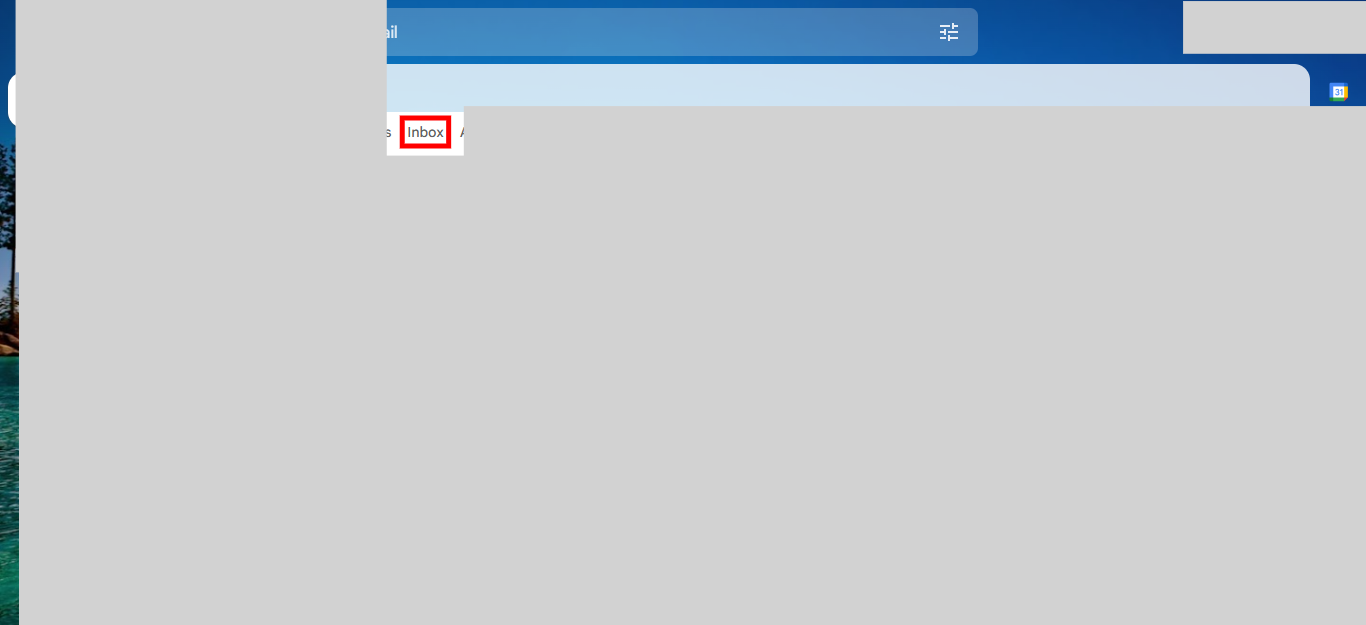
Now click on the "Inbox" icon, which is located on the top menu bar, to view the inbox settings.
-
5.
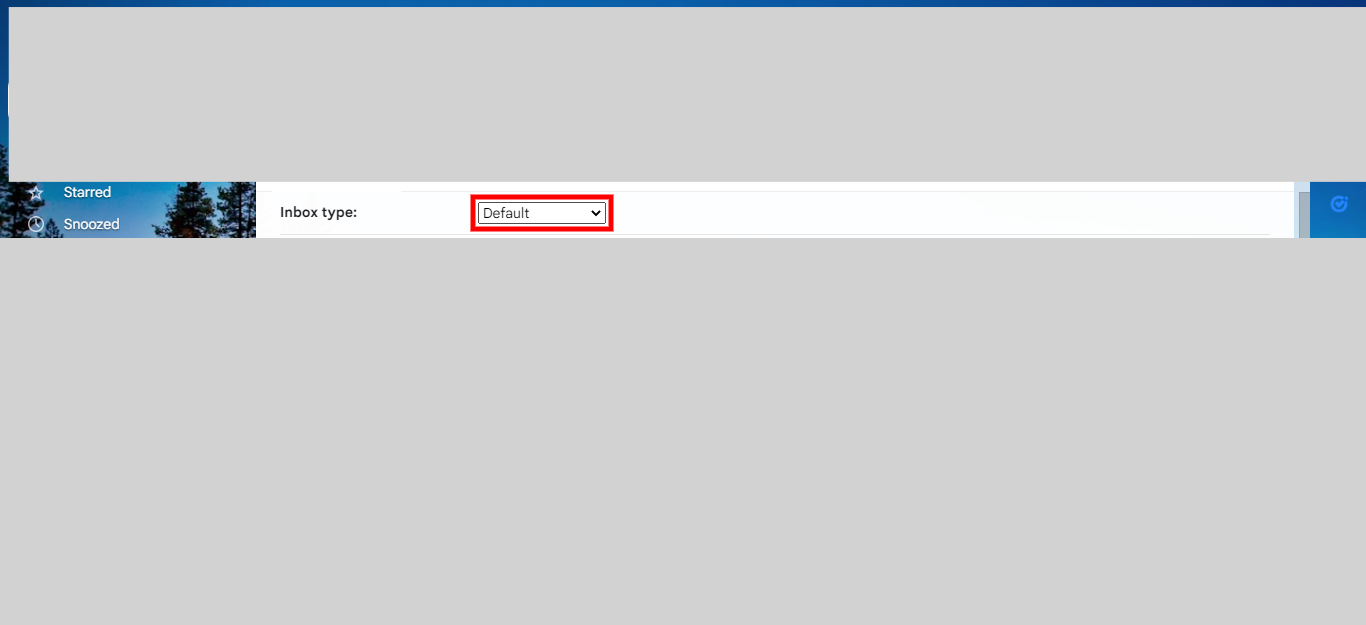
From the "Inbox type" dropdown, select the desired feature from the available options, which include "Default," "Important first," "Unread first," "Starred first," "Priority Inbox," or "Multiple Inboxes." Once you have made your selection, click on the "Next" button on the Supervity instruction widget.
-
6.
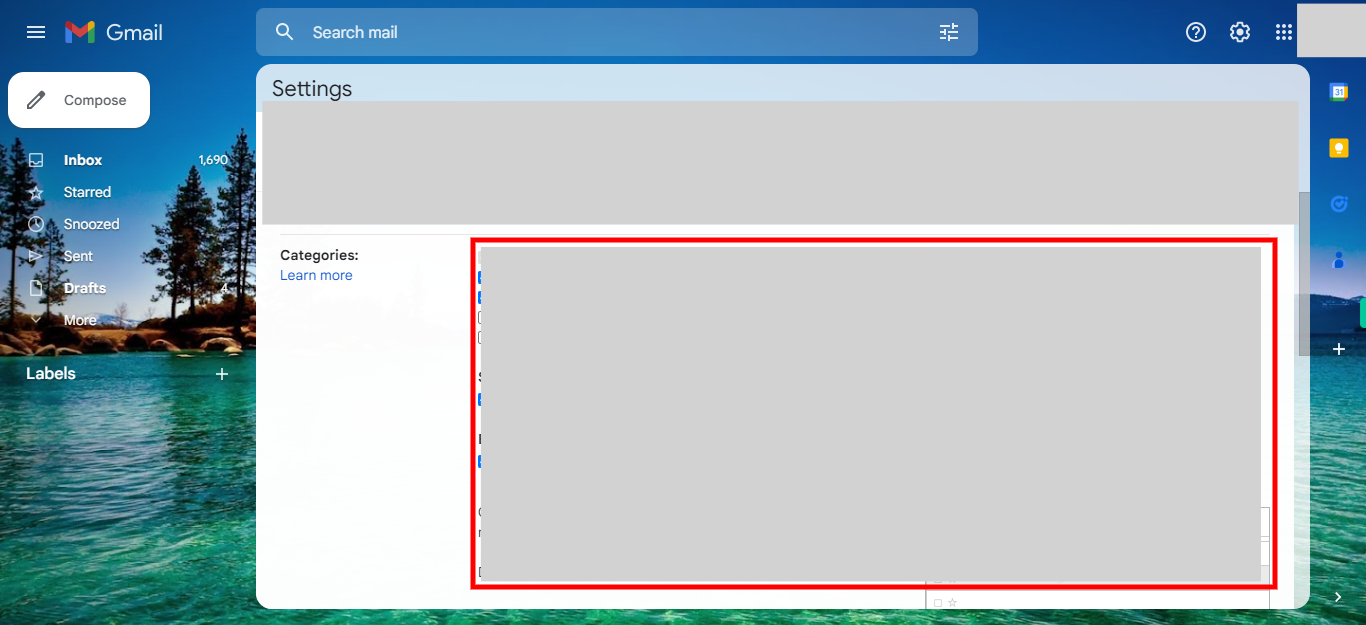
Depending on the "Inbox type" you have chosen in the previous step, the related built-in features for that type are displayed here. Choose the required ones. Once you have made your selection, click on the "Next" button on the Supervity instruction widget.
-
7.
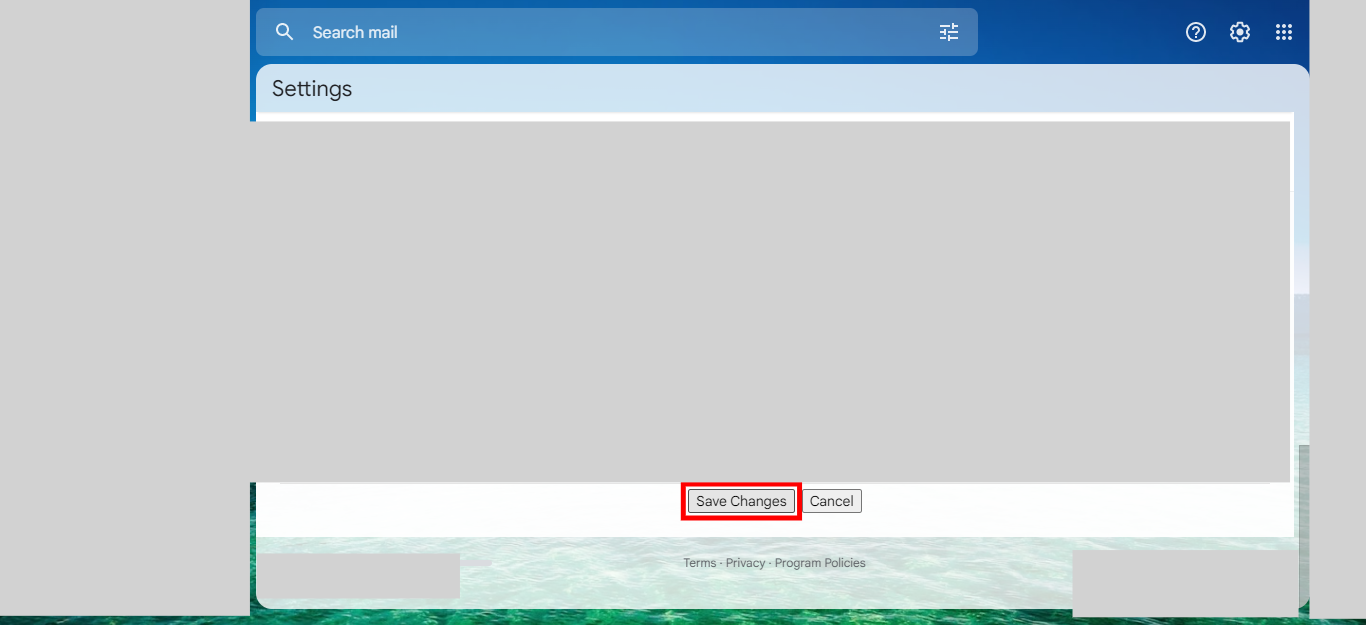
To complete the updates, click on "Save Changes". You will be notified once the changes have been saved.


