In Gmail, you can snooze an email to temporarily remove it from your inbox and have it reappear at a later time or date. By snoozing an email, you can prioritize and deal with it at a more convenient time without it cluttering your inbox. This skill helps you in setting the snooze option to the selected email. Note: Make sure you are already logged into your web Gmail account. Display density settings: Comfortable.
-
1.
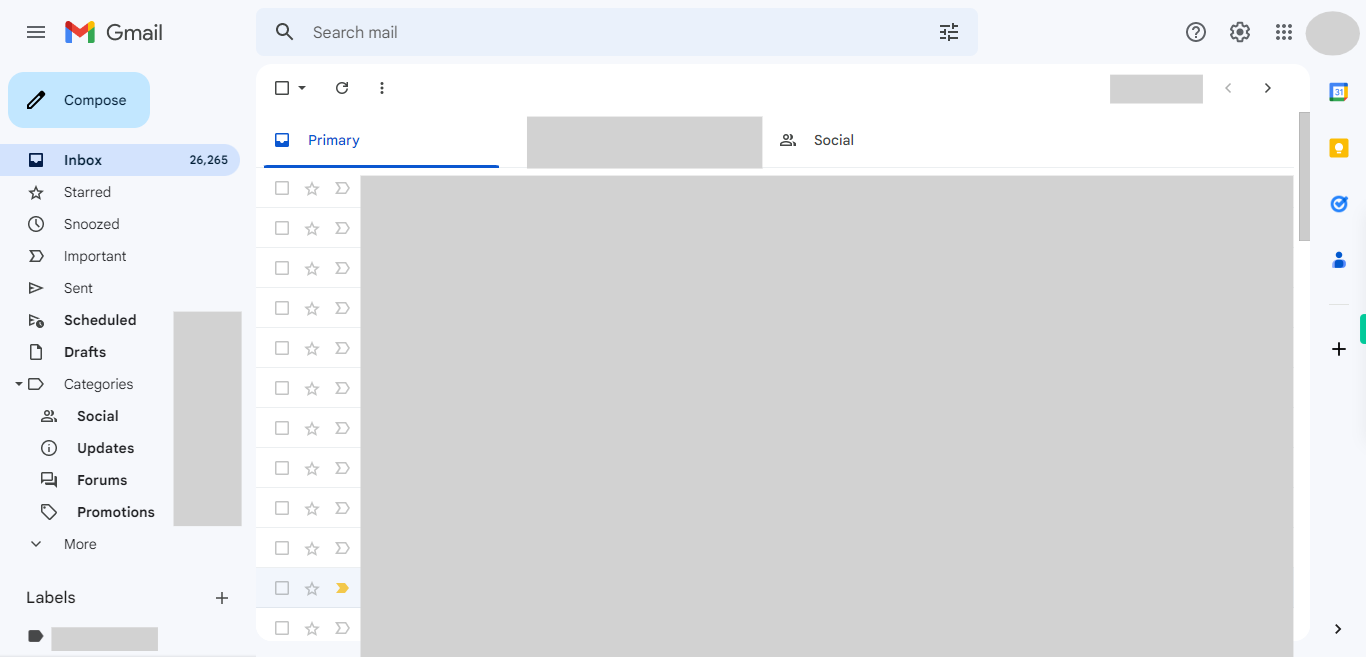
Open Gmail
-
2.
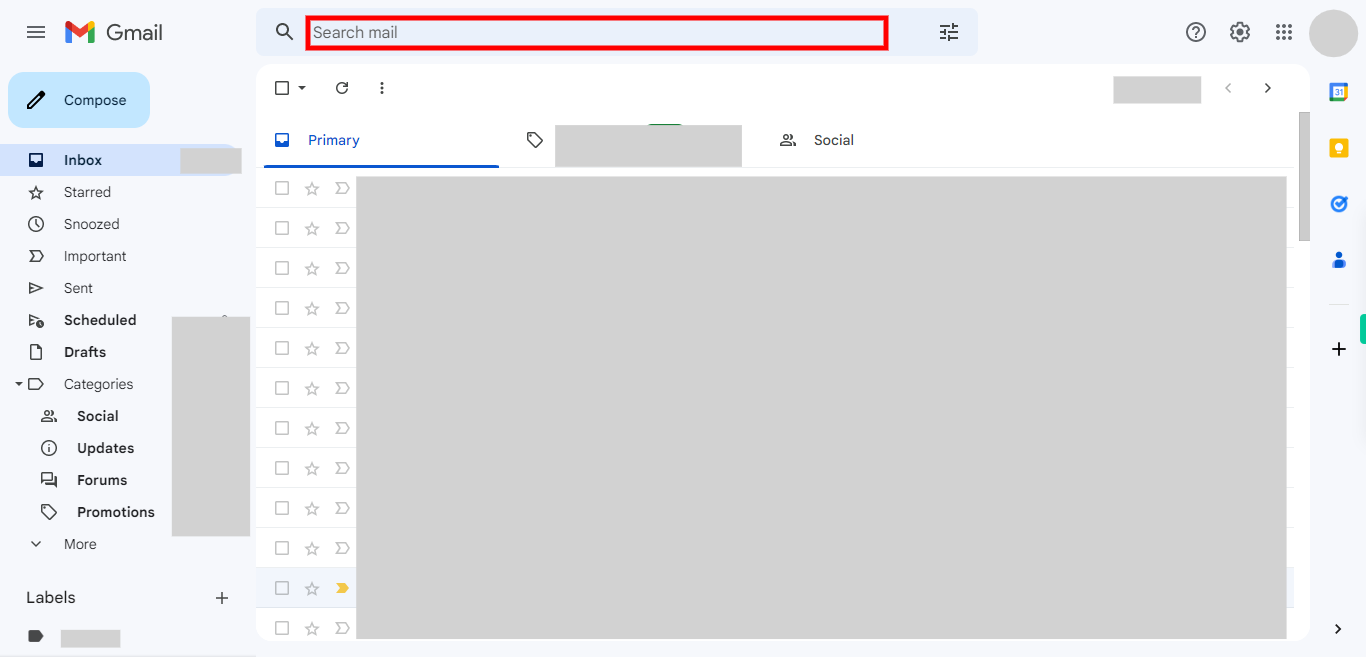
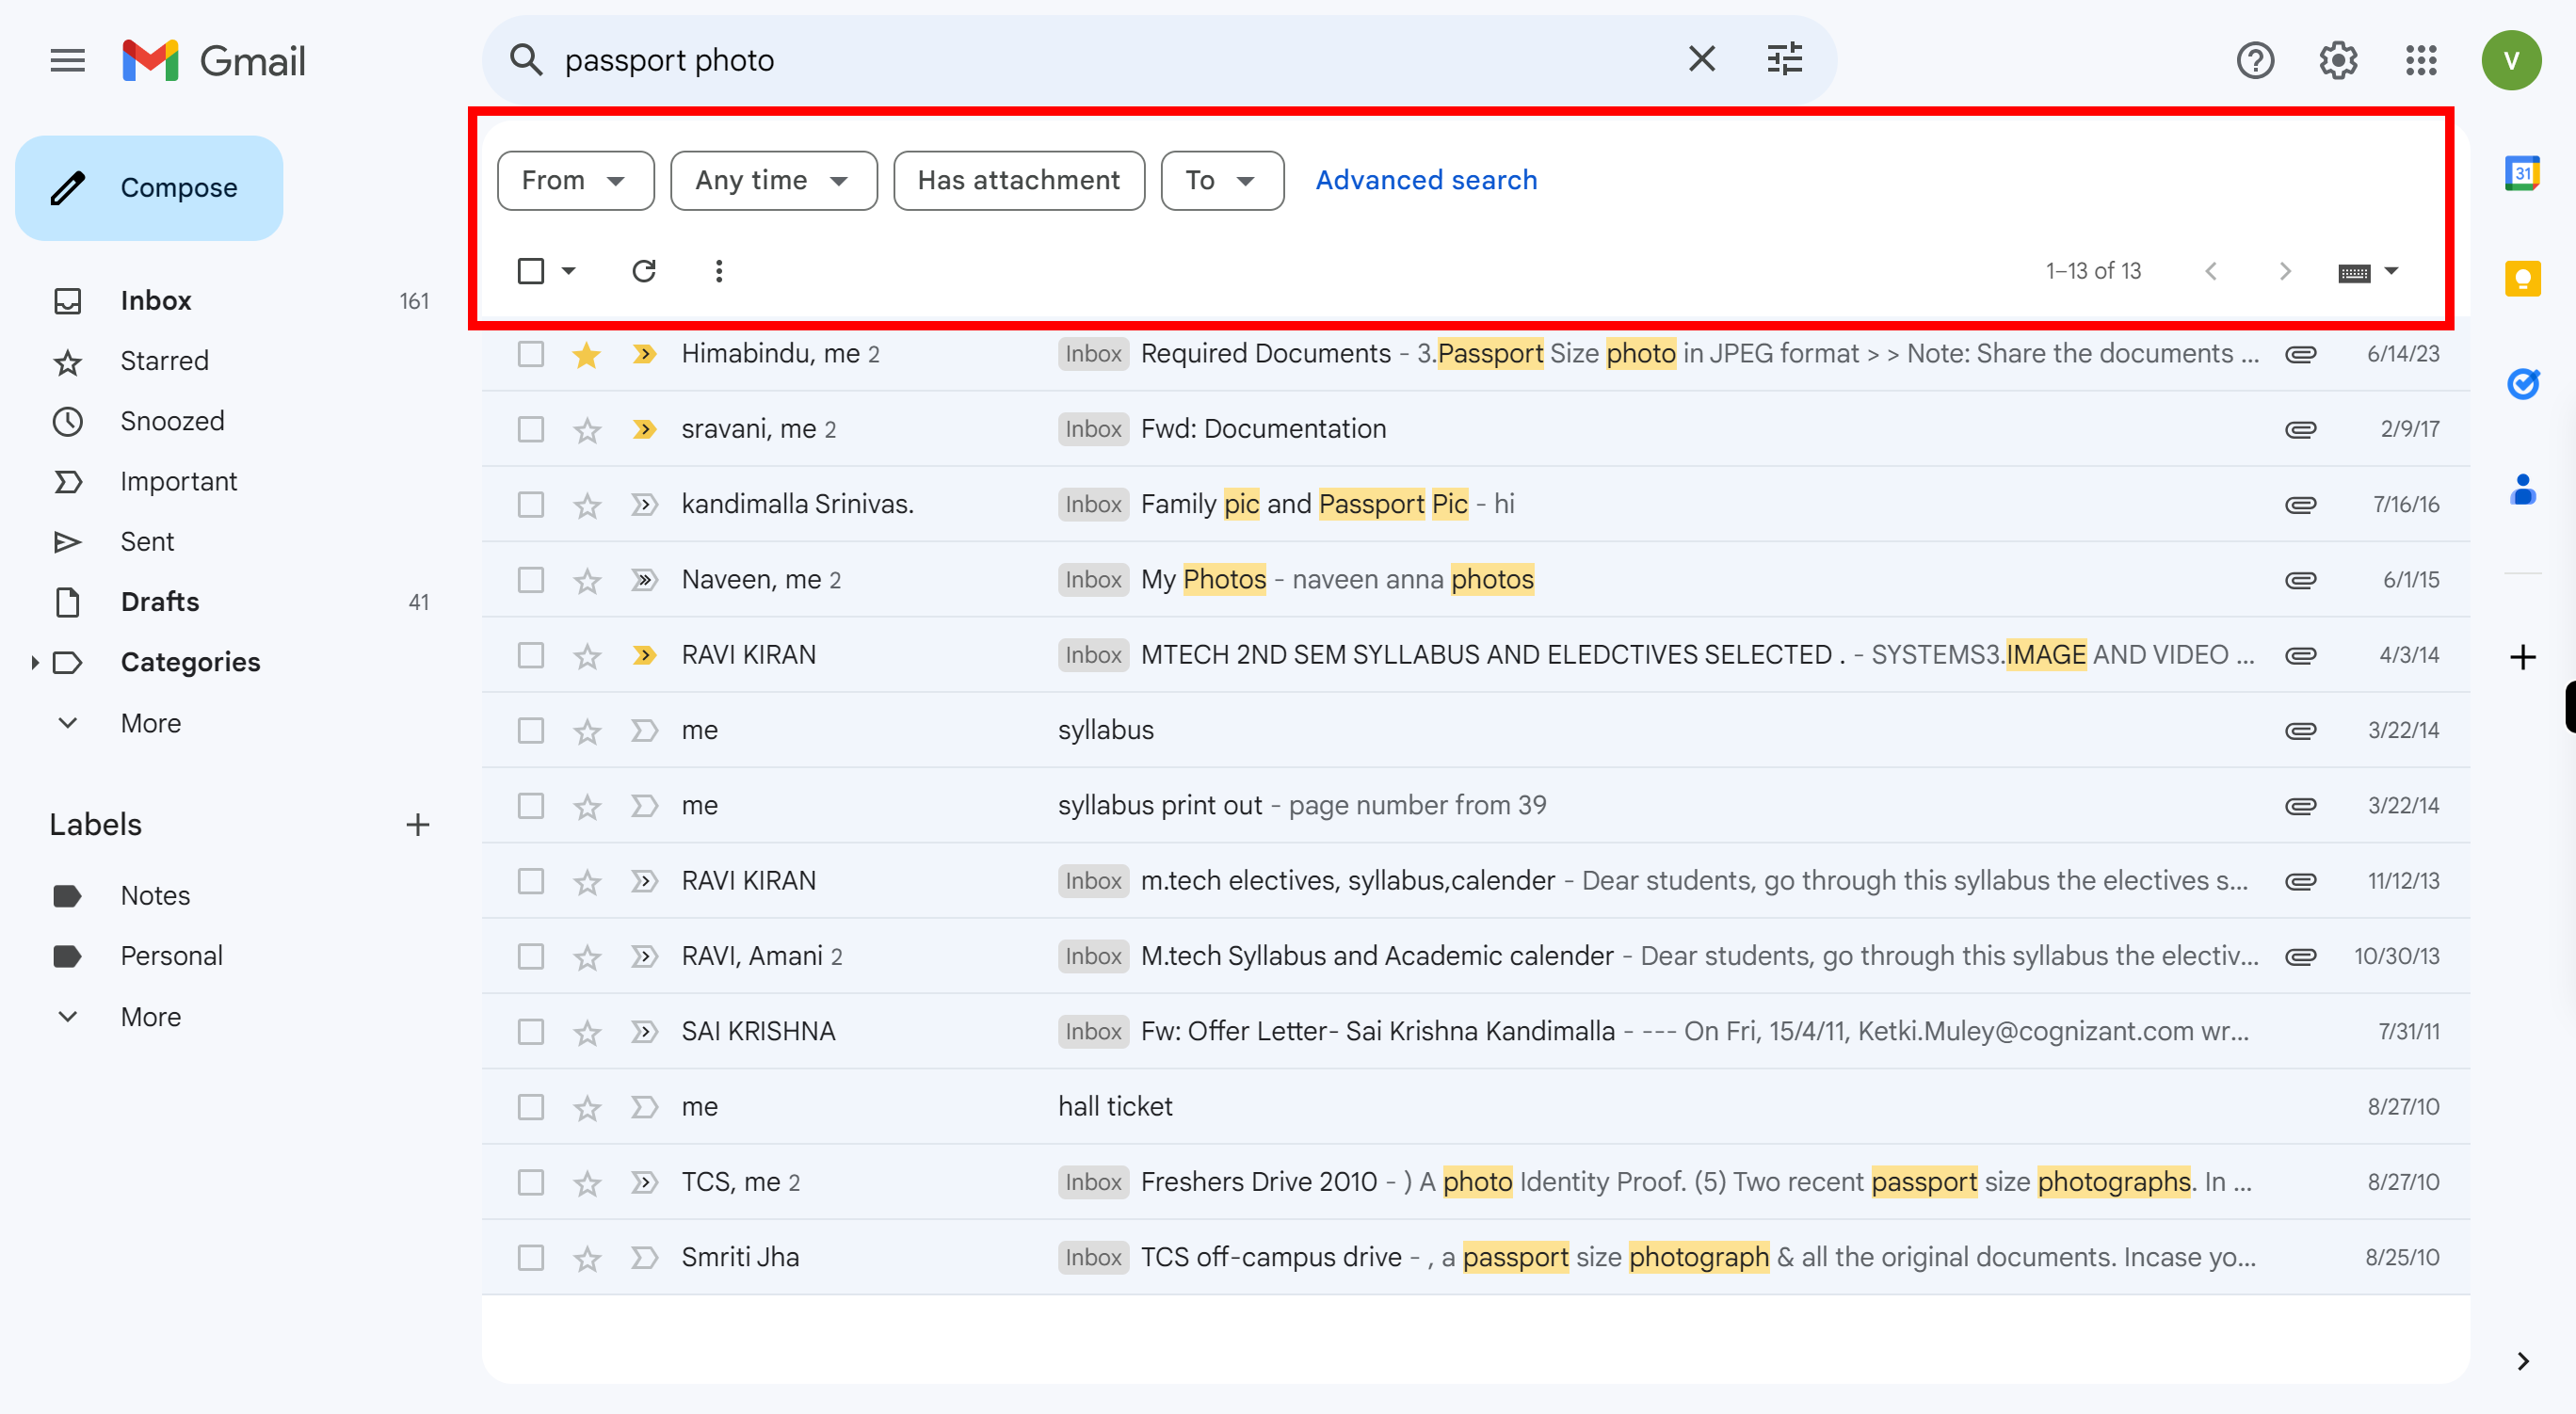
On the home page, click on the "Search mail" bar. Enter the name or keywords related to the email you want to find. click on "Enter" or on the magnifying glass icon to search. Once done, click on the Next button on the Supervity instruction widget. Open the desired email by clicking on it to view its content and details.
-
3.
Click FromAny timeAny timeOlder than a weekOlder than a monthOlder than 6 monthsOlder than a yearCustom range…Has attachmentToAdvanced search Fetching mail... AllNoneReadUnreadStarredUnstarred1–13 of 13
-
4.
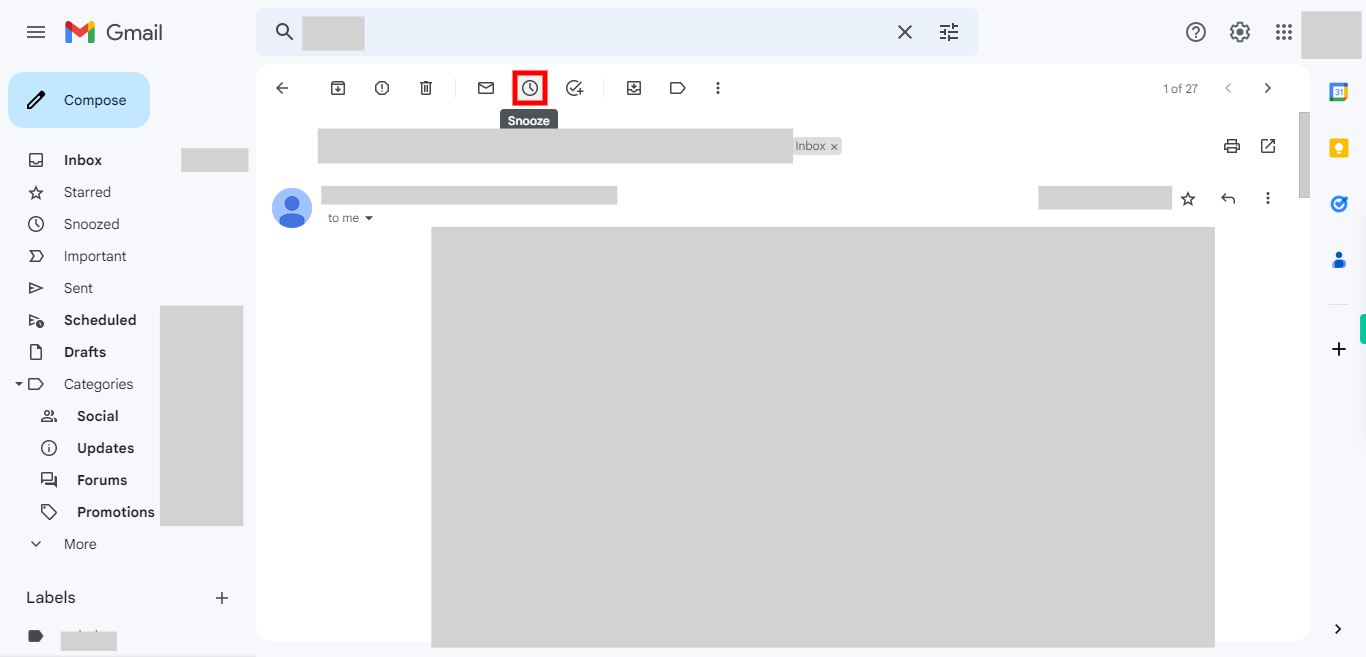
First, click on the Next button on the Supervity instruction widget. In the selected email, there will be multiple options available on the toolbar. Click on the Snooze icon in the toolbar at the top of the screen. The Snooze icon looks like a clock with an arrow pointing down.
-
5.
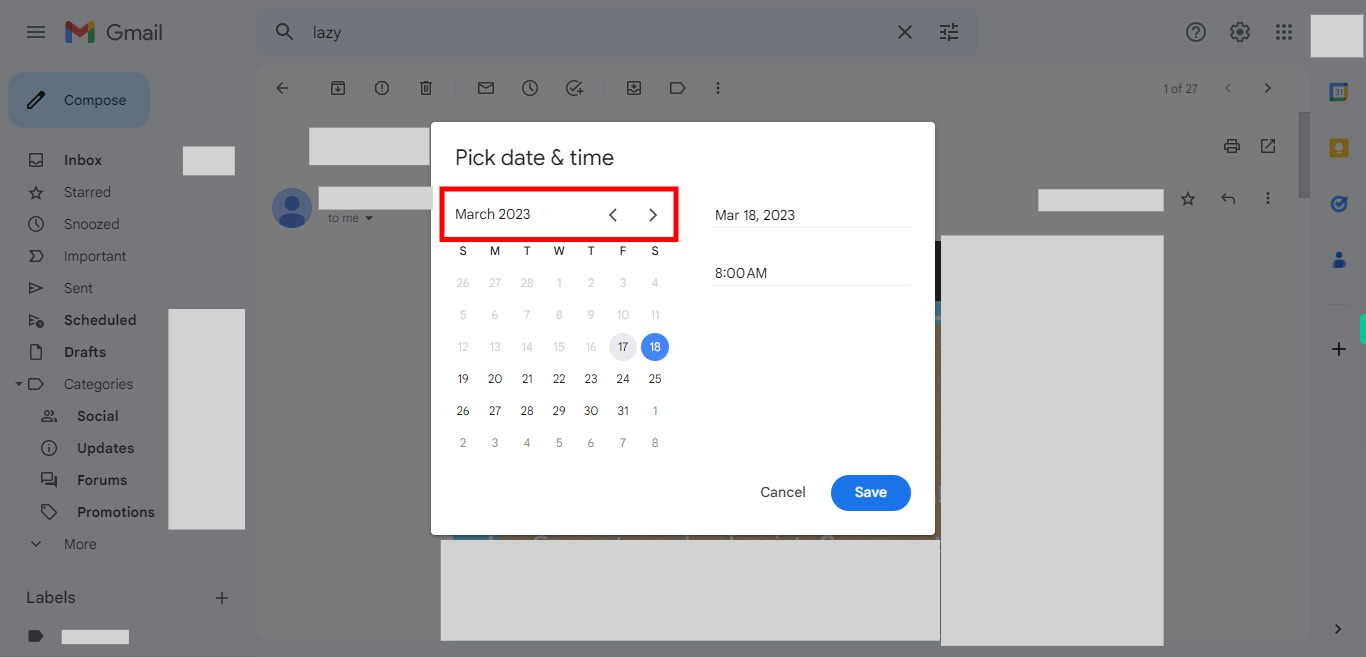
First, click on the Next button on the Supervity instruction widget. From the dropdown menu, select the "Snooze" option. Choose the "Pick date & time" option from the available pre-defined options like "Later today", "Tomorrow", "This weekend", and "Pick date & time". A calendar or date/time picker may appear where you can select the desired date and time for the email to resurface in your inbox.
-
6.
After you choose the "Pick date & time" option from the snooze dropdown, you will be able to select a specific date. Click on the calendar icon or enter the date manually in the provided field. Please follow the on-screen instructions and choose the desired date from the calendar or input it manually. Once done, click on the Next button on the Supervity instruction widget.
-
7.
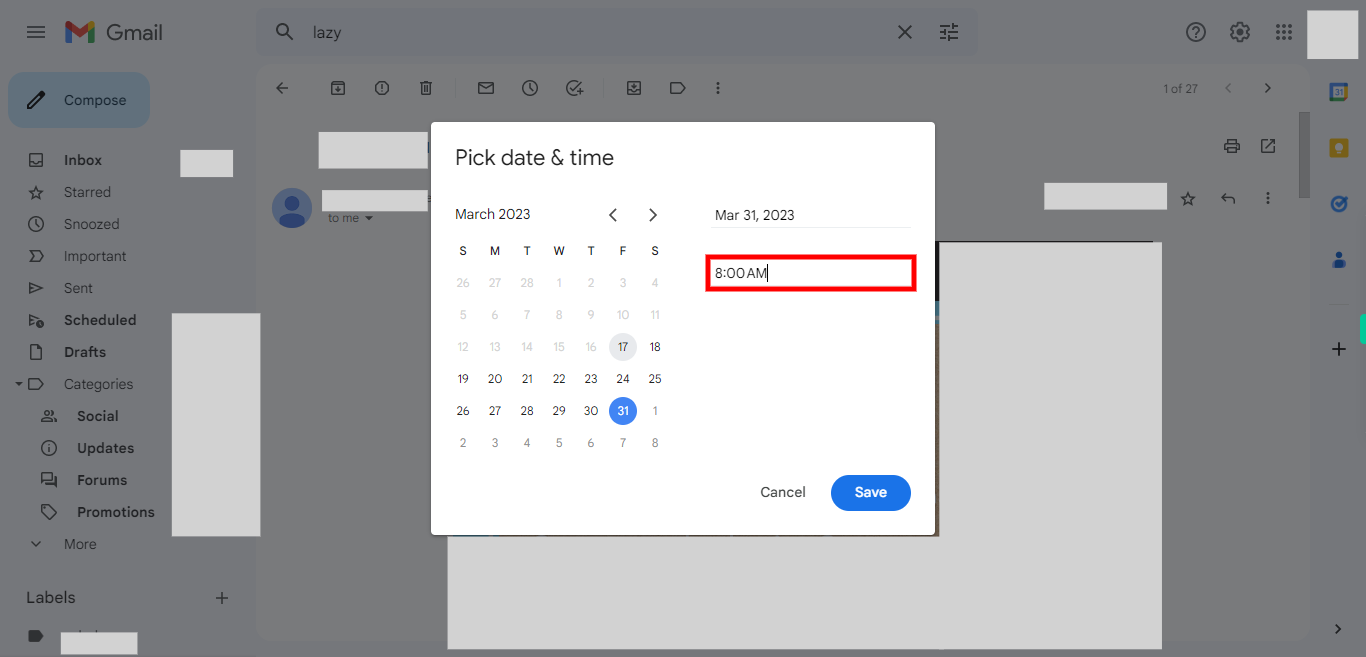
After you choose a specific date. Click on the time field, and enter the time manually in the provided field. Please follow the on-screen instructions and enter the desired time manually. Once done, click on the Next button on the Supervity instruction widget.
-
8.
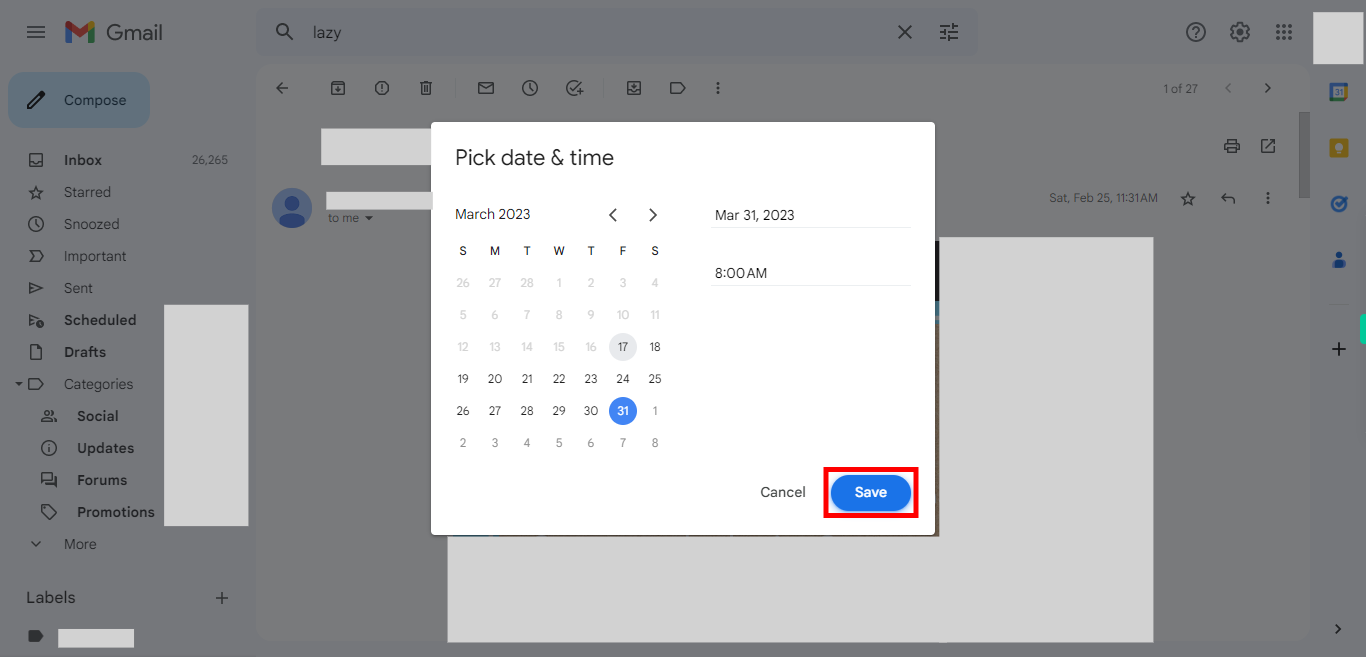
6 . Click Save.


