In Outlook, you can receive emails from multiple accounts by adding them to your account list. This allows you to view and manage all your emails from different accounts in one place, streamlining your email management and improving productivity. Here is a skill that will guide you with a step-by-step process of adding multiple accounts in the web outlook application. Note: Make sure you are already logged into the Outlook web application while trying out this skill.
-
1.
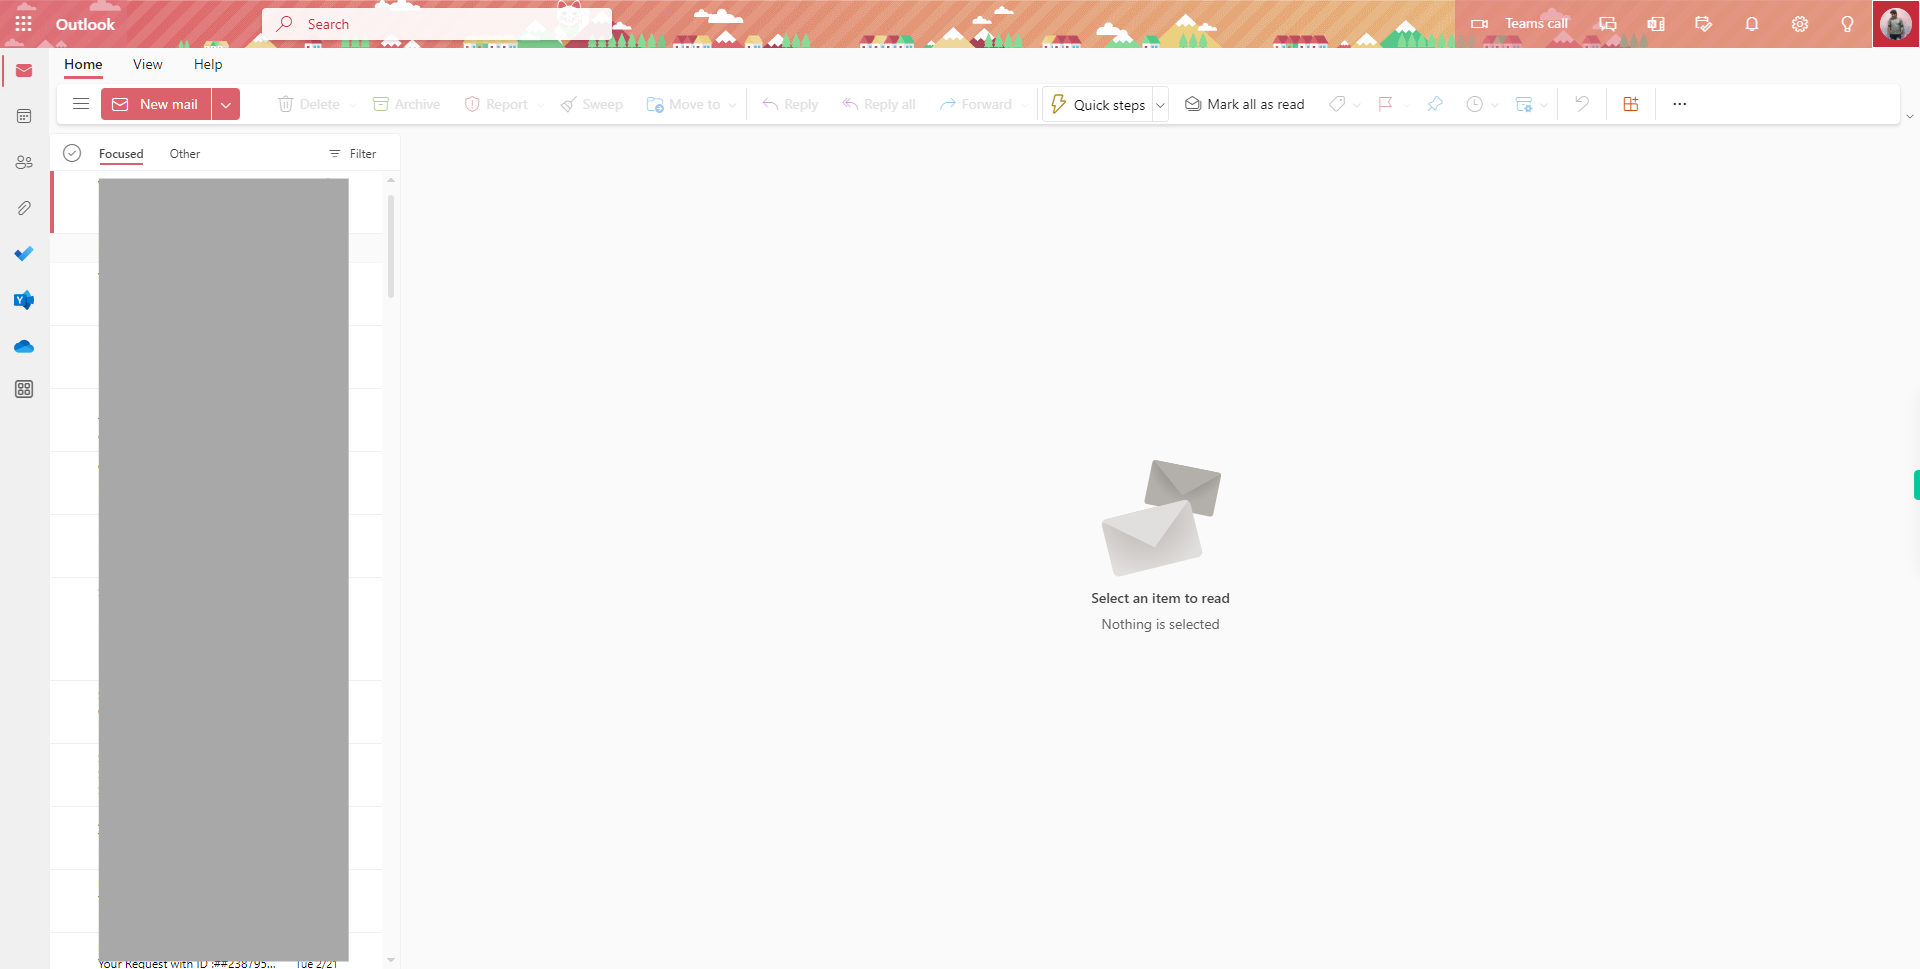
Open web Outlook account.
-
2.
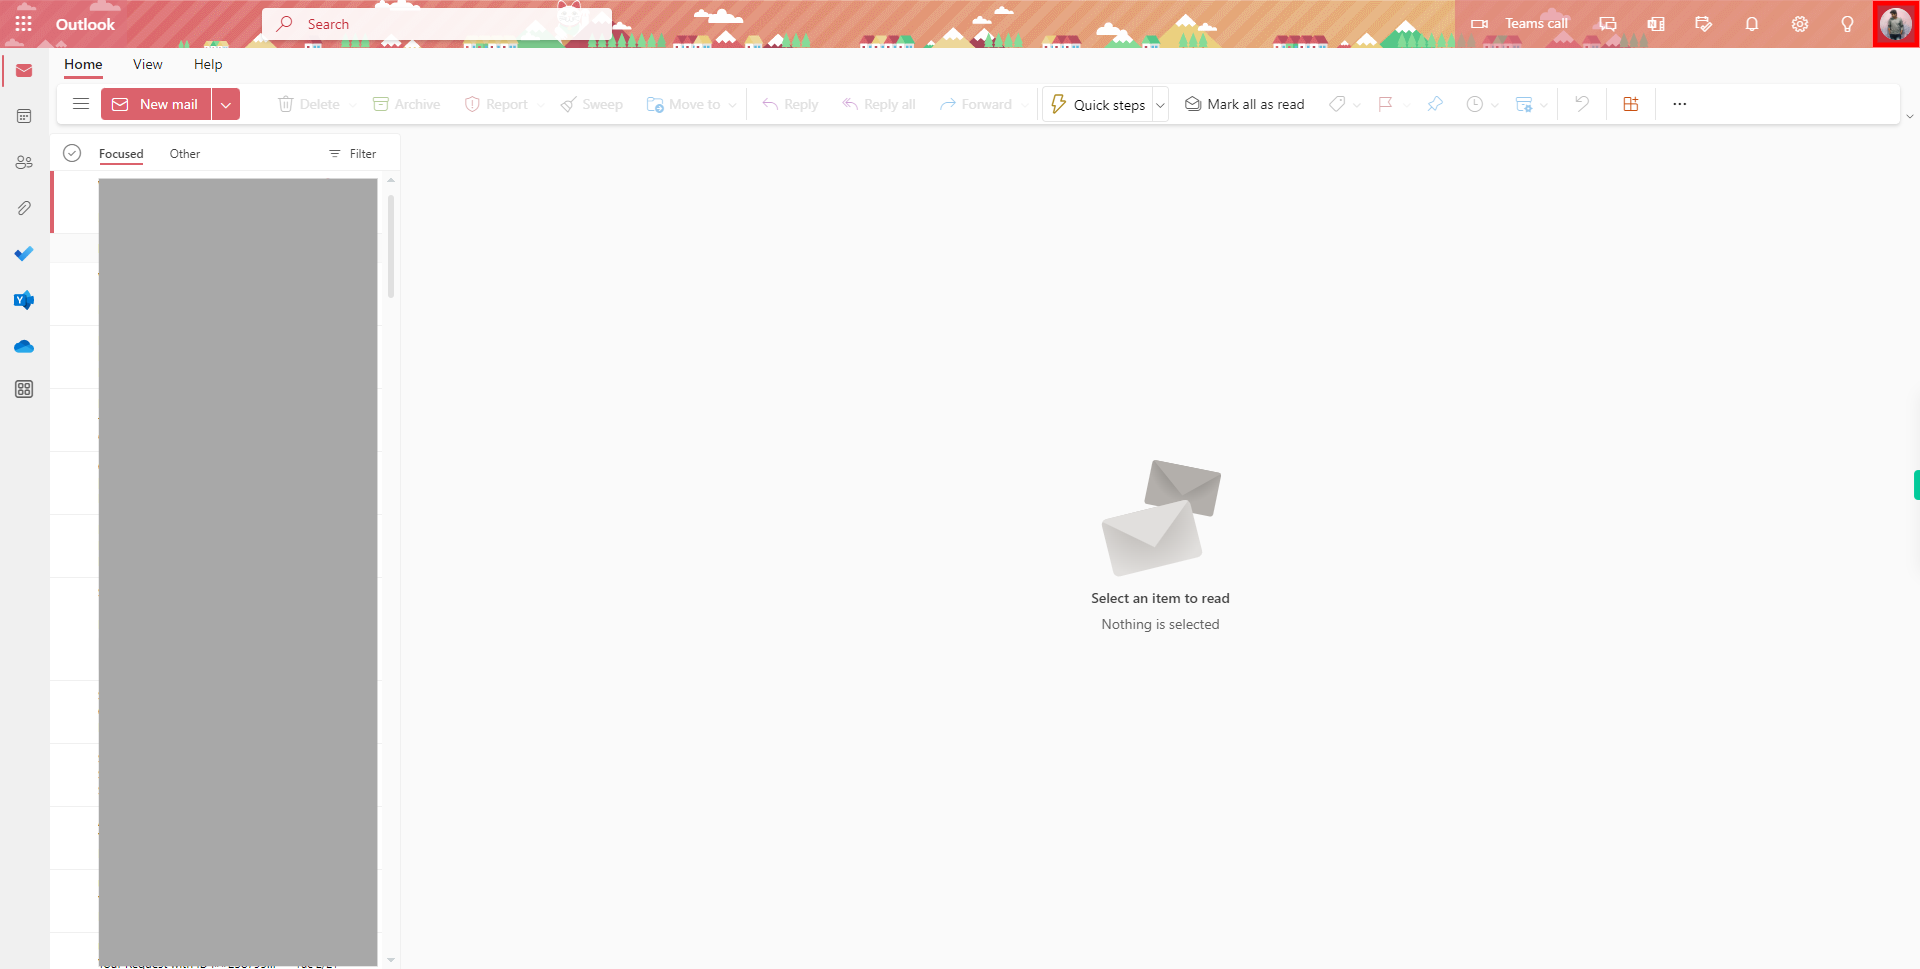
On the right-hand side of the screen, you will find a set of icons. Click on the "Profile" icon, which is usually represented by a circular image, positioned at the top right corner of the web page. By clicking on this icon, you will access your profile settings and related options in Outlook.
-
3.
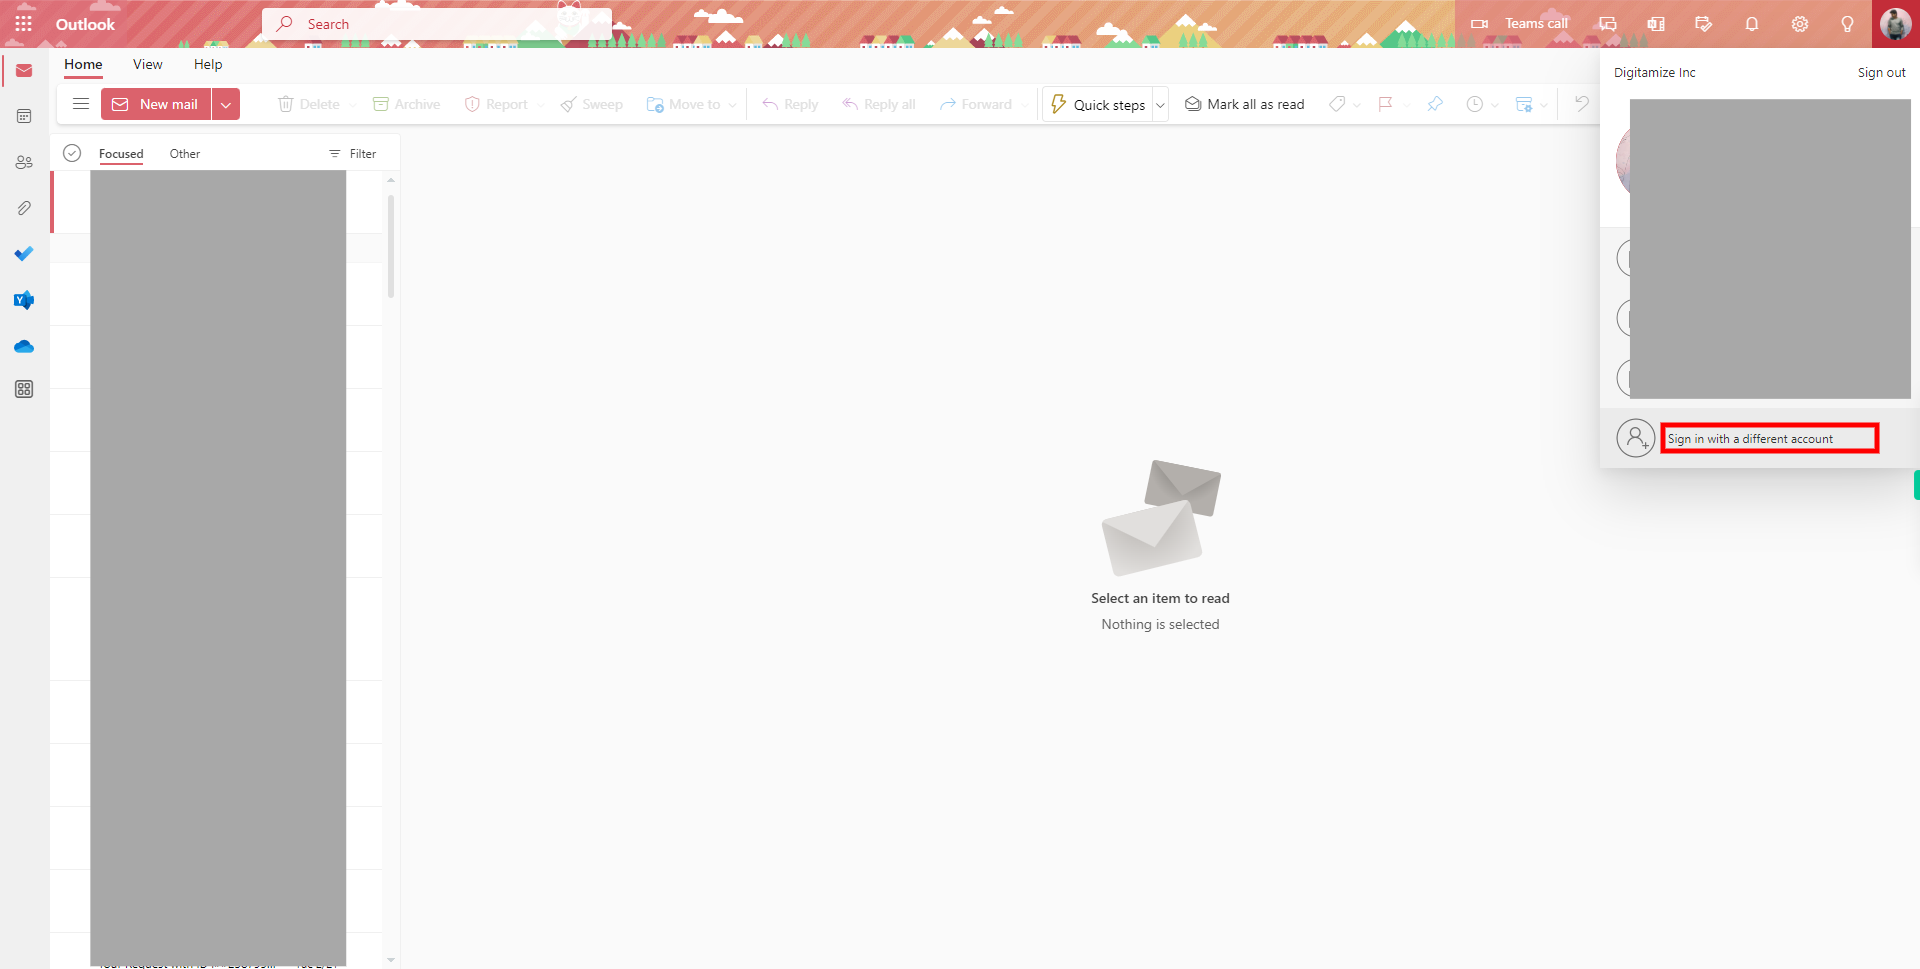
After clicking on the profile icon, a set of options will be displayed. Towards the bottom of the list, you will find the option "Sign in with a different account." Click on the "Sign in with a different account" option to proceed with signing in. This will allow you to switch to a different Outlook account or enter the credentials for a new account.
-
4.
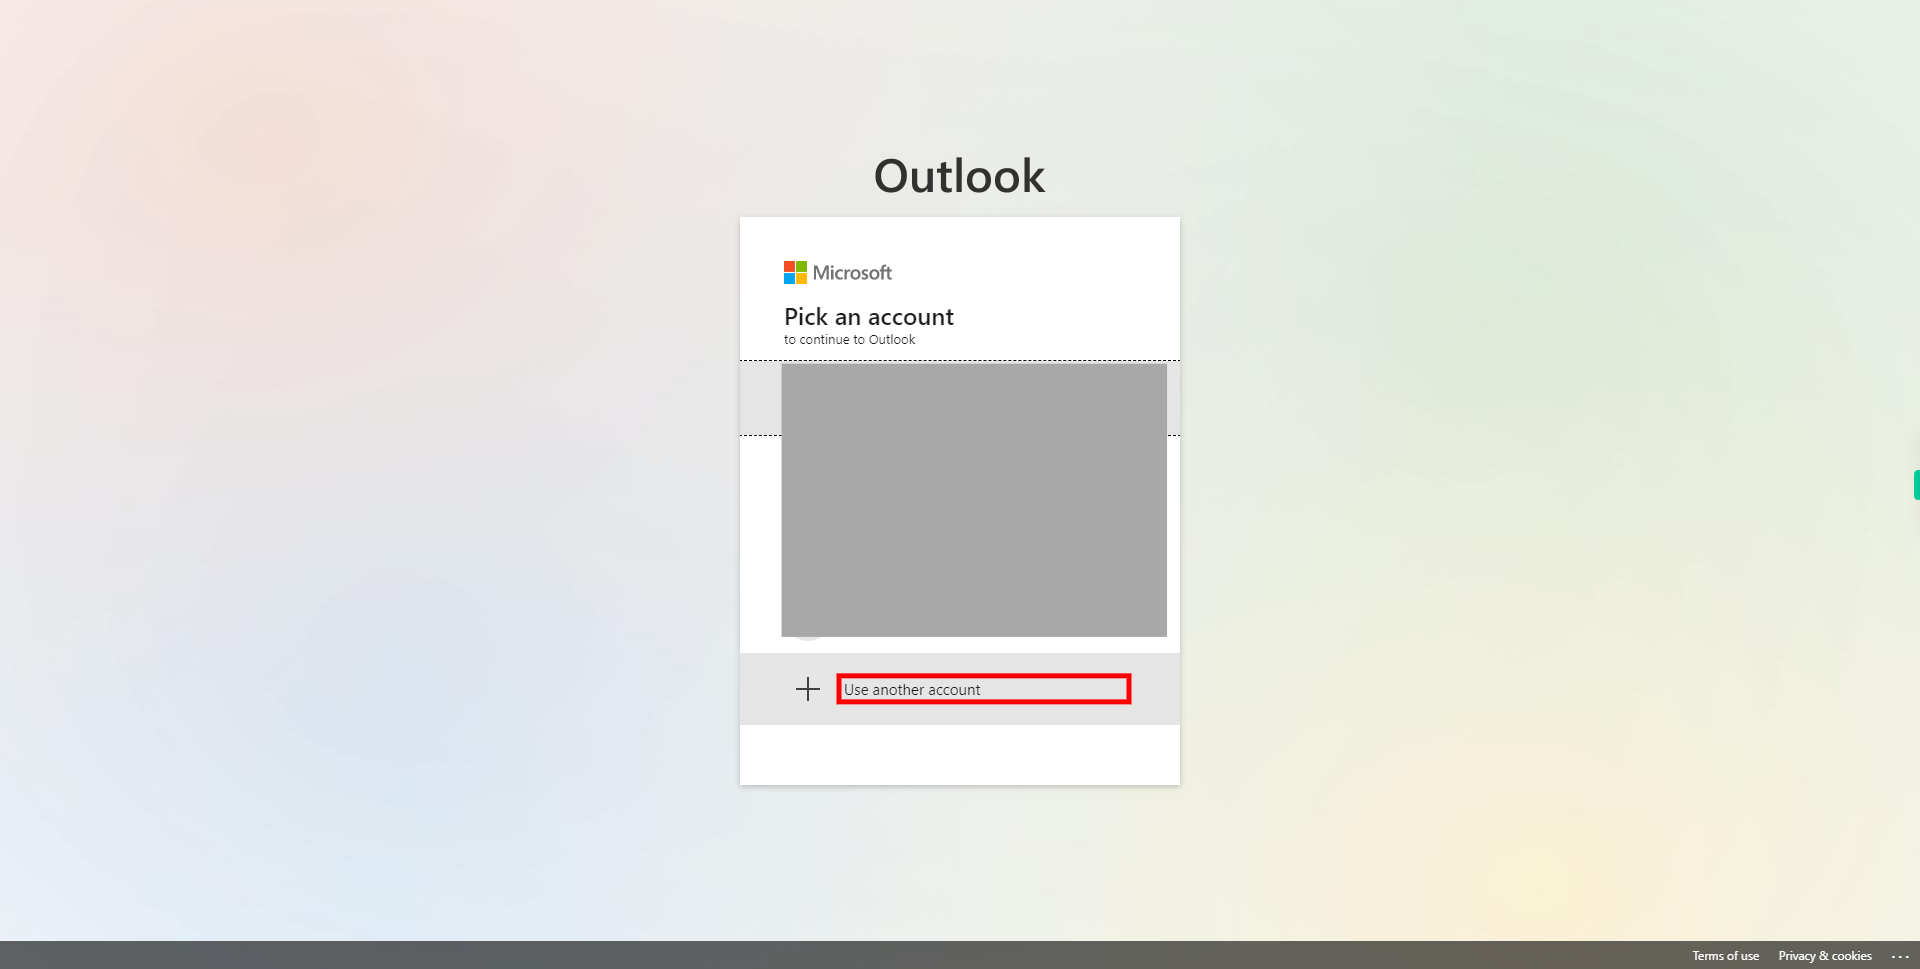
On the "Pick an account" page, click on the "Use another account" option. This will allow you to add one more account to the login process.
-
5.
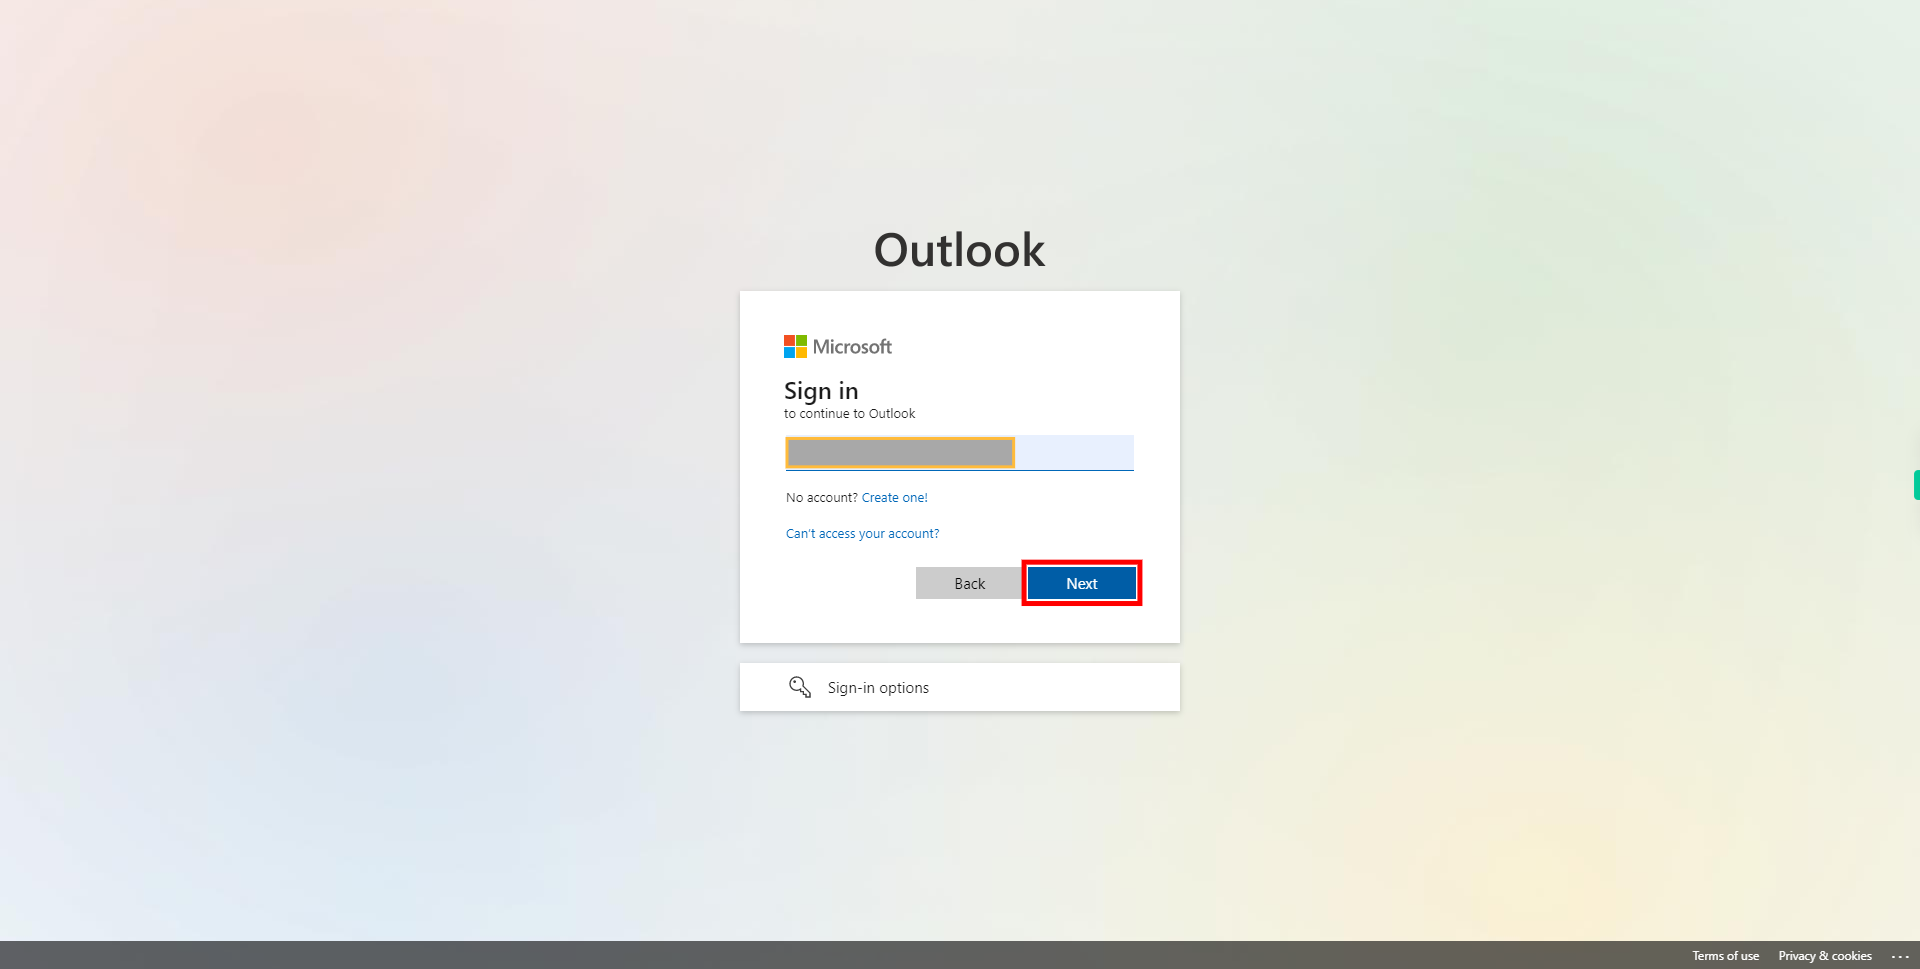
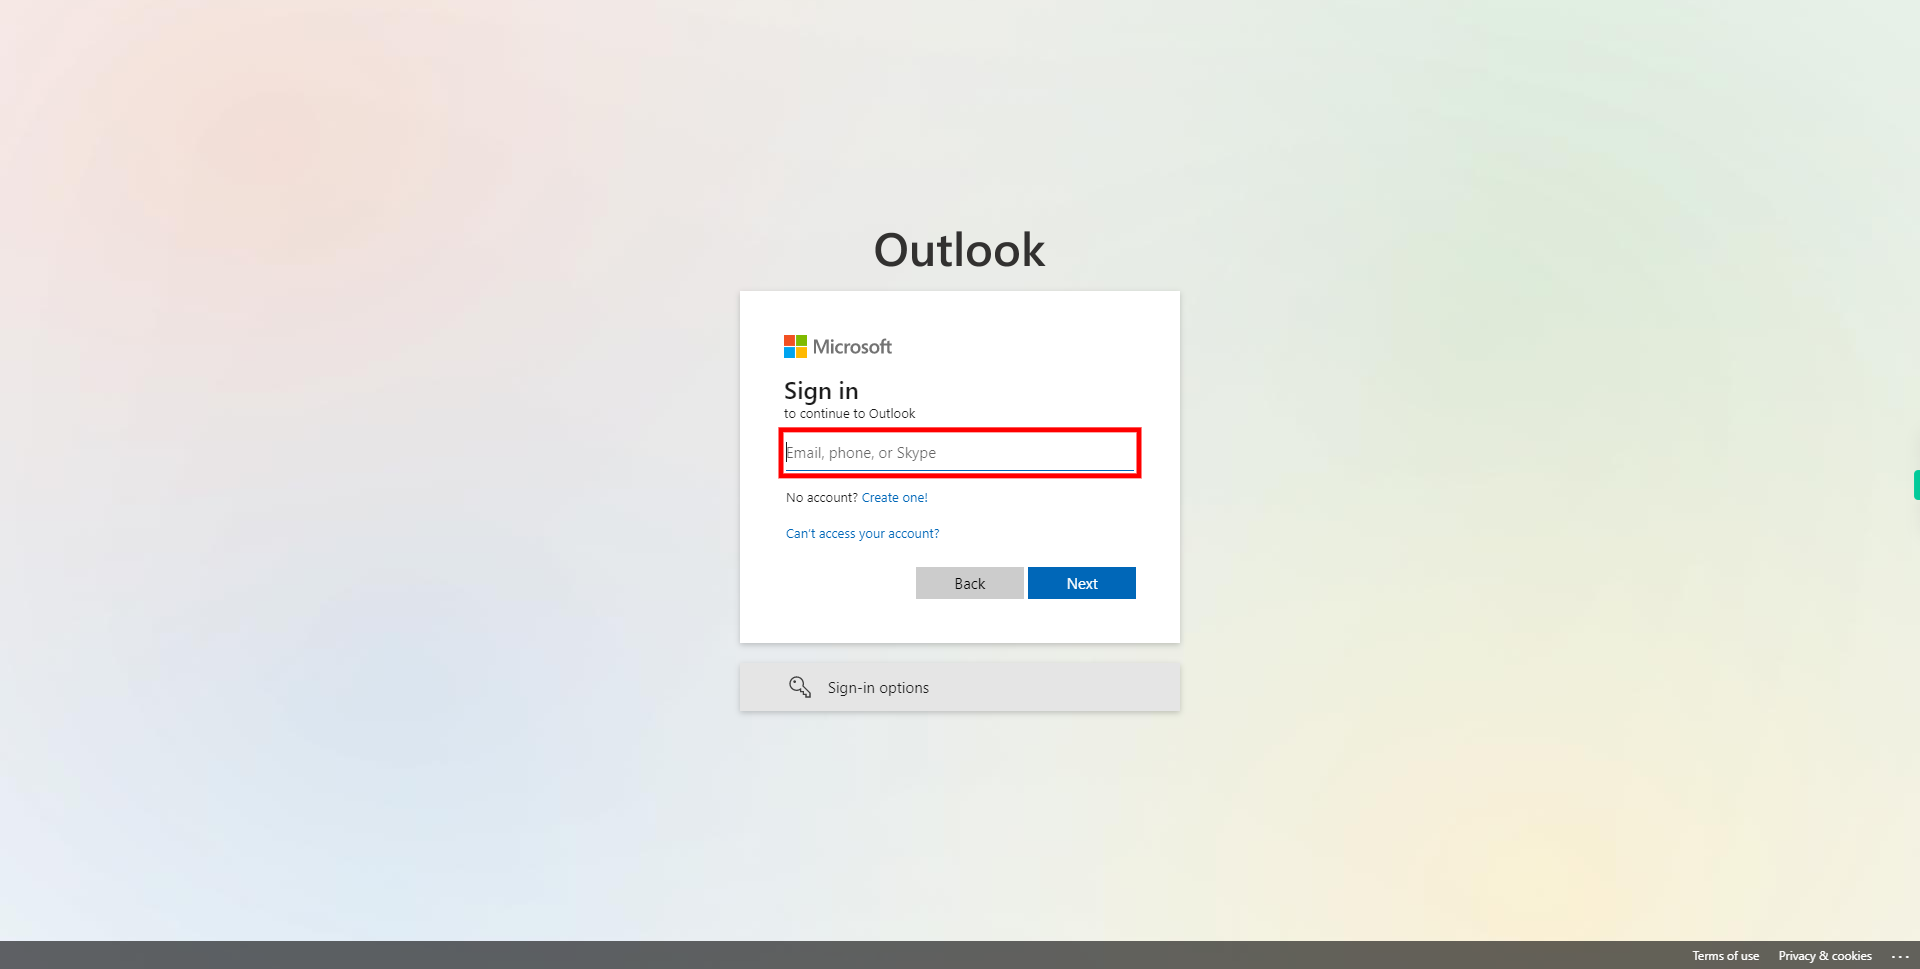
Please enter your email, phone, or Skype information into the provided field. Once you have entered your details, click on the "Next" button in the Supervity instruction widget to proceed.
-
6.
After entering your email address, click on the Next button located below the email input field. This will allow you to proceed to the next step where you may be asked to choose "Work or school account" or "Personal account". Select your desired account type.
-
7.
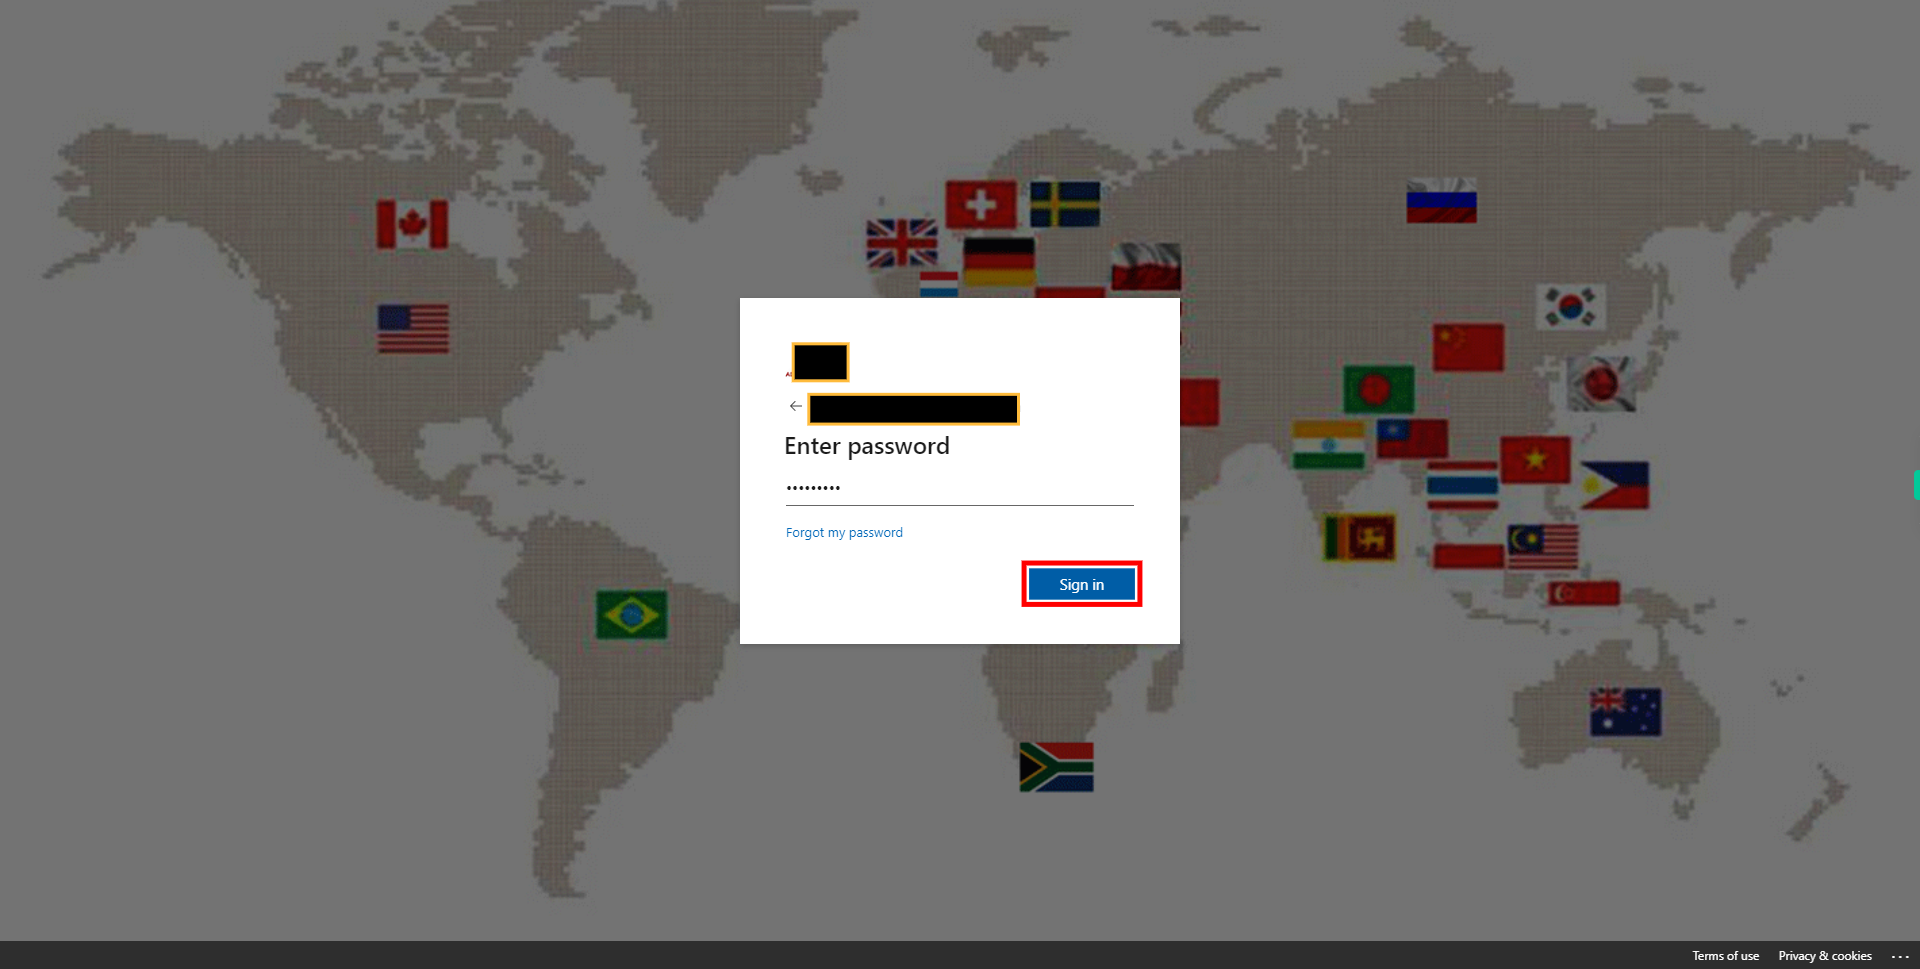
Enter the Password and click on Sign in. The next steps are based on the authentication process enabled by you, either 2-step verification or through the authenticator app.


