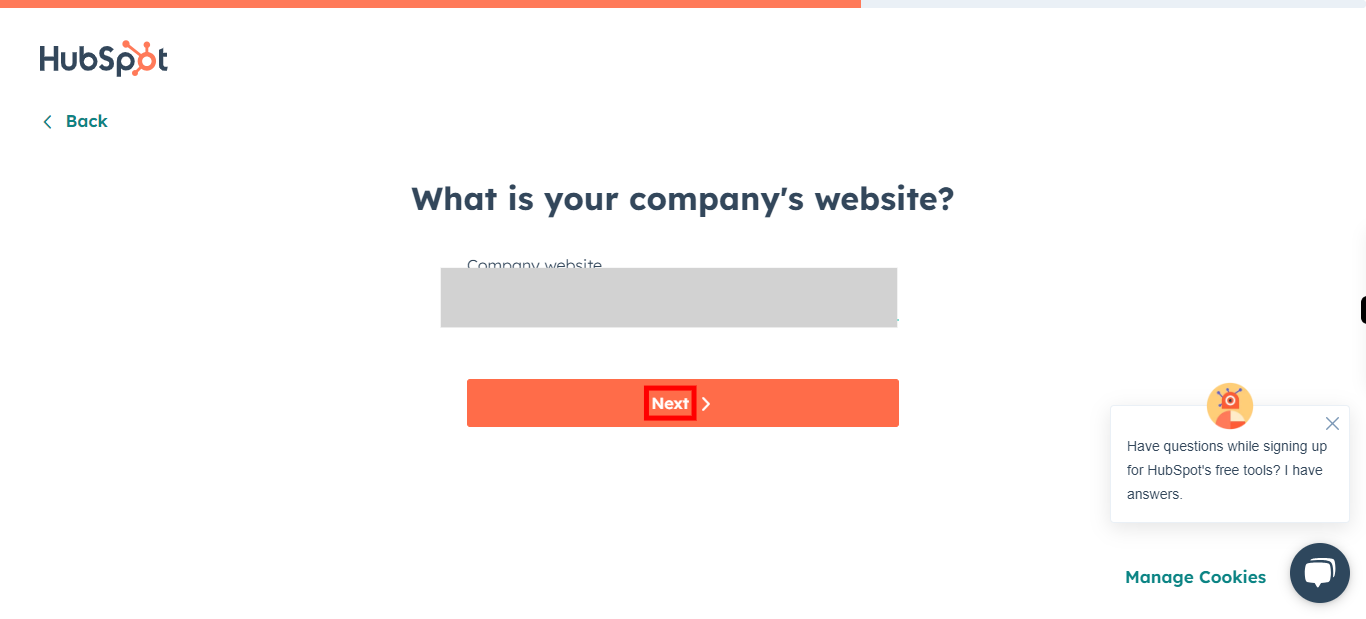
This skill helps the user to create a new free Hubspot account using Gmail.
Note:
User need to login to Gmail
-
1.
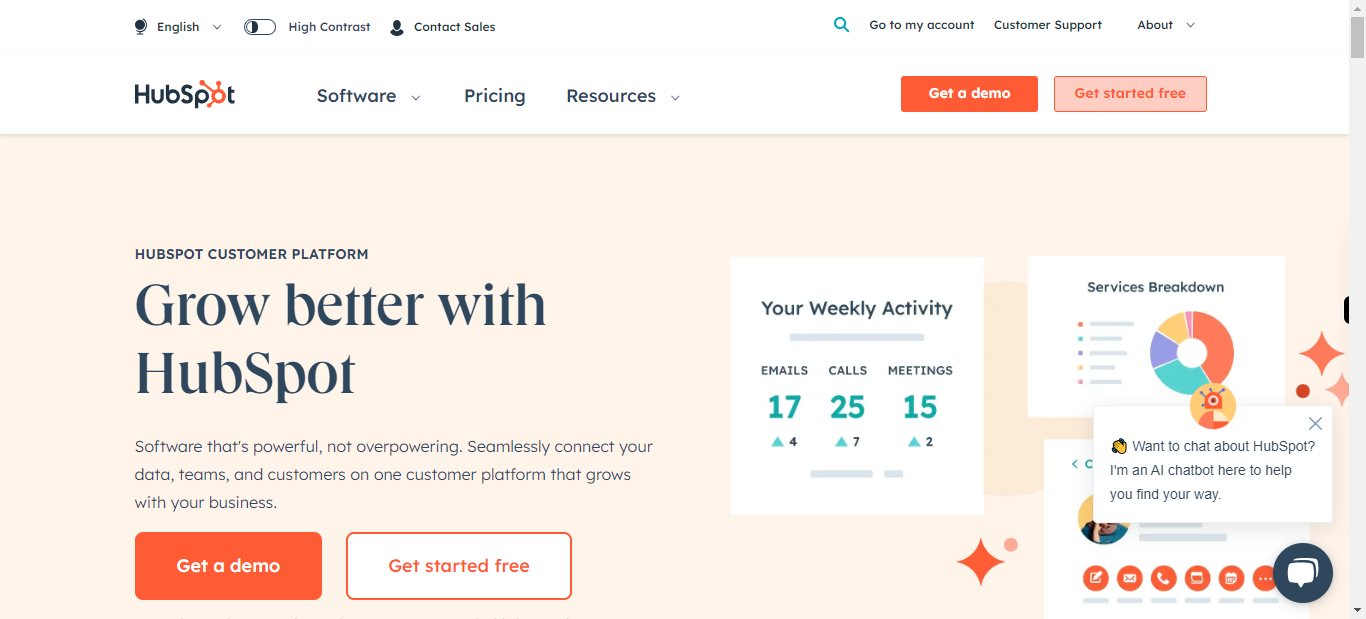
Open HubSpot on the Web.
-
2.
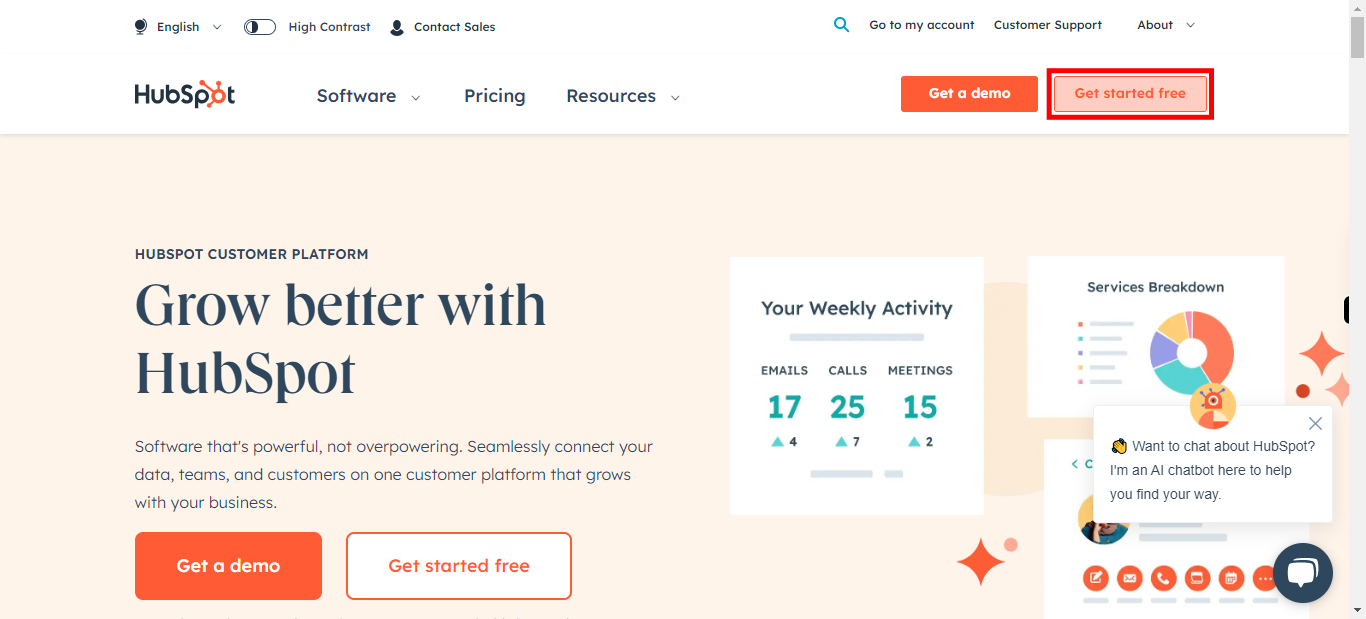
Click on Get started free with HubSpot's free tools to start your account.
-
3.
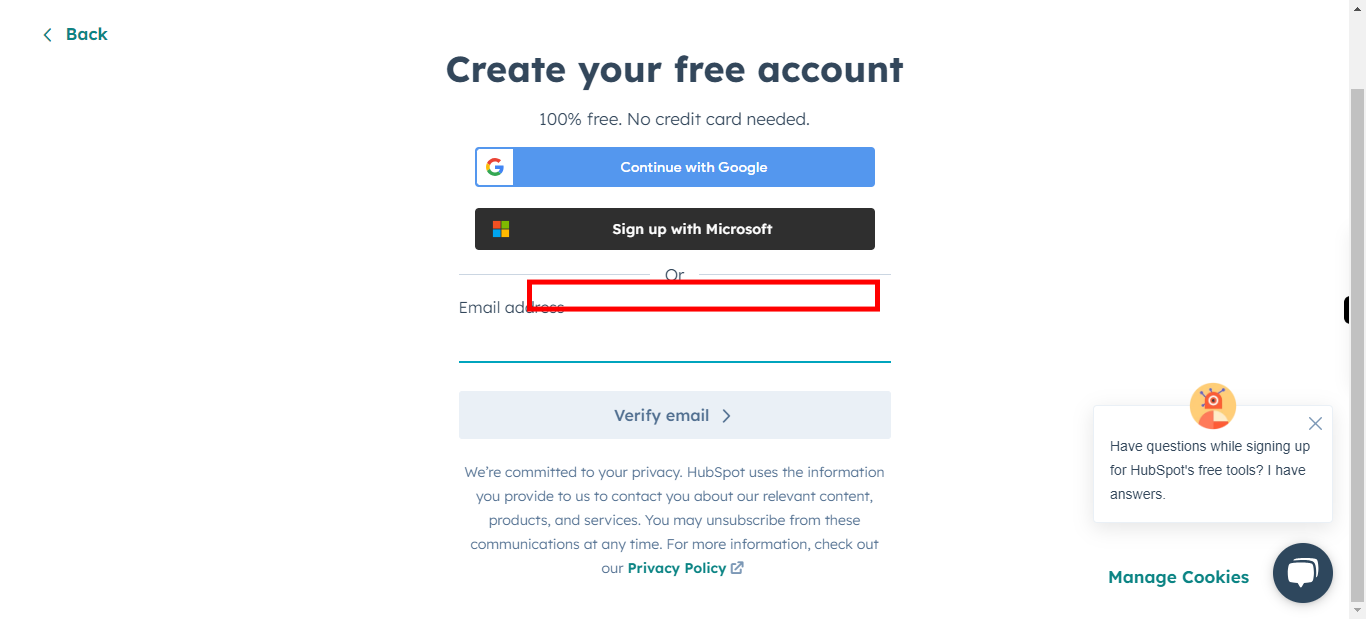
Click on Continue with Google
-
4.
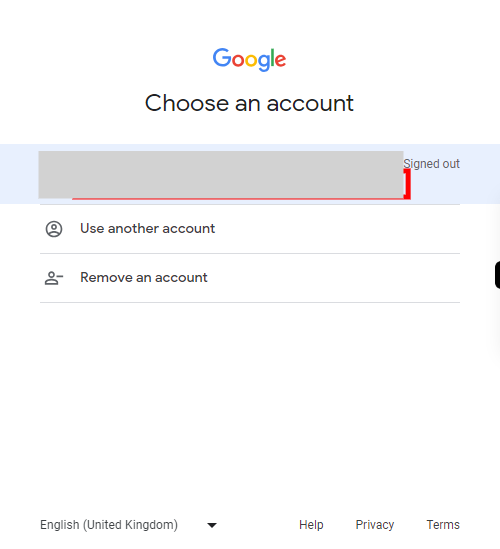
Click on the Gmail account you want to create your account.
-
5.
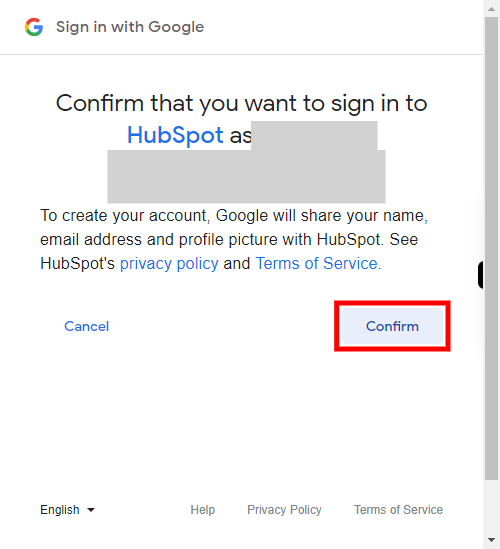
Click on Confirm to continue.
-
6.
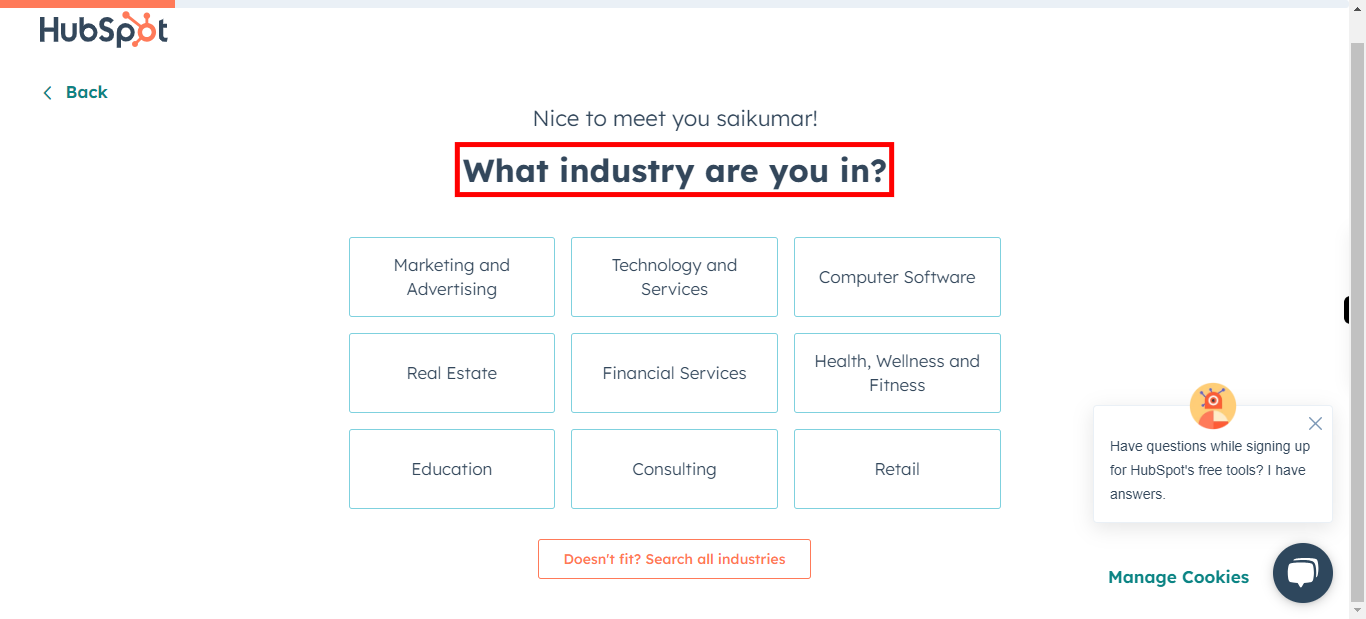
Click on the Next button in Supervity Widjet and Select What industry are you in.
-
7.
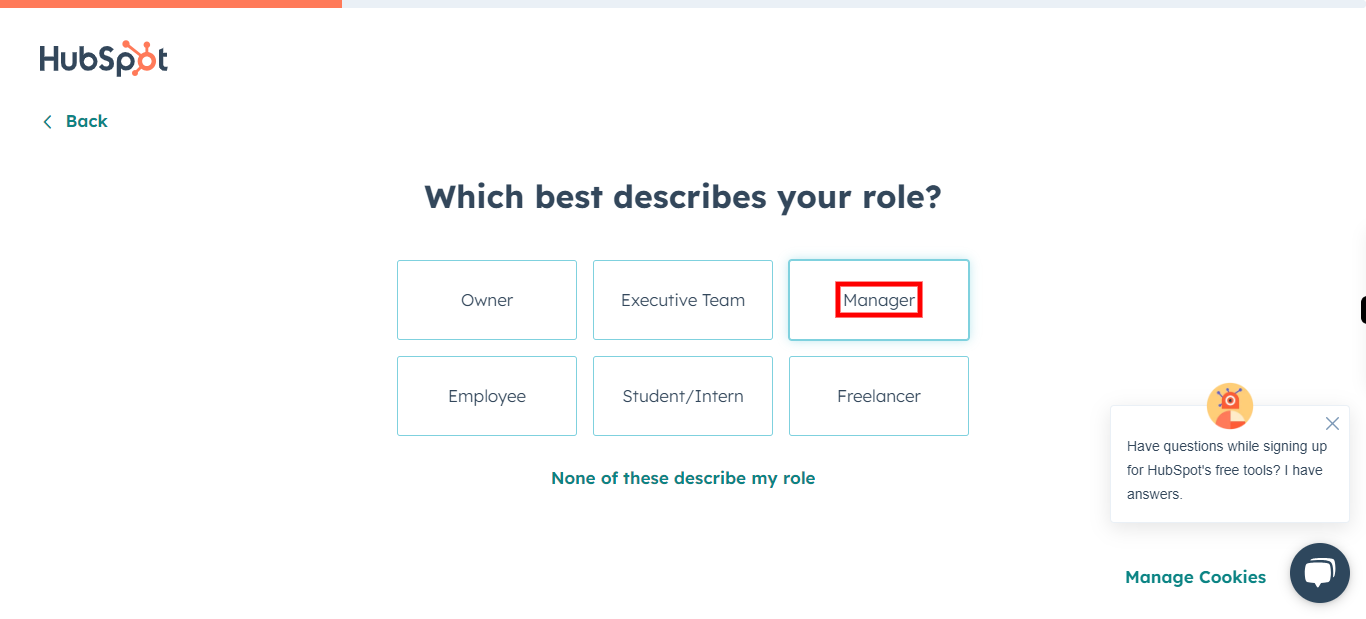
Click on Next button in Supervity Widjet and Select your Role in your company.
-
8.
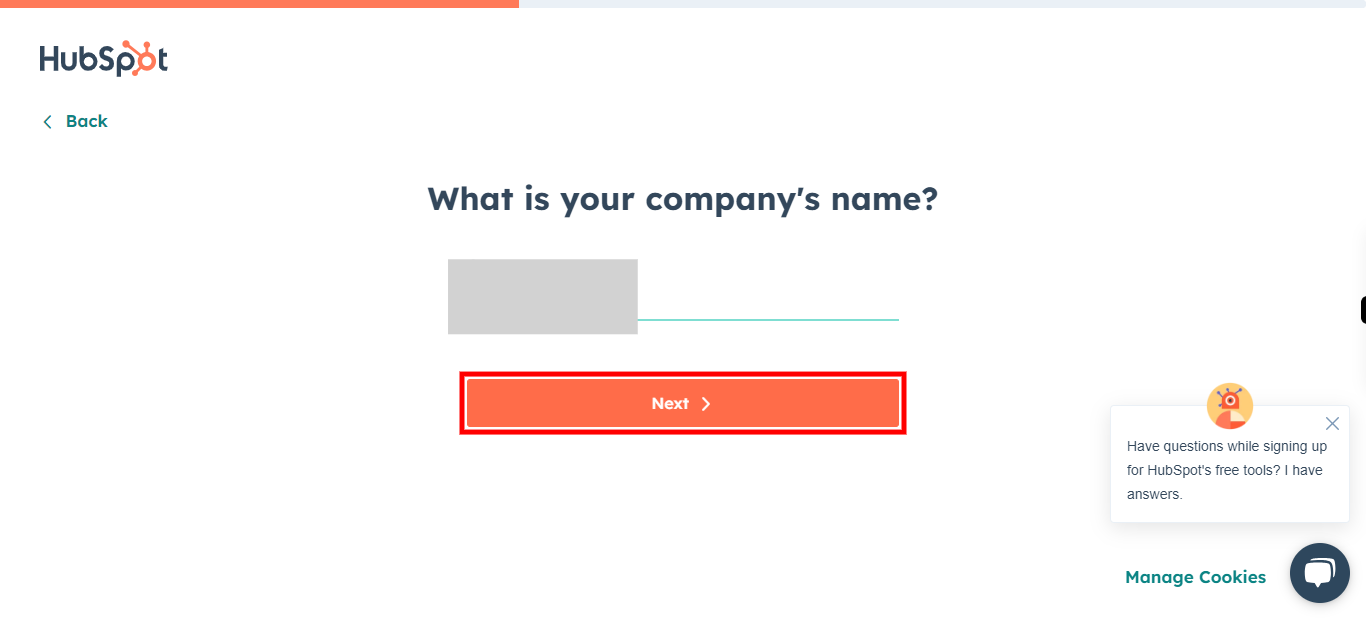
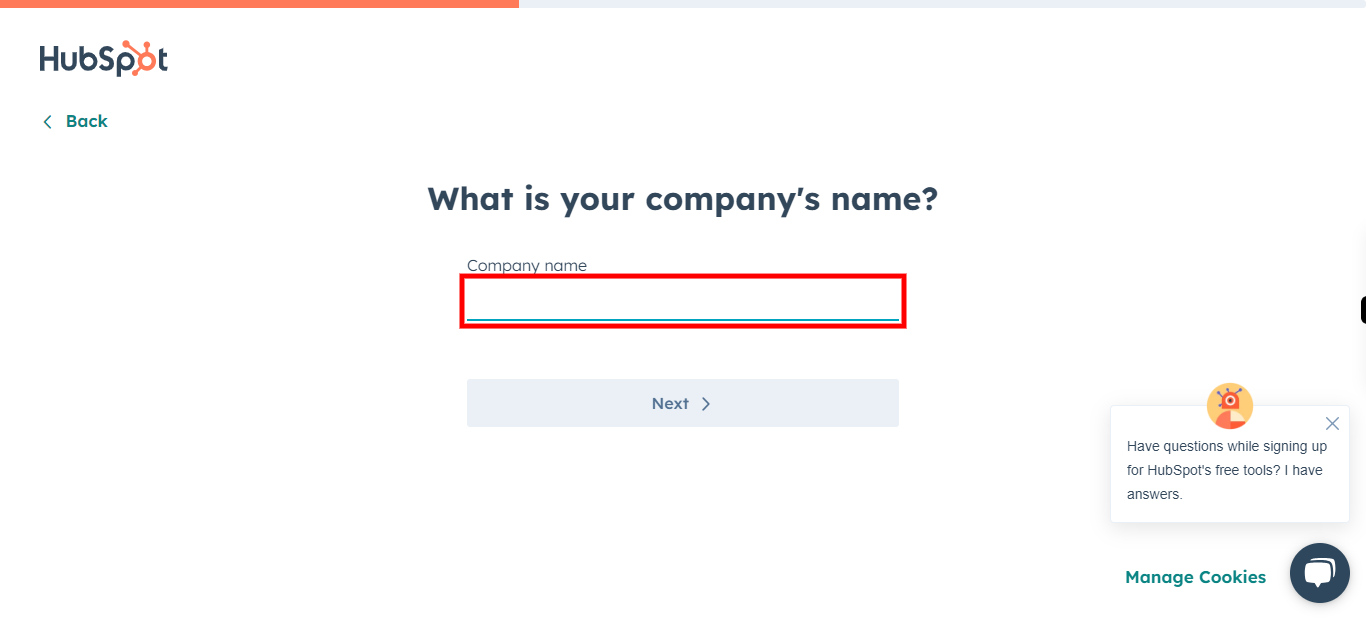
Click on Company name and type your Company name. Once done, Click on Next button in SUpervity Widjet.
-
9.
Click on Next to continue.
-
10.
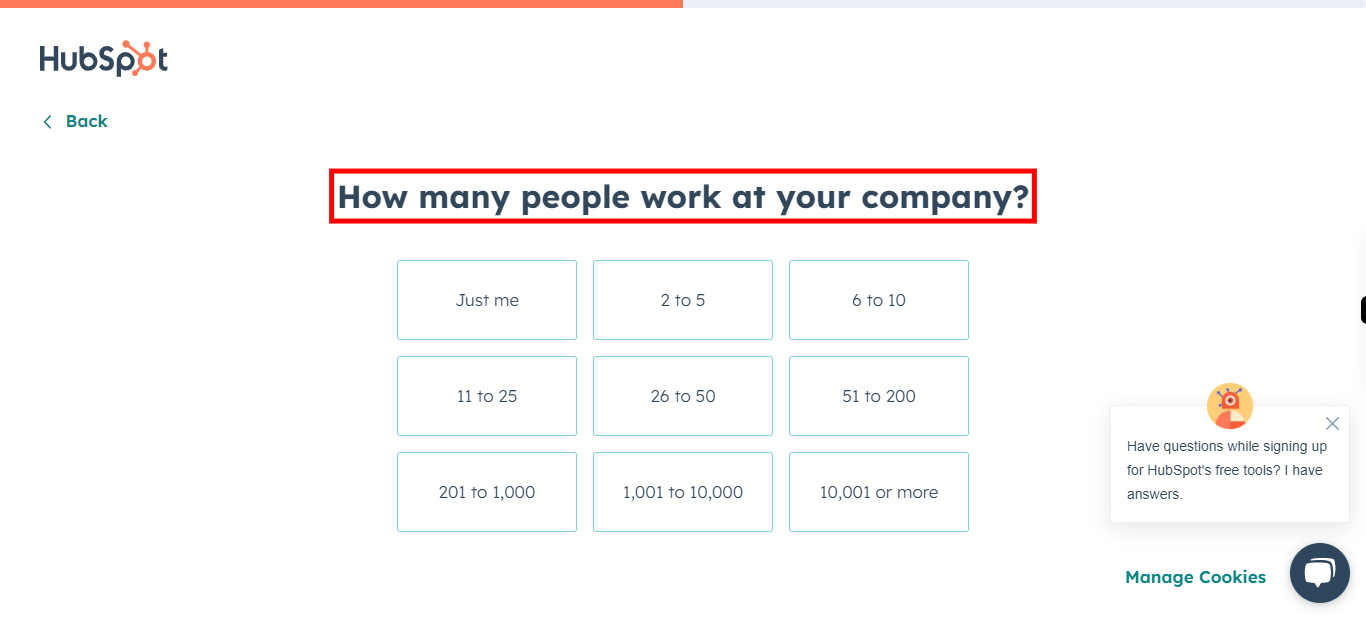
Click on Next button in Supervity Widjet and Select How many people work at your company.
-
11.
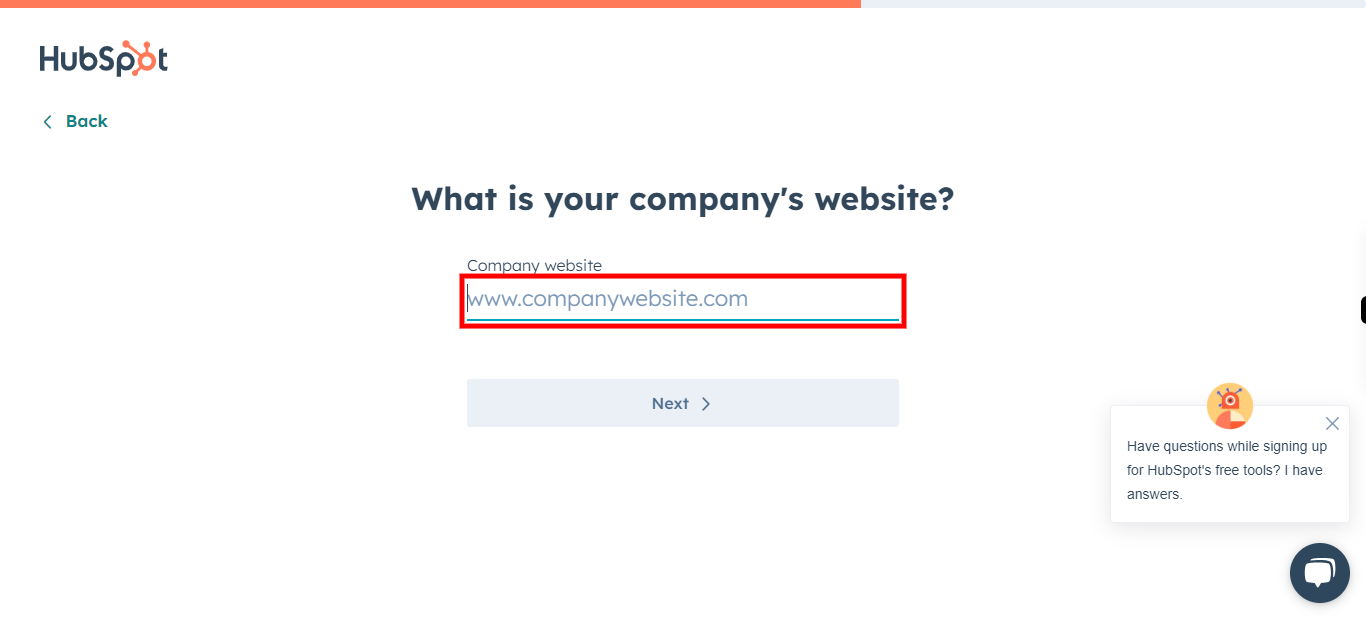
Click on the company website and Type the Company Website. Once Done, Click on Next button in Supervity Widjet.
-
12.
Click on Next to continue
-
13.
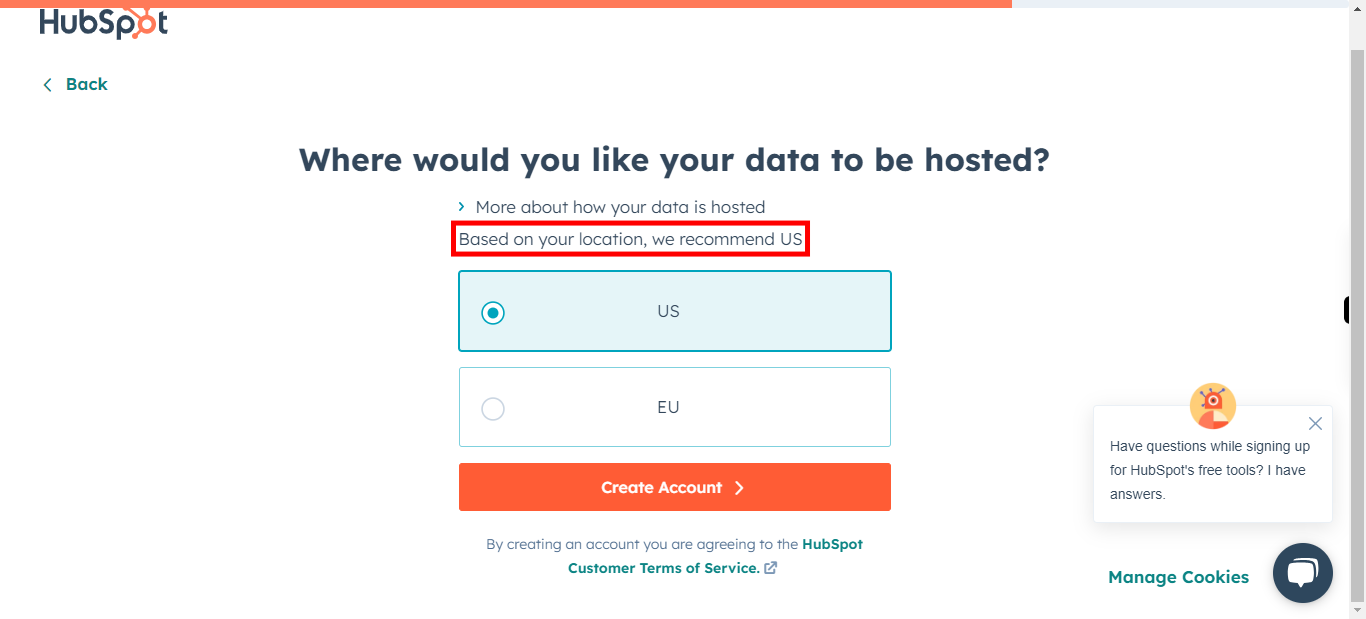
Select the Area your data want to post. Once done, Click on Next button in Supervity Widjet.
-
14.
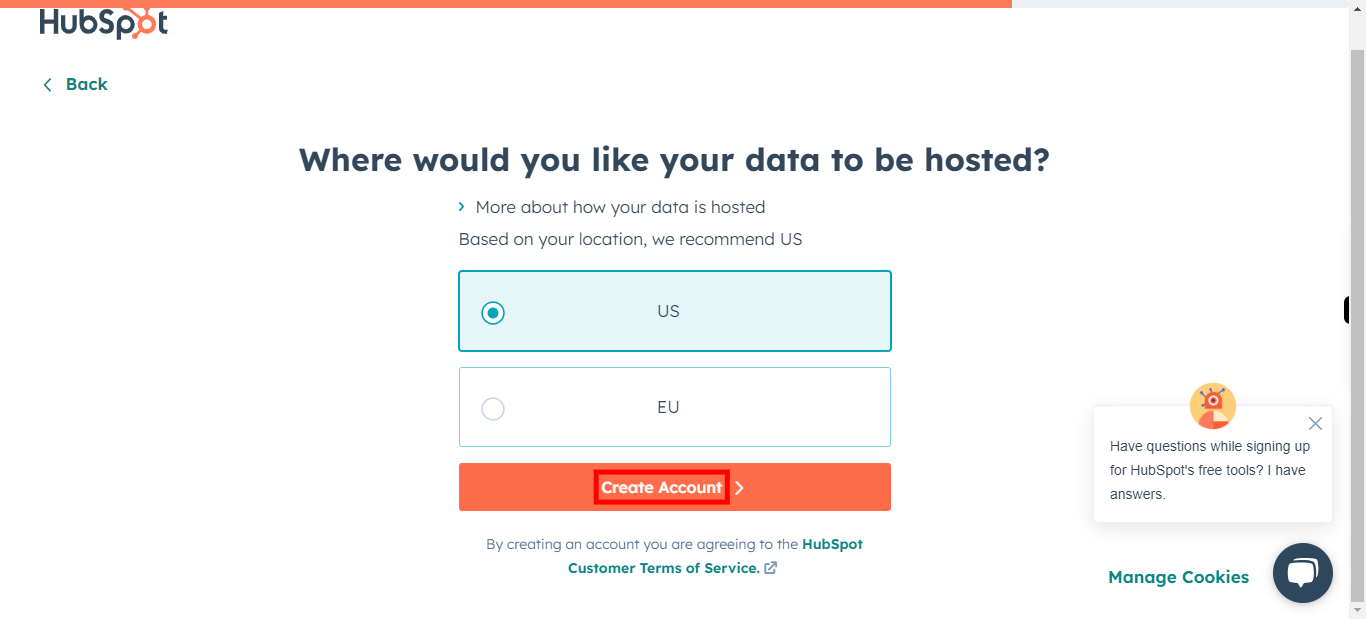
Click on Create Account to continue.
-
15.
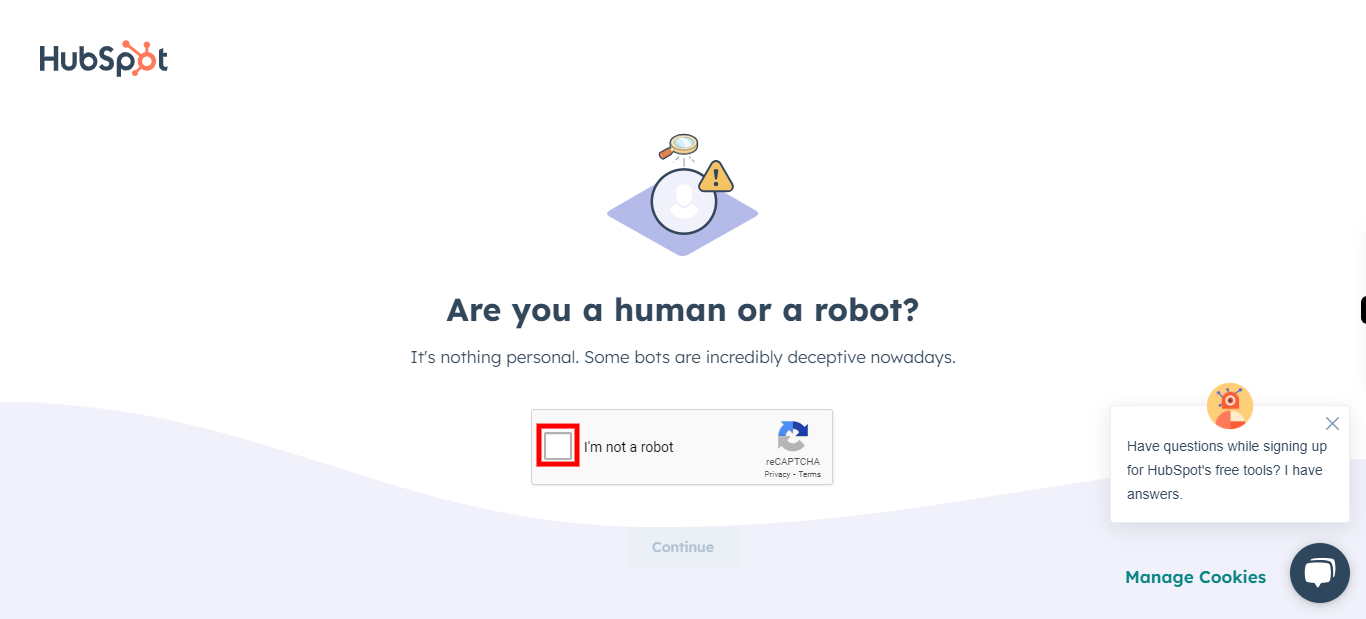
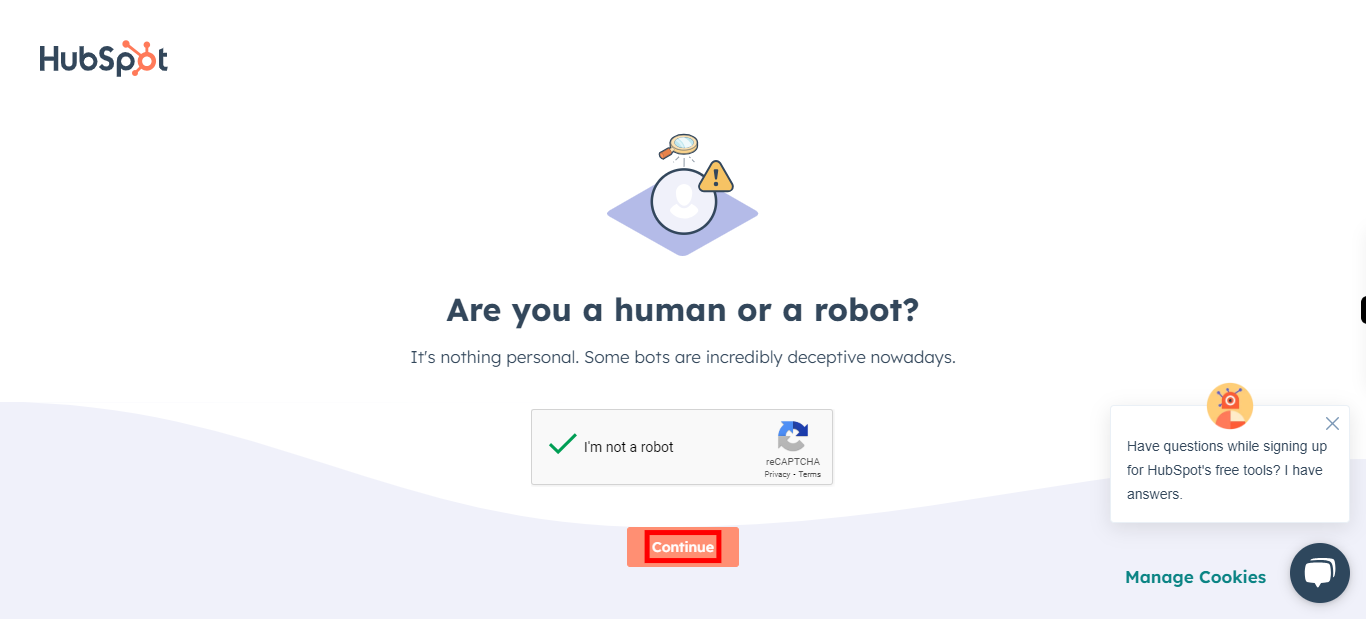
Click on I'm not Robot Checkbox and do the process until you get a confirmation. Once done, Click on Next button in the Supervity Widget.
-
16.
Click on Continue.
-
17.
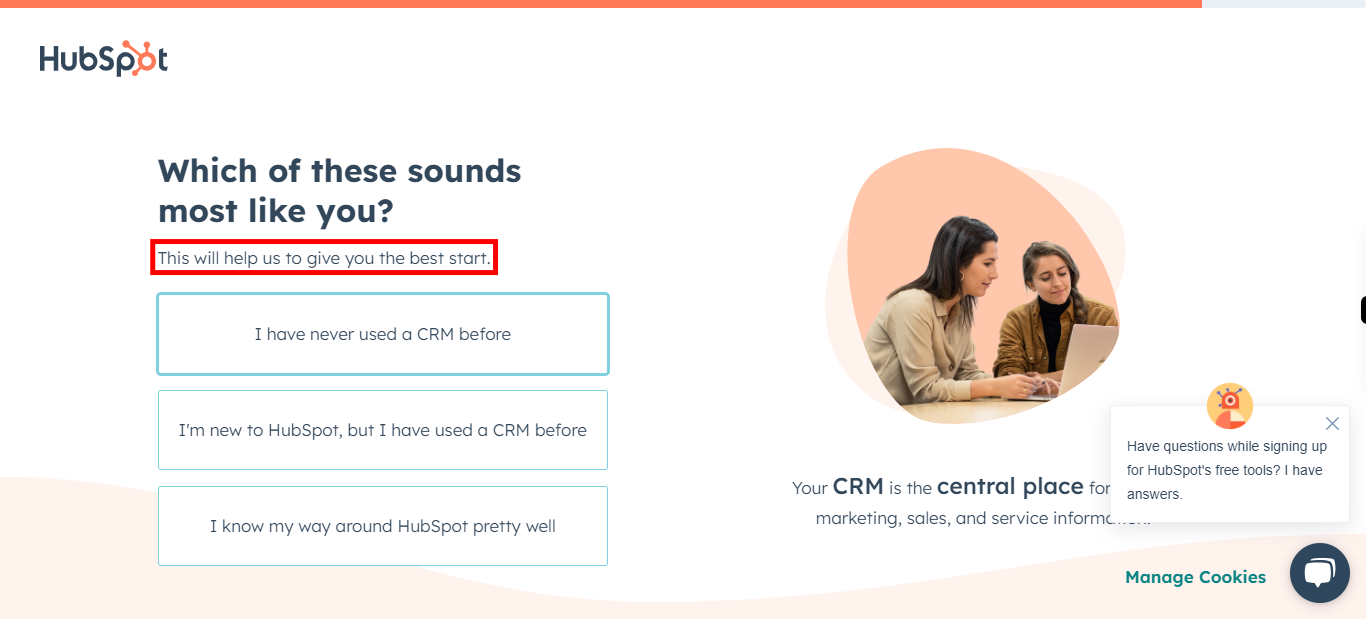
Click on the Next Button in Supervity Widjet and Select the Option which will define your knowledge of Using Hubspot CRM.
-
18.
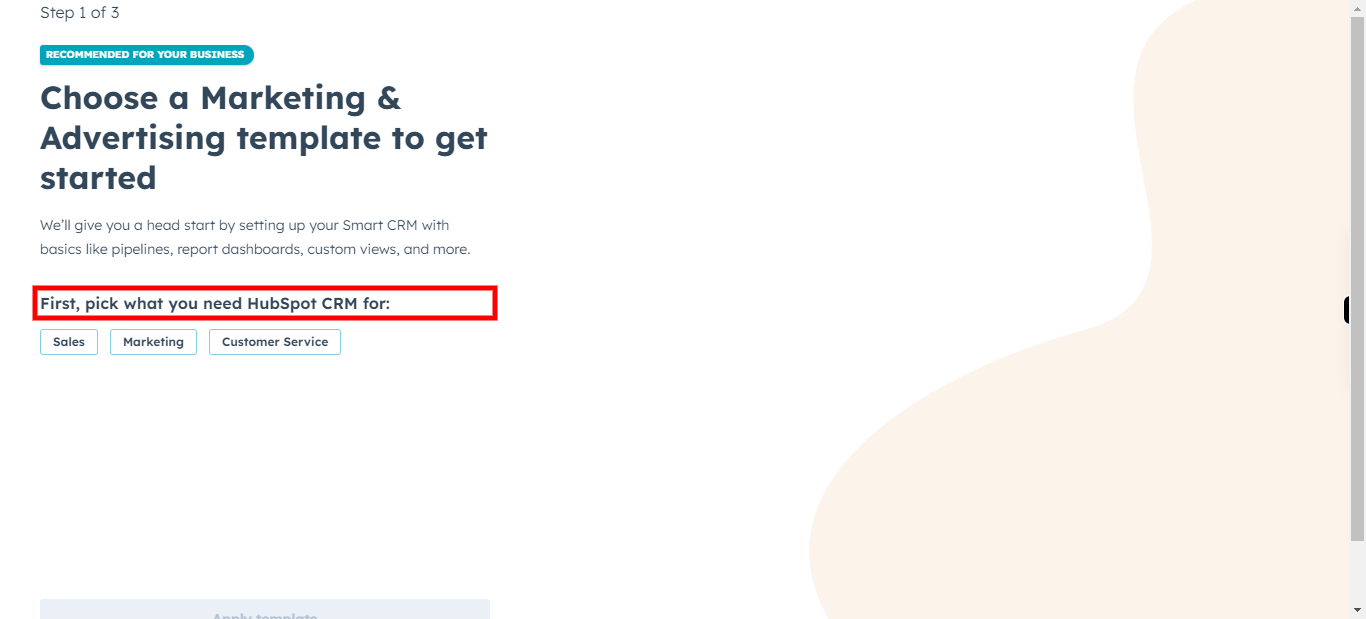
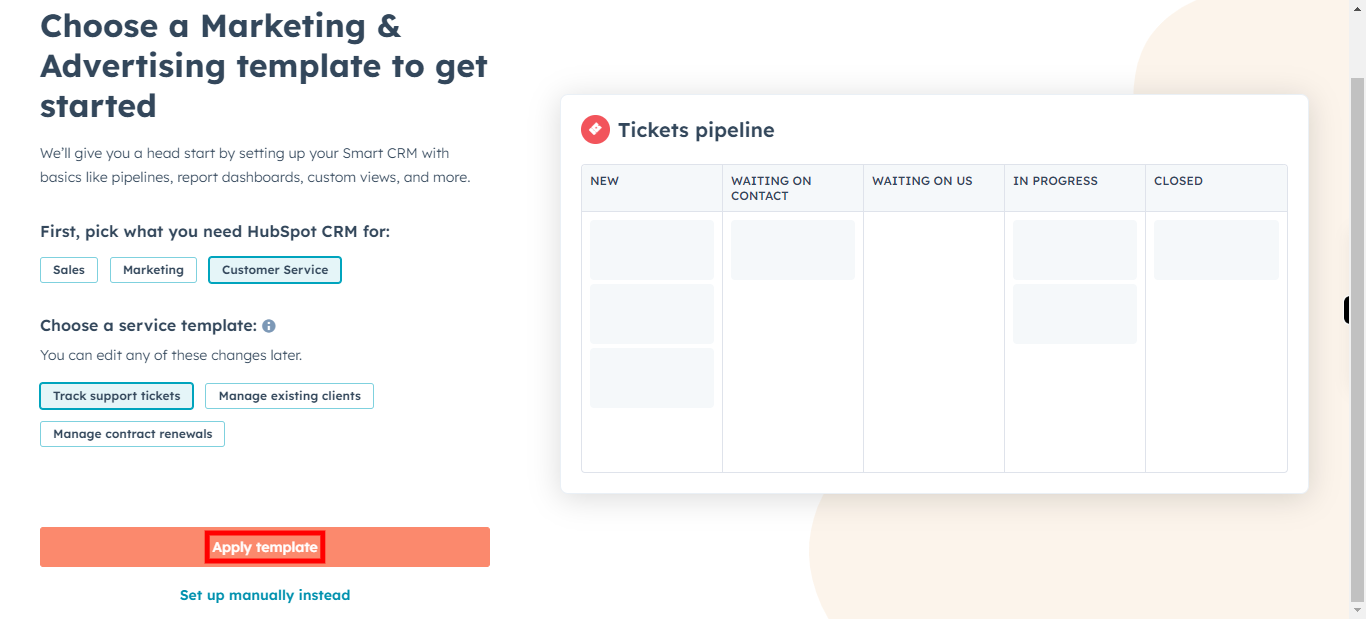
Select the Purpose of Using Hubspot CRM. Then, after selecting the Category Hubspot will show the available template under it. Please Select the Template you want to use for your Company's dashboard. Note: You will be able to see the preview of the template on the right side of the screen. Once Done, Click on the Next Button in Supervity Widjet.
-
19.
Click on the Apply template to Select the Template for your Hubspot.
-
20.
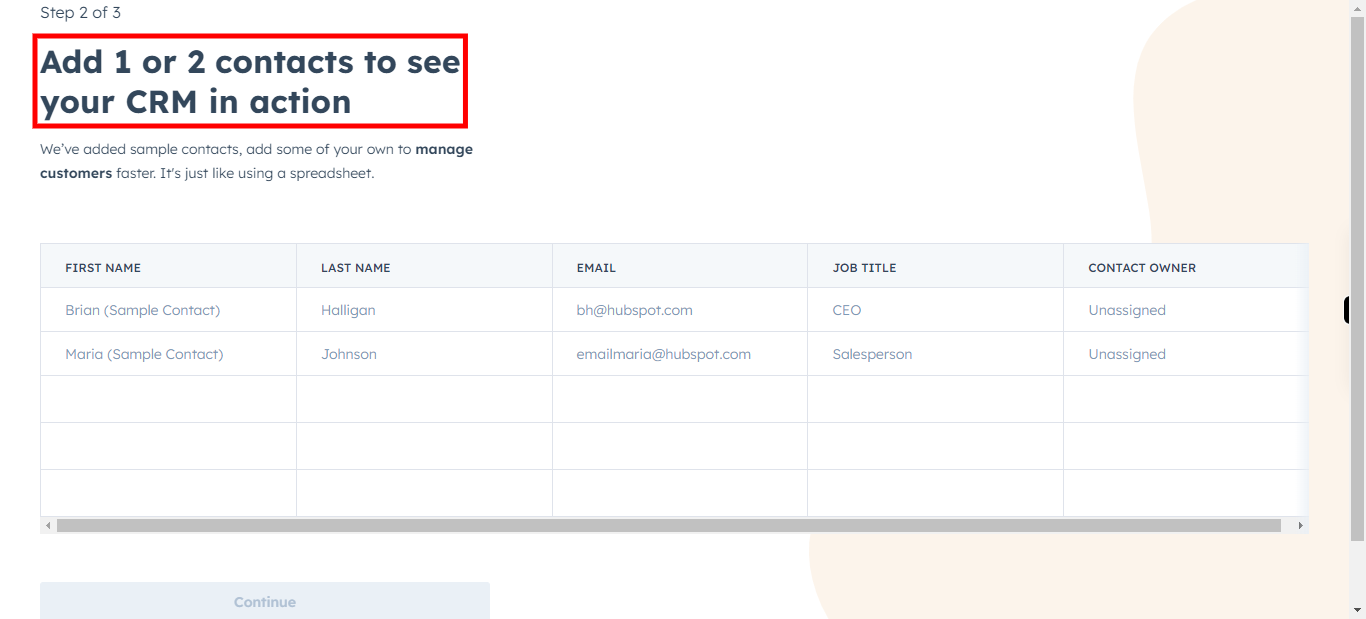
This Page will allow you to add one or two contact details to save on your Hubspot Page. Please click on the Next button in Supervity Widjet. You can Either choose -Add the Details of the contact and click on Continue - Click on Skip I'll use sample Contacts.
-
21.
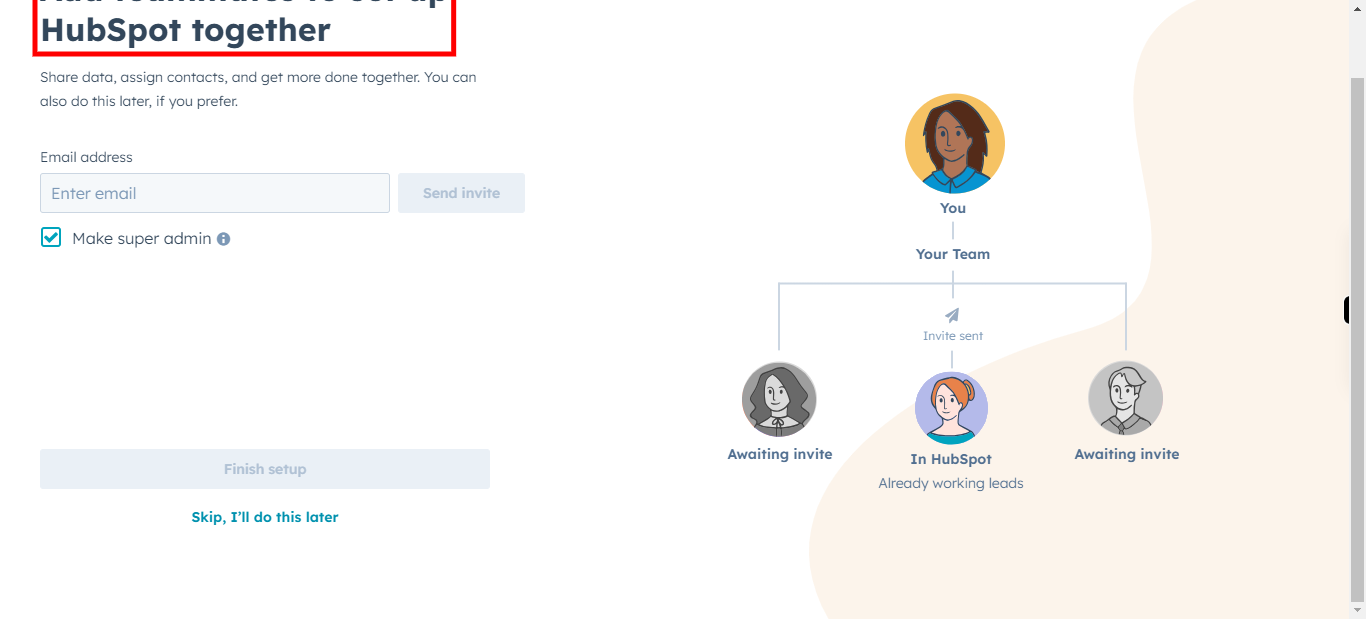
This Page will allow you to add any other Admin user to your account. Click on the Next button in Supervity Widjet. You can choose either - Add the Email in the mentioned text field and click on Send Invite to invite the person. Then, click on Finish setup - Click on Skip I'll do this later. After selecting an option your account will start setting up with the details you have provided.
