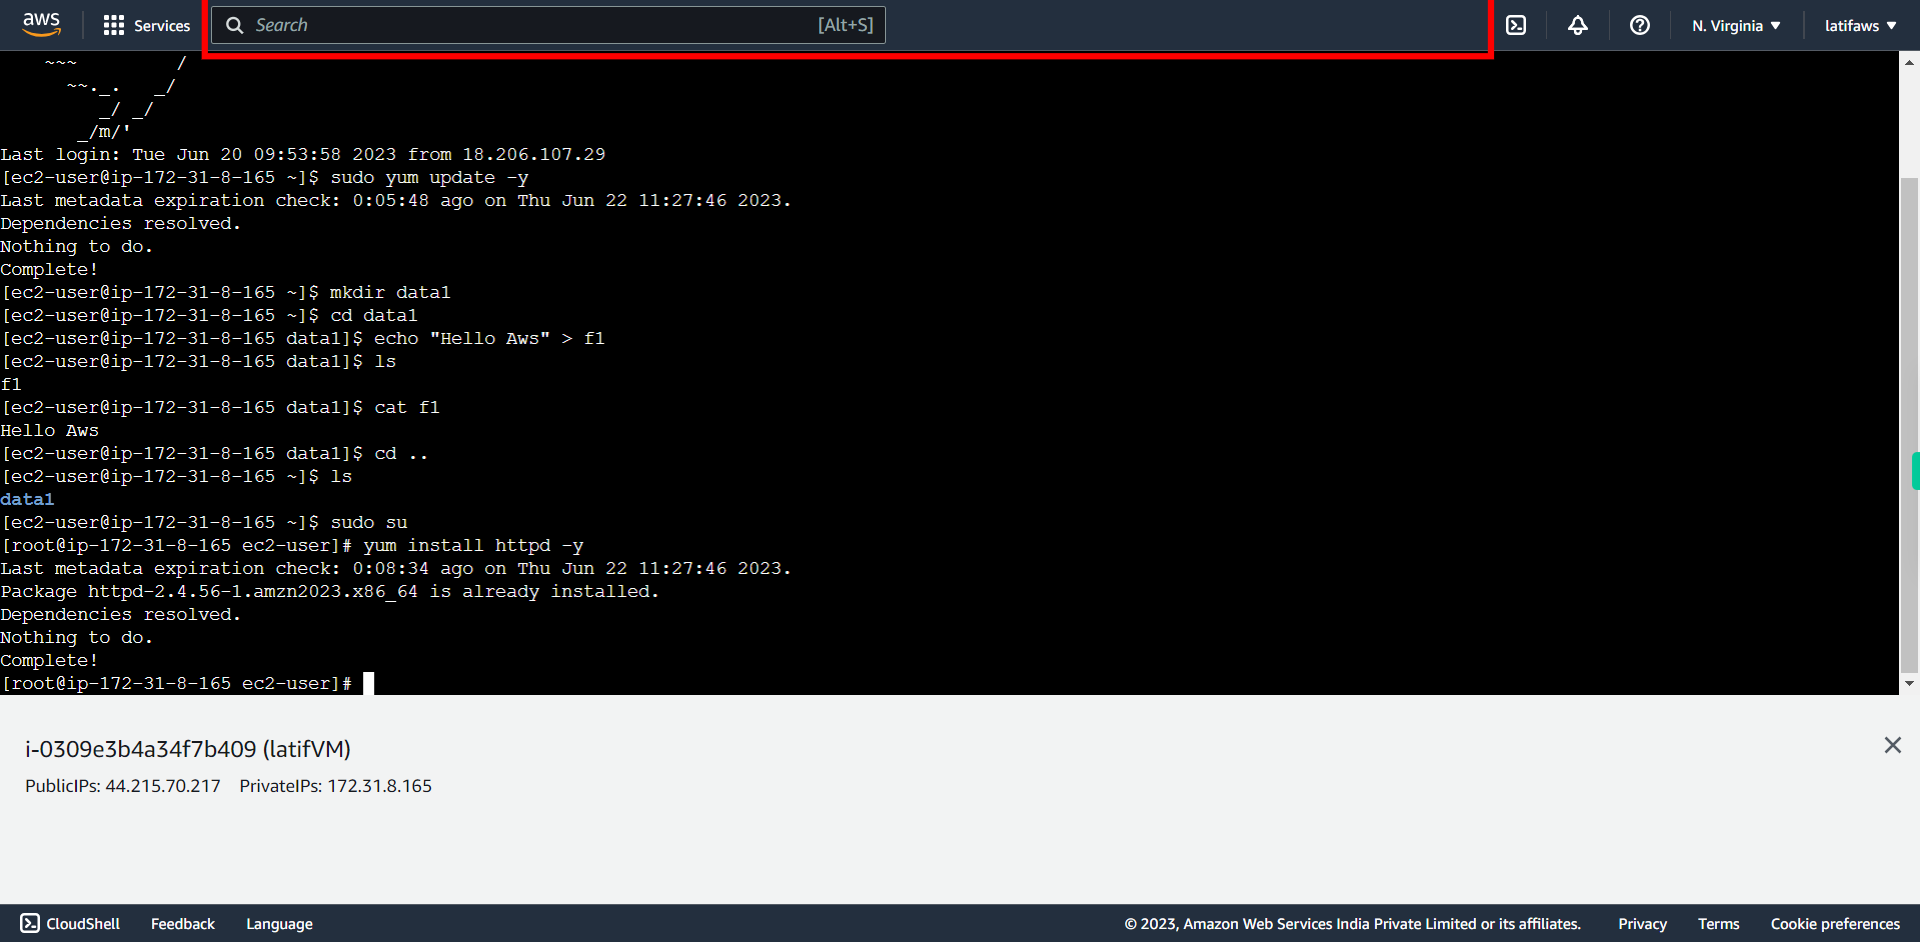
Connect EC2 Instance (Linux Based) using Connect using browser-based client, with a public IPv4 address, execute sample linux command given for basic practice and finally finish upon installation of httpd web server.
-
1.
open Instances | EC2 Management Console
-
2.
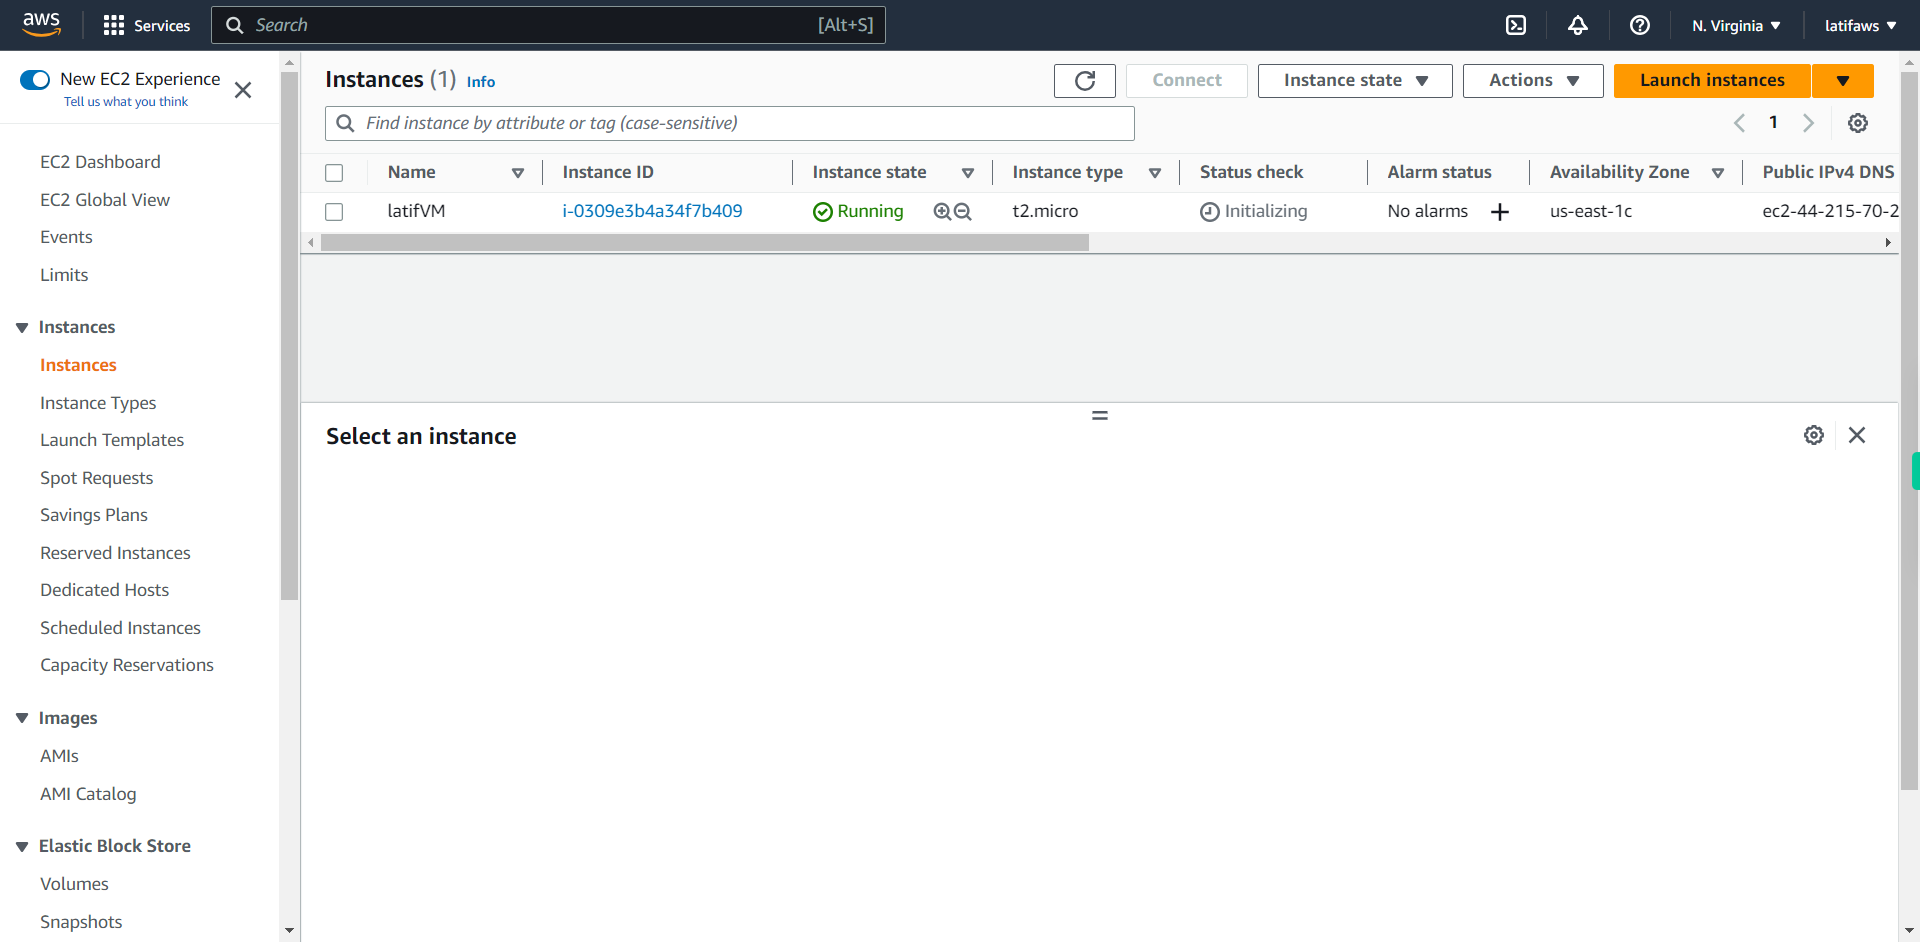
Click Instances
-
3.
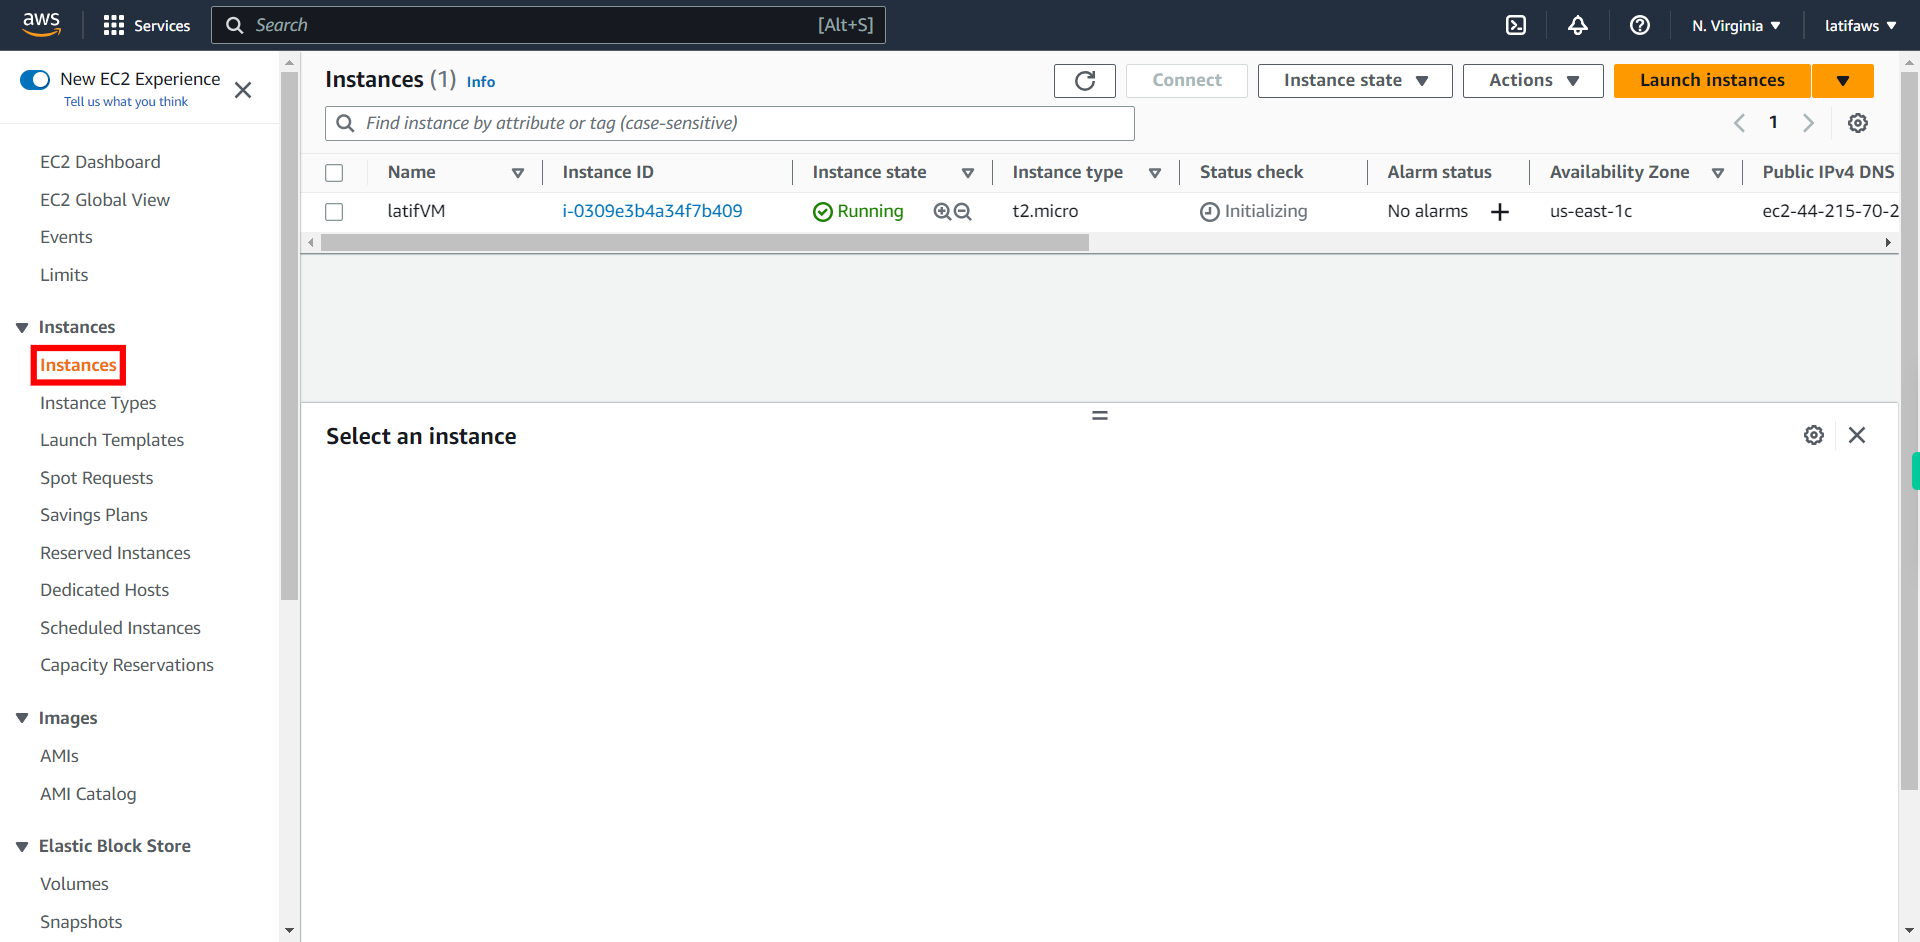
Make Sure you must have a EC2 Instance (Linux Based ex. Amazon Linux) Running. ### Instance Status Shows as **Instance State** -- **Running** **Status Check** -- **2/2 checks passed** Once done click Next on the Supervity Instruction widget.
-
4.
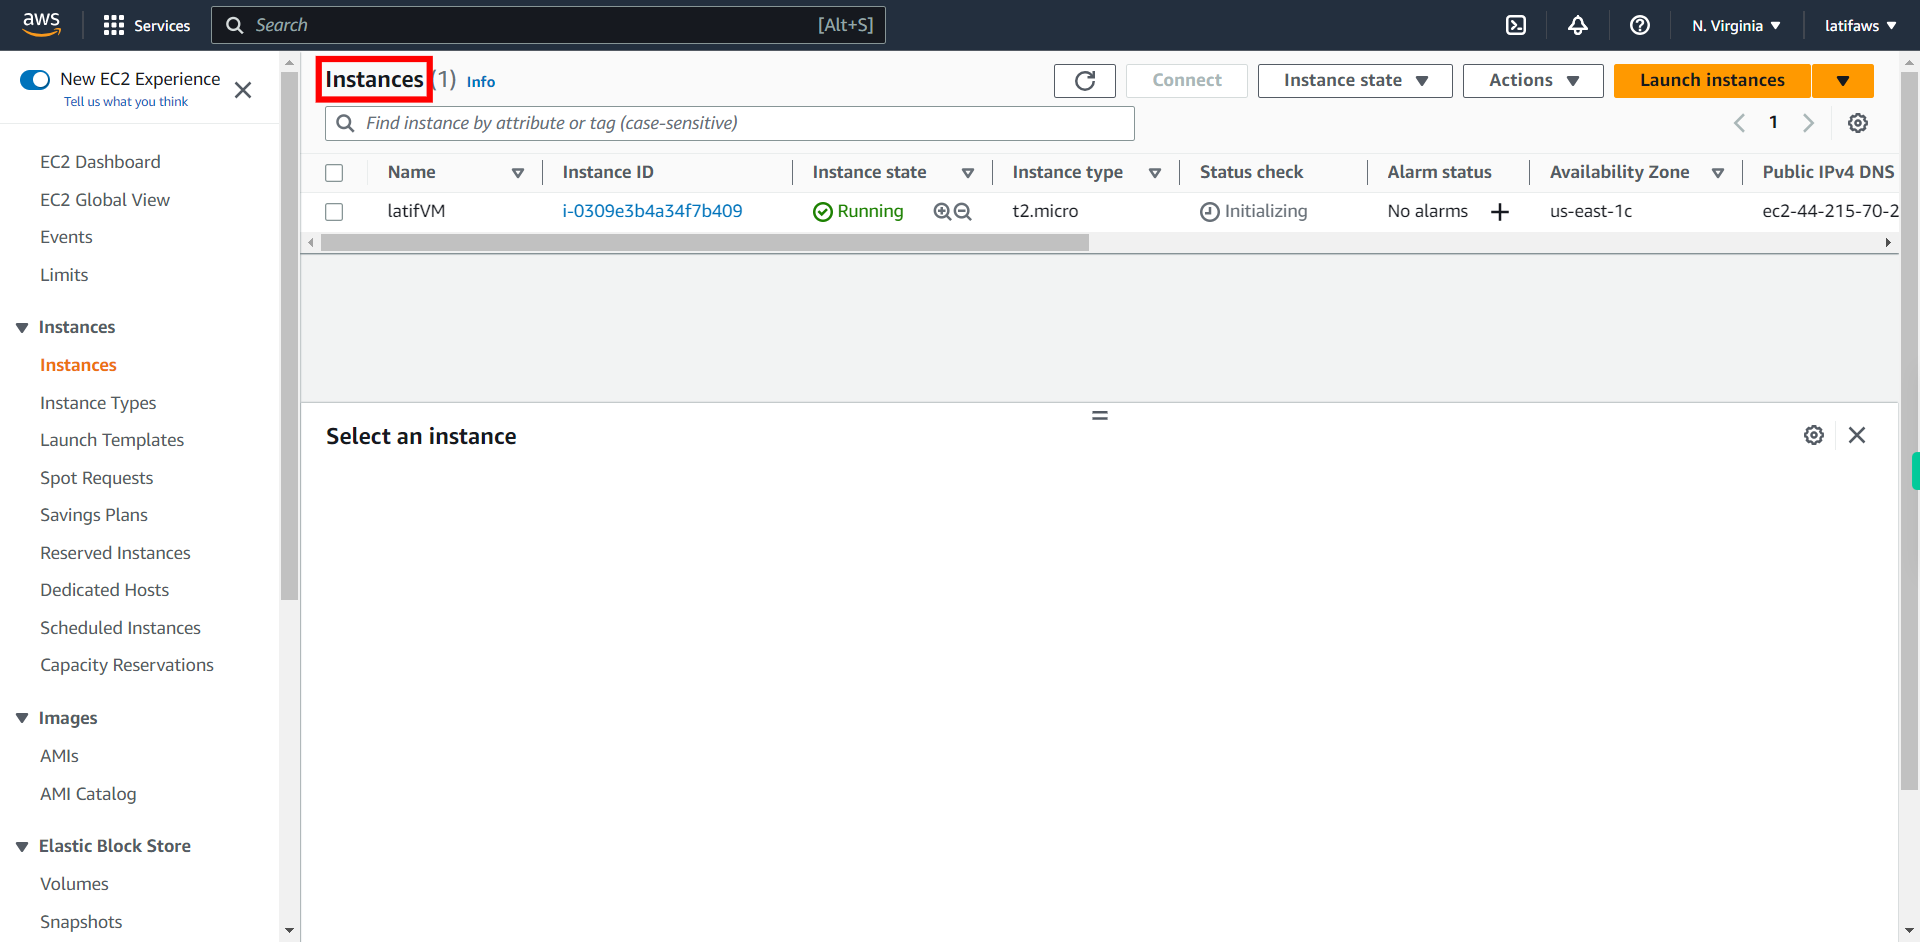
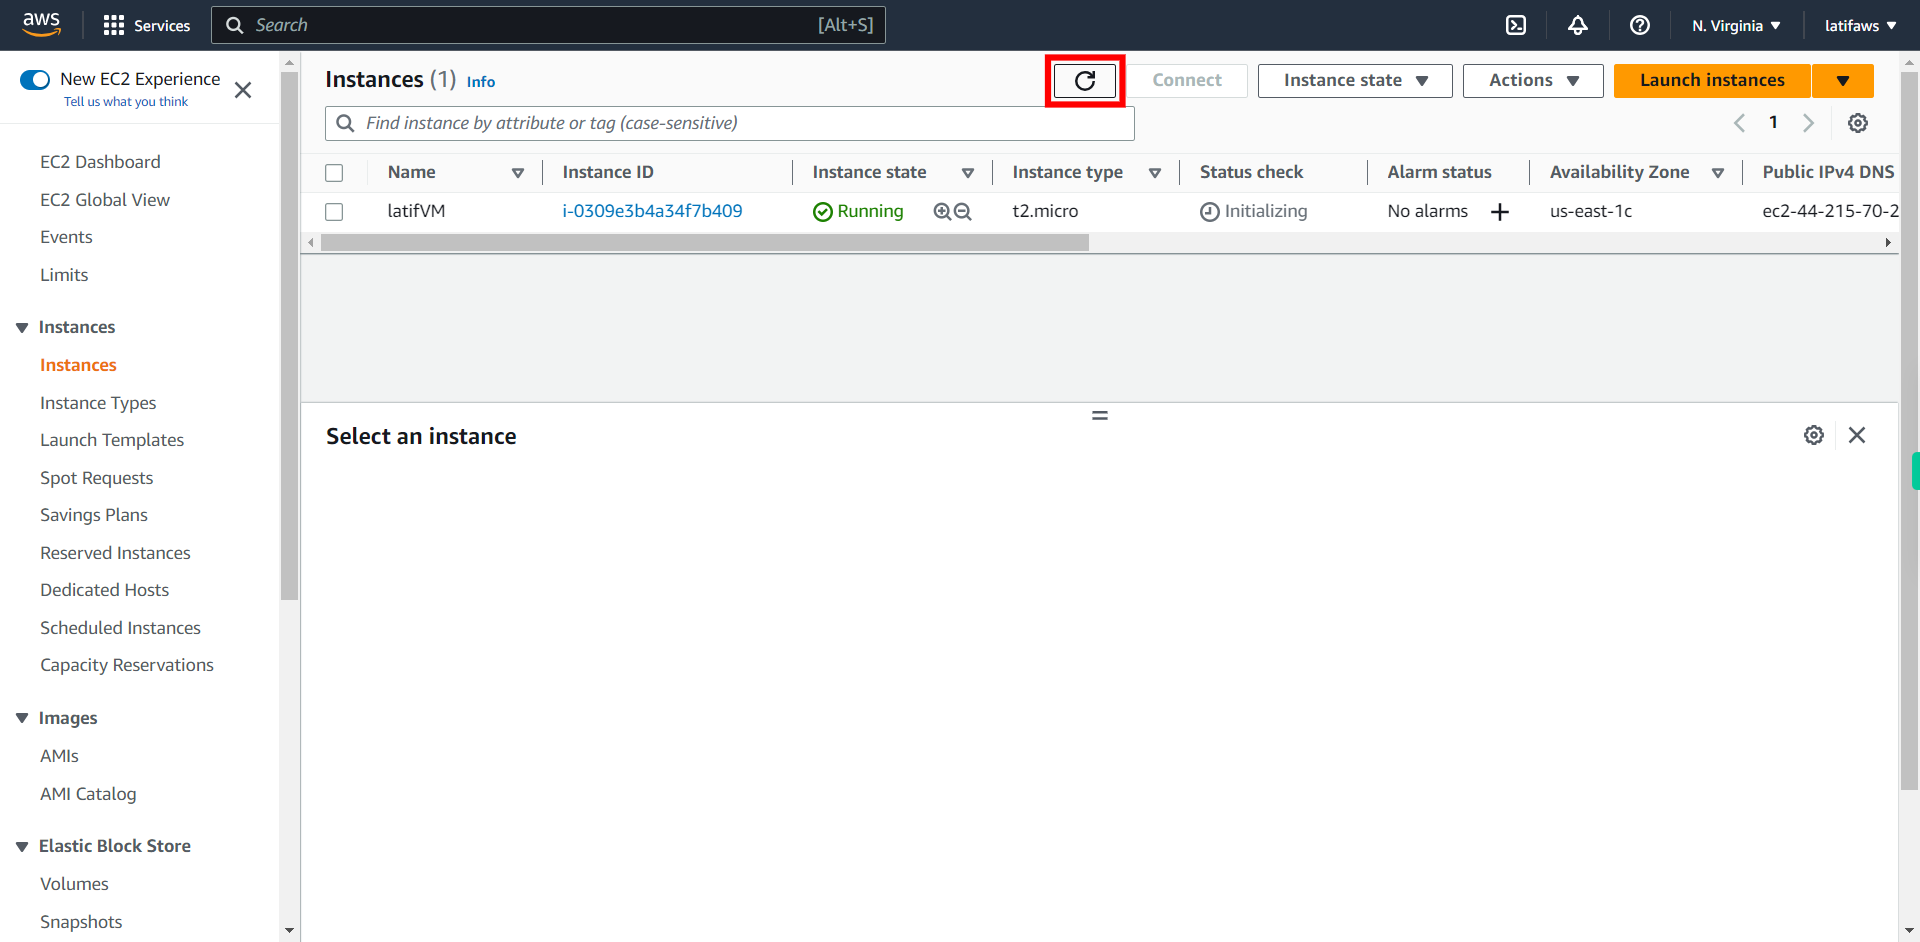
Click "Refresh" instances. To make sure of Instance Status. Once done, Click Next on the supervity Instruction widget.
-
5.
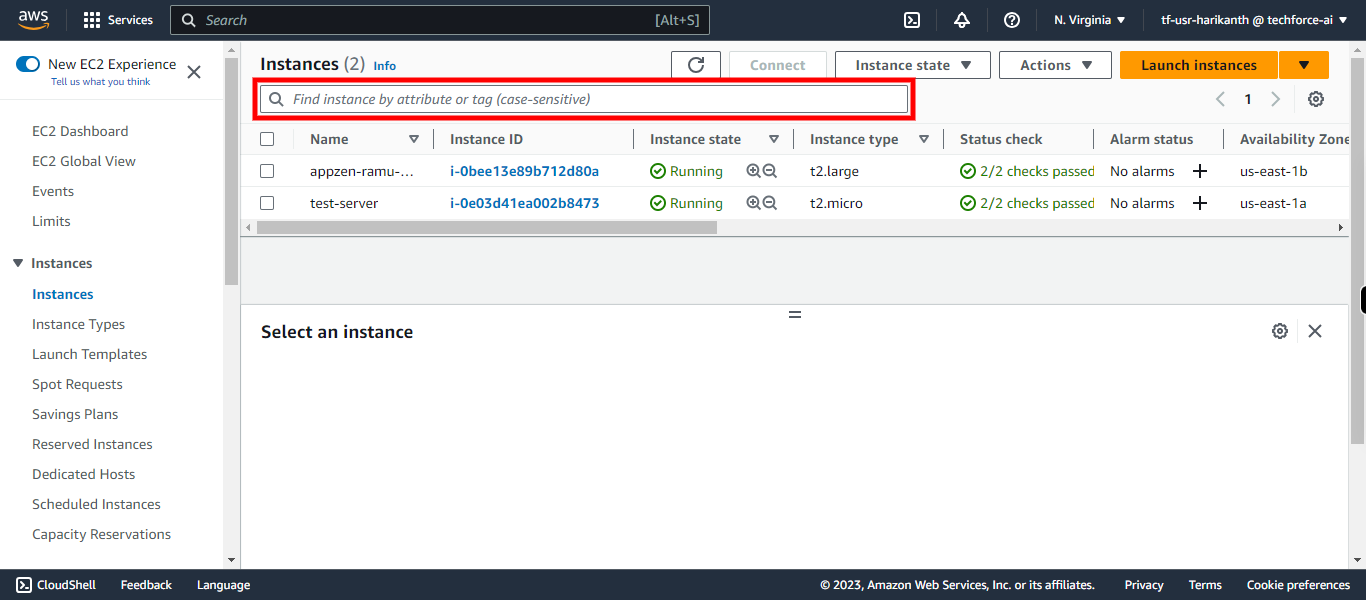
Click and Type to search for instances and hit 'Enter'. Once done, Click Next on the supervity Instruction widget
-
6.
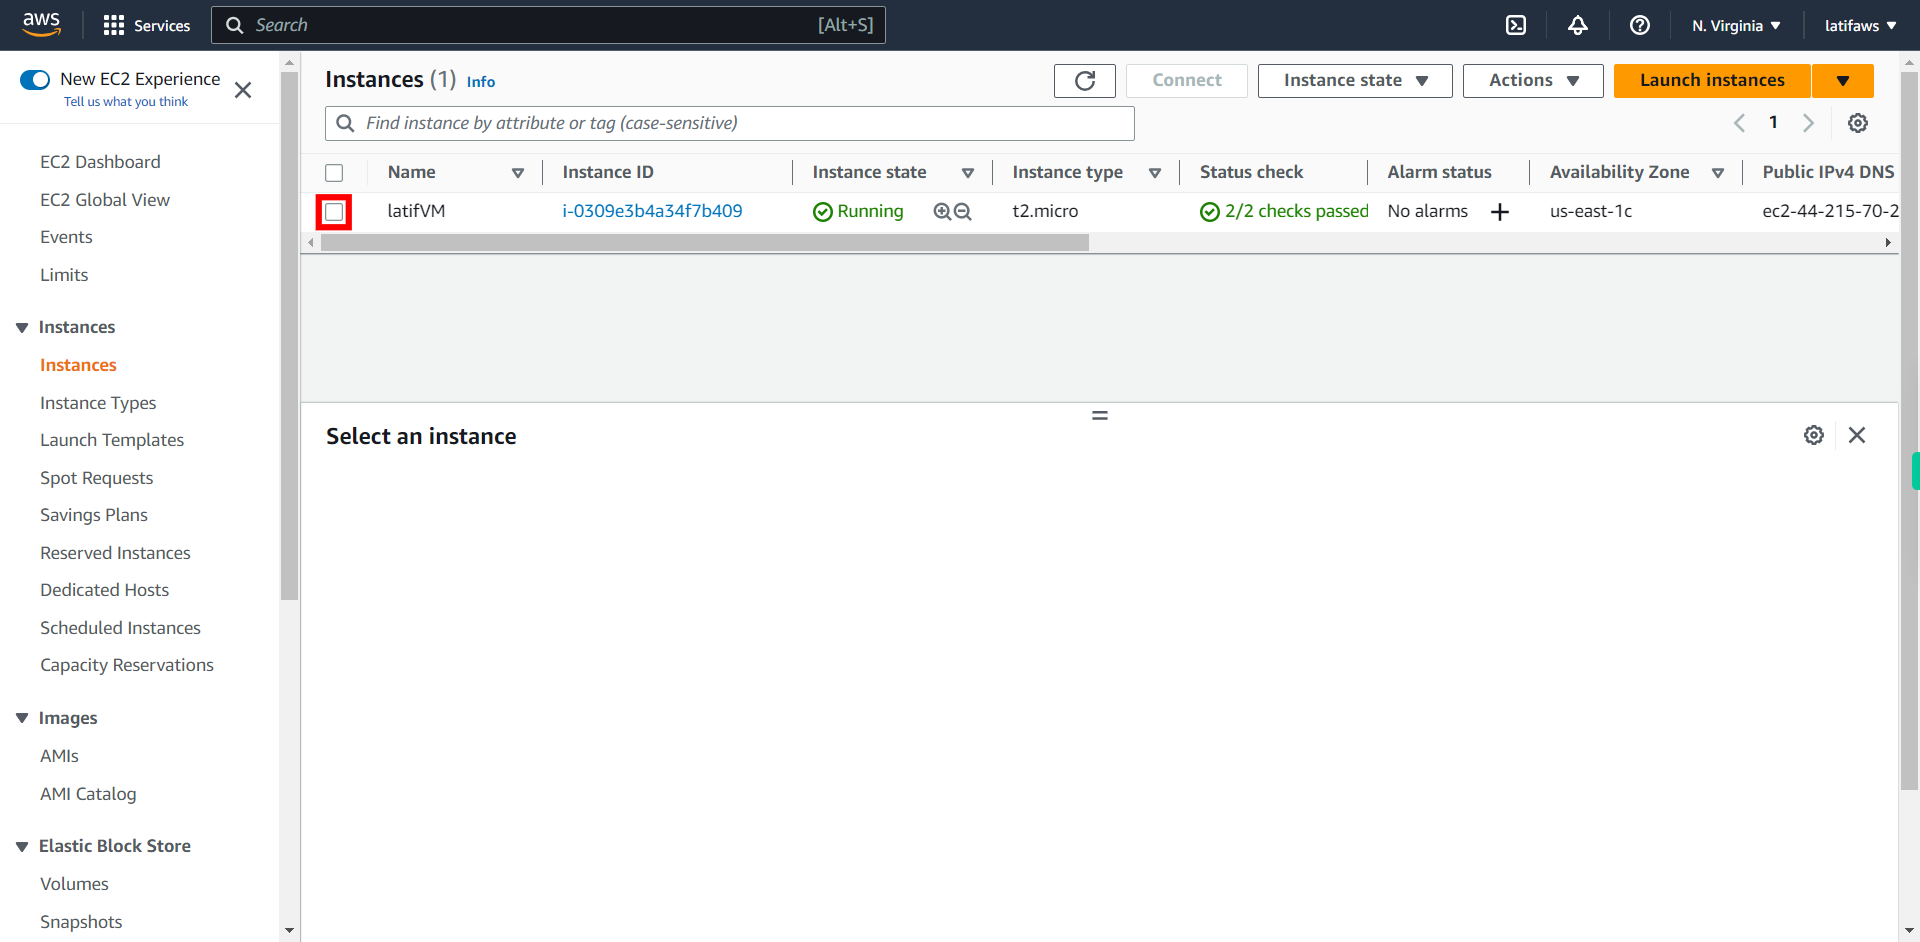
Select your Instance. Once done, Click Next on the supervity Instruction widget
-
7.
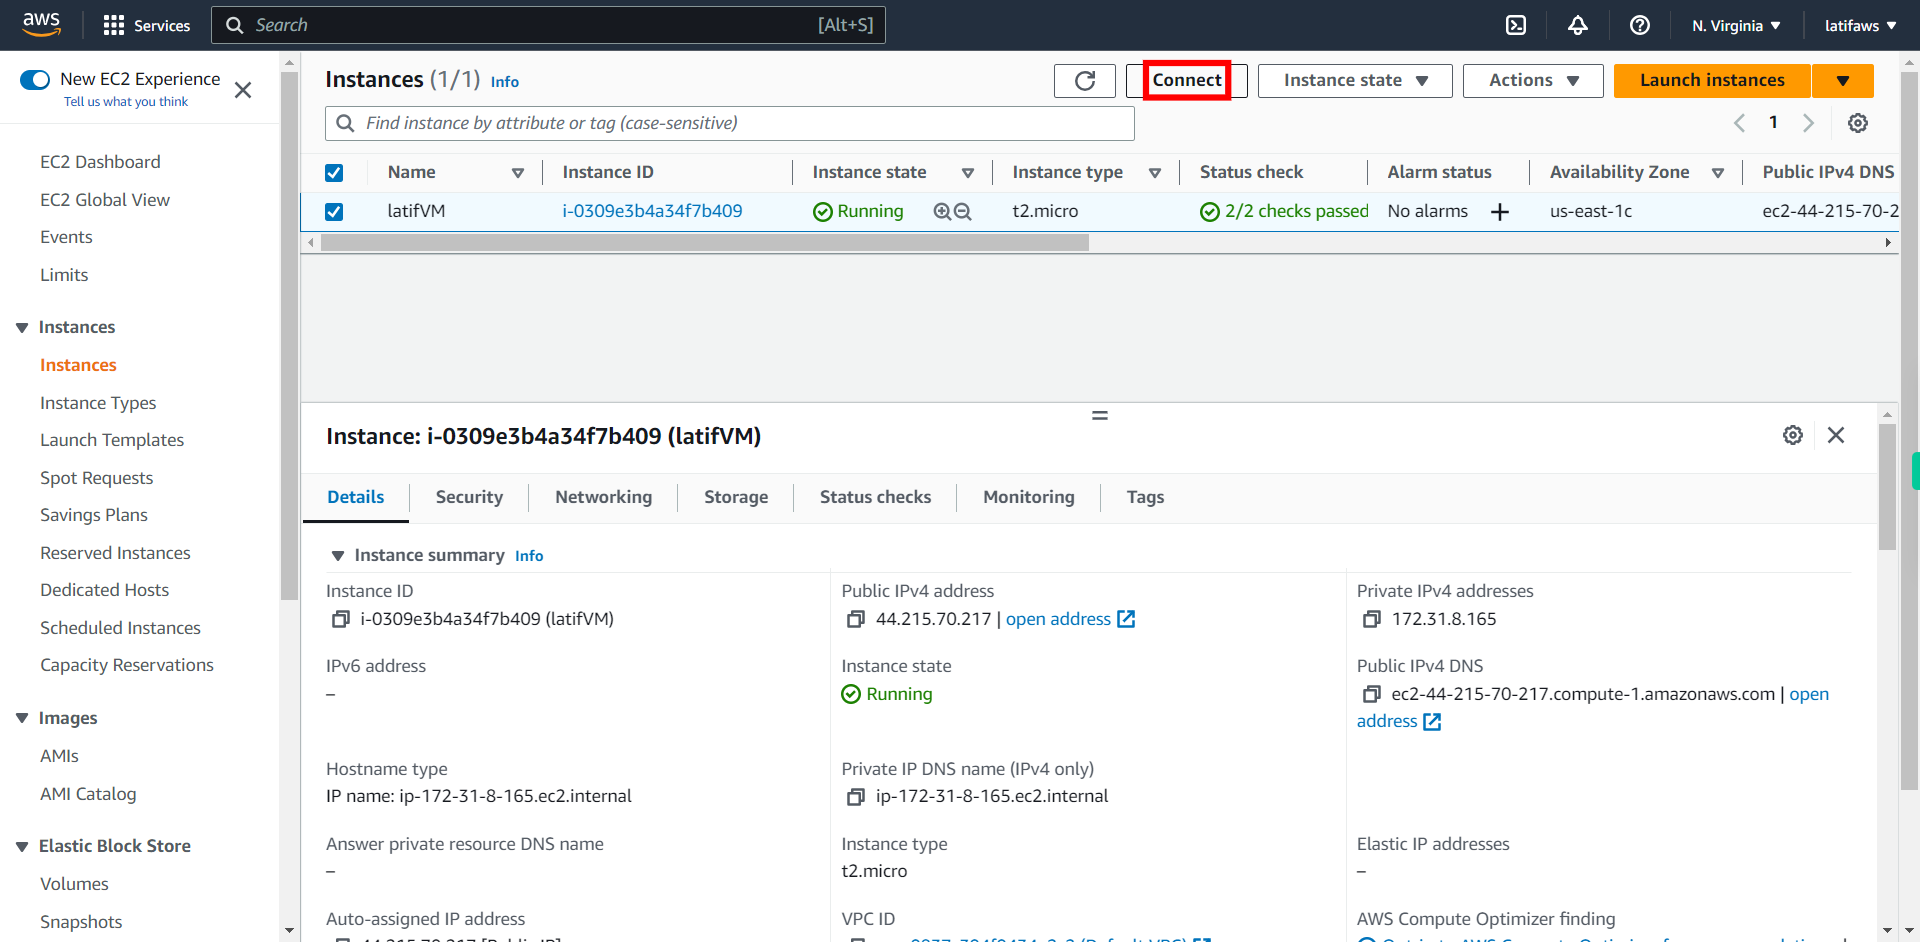
Click "Connect".
-
8.
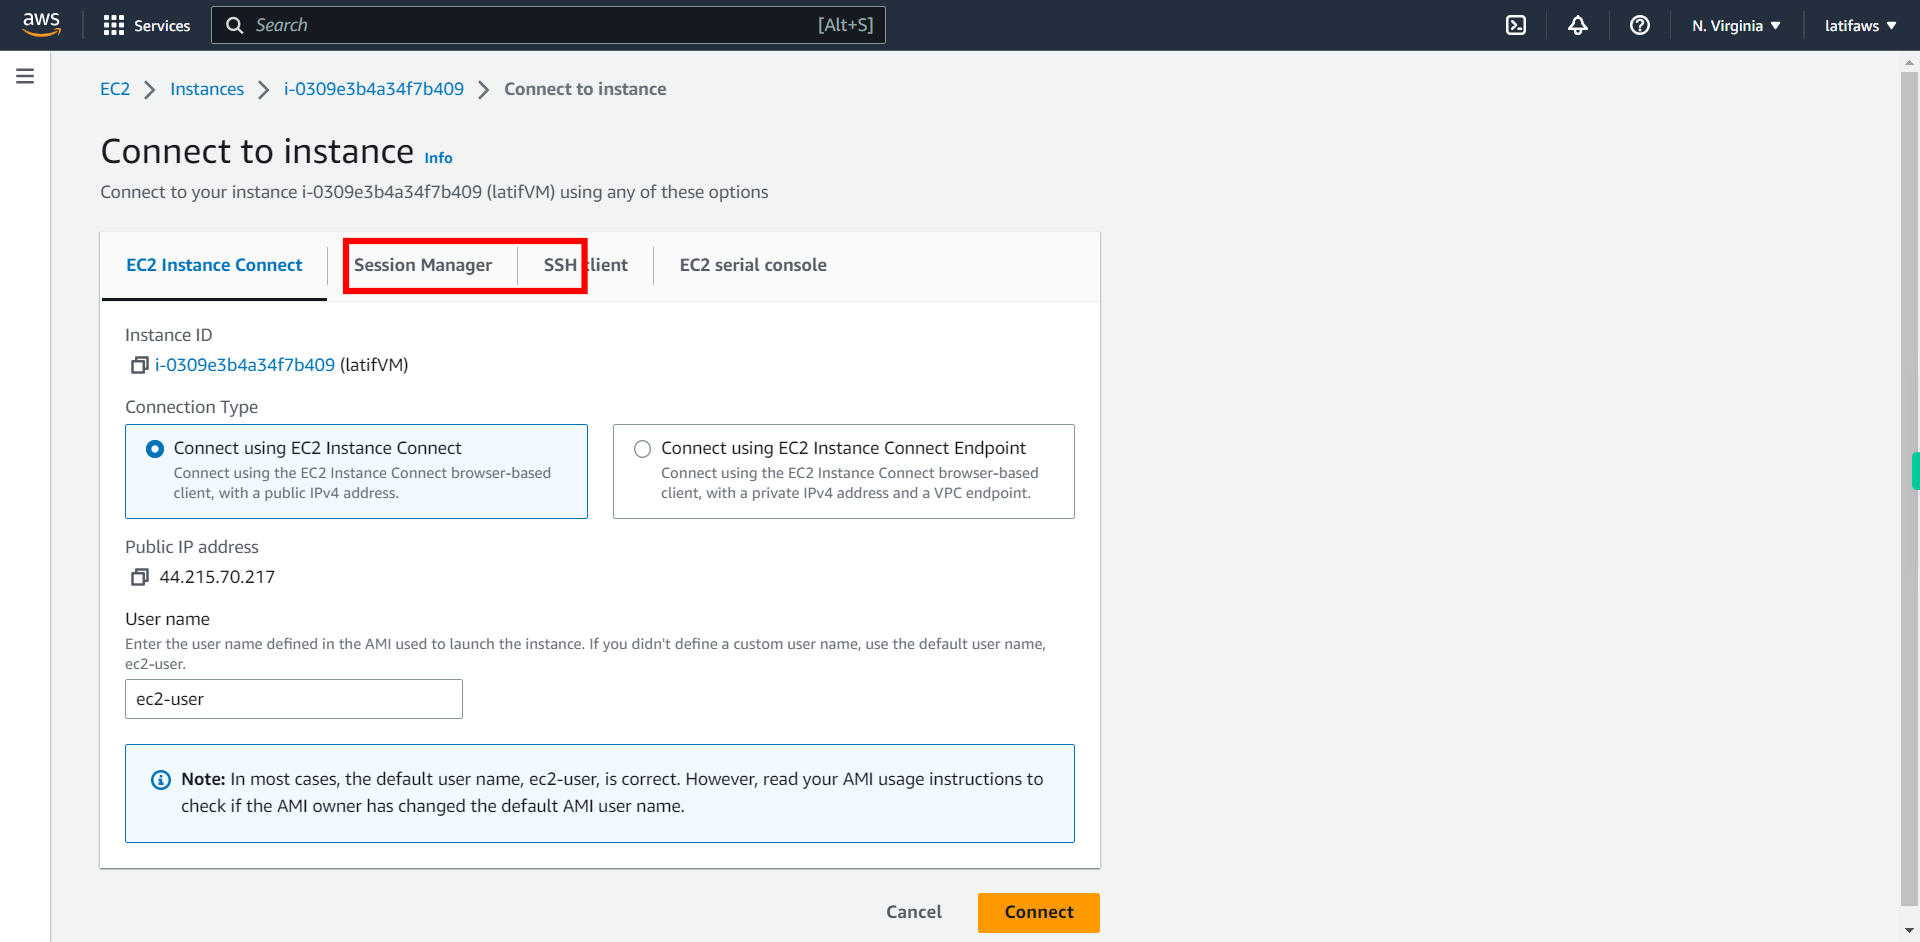
Click "EC2 Instance Connect" ### EC2 Instance Connect Amazon EC2 Instance Connect provides a simple and secure way to connect to your instances using Secure Shell (SSH). Once done, Click Next on the supervity Instruction widget
-
9.
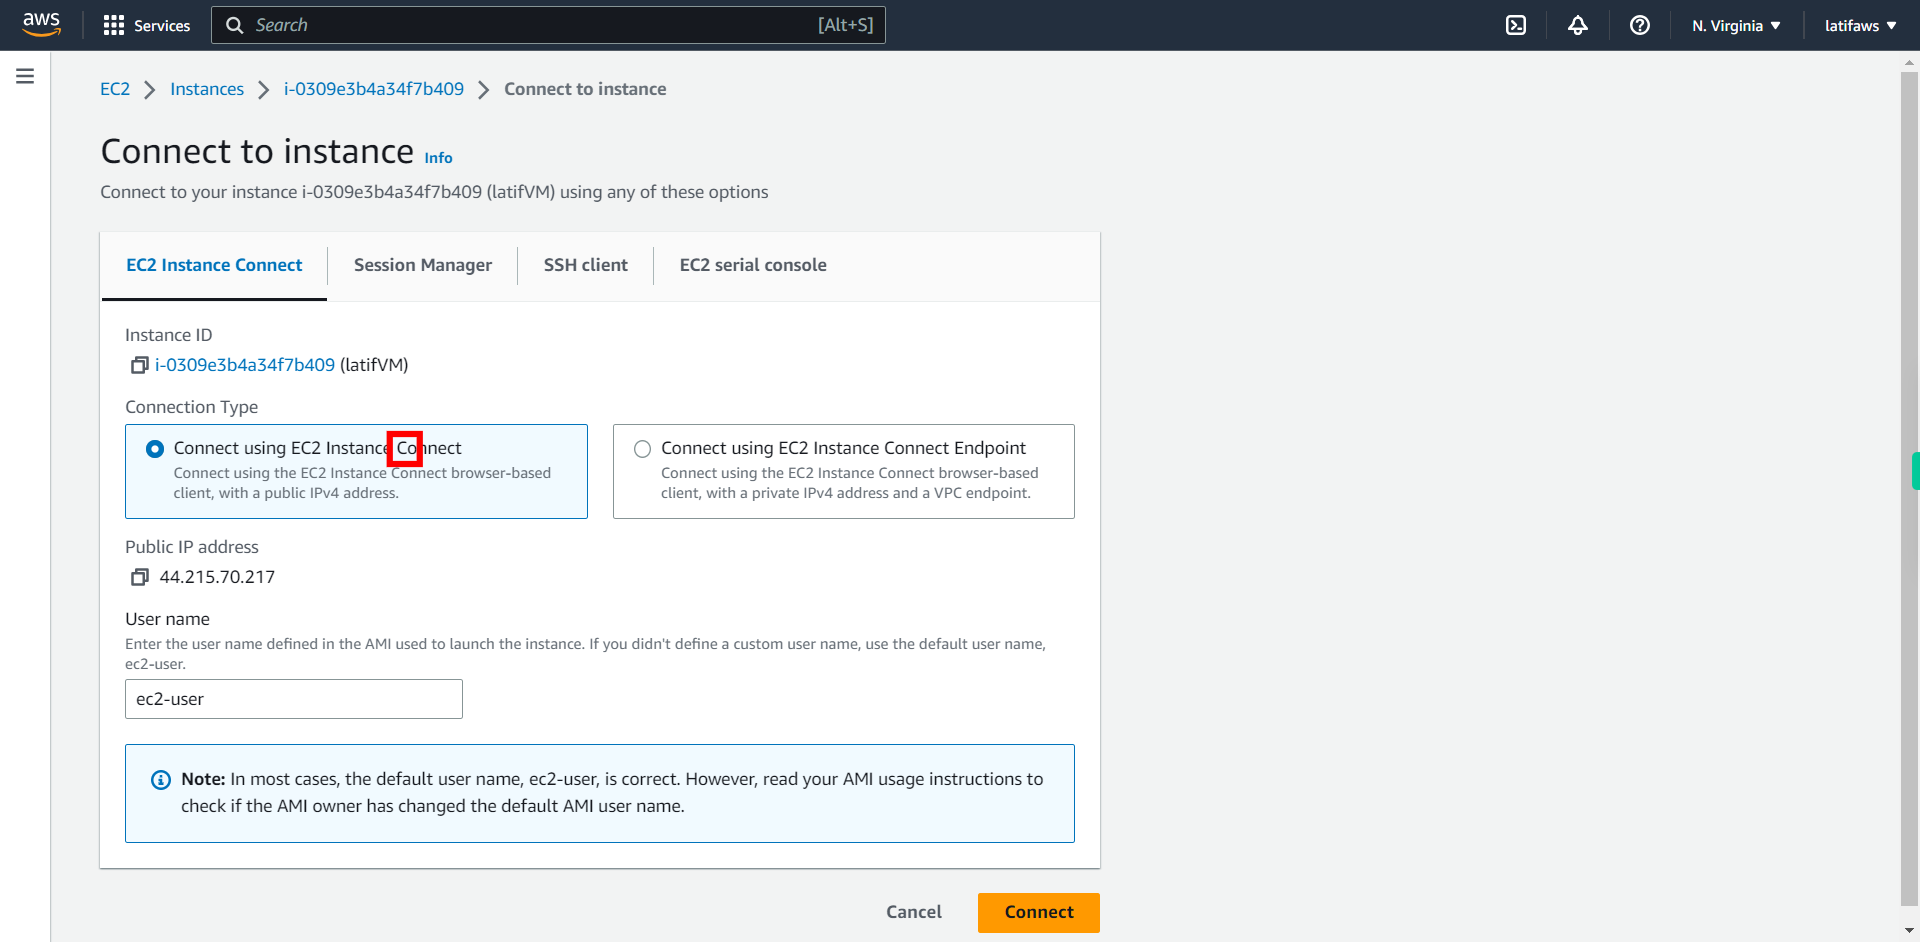
Select "Connect using EC2 Instance Connect" under Connection Type. ### Note: Connect using the EC2 Instance Connect browser-based client, with a public IPv4 address Once done, Click Next on the supervity Instruction widget
-
10.
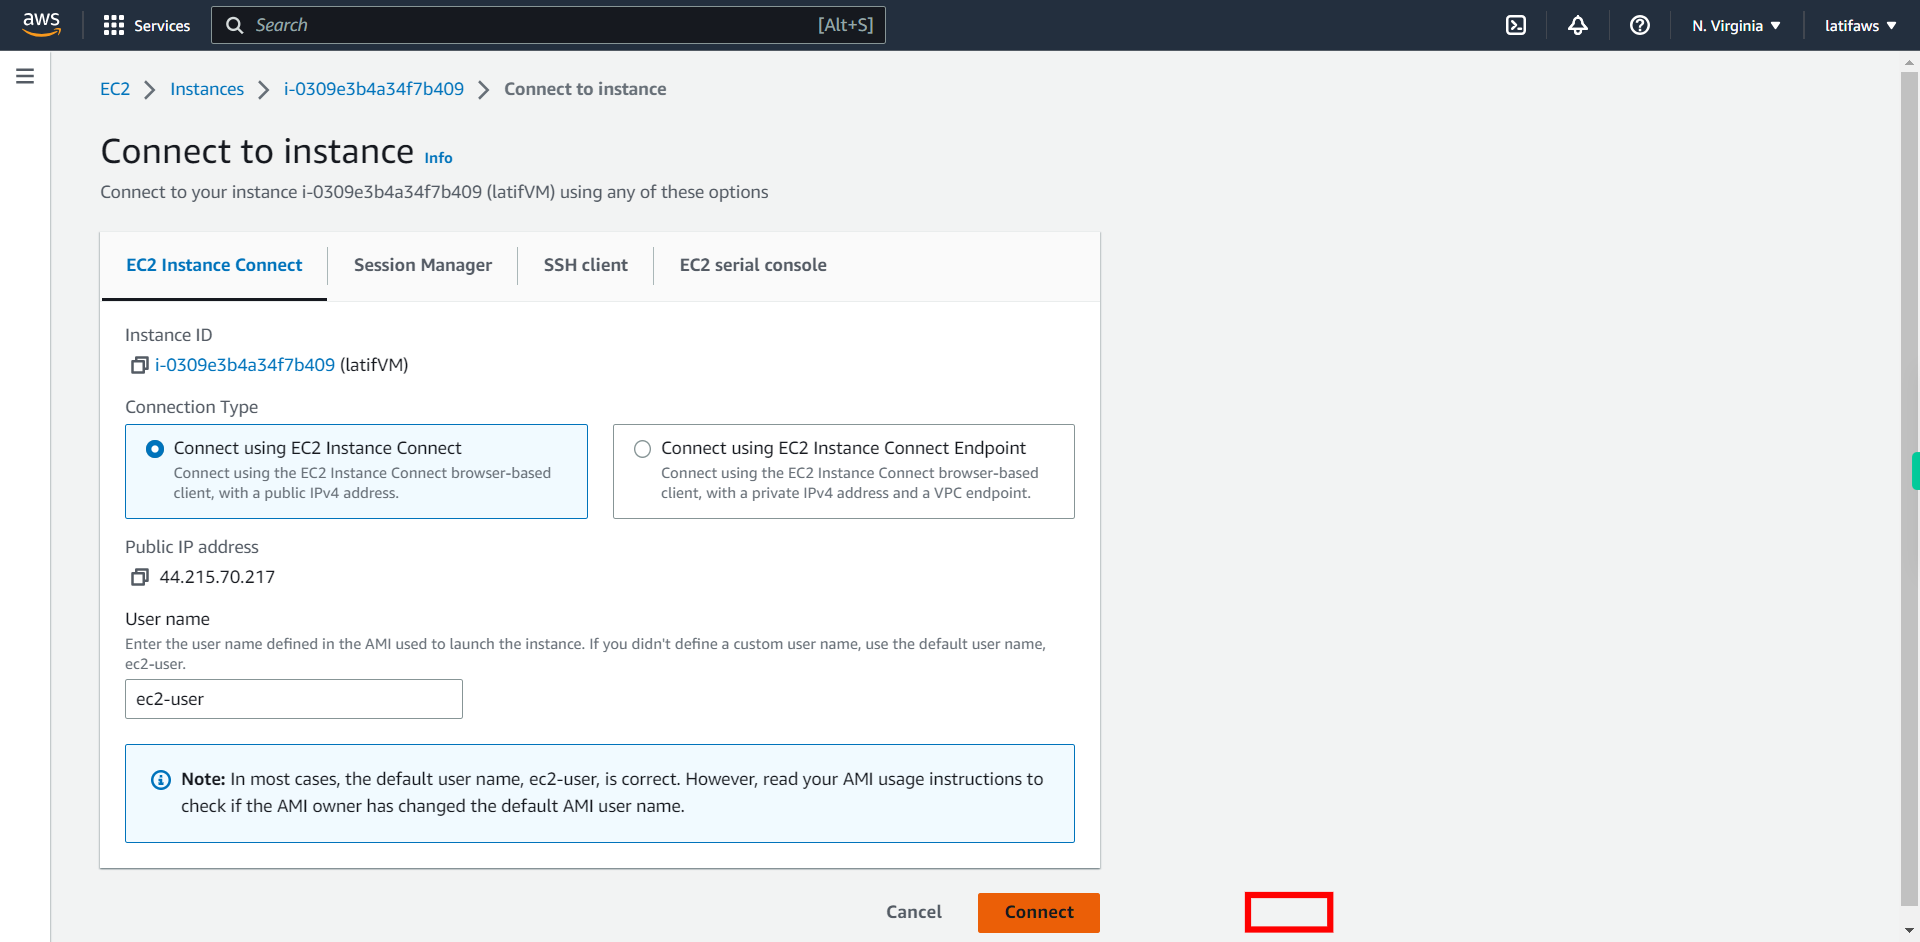
Click Connect
-
11.
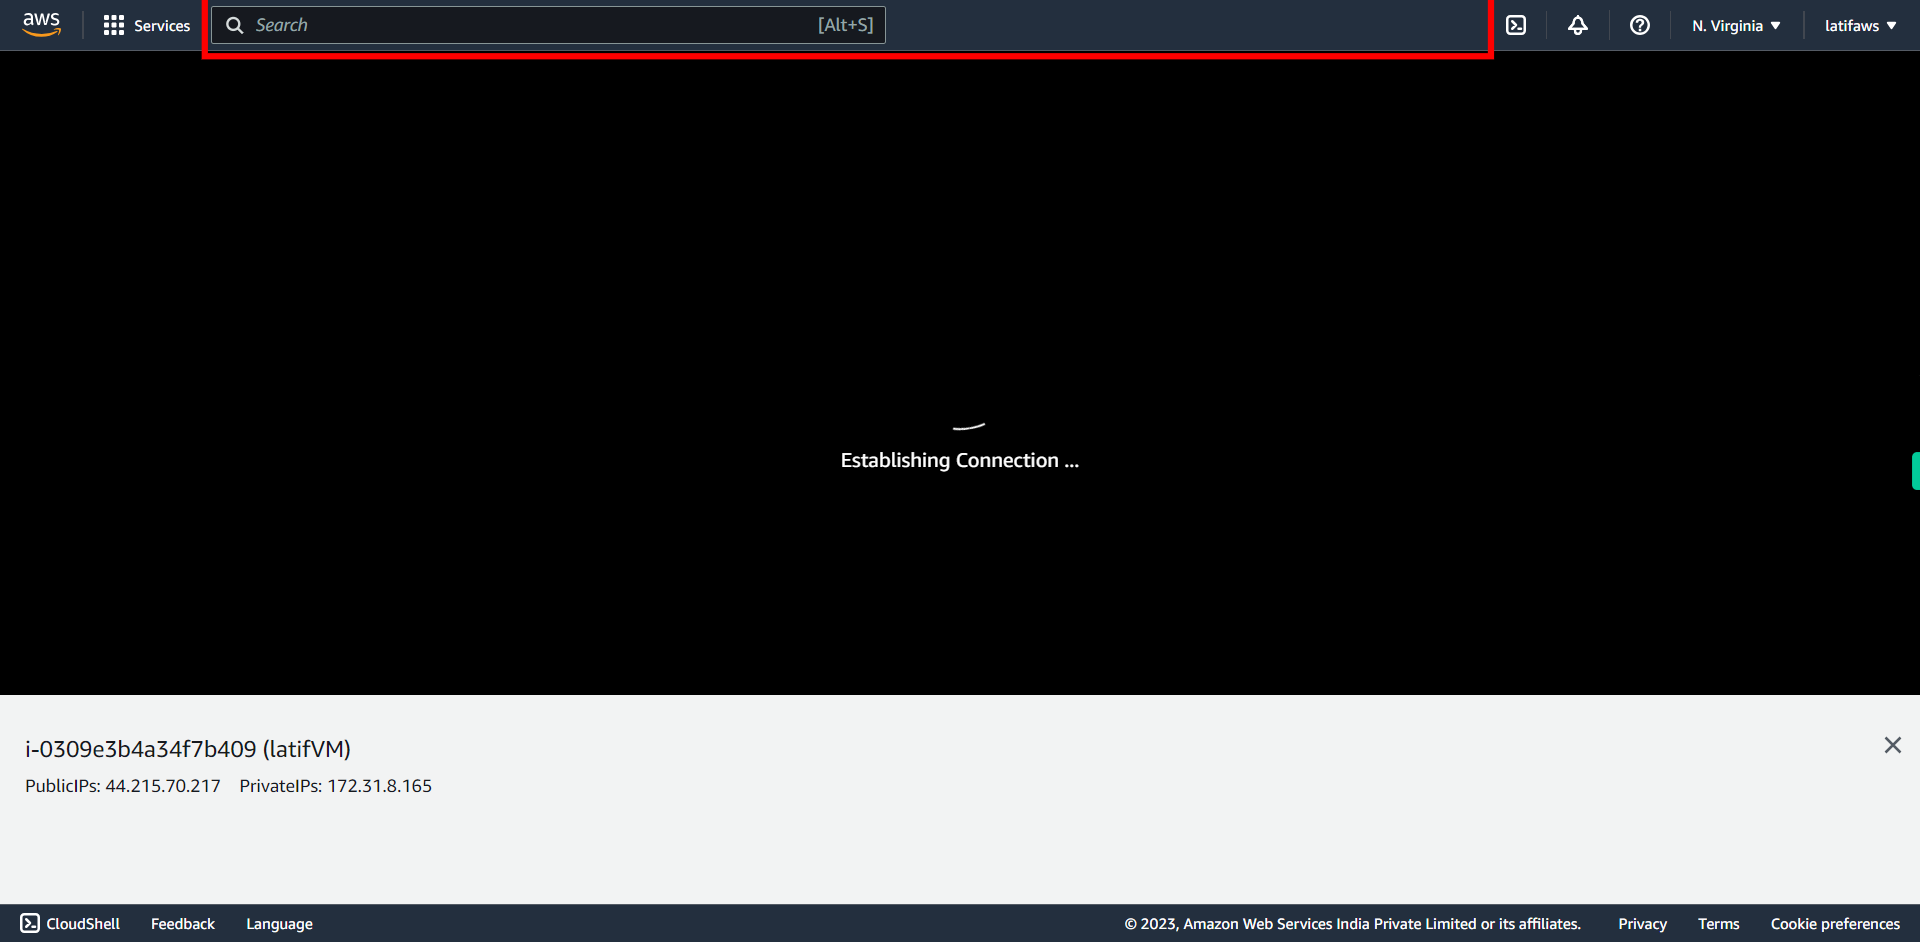
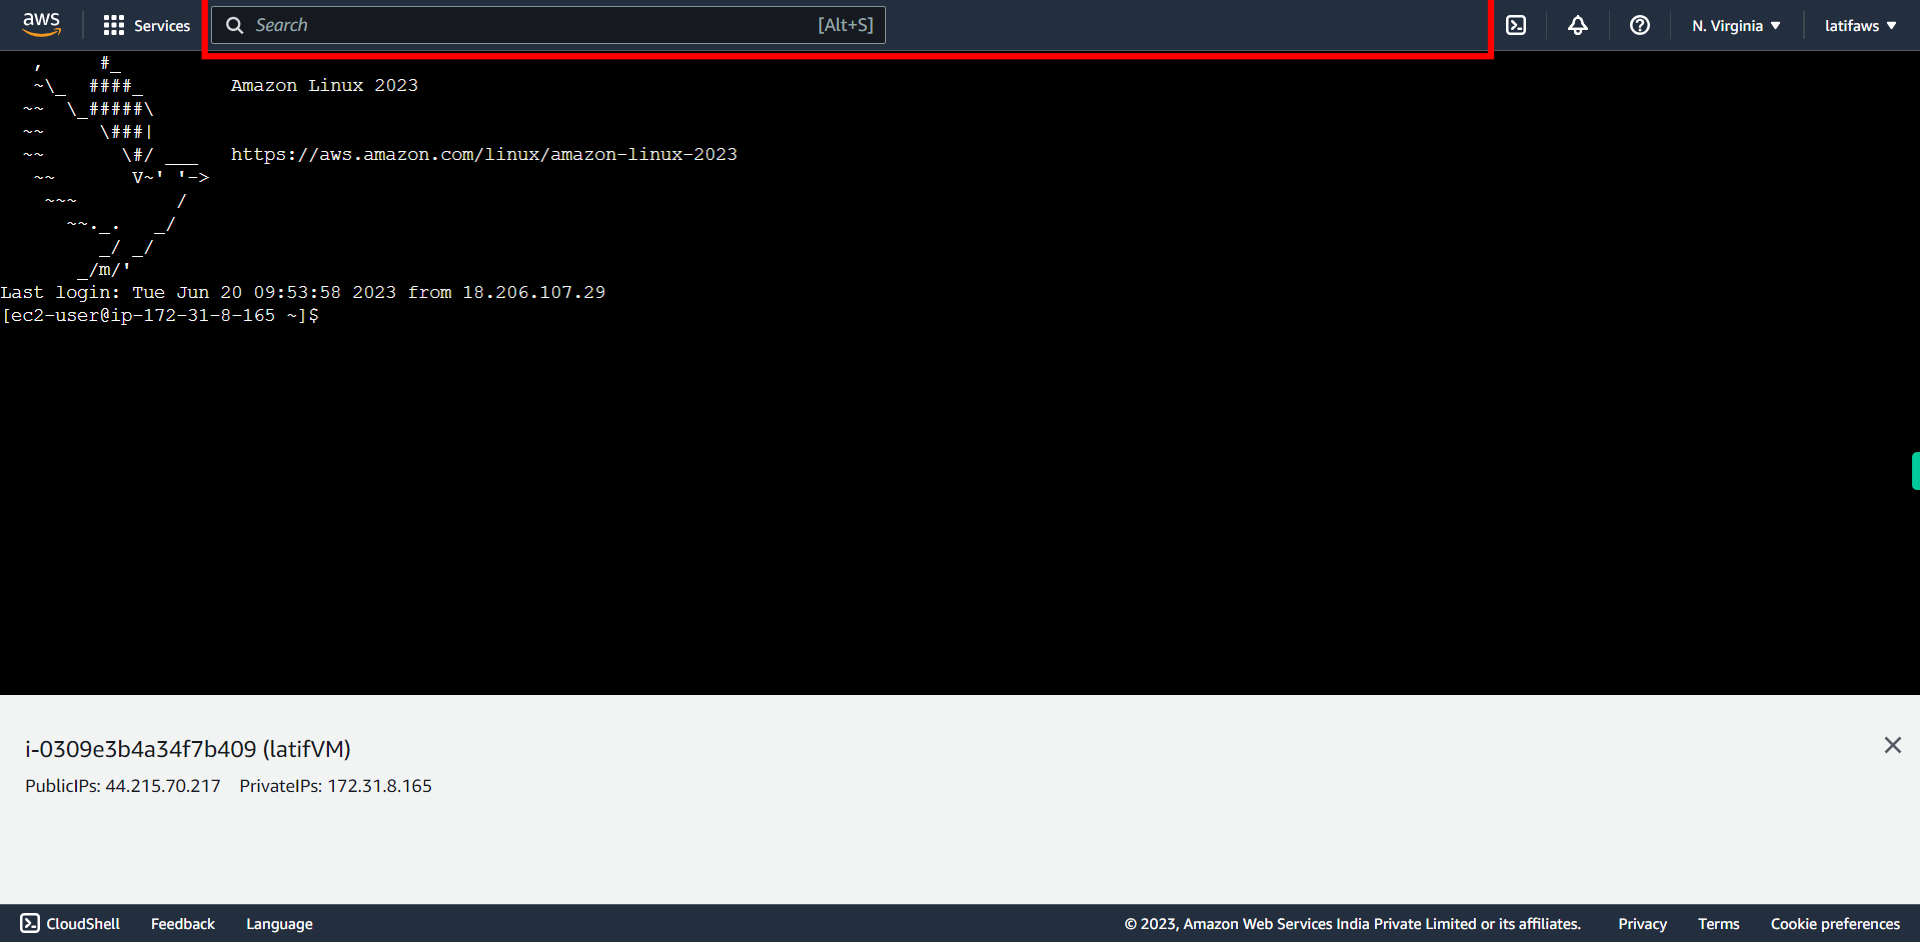
Wait for "Establishing Connection loading.. " to finish. Once done, Click Next on the supervity Instruction widget
-
12.
It automatically logins with default user 'ec2-user'. Now you can able to type commands in the Terminal. Once done, Click Next on the supervity Instruction widget
-
13.
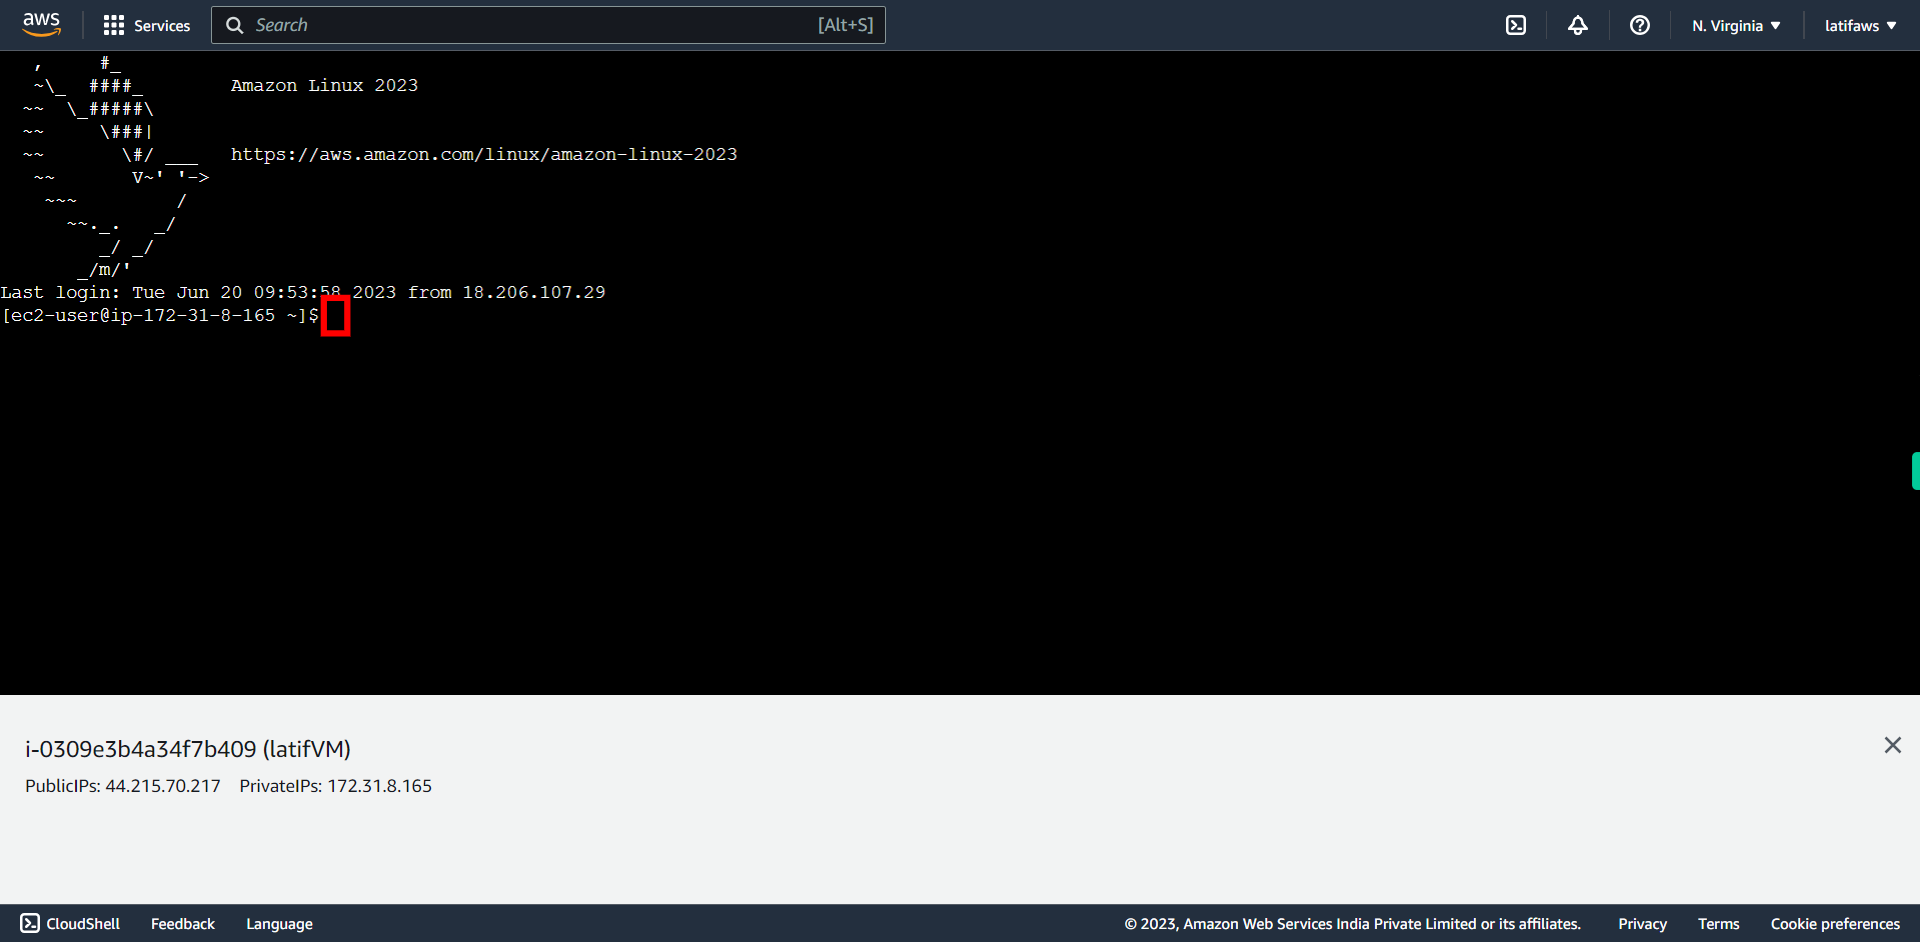
Click Terminal input. Once done, Click Next on the supervity Instruction widget
-
14.
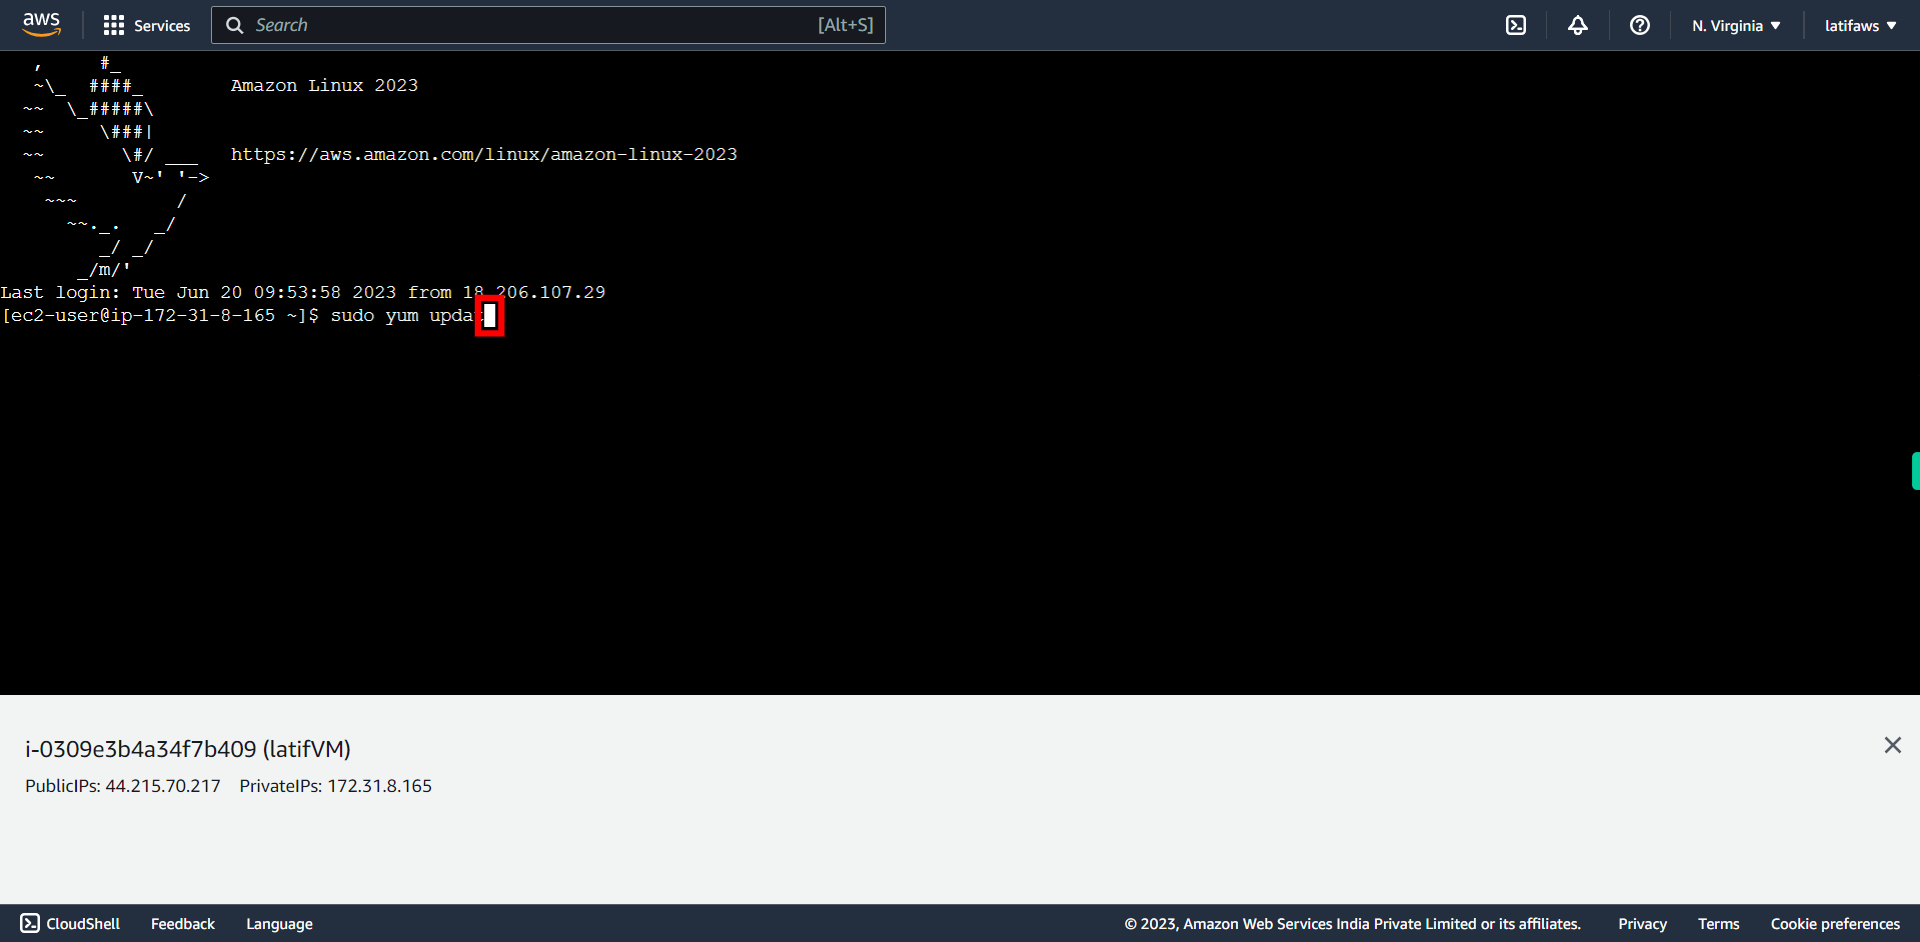
First update your System. Type: **sudo yum update -y**, press Enter. Once done, Click Next on the supervity Instruction widget
-
15.
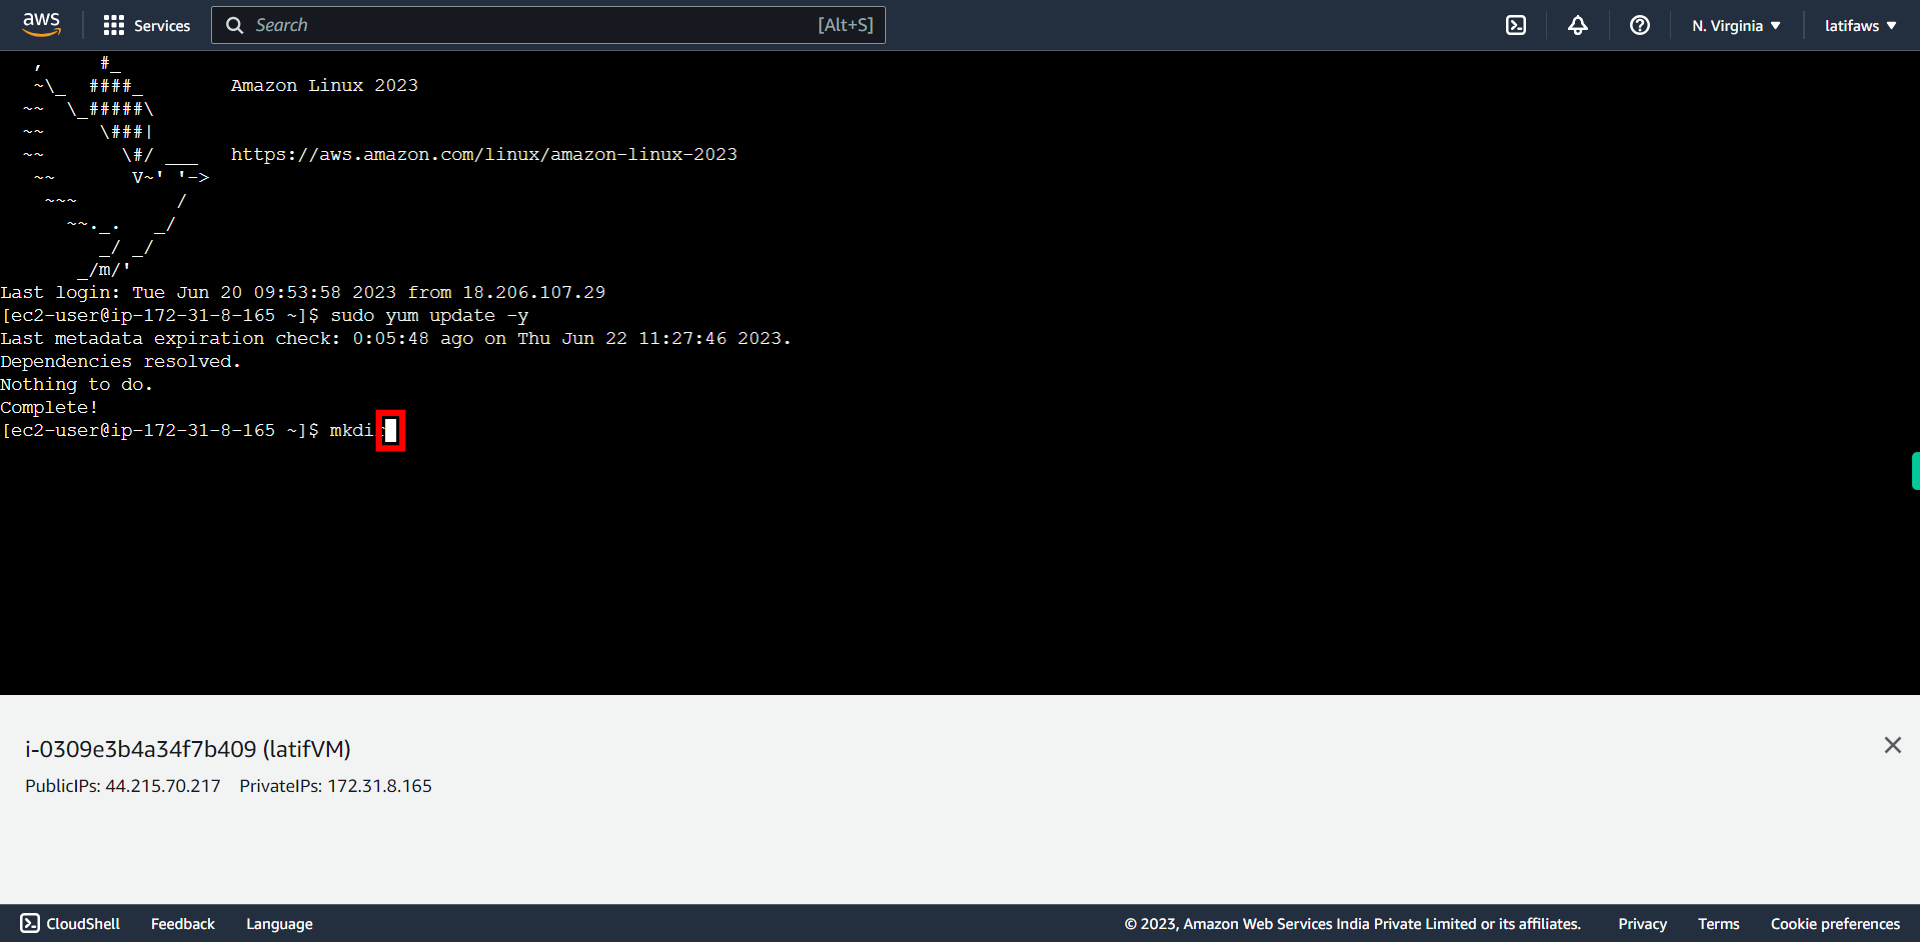
Create a Directory name: 'data1' Type: **mkdir data1** , press Enter. Once done, Click Next on the supervity Instruction widget
-
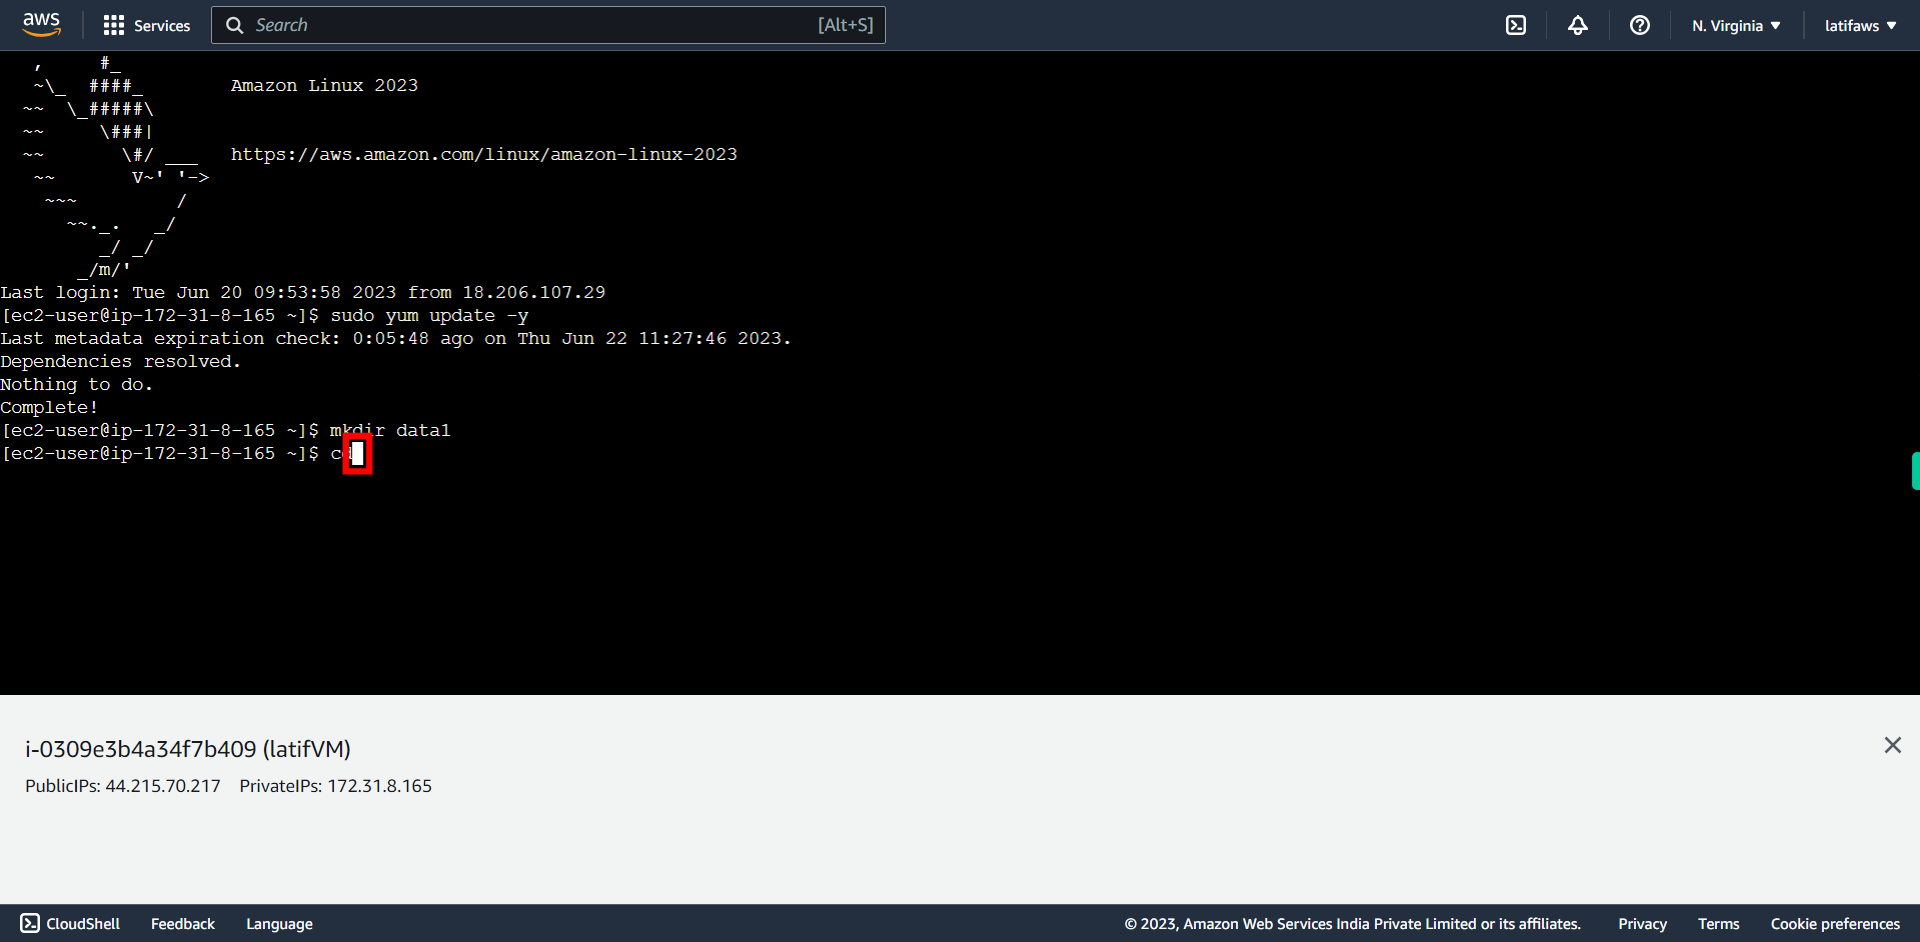
16.
Change directory to 'data1' Type: **cd data1**, press Enter Once done, Click Next on the supervity Instruction widget
-
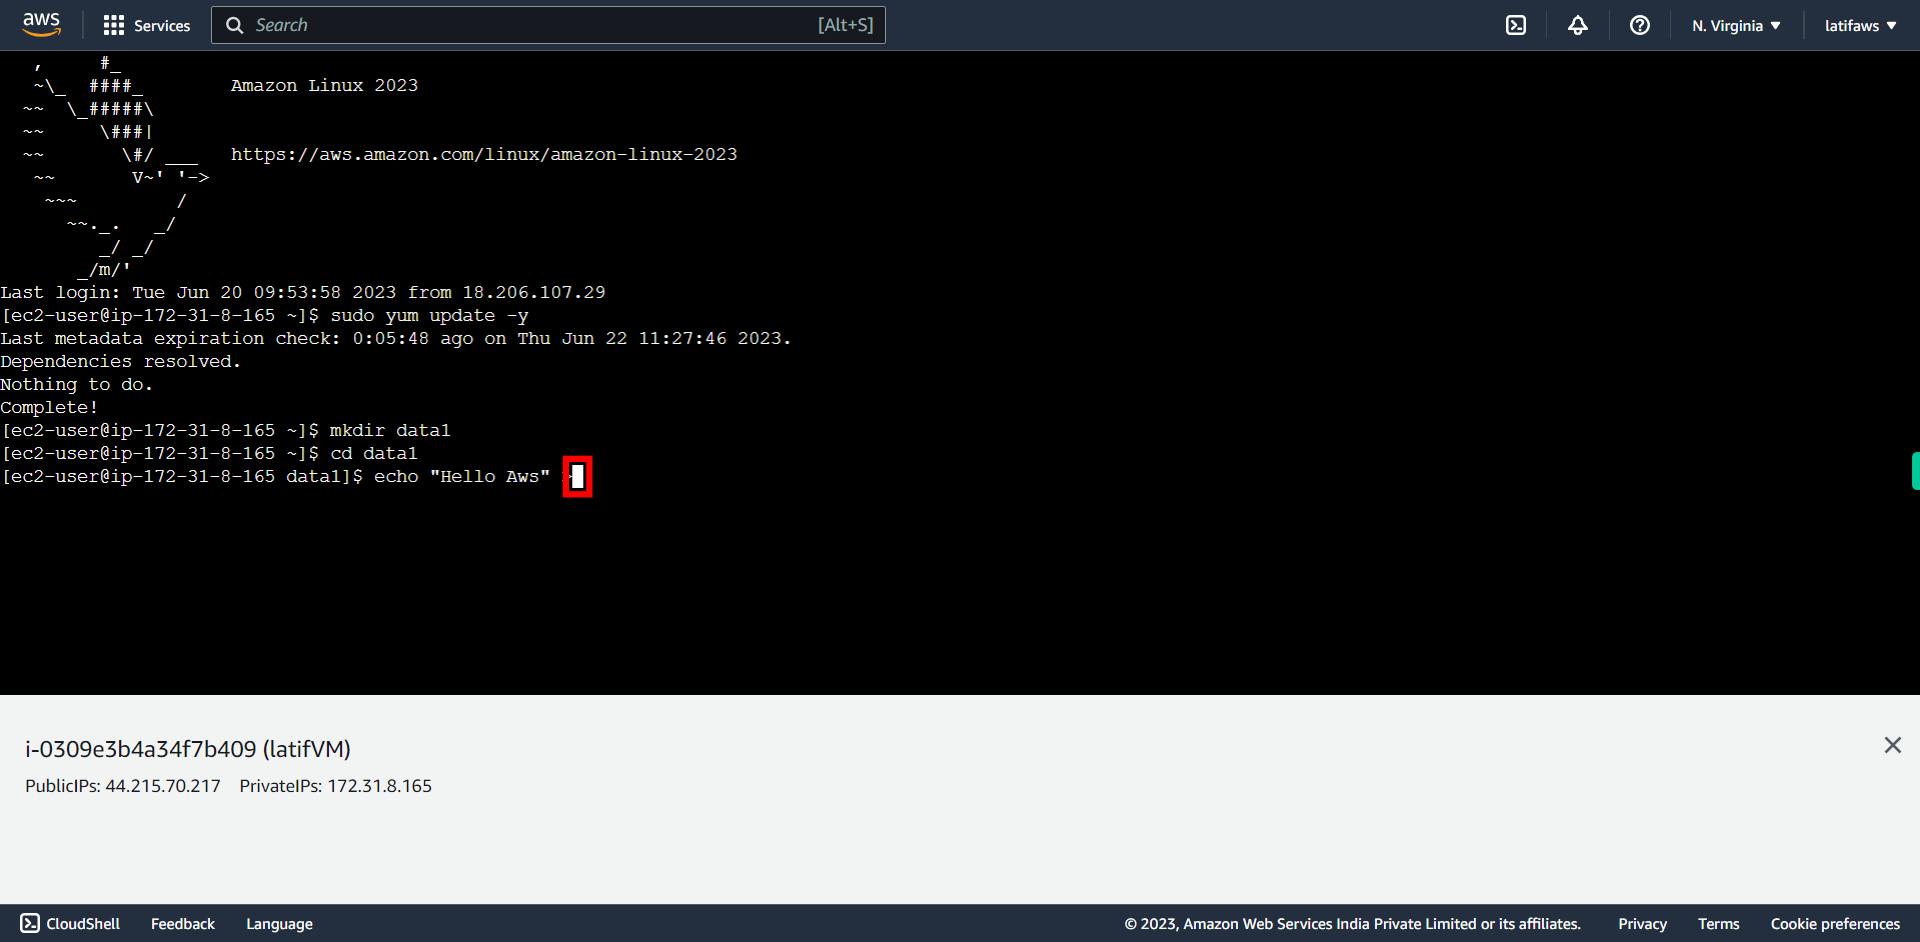
17.
Create a file with a text ex. "Hello AWS' Type: ``` echo Hello AWS > f1 ``` press Enter. Once done, Click Next on the supervity Instruction widget
-
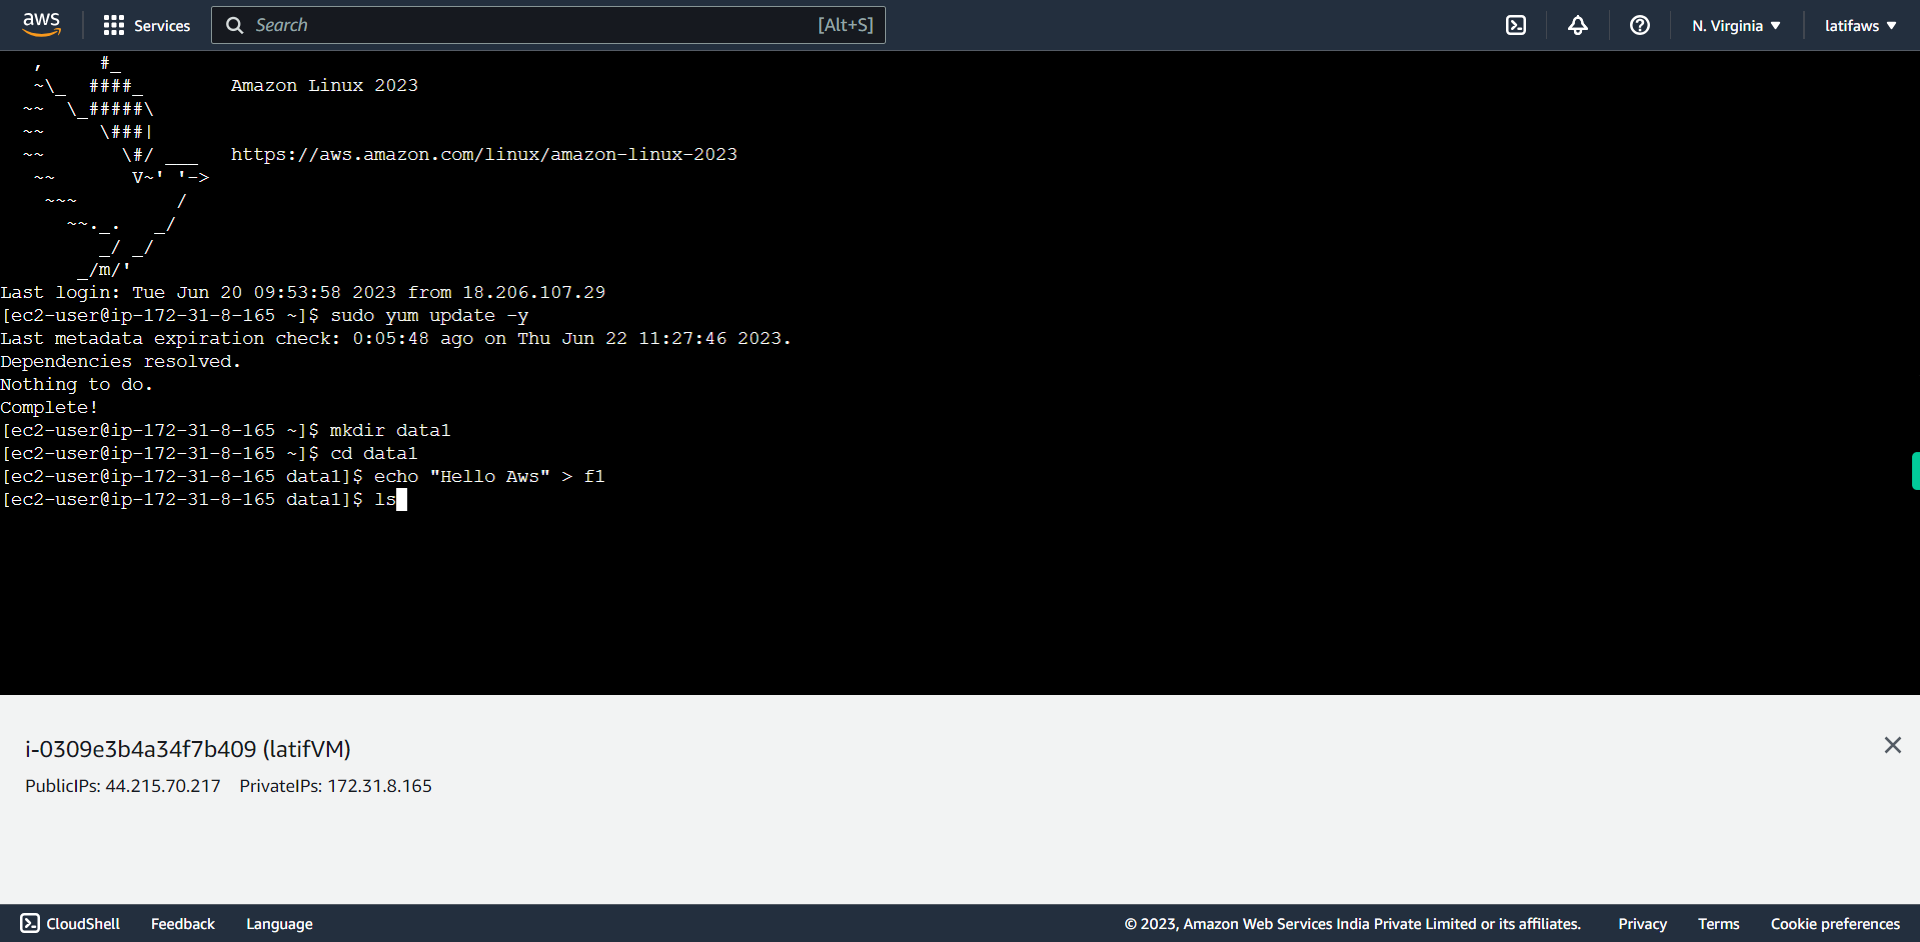
18.
Check directory content. Type: **ls** , press Enter. Once done, Click Next on the supervity Instruction widget
-
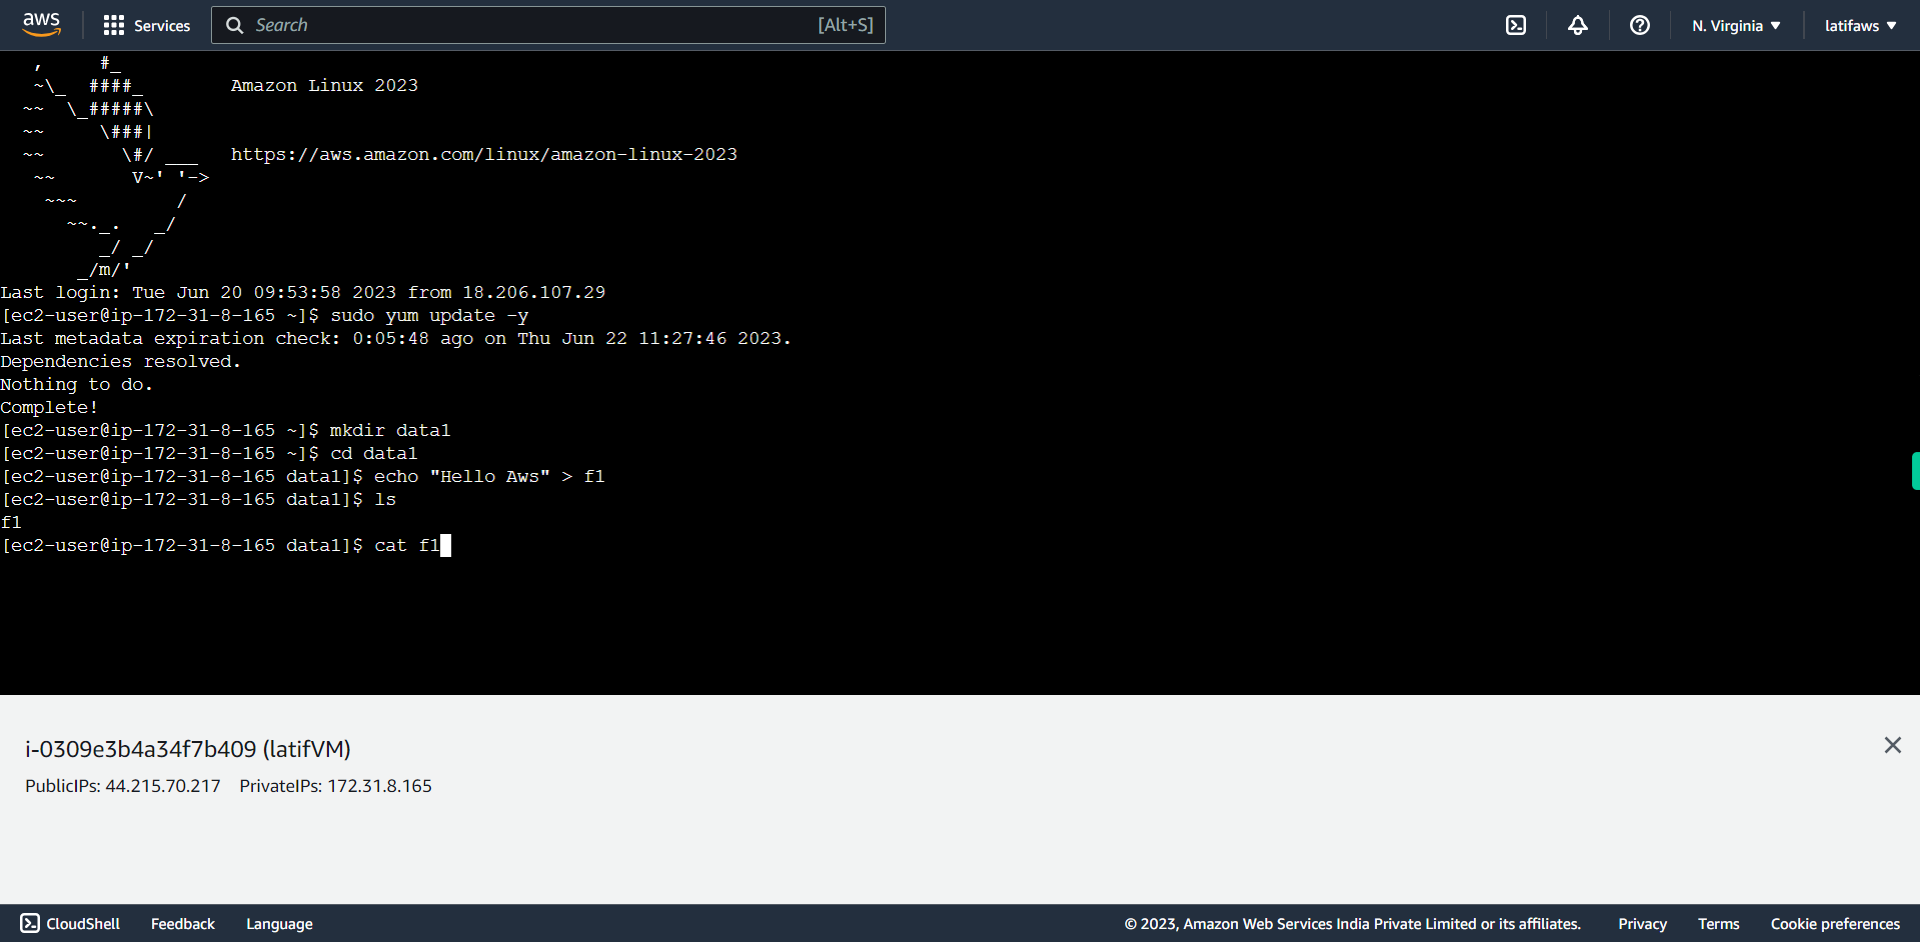
19.
Check content in the file. Type: **cat f1** , press Enter. Once done, Click Next on the supervity Instruction widget
-
20.
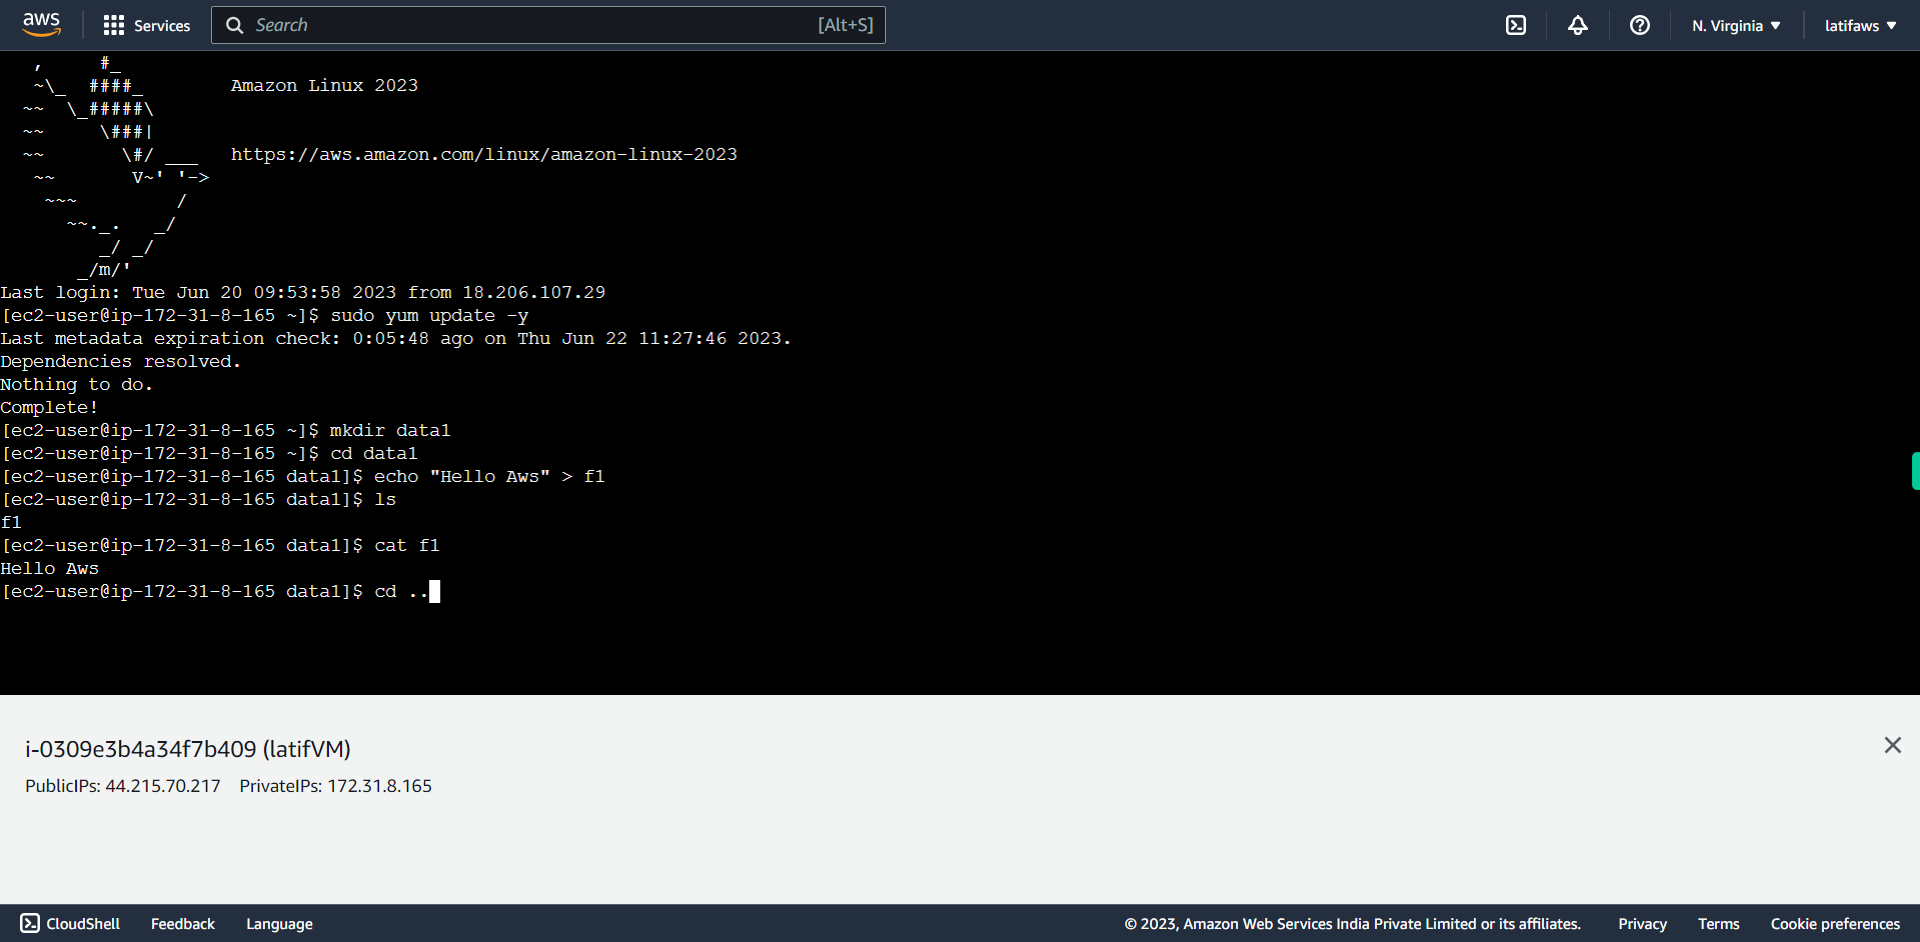
Return to the pervious directory. Type: **cd ..** , press Enter. Once done, Click Next on the supervity Instruction widget
-
21.
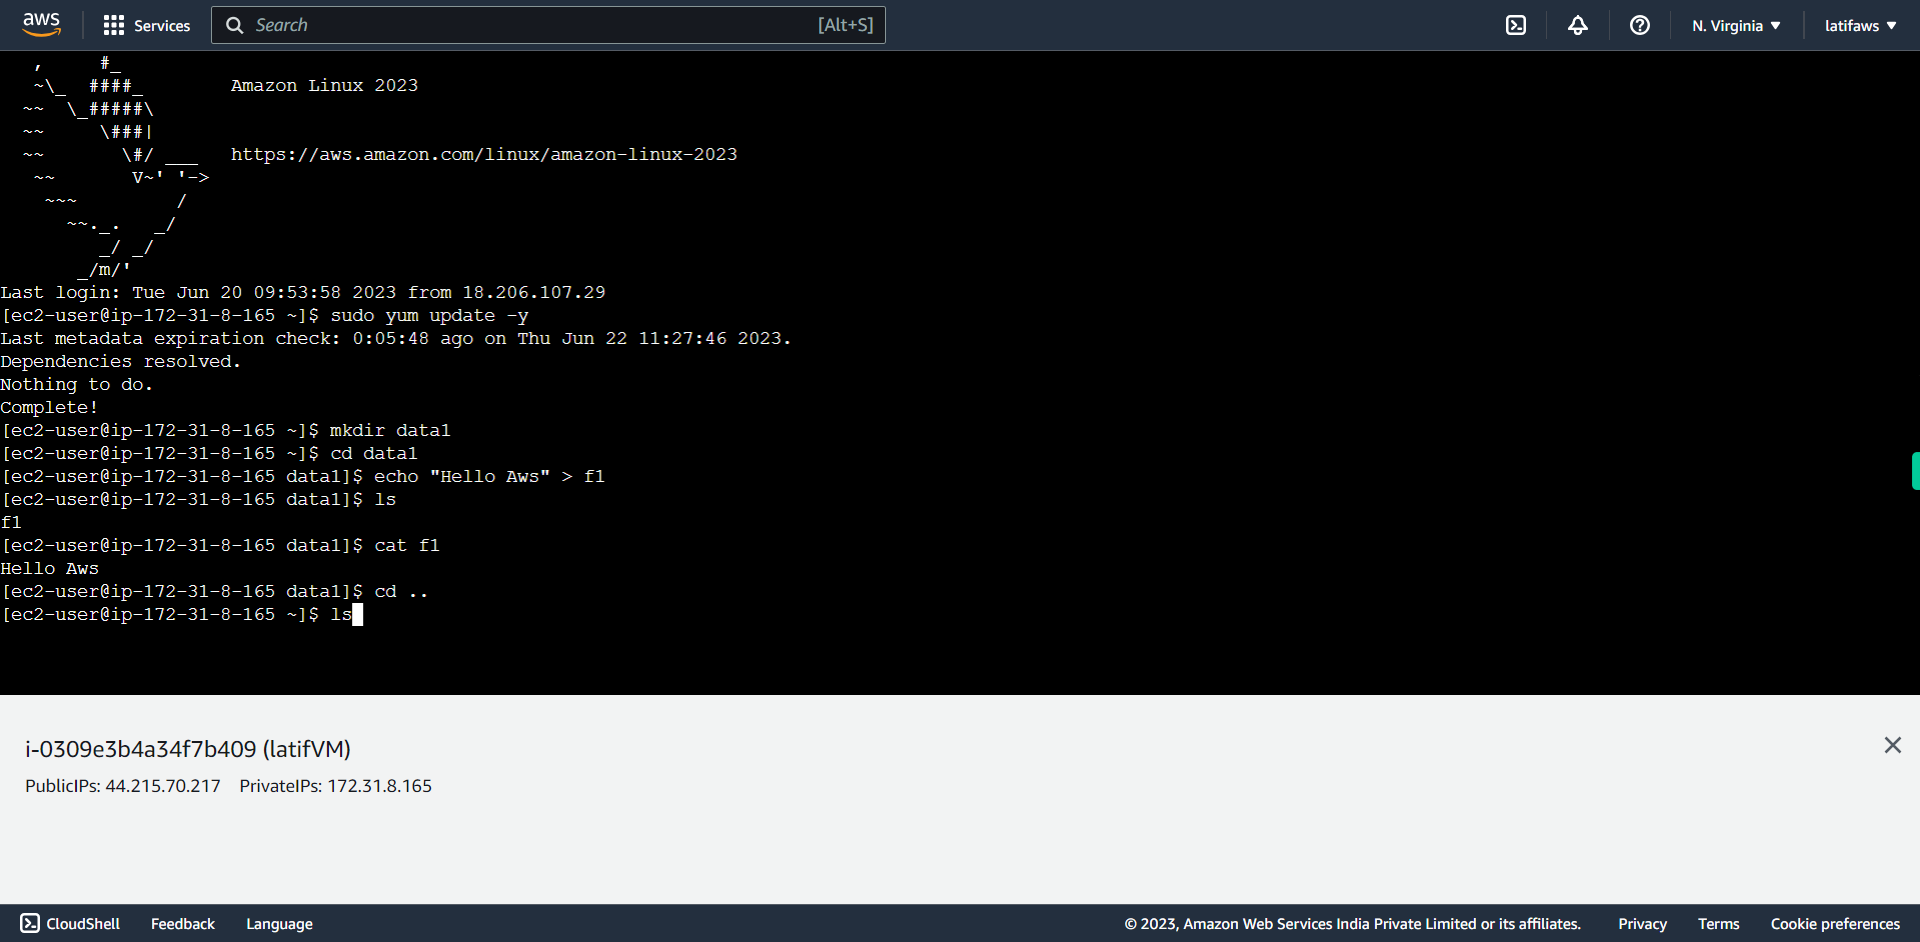
Type: **ls** , press Enter. Once done, Click Next on the supervity Instruction widget
-
22.
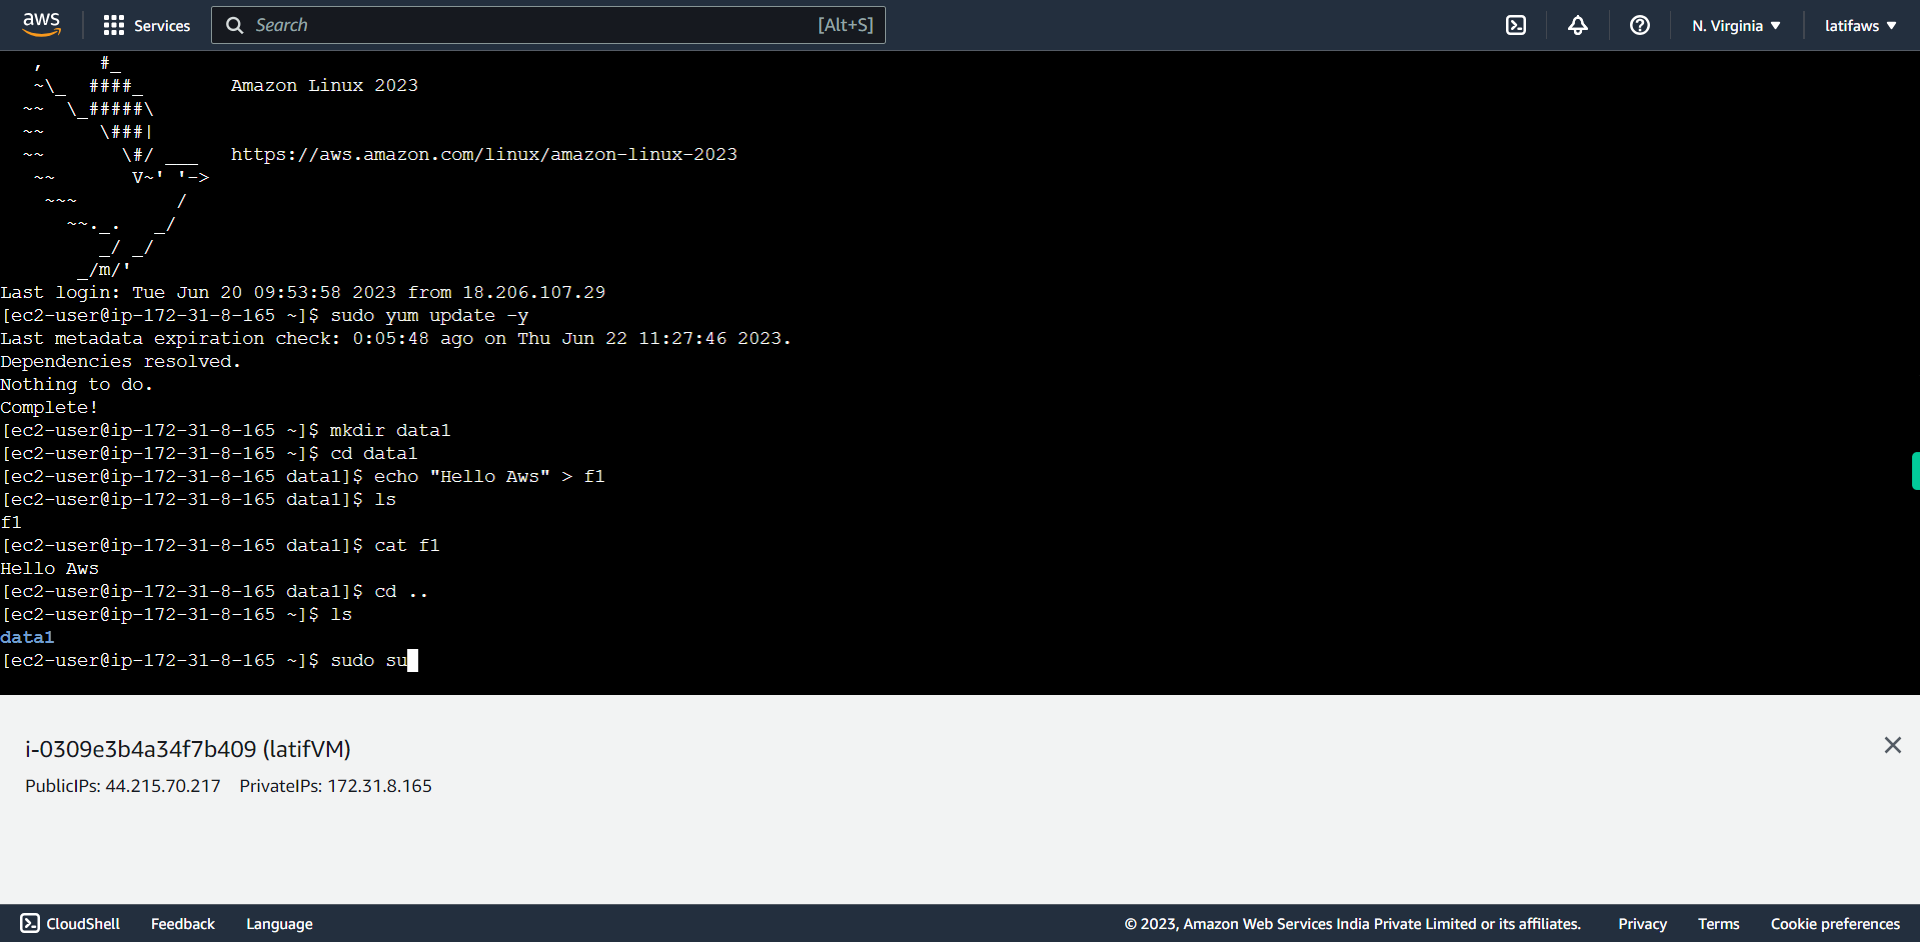
To Switch user form 'ec2-user' to 'root' user. Type: **sudo su** , press Enter. Once done, Click Next on the supervity Instruction widget
-
23.
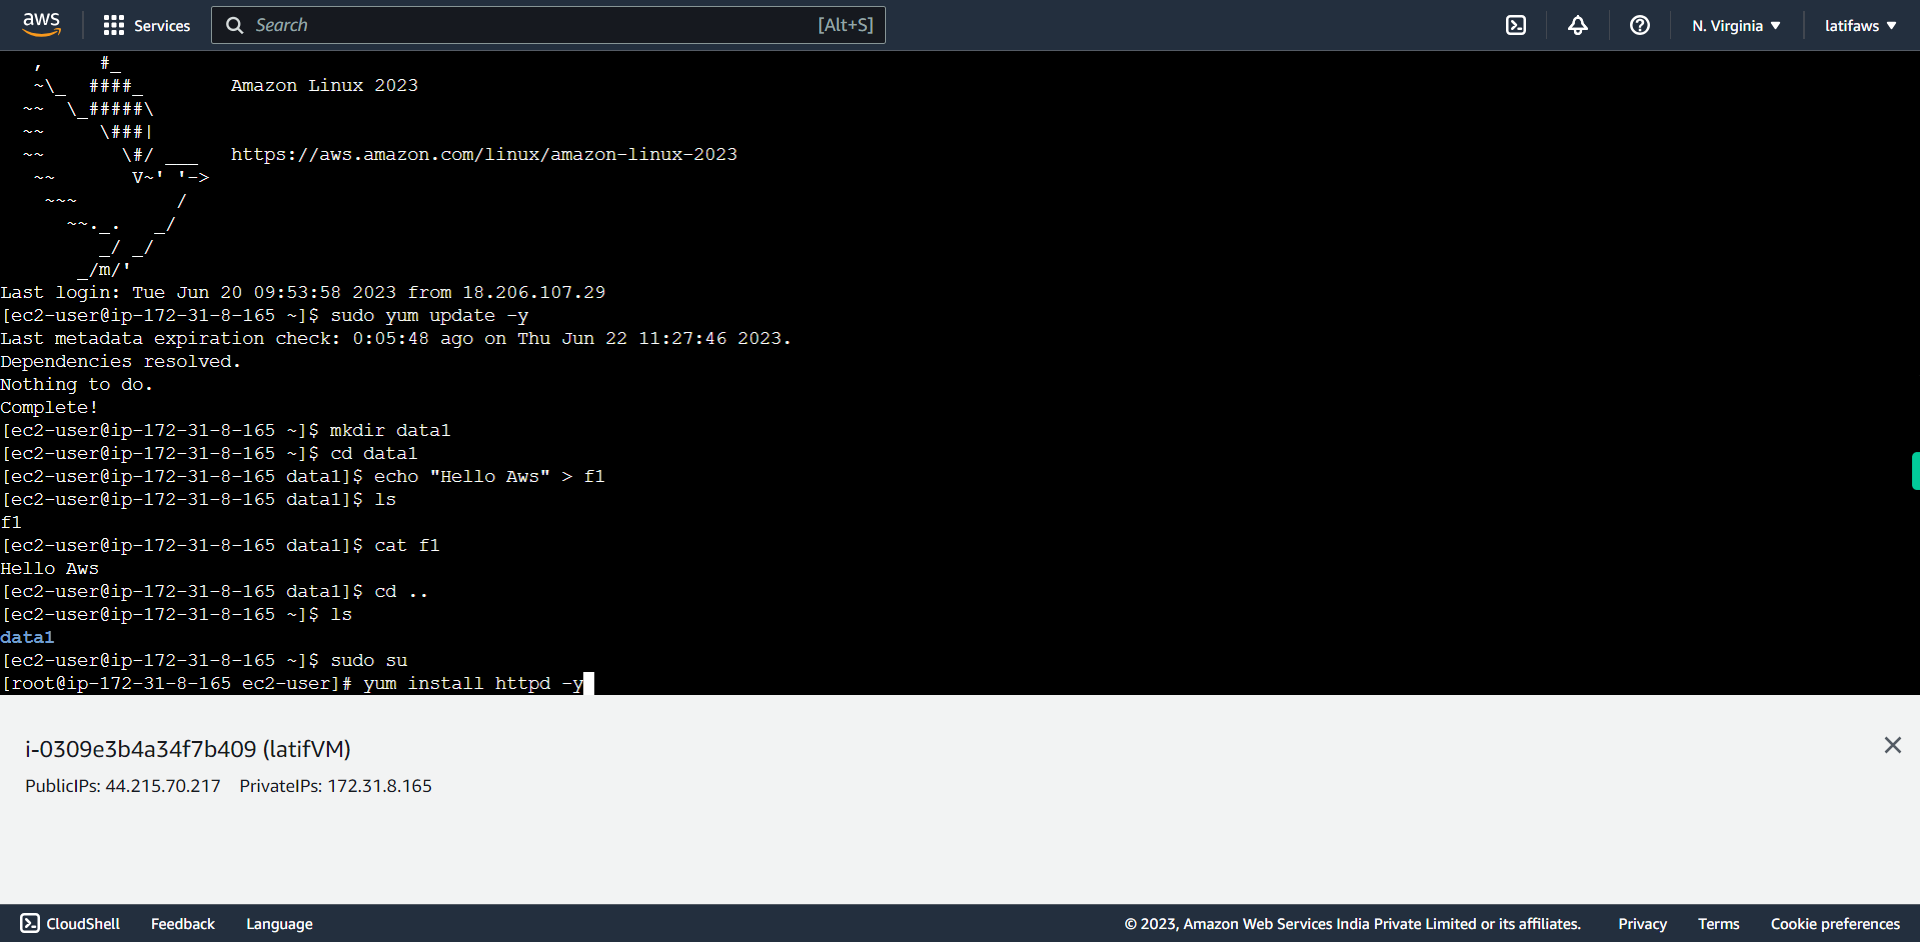
Try install a package (Ex. Apache httpd). Type: **yum install httpd -y**, press Enter. Once done, Click Next on the supervity Instruction widget
-
24.
This completes the task to connect to your EC2 Instance using Web Browser based connection and Practice some sample Linux commands. Once done, Click Close on the supervity Instruction widget
