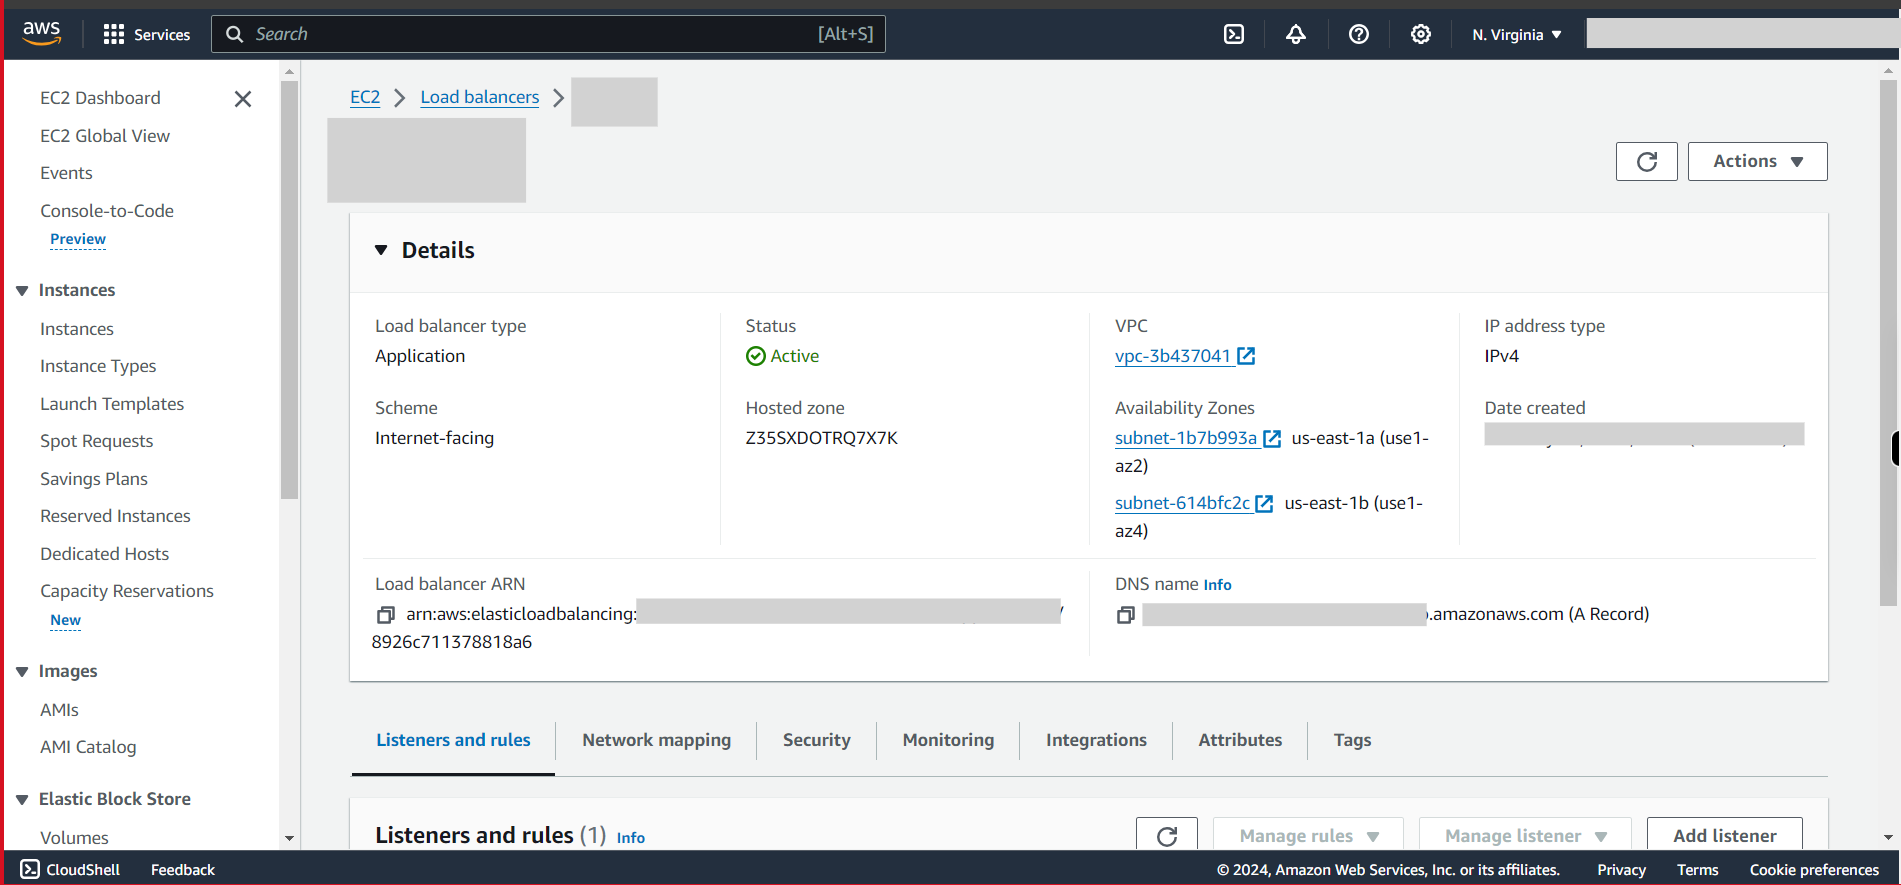
This skill helps to walk you through the Creation of Application Load Balancing (ALB) by step by step assistance. Application Load Balancing (ALB) in AWS (Amazon Web Services) is a service that distributes incoming application traffic across multiple targets, such as Amazon EC2 instances.
Prerequisites:
- An active AWS account
- Sufficient privileges to create ALB
- Must have two EC2 instances on different Availability Zones at least
- Must allow HTTP traffic in the security groups of instances.
Note:
Login to AWS Management Console beforehand.
-
1.
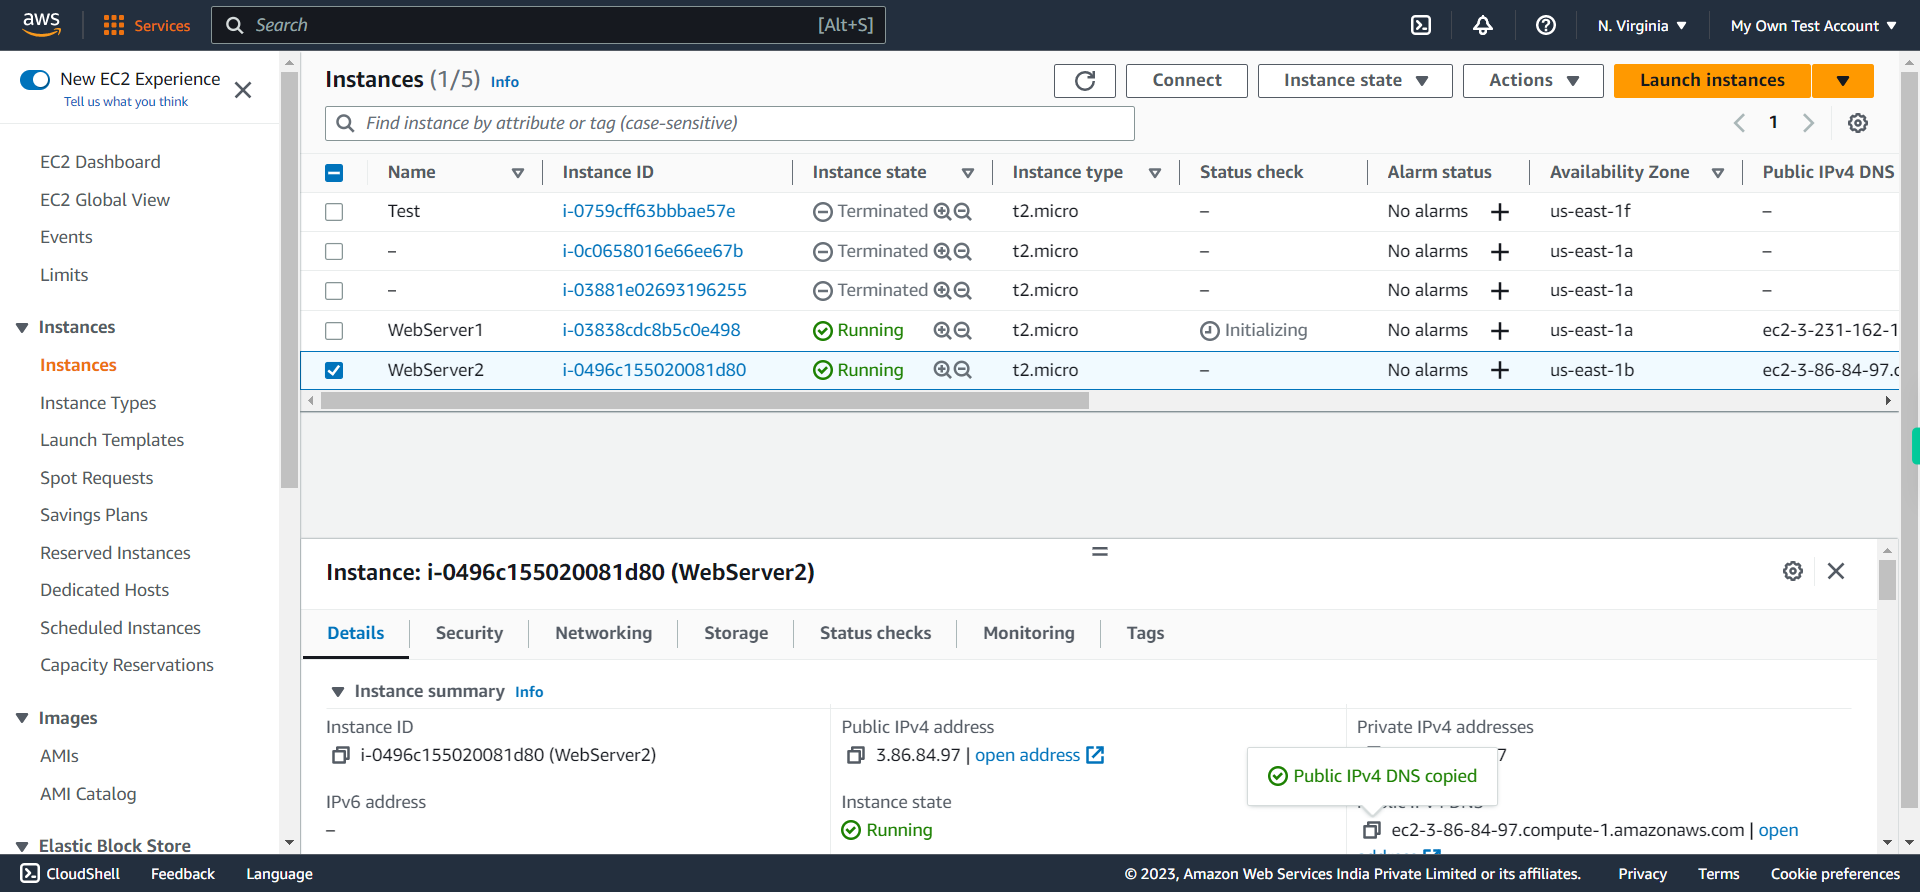
open EC2 Management Console
-
2.
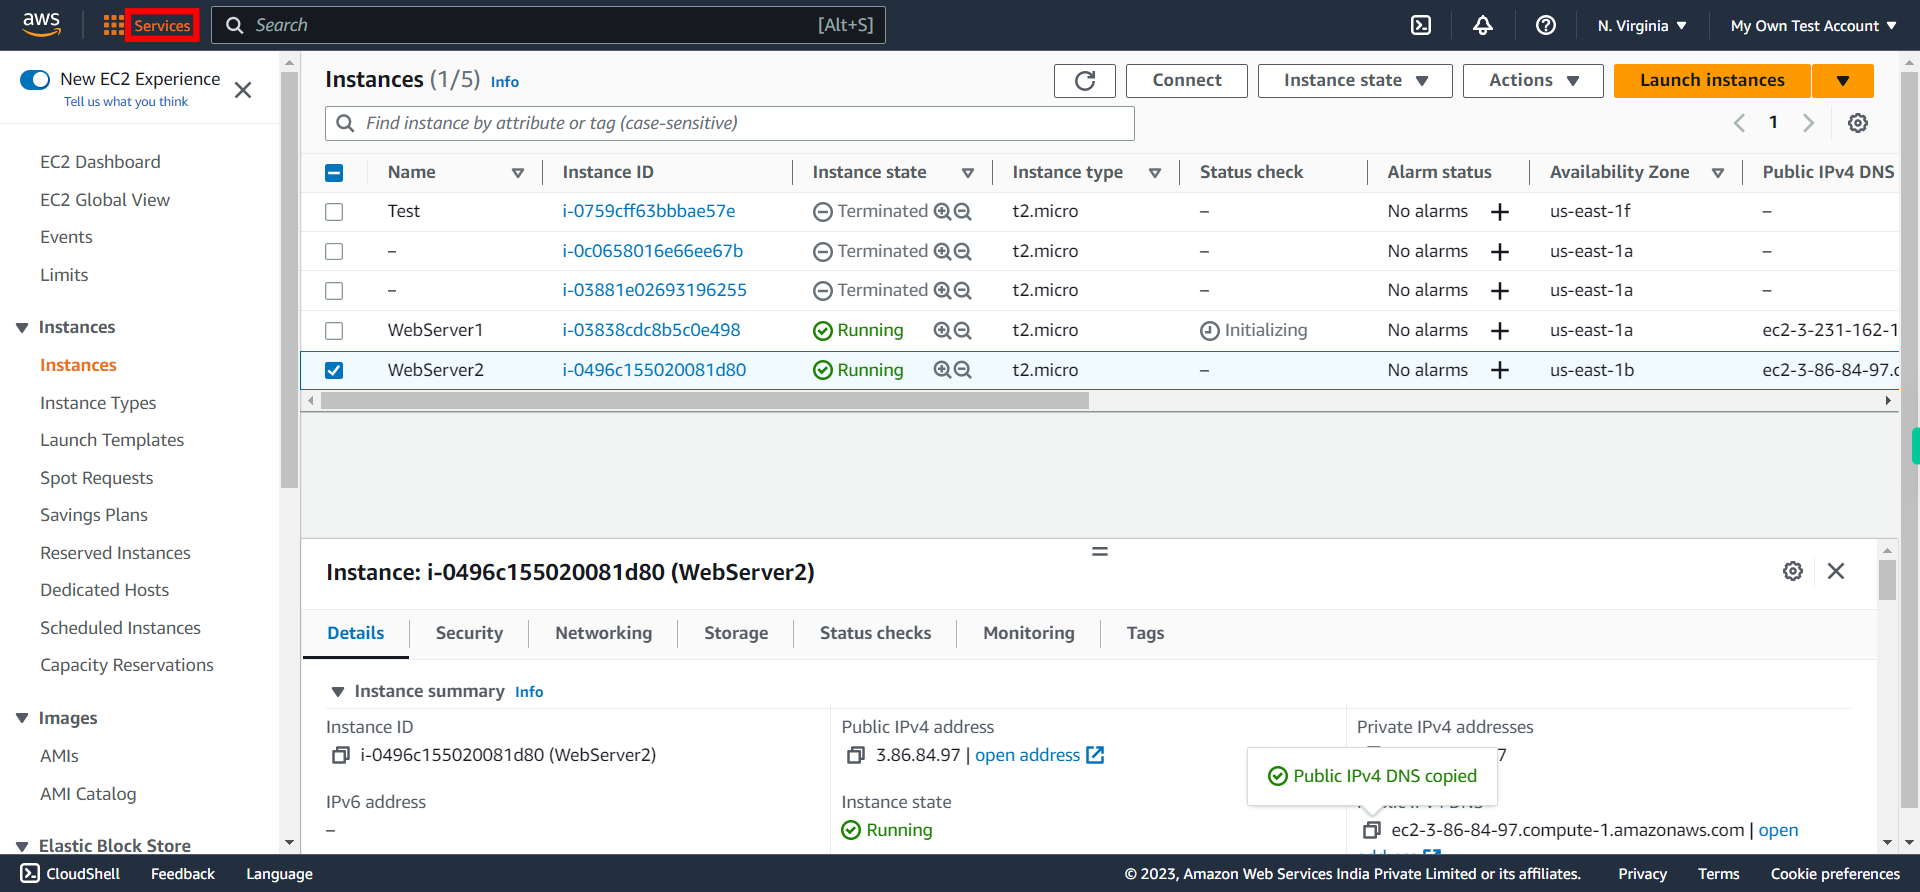
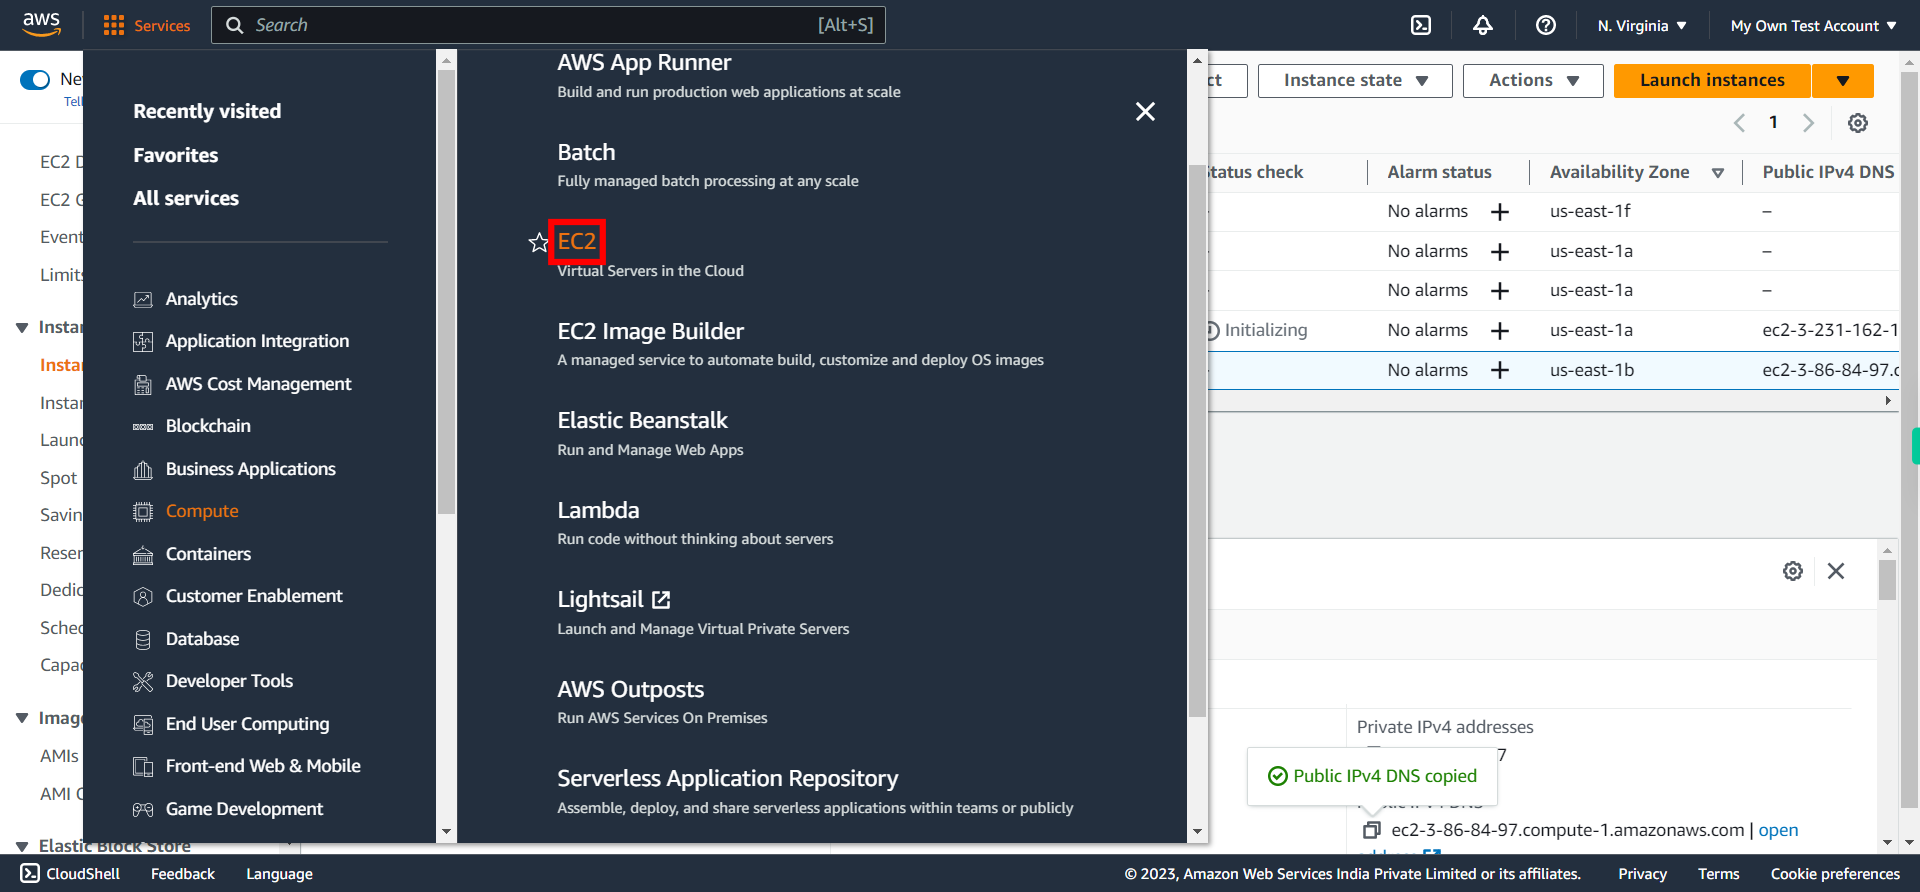
Click Services
-
3.
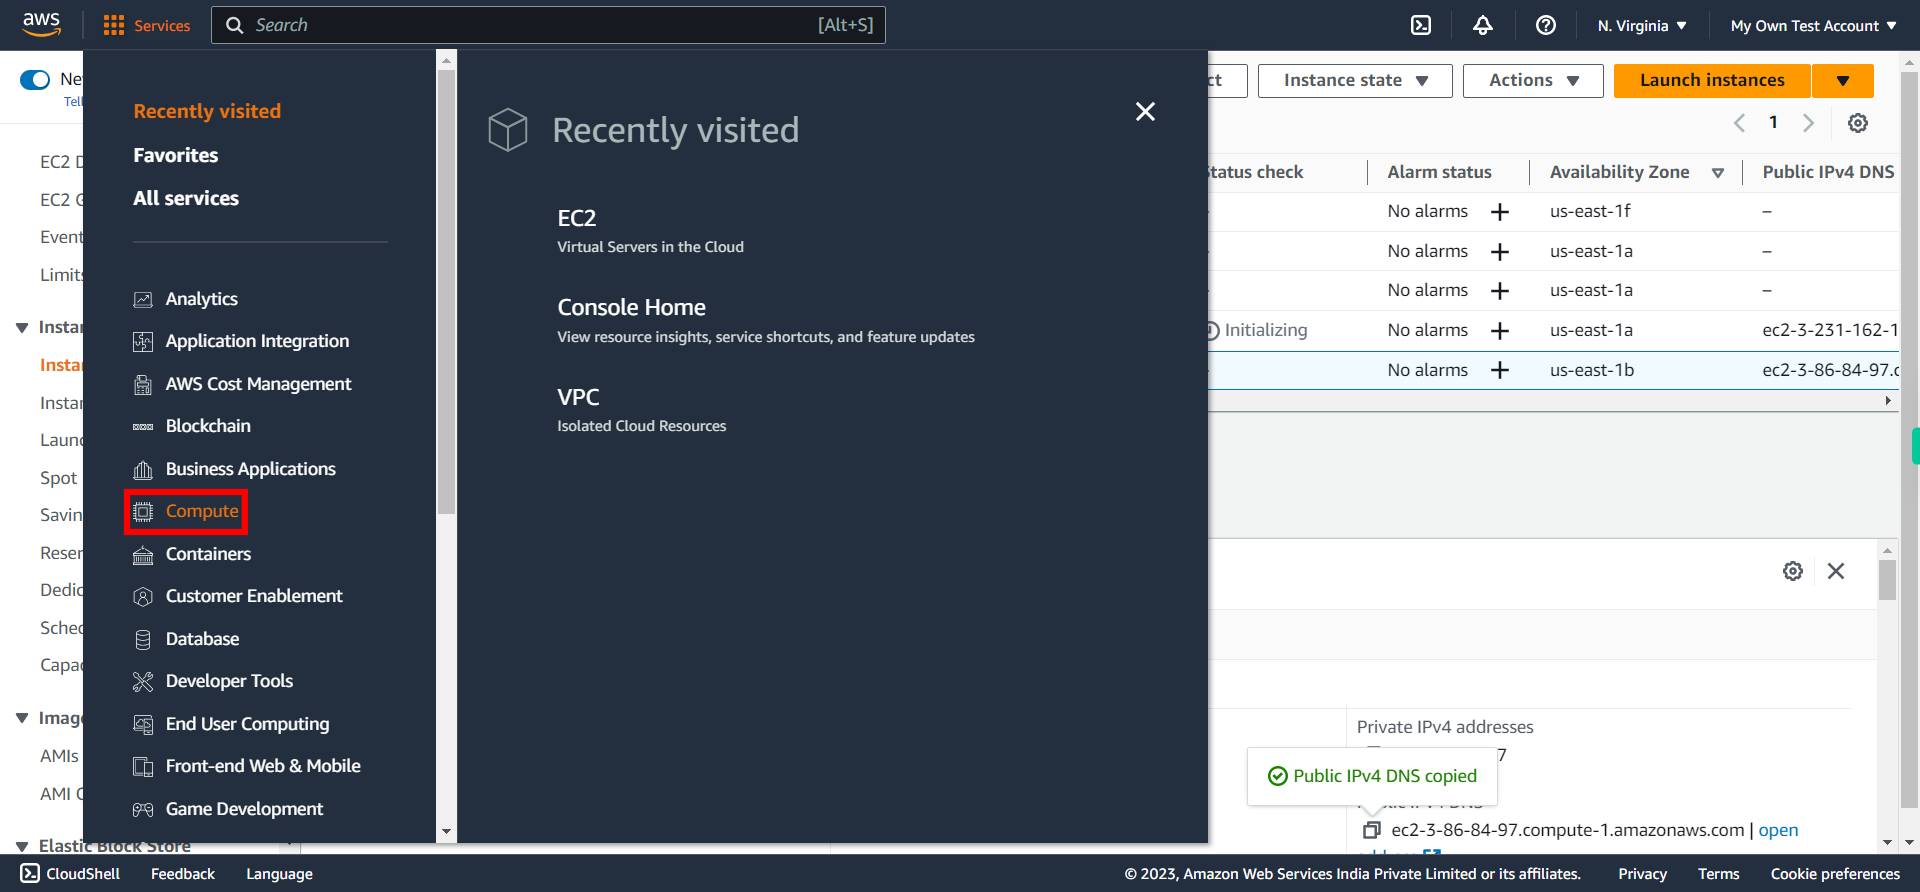
Click Compute
-
4.
Click EC2 (Virtual Servers in the Cloud)
-
5.
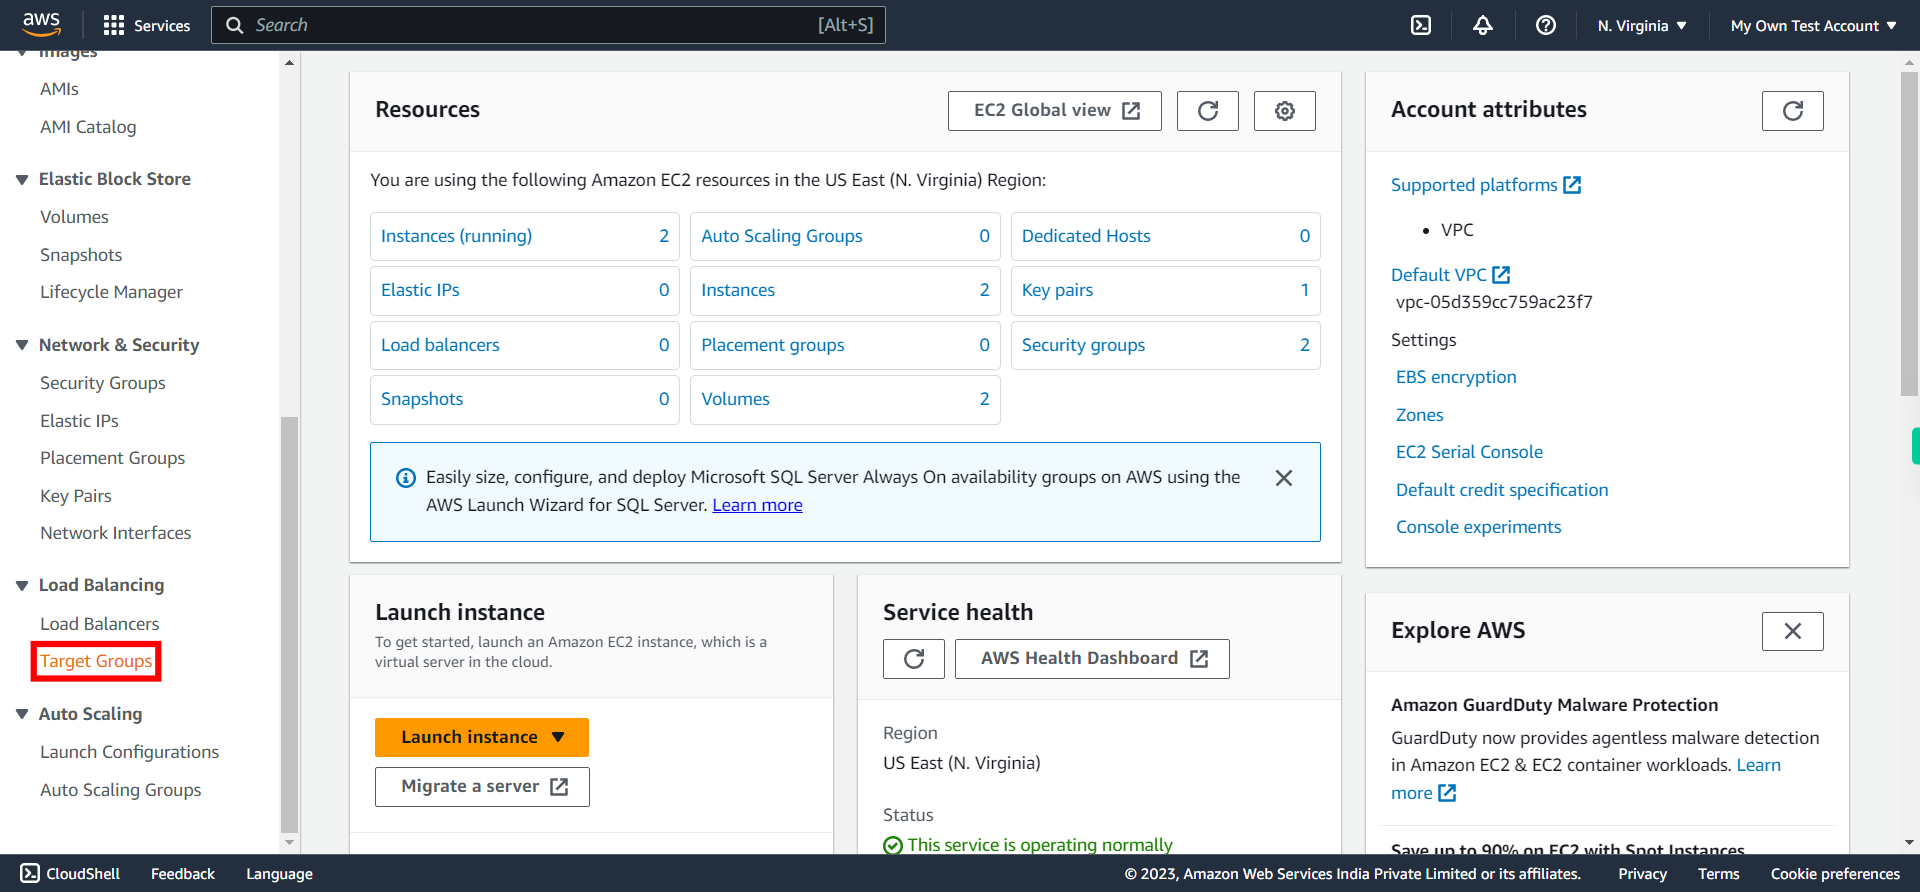
Select "Target Groups" under "Load Balancing". A target group is a logical grouping of targets, such as Amazon EC2 instances, containers, IP addresses, or Lambda functions, that receive traffic from a load balancer. Target groups are associated with a specific load balancer, and they play a crucial role in distributing incoming requests to the registered targets.
-
6.
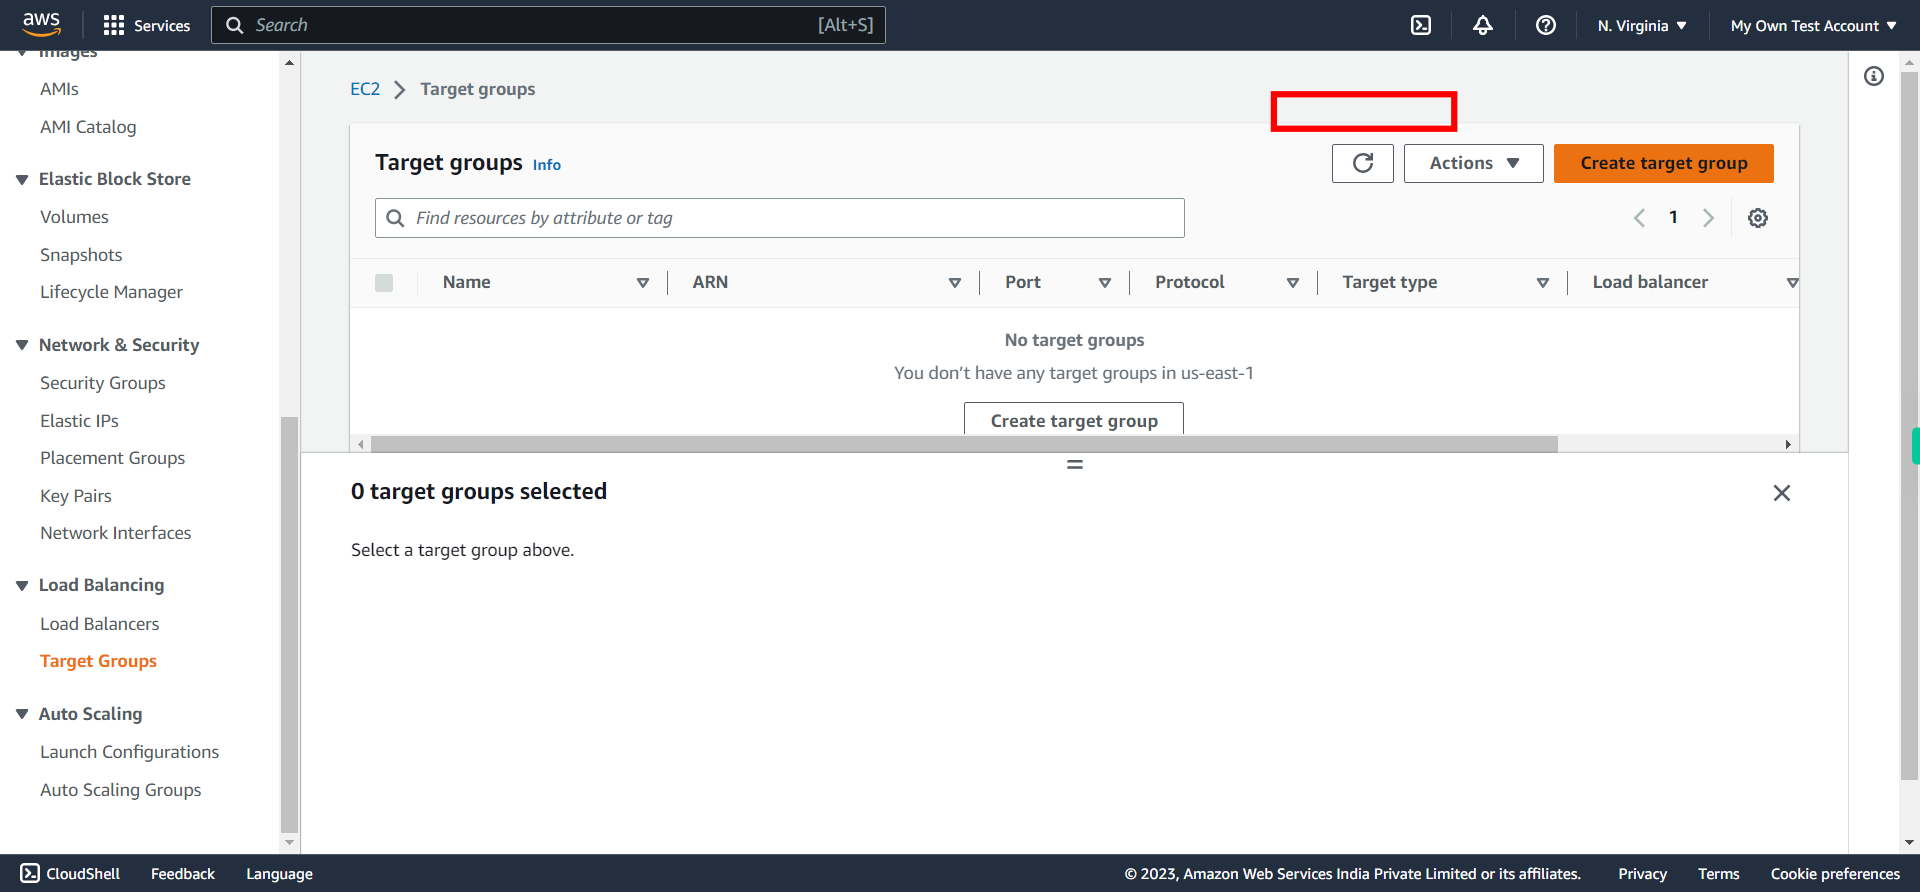
Click "Create target group"
-
7.
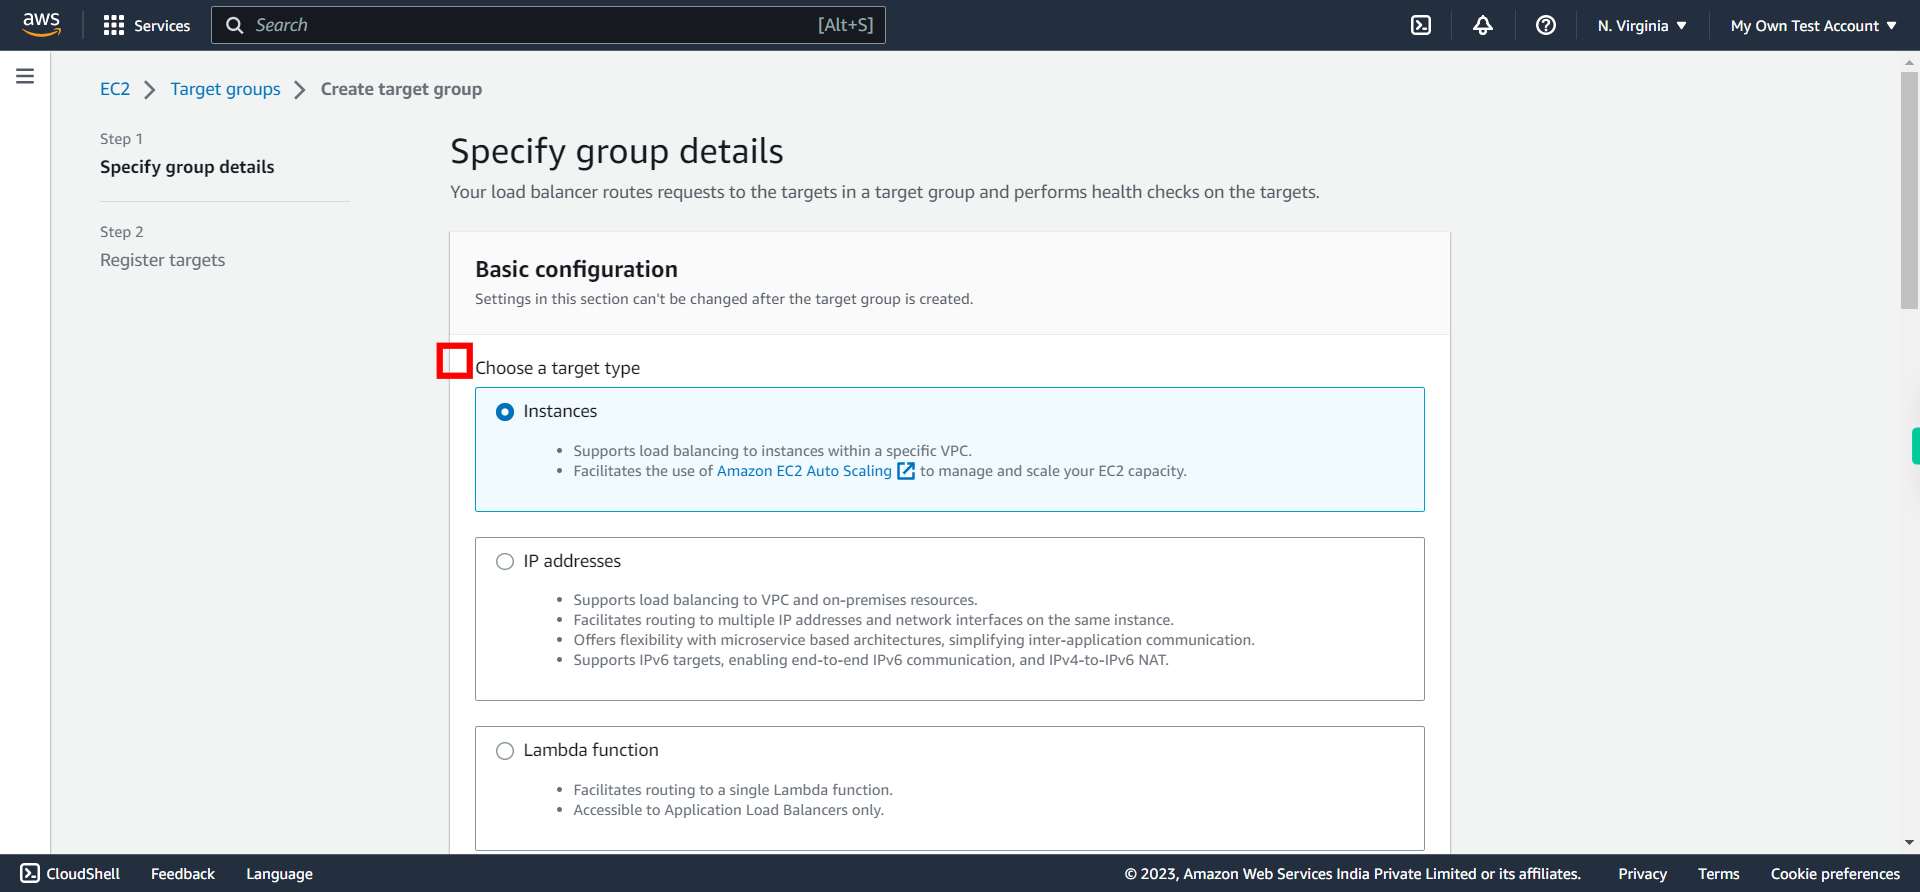
Here under "Target Type", select Instances as this walkthrough aspires implementation of ALB on EC2 instances. Click Next on Supervity instruction widget.
-
8.
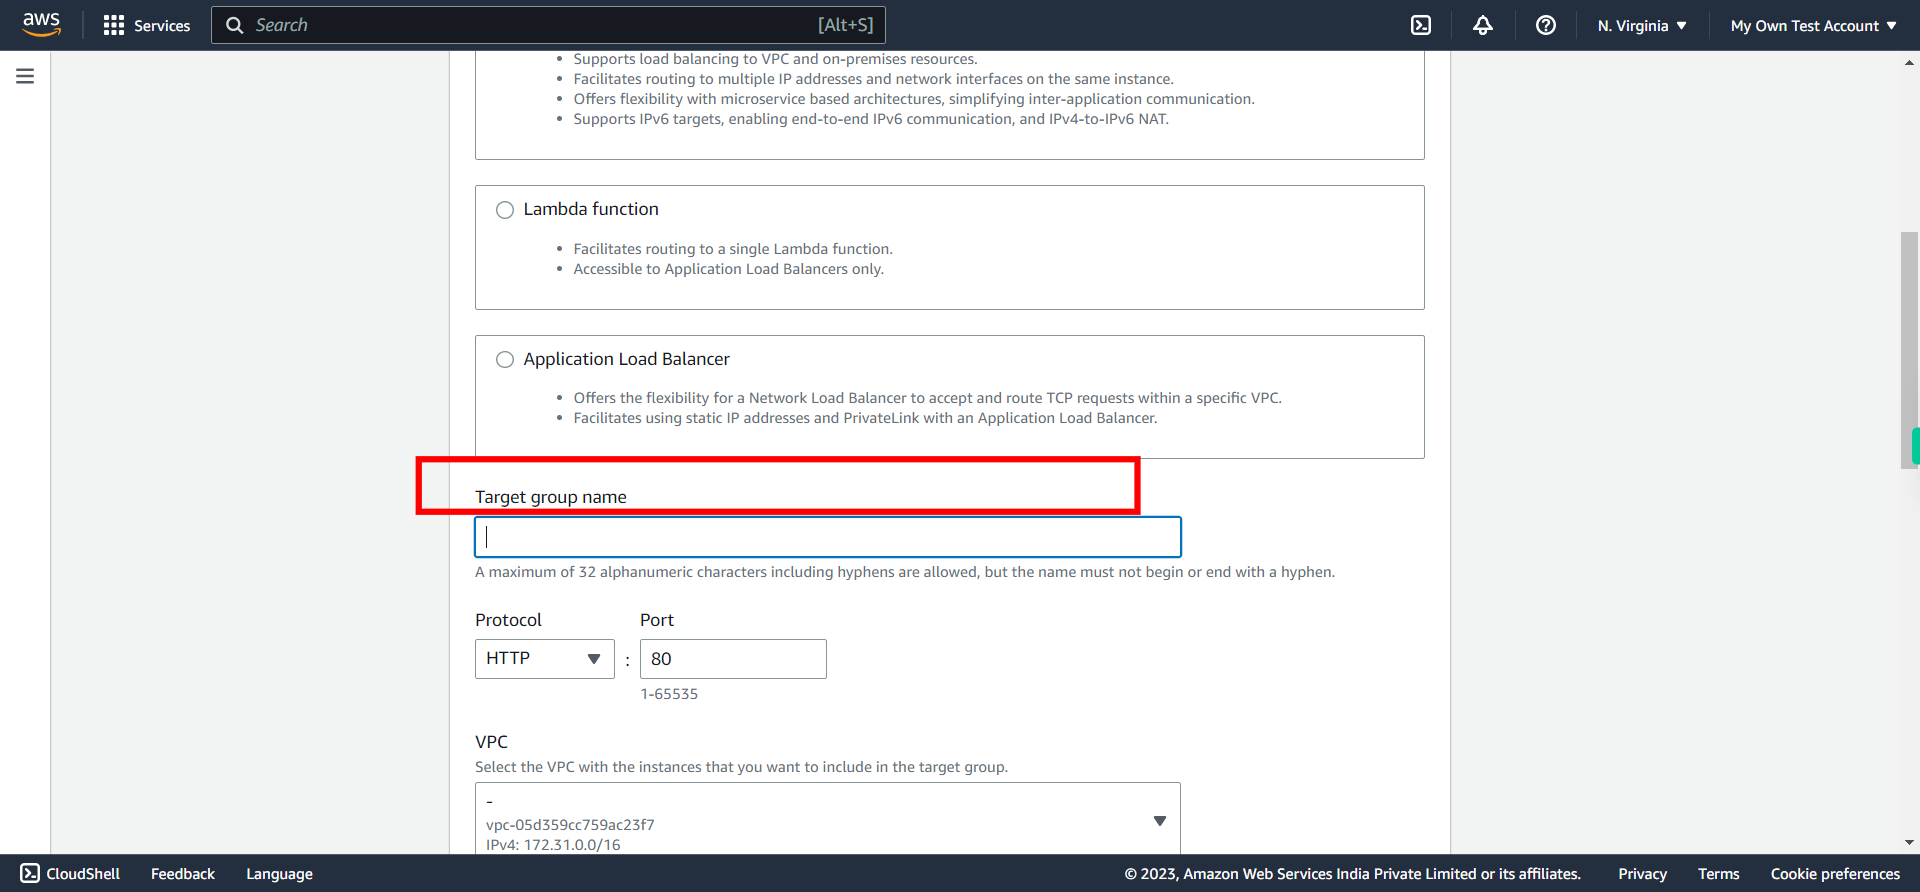
Set a name to Target group. Once done, click Next on Supervity instruction widget.
-
9.
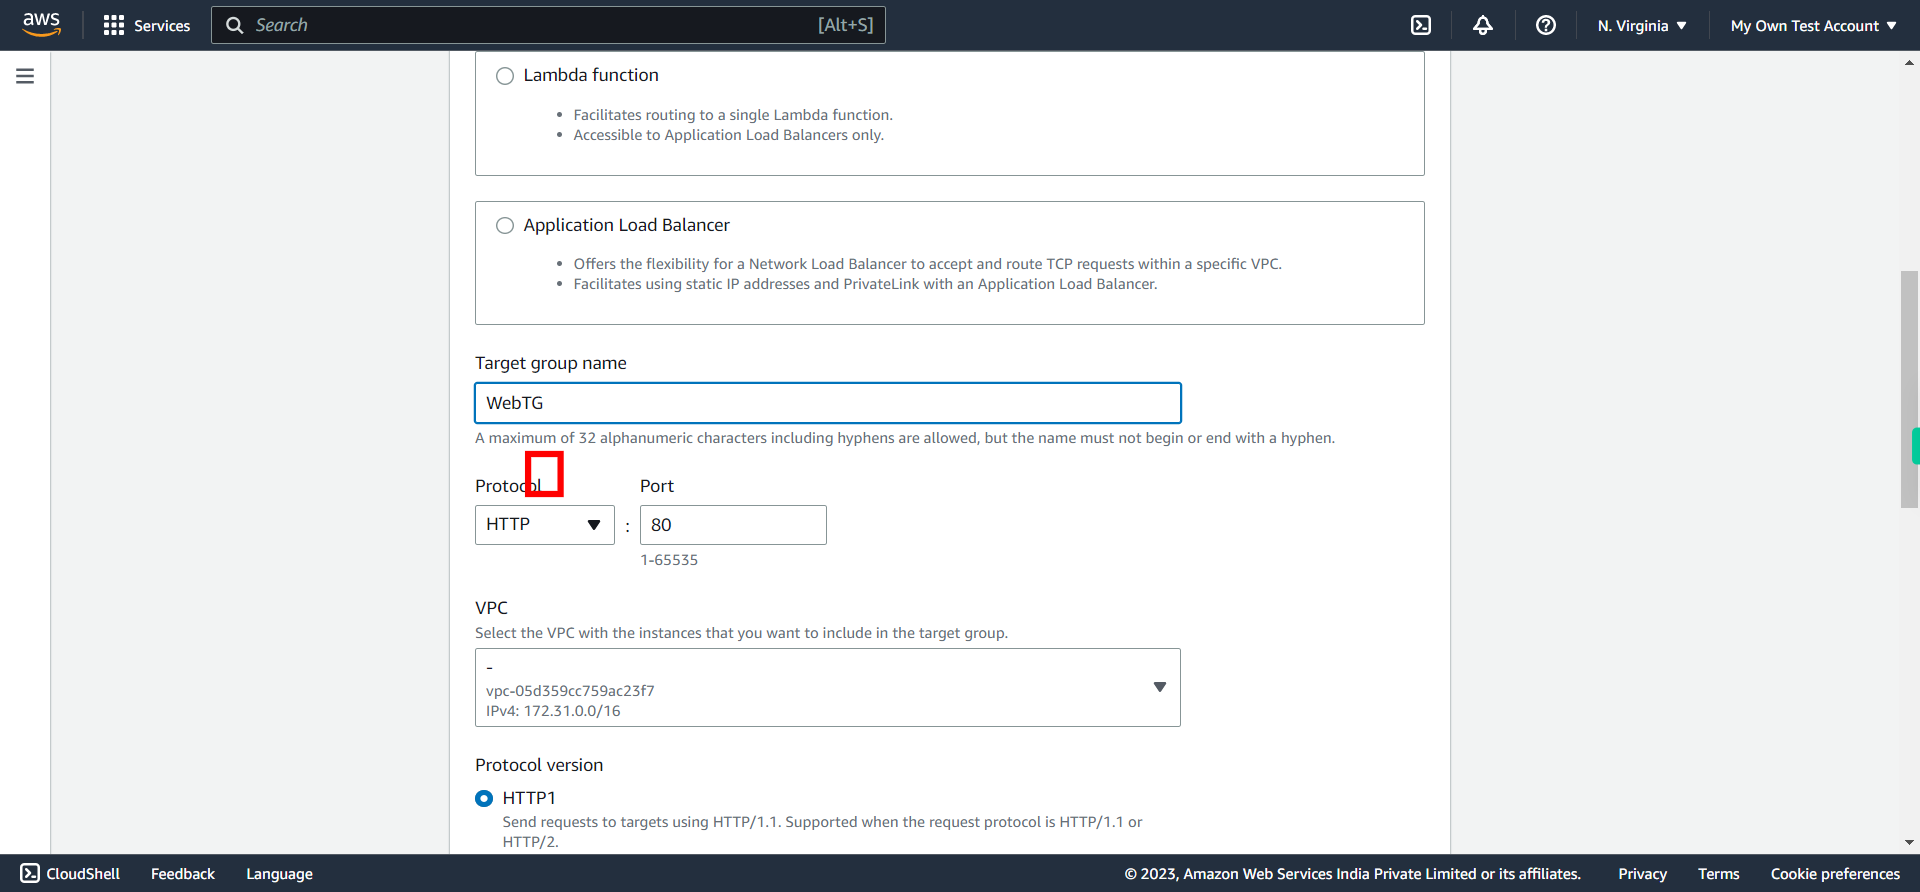
Select the protocol for the targets. Ex: HTTP. Once done, click Next on Supervity instruction widget.
-
10.
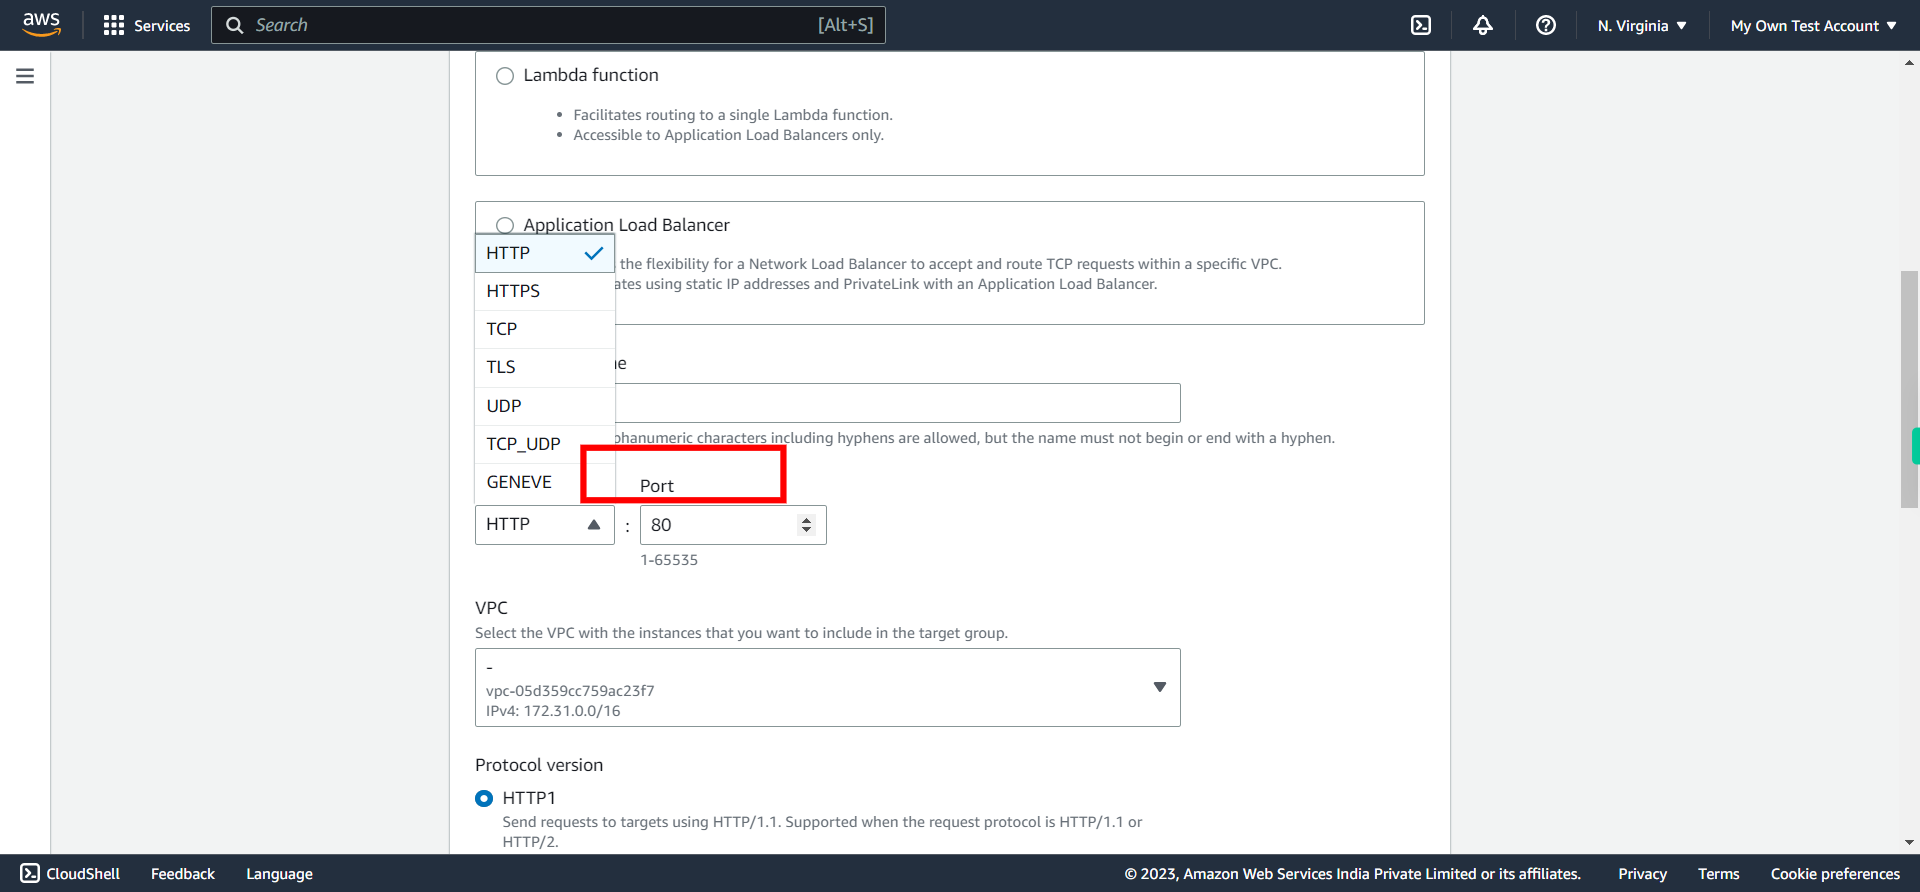
Verify the port number of selected protocol. For HTTP it will be port # 80. Once done, click Next on Supervity instruction widget.
-
11.
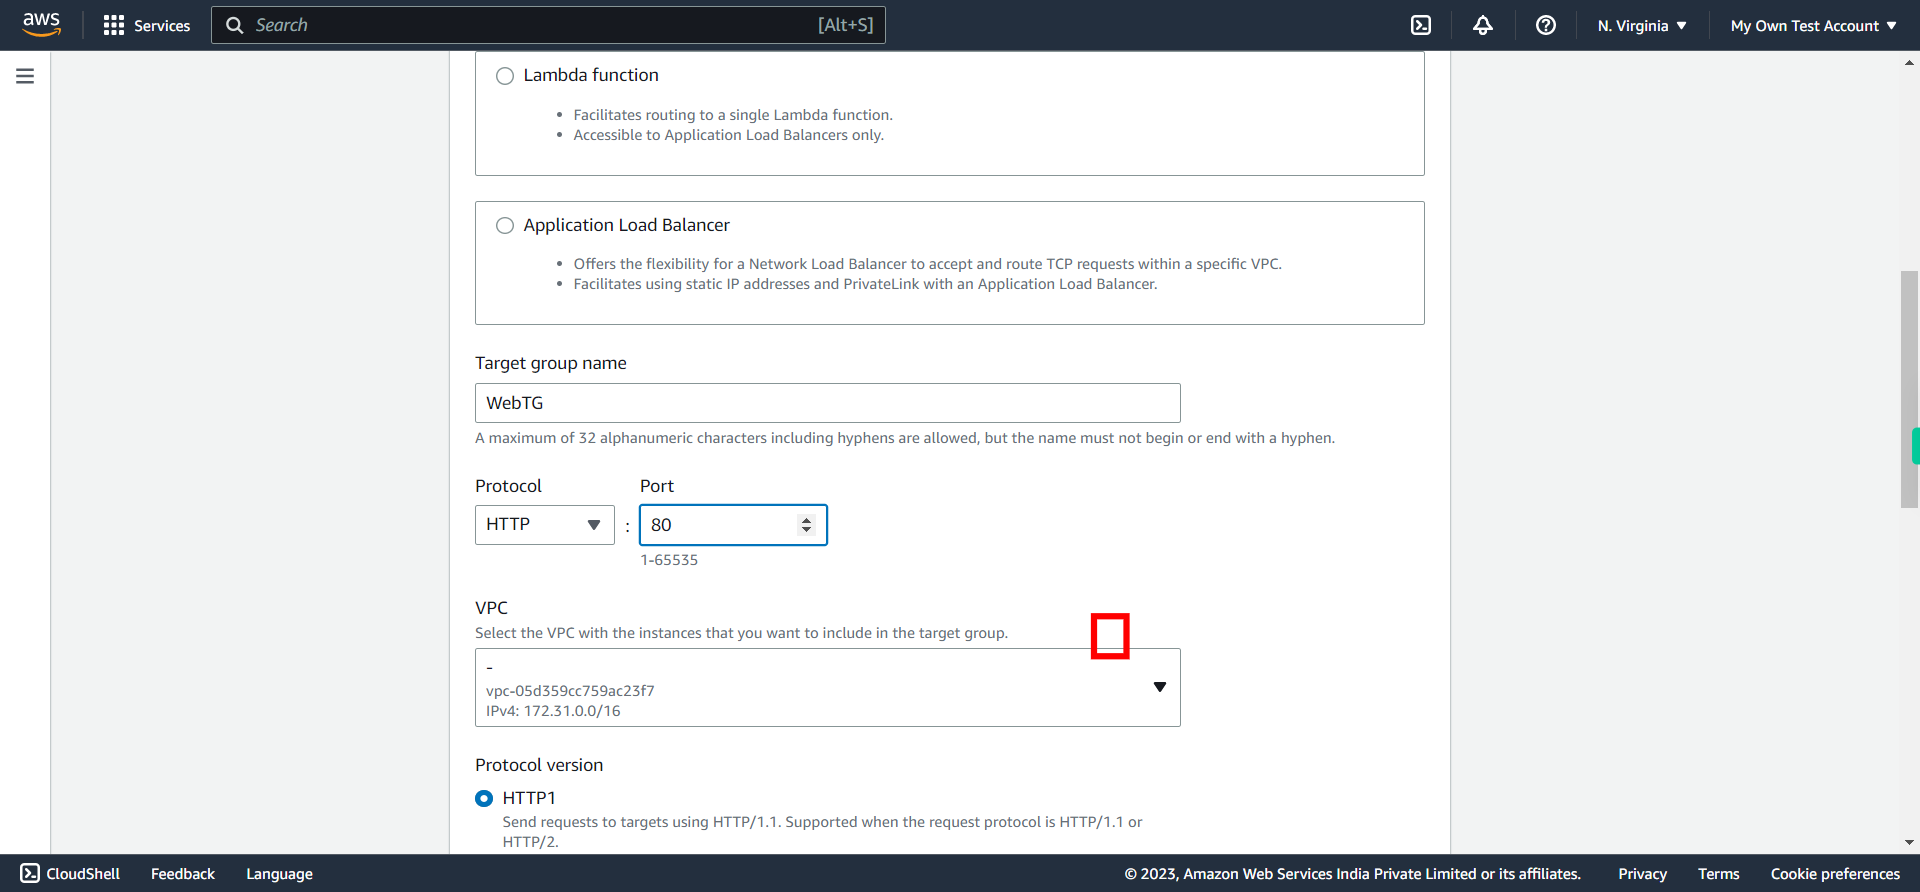
Choose appropriate VPC on which you want to configure the ALB. Once done, click Next on Supervity instruction widget.
-
12.
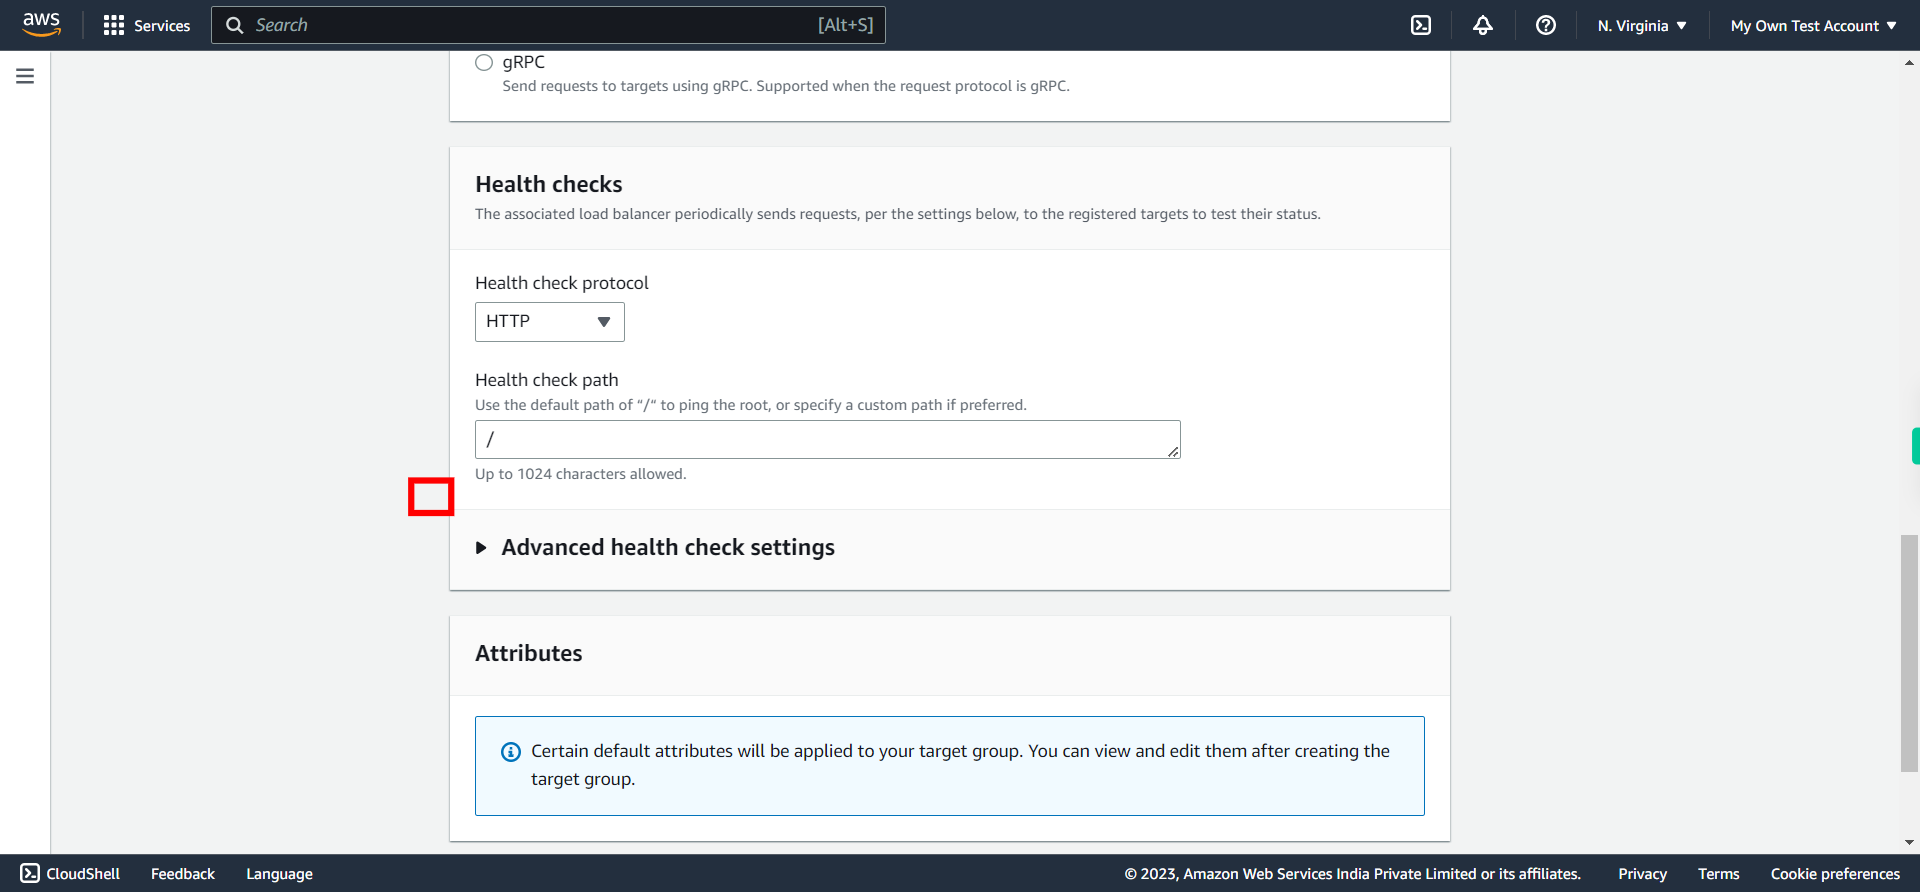
Expand "Advanced Health Checks".
-
13.
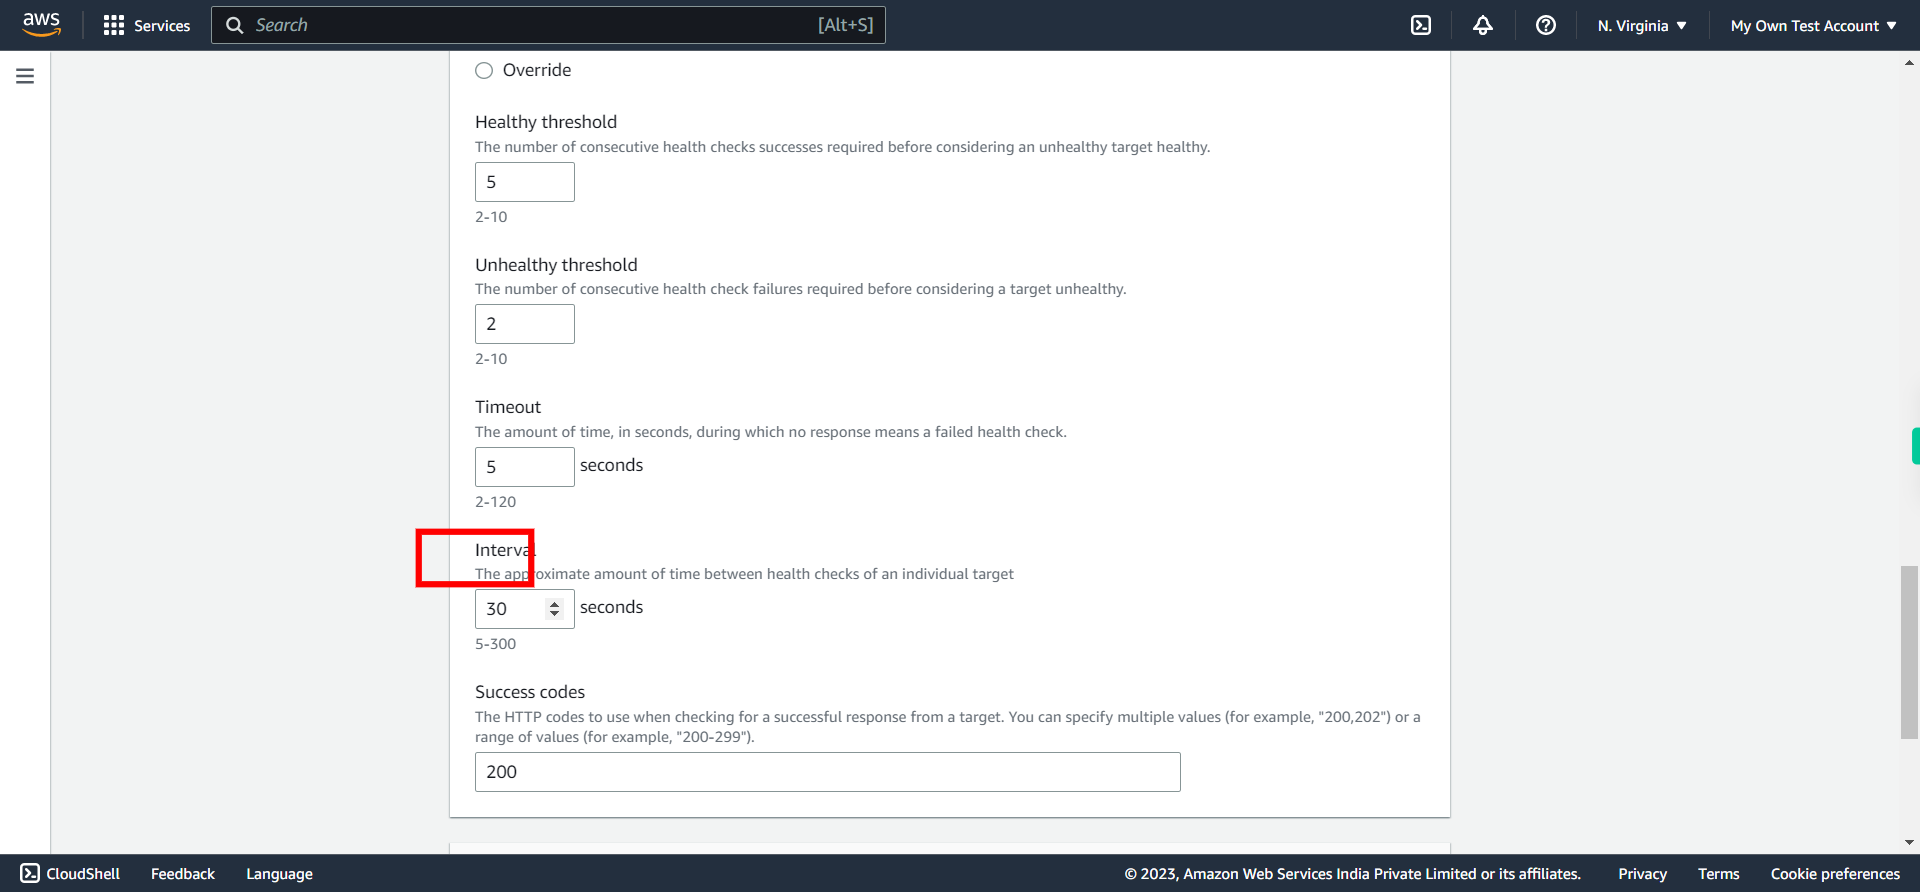
Under "Interval", set to 10 or 20 seconds. The interval parameter specifies the time duration between two consecutive health checks. For example, if you set the interval to 10 seconds, the ALB will perform a health check on each registered target every 30 seconds. Once done, click Next on Supervity instruction widget.
-
14.
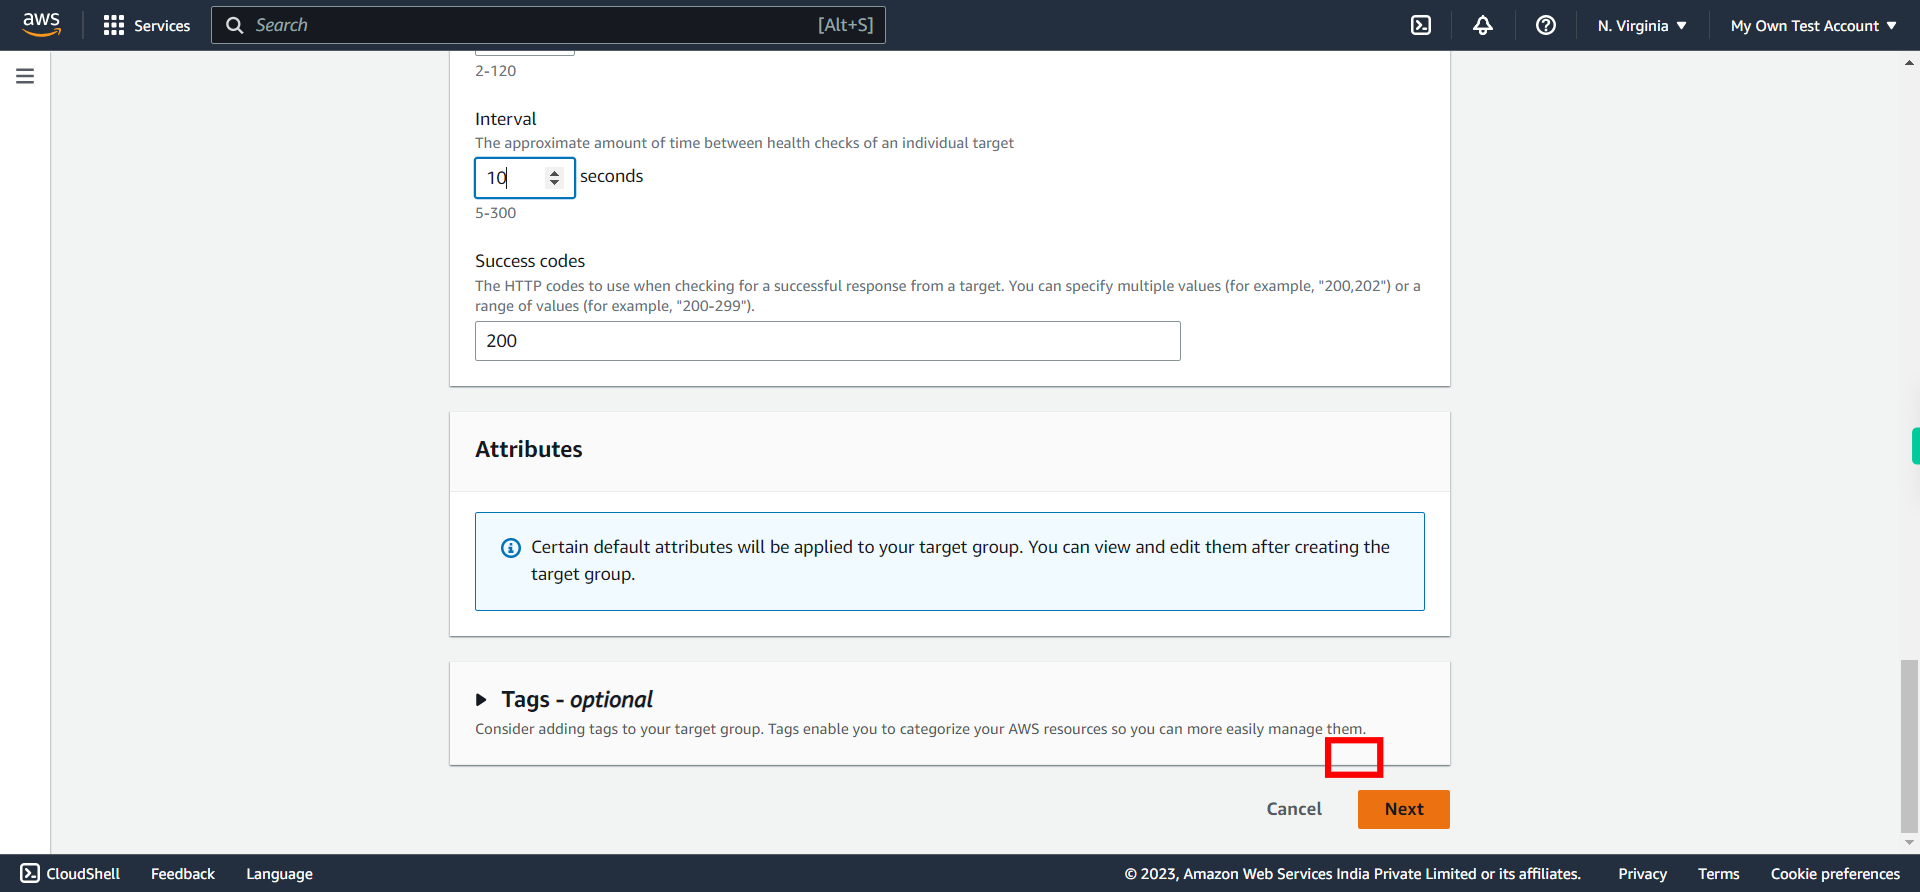
Click Next to continue
-
15.
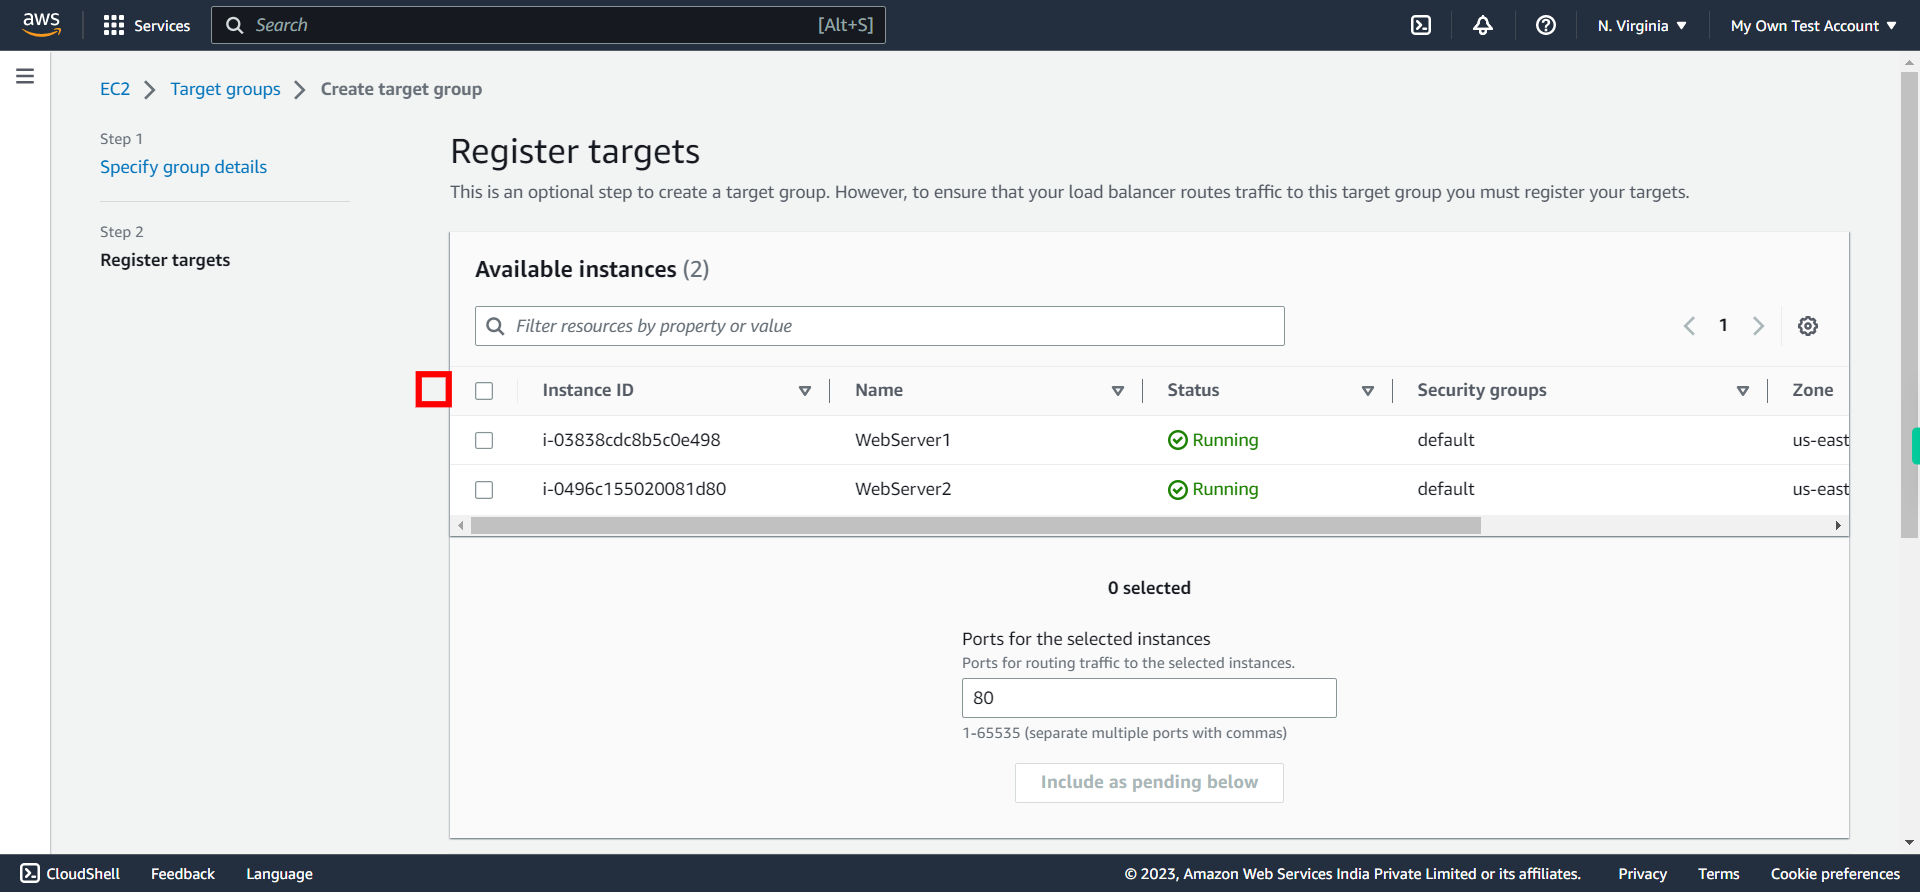
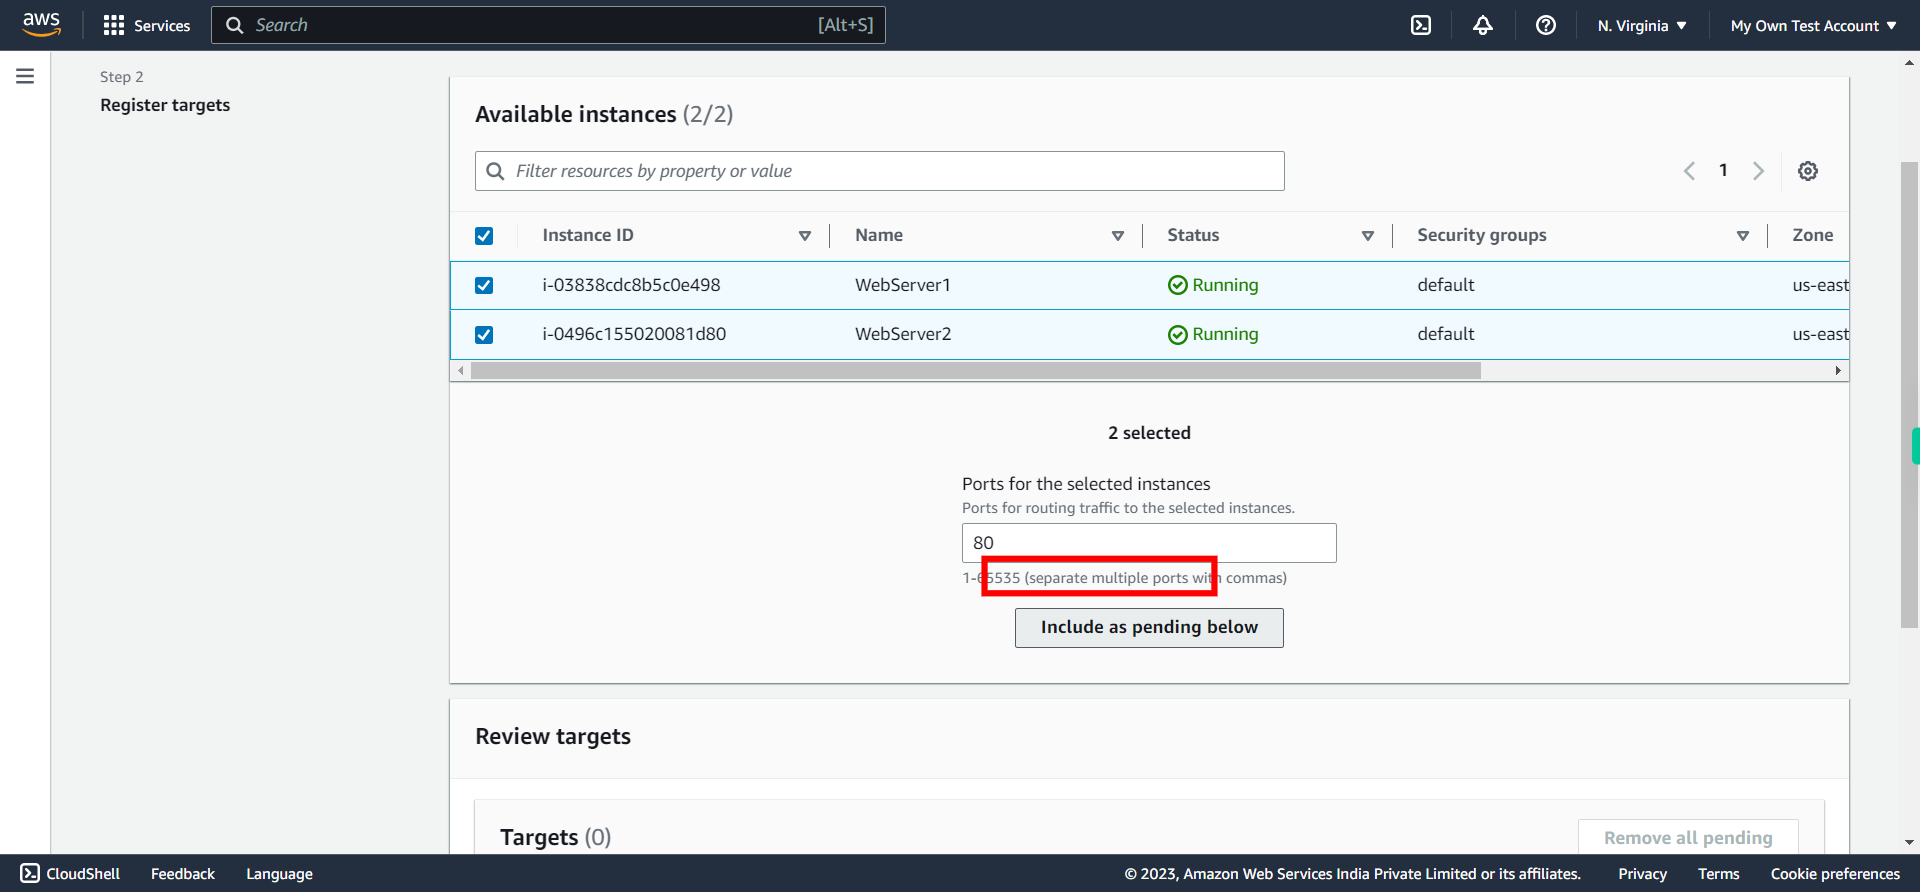
Under "Register targets", select the instances (at least two) you want to implement Load Balance. Once done, click Next on Supervity instruction widget.
-
16.
Click "Include as pending below"
-
17.
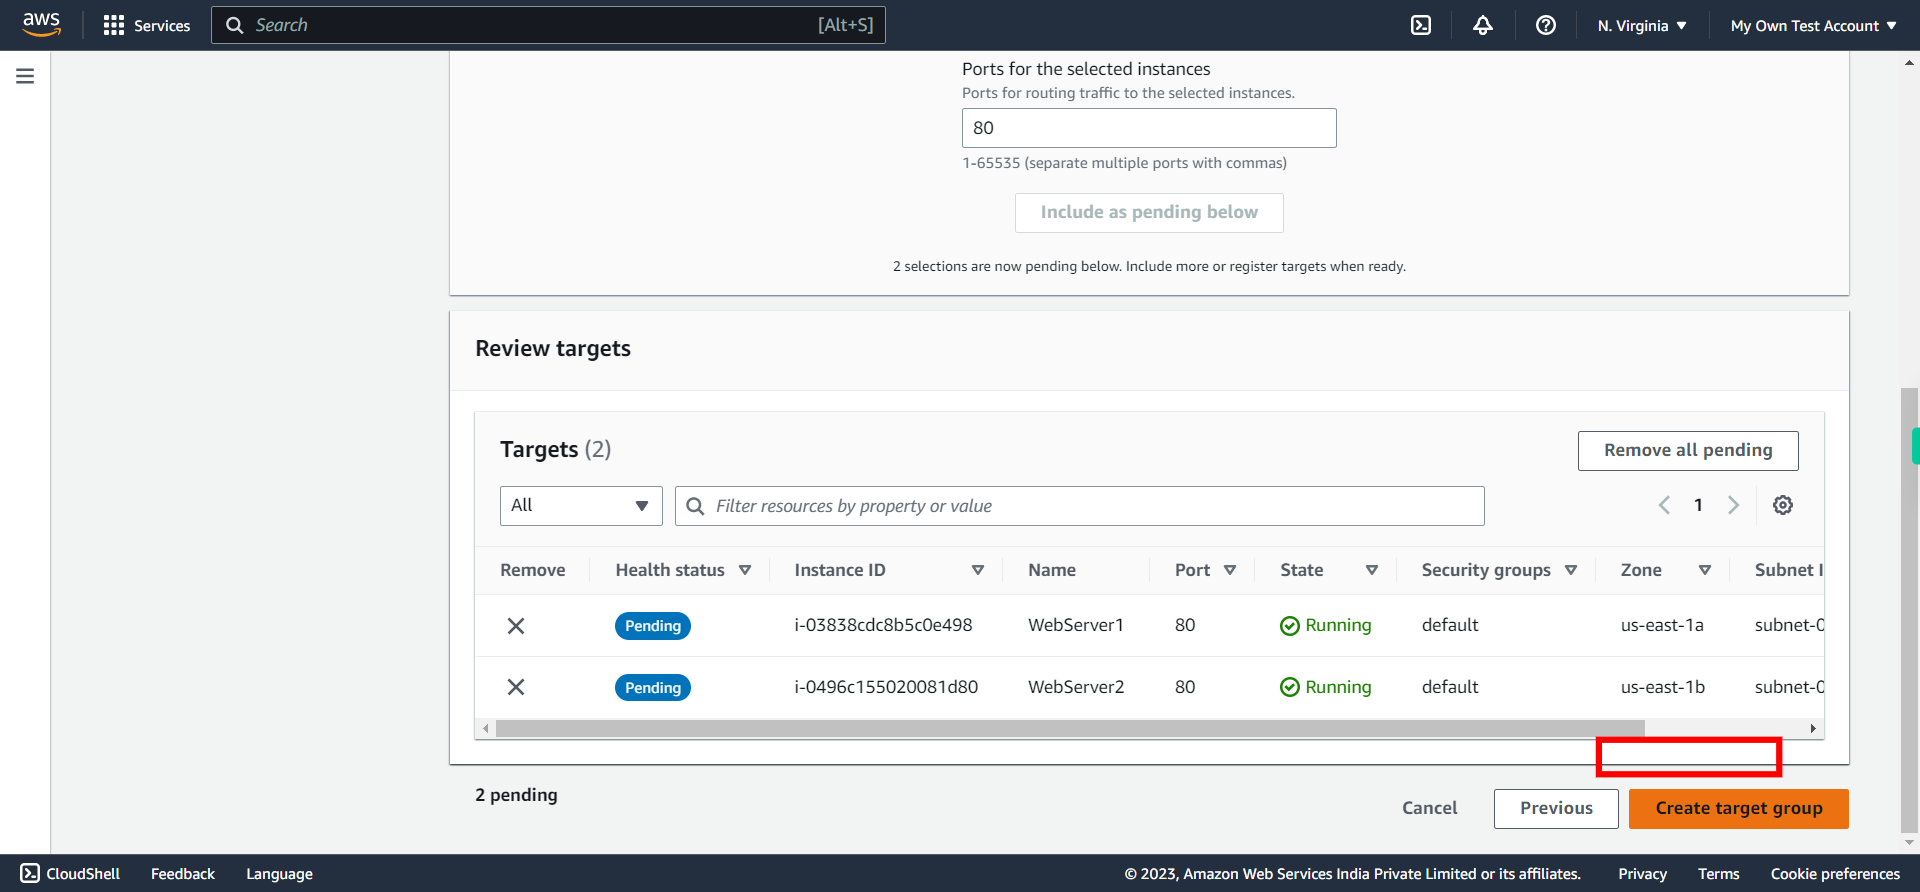
Click "Create target group"
-
18.
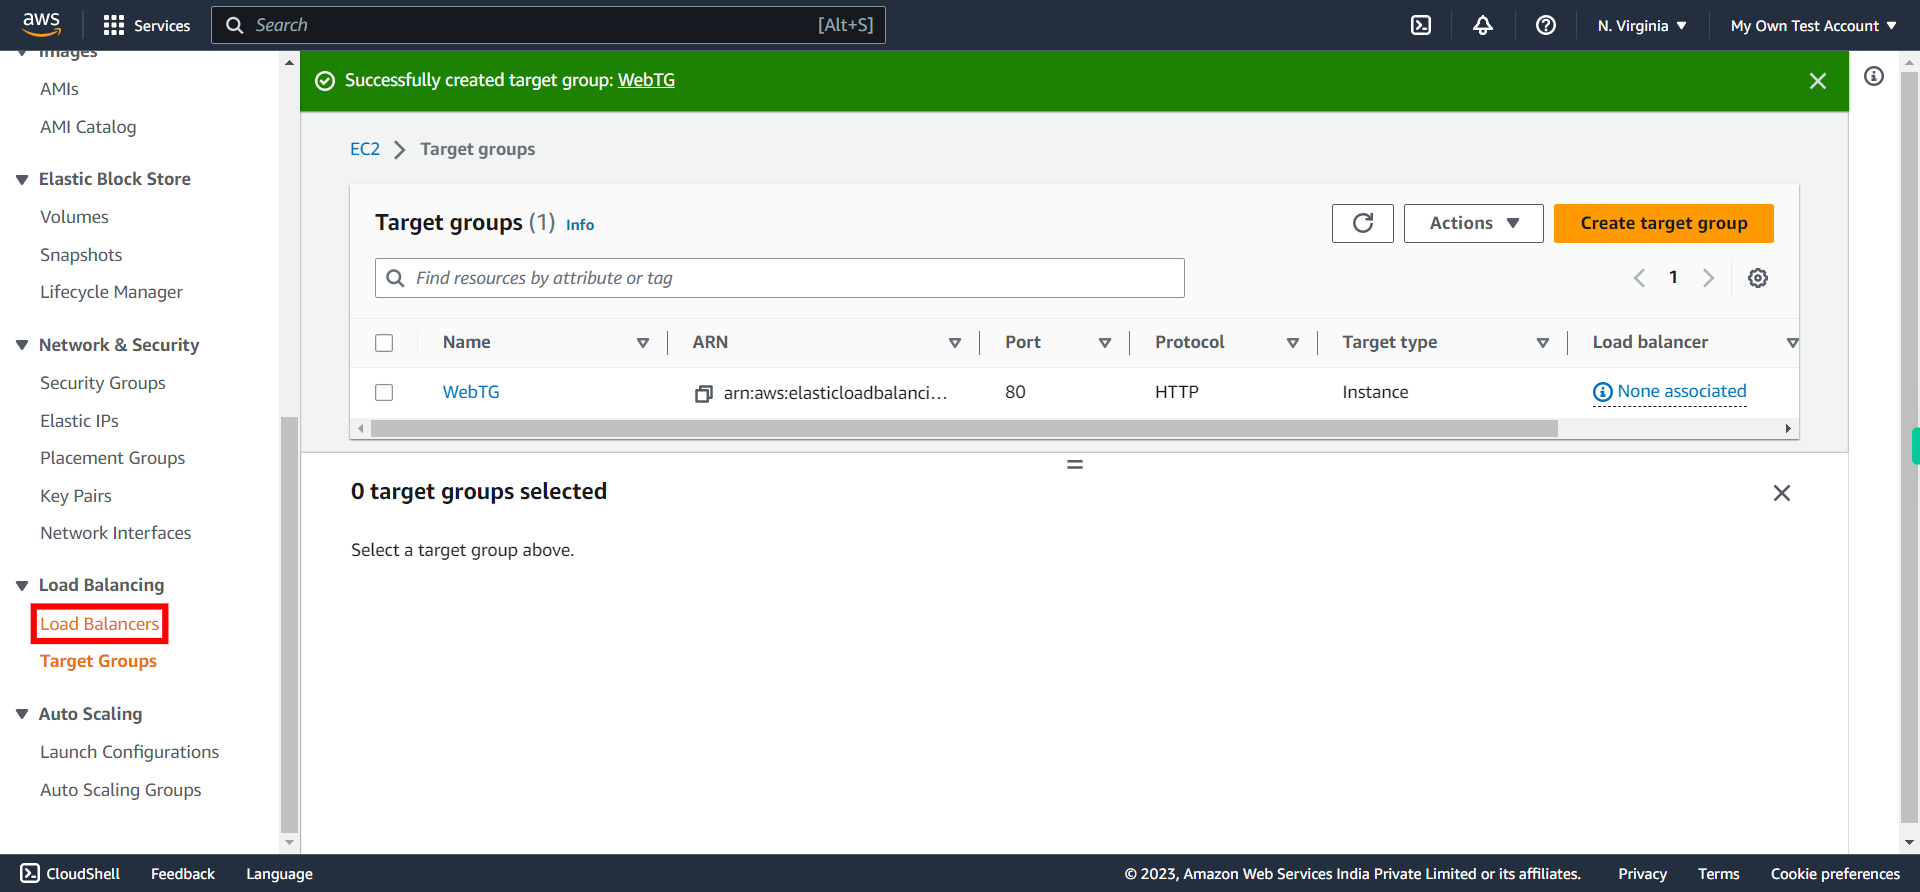
Creating of Target Group is complete. Now to create Load Balancer on the target group created, Click "Load Balancers"
-
19.
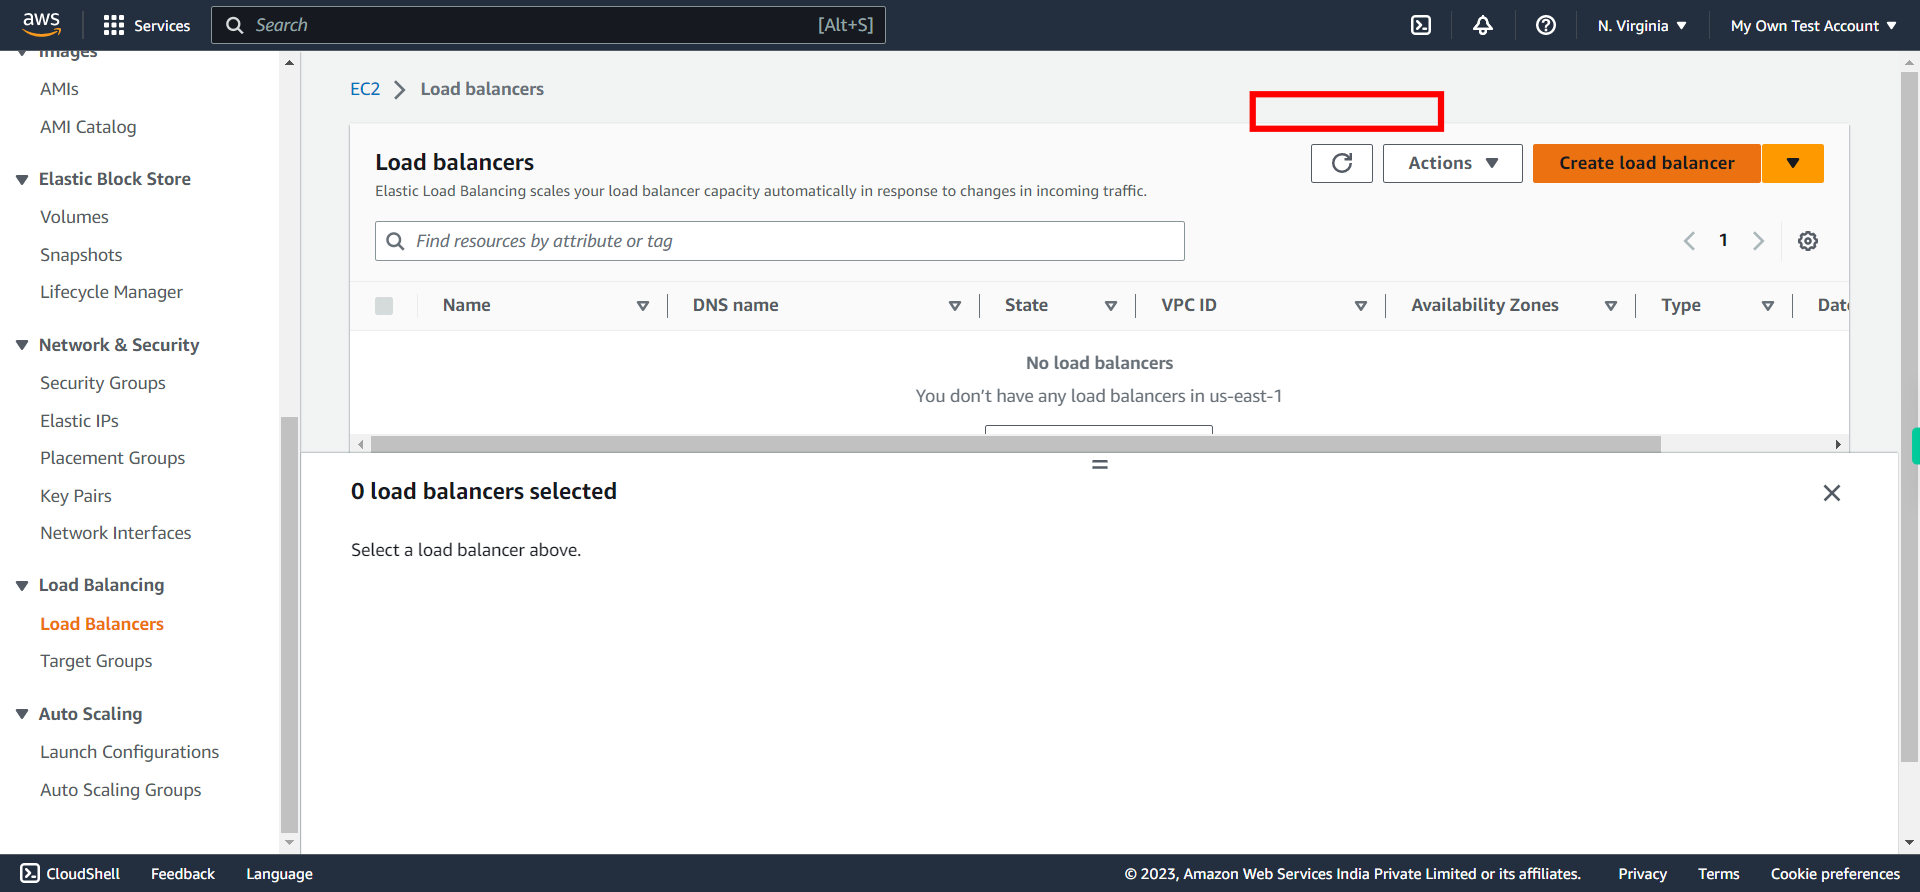
Click "Create load balancer"
-
20.
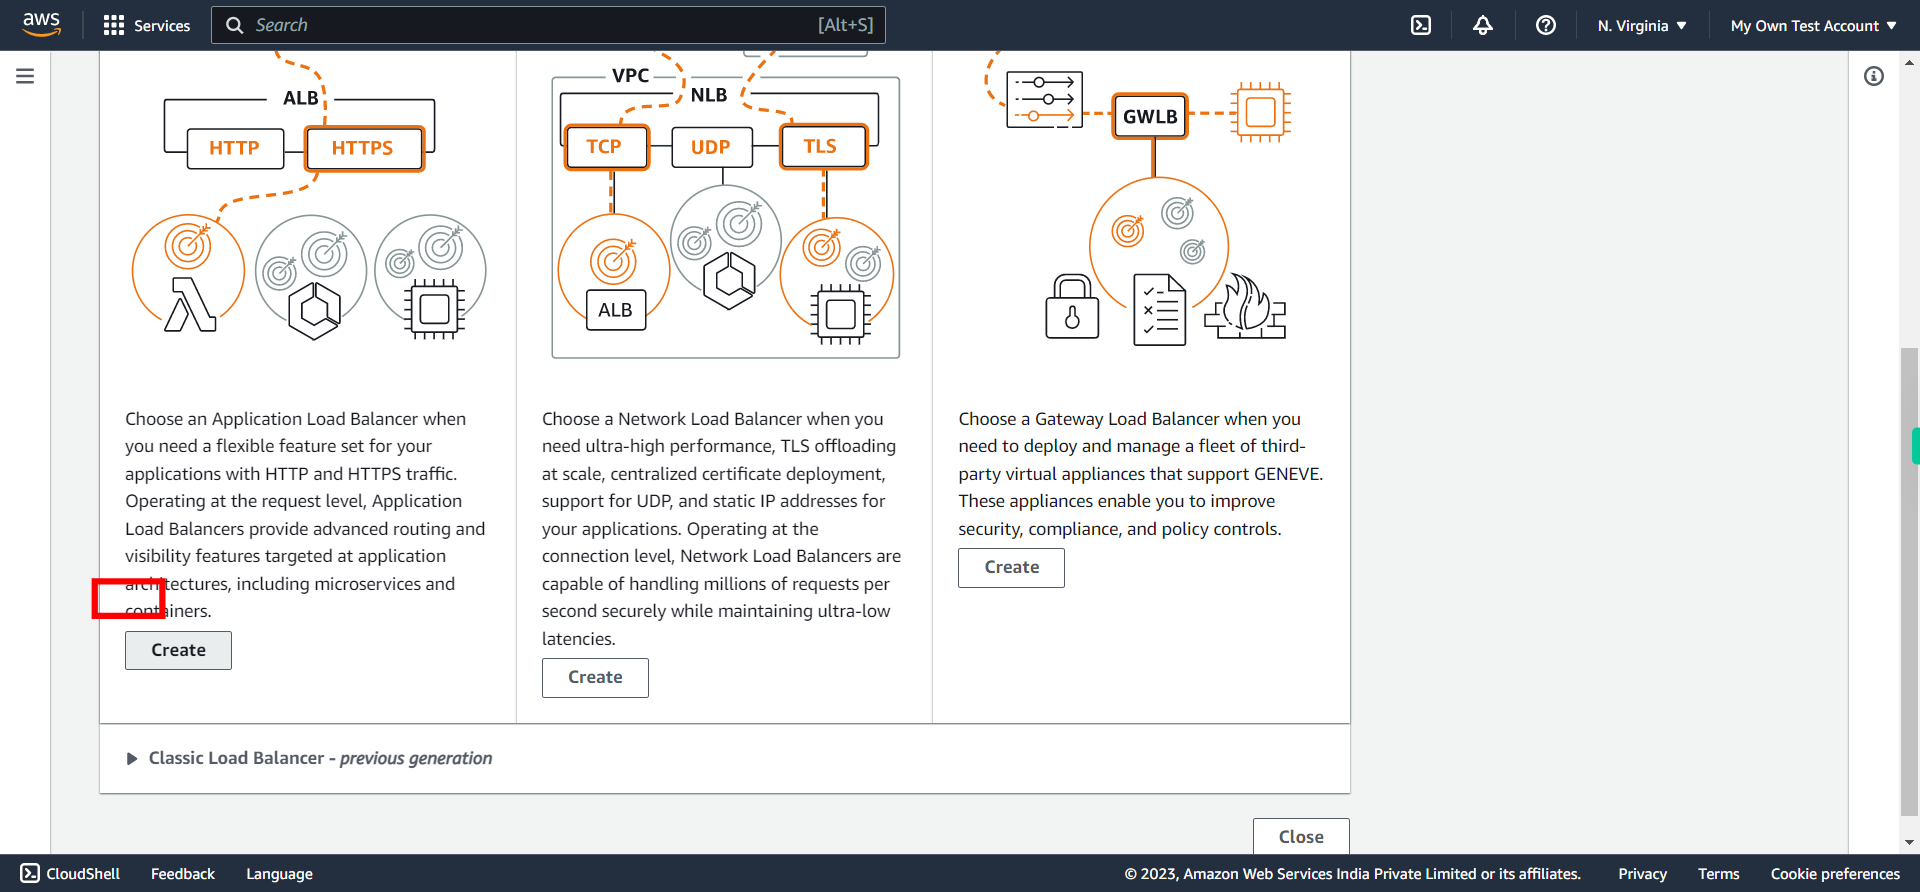
Click "Create" under ALB
-
21.
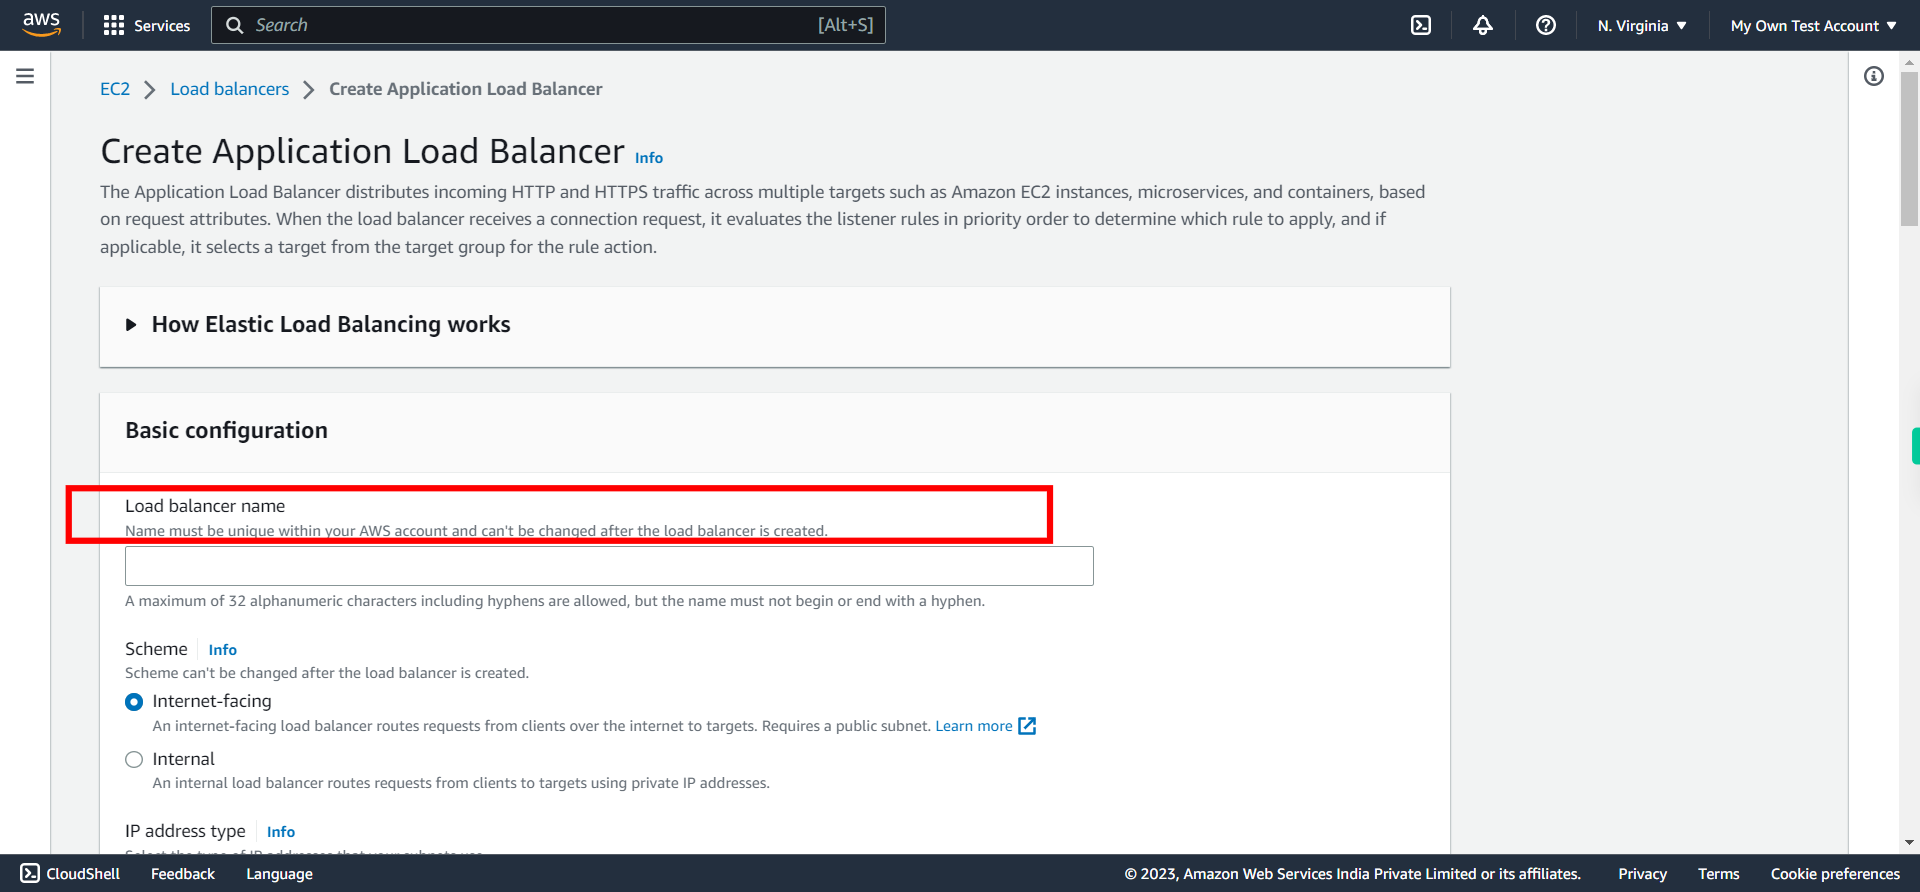
Set a name to the Load balancer. Once done, click Next on Supervity instruction widget.
-
22.
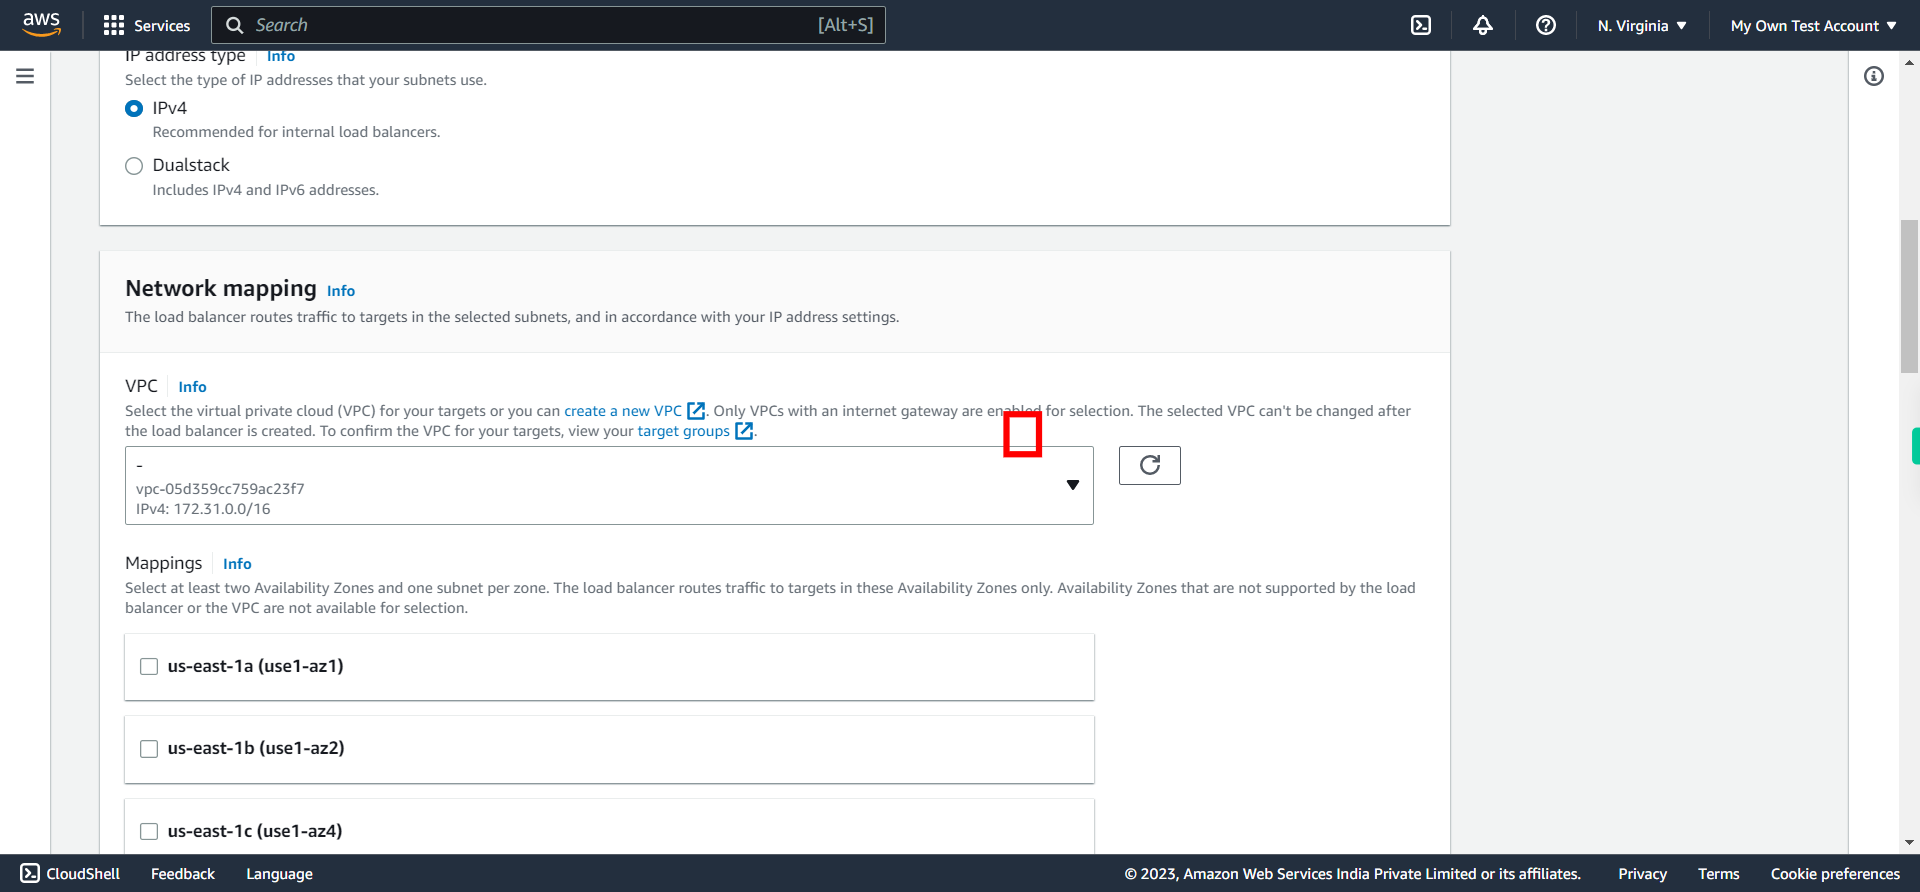
Select specific VPC (under Network mapping ) in which you want load balancing should be created. Once done, click Next on Supervity instruction widget.
-
23.
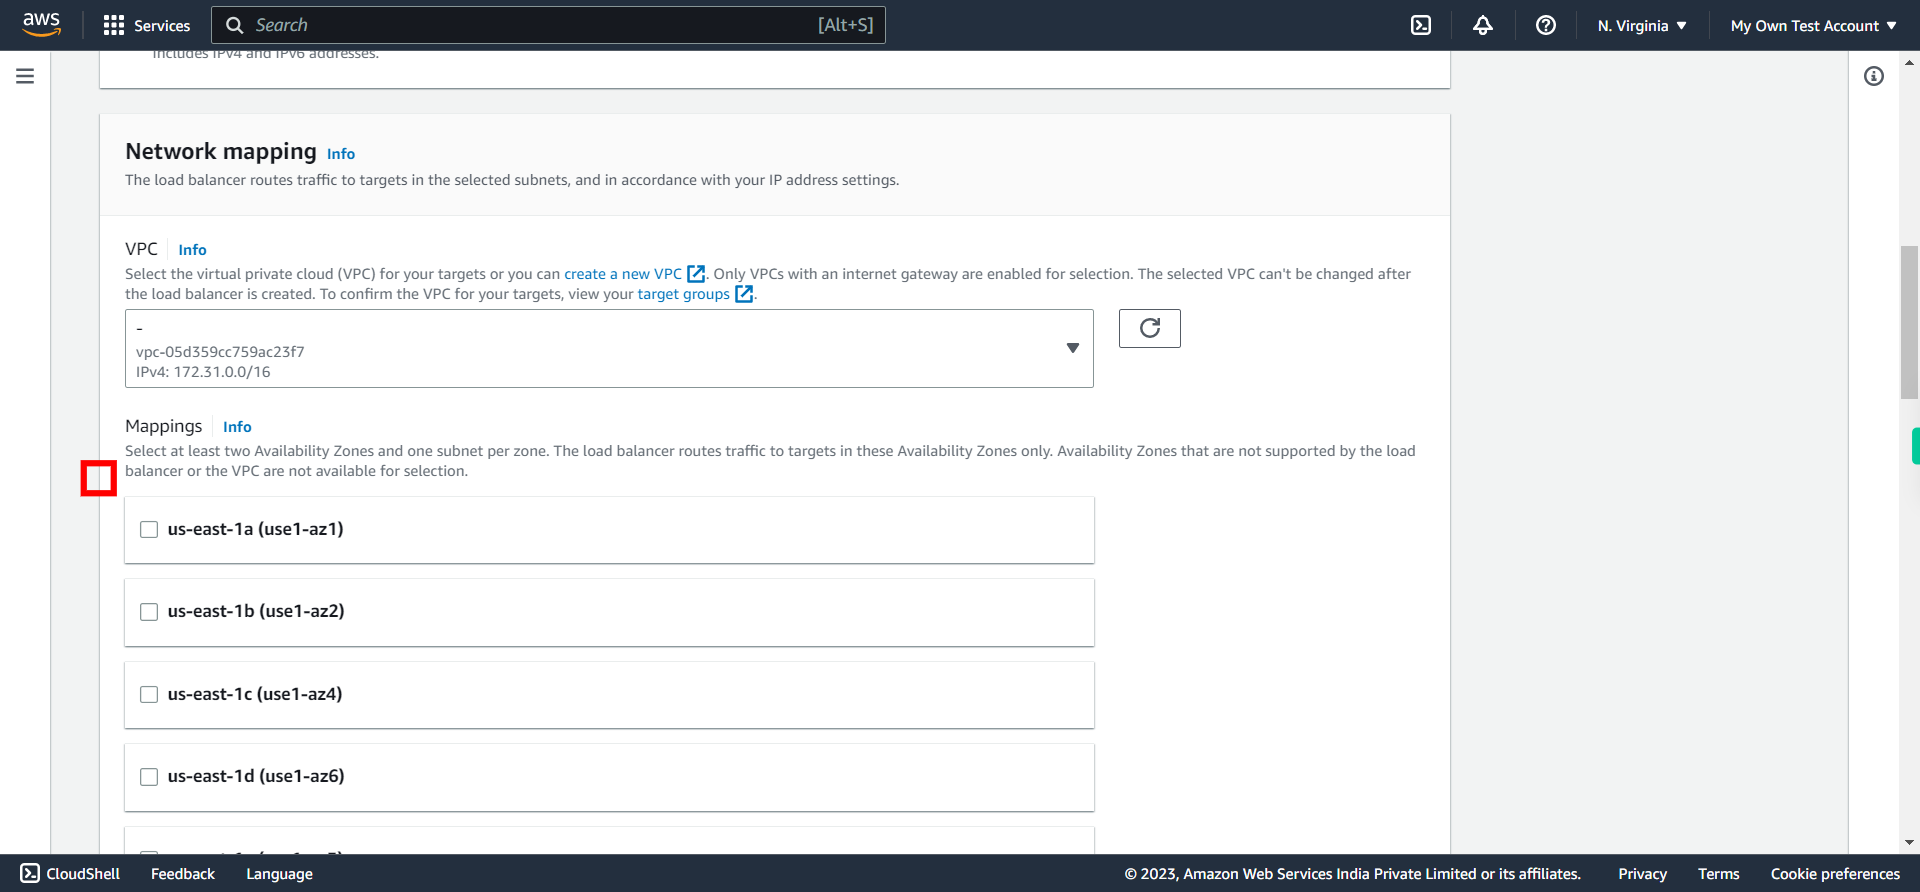
Select two or more (Any of listed) subnets for load balancing. Once done, click Next on Supervity instruction widget.
-
24.
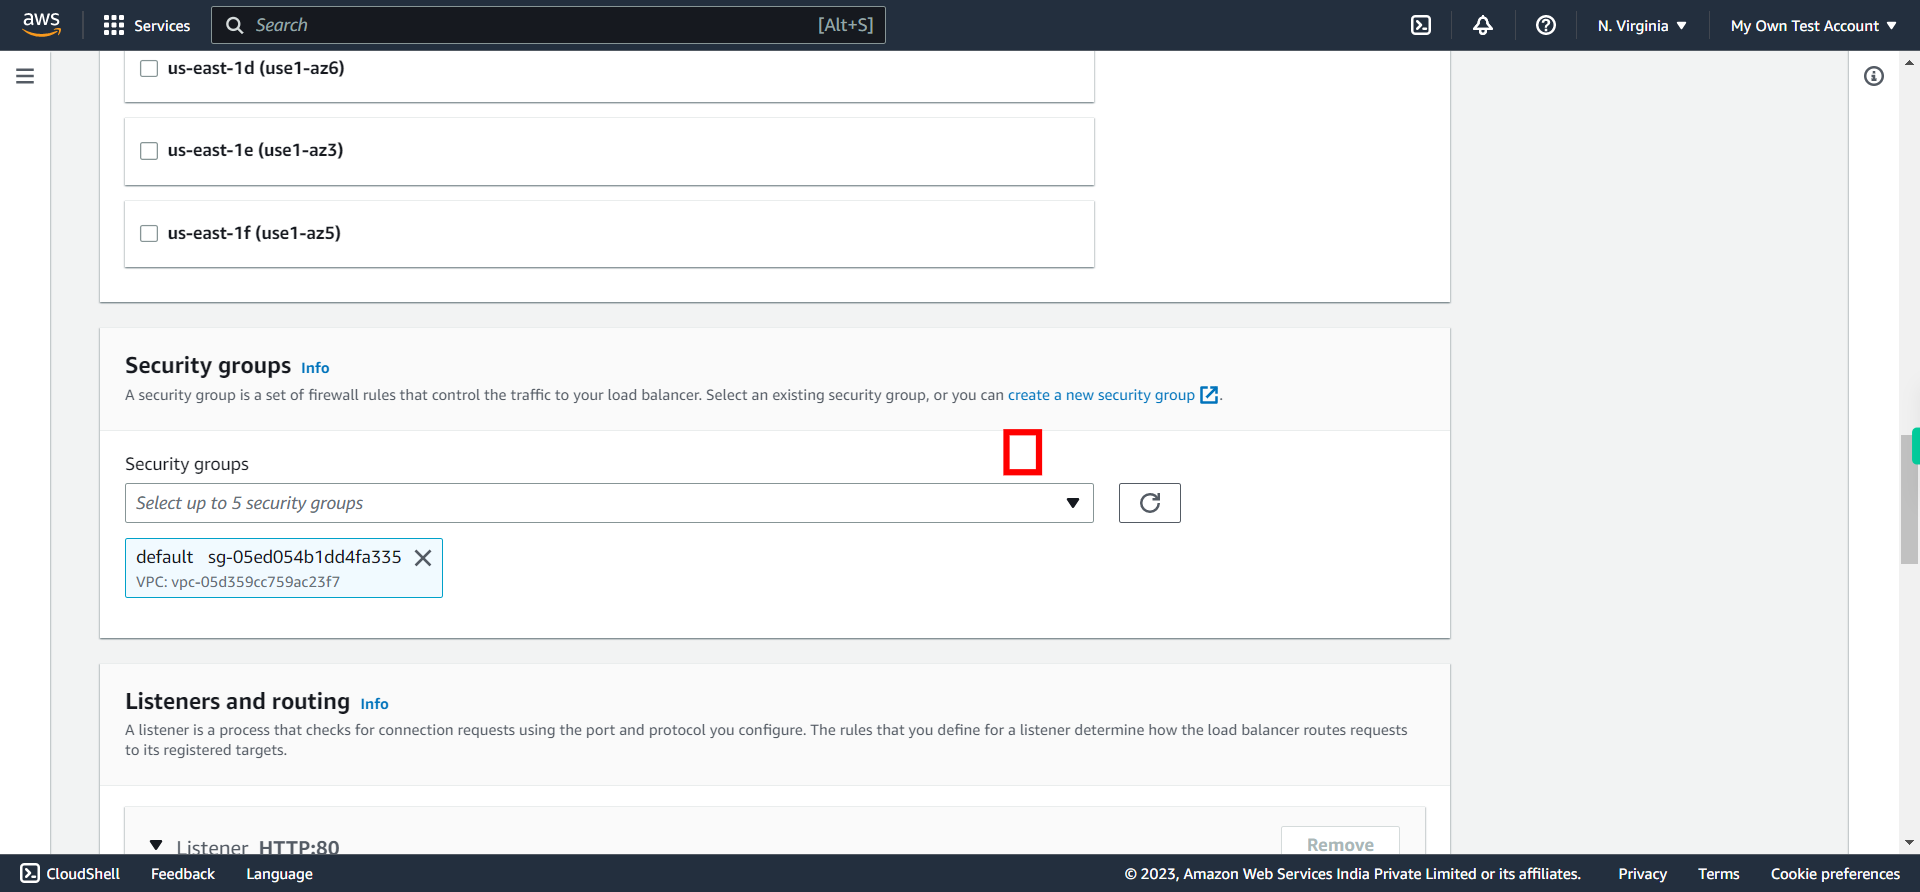
Here, Choose the option to use the existing security group assigned to the instances. By doing so, the ALB will inherit the same security group as the instances, ensuring consistent inbound and outbound traffic rules. This approach simplifies security management and promotes uniformity in network access permissions across the ALB and instances. Once done, click Next on Supervity instruction widget.
-
25.
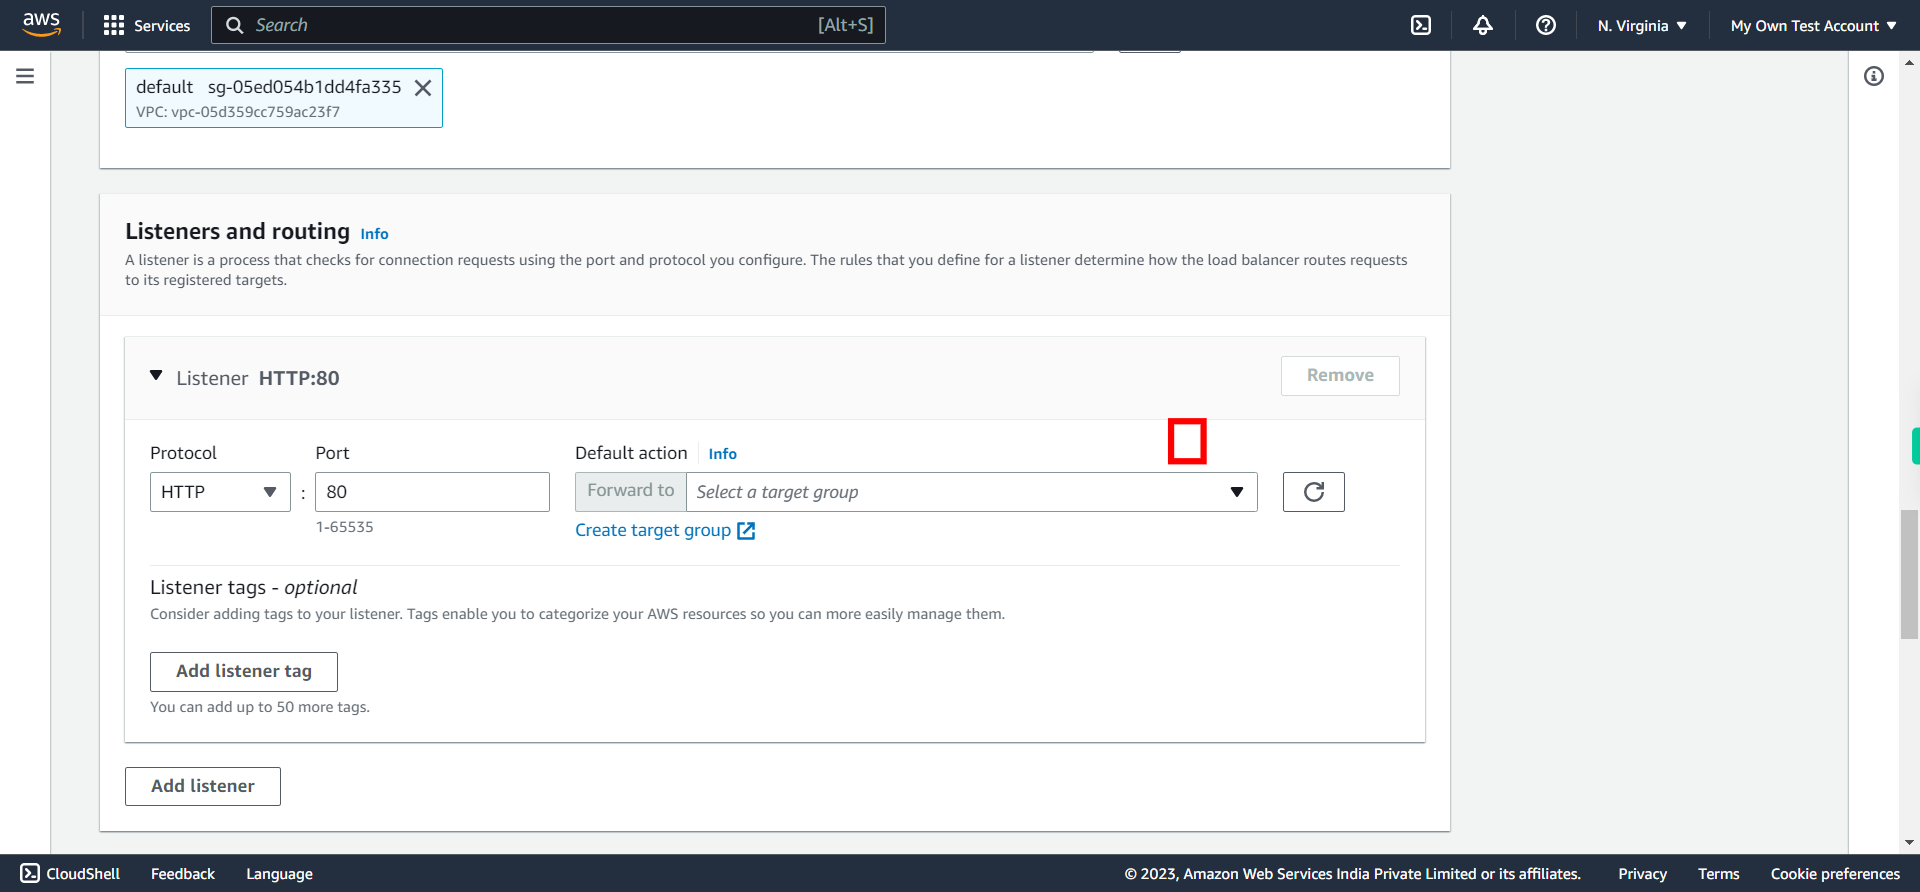
Under "Default action" choose the target group created earlier. Click Next on Supervity instruction widget and proceed further by selecting previously created Target Group.
-
26.
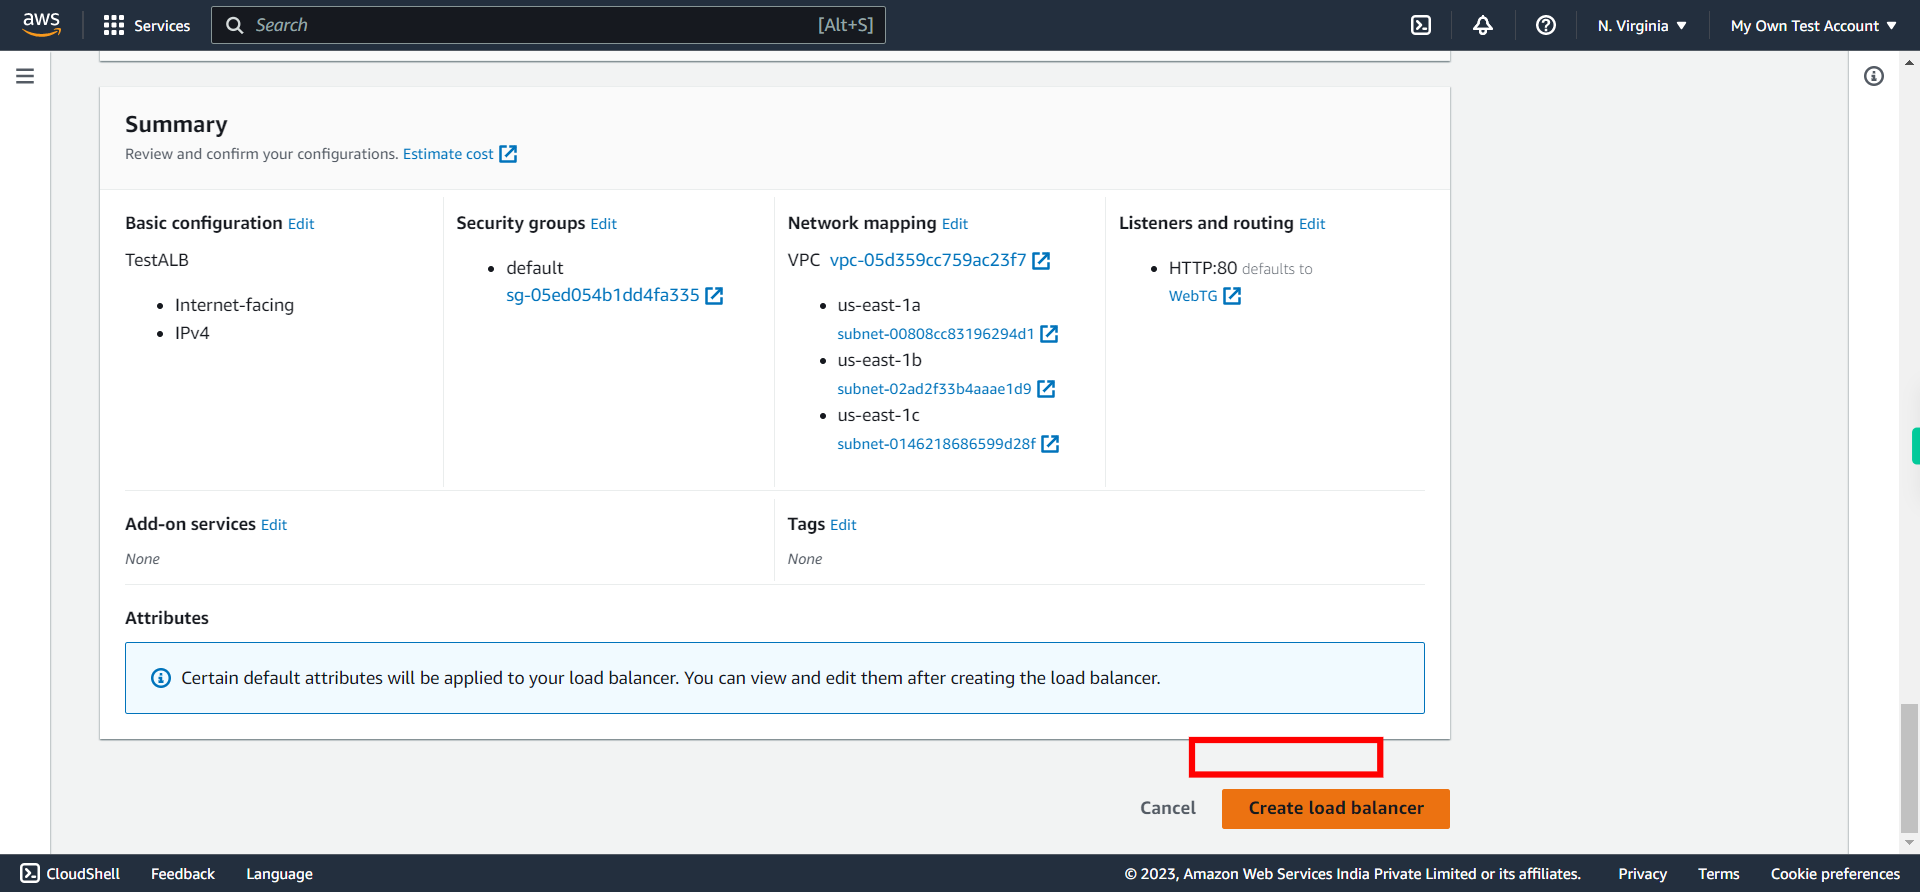
Click Create load balancer to create the resource.
-
27.
Wait until the ALB is active. Once the value for State column is Active, copy the ALB DNS and check in the browser whether ALB is working or not with different configured EC2 instances as designated in Target Group.


