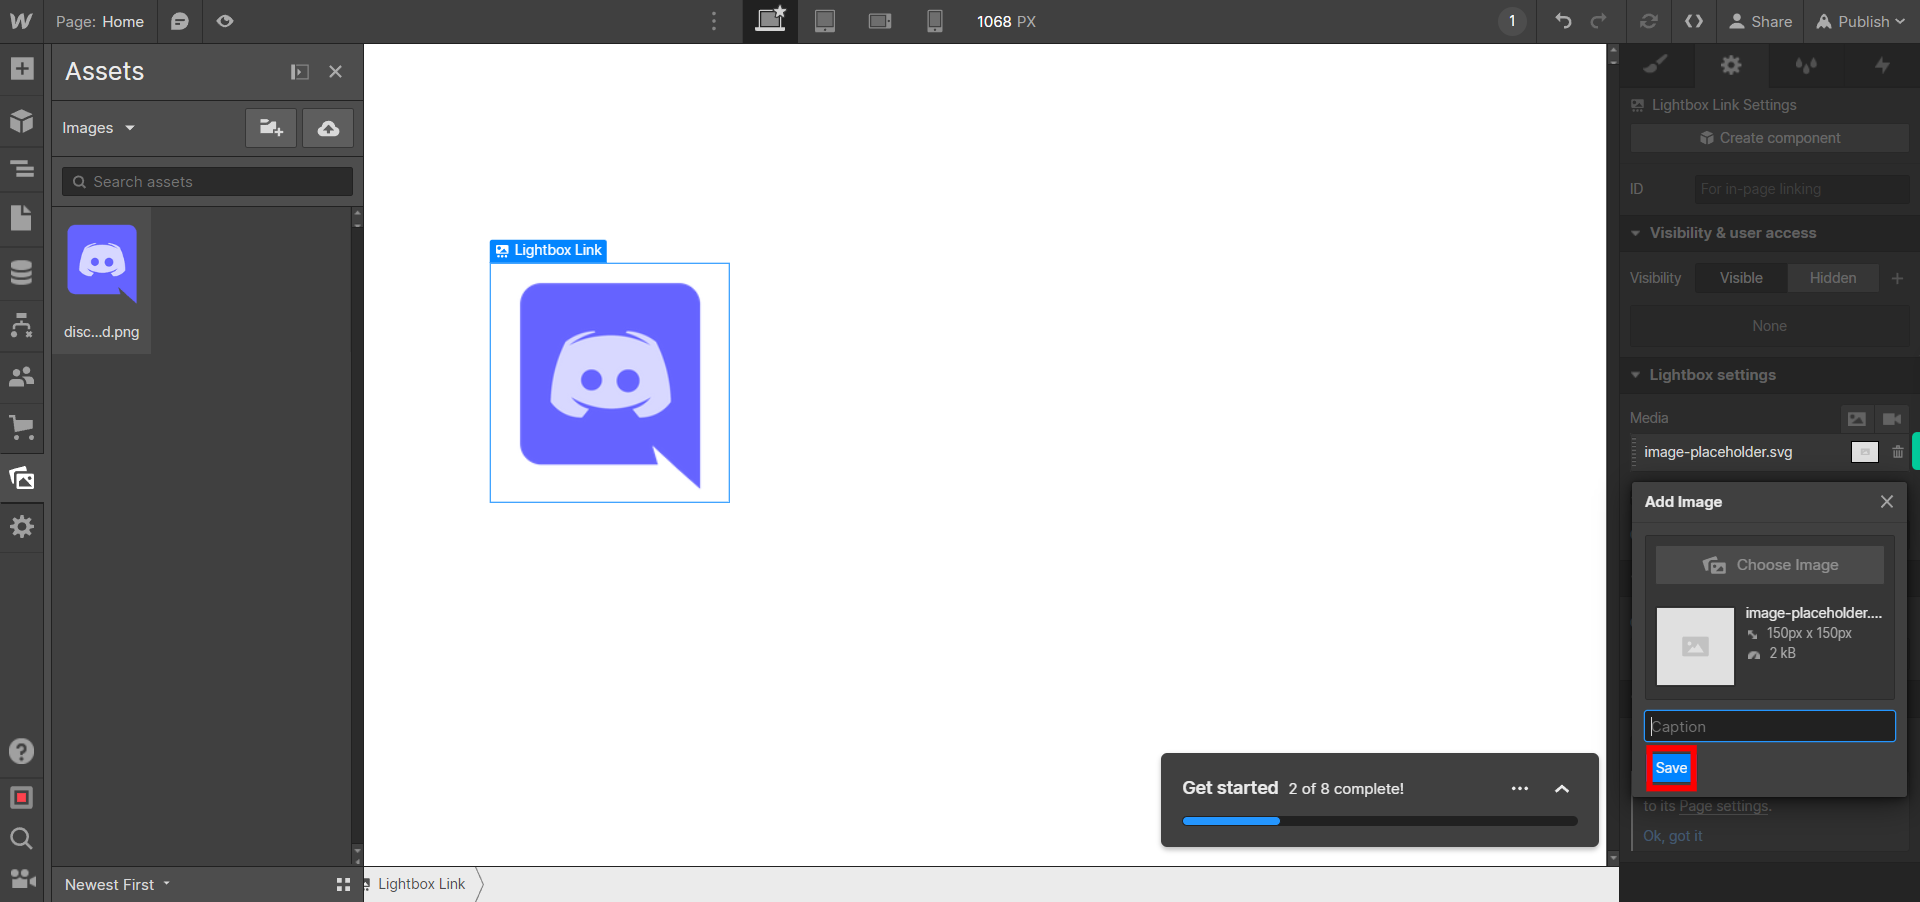
This skill shows the steps to be followed to add and coustomize lightboxes in a webflow.A lightbox is a component that allows you to create interactive pop-up windows or overlays on your website. It is commonly used to display images, videos, or other types of content in a visually appealing and user-friendly way.Prerequisites:To ensure that you have at least one project available in the Webflow dashboard.[NOTE: Please make sure that log in to Webflow website before playing the skill]
-
1.
Open Sites - Webflow
-
2.
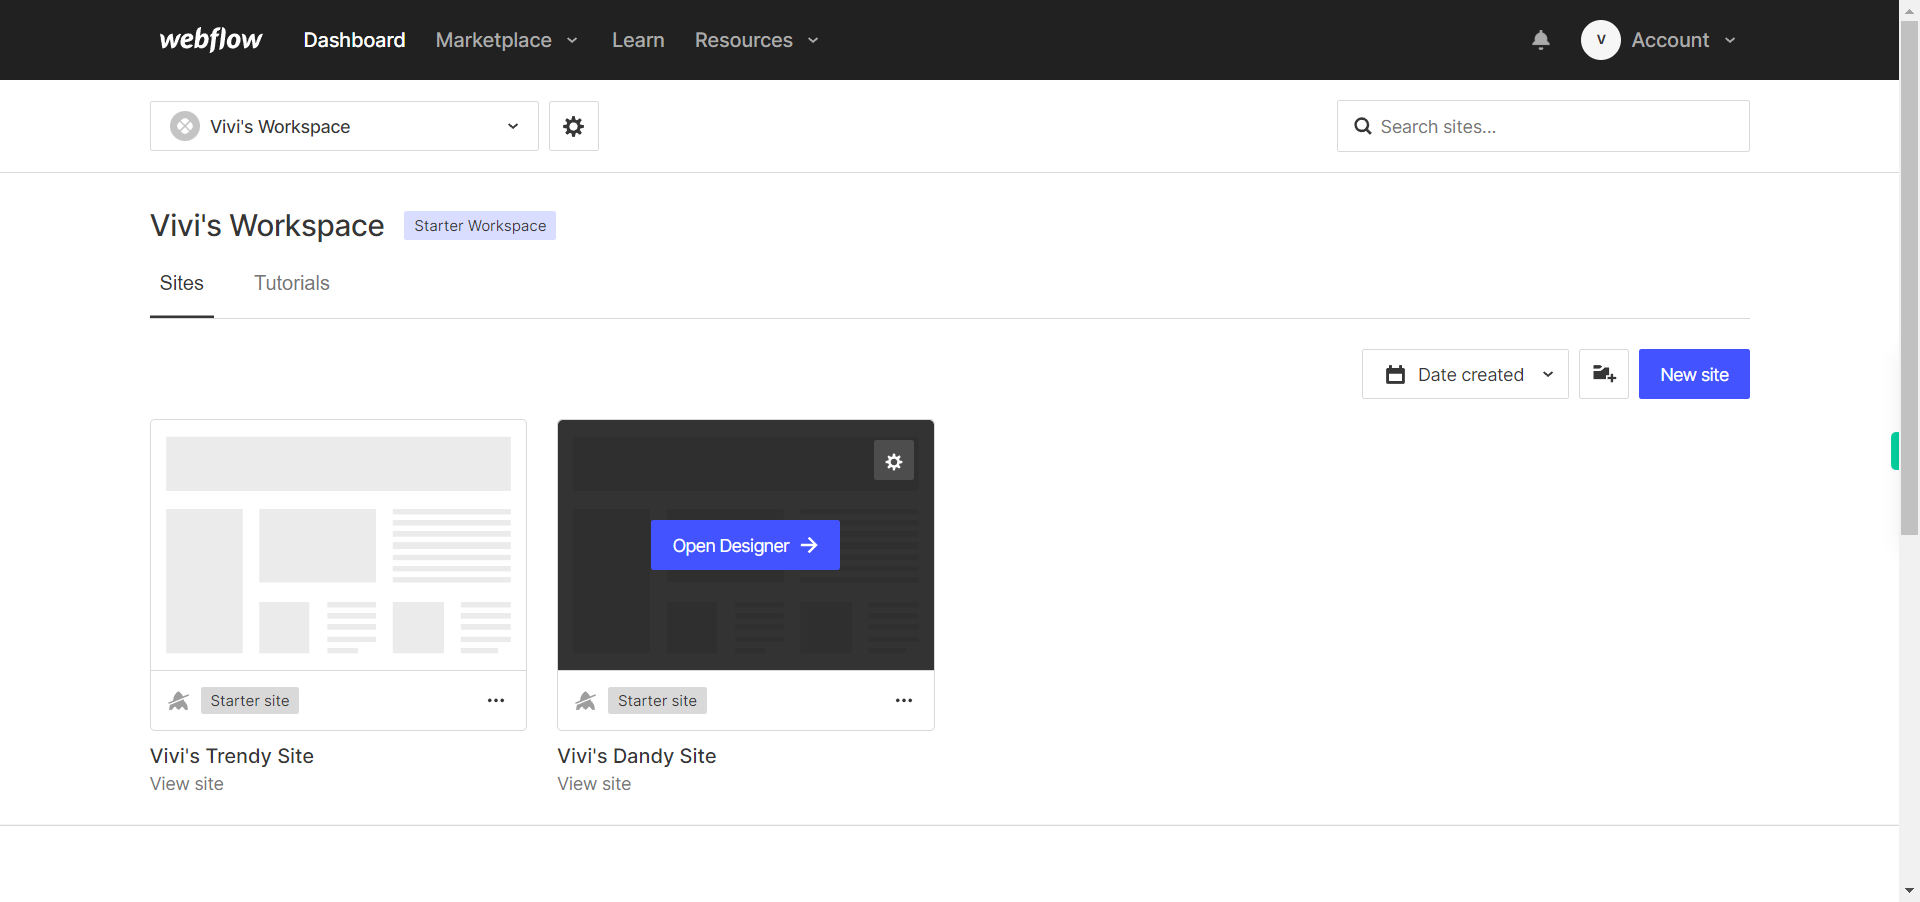
Click on the Next button on the Supervity instruction widget. you will see a list of your projects. By selecting the specific project you want to work on, you can access its editing interface
-
3.
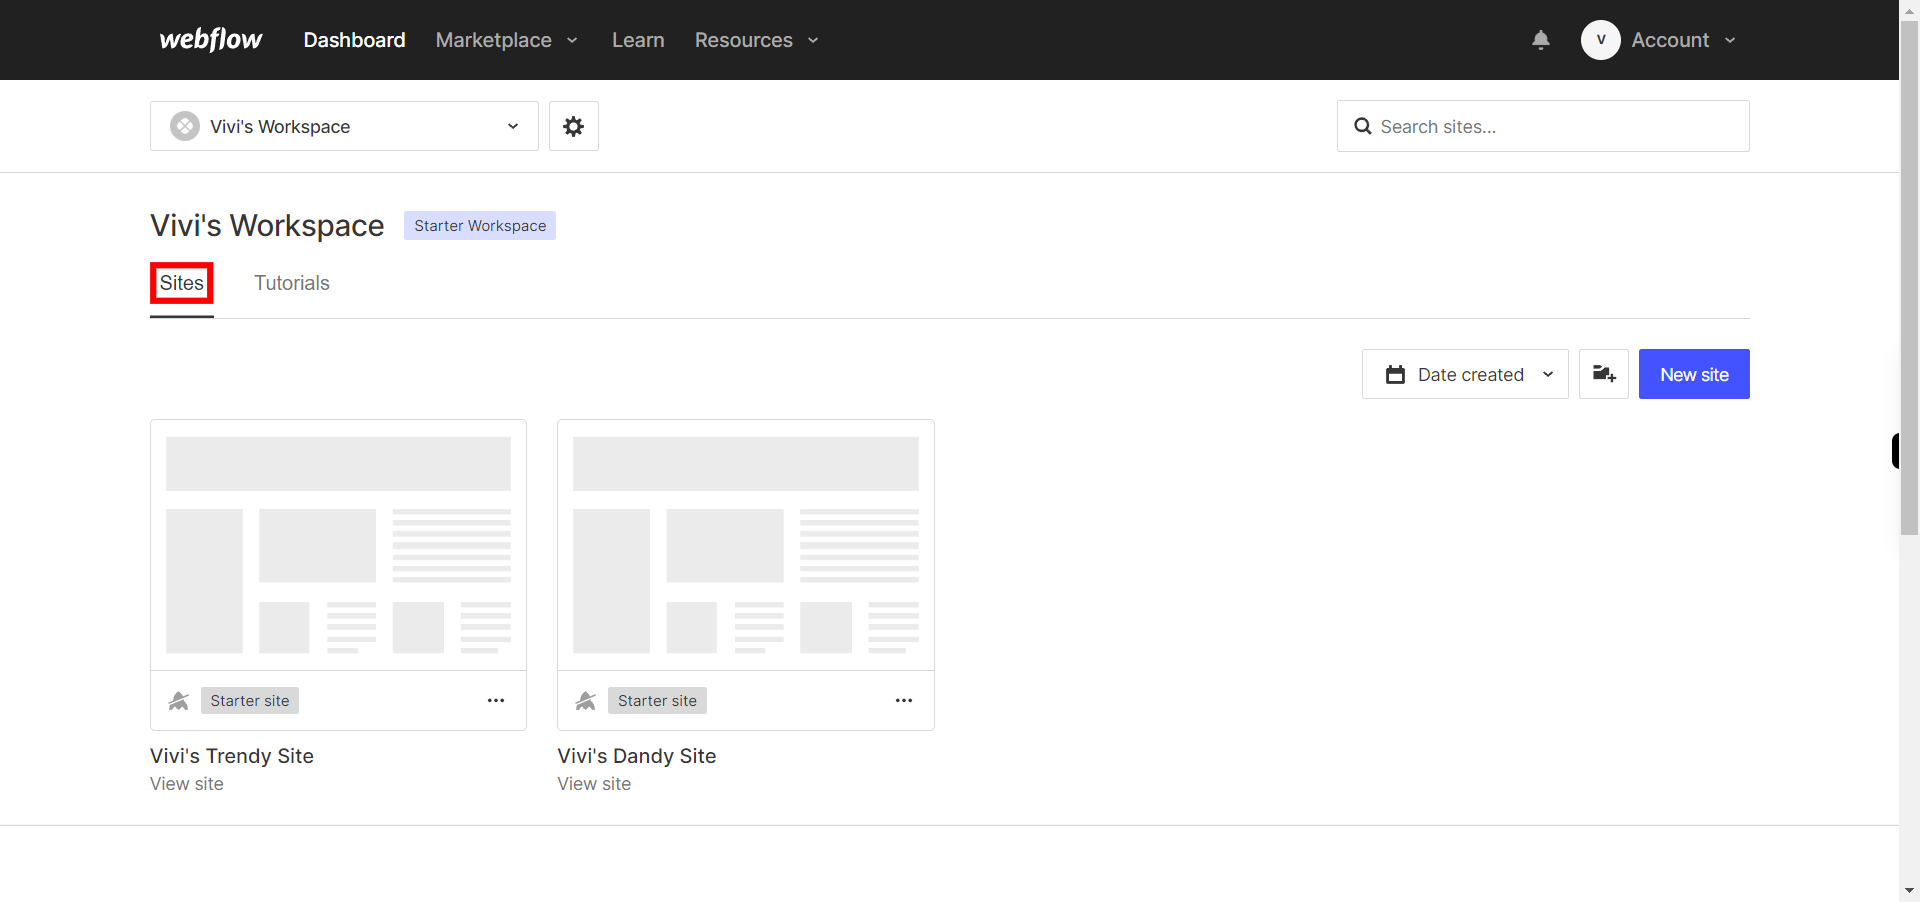
If you're unable to find the "+" icon to edit a web page in Webflow, there is an alternative method to access the design controls. First, click on the "Edit" button, usually located at the top right corner of the page or within the editor toolbar. This will open the editing options. Follow the below steps select design control->design here->OK. Click on the Next button in the Supervity instruction widget. To add elements to your project in Webflow, locate and click on the "+" icon or the "Add Elements" button. This action will open the elements panel, where you can find a variety of pre-built components and elements that you can add to your web page.
-
4.
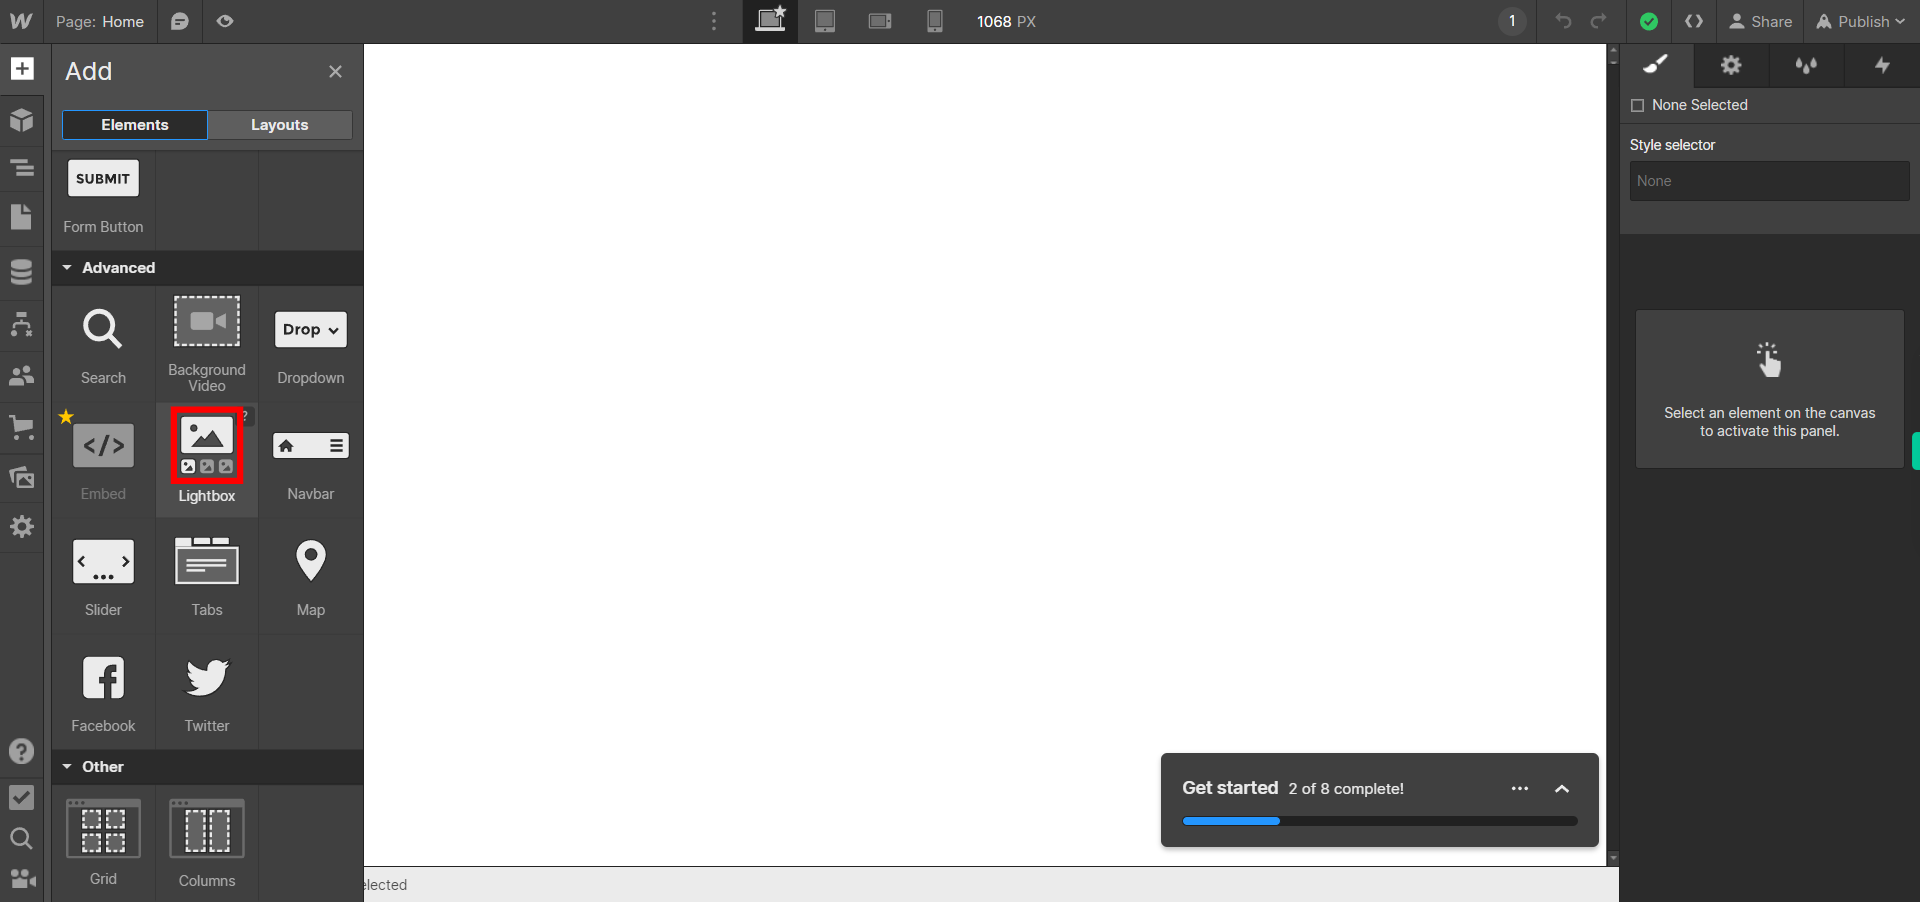
Scroll down until you find advanced option.under advanaced option you will find light box option click on that and a lightbox will be visible on your page.Click on the Next button on the Supervity instruction widget.
-
5.
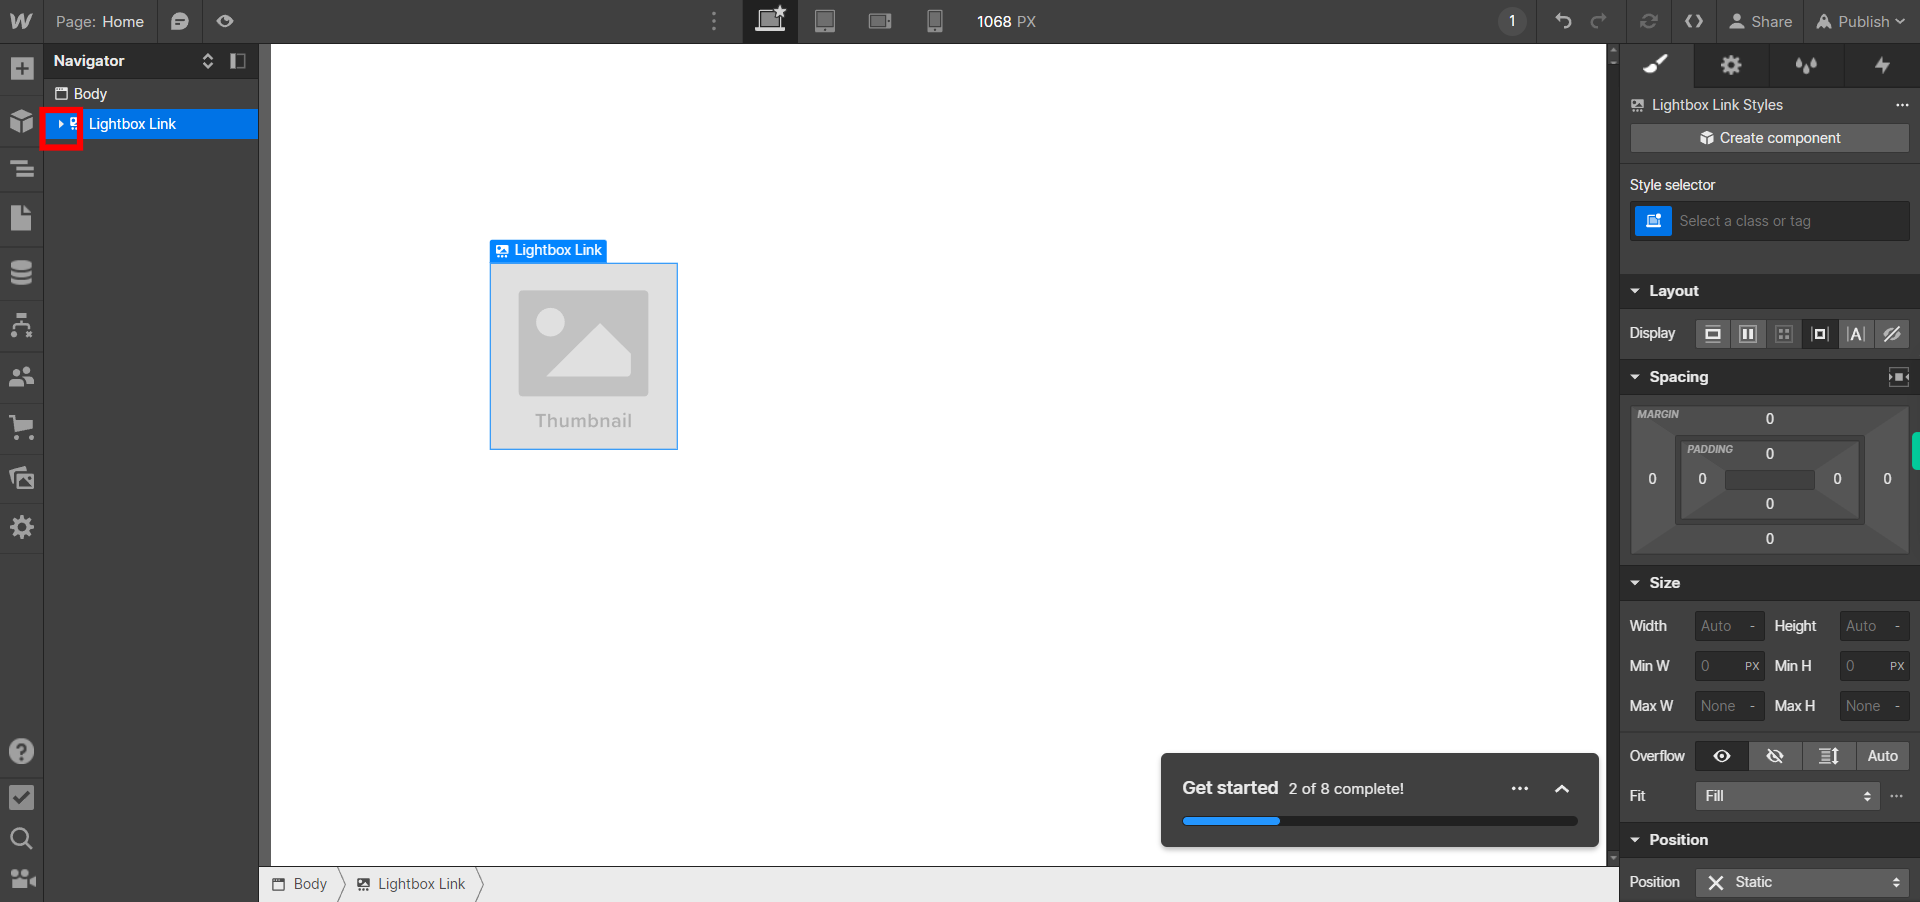
Click on the Next button on the Supervity instruction widget.From navigator pane availabe on left side of the screen ,select the light box you have just created.
-
6.
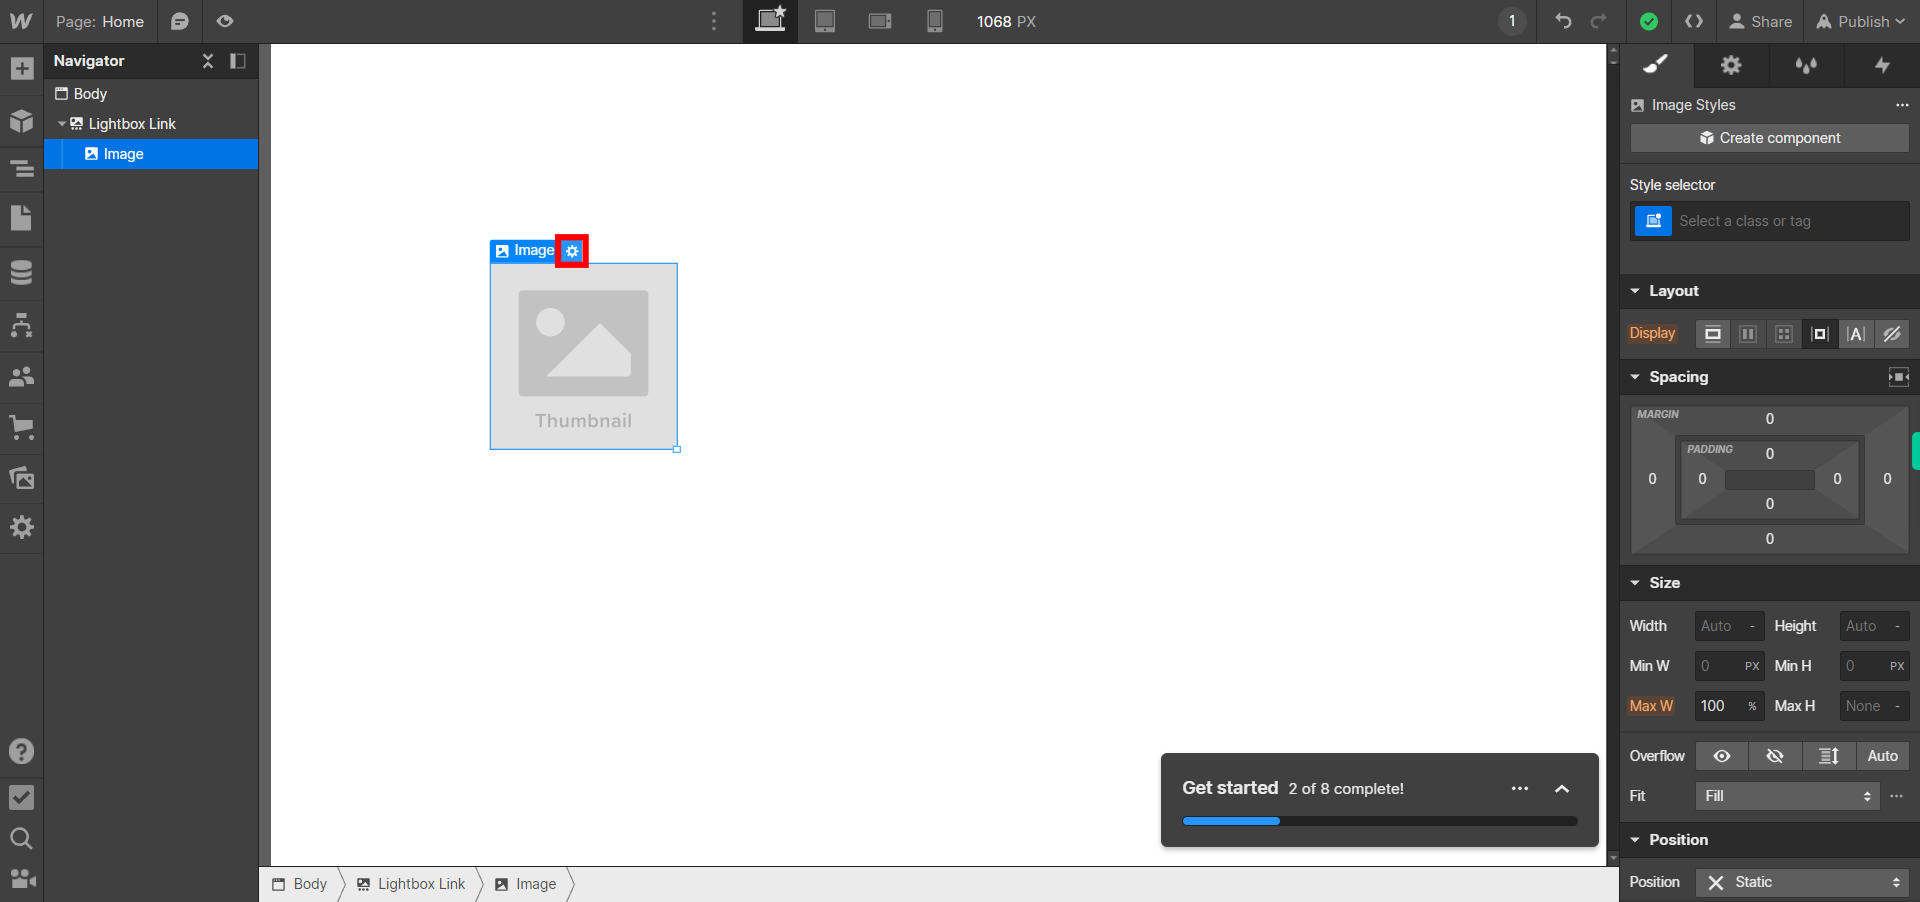
Click on the Next button on the Supervity instruction widget.You will find a "Settings" icon beside image name
-
7.
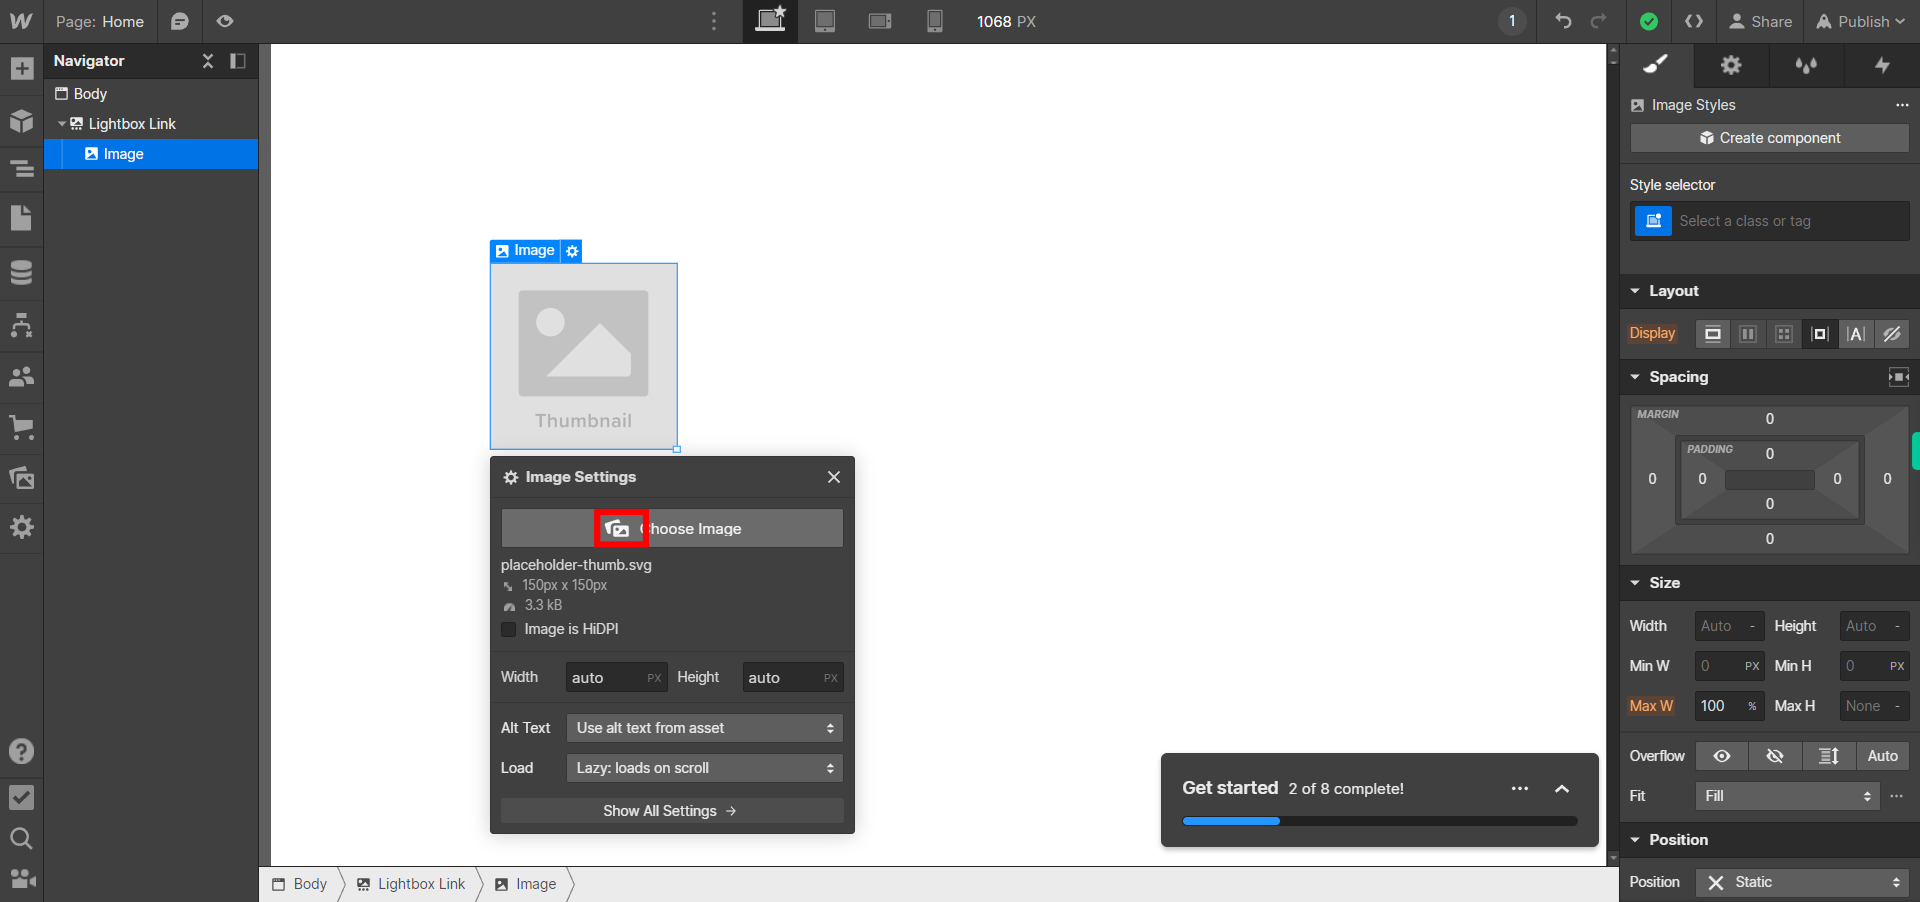
Click on the Next button on the Supervity instruction widget.Now you can upload your desired image from your local storage.
-
8.
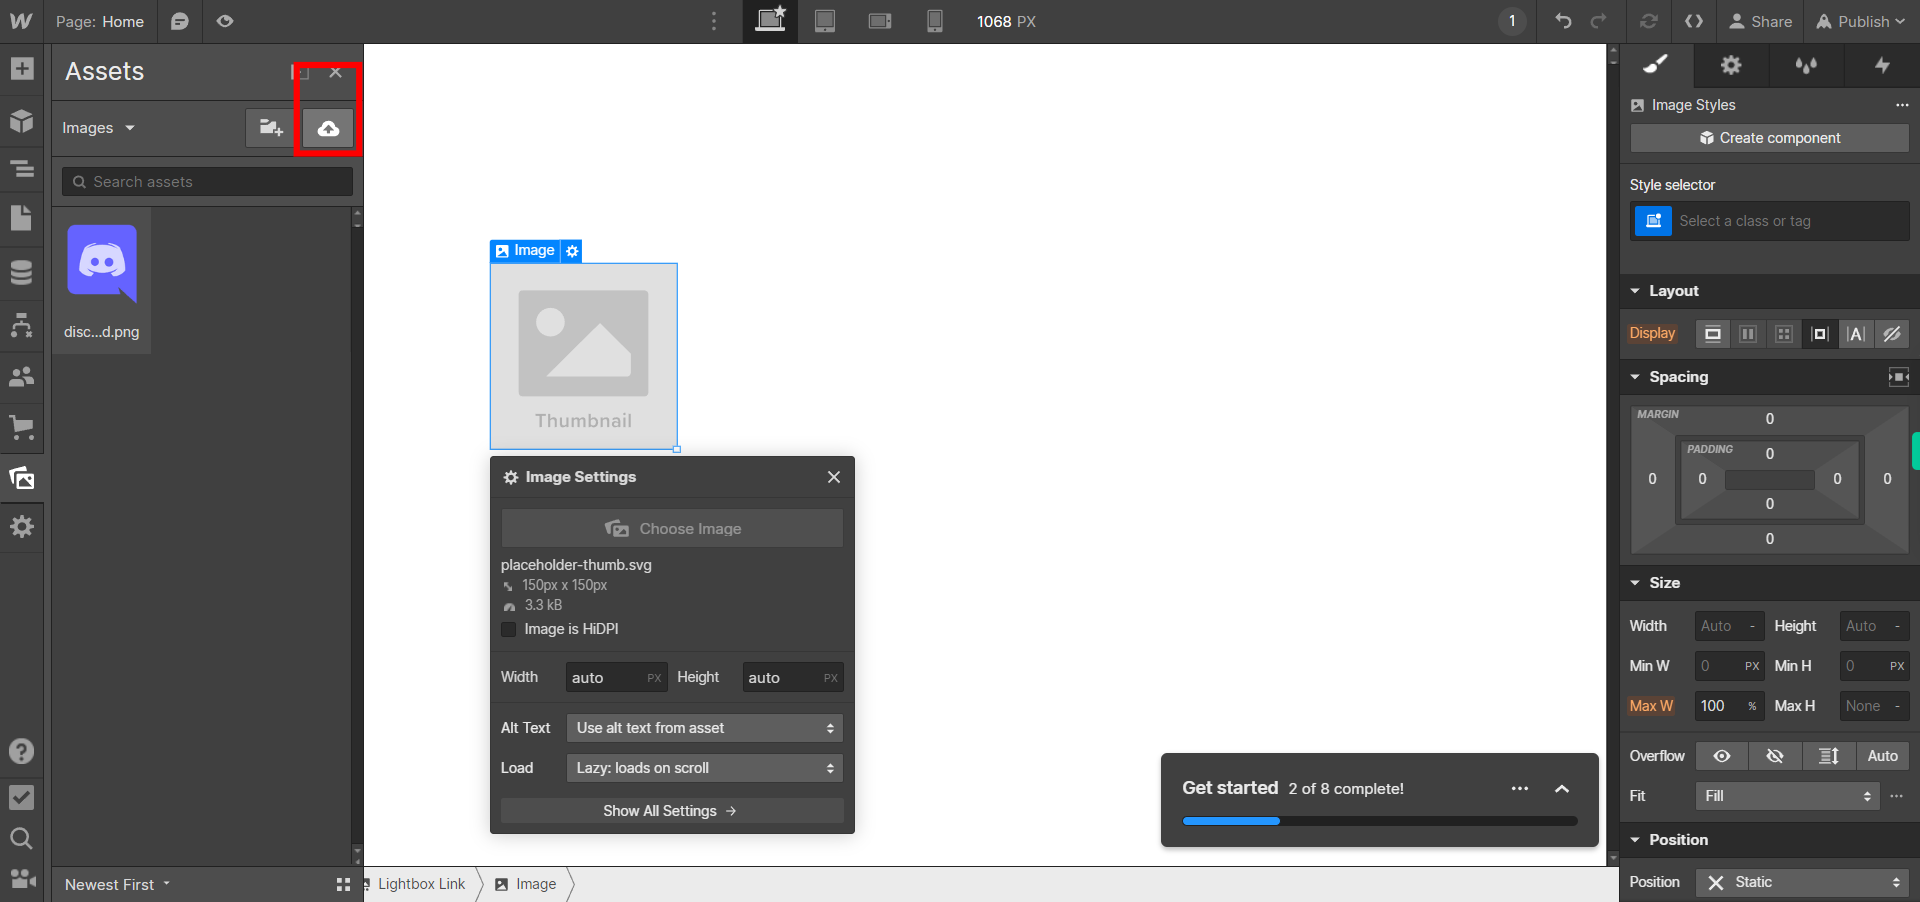
Click on the Next button on the Supervity instruction widget.You can either select images from your assests,or you can chose your desired image from local storage.
-
9.
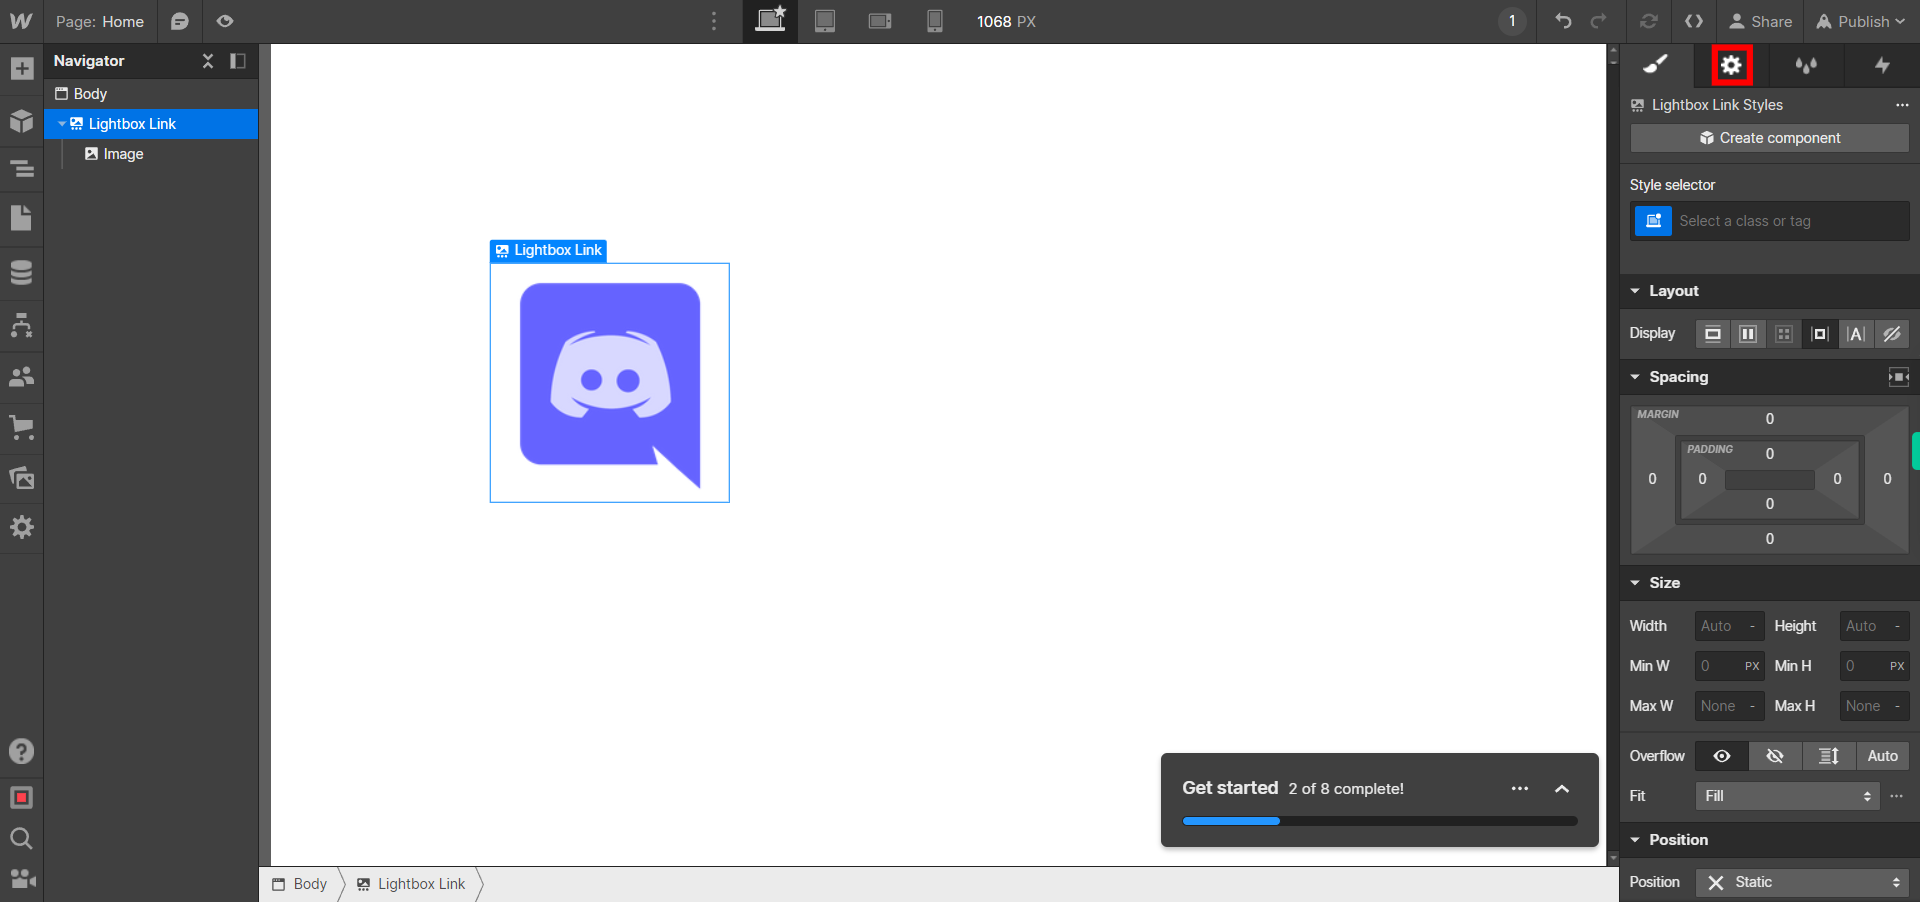
Find the "Settings" icon on top right corner and click on that settings icon.
-
10.
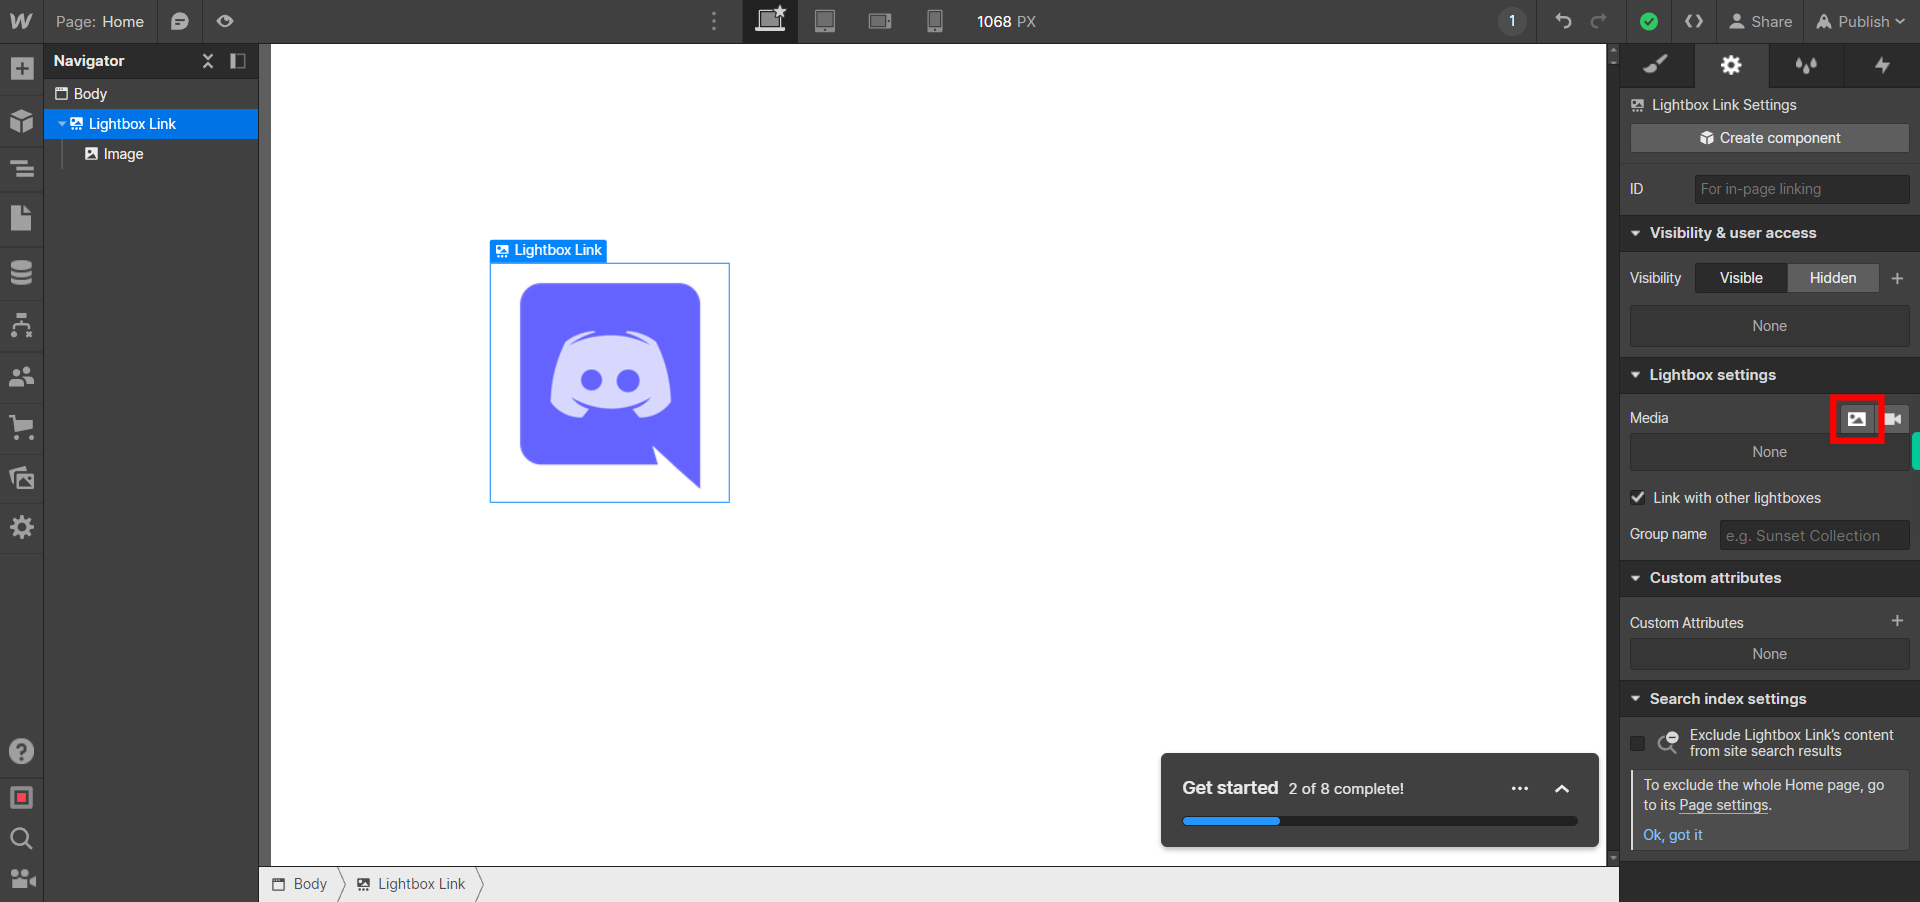
Click on the Next button on the Supervity instruction widget.navigate to lightbox settings there you can either add video or image based on your requirements.
-
11.
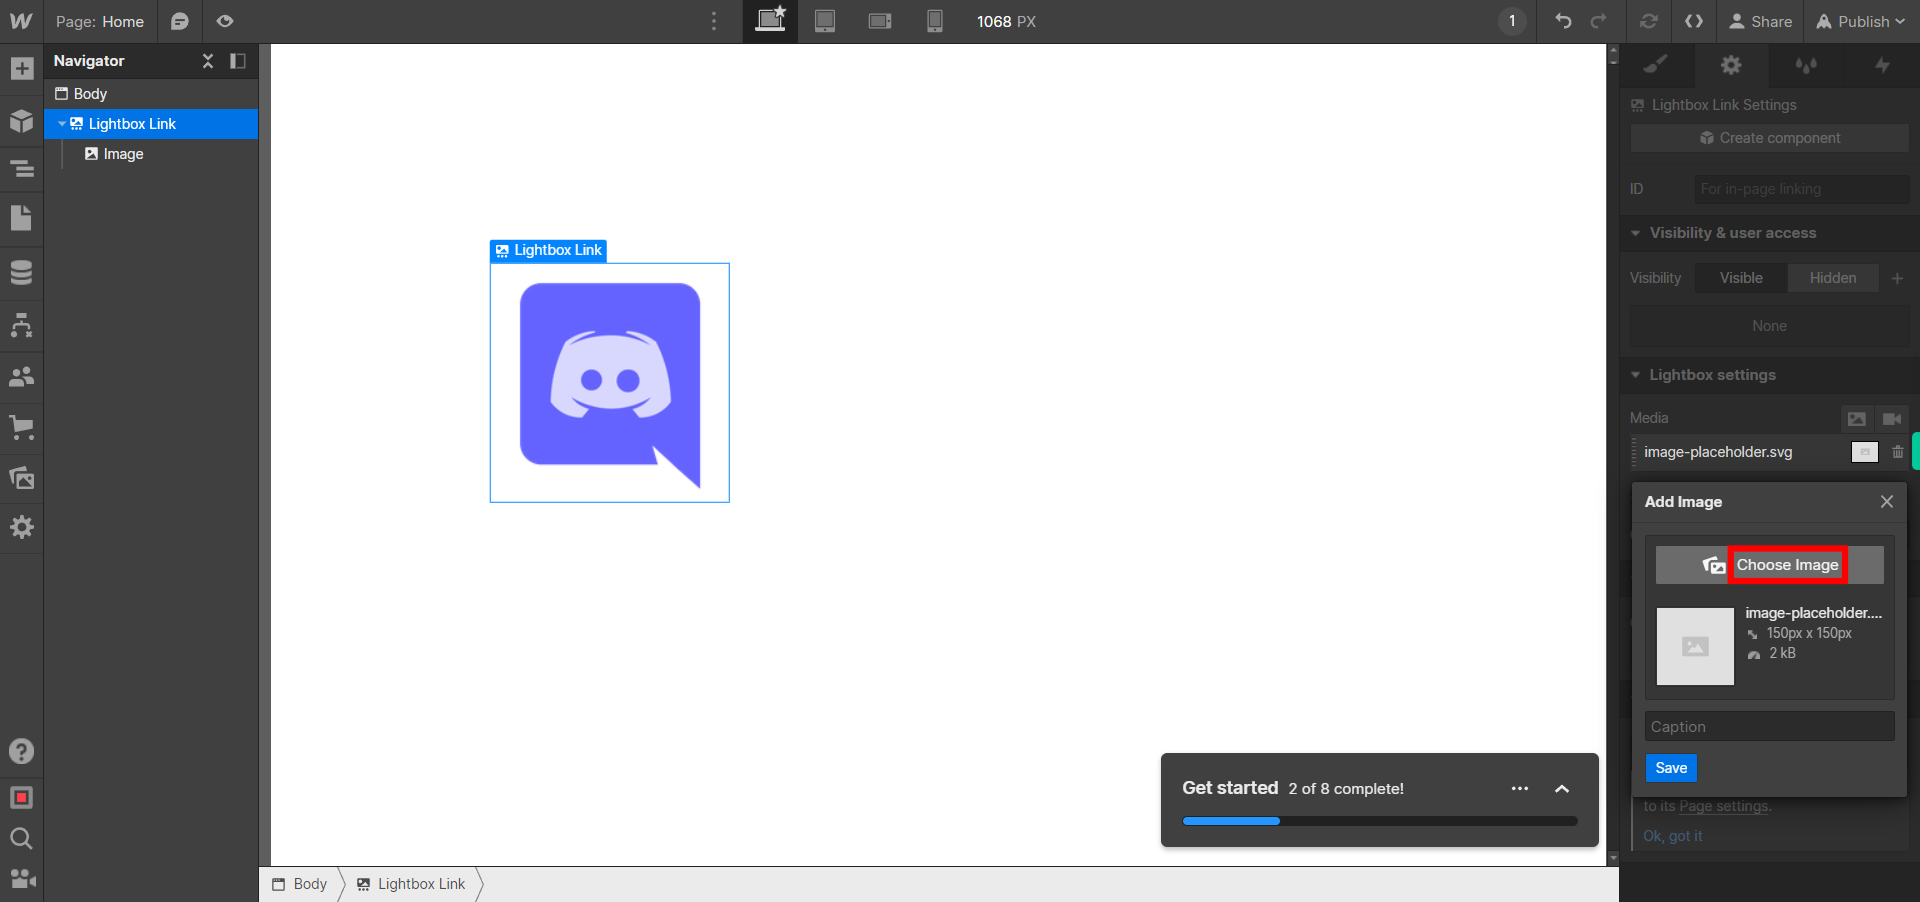
Click on the Next button on the Supervity instruction widget.Click on "Choose Image" option to select your desired image.
-
12.
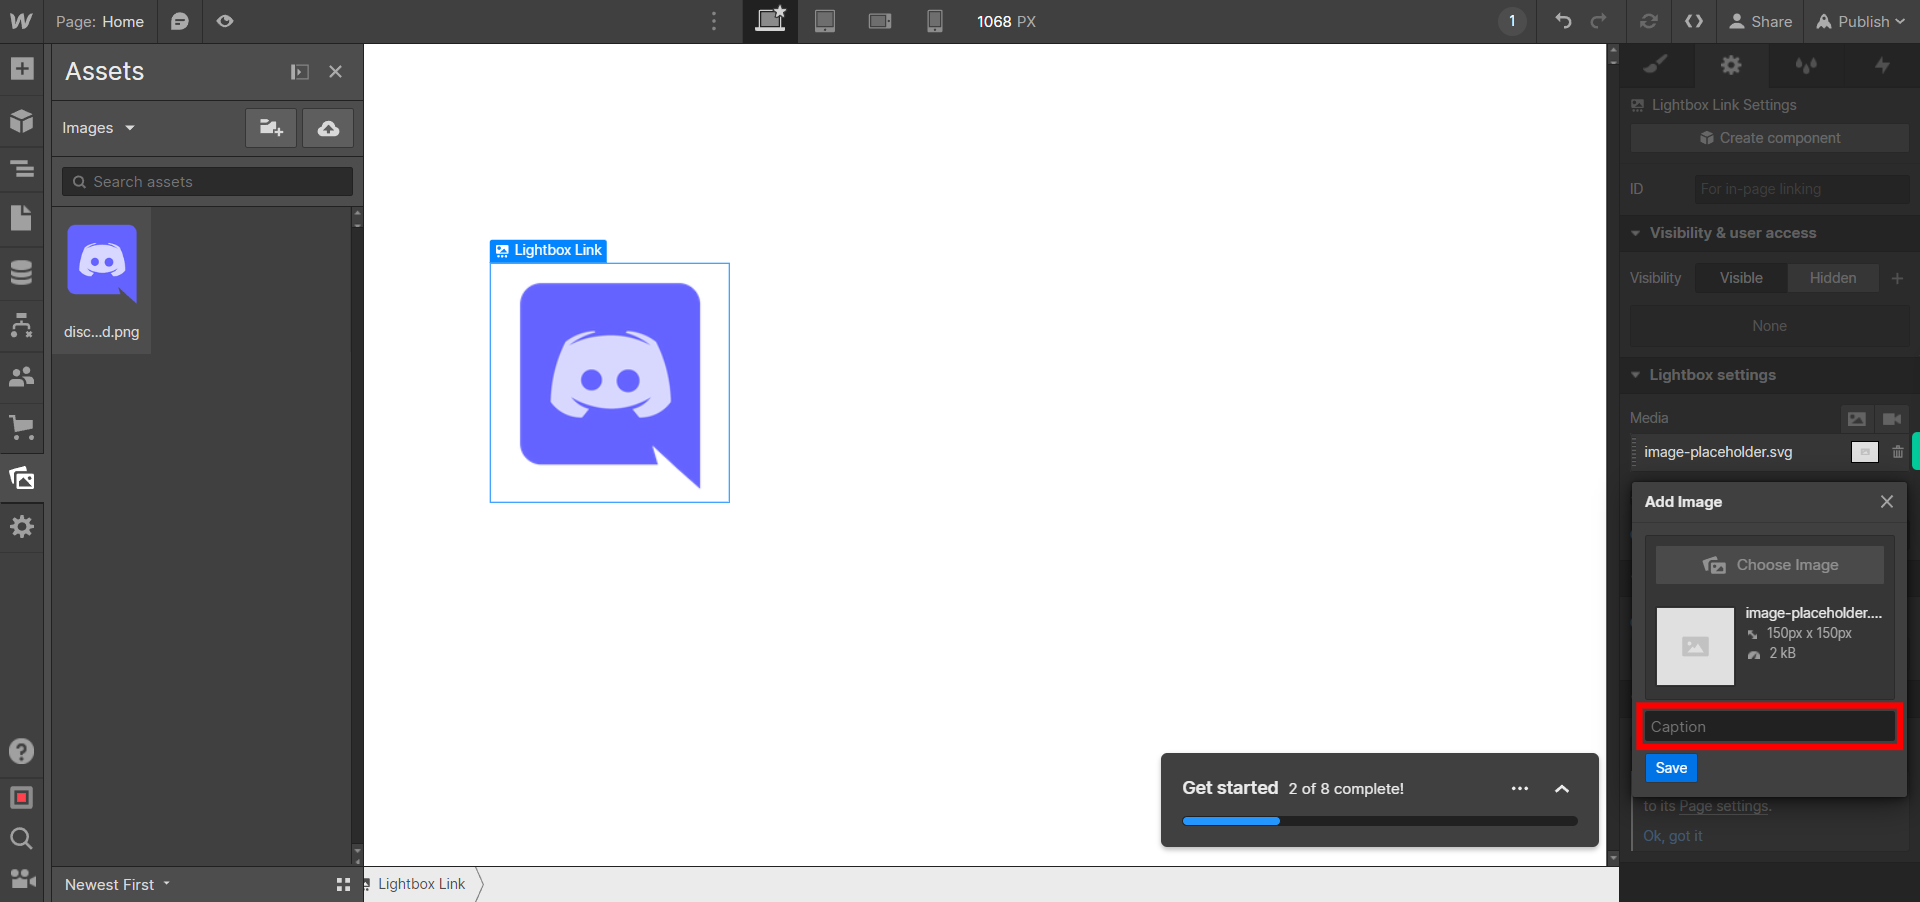
Click on the Next button on the Supervity instruction widget.Click on "Caption" box to enter your desired caption.
-
13.
Click on the Close button on the Supervity instruction widget.Click on the "Save" button ,all the changes will be applied to your lightbox.
