This skill shows the steps to be followed to CSS embed component.The CSS Embed component in Webflow is a feature that allows you to add custom CSS code directly to your Webflow project. It gives you the flexibility to apply custom styles and make design modifications that may not be possible through the built-in design tools provided by Webflow.When you add a CSS Embed component to your Webflow project, you can enter your custom CSS code within the component. This code will then be injected into the HTML of your website, allowing you to override existing styles or apply new ones.[NOTE: Please make sure that log in to Webflow website before playing the skill]
-
1.
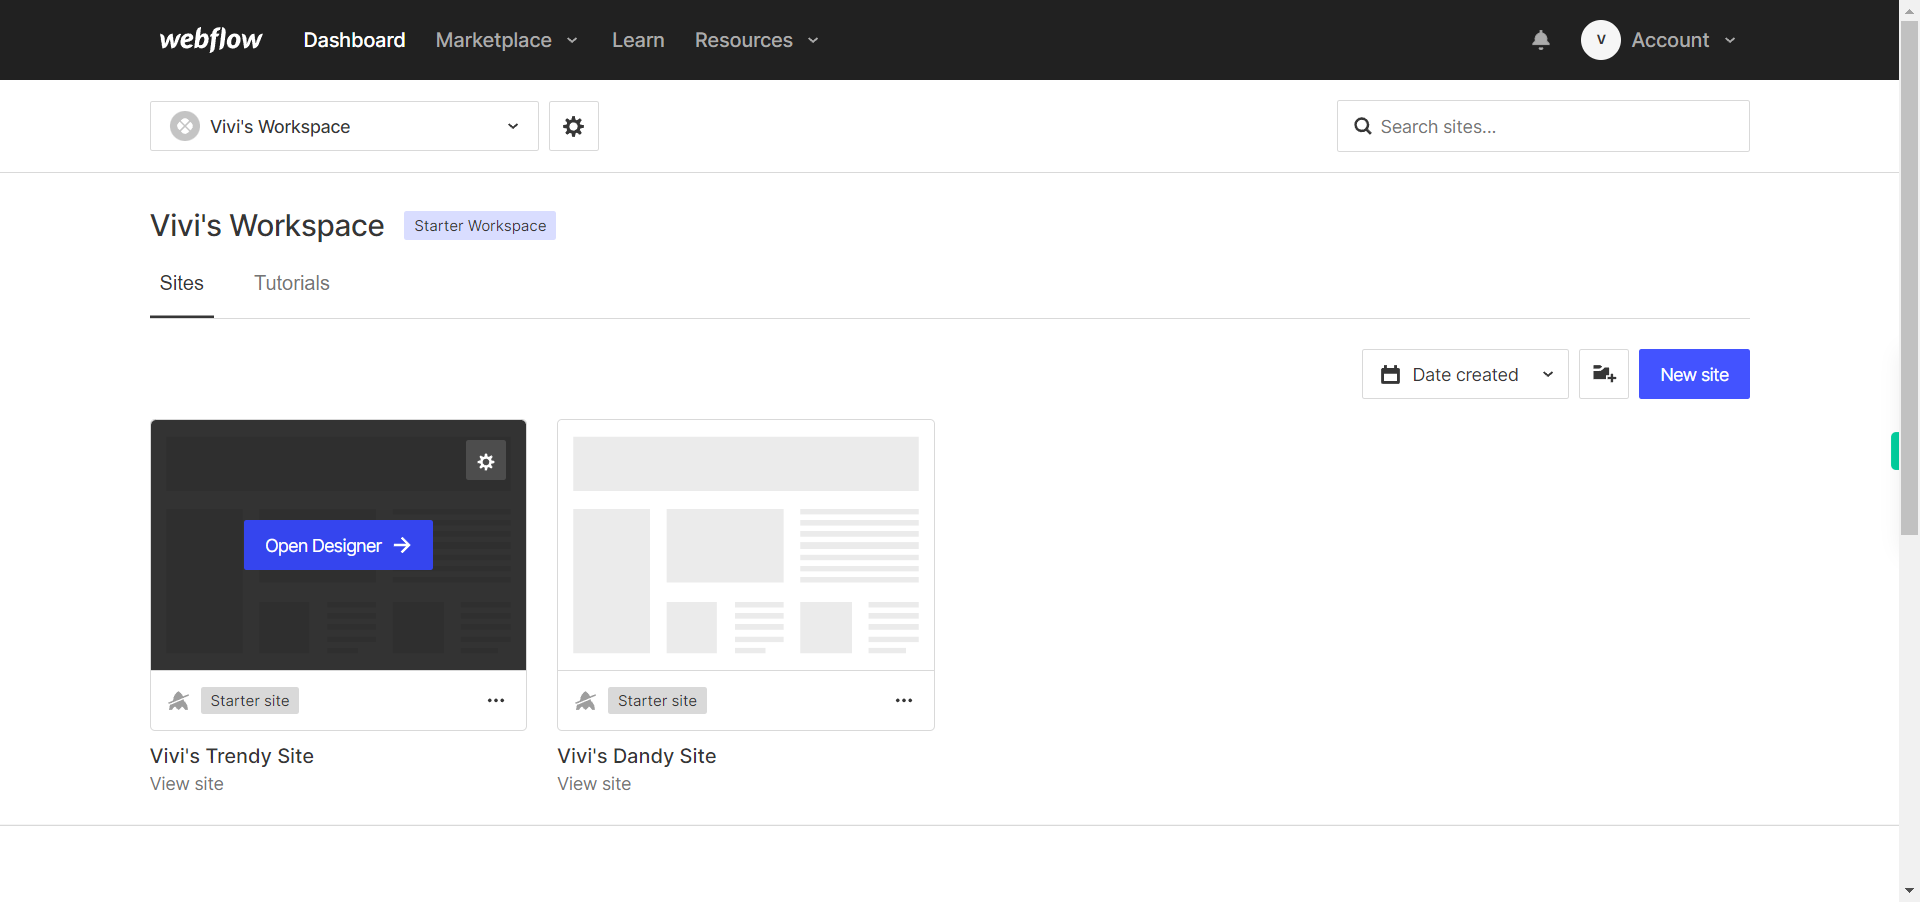
open Sites - Webflow
-
2.
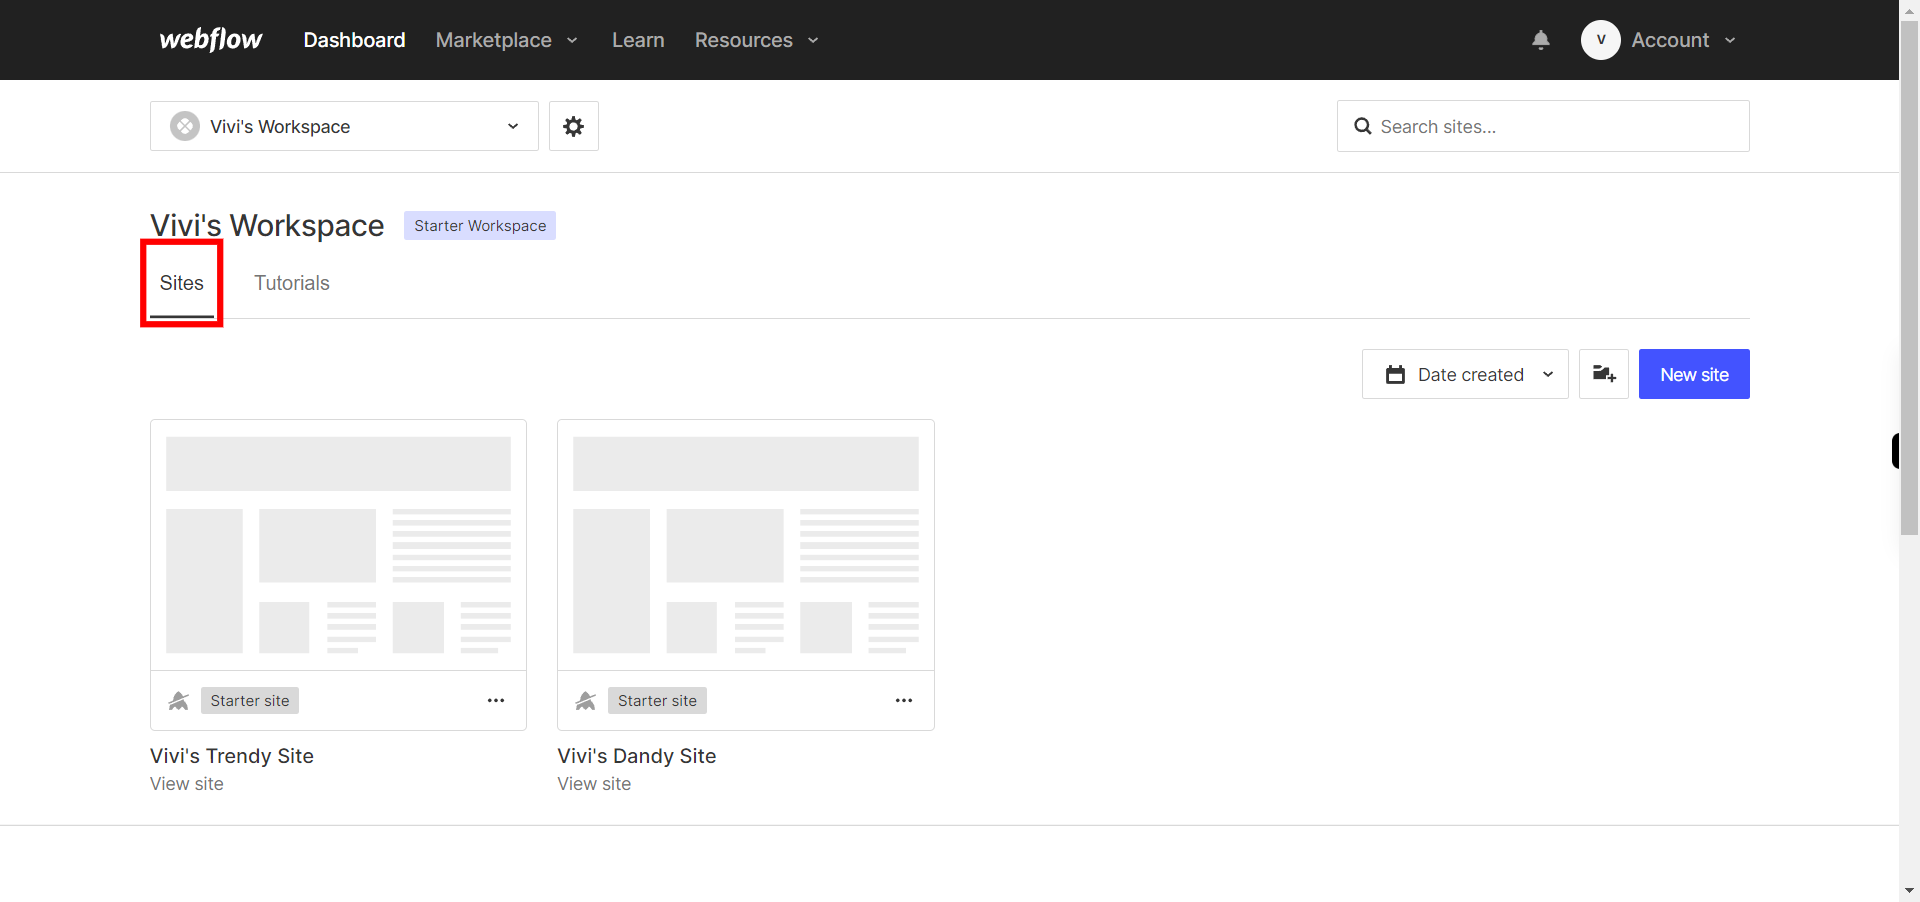
Click on the Next button on the Supervity instruction widget. you will see a list of your projects. By selecting the specific project you want to work on, you can access its editing interface
-
3.
If you're unable to find the "+" icon to edit a web page in Webflow, there is an alternative method to access the design controls. First, click on the "Edit" button, usually located at the top right corner of the page or within the editor toolbar. This will open the editing options. Follow the below steps select design control->design here->OK. Click on the Next button in the Supervity instruction widget.
-
4.
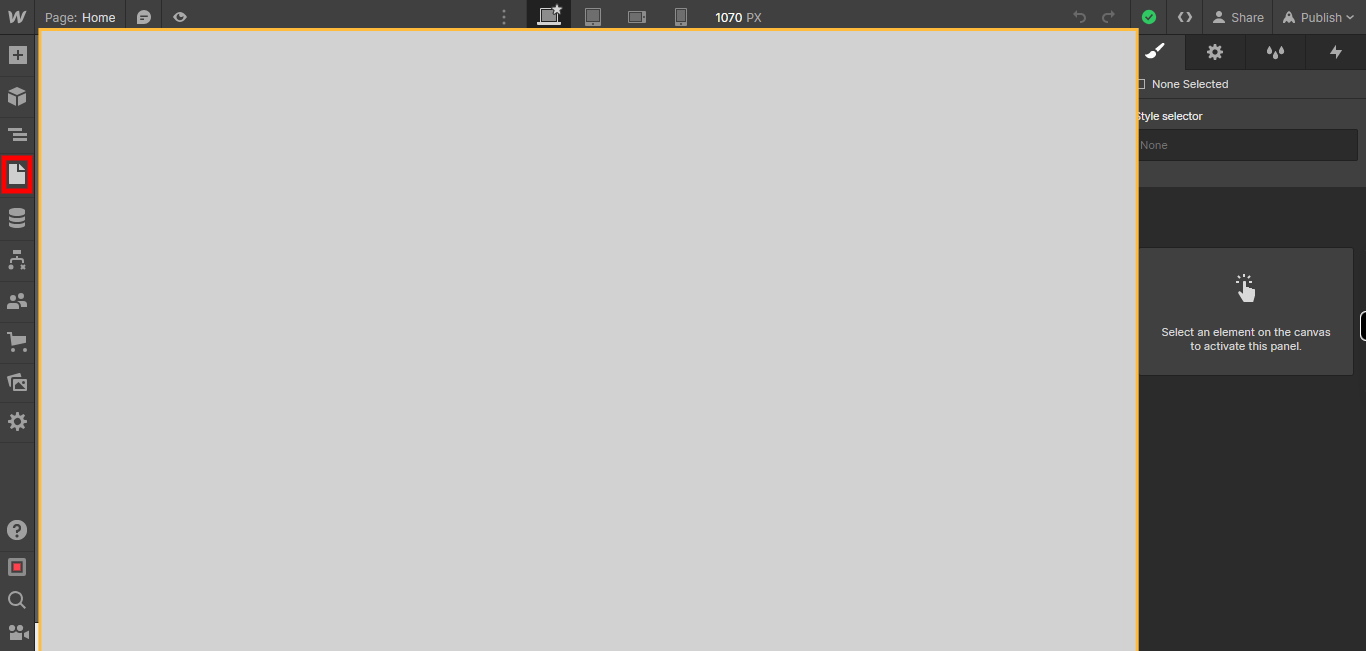
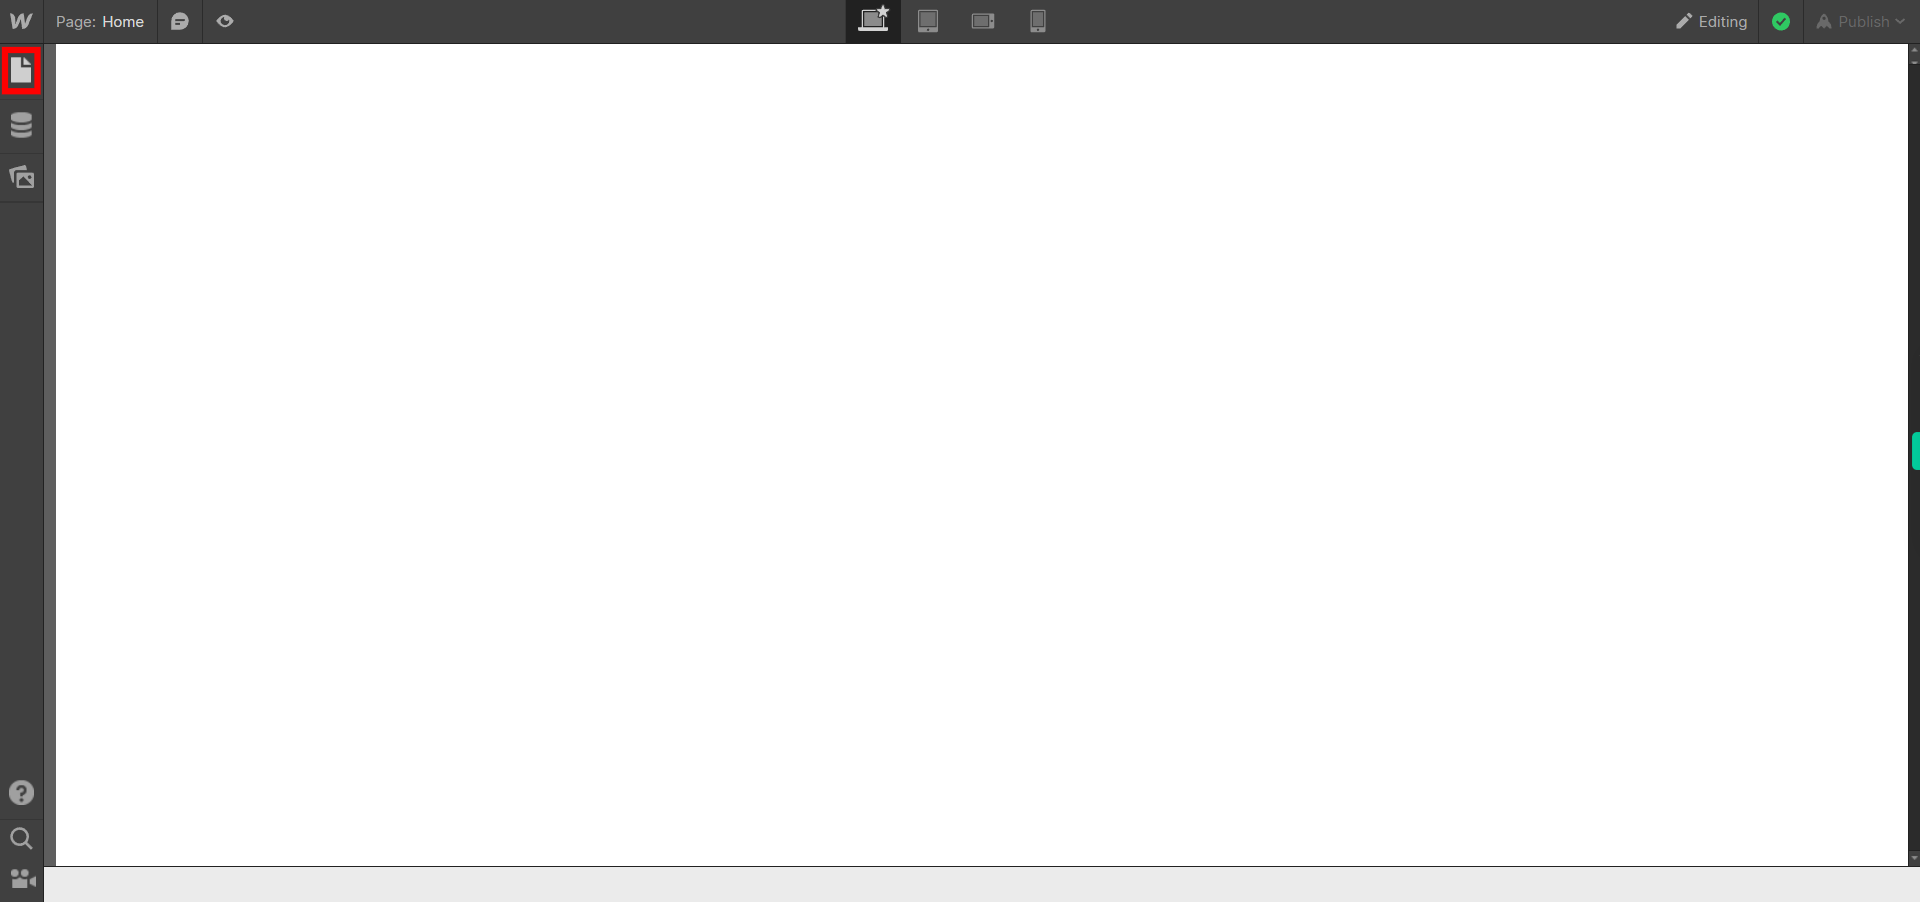
Click on the "pages" icon.
-
5.
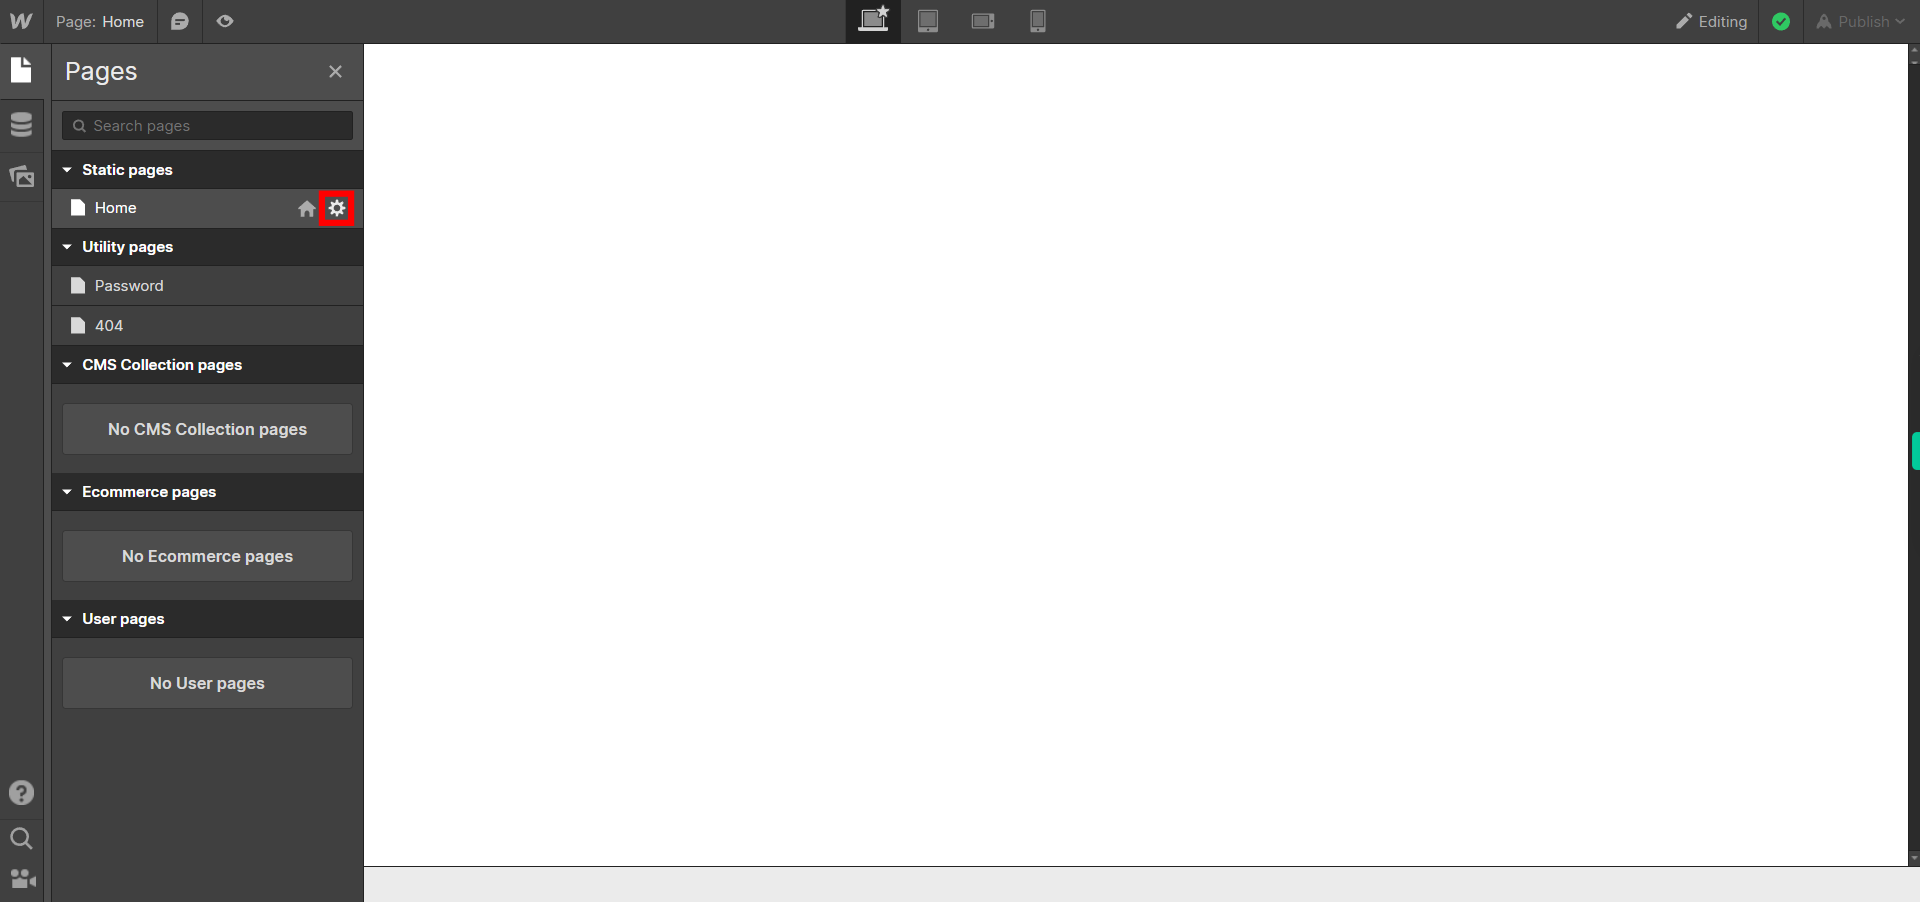
Click on the Next button on the Supervity instruction widget.Now select the page you want to edit,just beside the page name you will find "settings" click on it.
-
6.
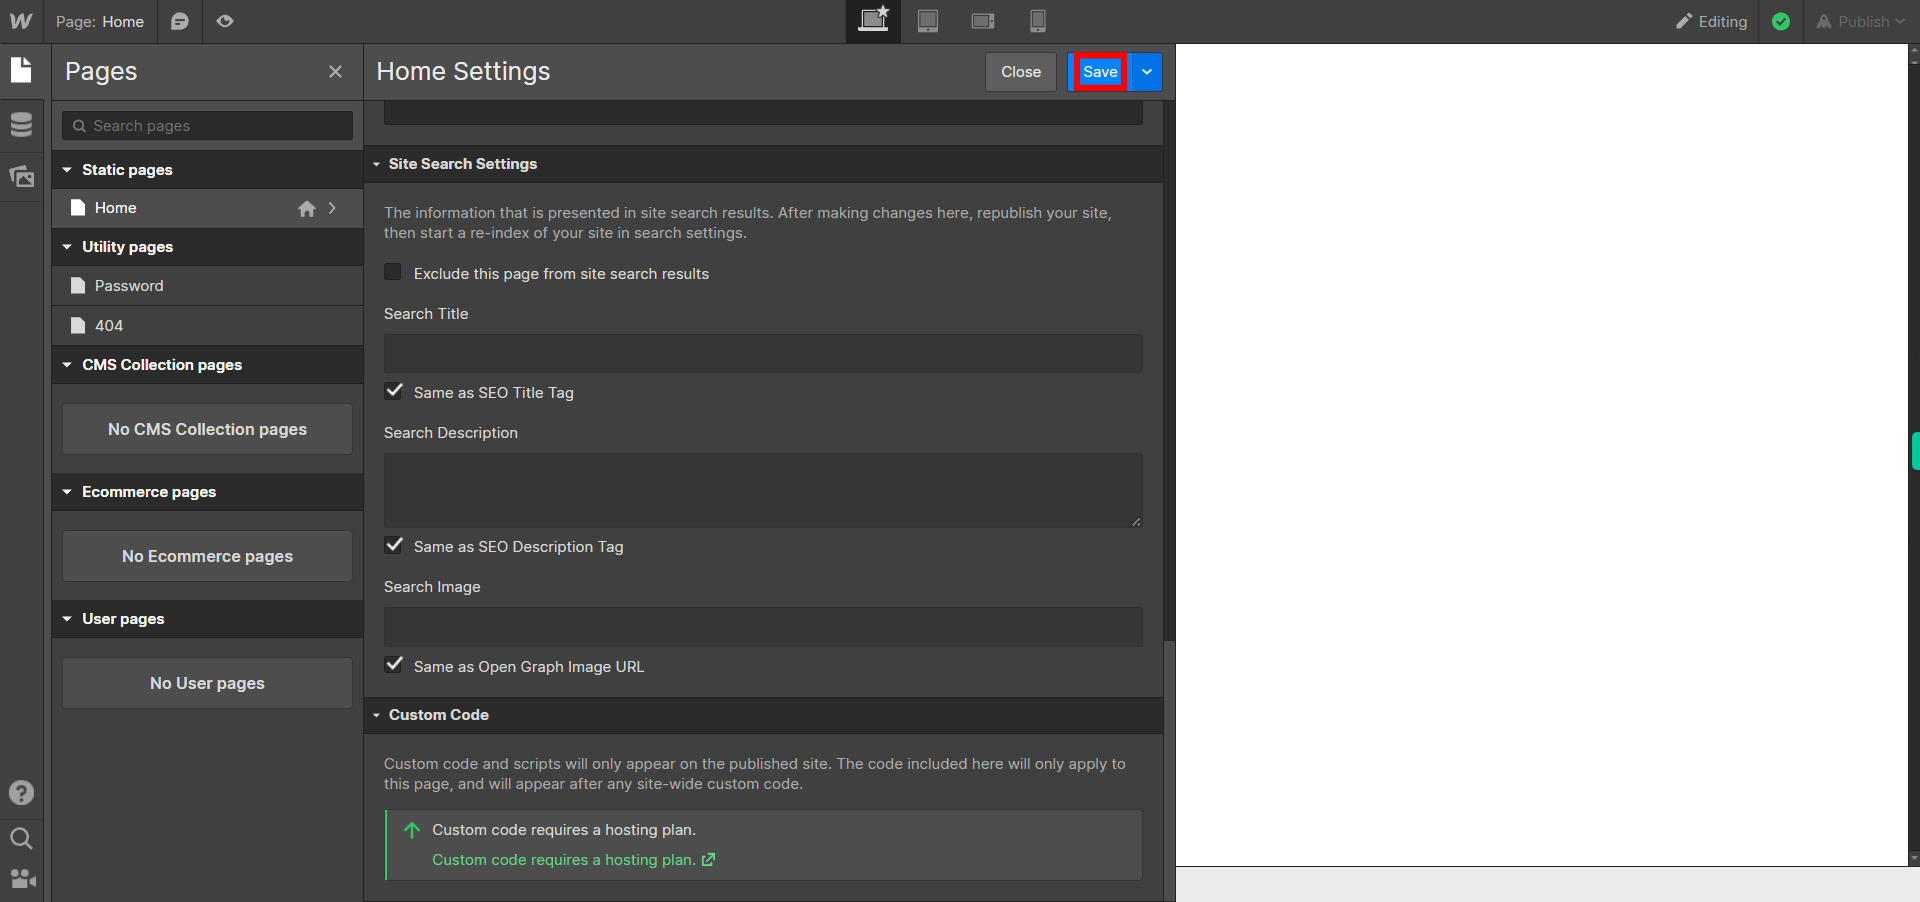
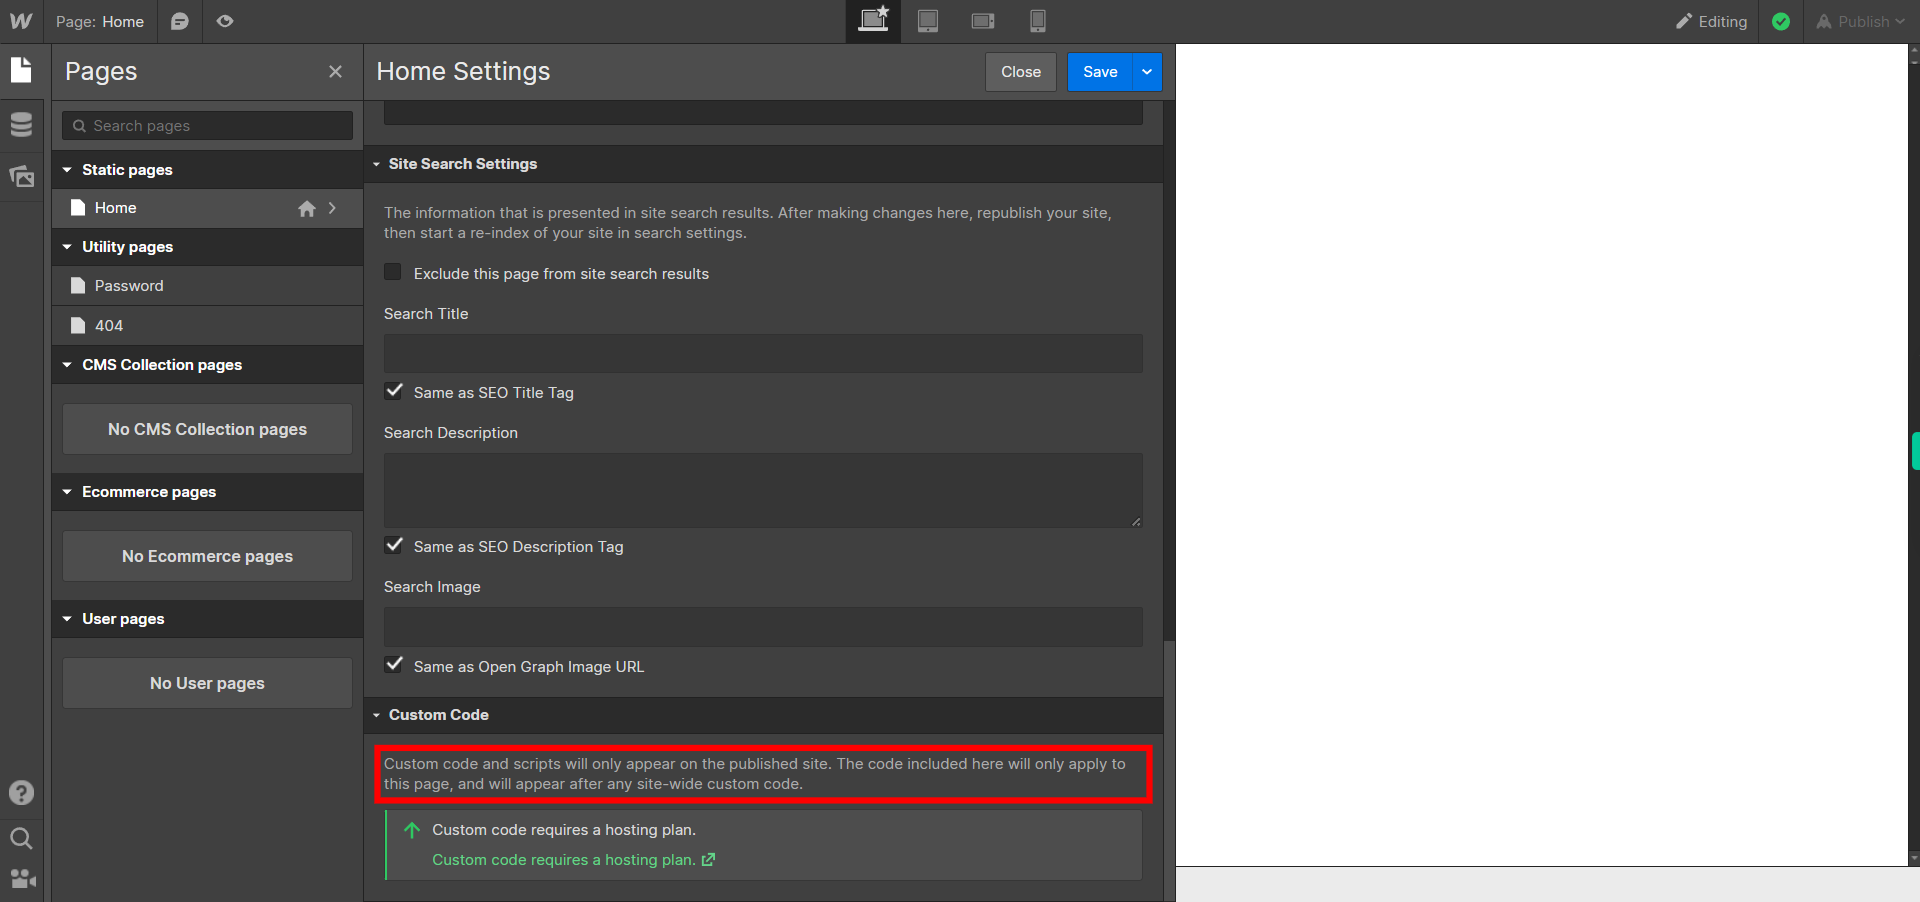
Click on the Next button on the Supervity instruction widget.Click Custom code and scripts will only appear on the published site. The code included here will only apply to this page, and will appear after any site-wide custom code.
-
7.
Click on the Close button on the Supervity instruction widget.Click on Save button and your css component will be embedded.
