You can use Amazon S3 to host static websites without the need for a web server. Prerequisites: Create two HTML pages on your local PC. Example 1) Index.html and 2) Error.html in your local PC. Follow these steps to host a static website using Amazon S3. # NOTE: Make sure you signed into your AWS account.
-
1.
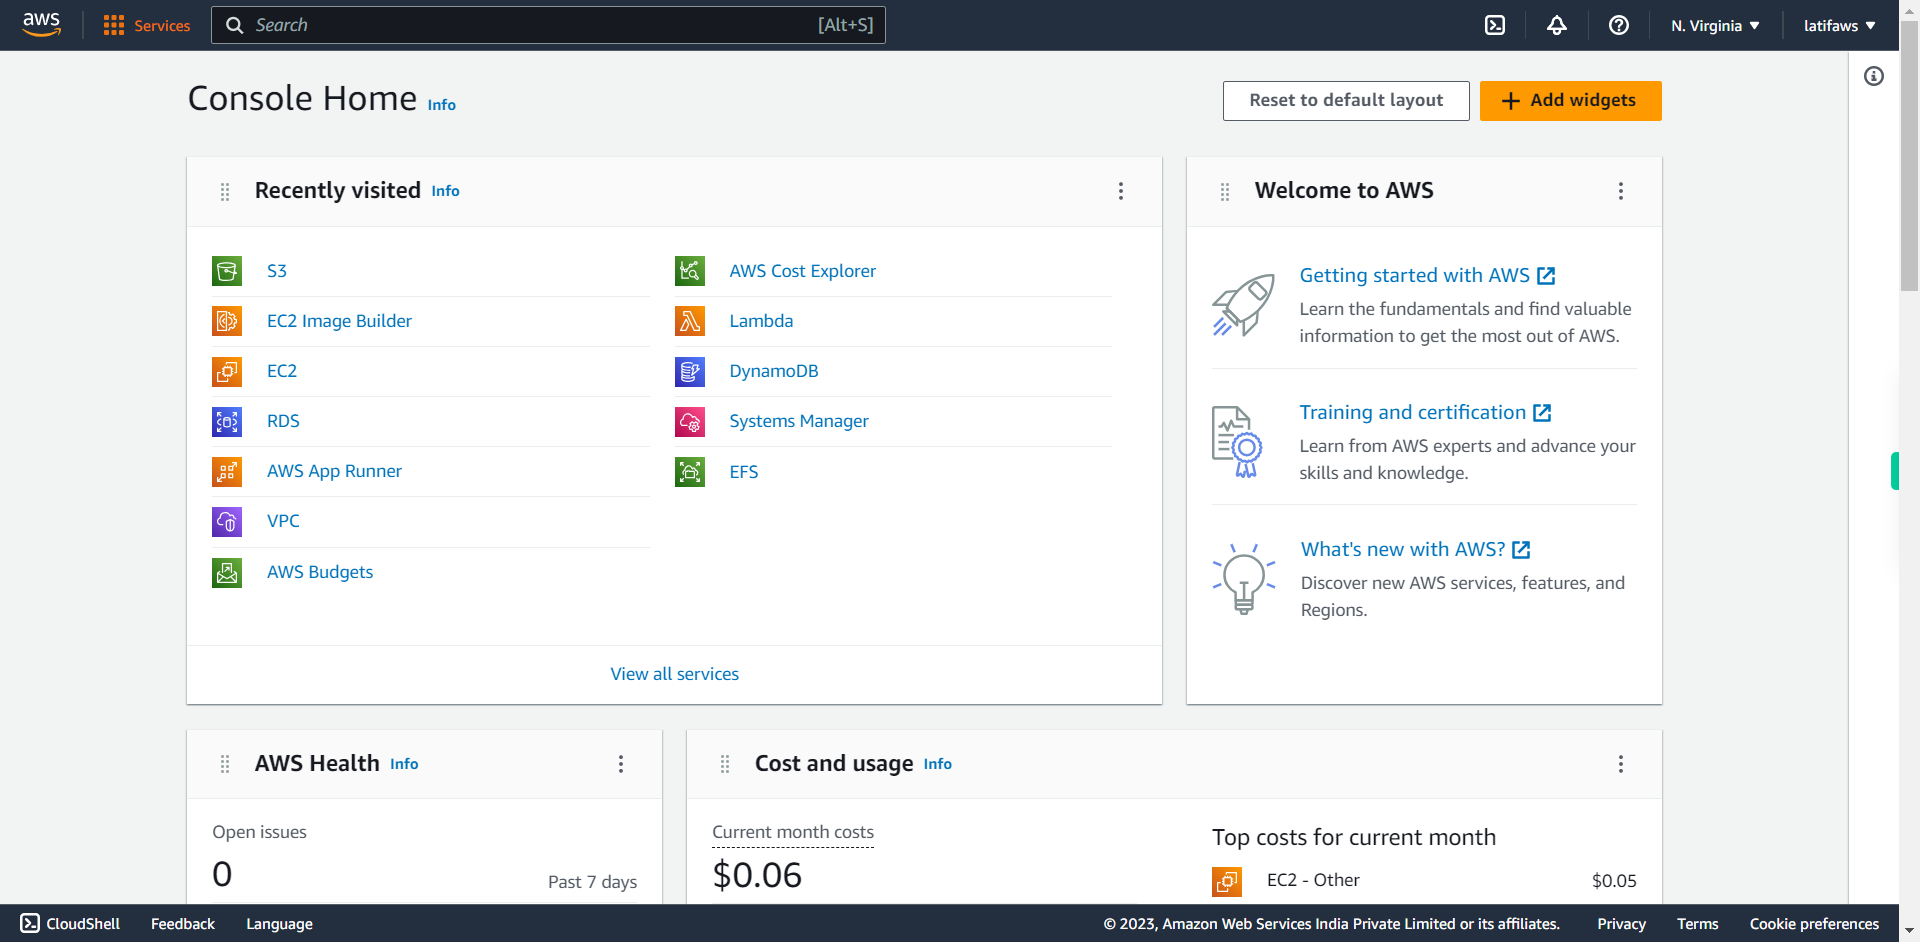
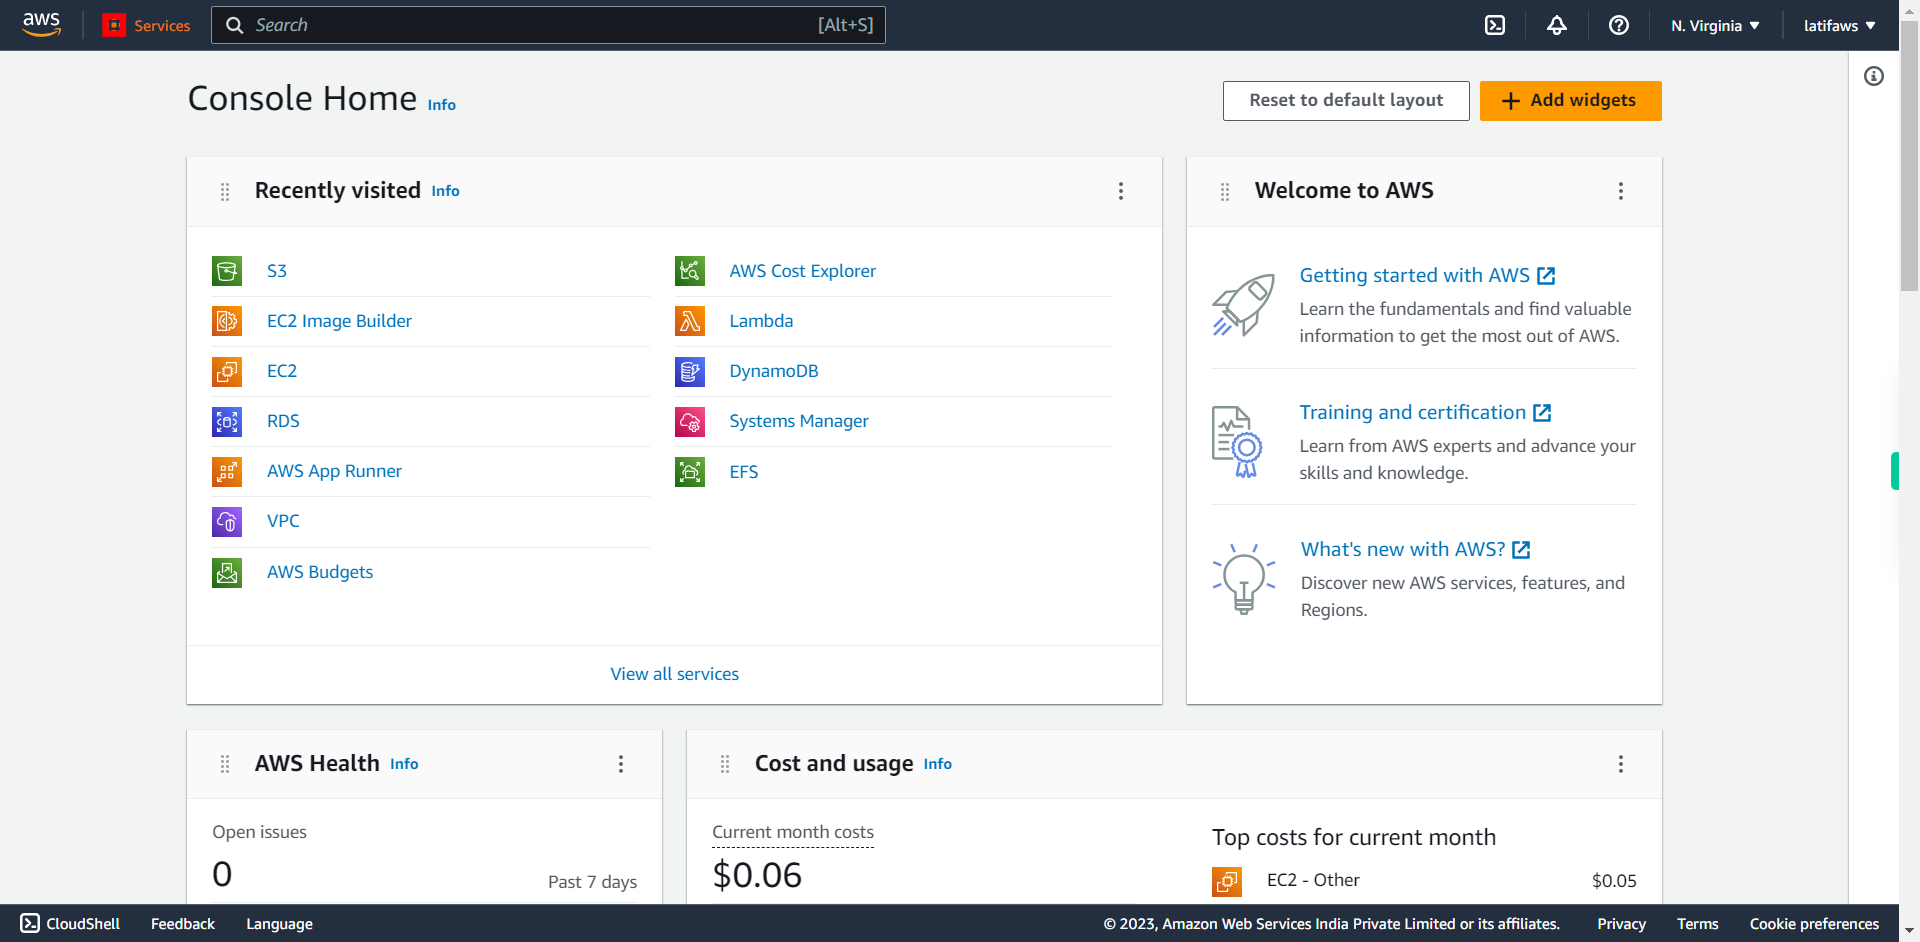
open AWS Management Console
-
2.
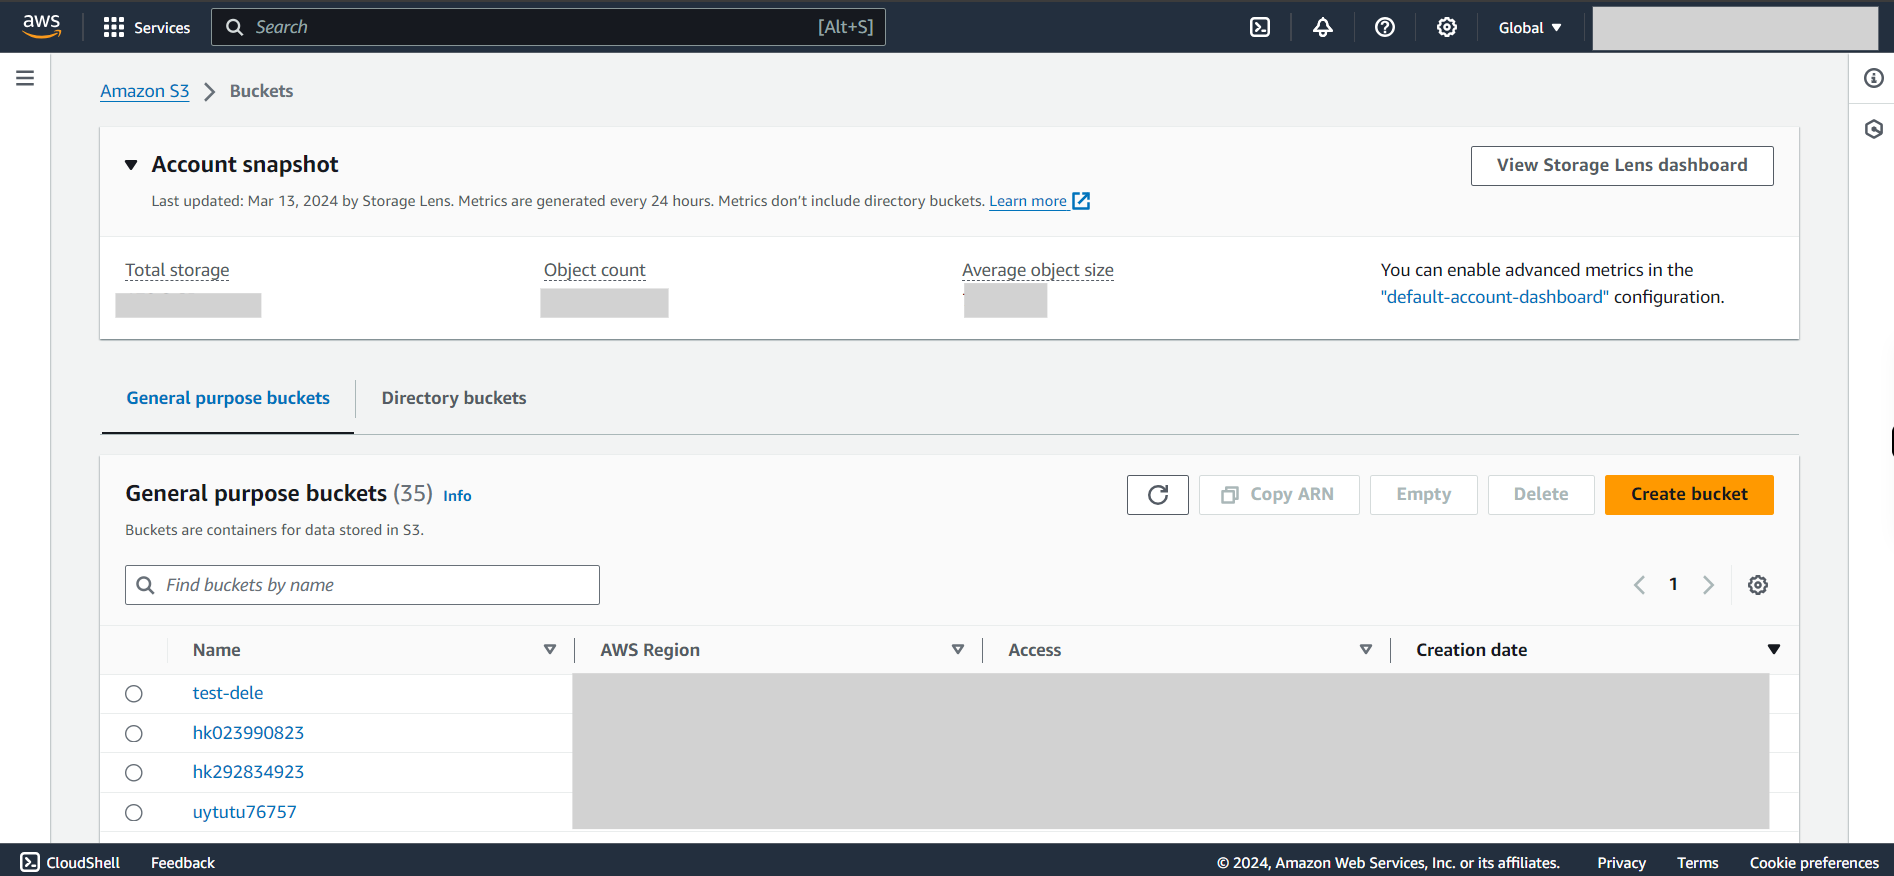
To host a static website using AWS S3, we need an S3 bucket. To Create a bucket click “services” Note: Bucket name should be same as the desired website hostname.
-
3.
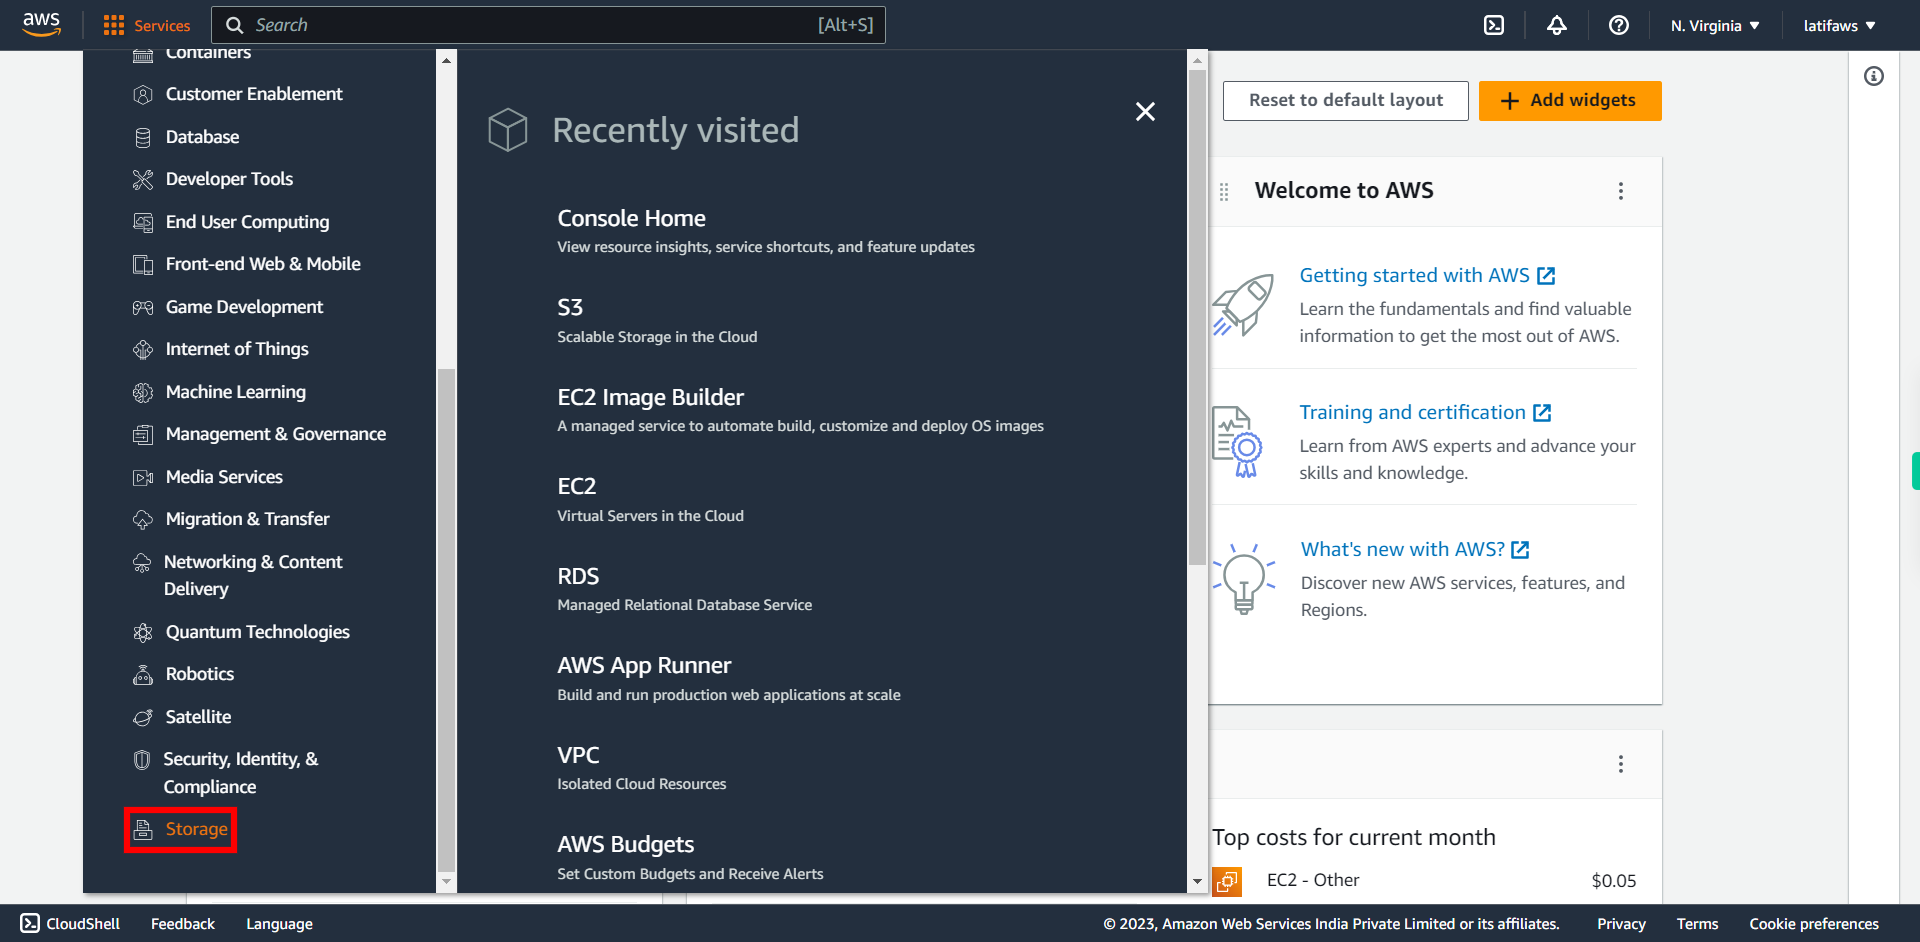
Click Storage
-
4.
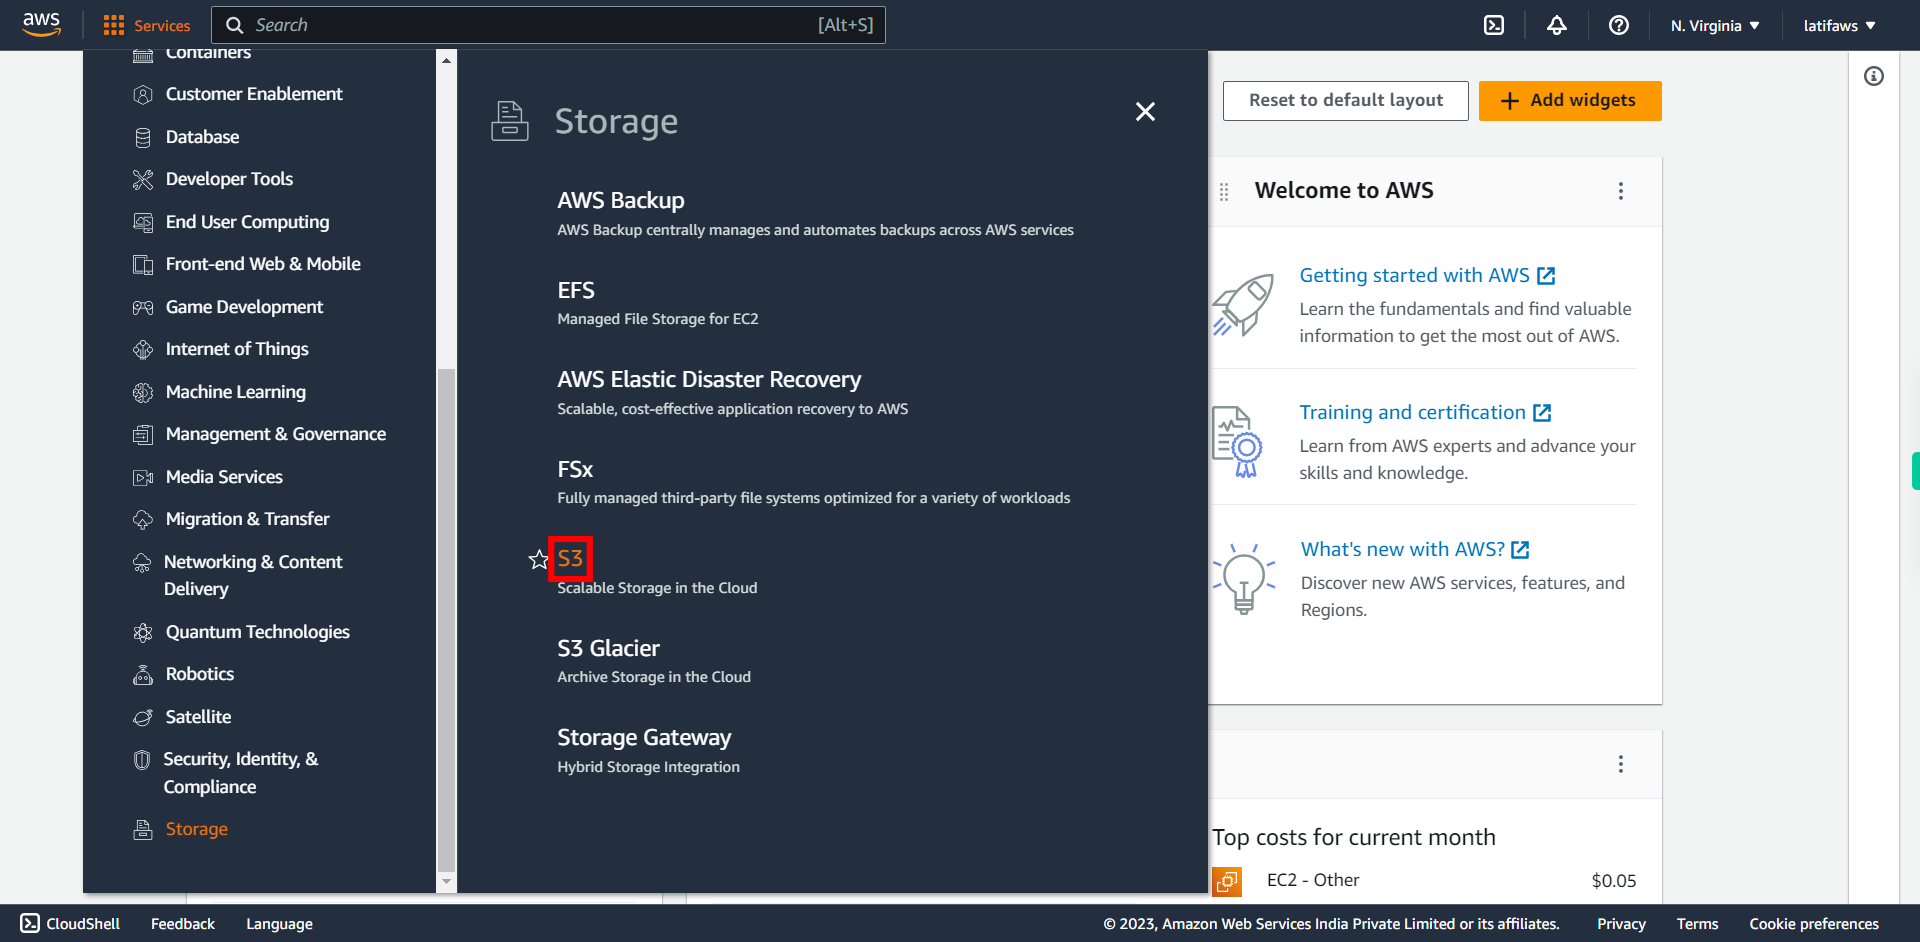
Click S3
-
5.
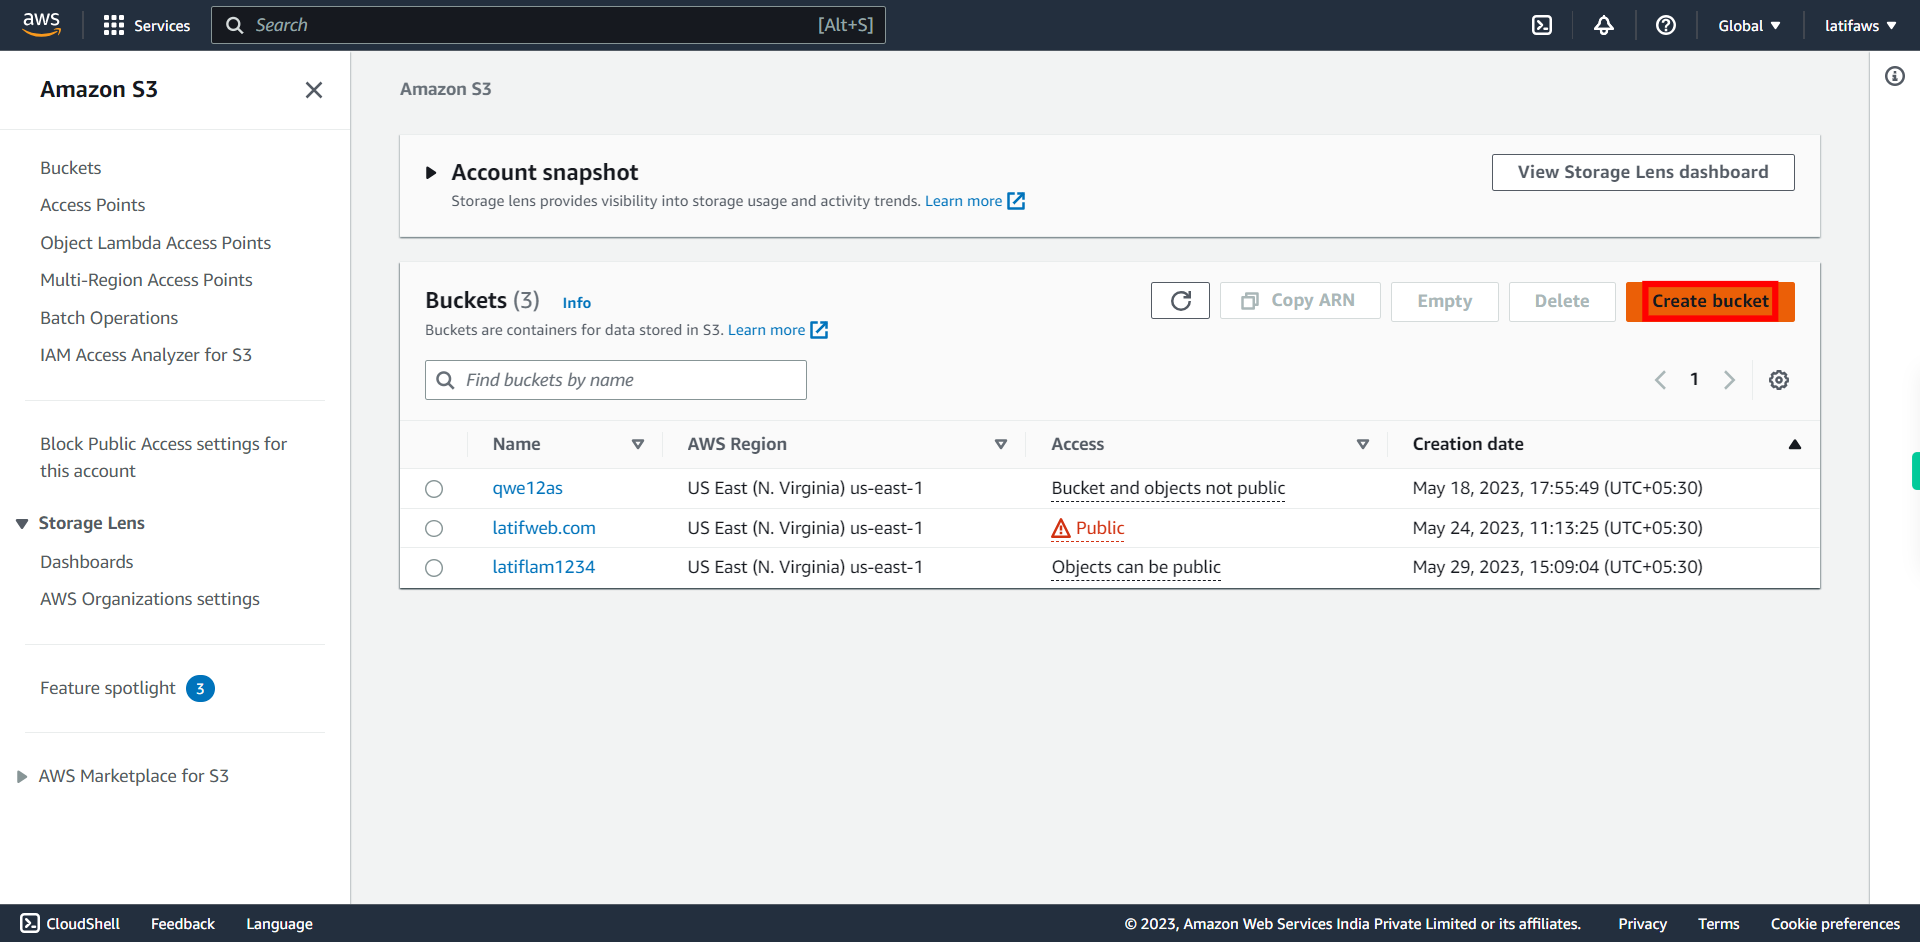
Click Create bucket
-
6.
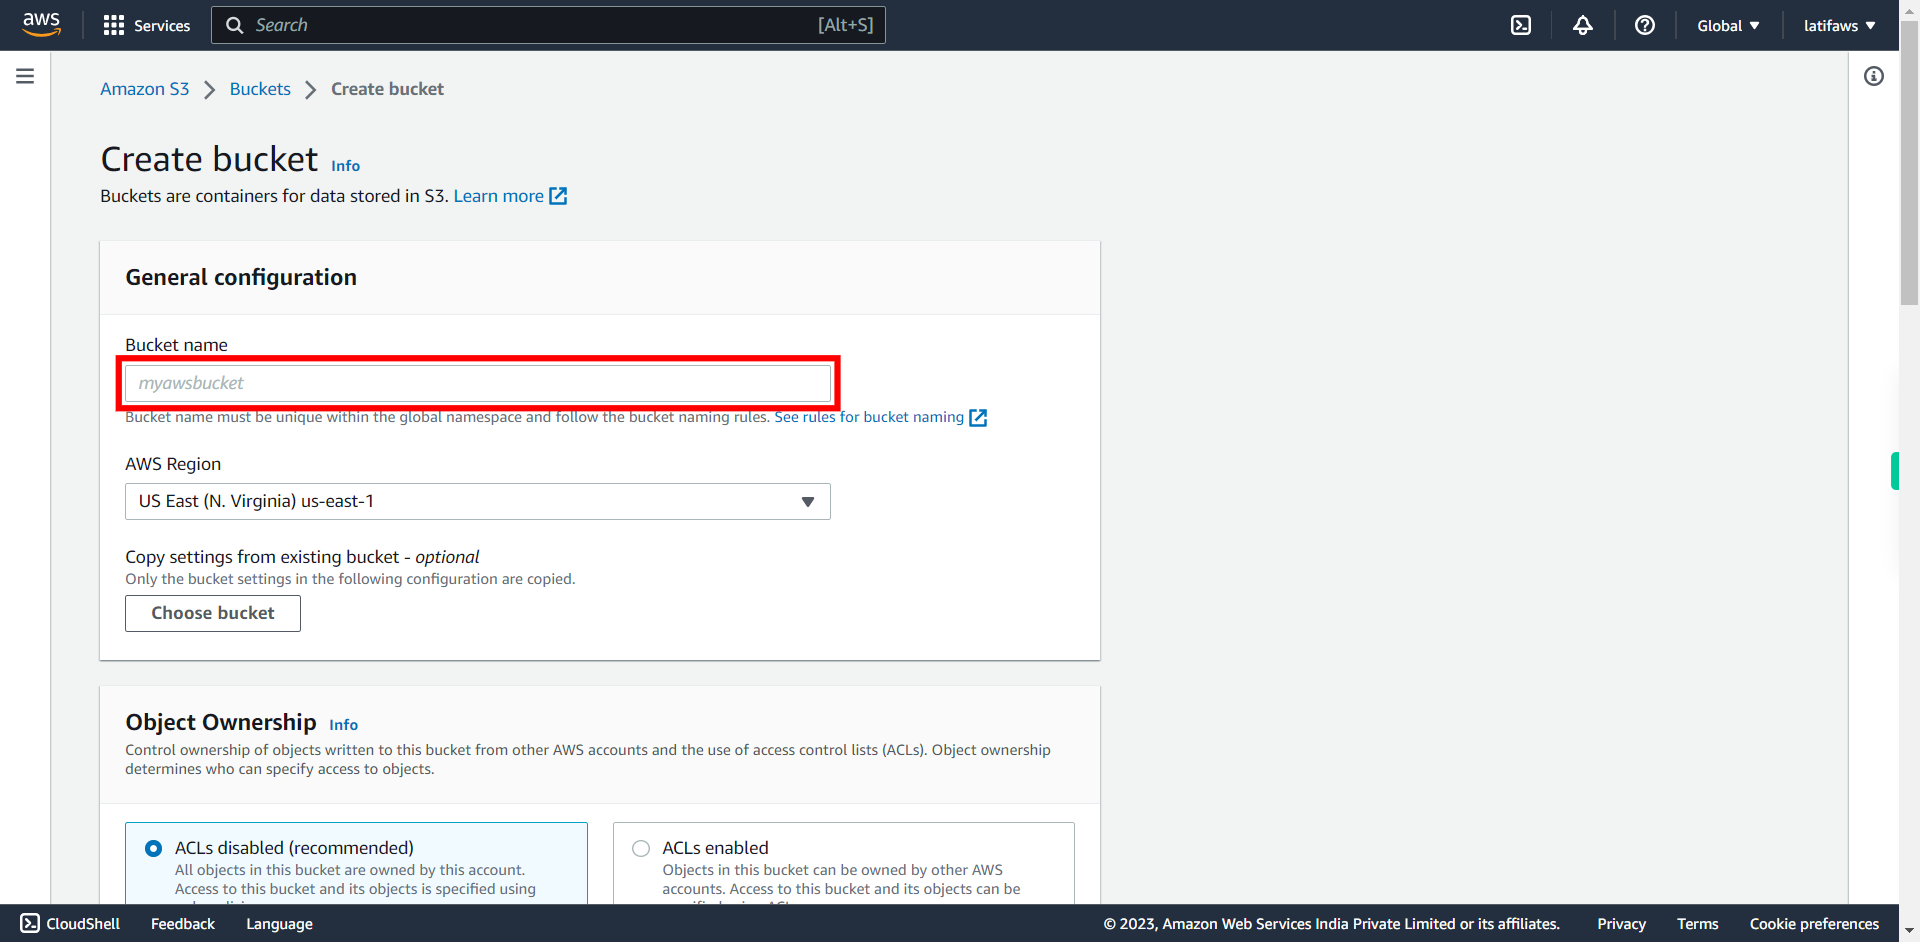
Give your bucket a 'globally-unique name' and click Next to continue.
-
7.
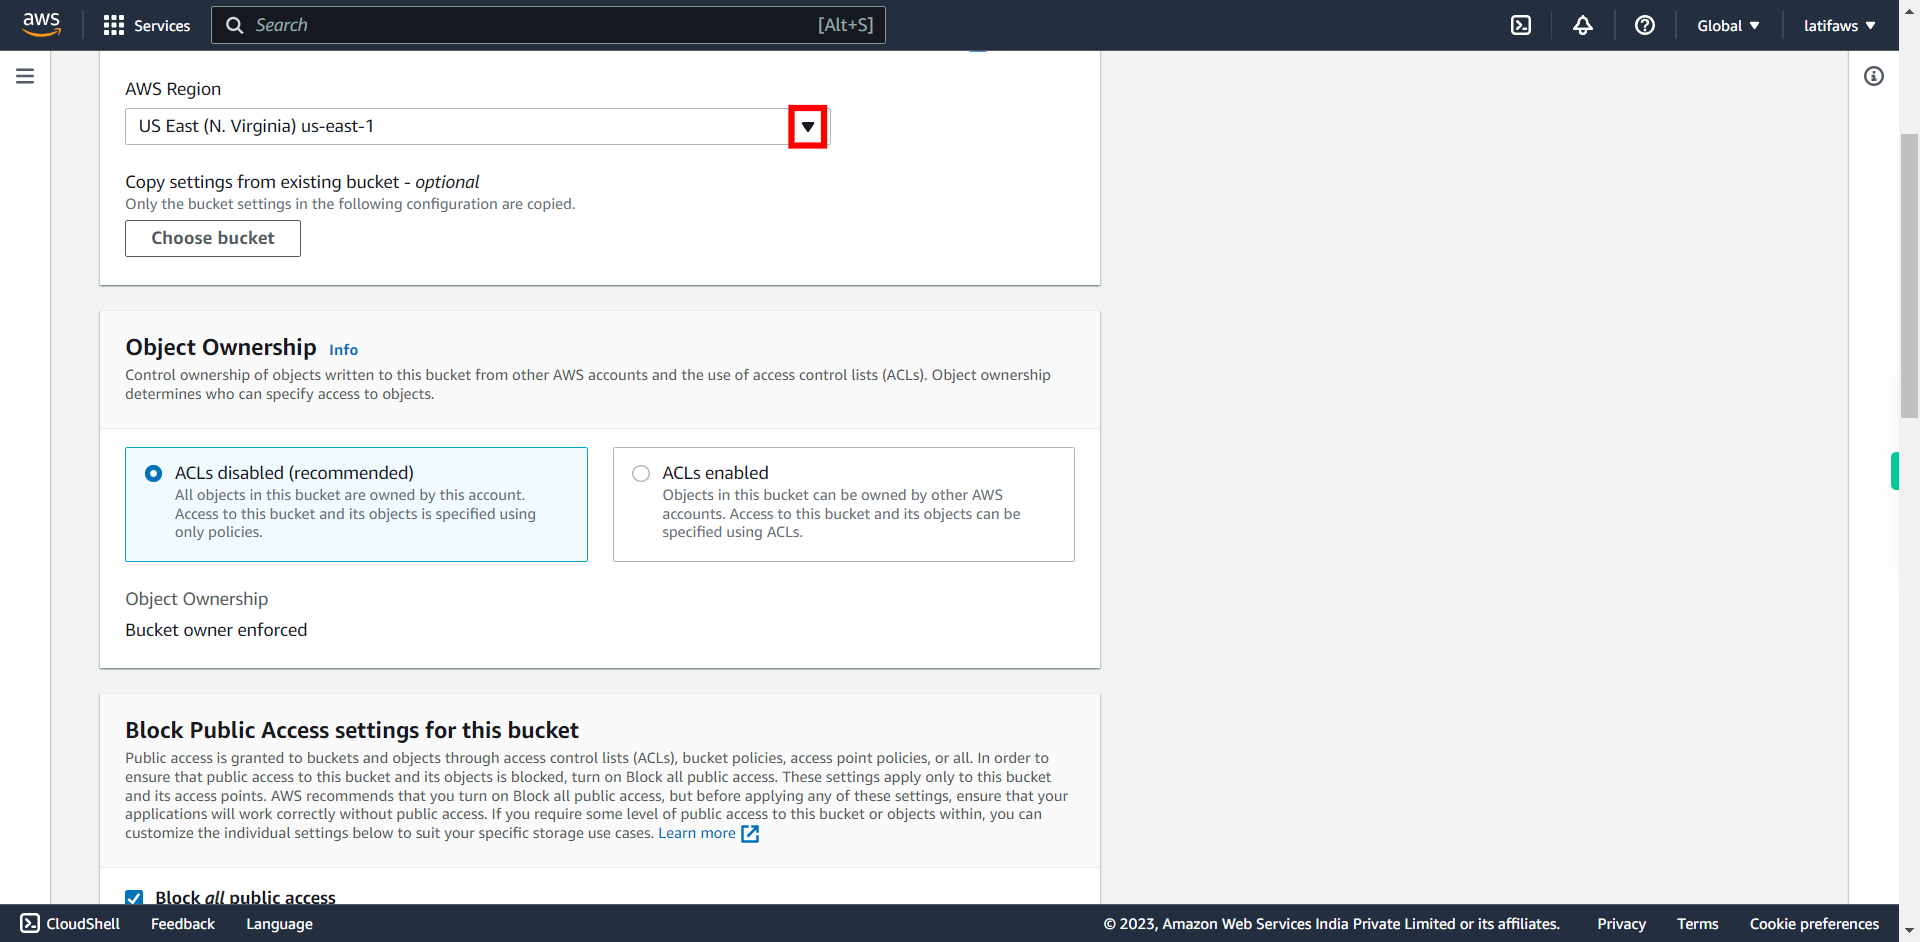
Choose the region where you want your bucket to be located and click Next to continue.
-
8.
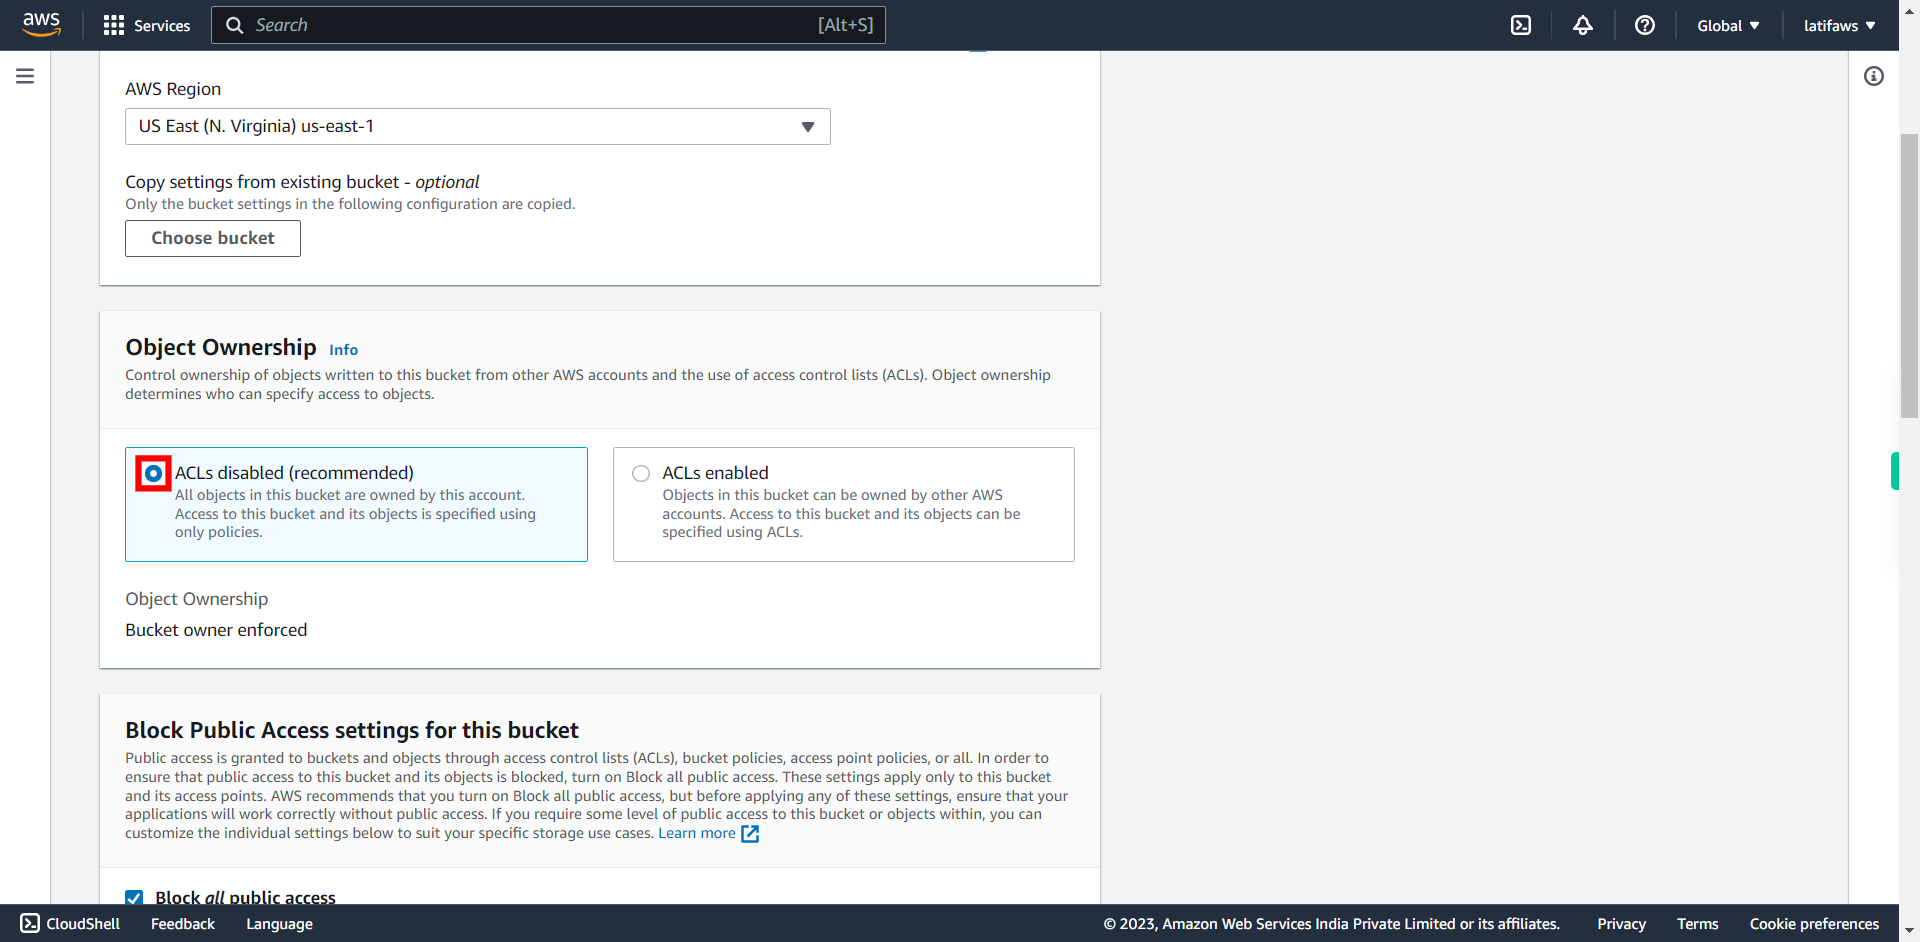
Under object ownership choose "ACL Disabled" and click Next to continue. We choose this as the website to be accessed by the public rather than user-based permissions.
-
9.
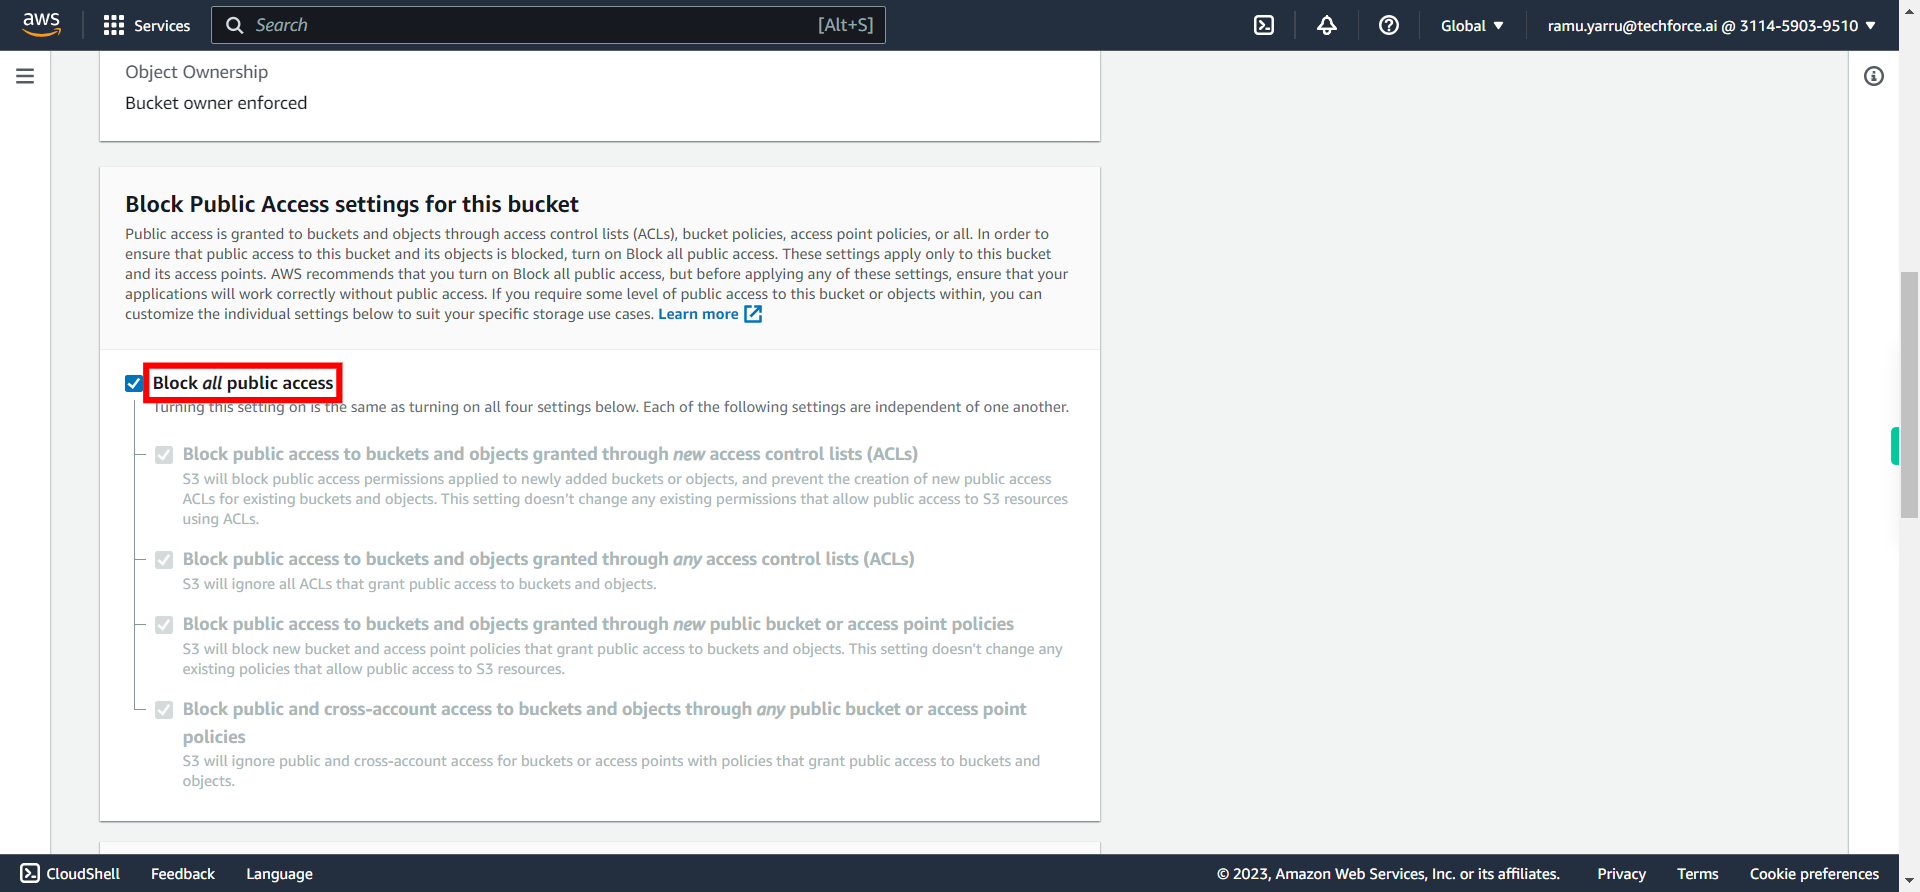
Uncheck the "Block all public access" option and click Next to continue. ## Note If you want your website to be publicly accessible. Note that making the bucket public allows anyone to access the contents, so ensure that you have the necessary security measures in place.
-
10.
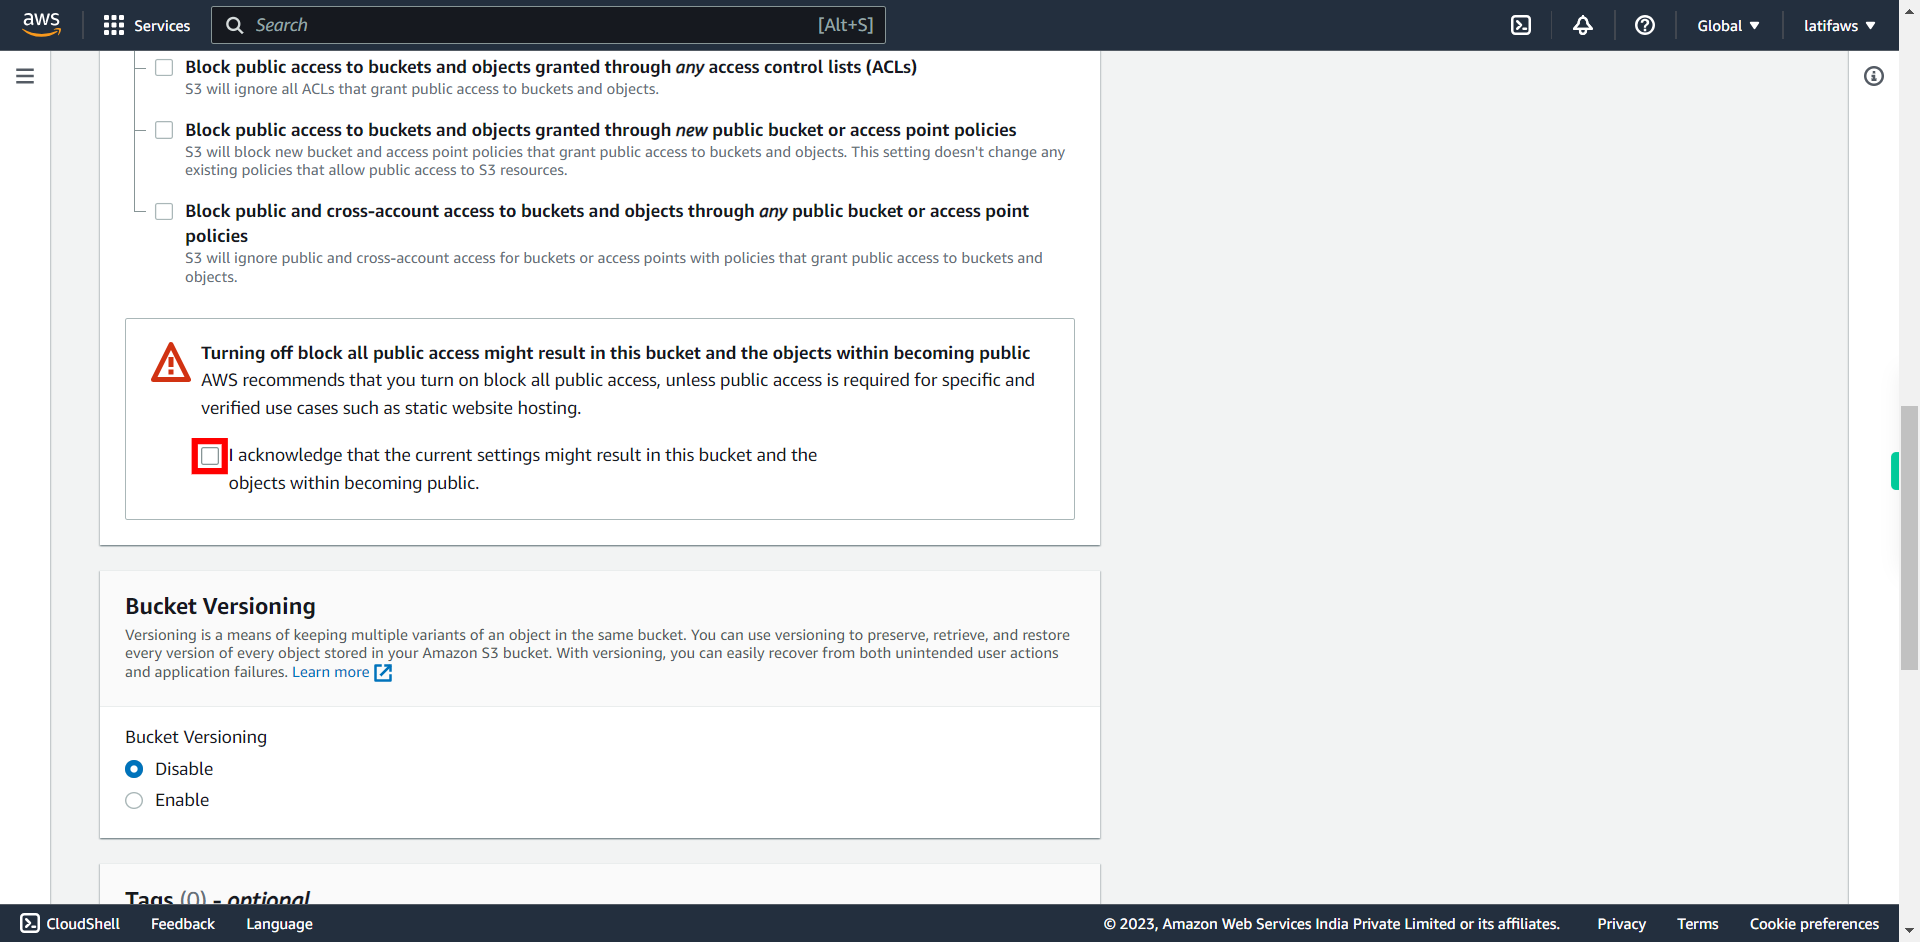
Check - I acknowledge .., and click Next to continue. This is required as we are assigning public access by unchecking previous step “Block all public access”
-
11.
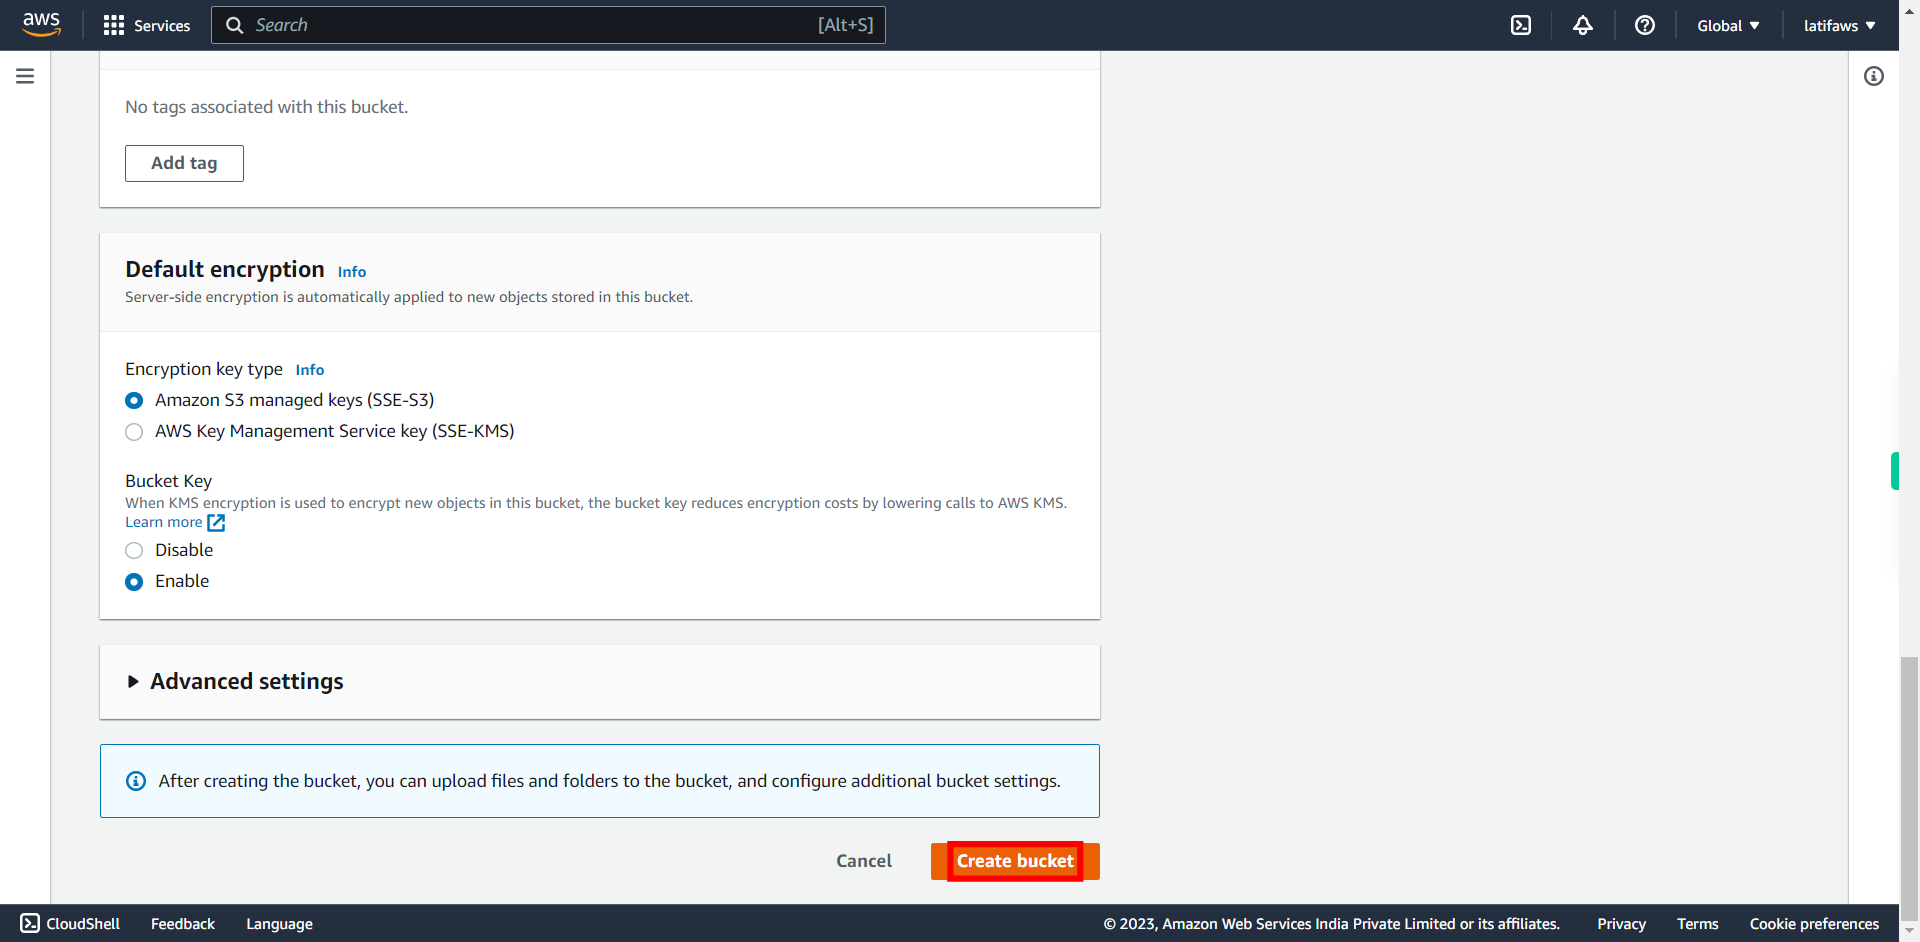
Click on the Create button to create your bucket. ## Note: Incase your bucket name shows Error after clicking "Create Bucket" . Change the Bucket Name and Click "Create Bucket"
-
12.
Now the bucket is ready. To upload the static web pages to your bucket: **Press Next first and Open your Bucket**
-
13.
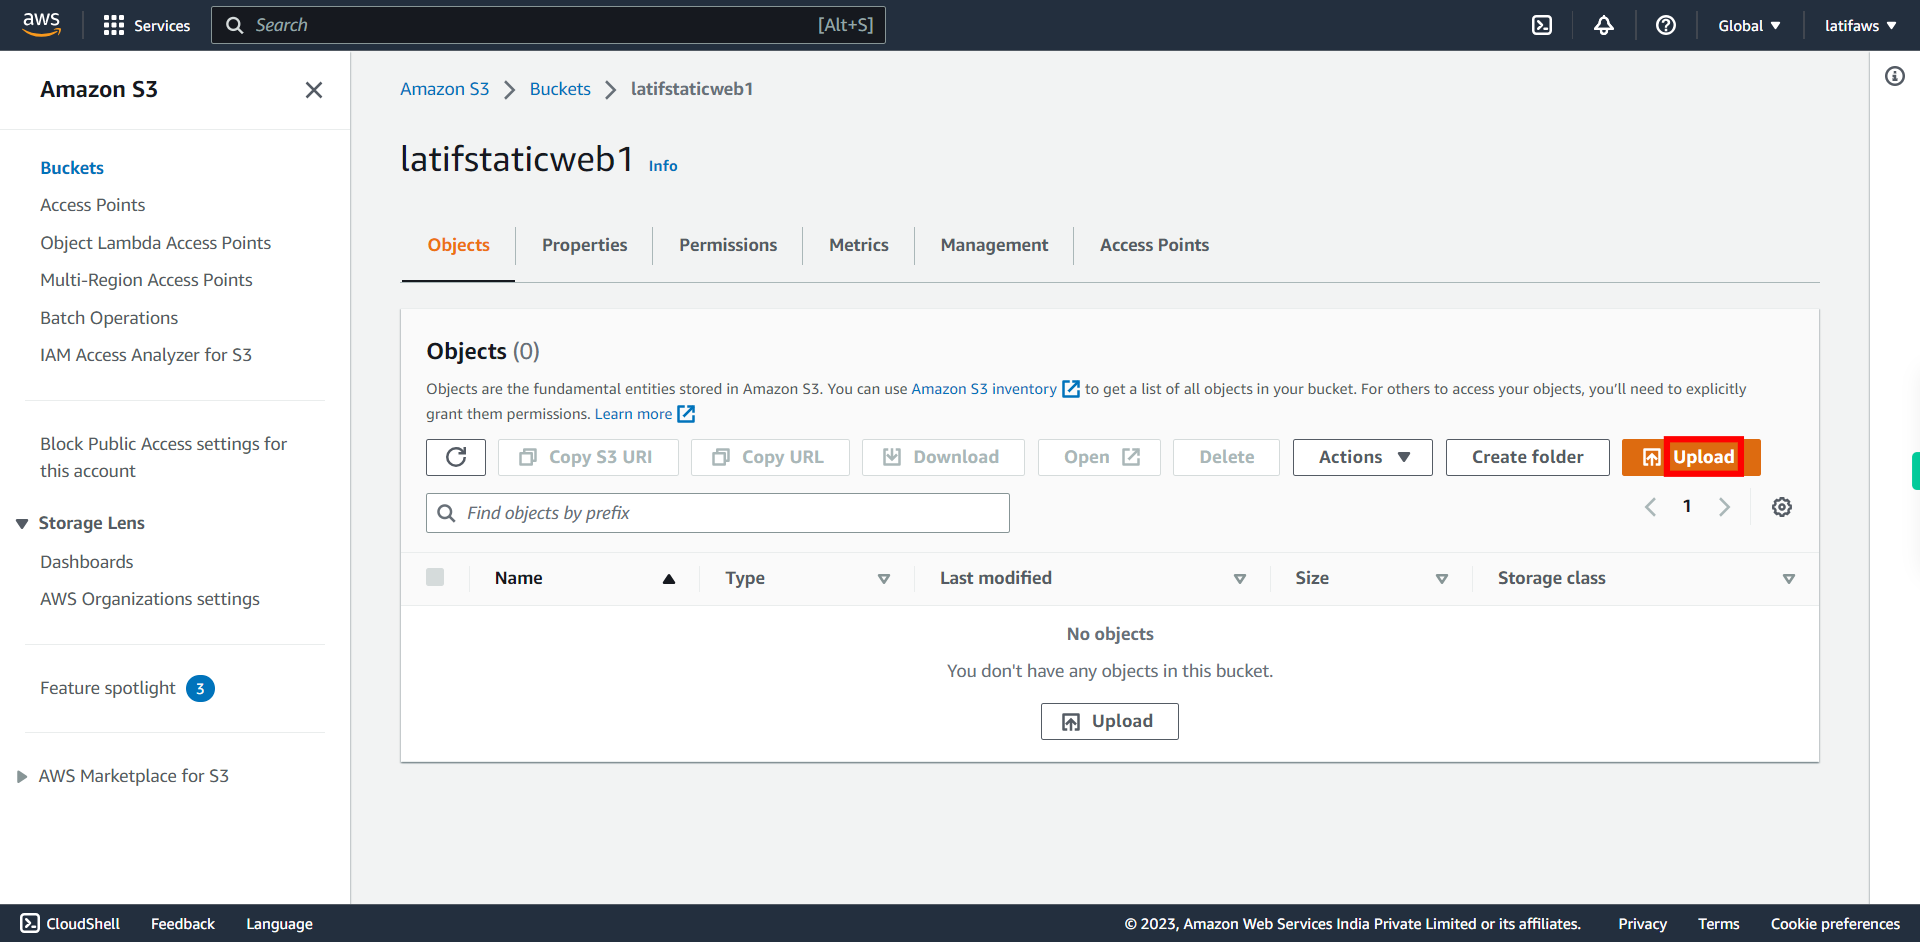
Click “Upload”. Make sure you already have static web pages in your local PC. You can download sample [index.html](https://digitamize-my.sharepoint.com/:u:/g/personal/ramu_supervity_ai/EeHbFFo8-o5Kik3rdzLtF44Bs6C8Xme31jRKW0jwMkb53g?e=S4VPD8) and [error.html](https://digitamize-my.sharepoint.com/:u:/g/personal/ramu_supervity_ai/EfTOb31xVfVPuvIc_-Bw71ABpImH-OuV1-QWHX_RUAmdoQ?e=9sFBTO) files for your testing.
-
14.
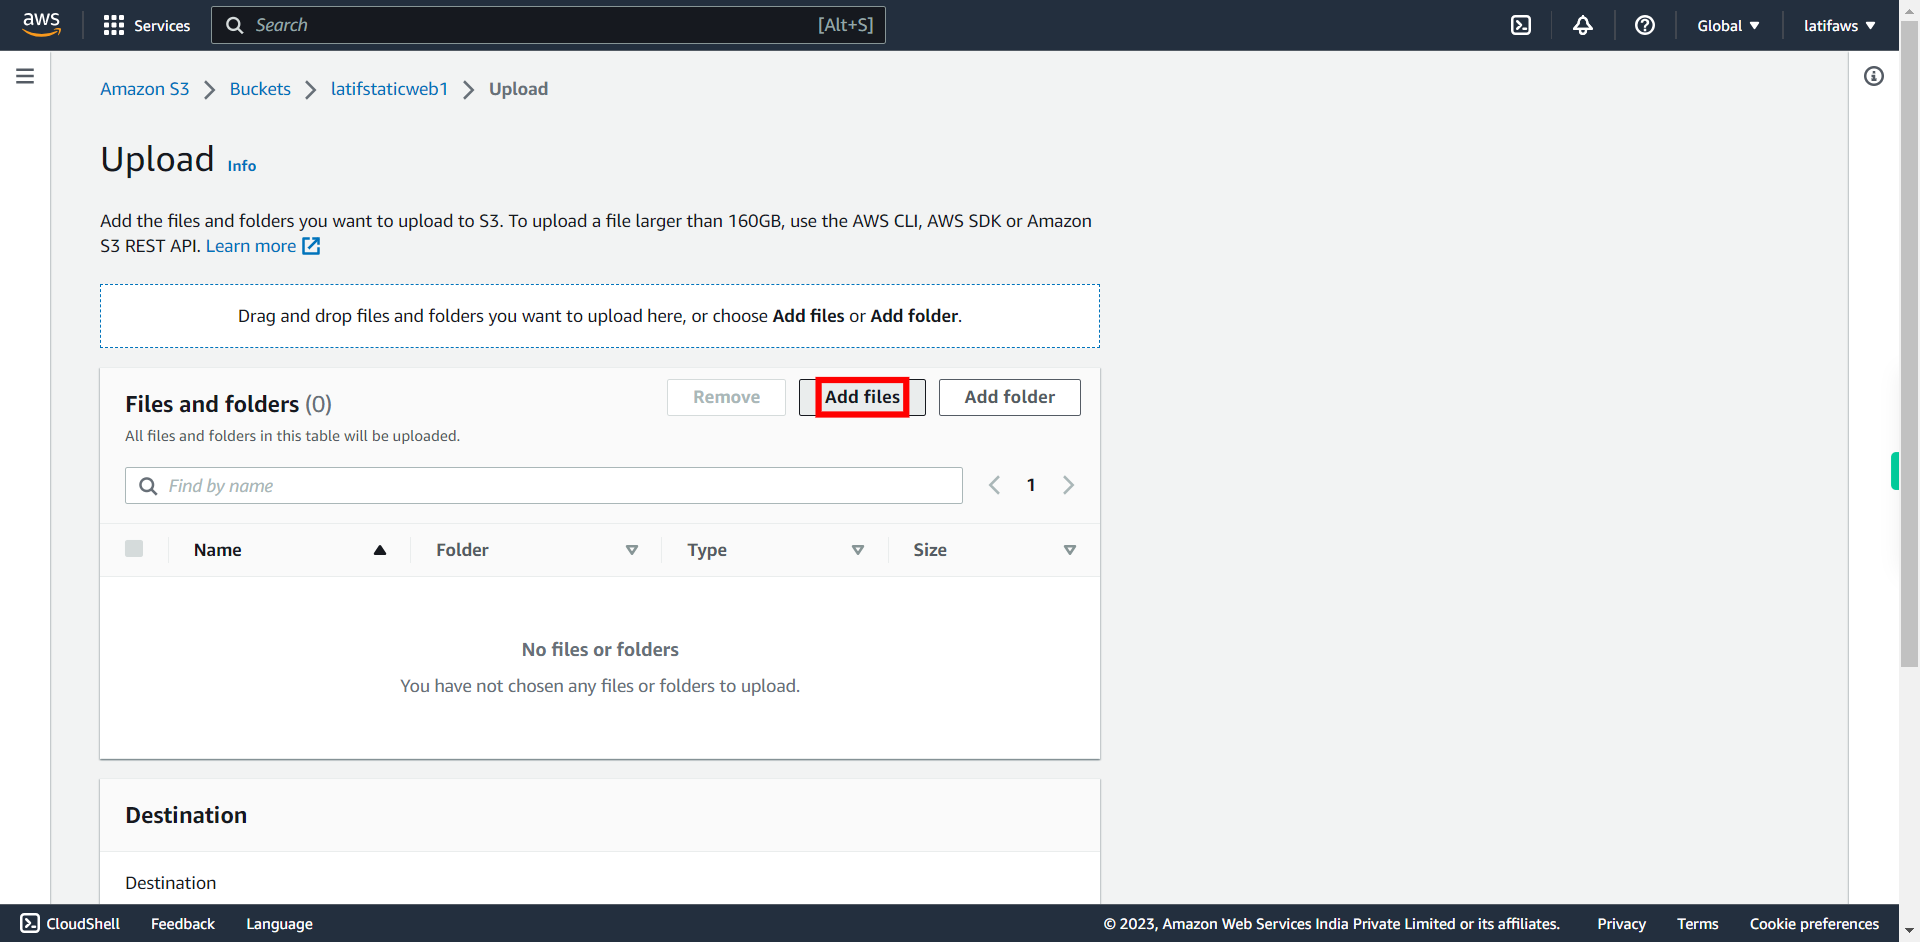
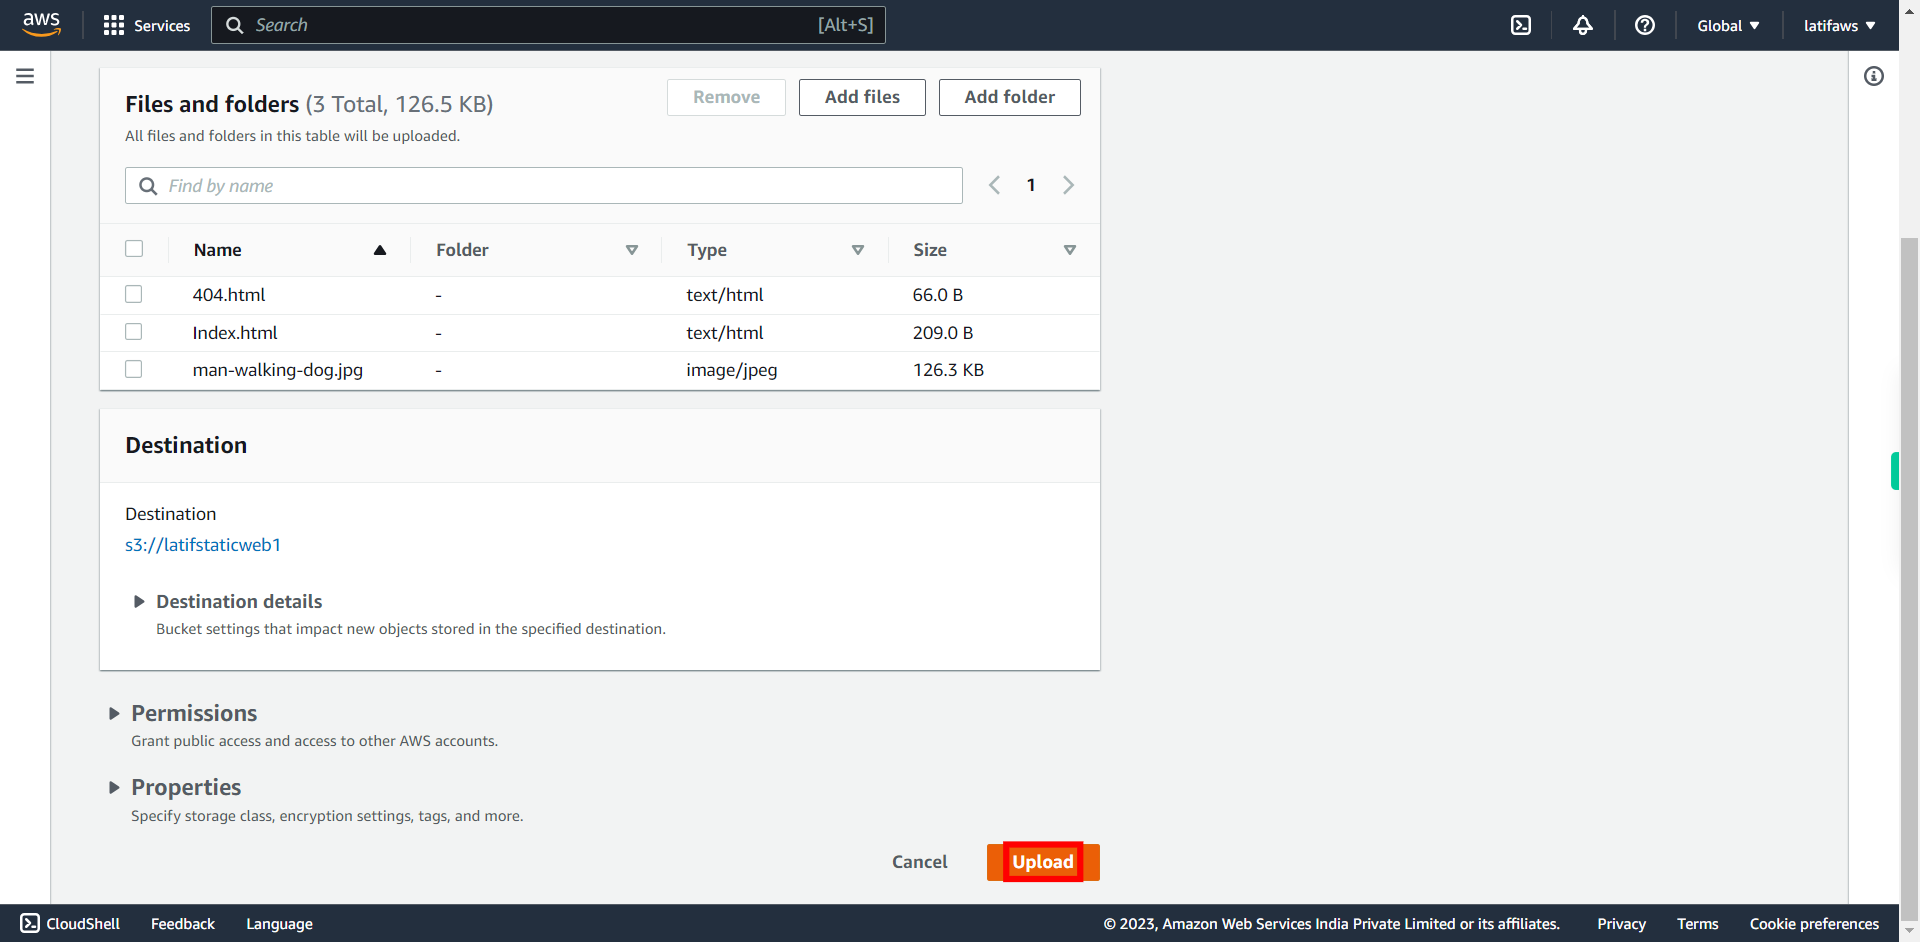
Click “Add files”, Search and select your files(index.html and error.html web pages) in the Local PC, Click Open. Once done, click Next to continue.
-
15.
Click Upload
-
16.
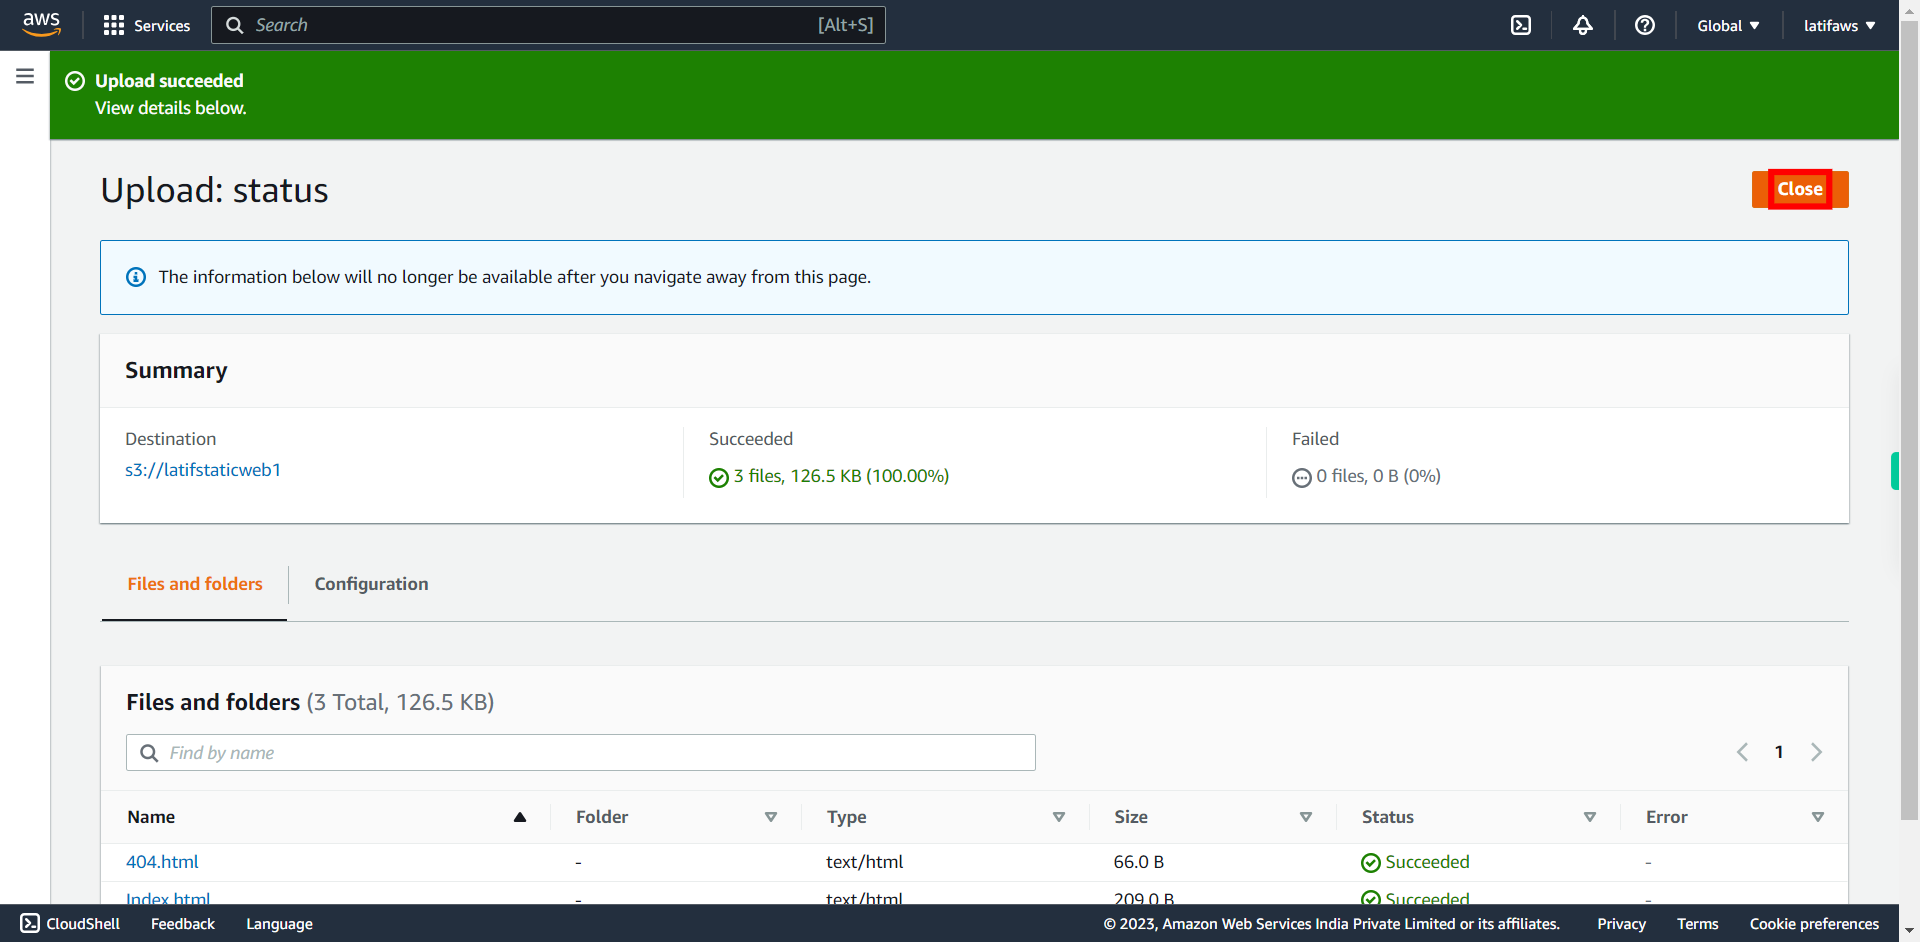
Wait for the upload process to complete and Click “Close”
-
17.
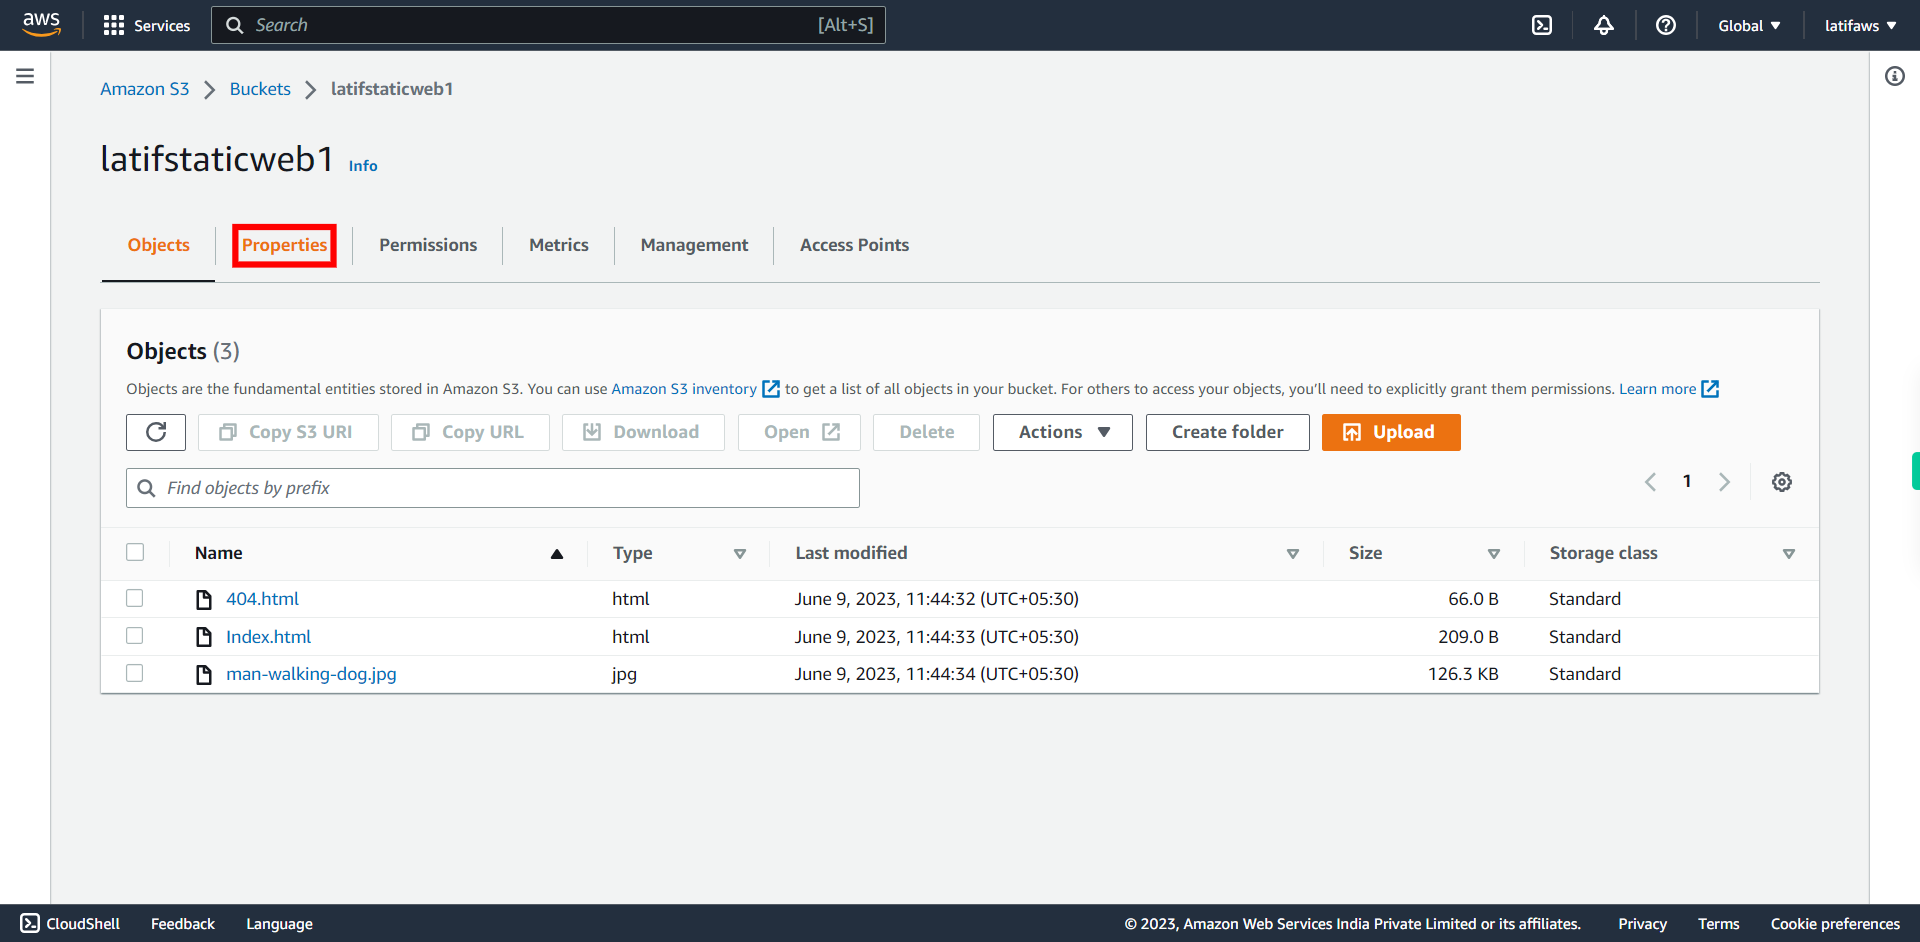
To use this bucket to host a web site, click “properties”
-
18.
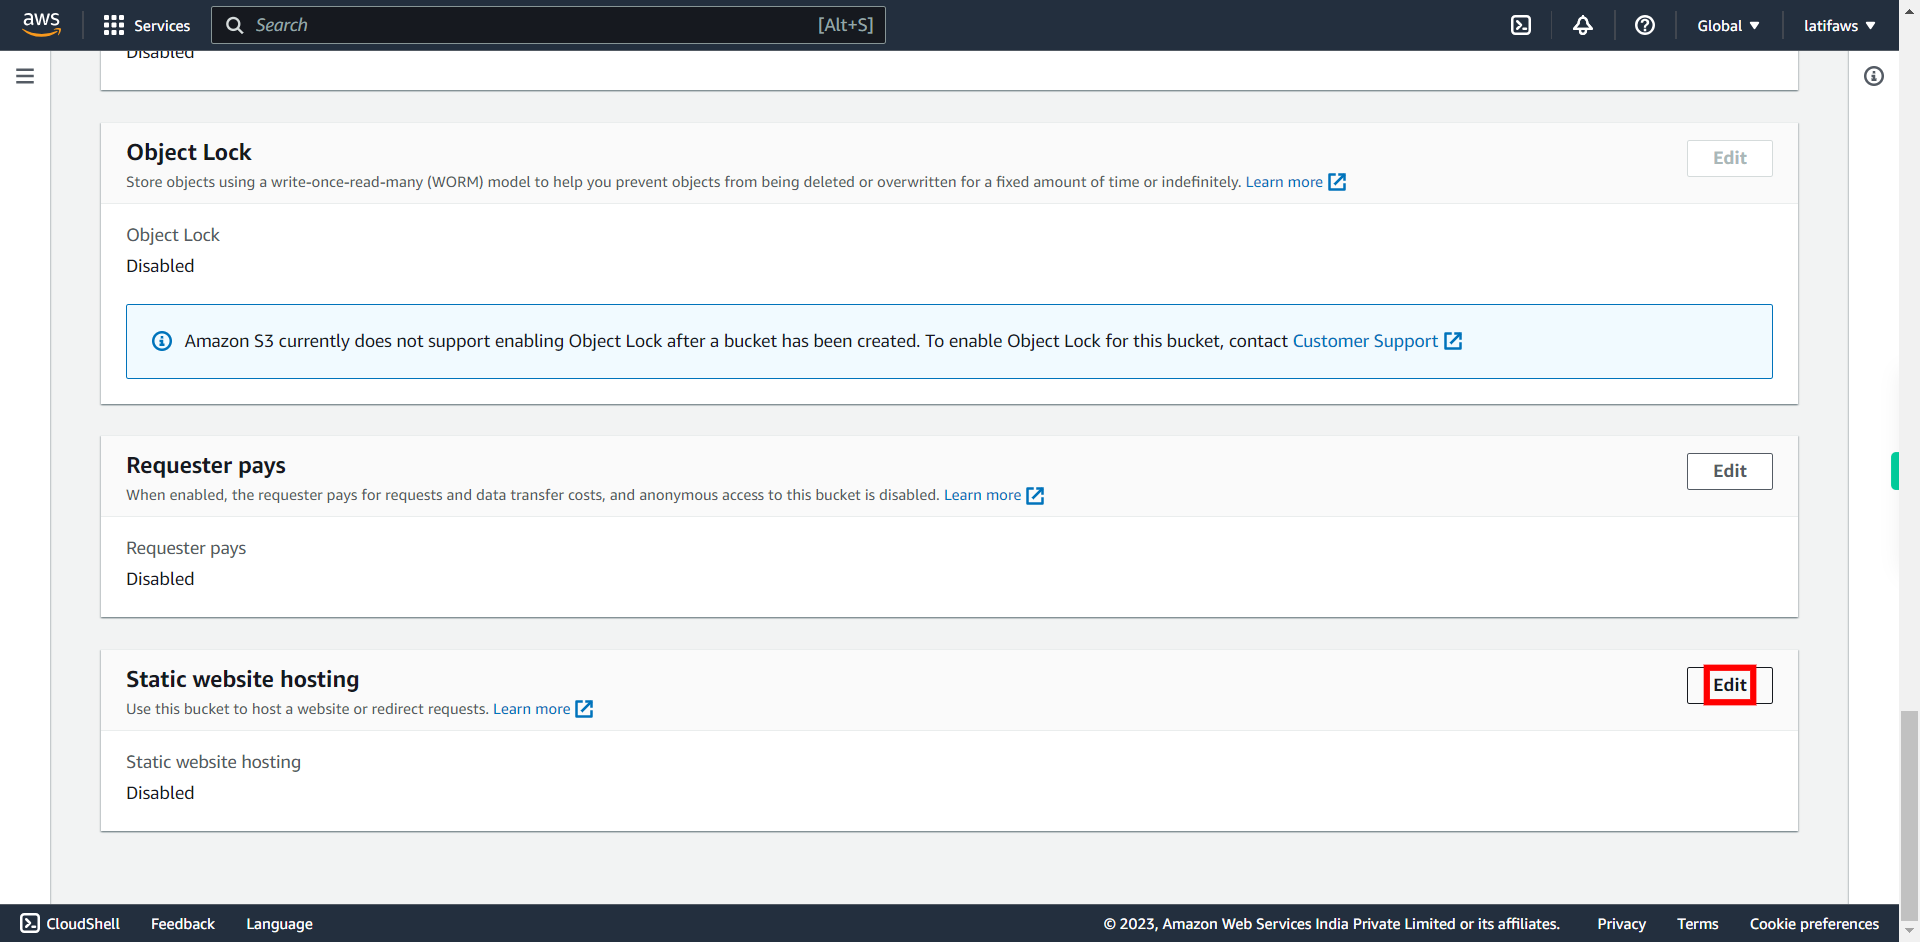
Click Edit under "Static website hosting"
-
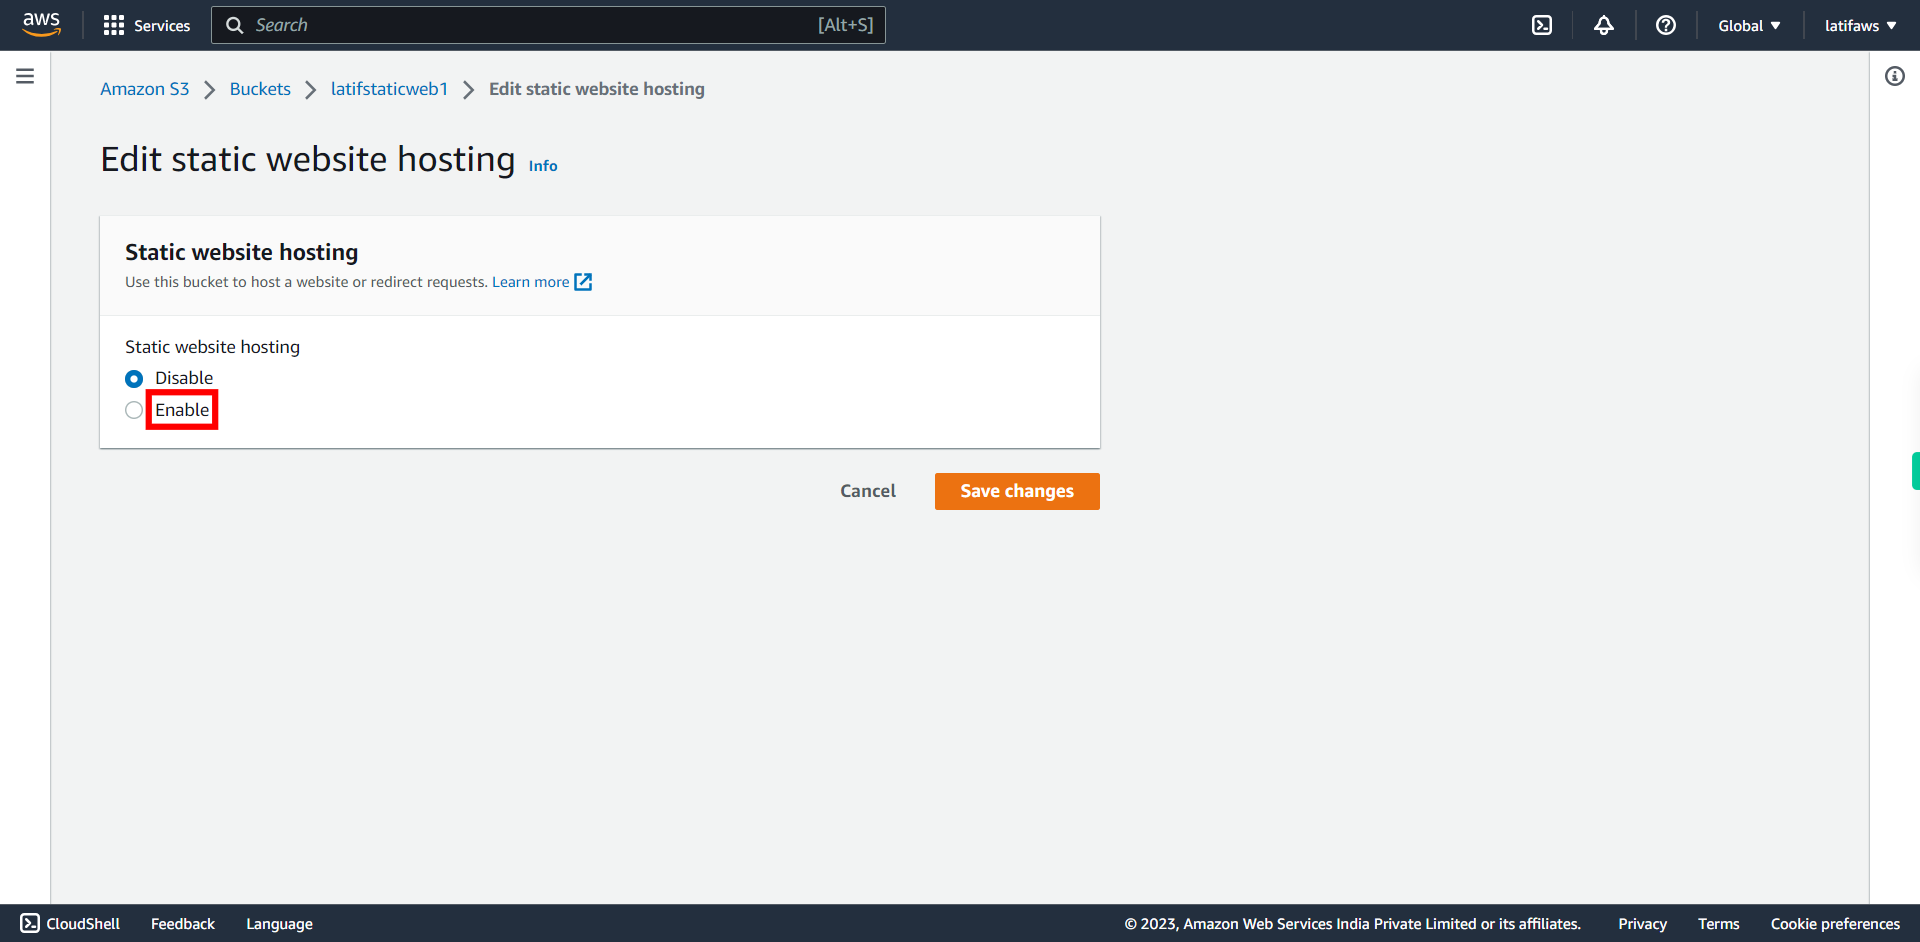
19.
To Enabling Static Web Hosting, Choose "Enable" and click Next to continue.
-
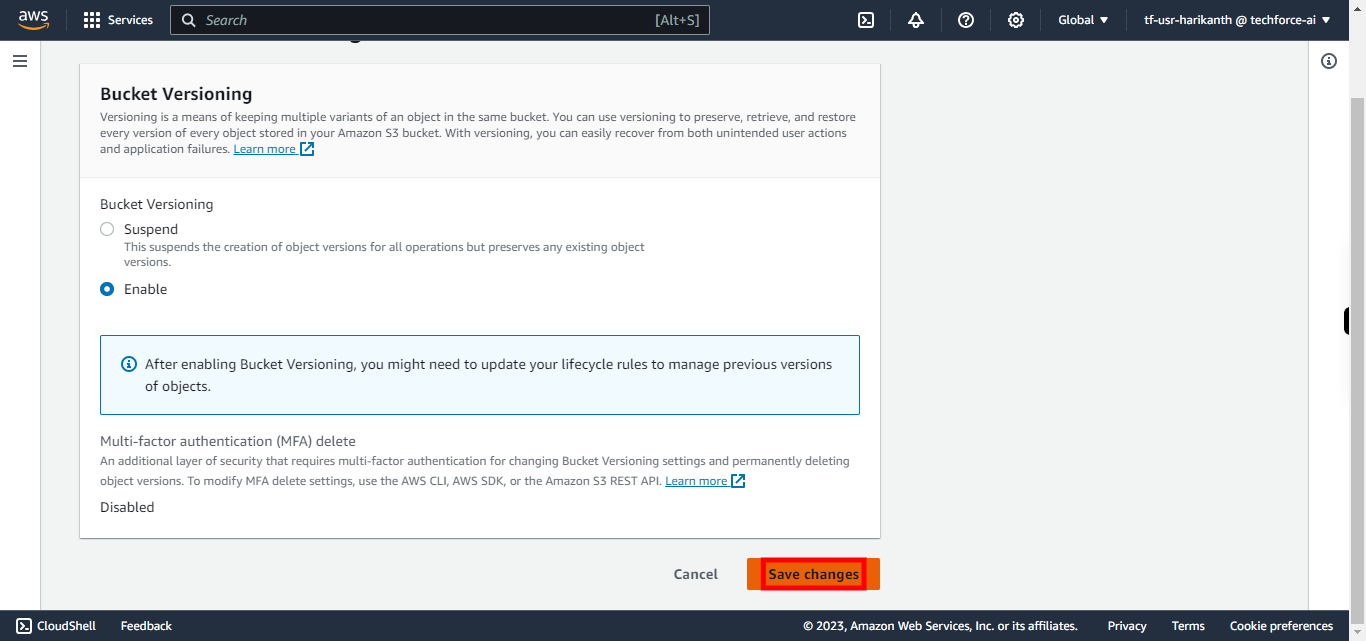
20.
Click Save changes
-
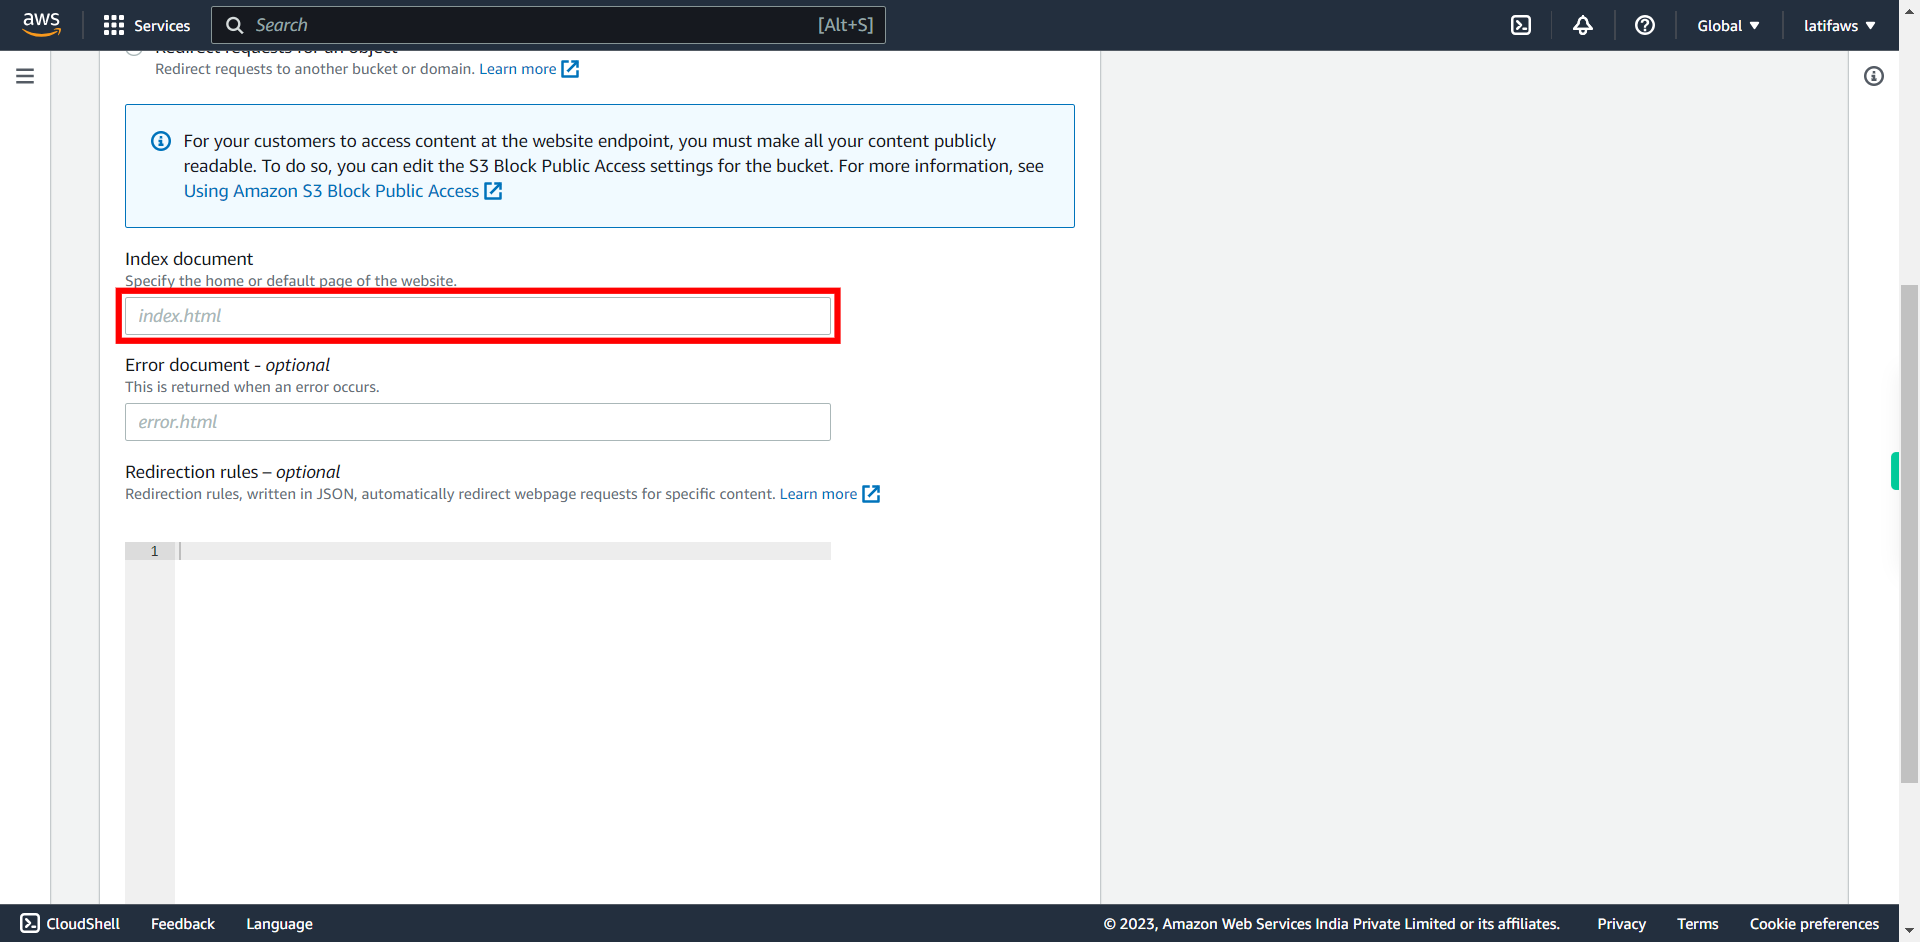
21.
Specify an index document that is already uploaded in your bucket and click Next to continue. Note: File names are Case Sensitive.
-
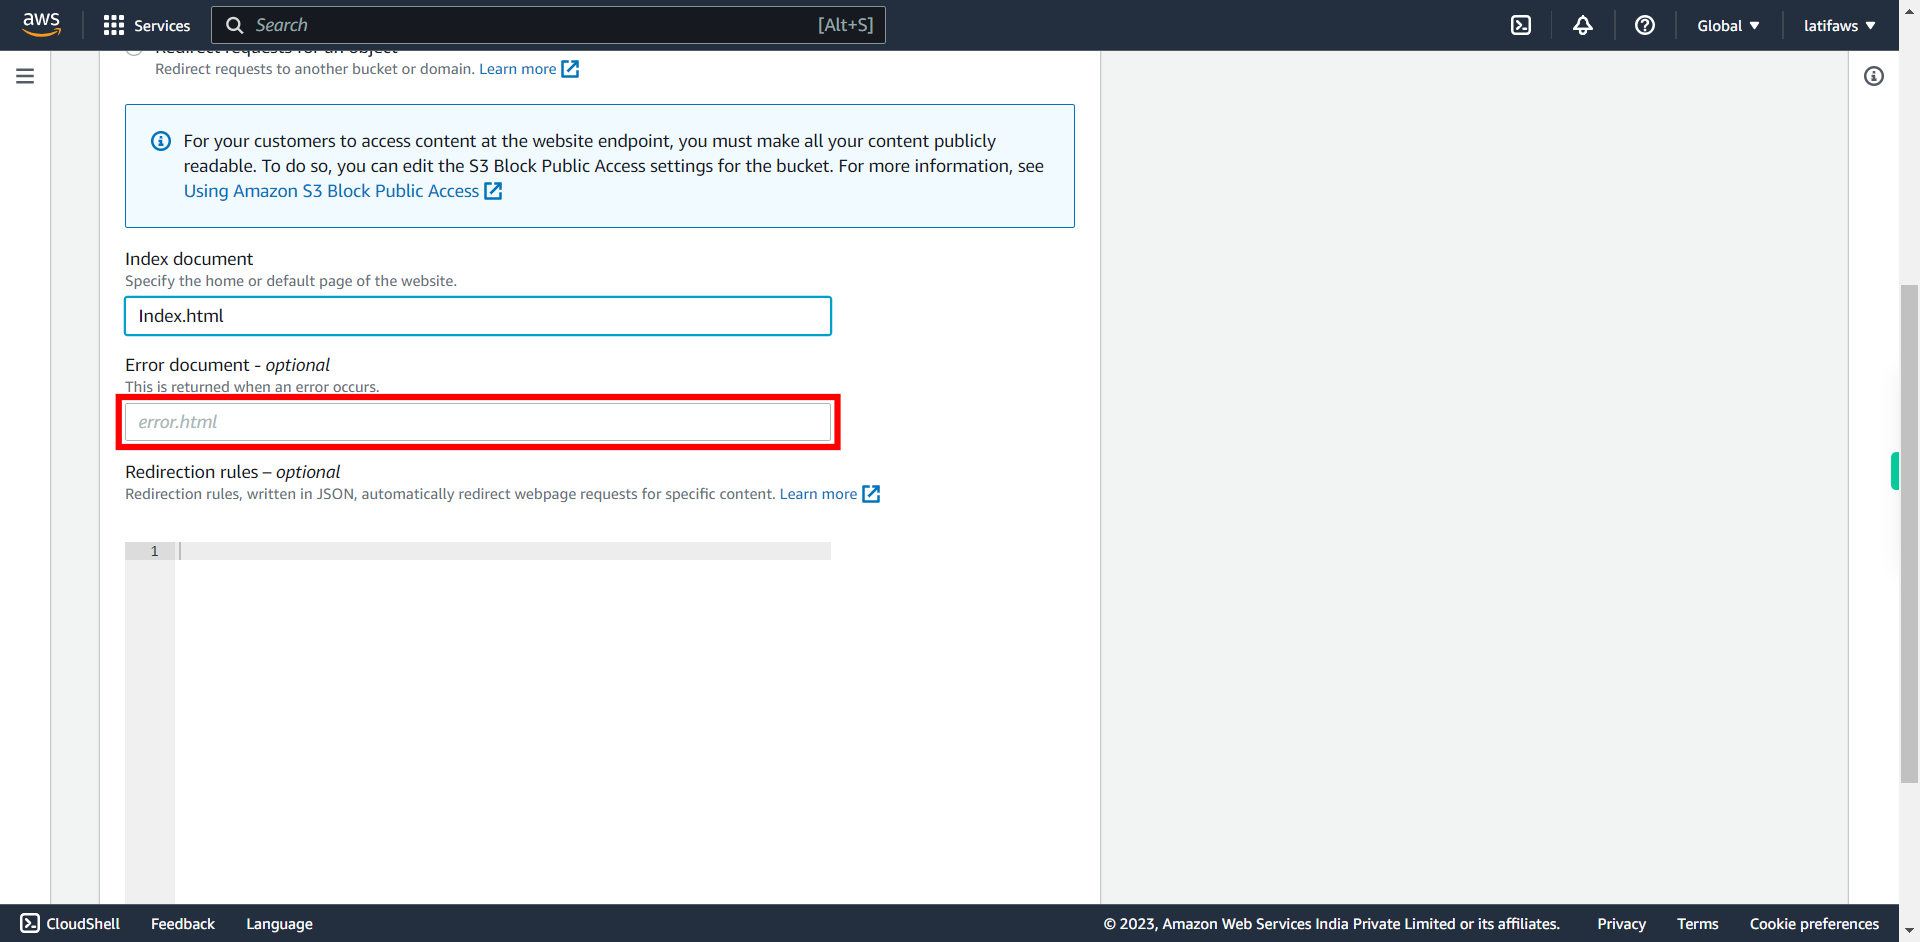
22.
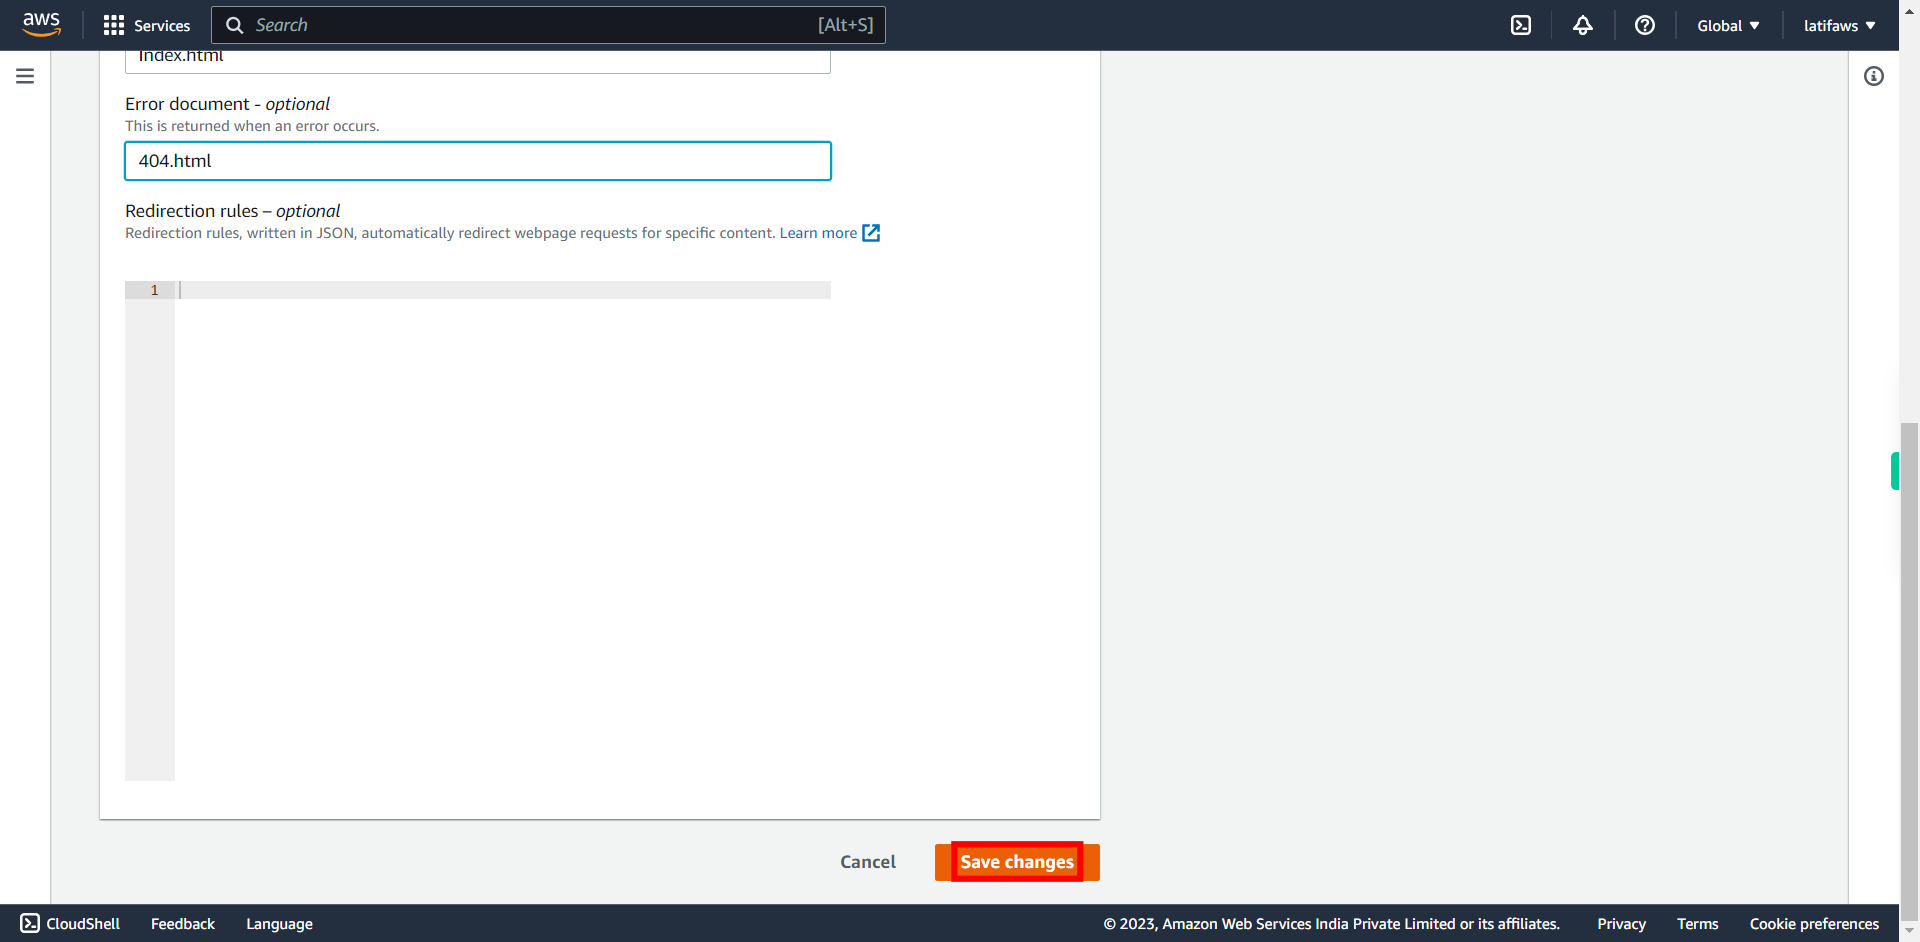
Specify an Error document (Optional) and click Next to continue.
-
23.
Click "Save changes"
-
24.
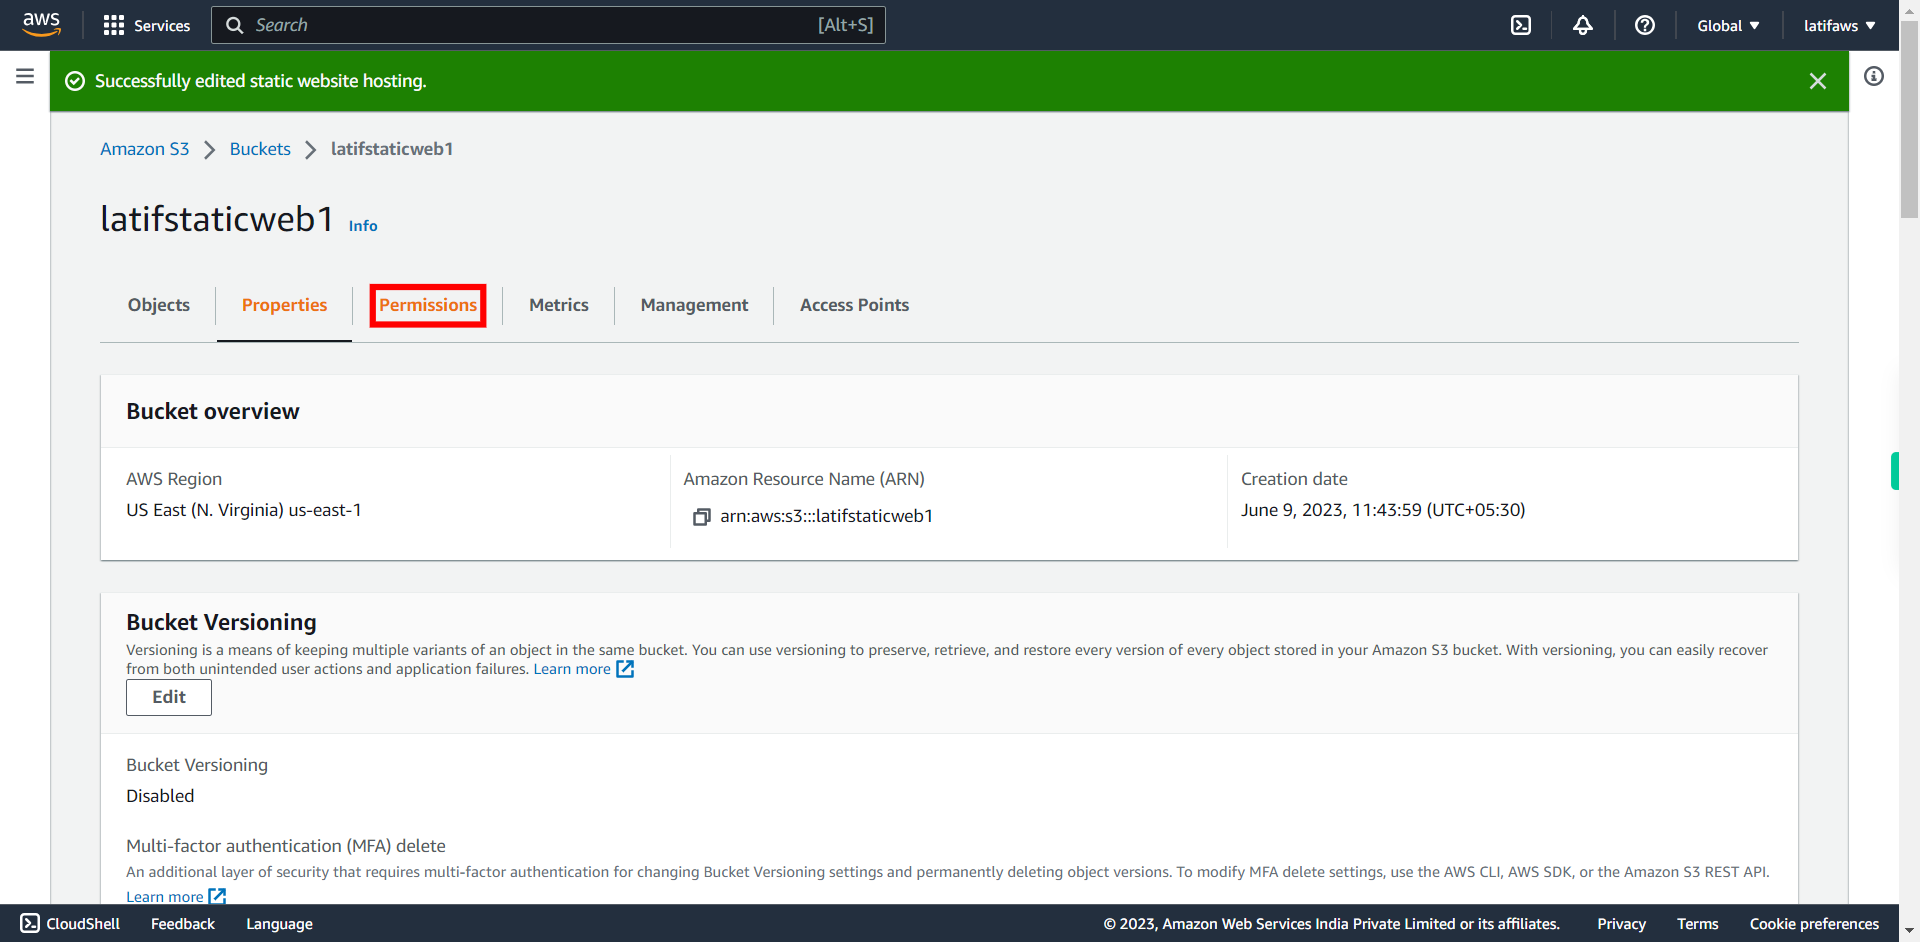
To Add Bucket Policy: Click “Permissions” ## Note: An AWS S3 bucket policy is an authorization tool to restrict or grant access to resources in a S3 bucket. It is defined in JSON format and can be used to secure access to objects in your buckets so that only users with the appropriate permissions can access them. You can even prevent authenticated users without the appropriate permissions from accessing your Amazon S3 resources.
-
25.
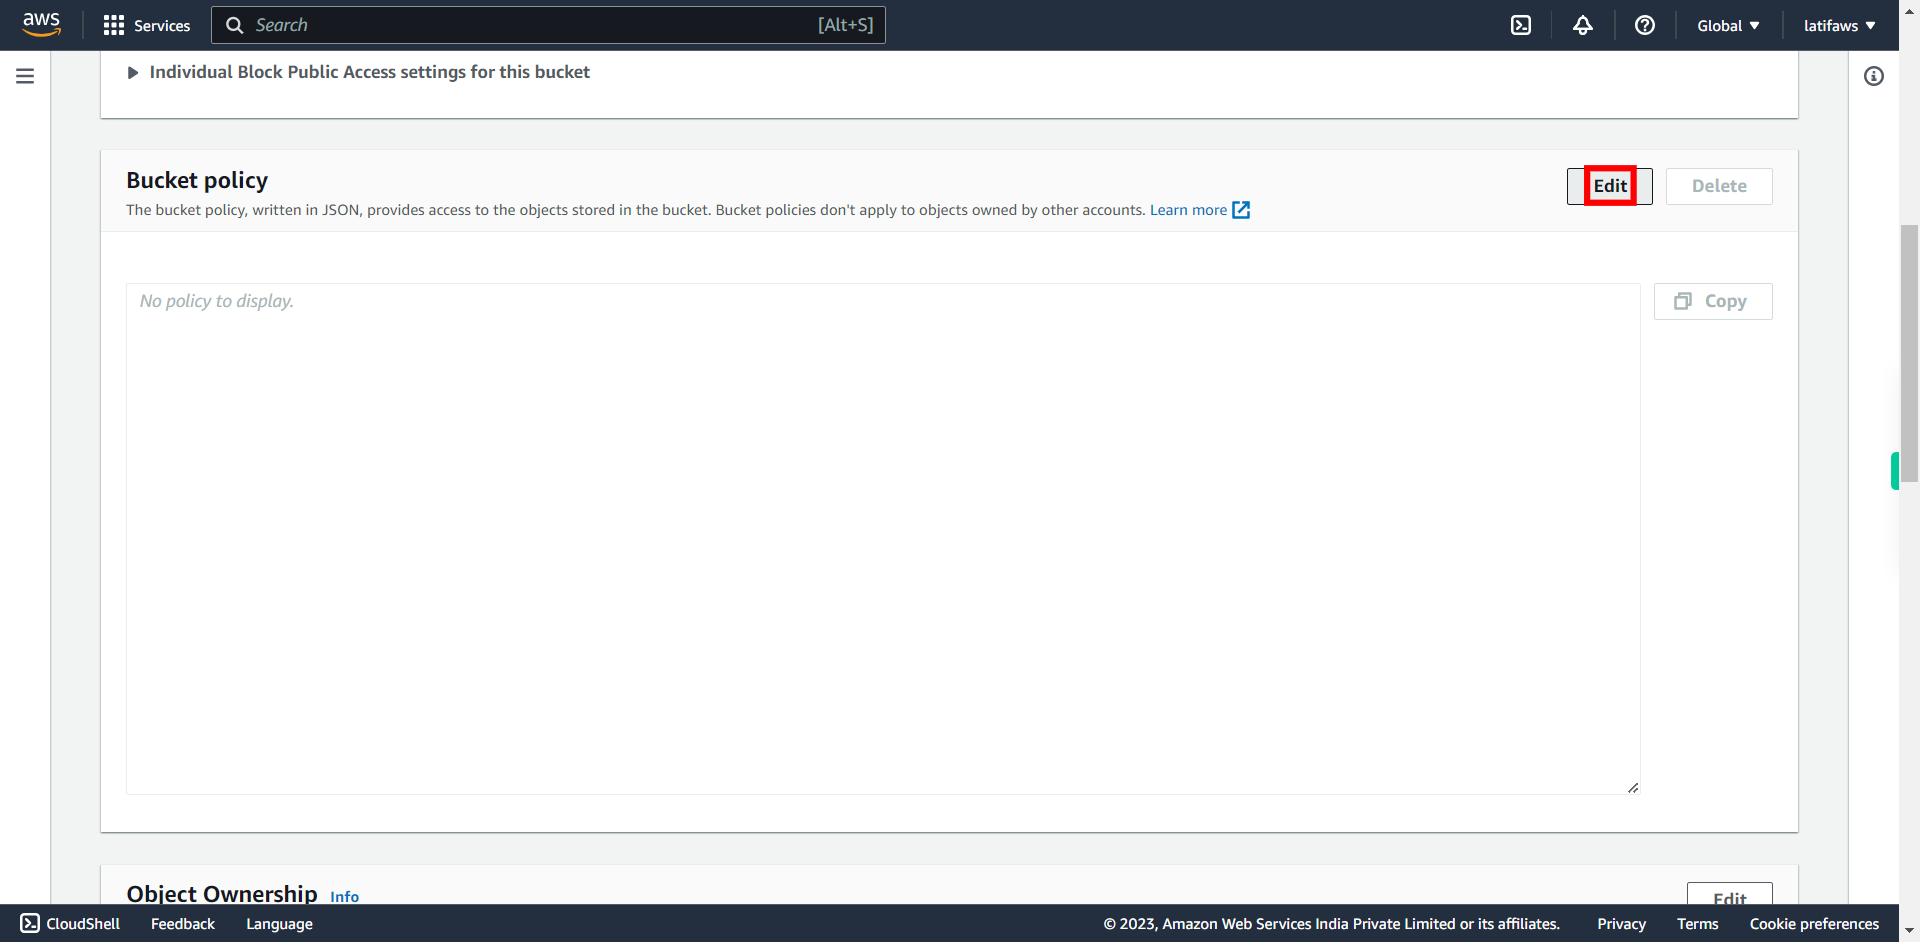
Click Edit under "Bucket policy"
-
26.
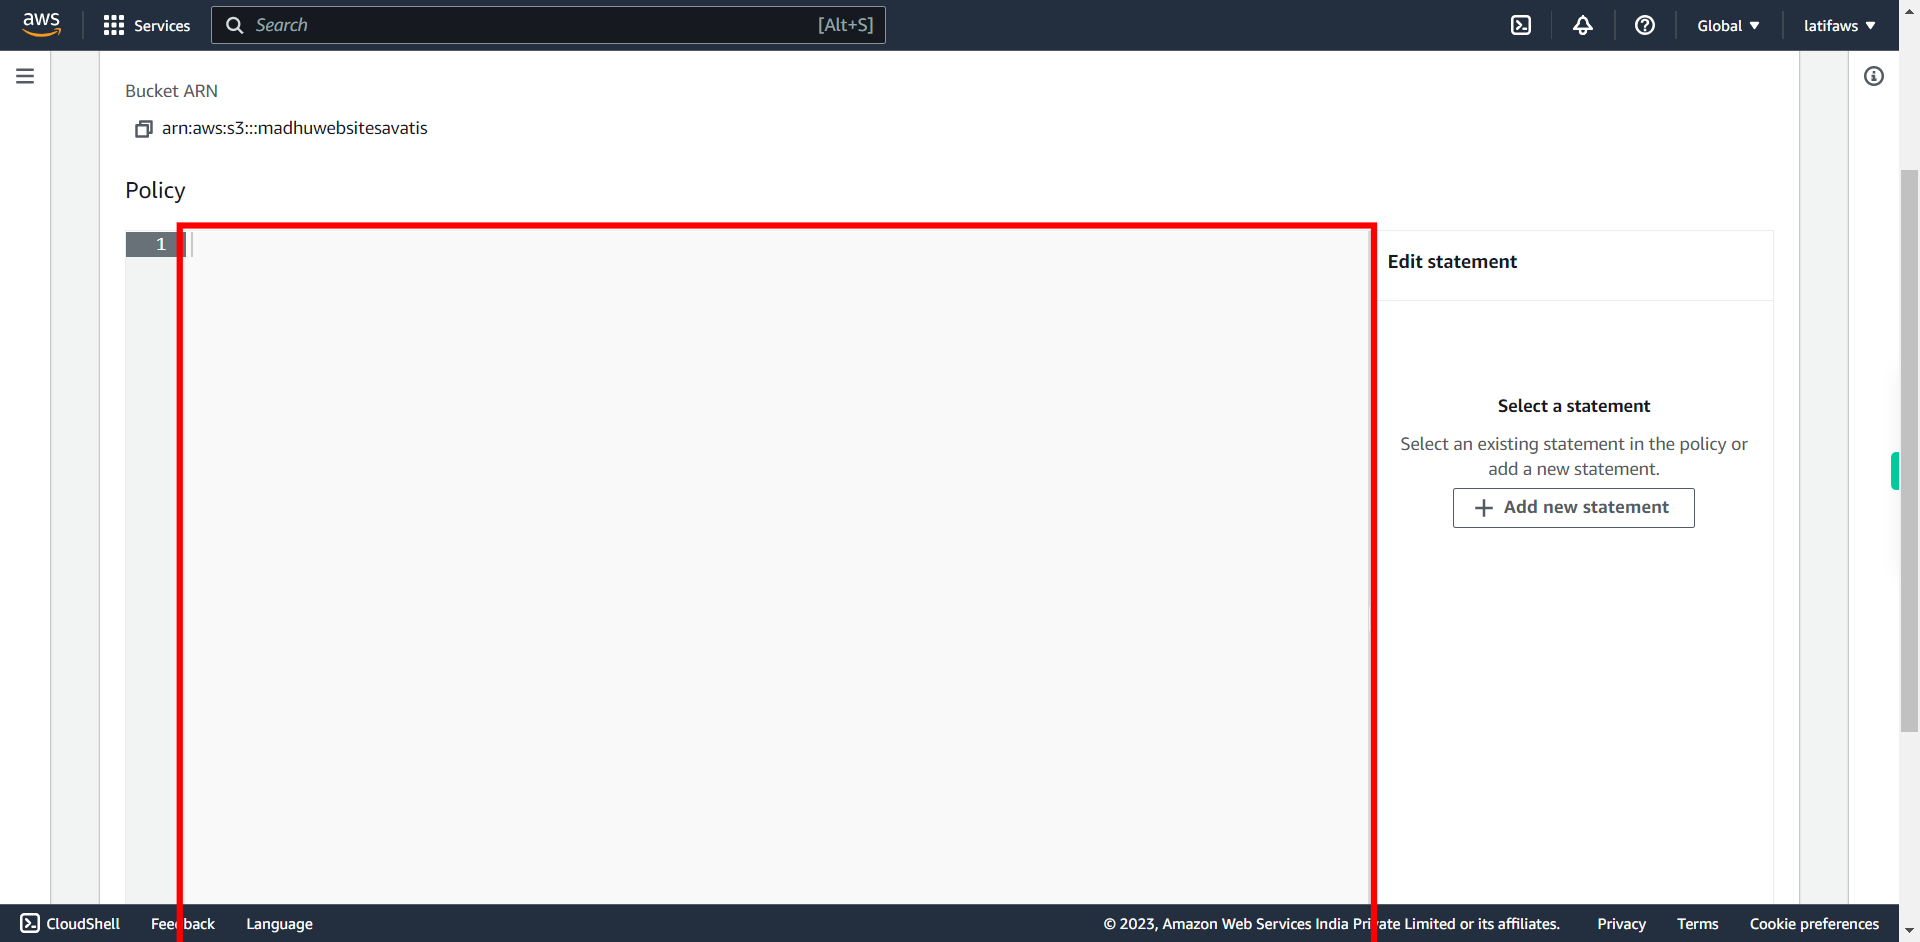
Click in the Policy BOX and click Next to continue.
-
27.
Copy the below Script and paste into the Policy BOX and click Next to continue. ``` { "Version": "2012-10-17", "Statement": [ { "Sid": "PublicReadGetObject", "Effect": "Allow", "Principal": "*", "Action": [ "s3:GetObject" ], "Resource": [ "arn:aws:s3:::yourbucket/*" ] } ] } ```
-
28.
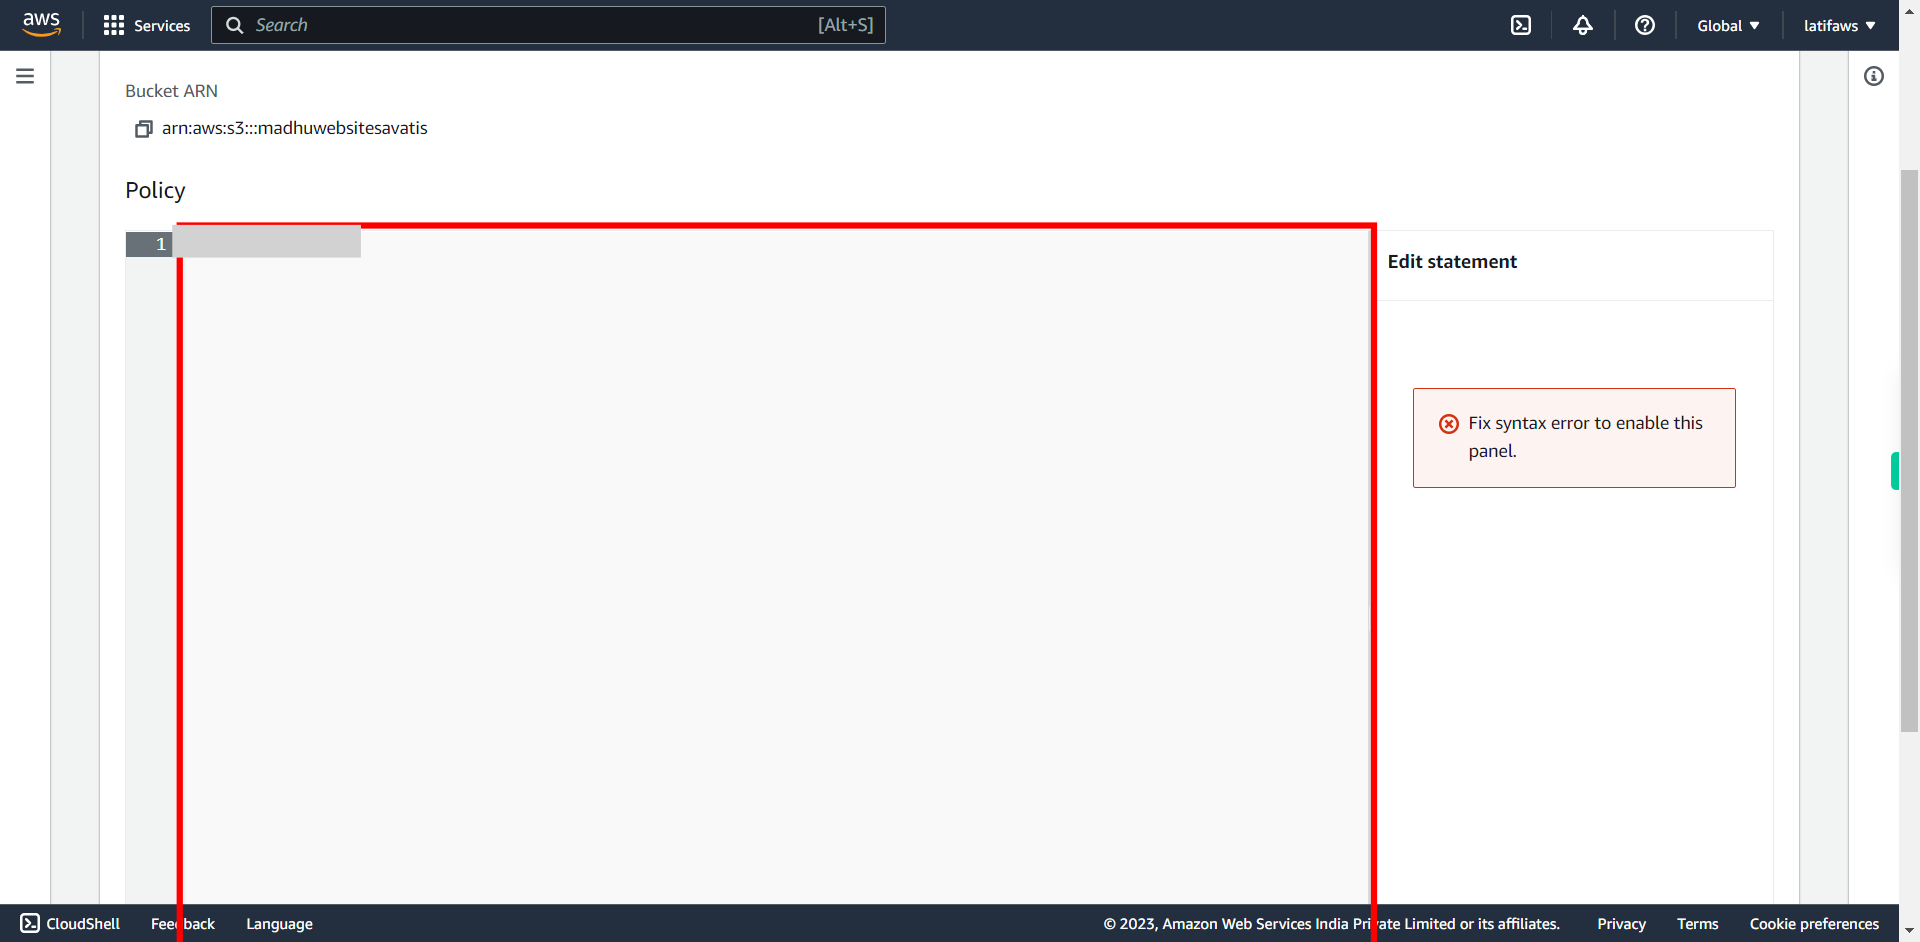
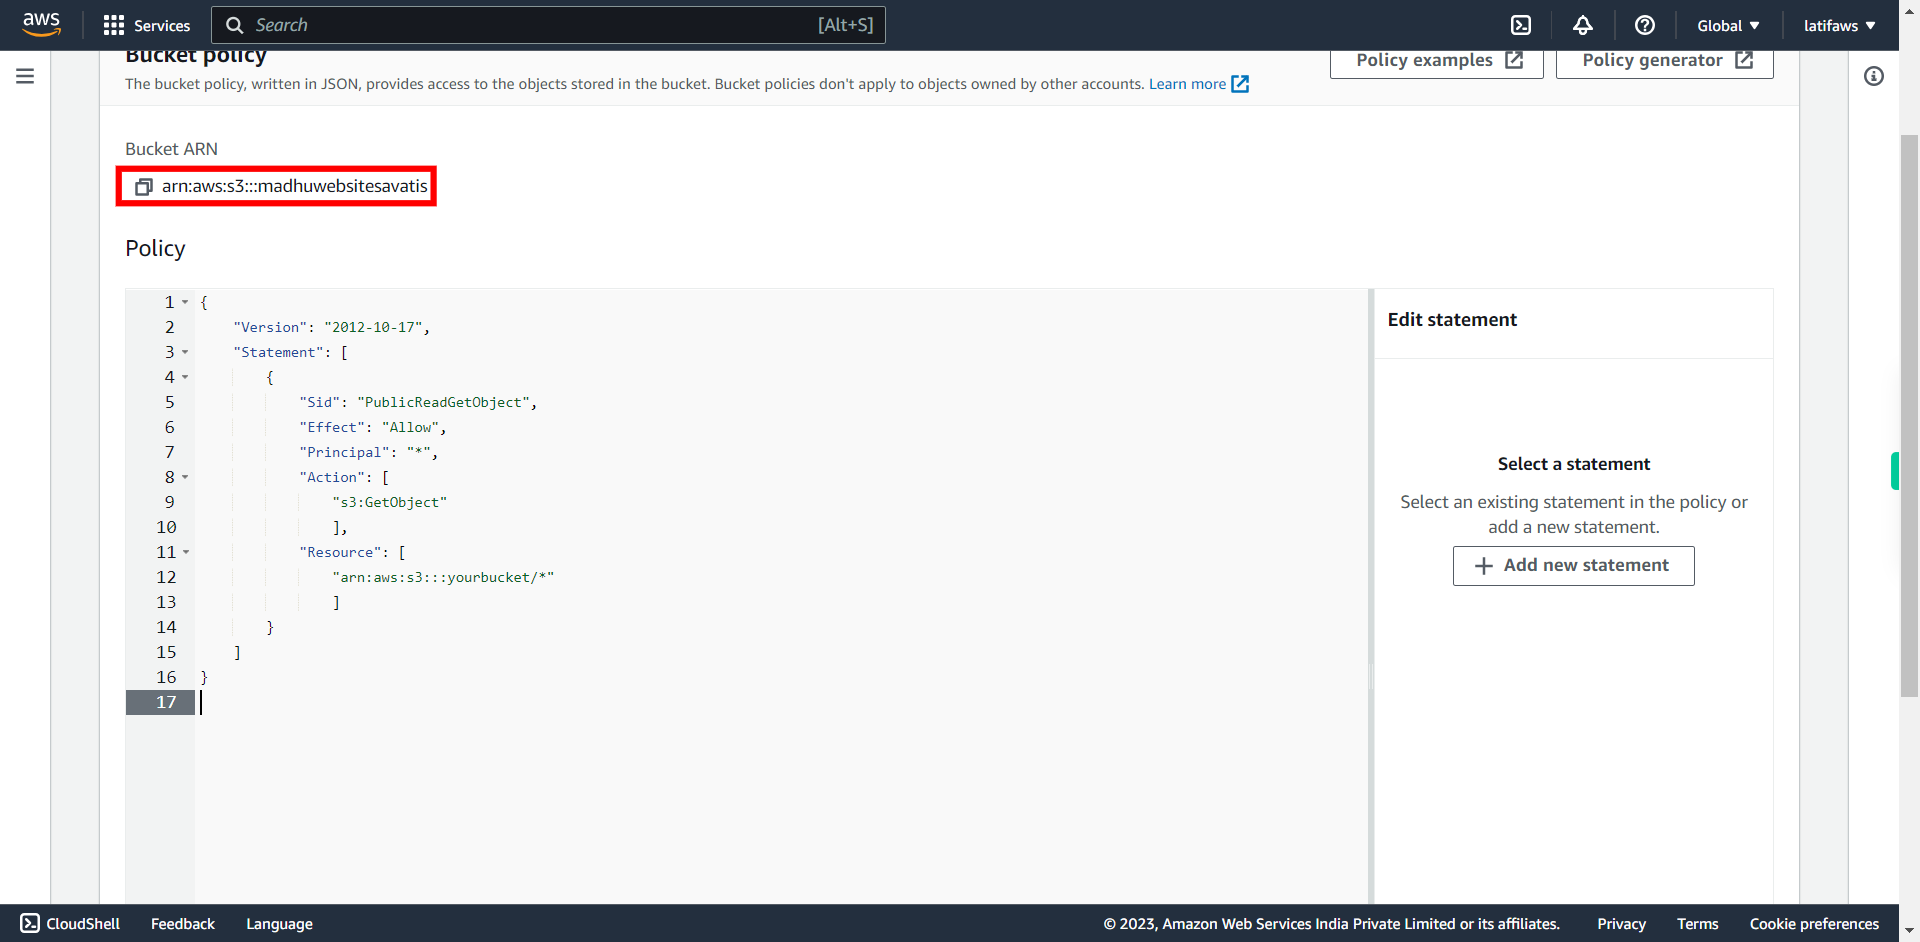
Copy the Bucket ARN and click Next to continue. Ex. arn:aws:s3:::yourbucket
-
29.
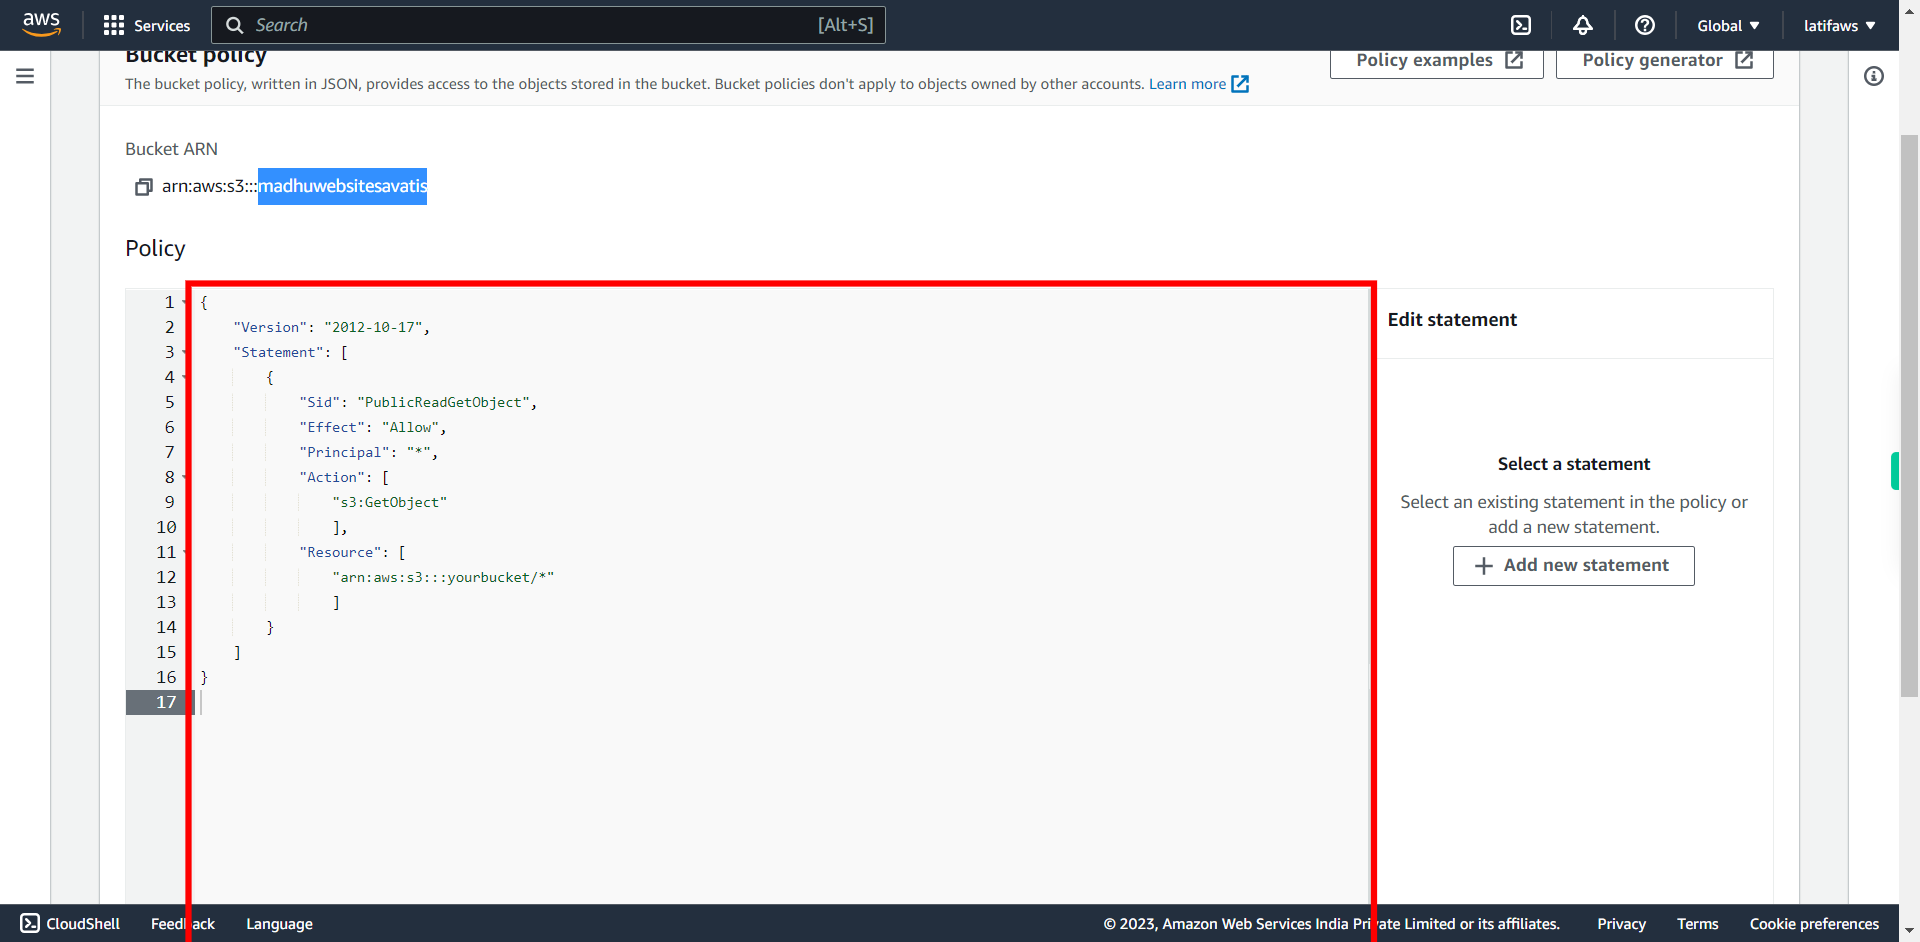
Replace Bucket ARN in the Code with your copied Bucket ARN and click Next to continue. #### Note: Do not remove the '/*' present at the end of the line. Just replace ARN only
-
30.
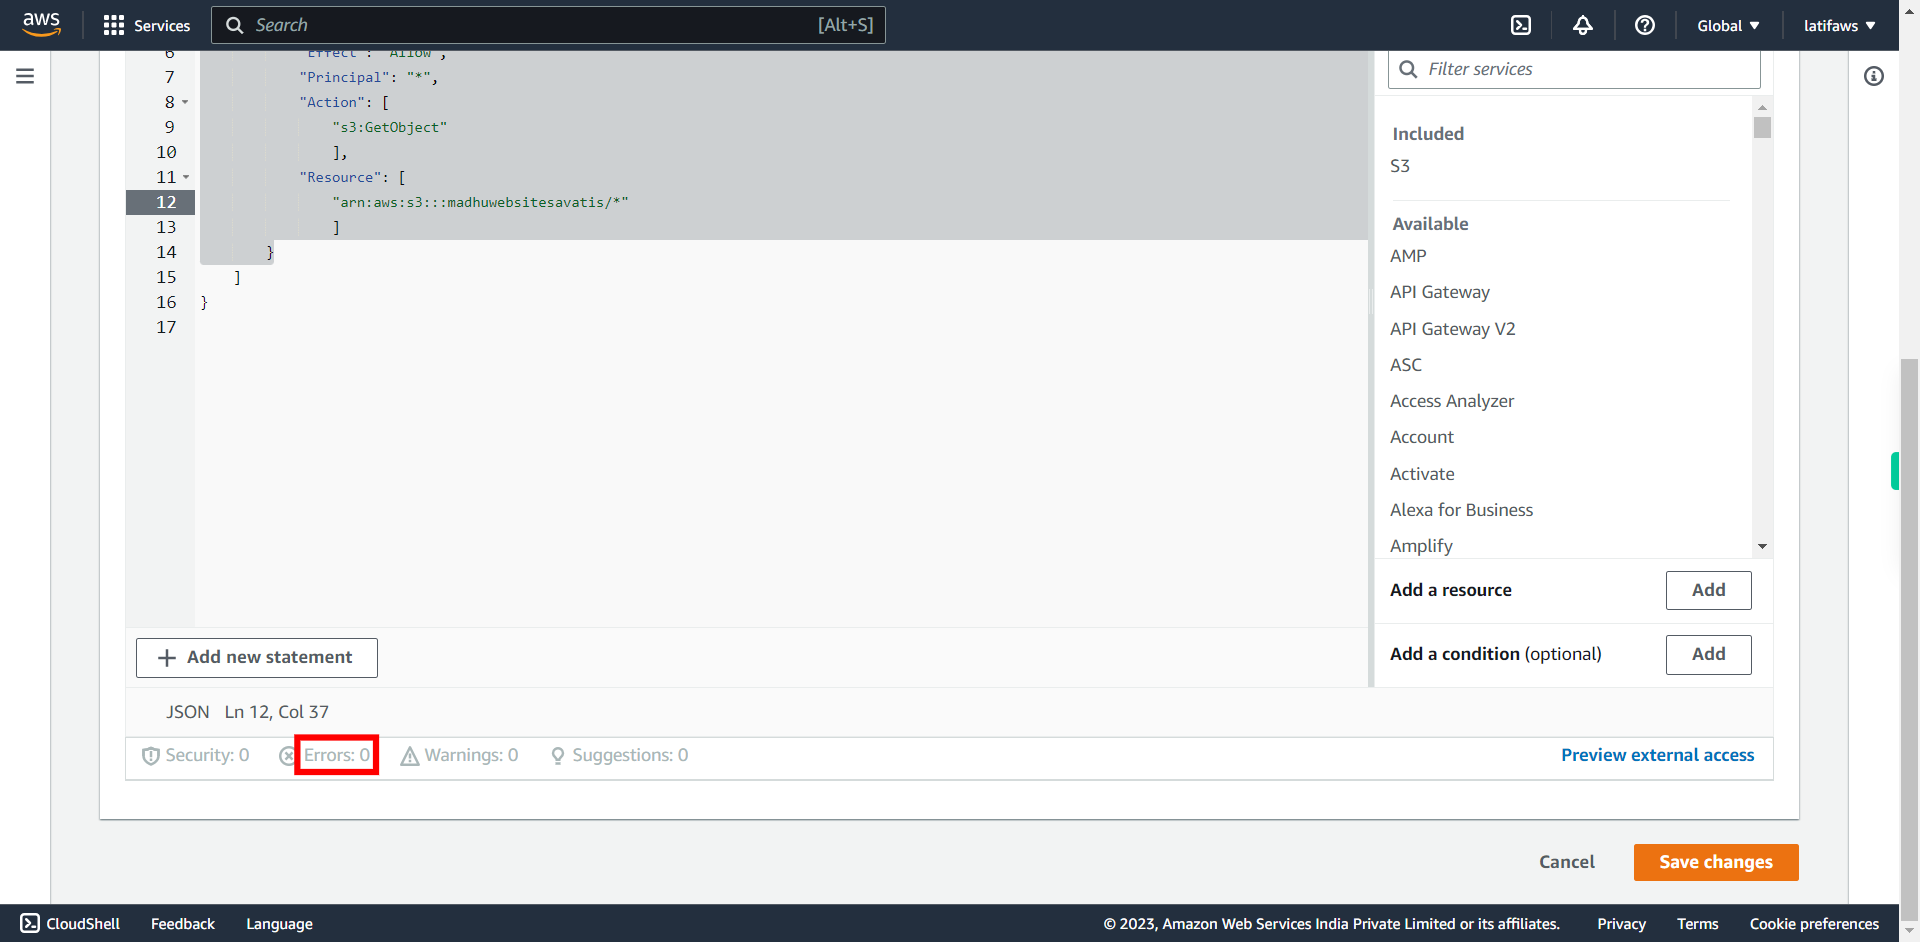
Check for Errors. It should show "Errors: 0". If there are errors please verify your code. Click Next to continue.
-
31.
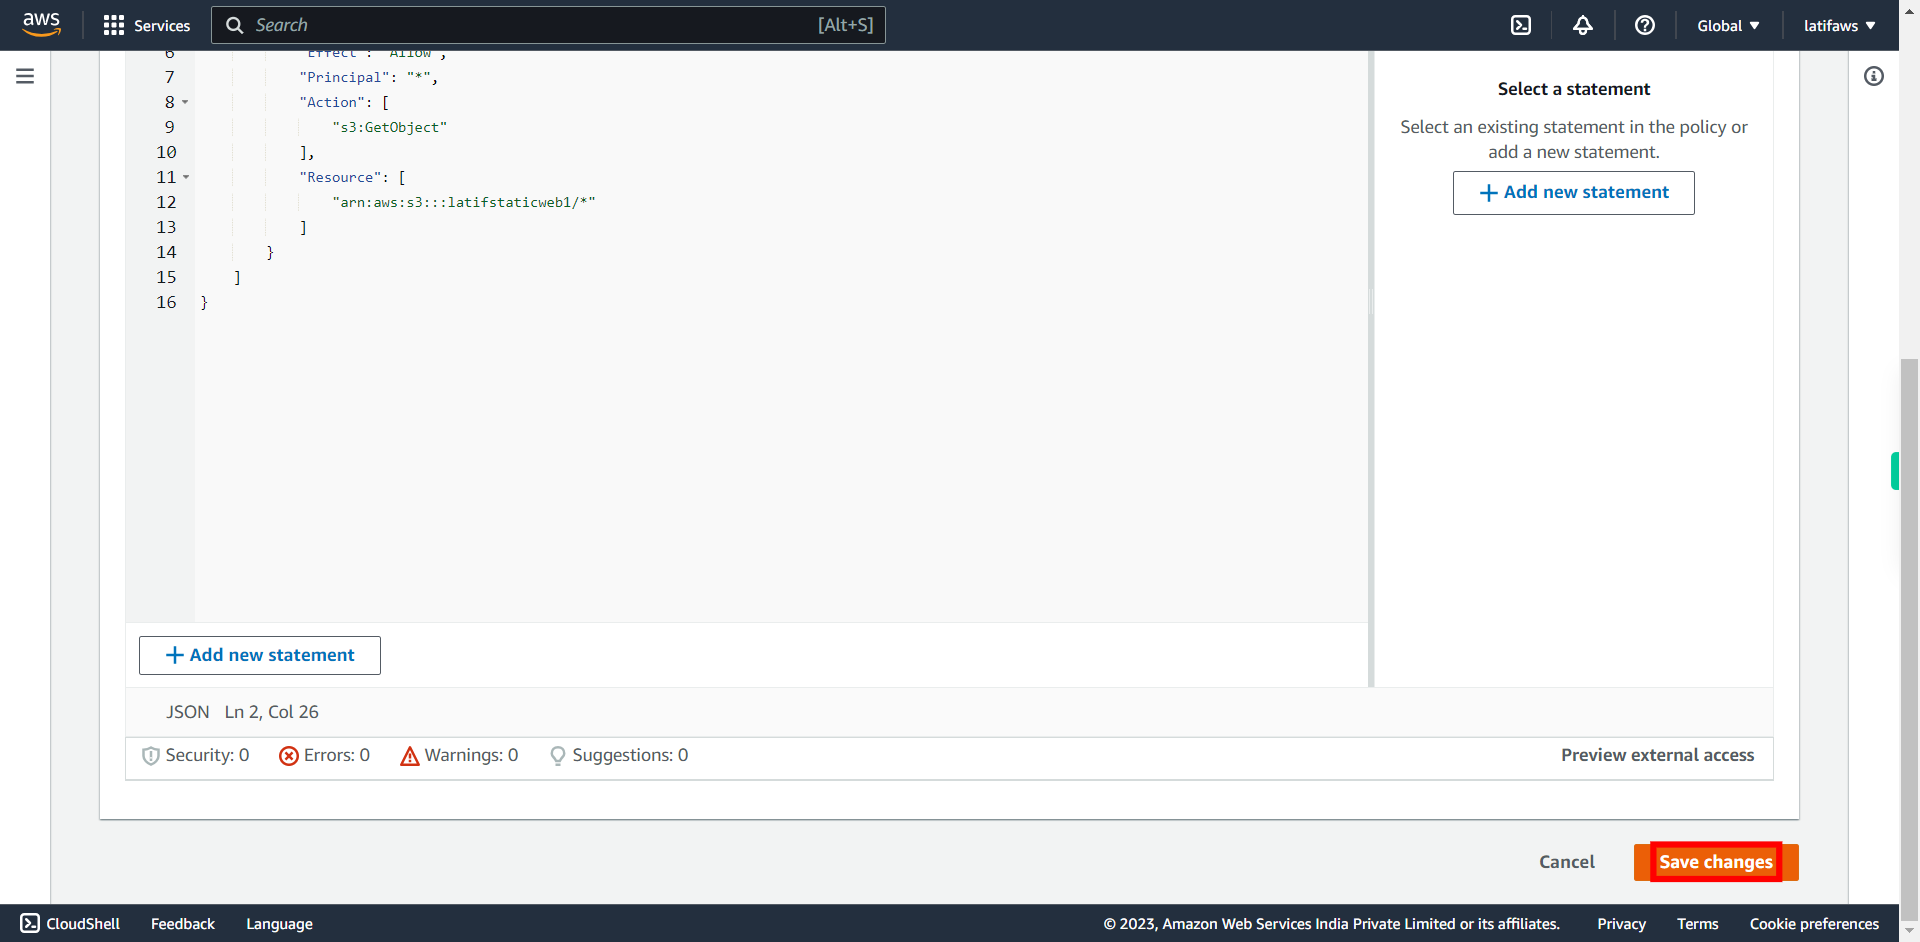
Click Save changes
-
32.
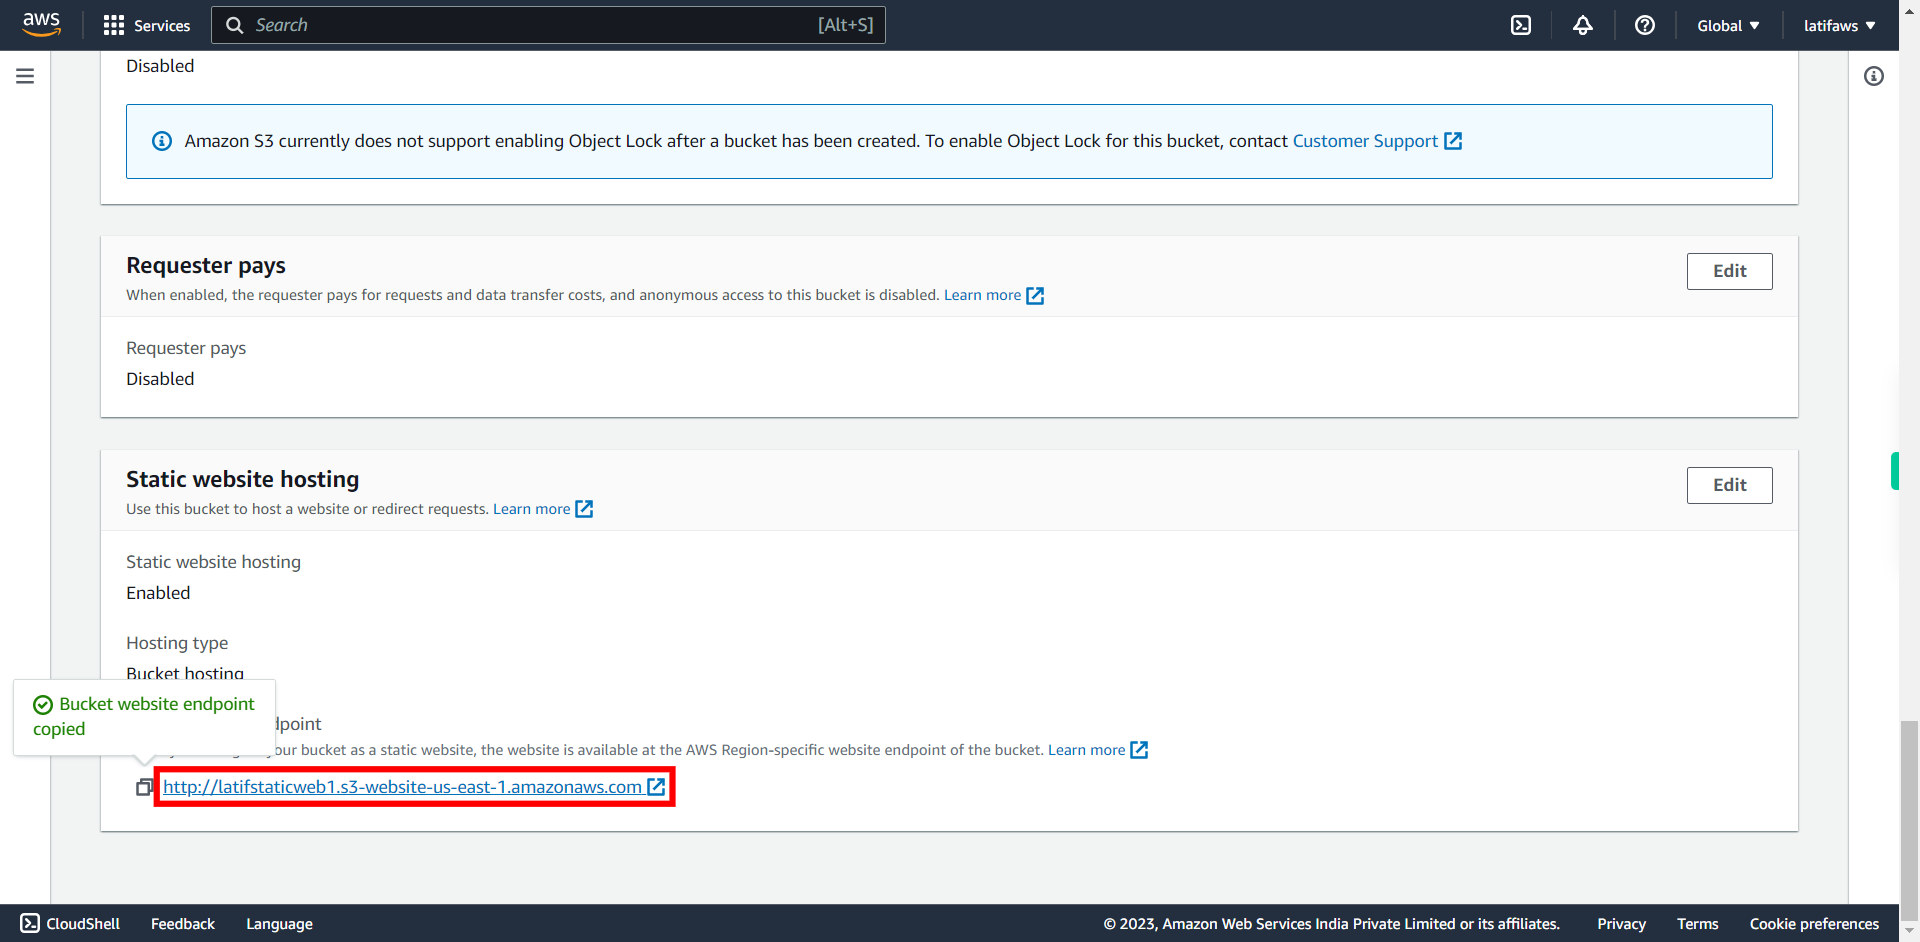
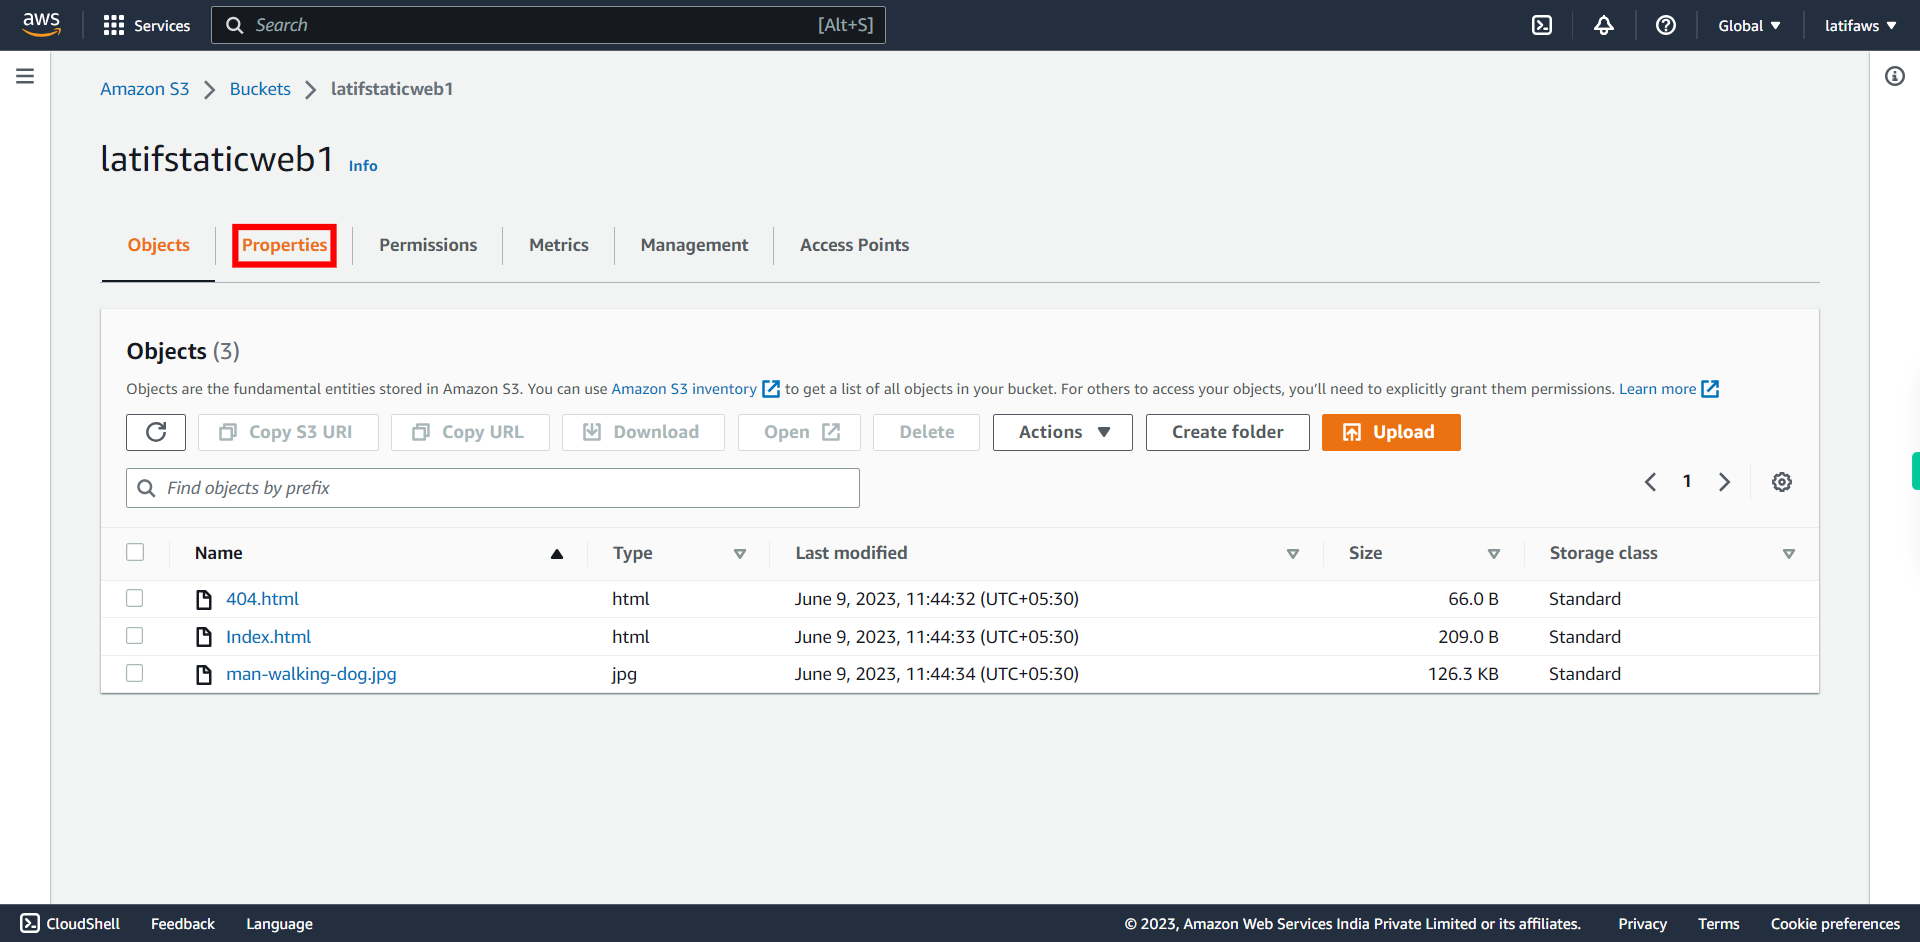
To get website URL, Click “Properties”
-
33.
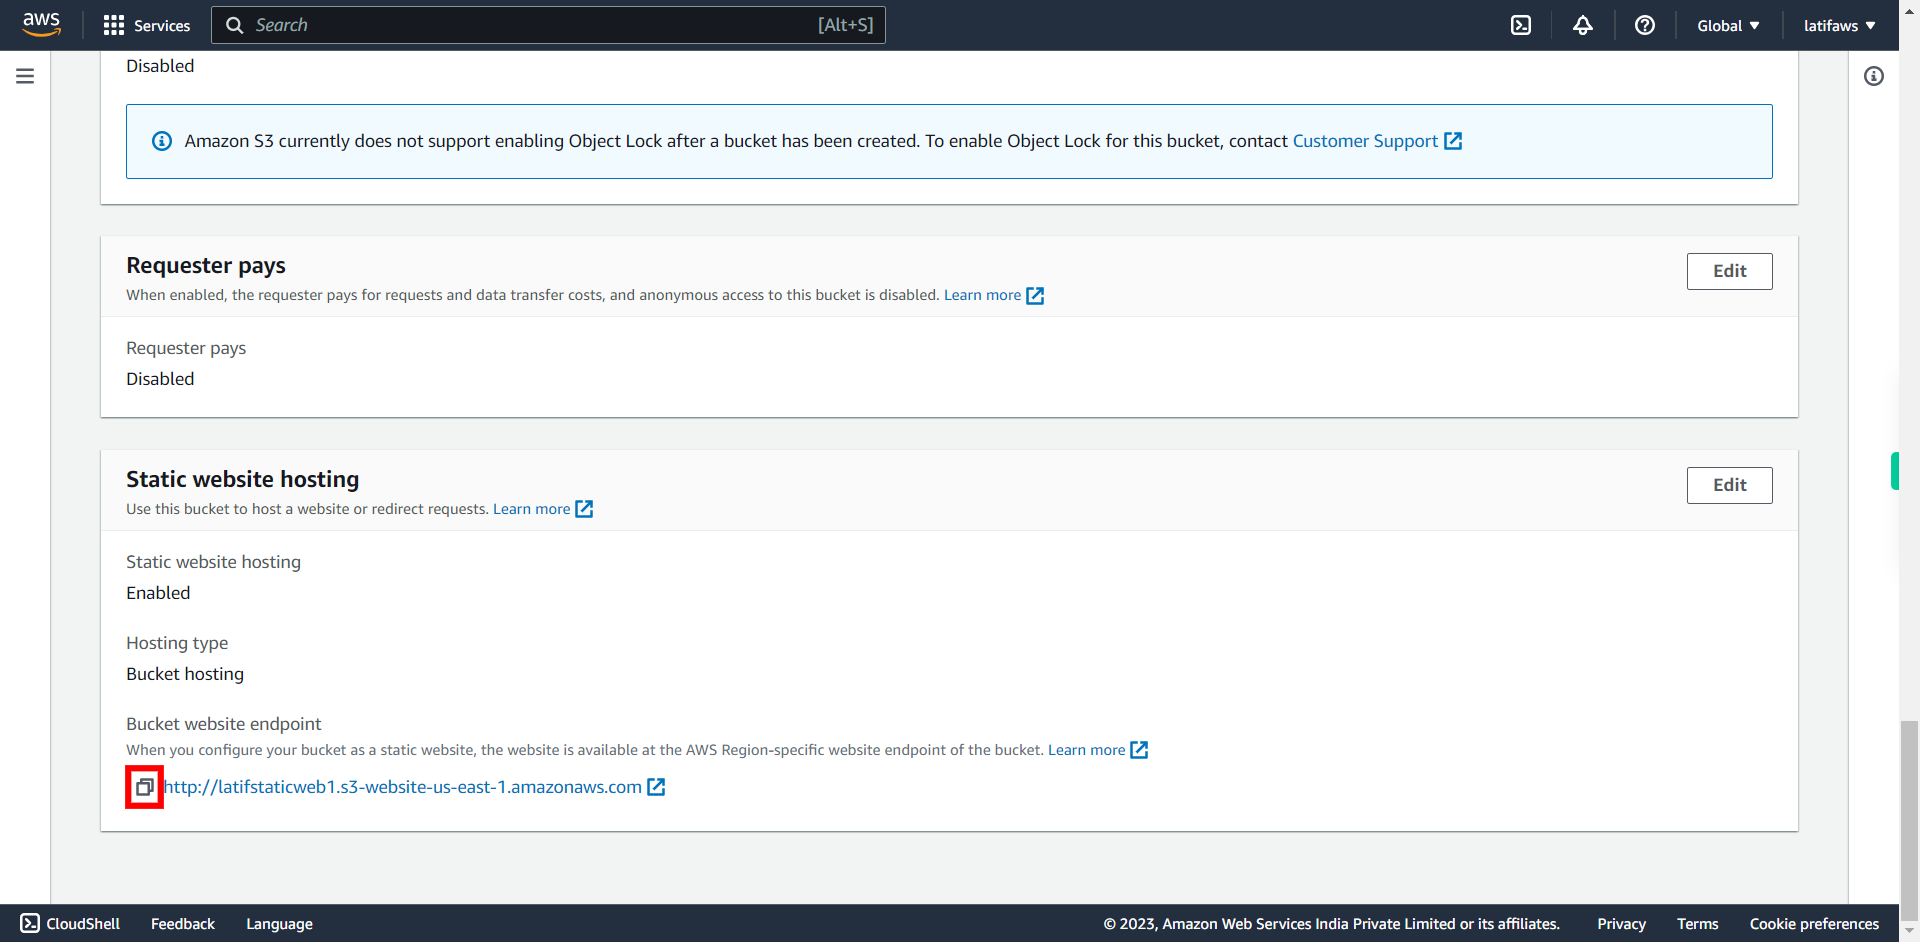
Copy the URL at the bottom of this section and click Next to continue.
-
34.
Open the URL in Web Browser, Check that your website is working. Click Close to finish.
