Follow these steps to configure a web server on an Amazon EC2 instance. # NOTE: Make sure you signed into your AWS account.
-
1.
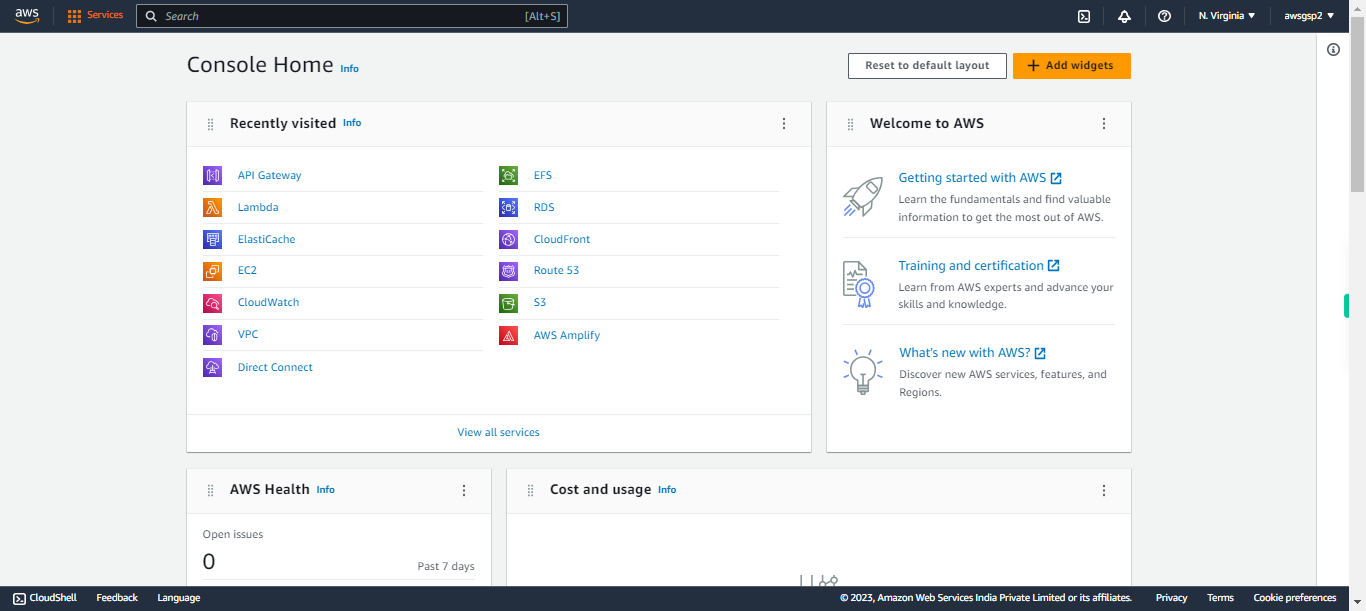
open AWS Management Console
-
2.
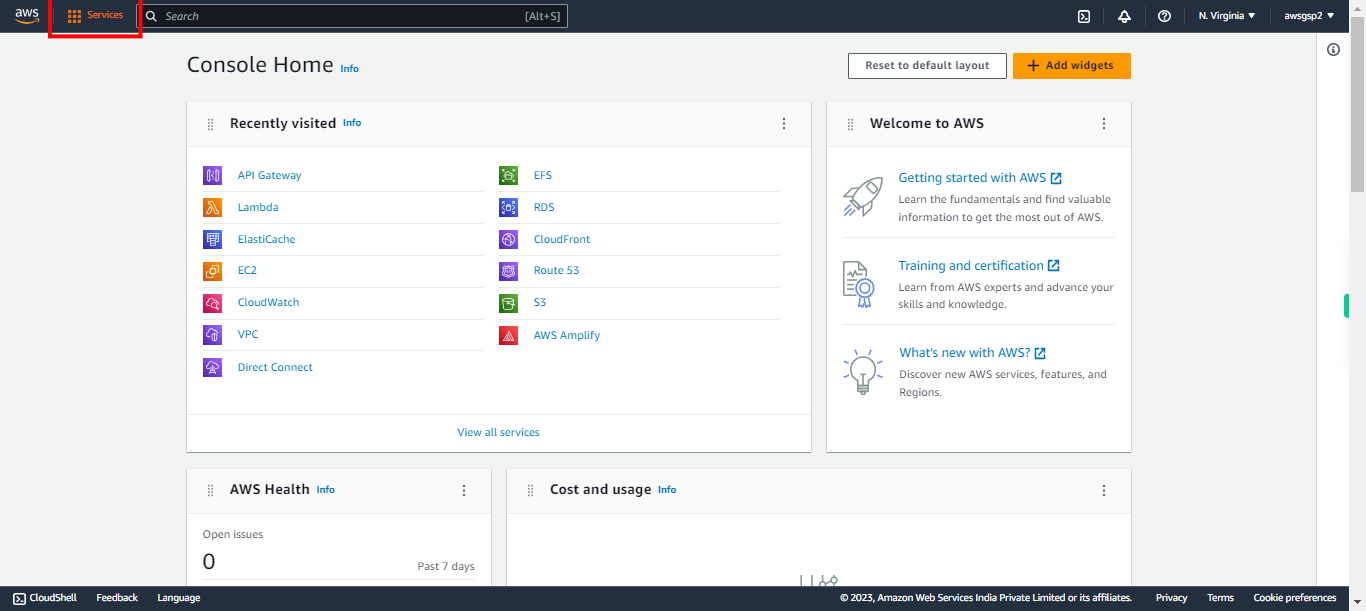
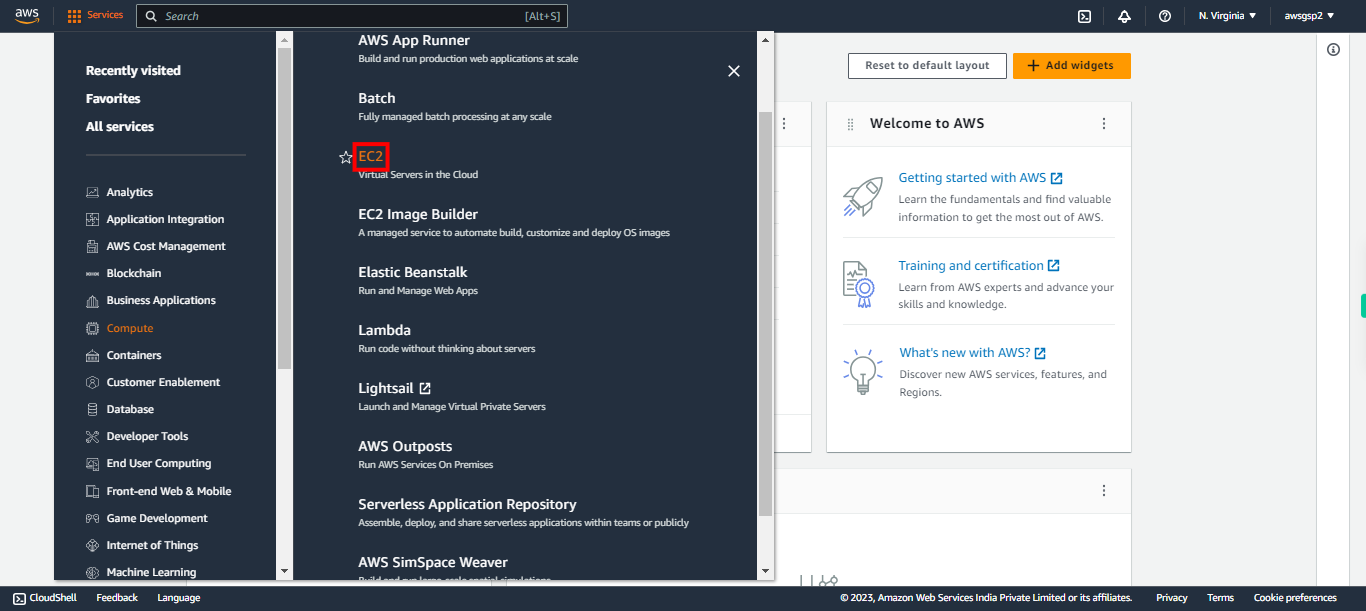
Click Services
-
3.
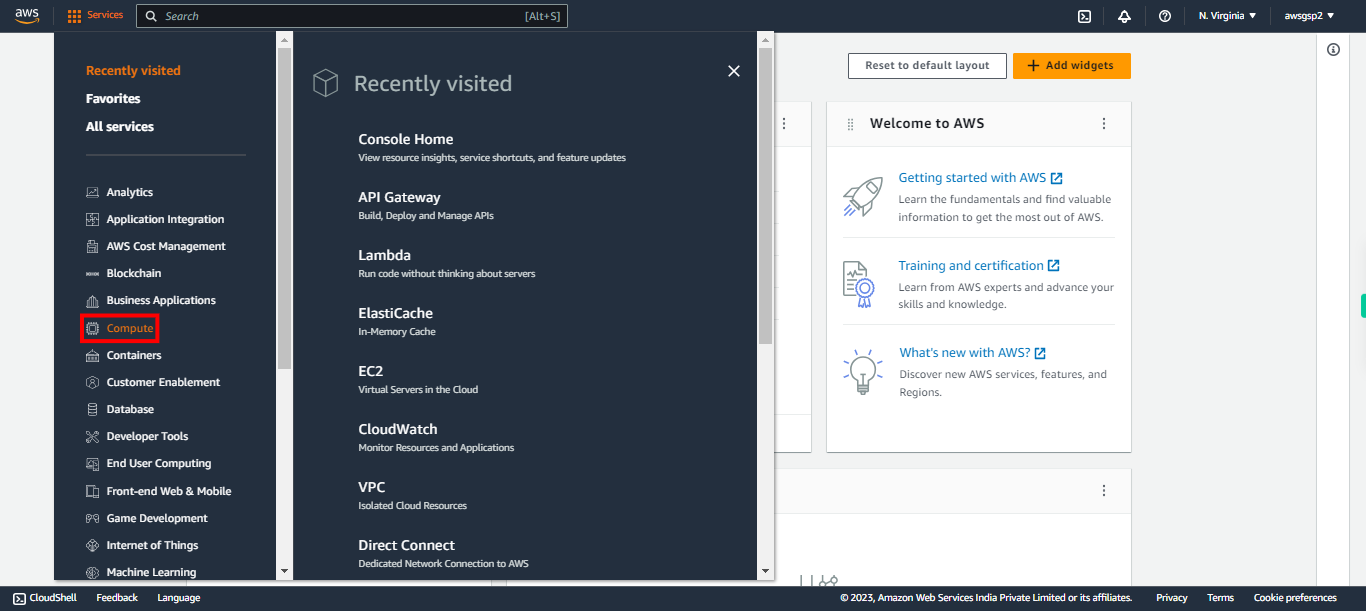
Click Compute
-
4.
Click EC2
-
5.
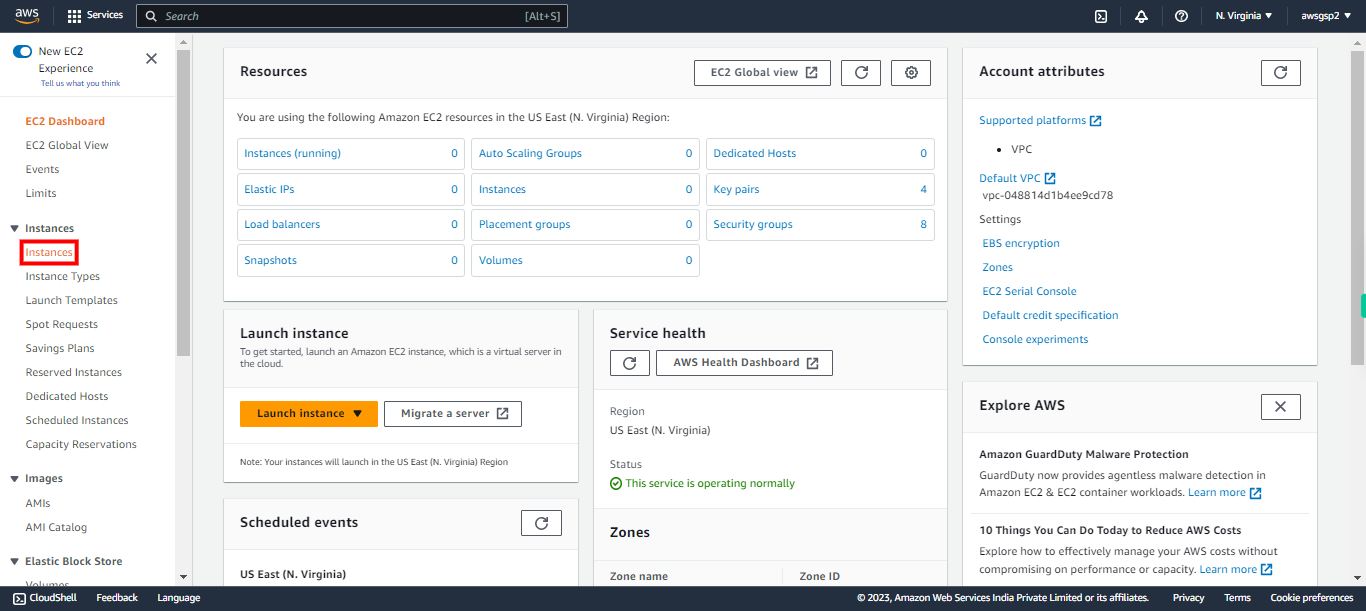
Click Instances
-
6.
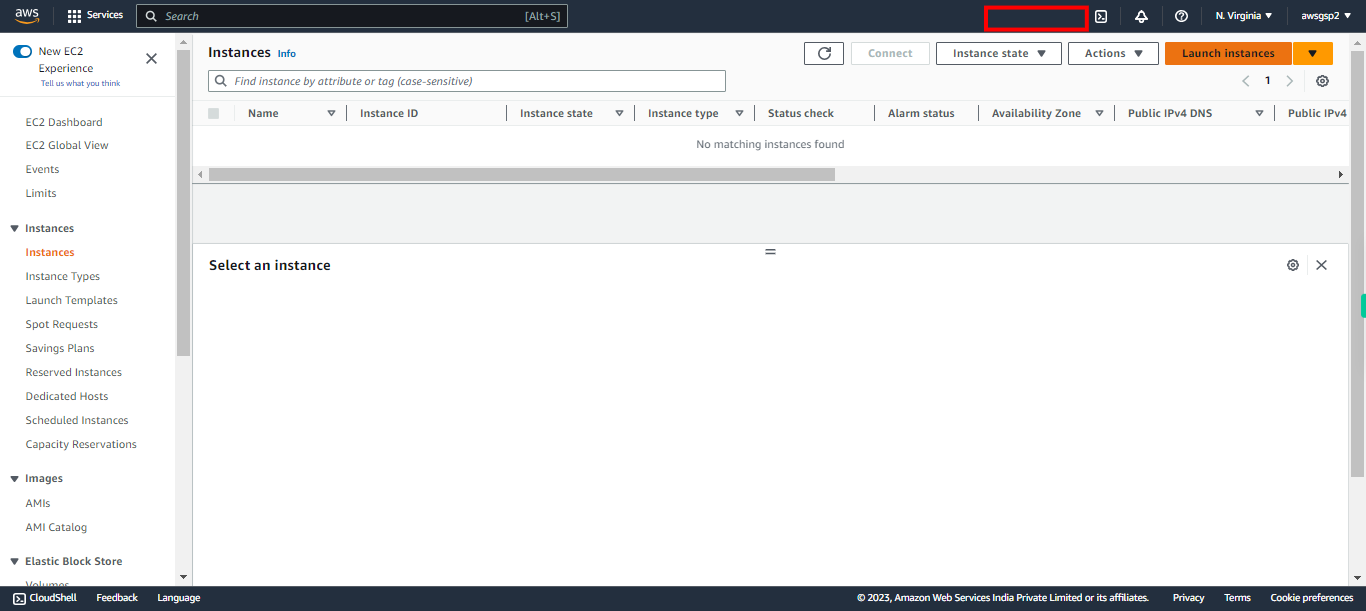
Click Launch instances
-
7.
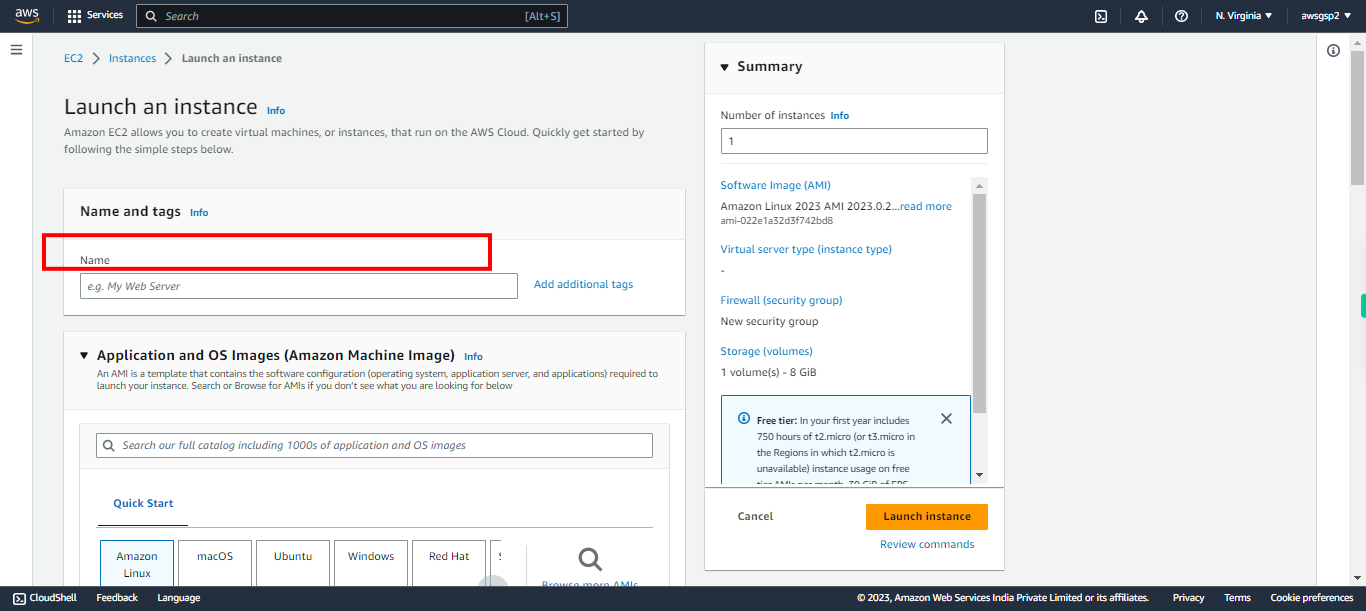
Name your Instance and Click Next to continue e.g. MyWeb Server
-
8.
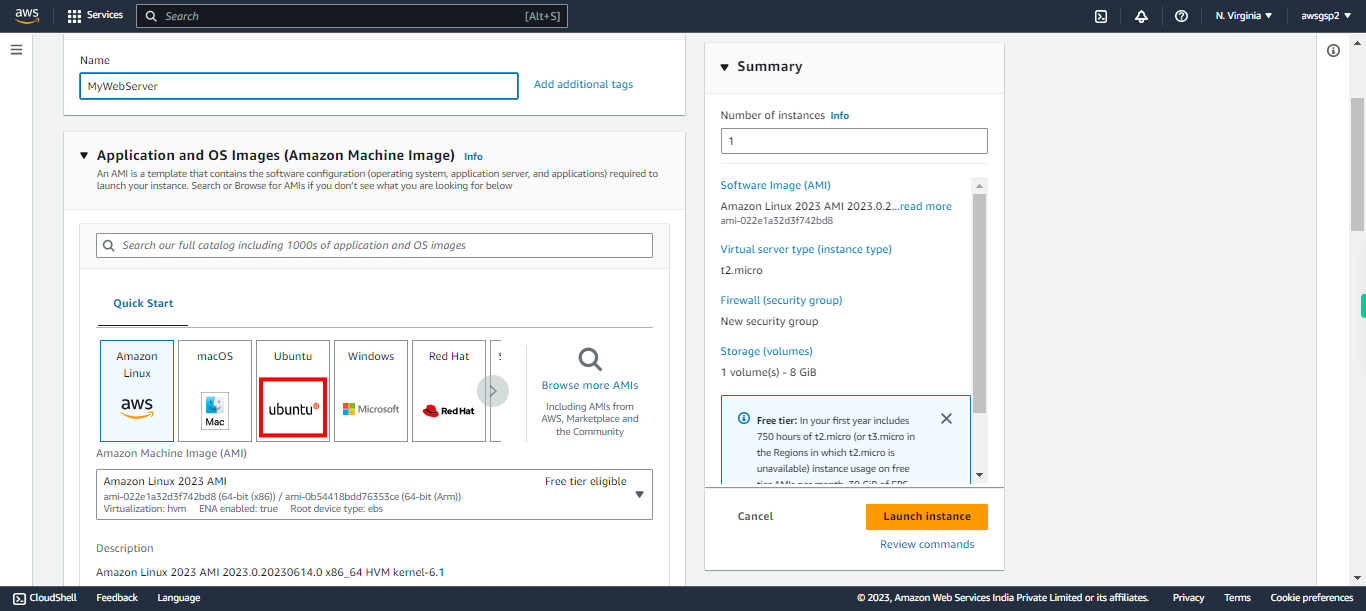
Select Ubuntu as your instance Click Next to continue. **Note:** This walkthrough is on UBUNTU OS. The commands we use here are compatible to Ubuntu OS.
-
9.
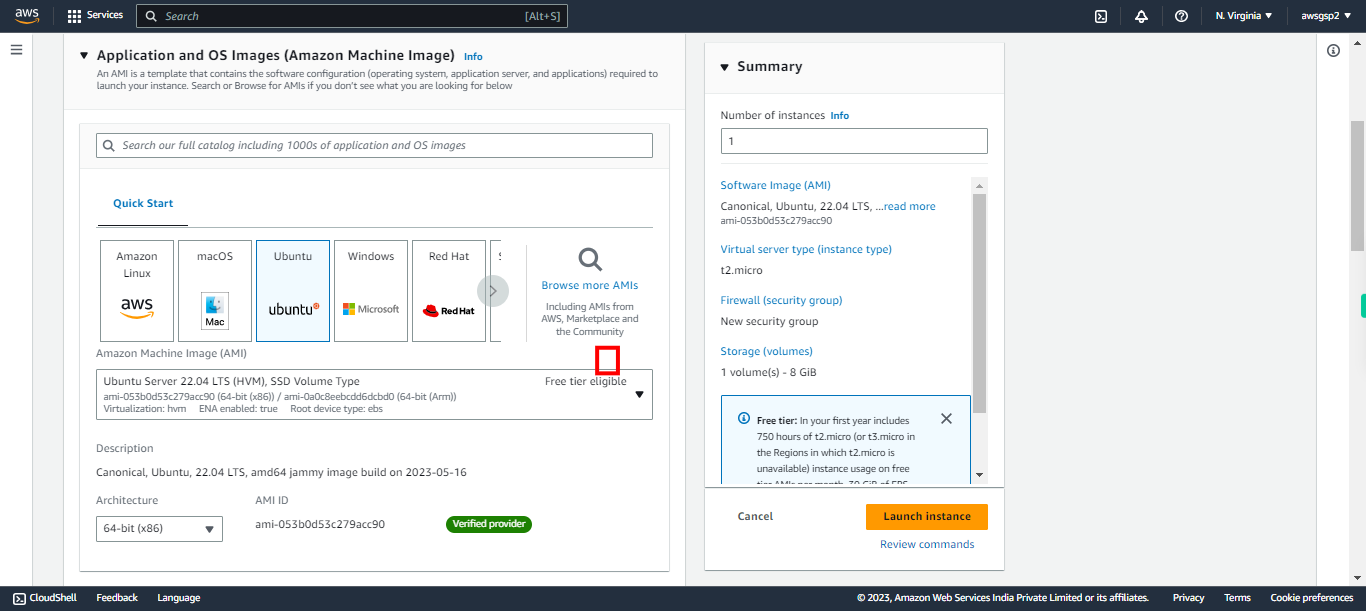
Select you Ubuntu AMI Free Tier Only and Click Next to continue.
-
10.
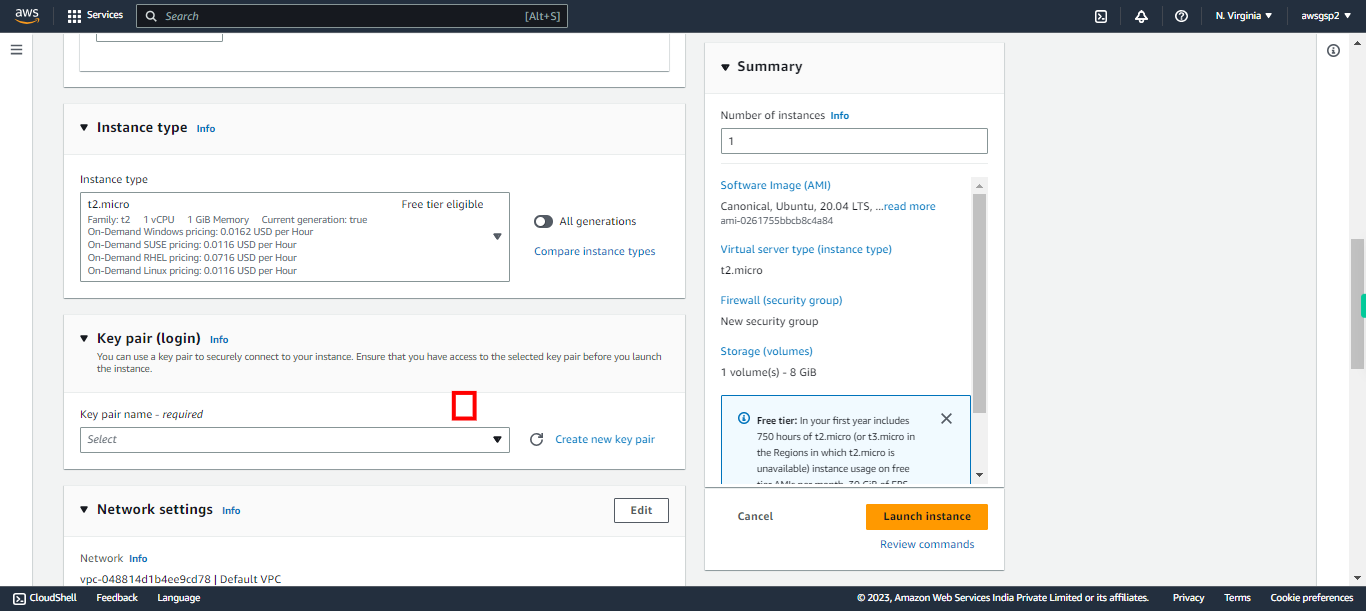
Select your Existing Key Pair from the below dropdown box and Click Next to continue.
-
11.
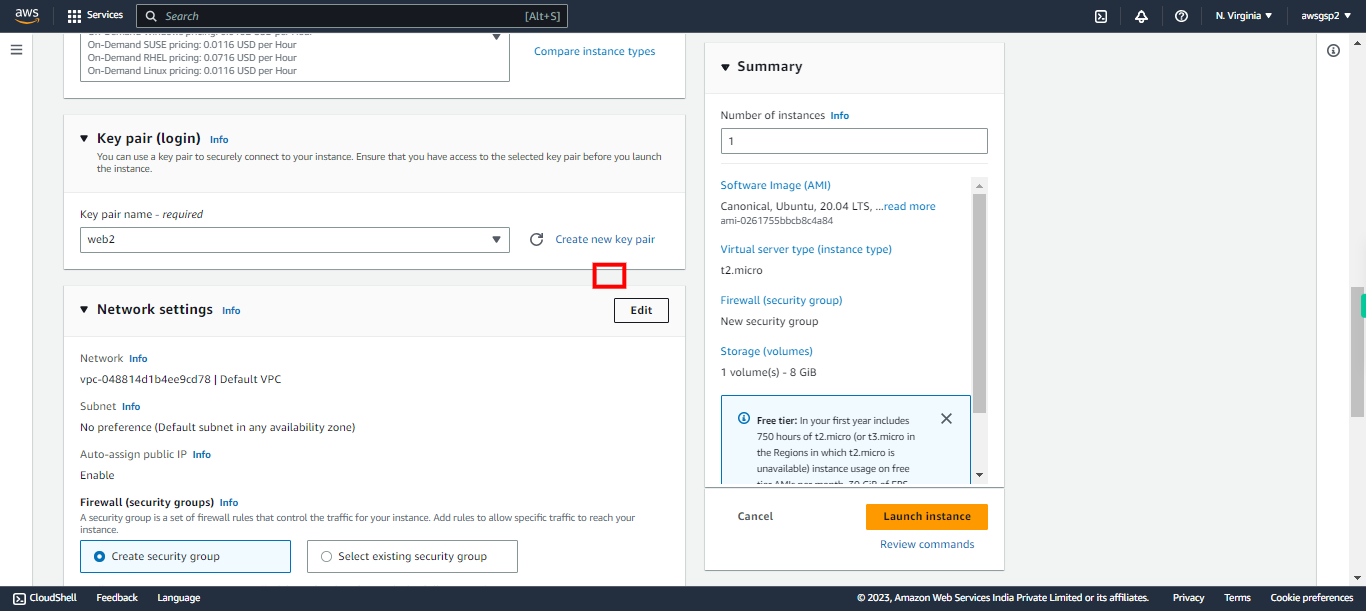
Click Edit to modify your network settings
-
12.
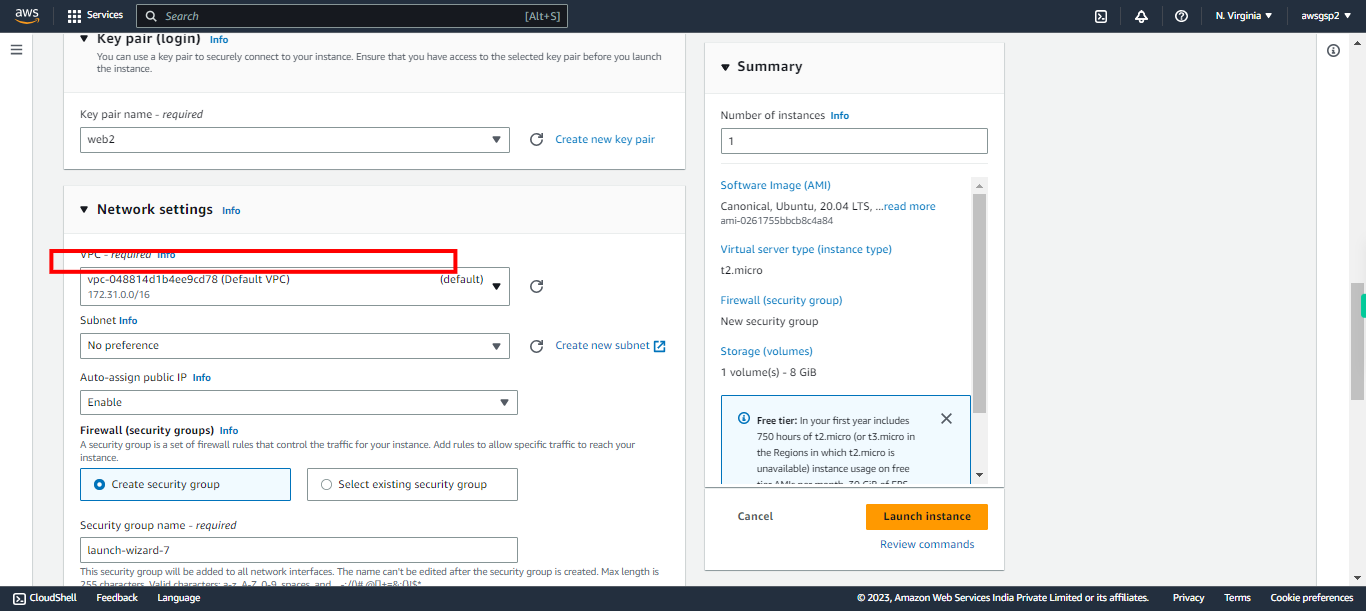
Select Default VPC and Click Next to continue.
-
13.
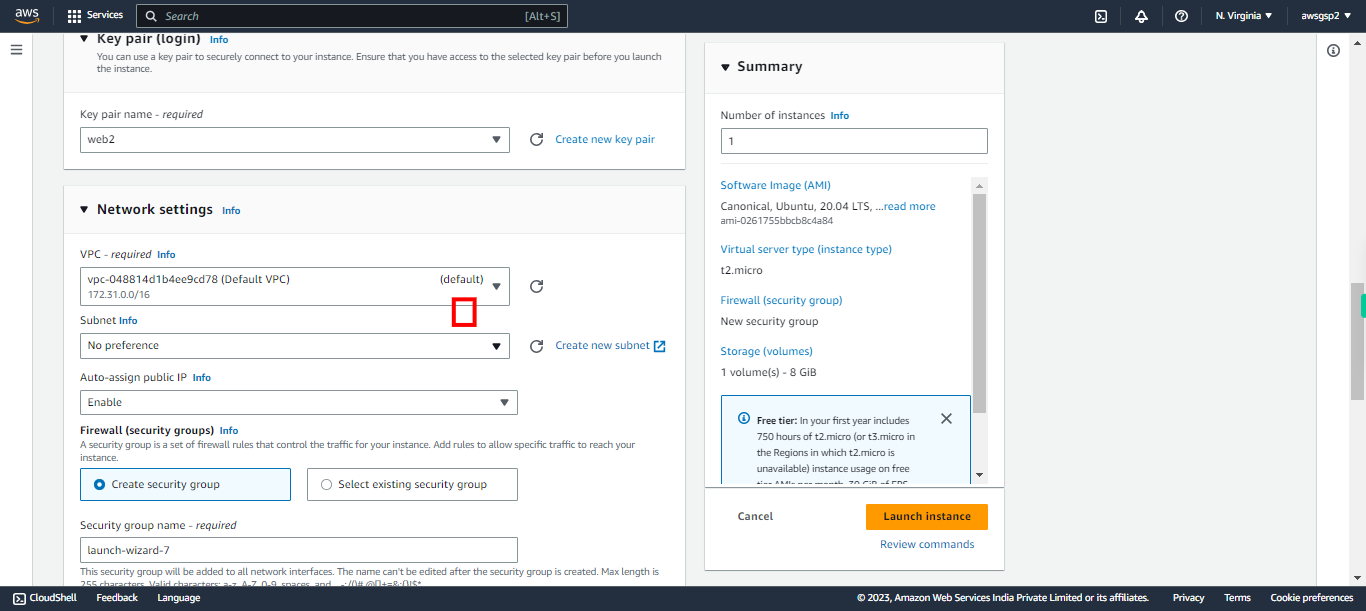
Choose your Availability Zone and Click Next to continue.
-
14.
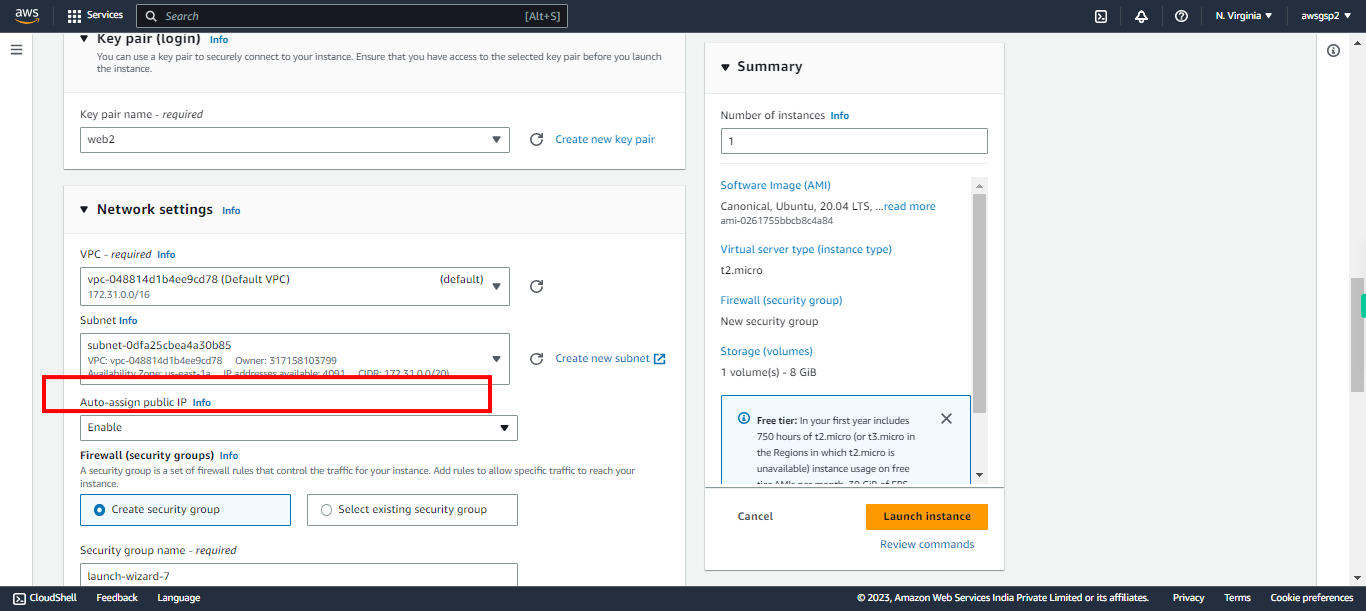
Choose "Enable" in "Auto assign public IP" and Click Next to continue.
-
15.
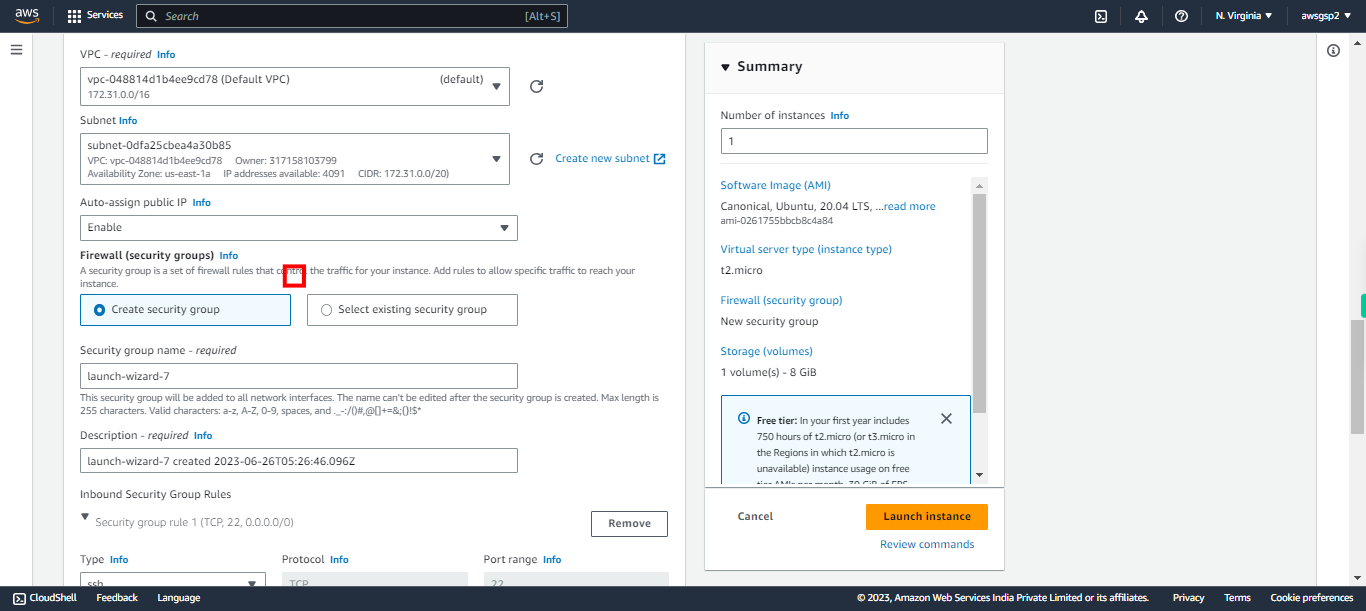
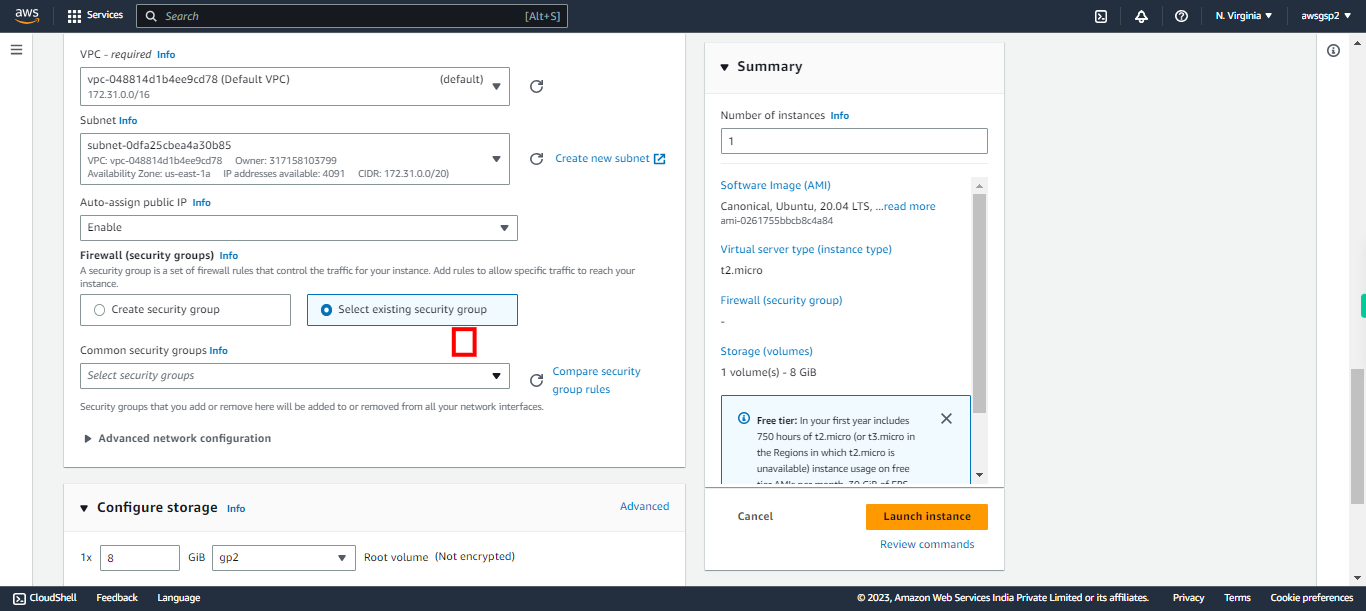
Choose "Select existing security group" and Click Next to continue.
-
16.
Choose an appropriate security group and Click Next to continue. **Note:** Make sure your security group has HTTP & SSH allowed in inbound rules.
-
17.
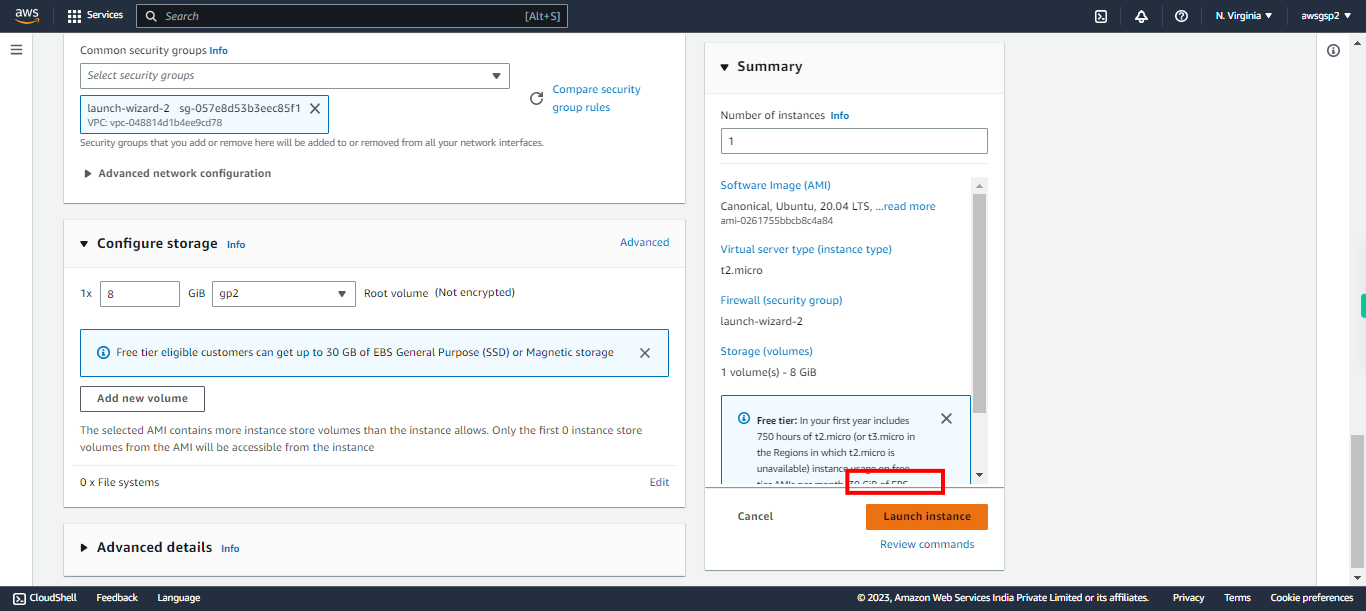
Click Launch instance
-
18.
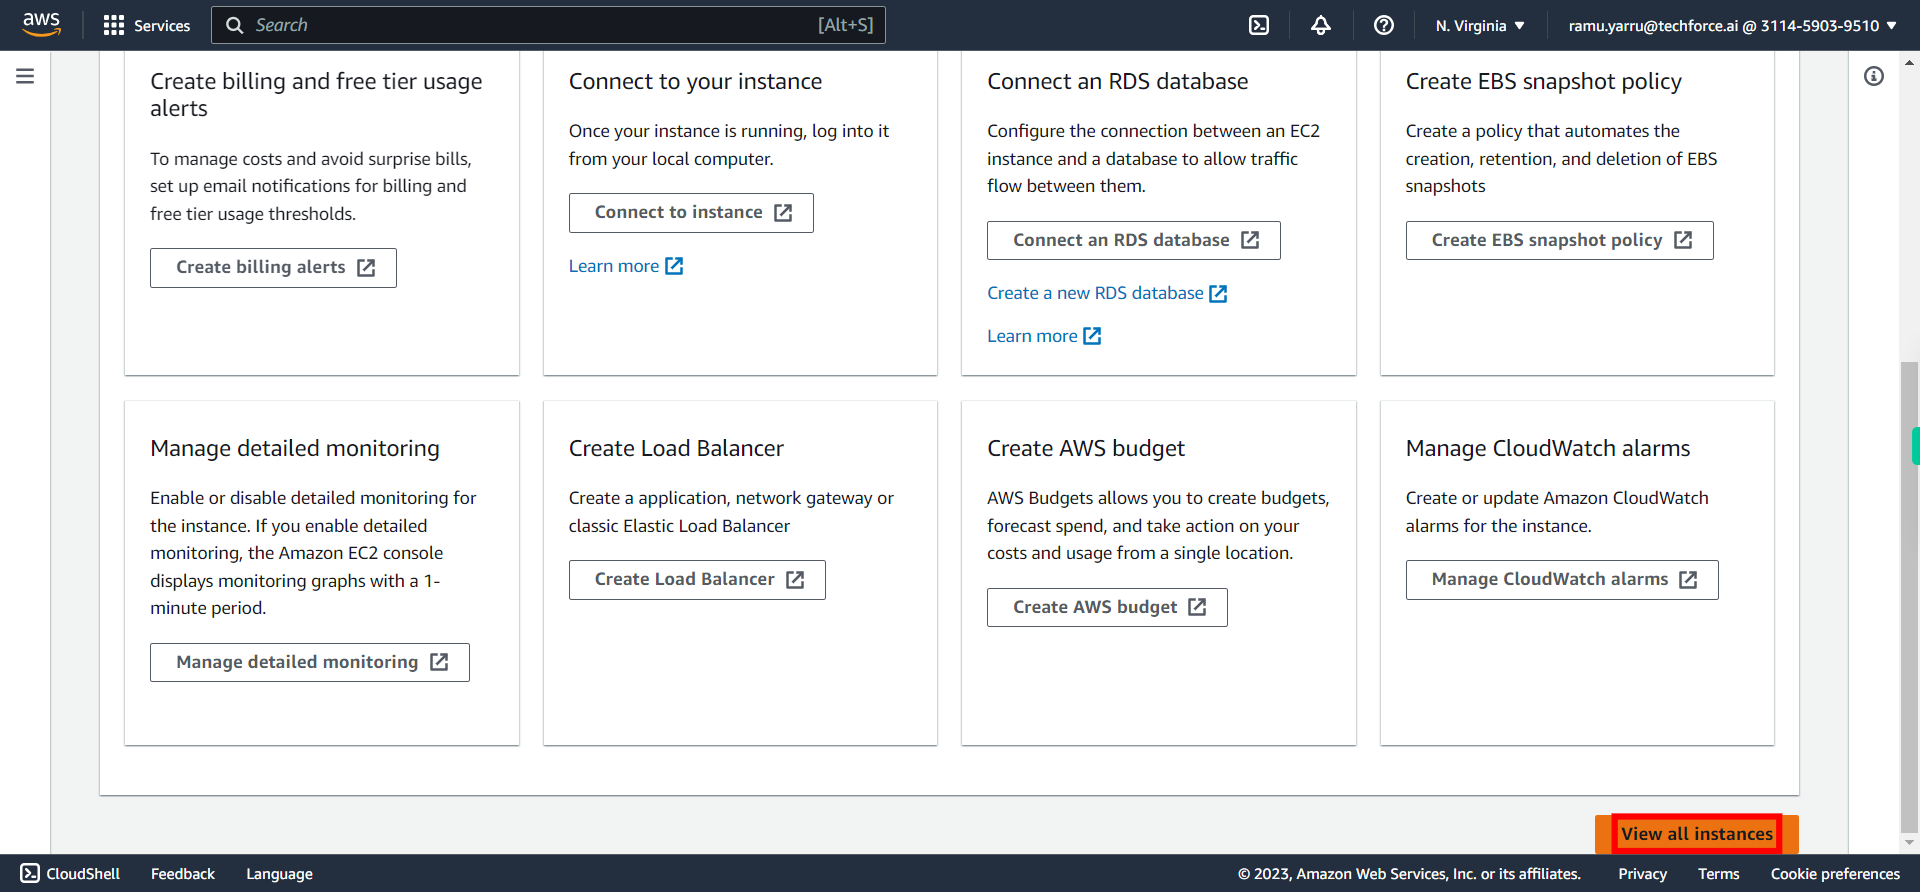
Click View all instances
-
19.
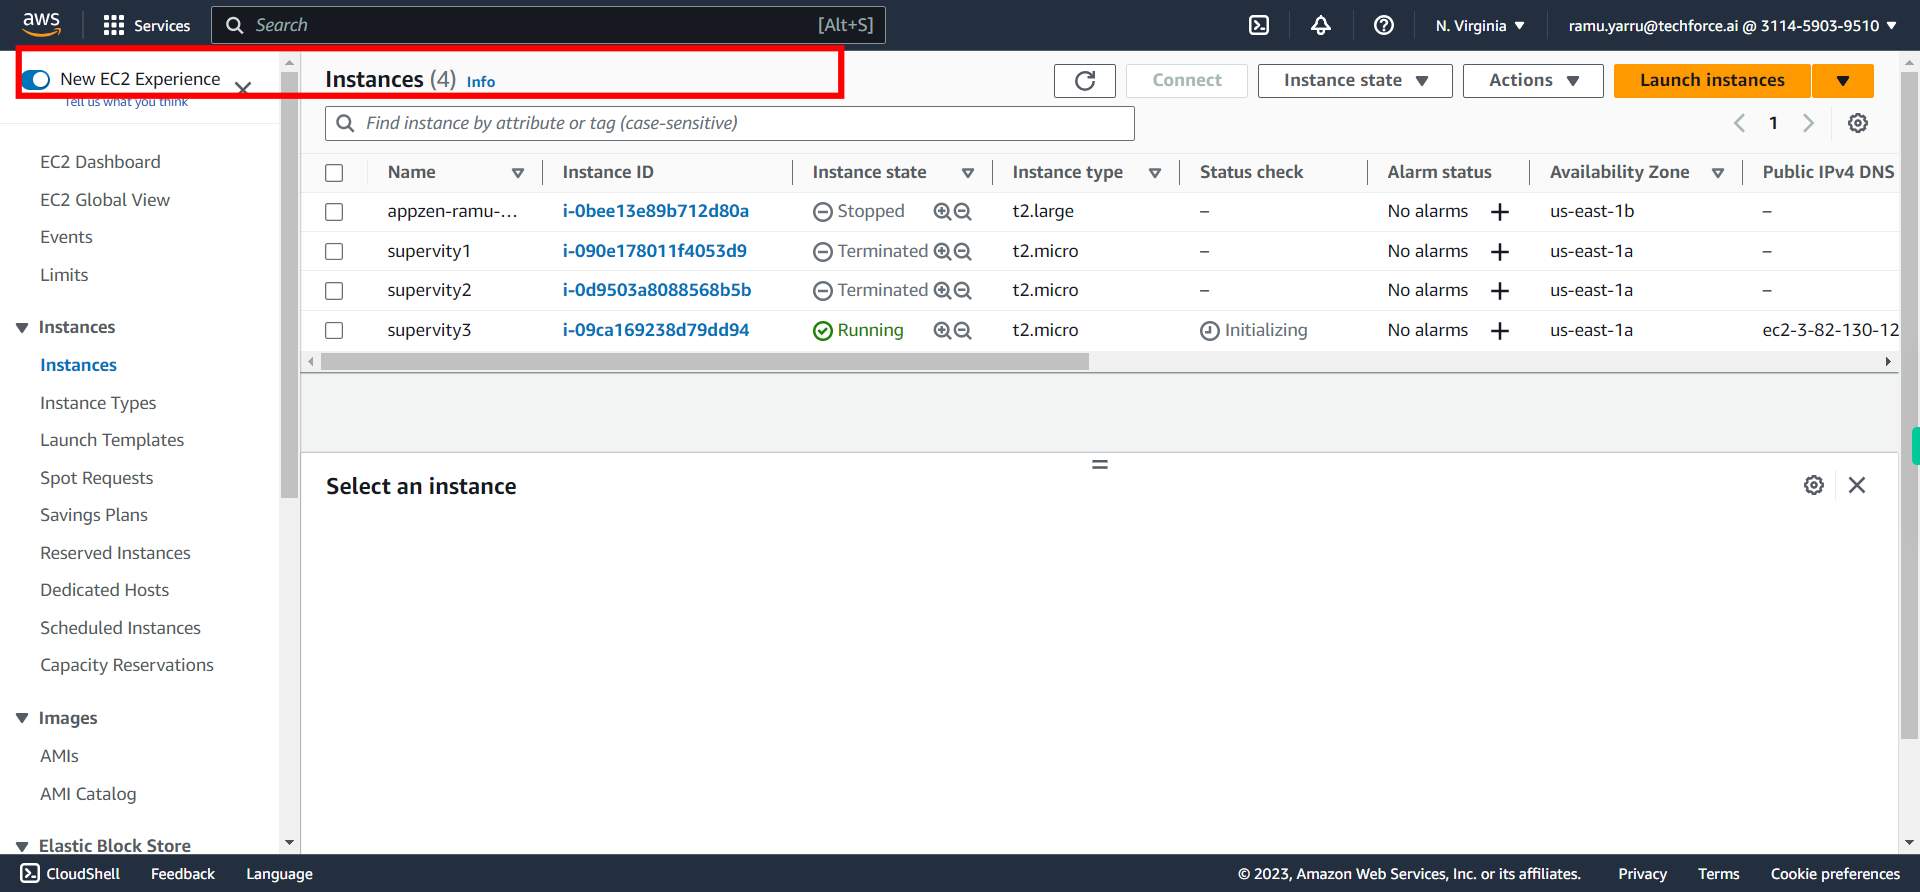
Search for your instance from the below list and wait till your Instance Status shows "Running". Click Refresh to verify the status. **Once your Instance passed the status check, click on the checkbox against your newly created EC2 instance and Click Next to continue**
-
20.
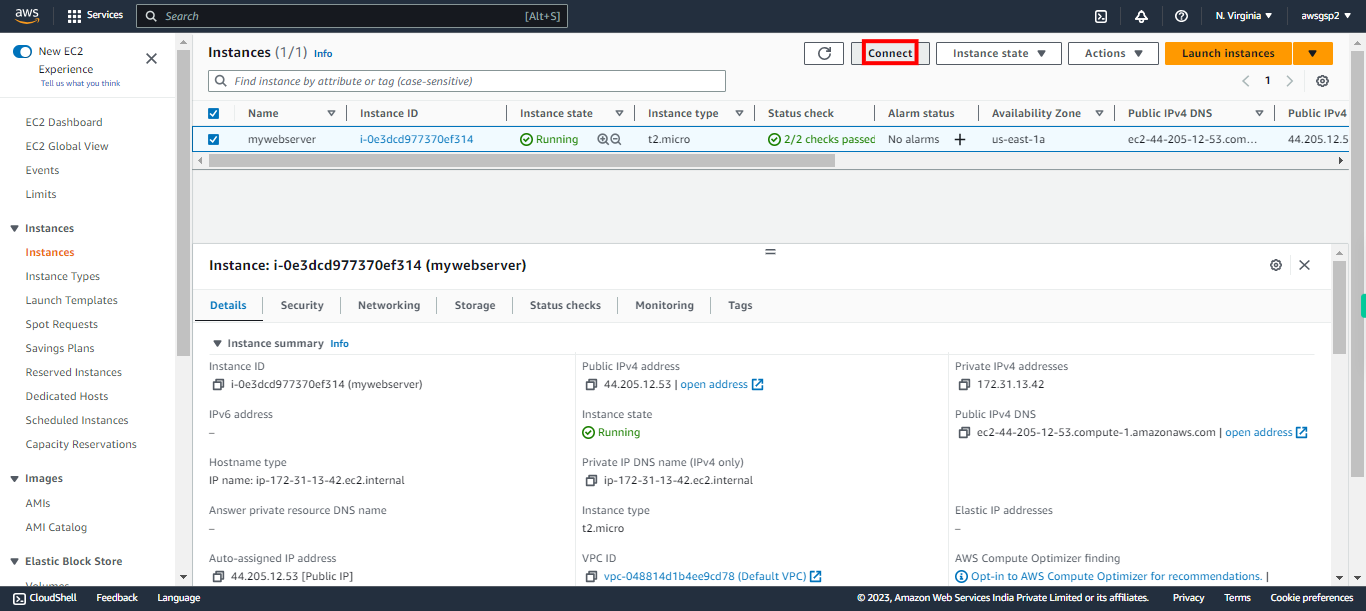
Click "Connect" to open terminal
-
21.
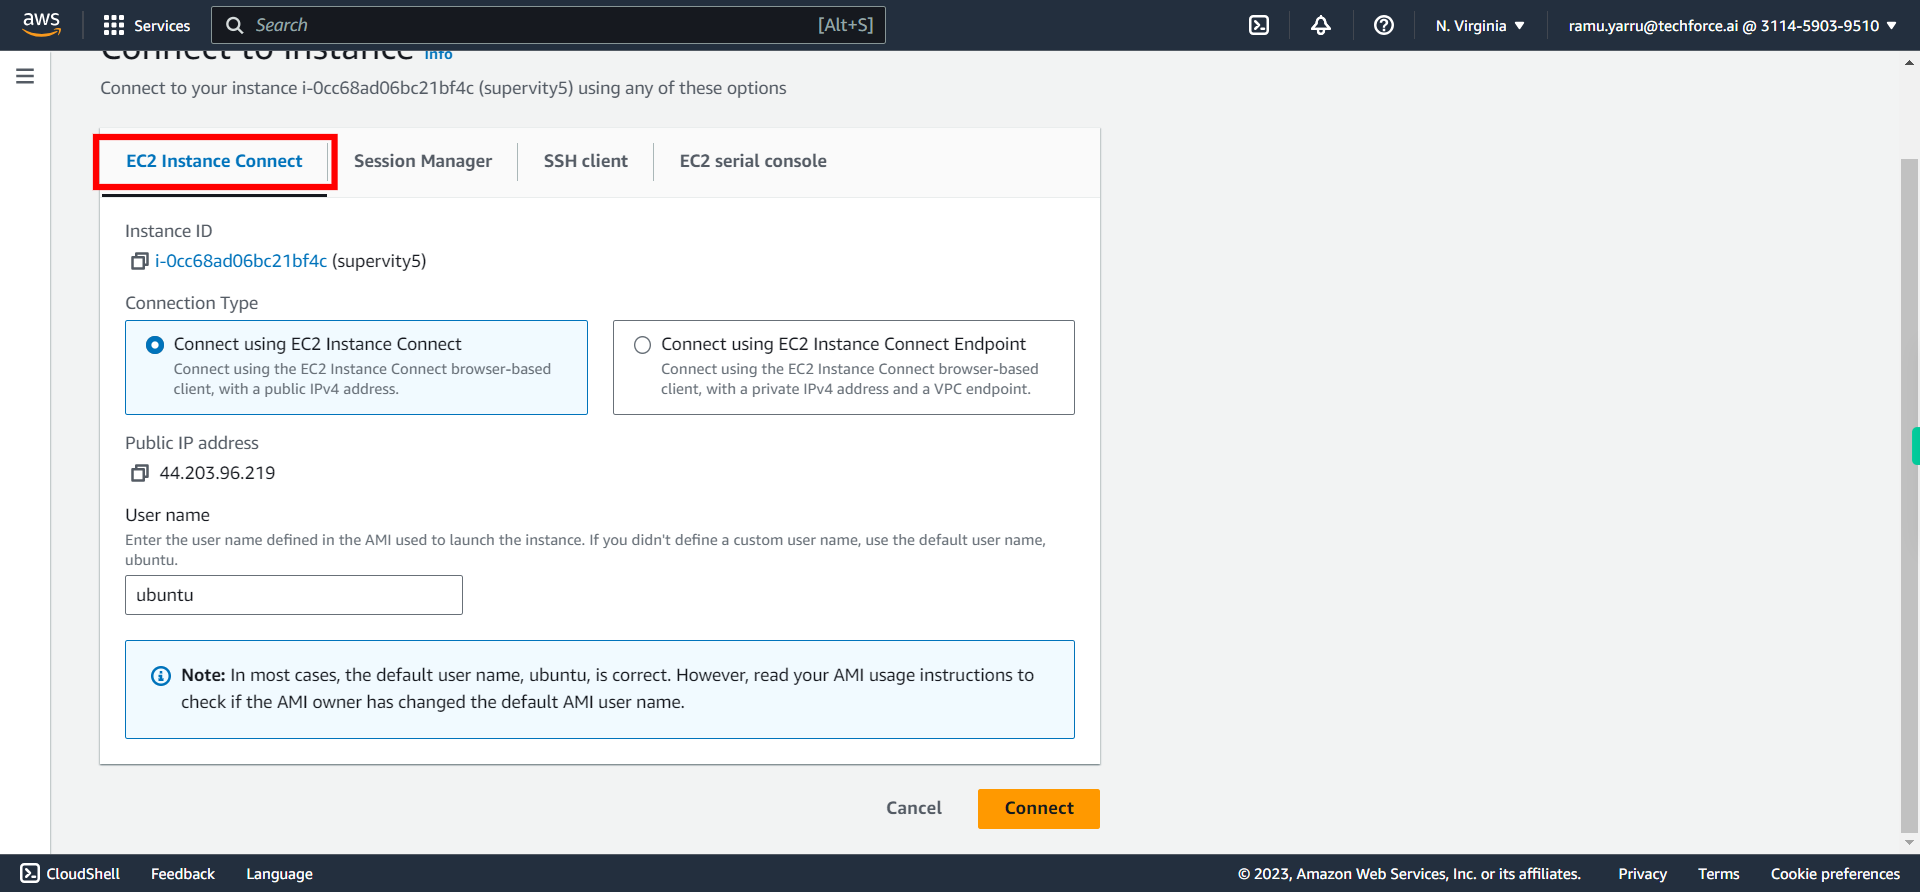
Click EC2 Instance Connect
-
22.
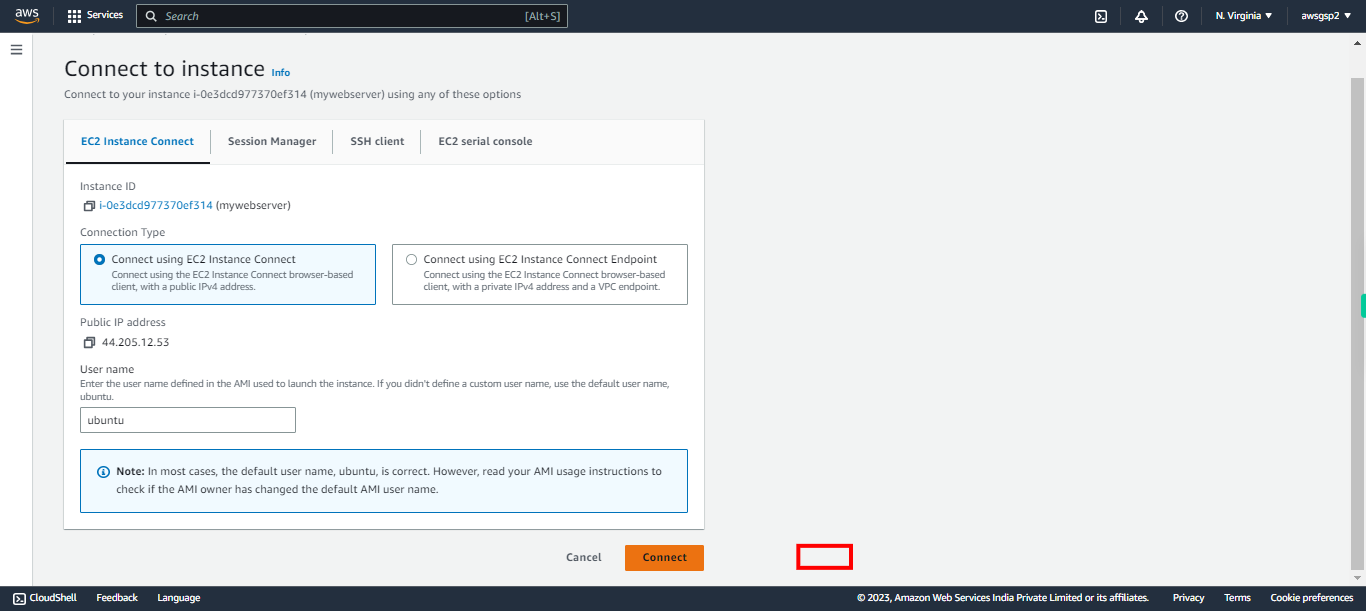
Click on "Connect" button
-
23.
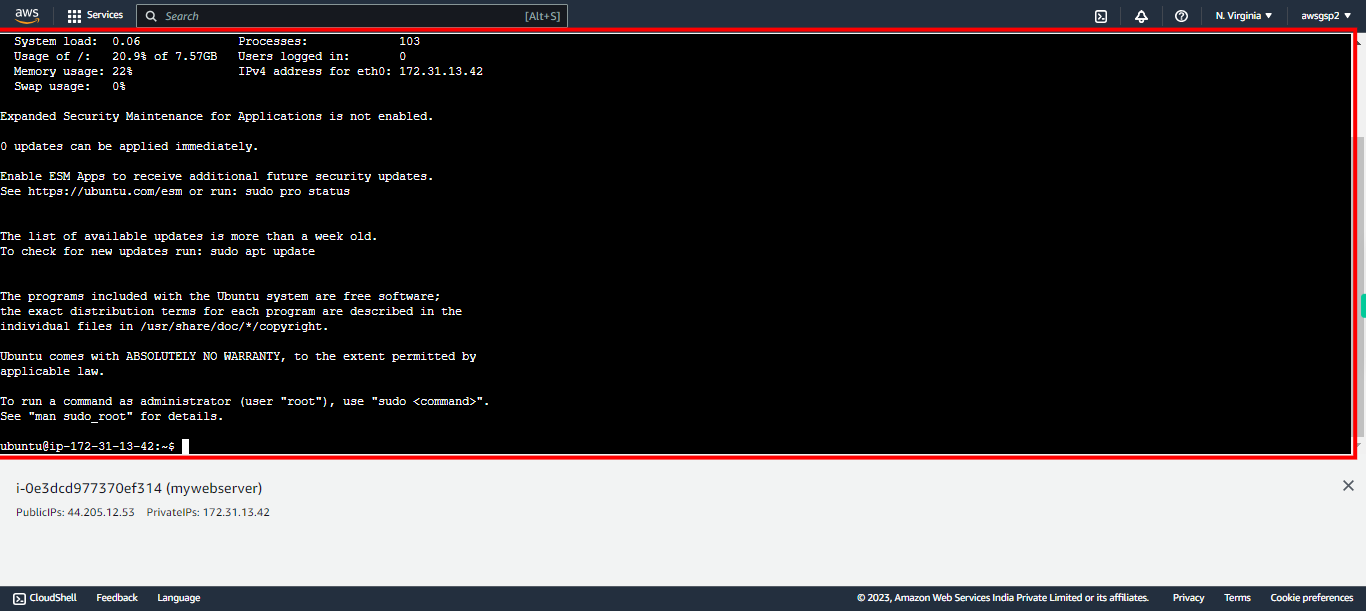
Now you have connected to EC2 Instance via Web Terminal Click Next to continue
-
24.
Execute the command "sudo su" in the below terminal window to connect to ROOT user and Click Next to continue.
-
25.
Update your Ubuntu Instance by executing the below command and Click Next to continue: ``` apt-get update -y ```
-
26.
Install Web Server "nginx" and Click Next to continue. Command to install nginx is: ``` apt-get install nginx -y ```
-
27.
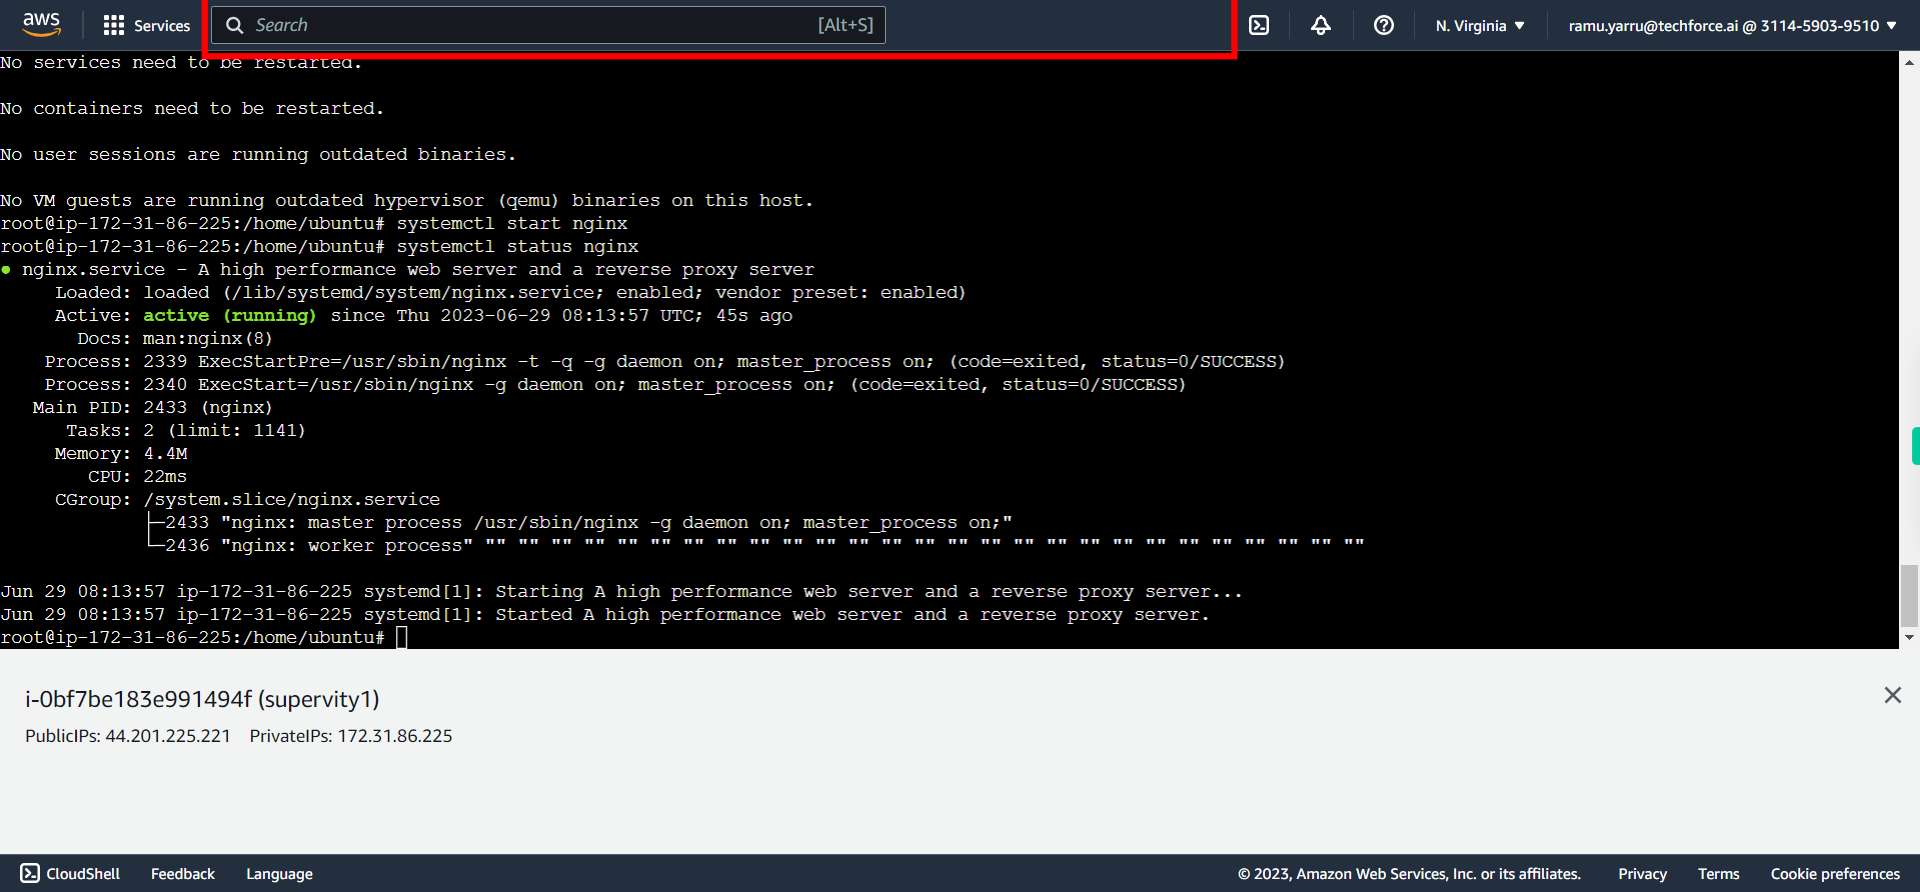
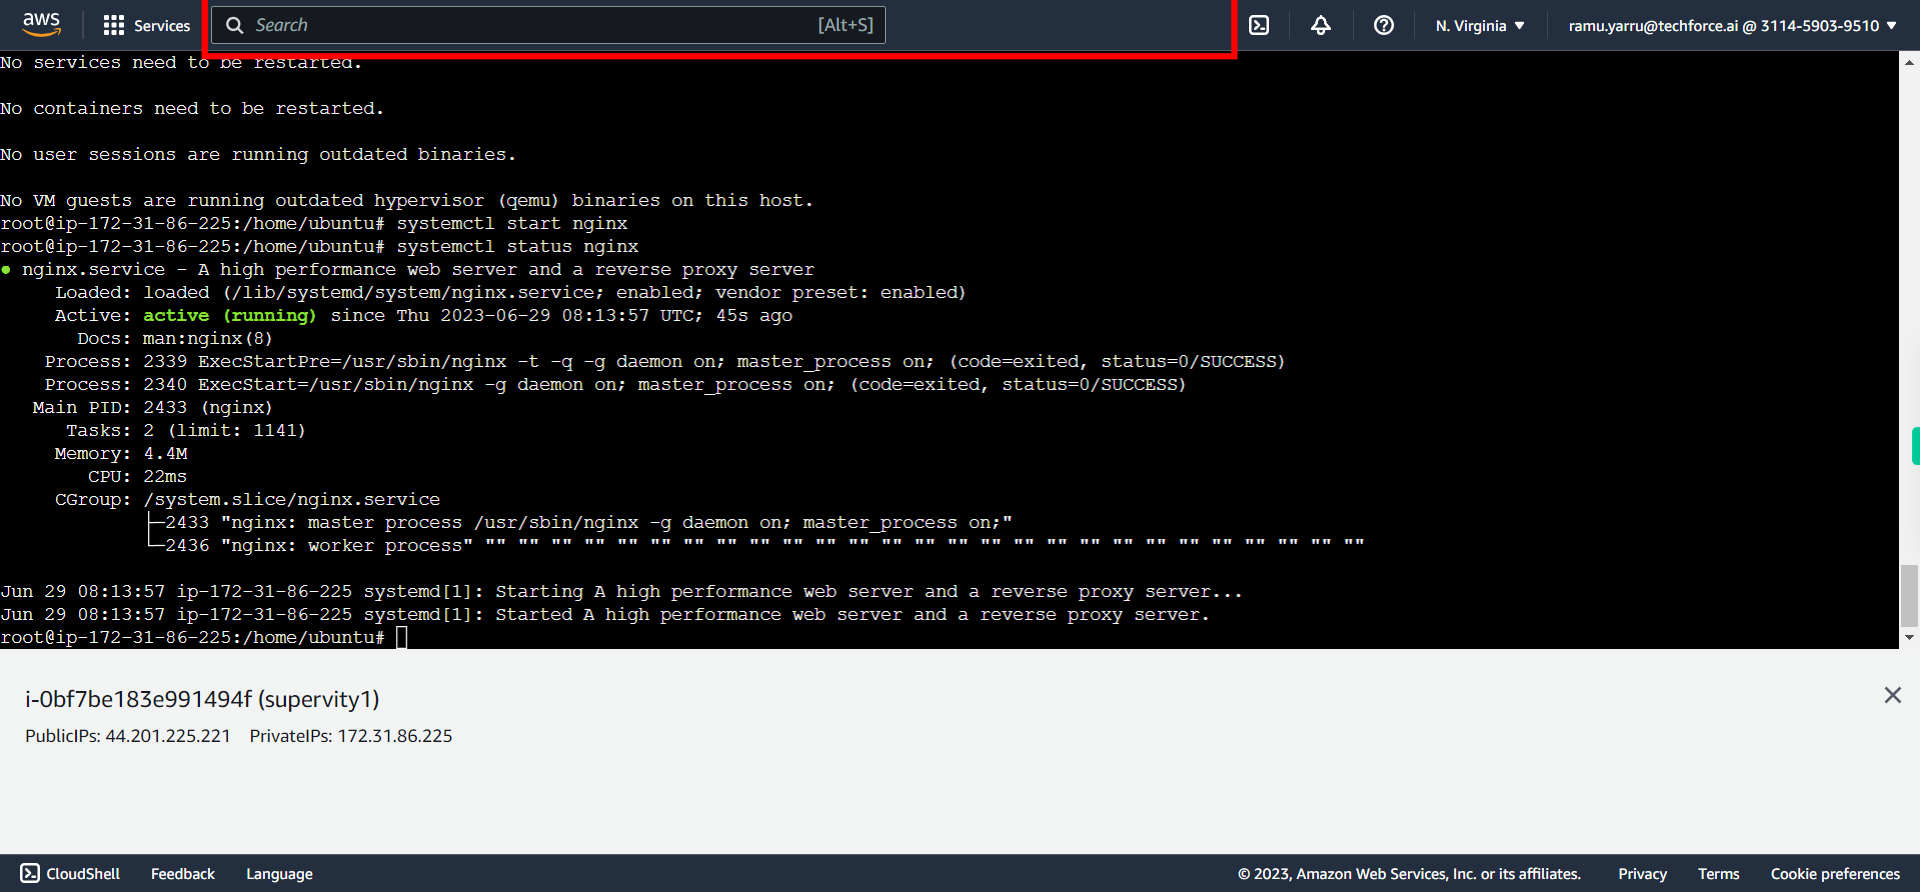
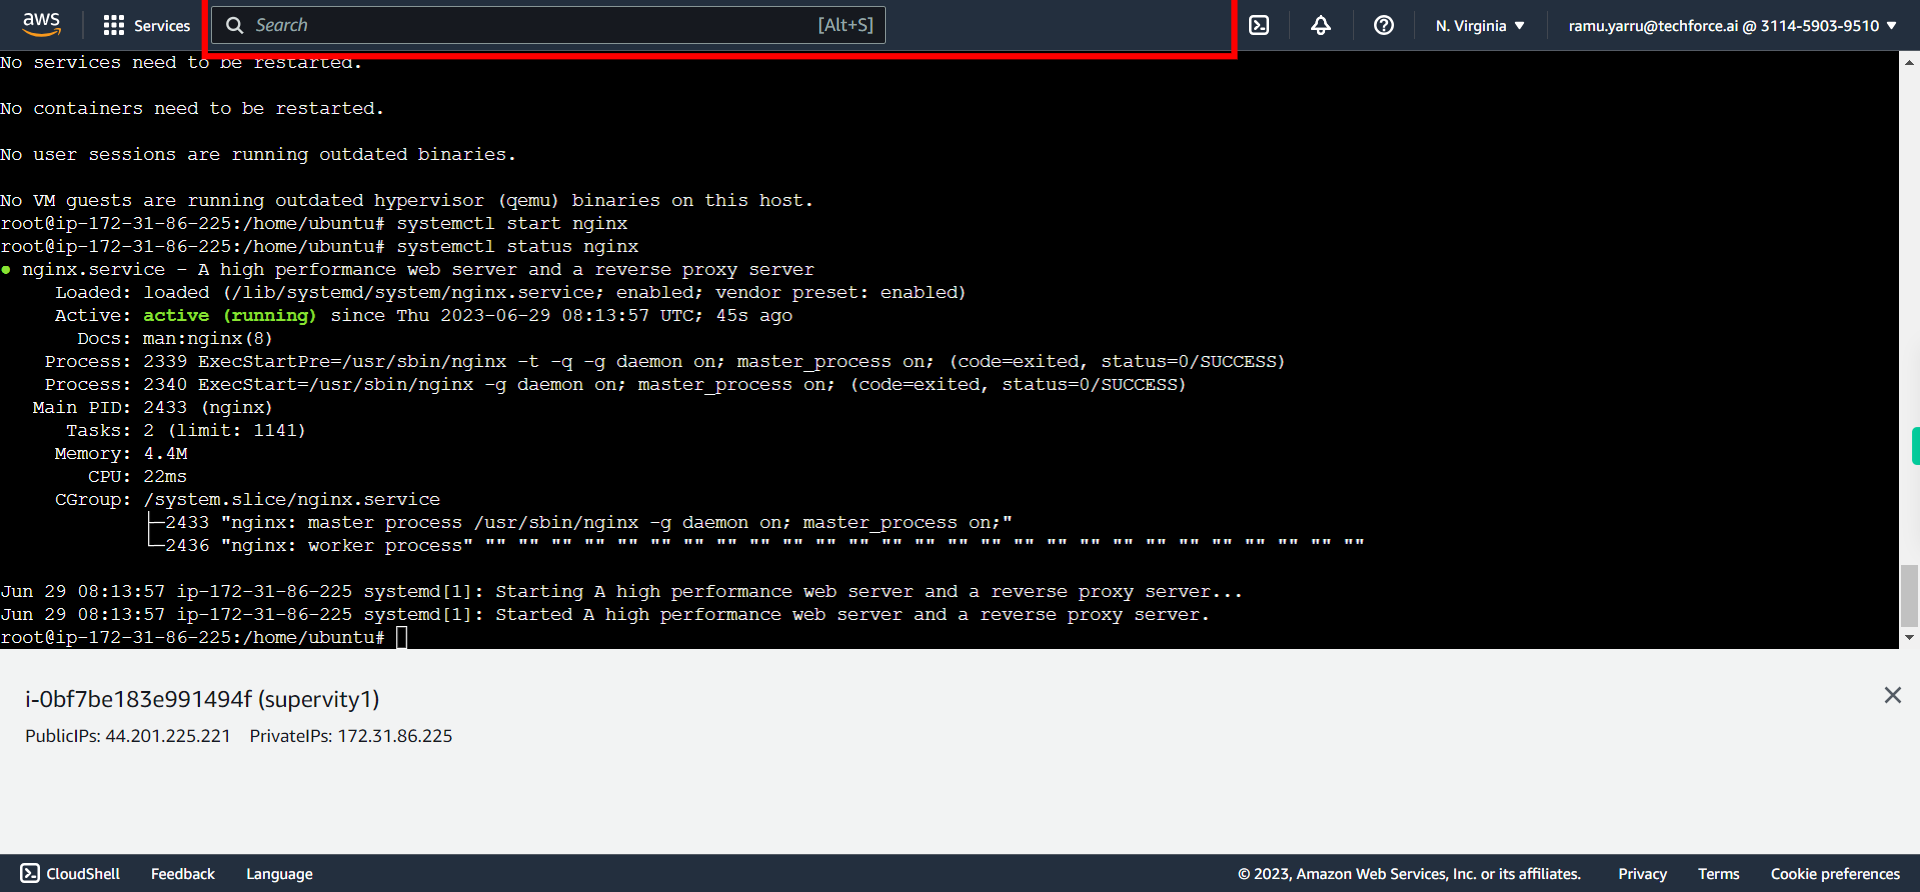
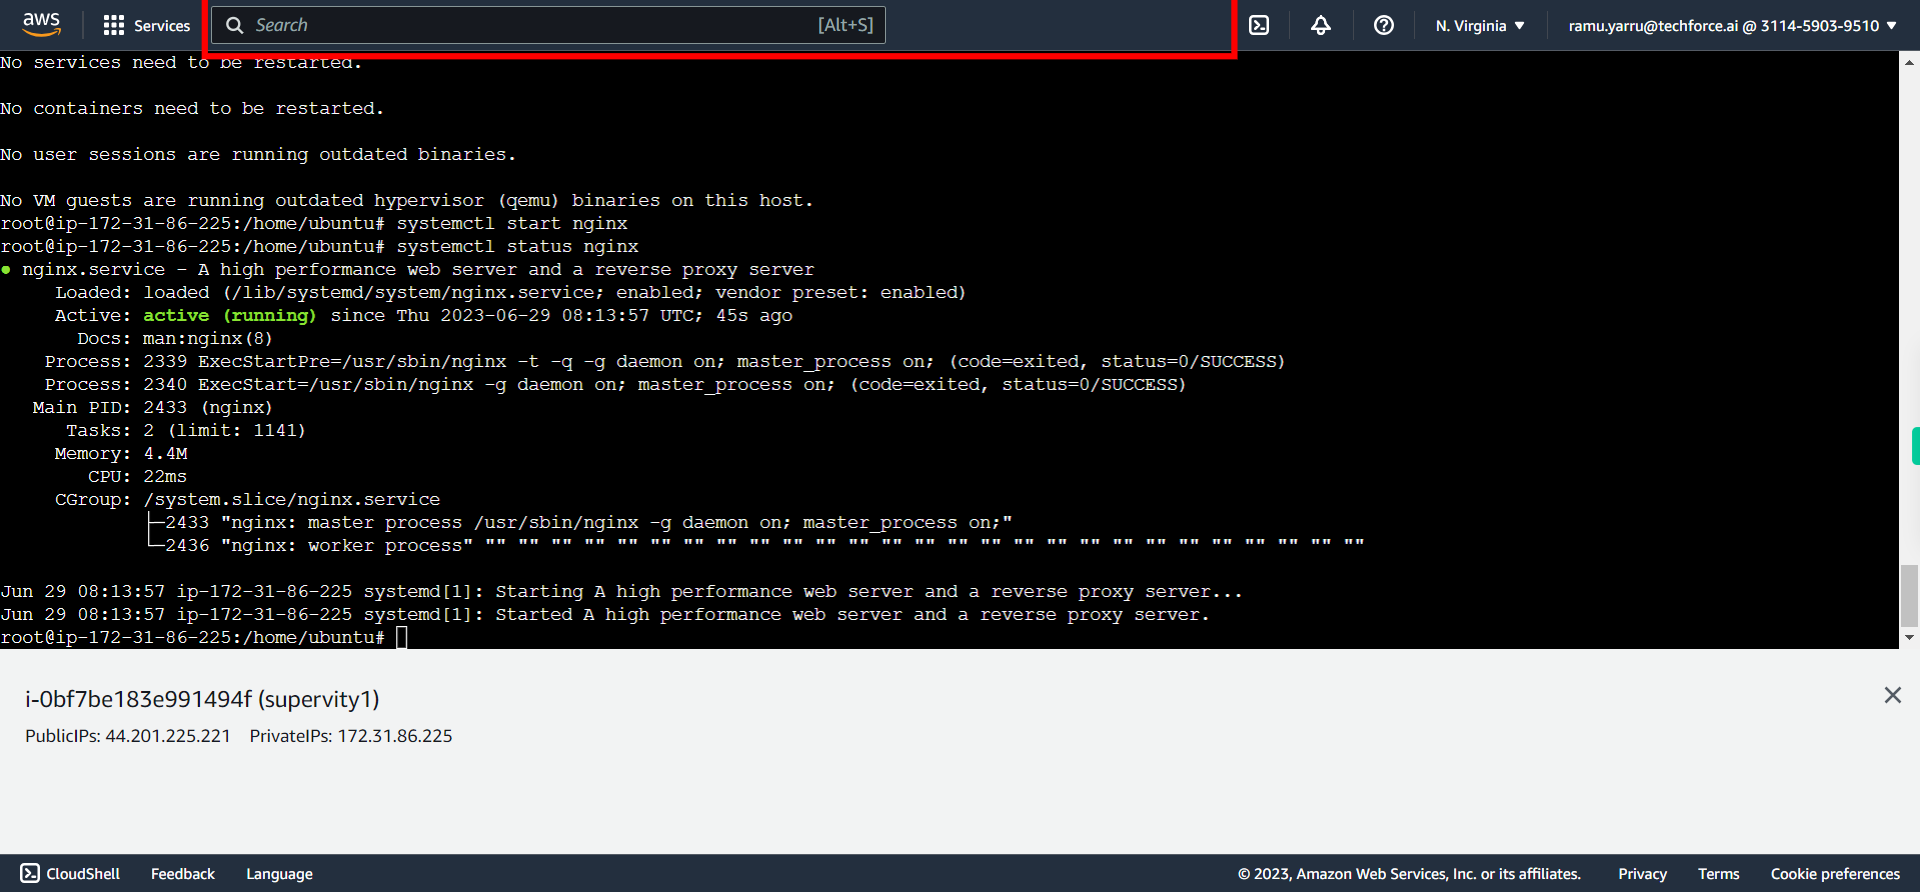
By default nginx service will be in stop mode, we need to start it manually. To start nginx server use the command: ``` systemctl start nginx ``` Click Next to continue
-
28.
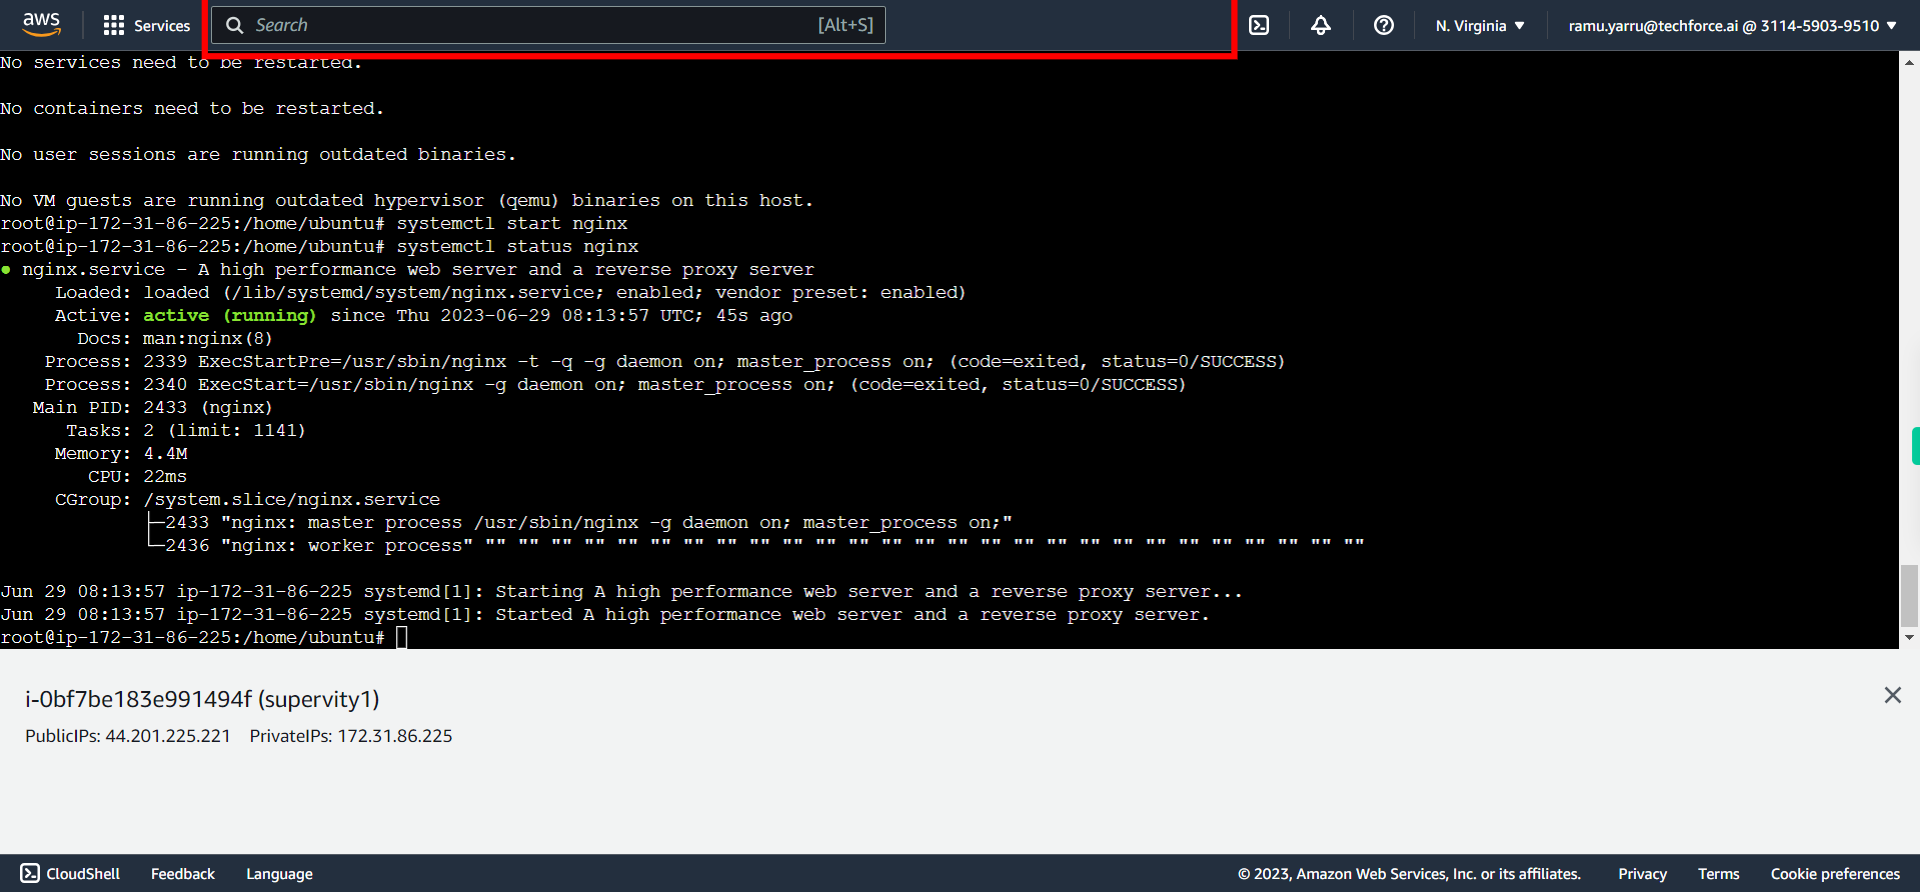
Check the status of the nginx server with the command: ``` systemctl status nginx ``` Click Next to continue
-
29.
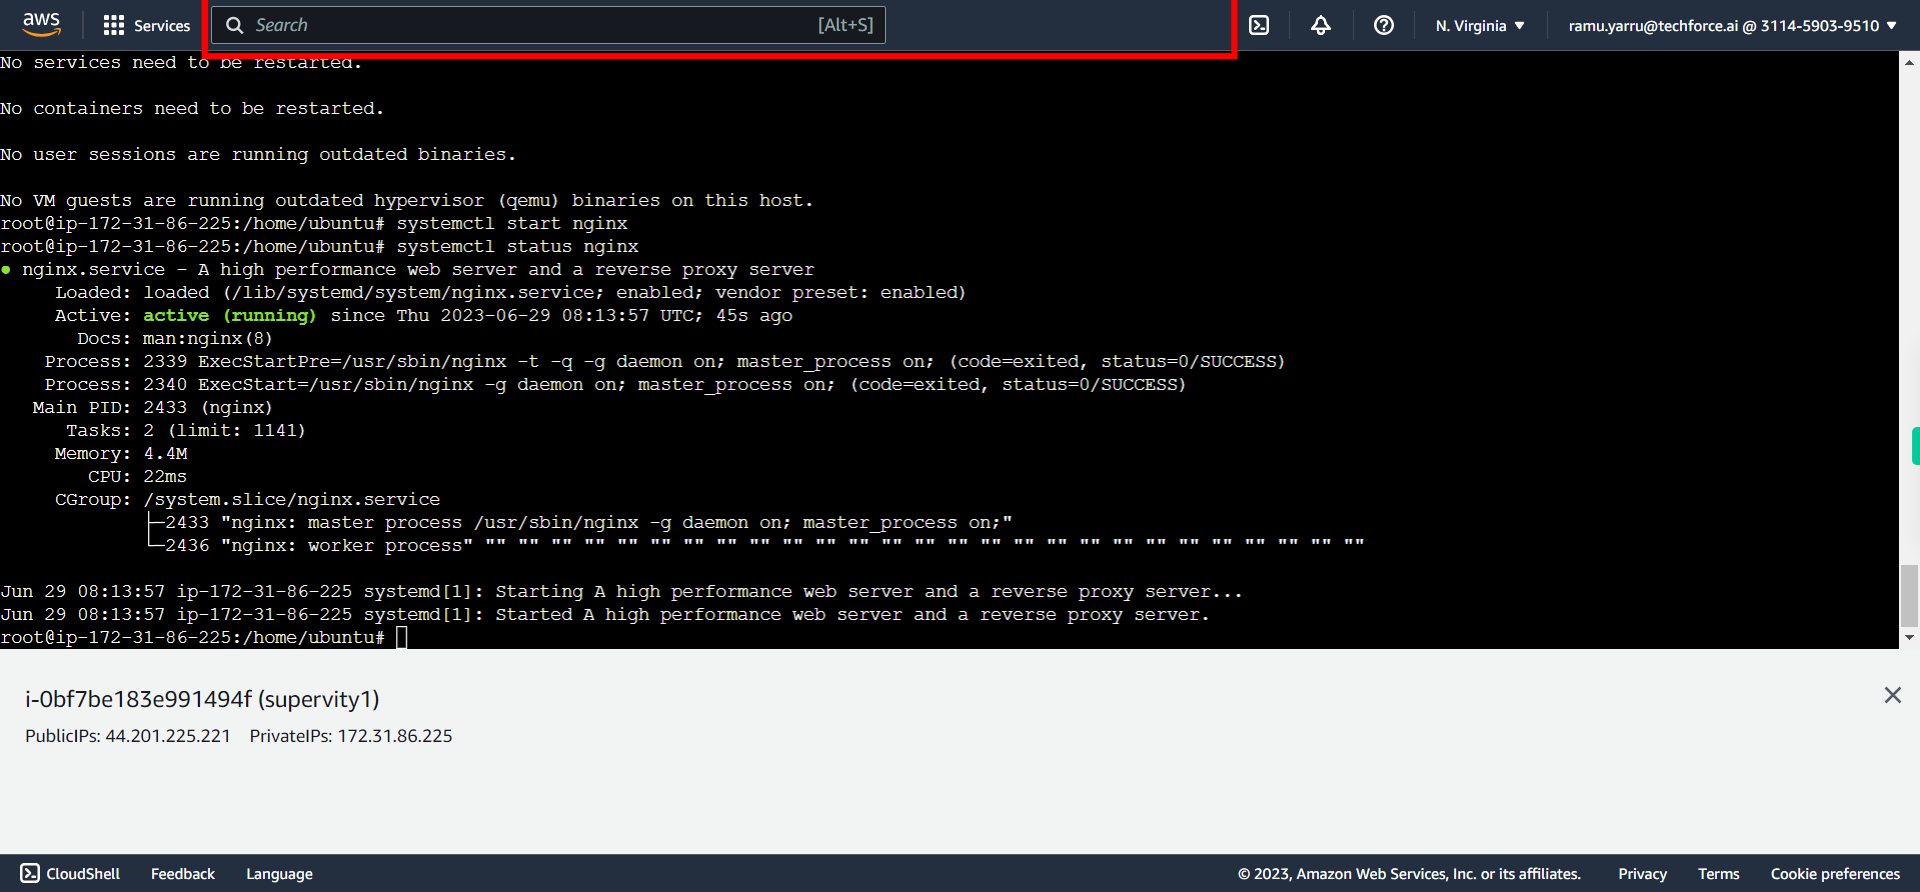
Now you can see that the status is "active(running)". Click Next to continue and Go to your EC2 Management Console.
-
30.
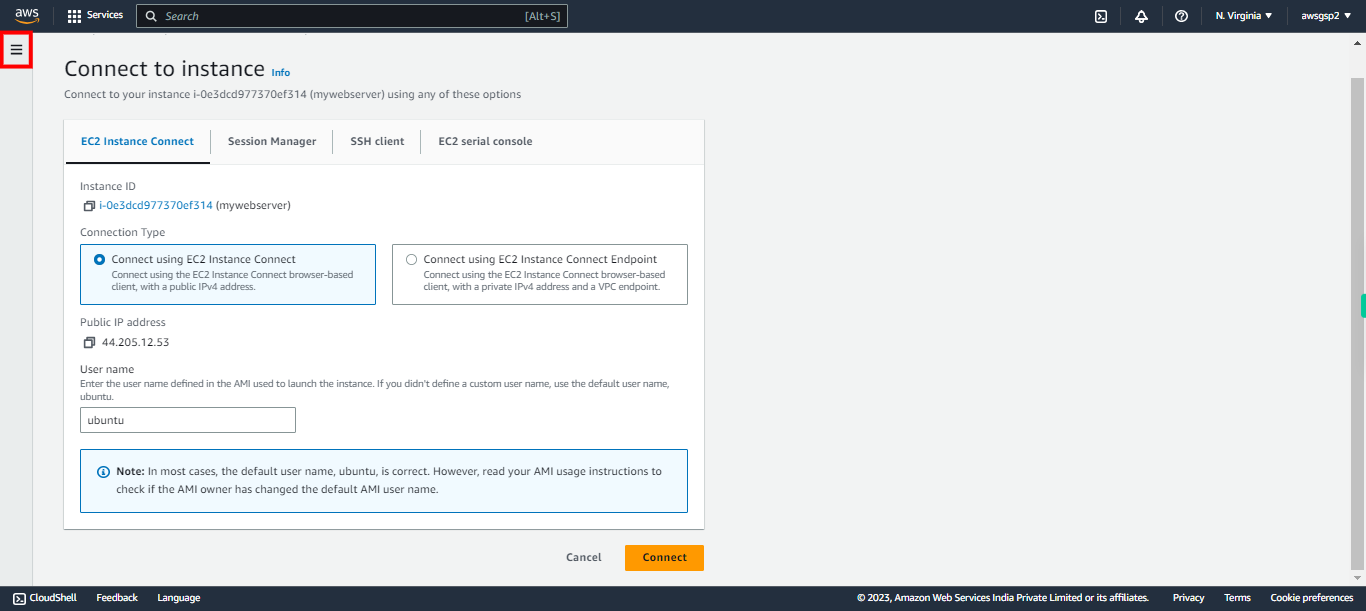
Click Open navigation drawer
-
31.
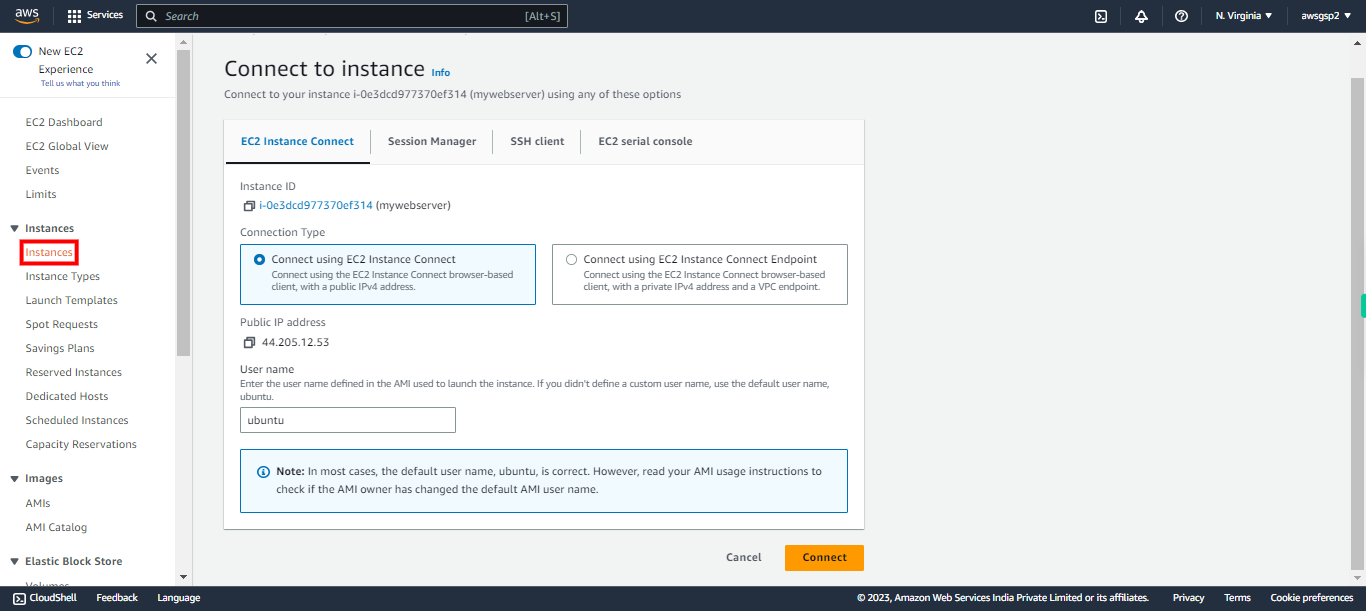
Click Instances
-
32.
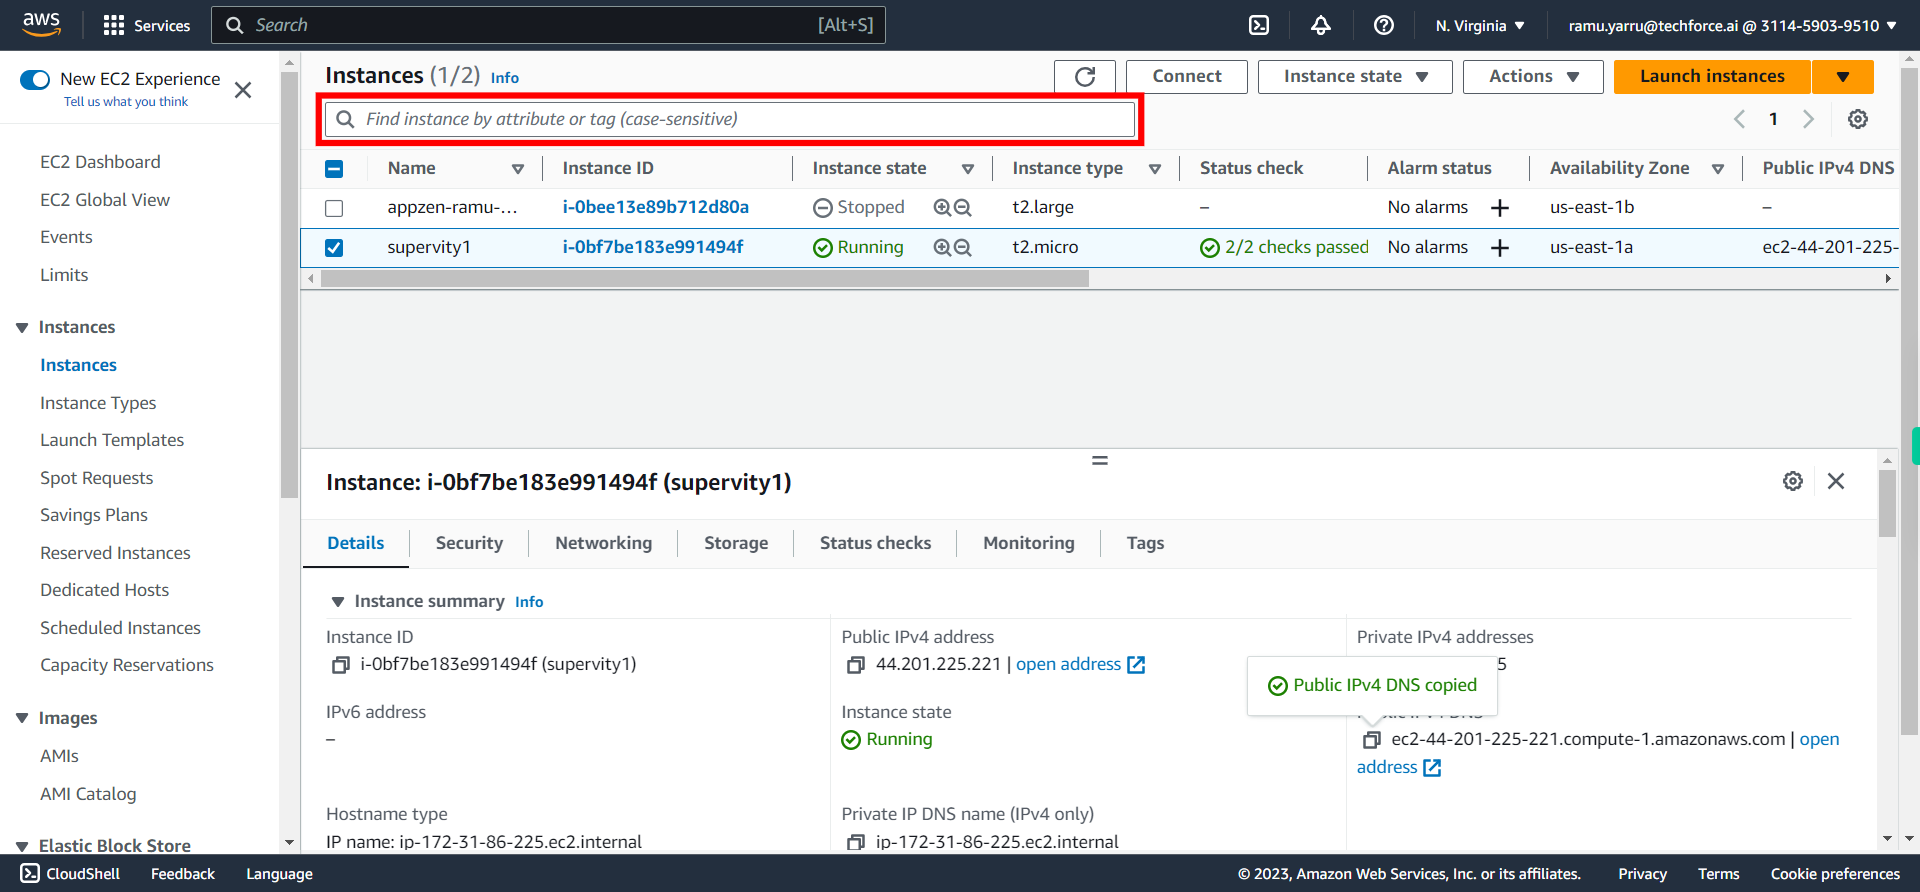
Search for your instance from the below list and select it. Click Next to continue.
-
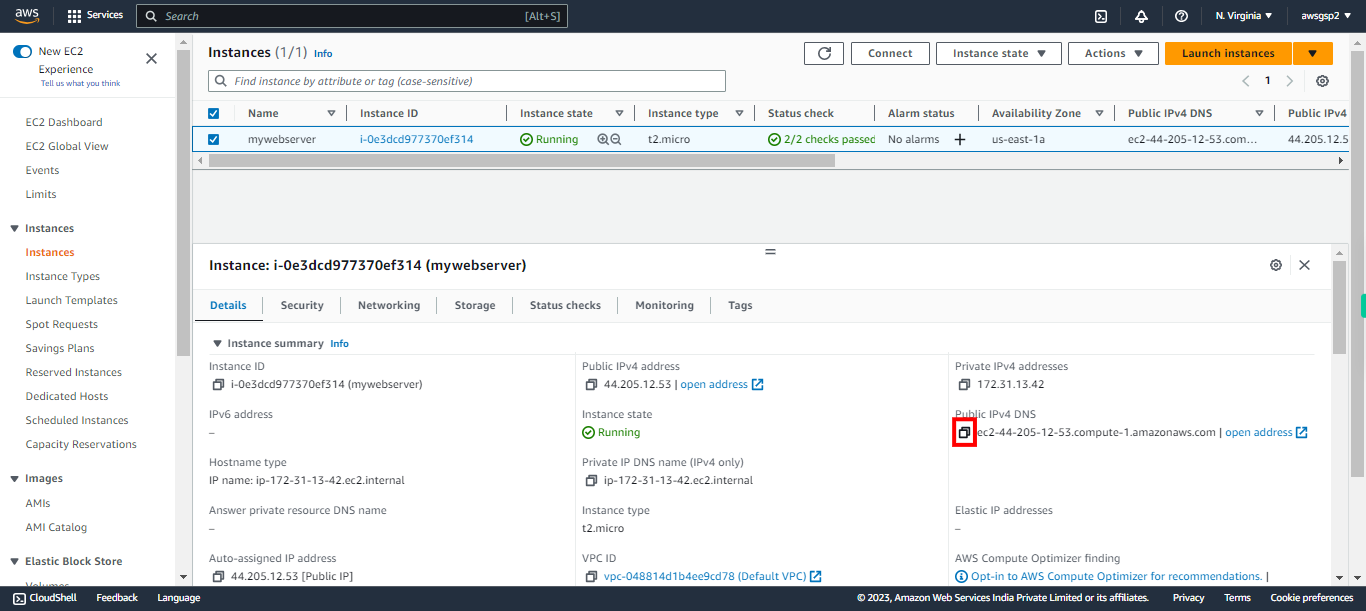
33.
Copy Public DNS of your Instance and paste it in another web browser. You will see default page of web server (nginx). If your walkthrough is success,the web page will be displayed.
