This skill helps you to upload files into the GitHub repository. Pre-Requisites: Ensure that you had a valid GitHub account and at least one repository. and the file size should be less than 25KB. NOTE: Please sign in to your GitHub account and then execute this skill.
-
1.
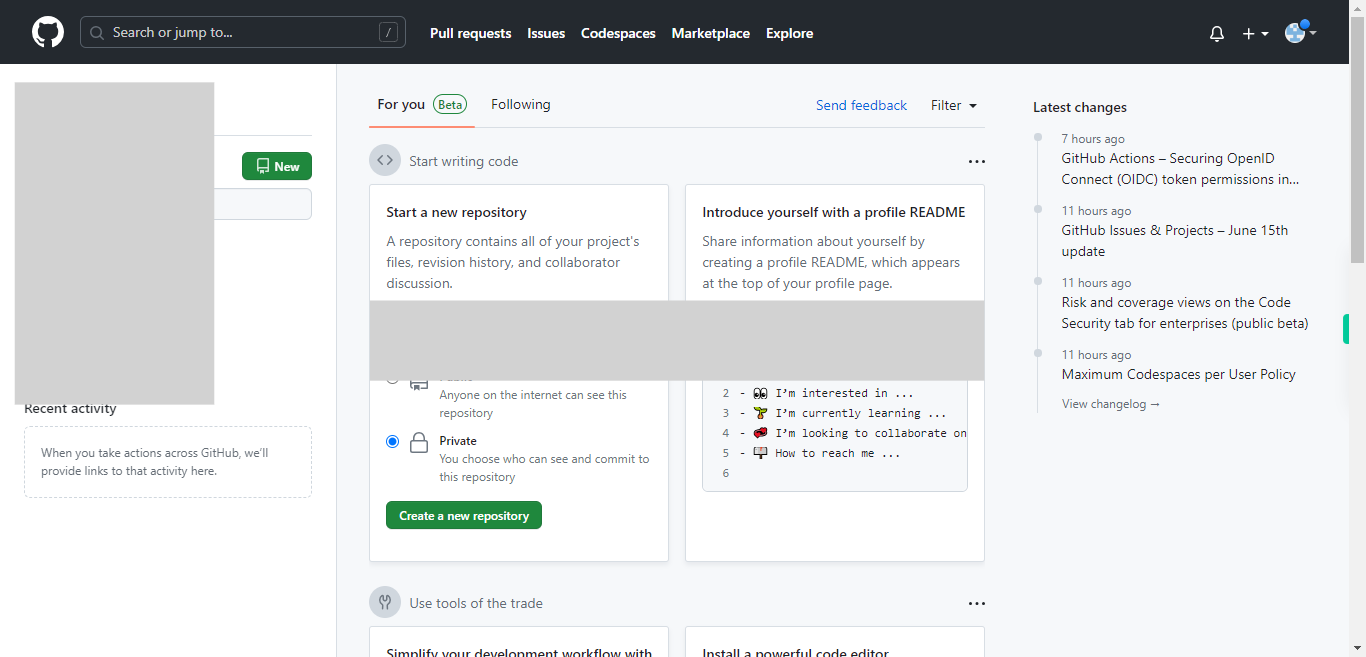
Open GitHub on the web.
-
2.
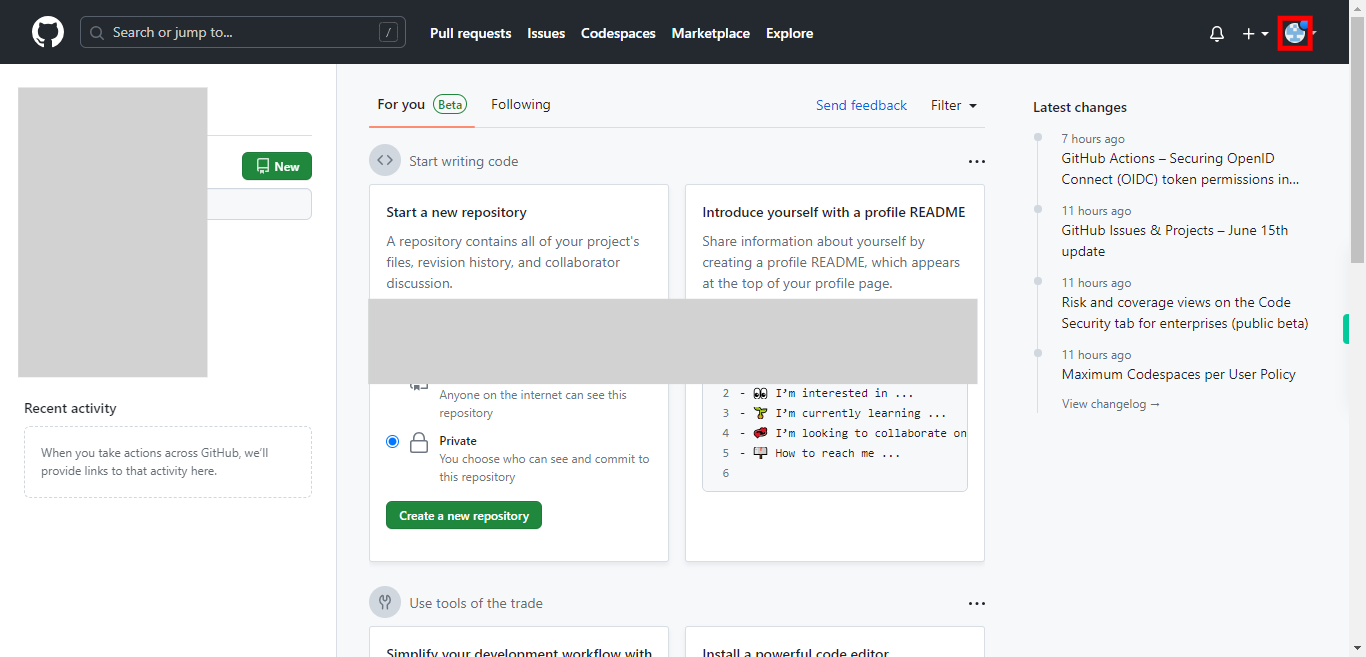
On the GitHub home page, click on your "profile picture" located at the top right corner. A drop-down will appear.
-
3.
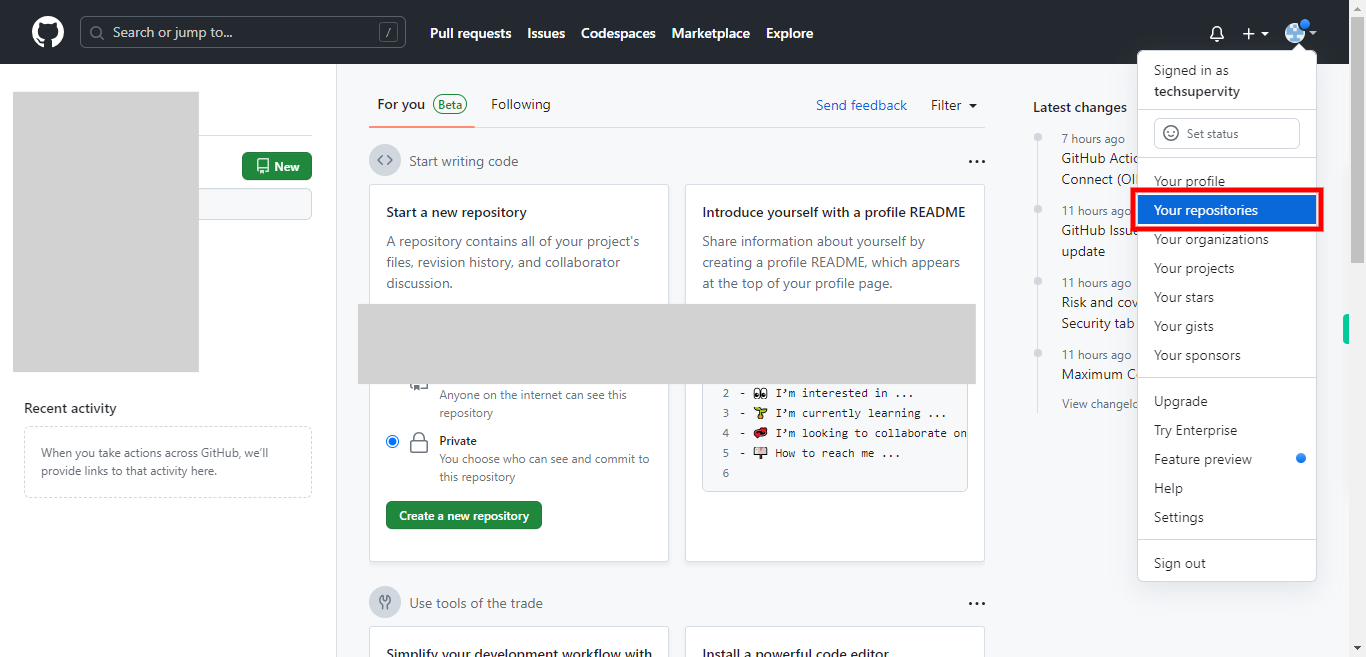
From the drop-down select "Your repositories" and you will be directed to the Repositories page. Select the repository, by clicking on the name of the repository to which you want to upload files.
-
4.
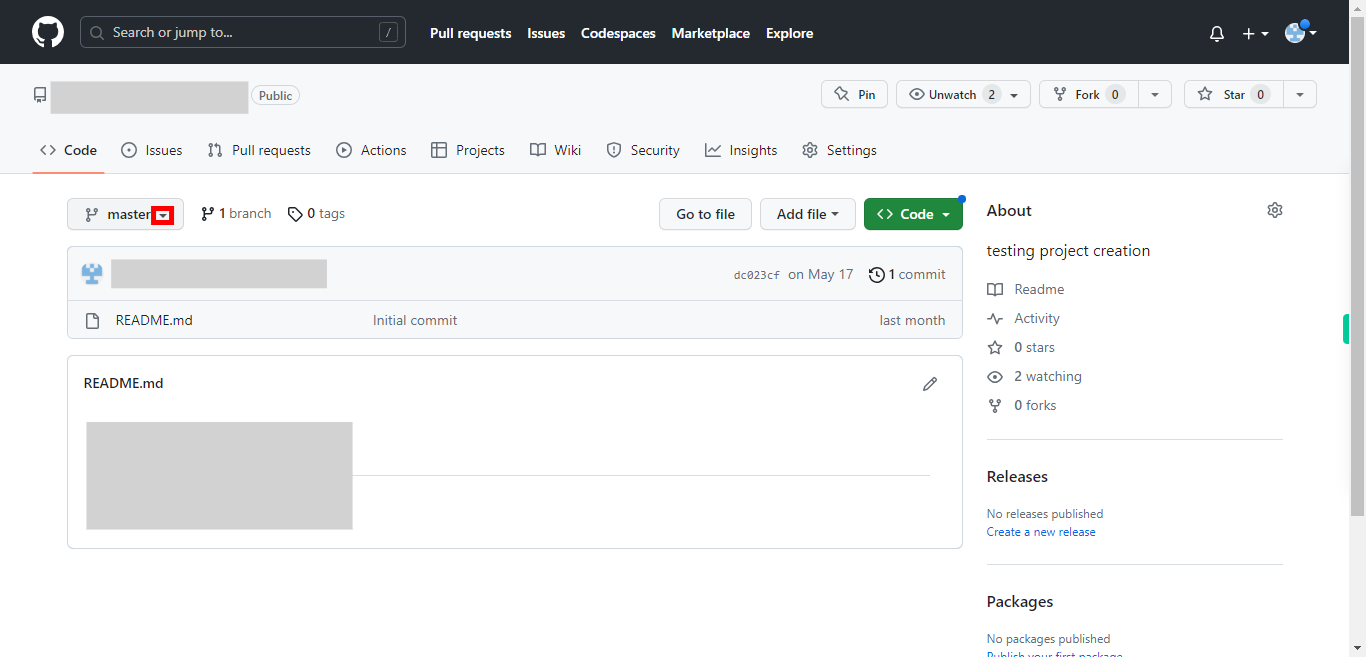
Once you are inside the repository page, select the branch to which you want to upload files. Then click on the "Next" button in the instruction widget.
-
5.
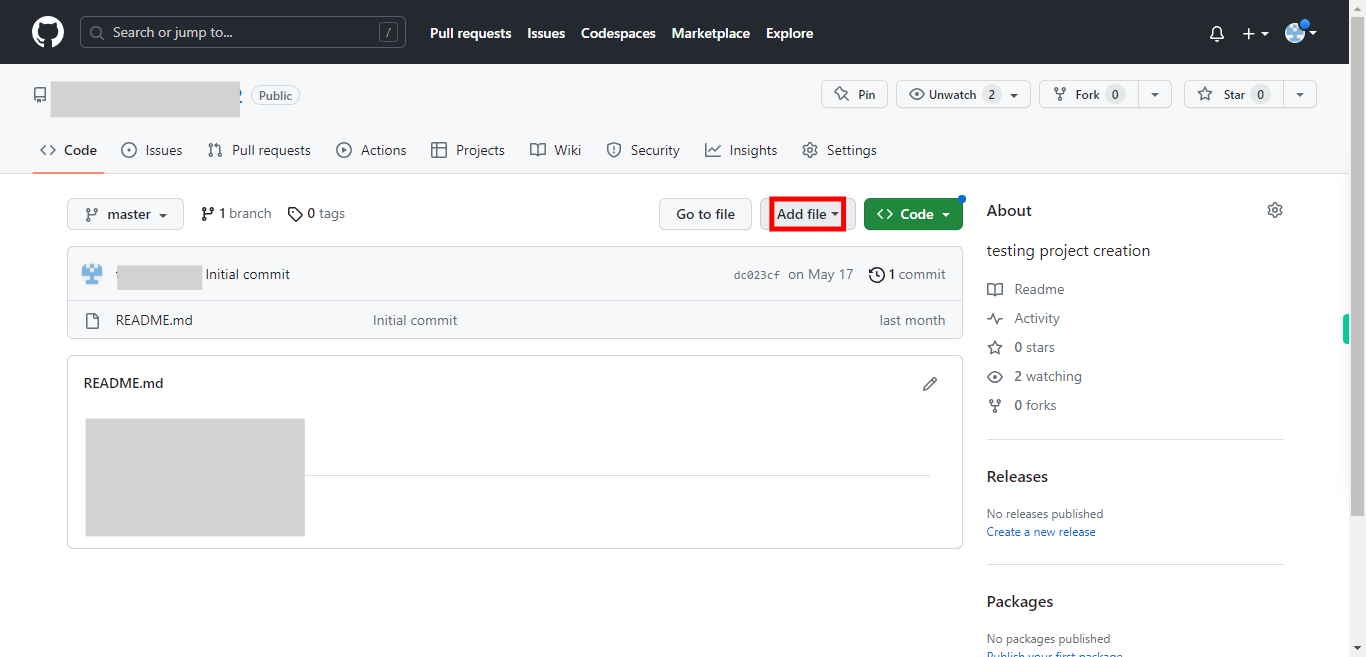
Click on the "Add file" drop-down icon to view the options available.
-
6.
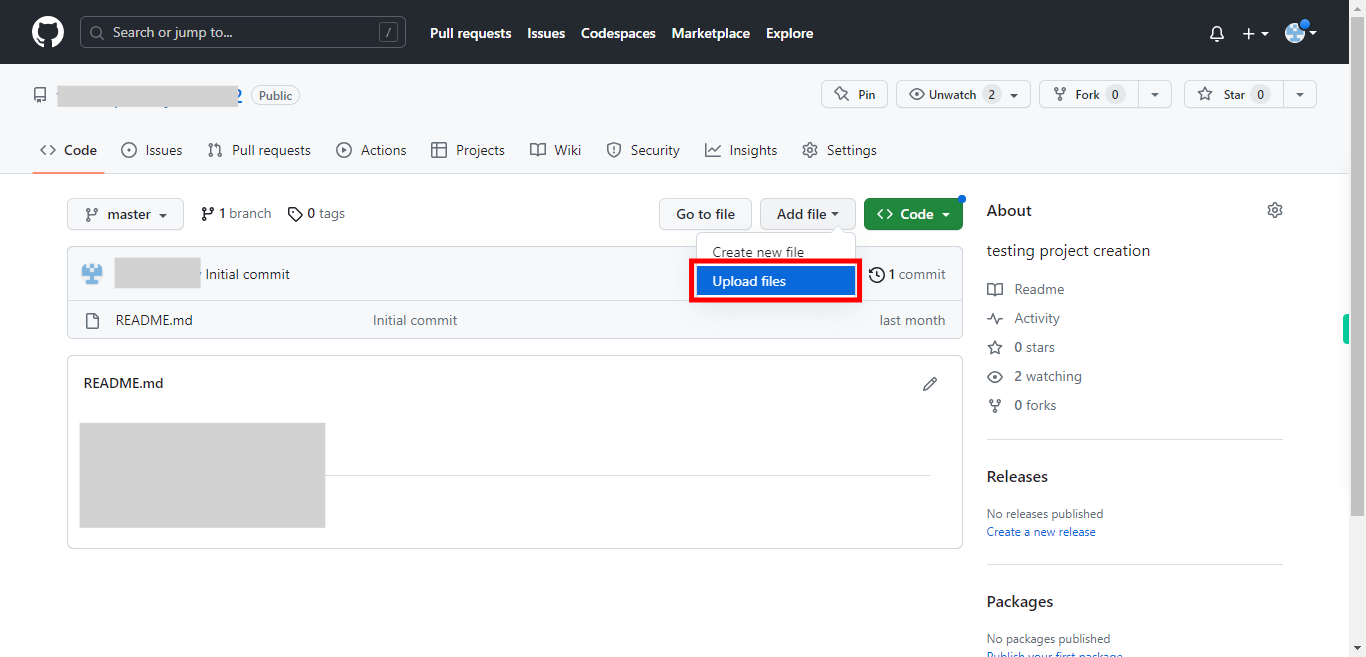
Select the "Upload files" option to upload files to the selected repository and the branch. You will be directed to a window where you can drag and drop the files or can upload the files of your choice, by browsing from your local machine. NOTE: Ensure that the file size should not exceed 25MB.
-
7.
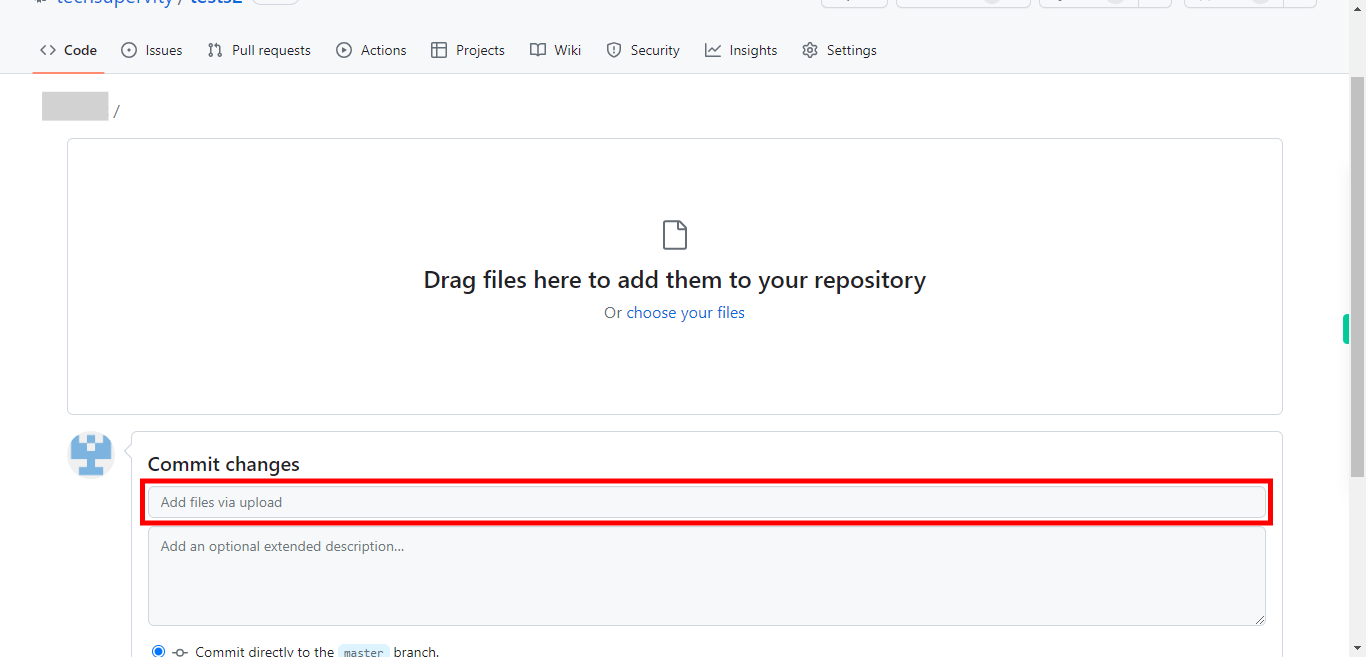
Once you have uploaded the files either by drag and drop or by browsing locally. Add the comment or text related to the uploaded files in the text box provided under the commit changes tab.(like the file is what about and the content.) Then click on the "Next" button in the Supervity instruction widget. Note: Make sure that the comment does not exceed 50 characters.
-
8.
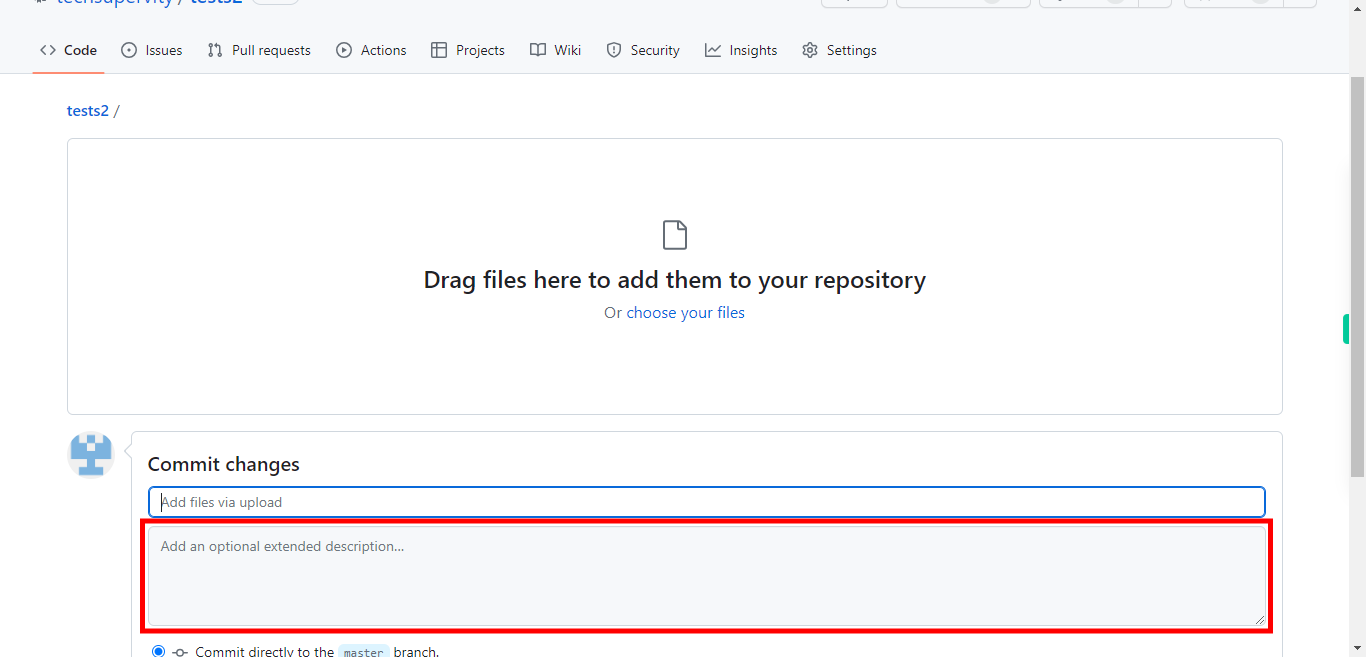
Here you can add the extended description of the file. You can brief the file. Then click on the "Next" button in the Supervity instruction widget.
-
9.
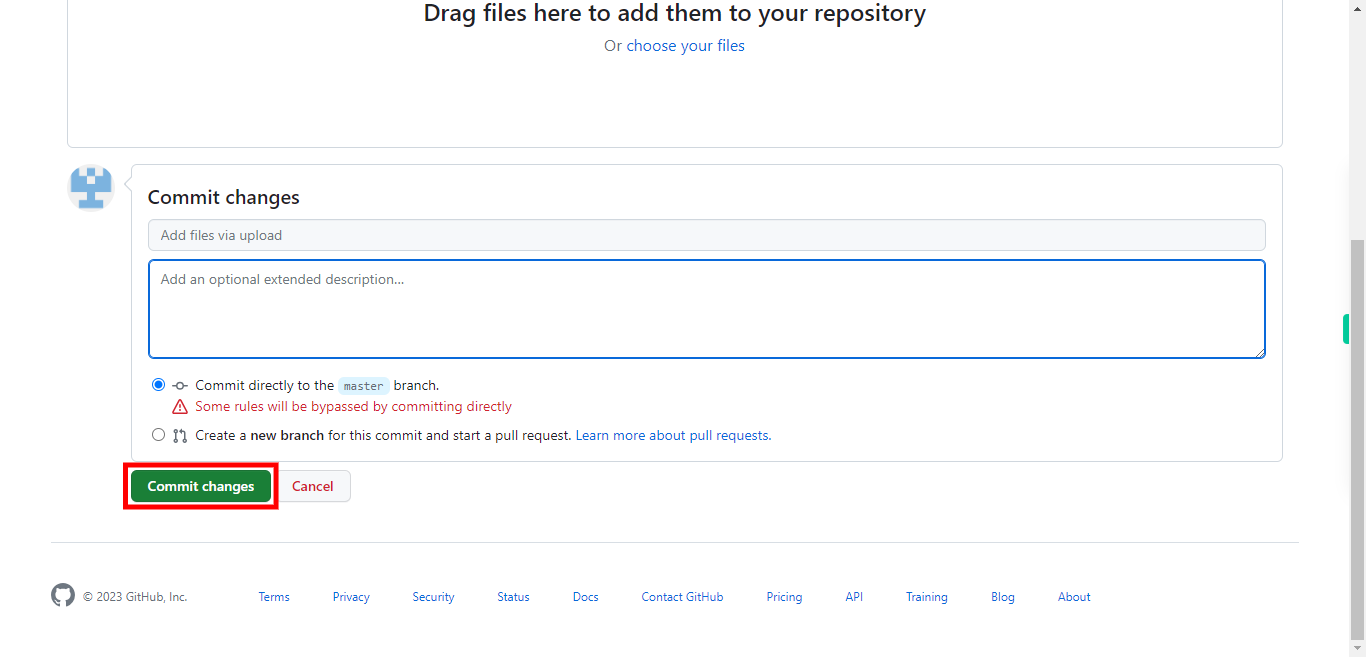
Once you are done with adding all the details of the file, click on the "Commit changes" button.


