This skill helps to walk you through in Creation of the Network Security Group by step by step assistance. Note: Ensure you have access to a subscription in the Azure Portal with sufficient privileges to perform skill successfully. Prerequisite: Login to portal.azure.com beforeand. Tags: Azure, Cloud
-
1.
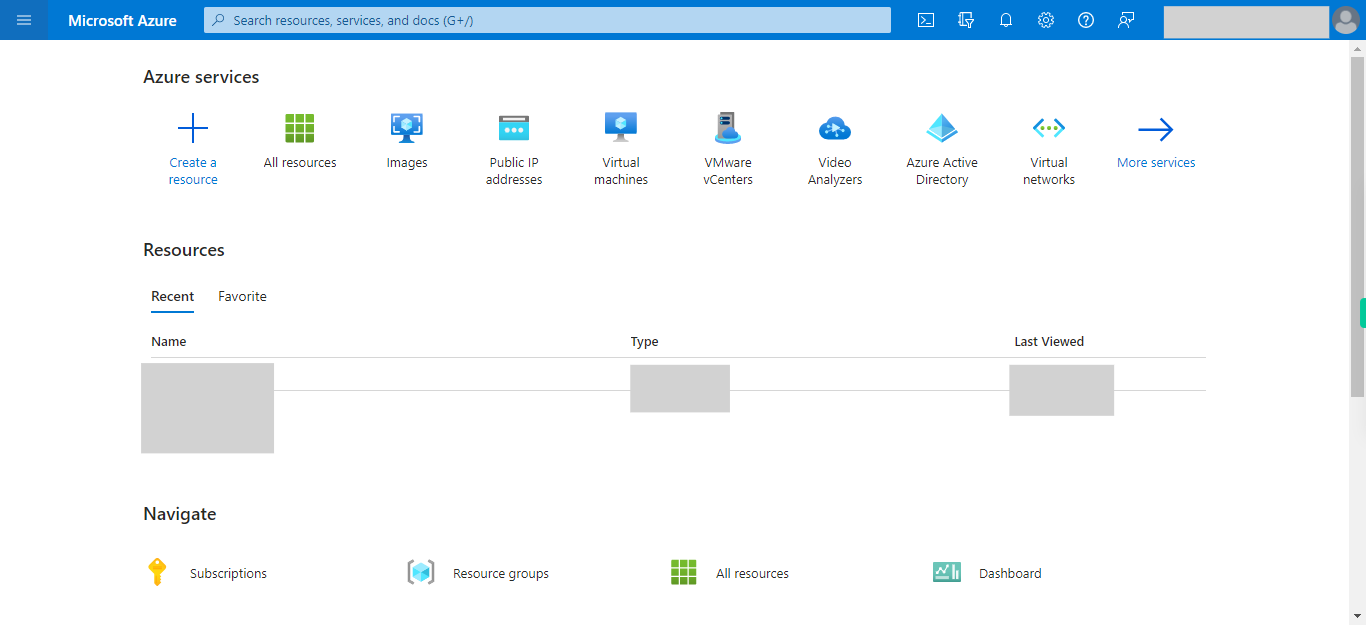
open Home - Microsoft Azure
-
2.
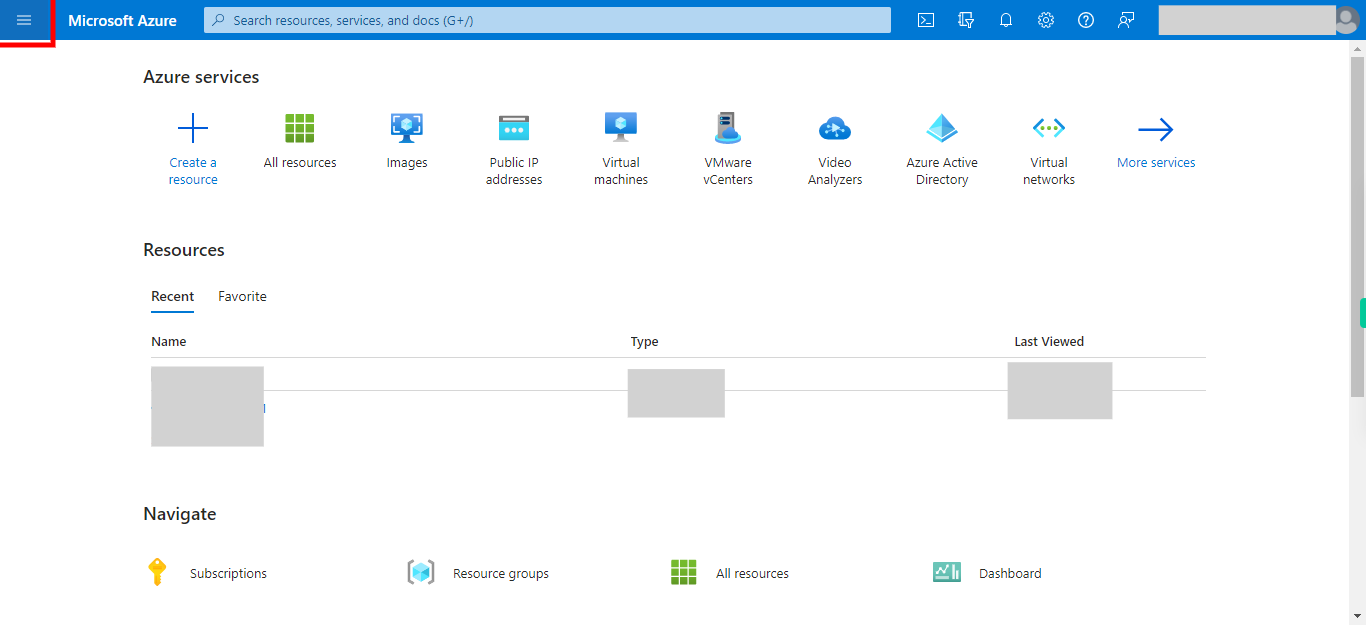
1. Click Show portal menu
-
3.
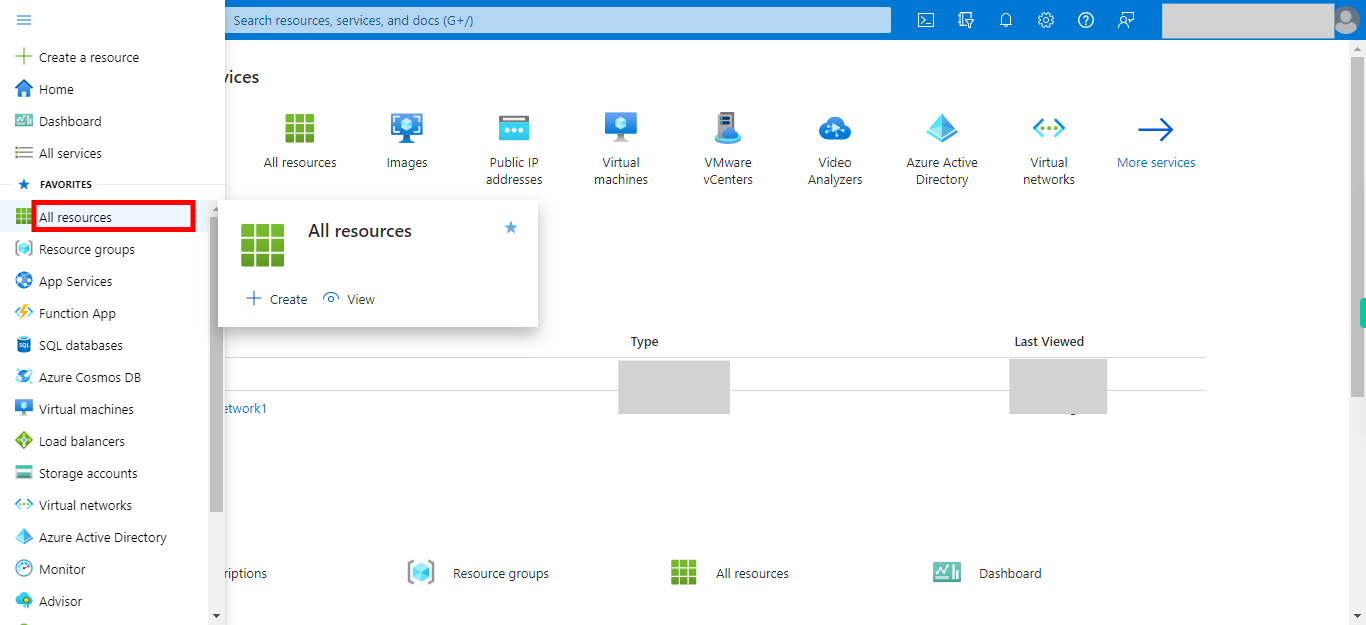
2. Click __All resources__.
-
4.
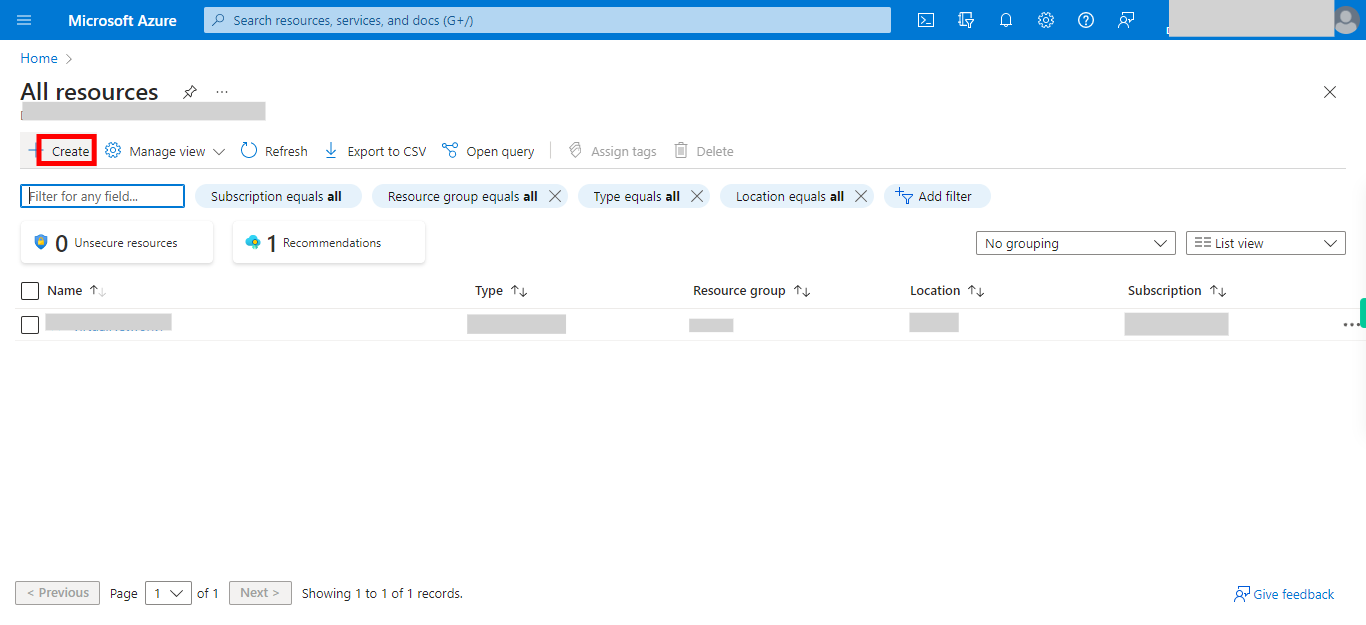
3. Click __Create__.
-
5.
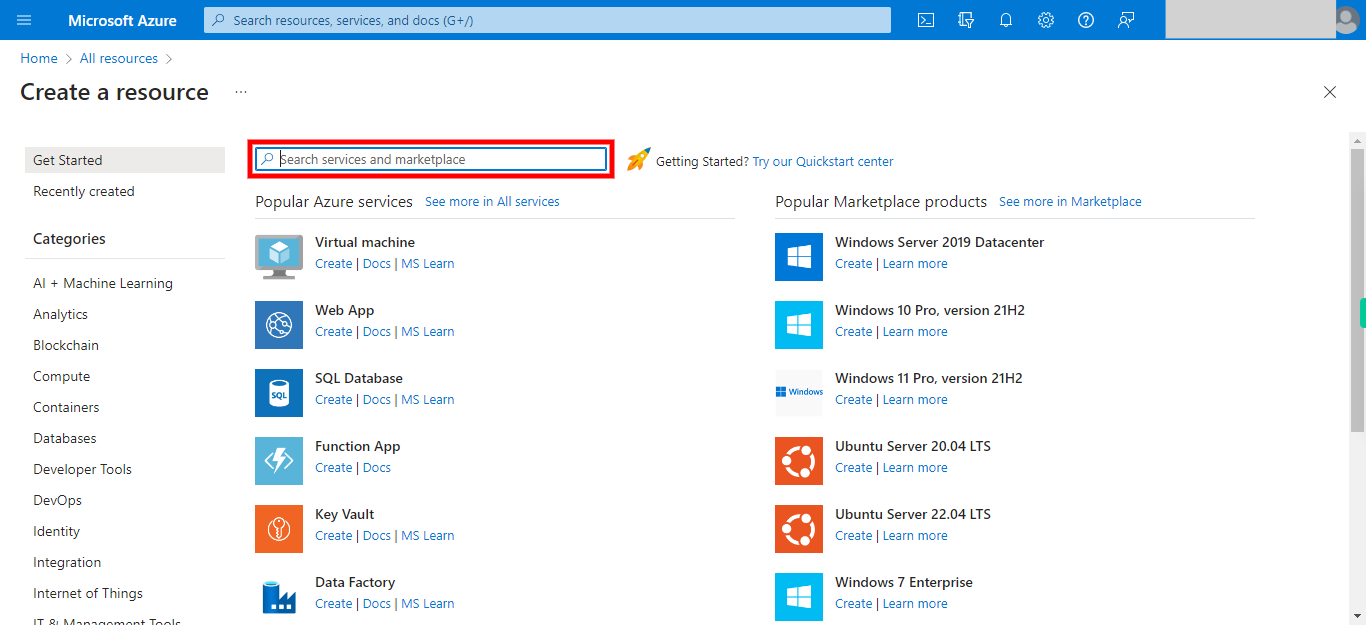
4. Click on Search and type service name as __Network Security Group__. Once done, click on the Next button on the Supervity instruction widget.
-
6.
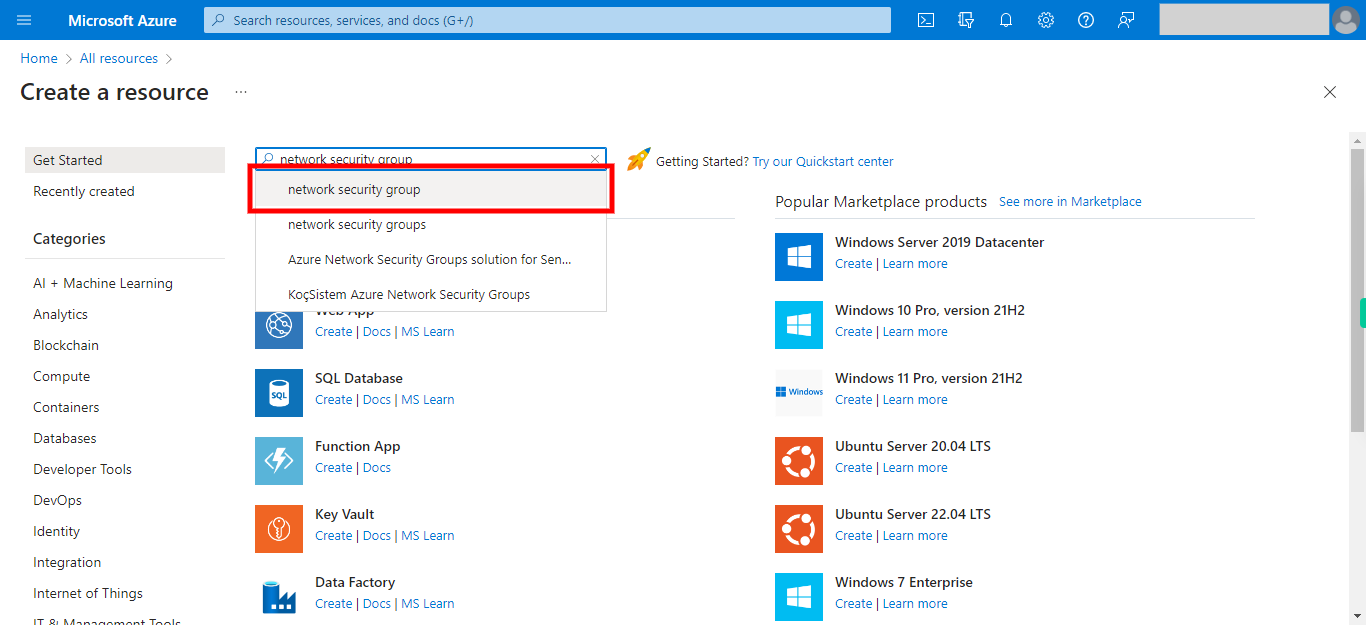
5. Click __network security group__.
-
7.
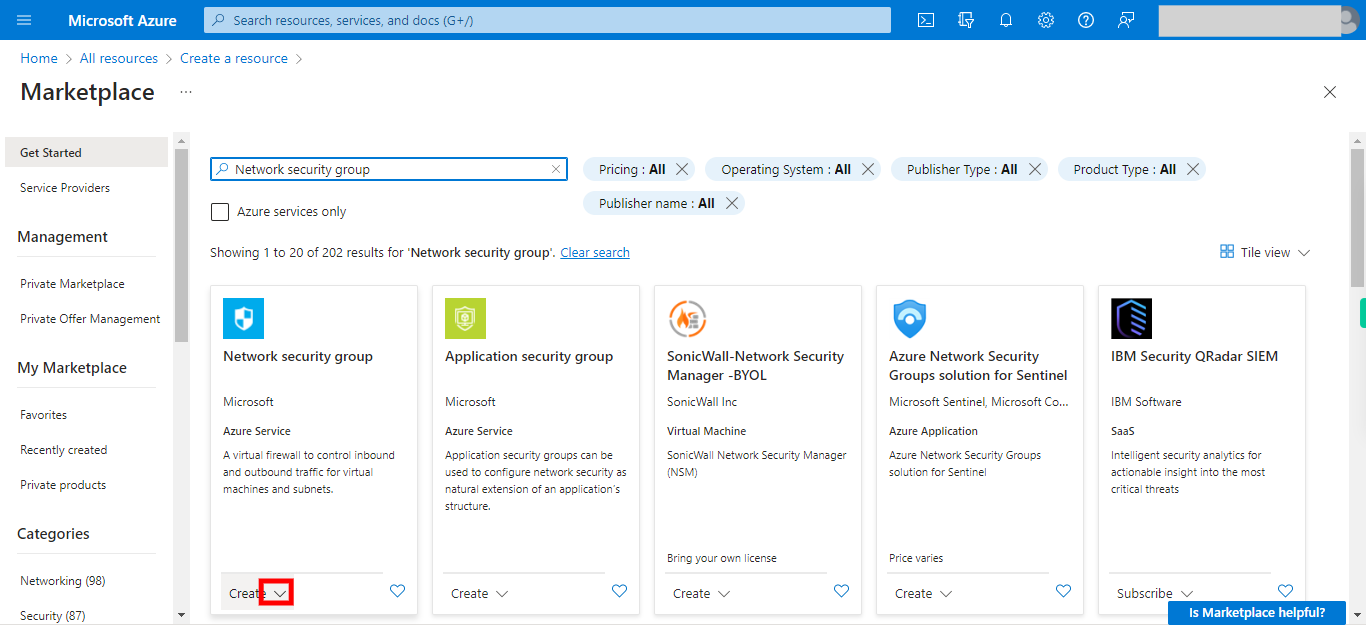
6. Click on __Create__.
-
8.
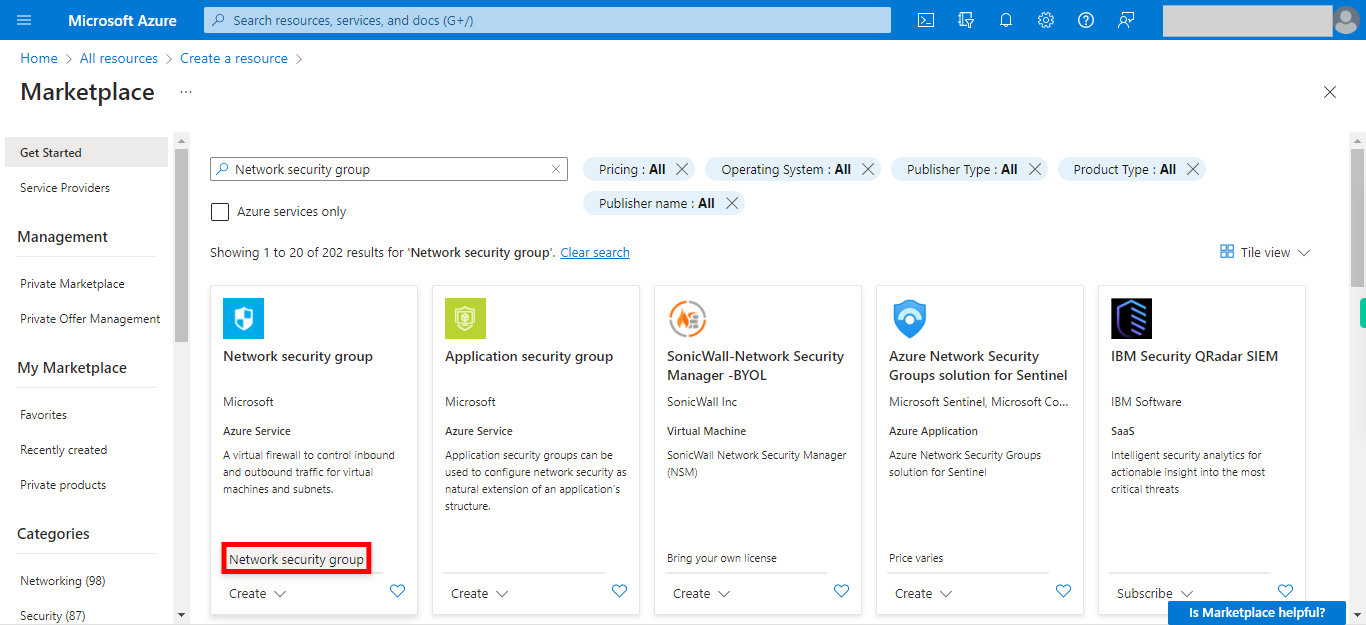
7. Click __Network security group__.
-
9.
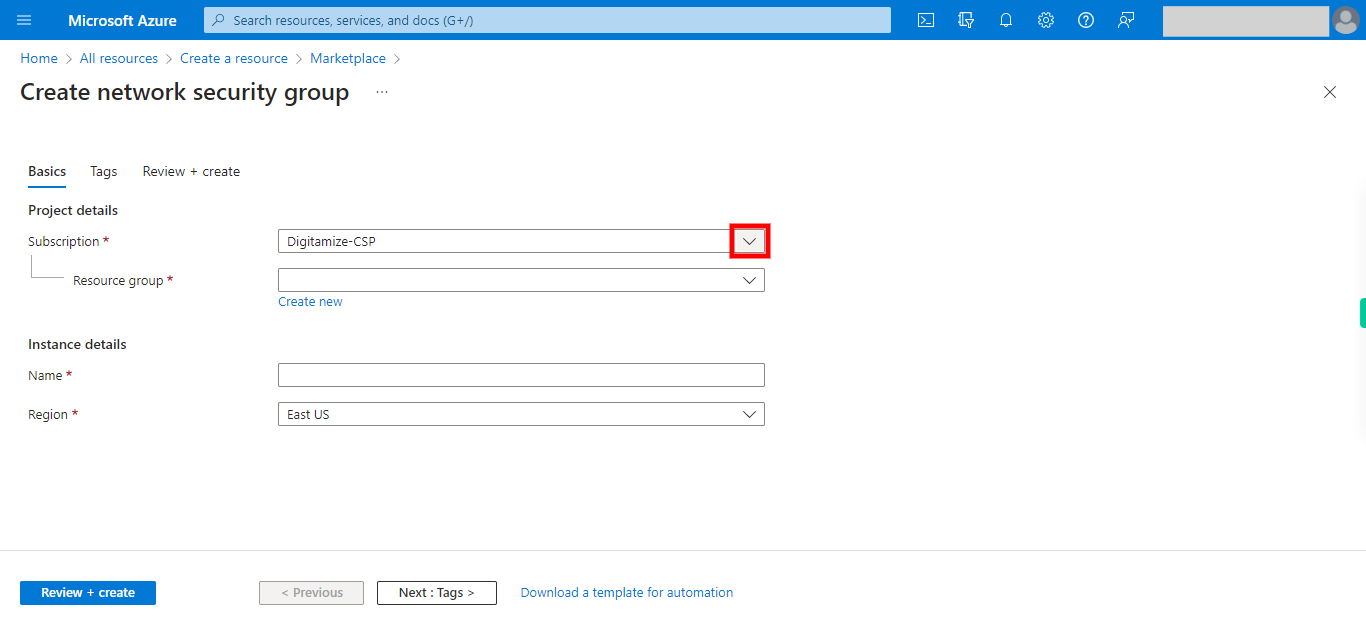
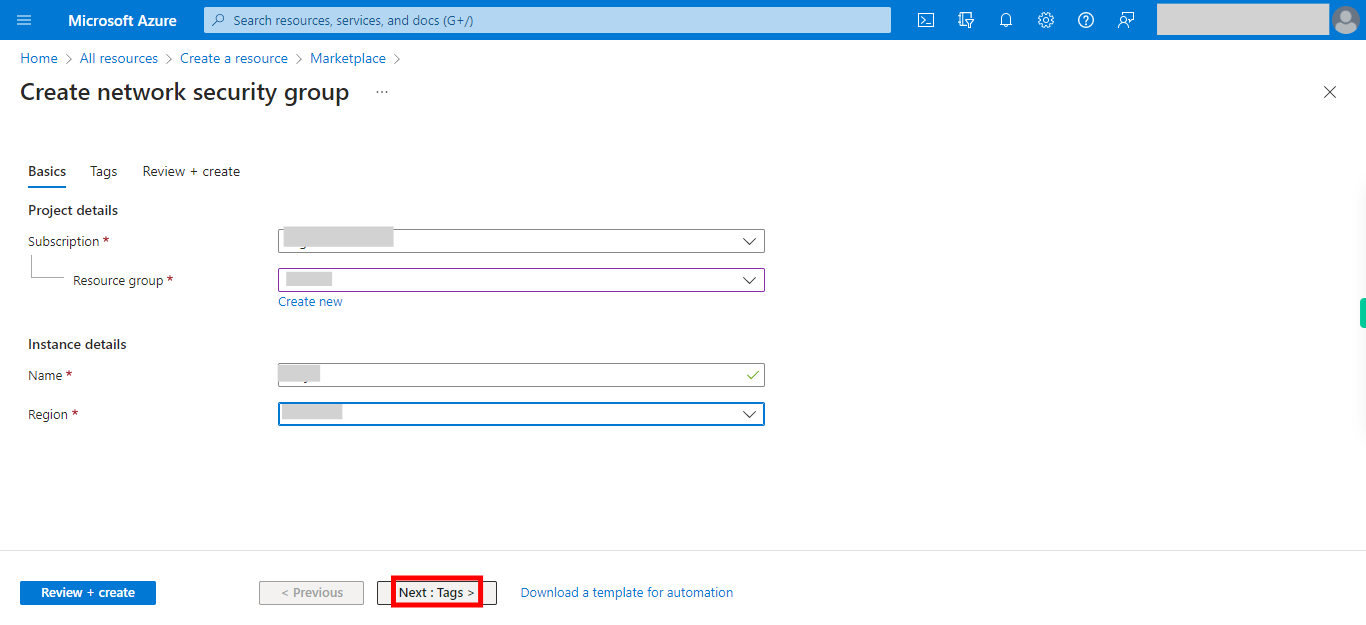
8. Click Toggle and select the subscription. Once done, click on the Next button on the Supervity instruction widget.
-
10.
9. Click Toggle select/type resource group. Once done, click on the Next button on the Supervity instruction widget.
-
11.
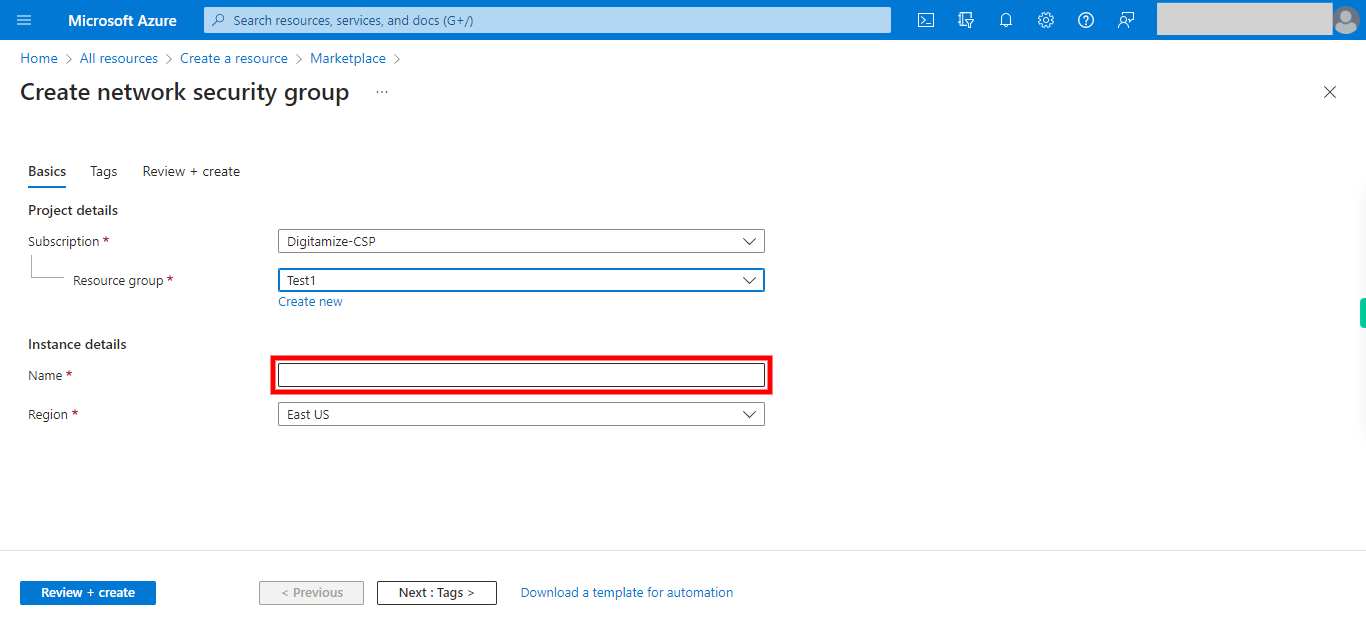
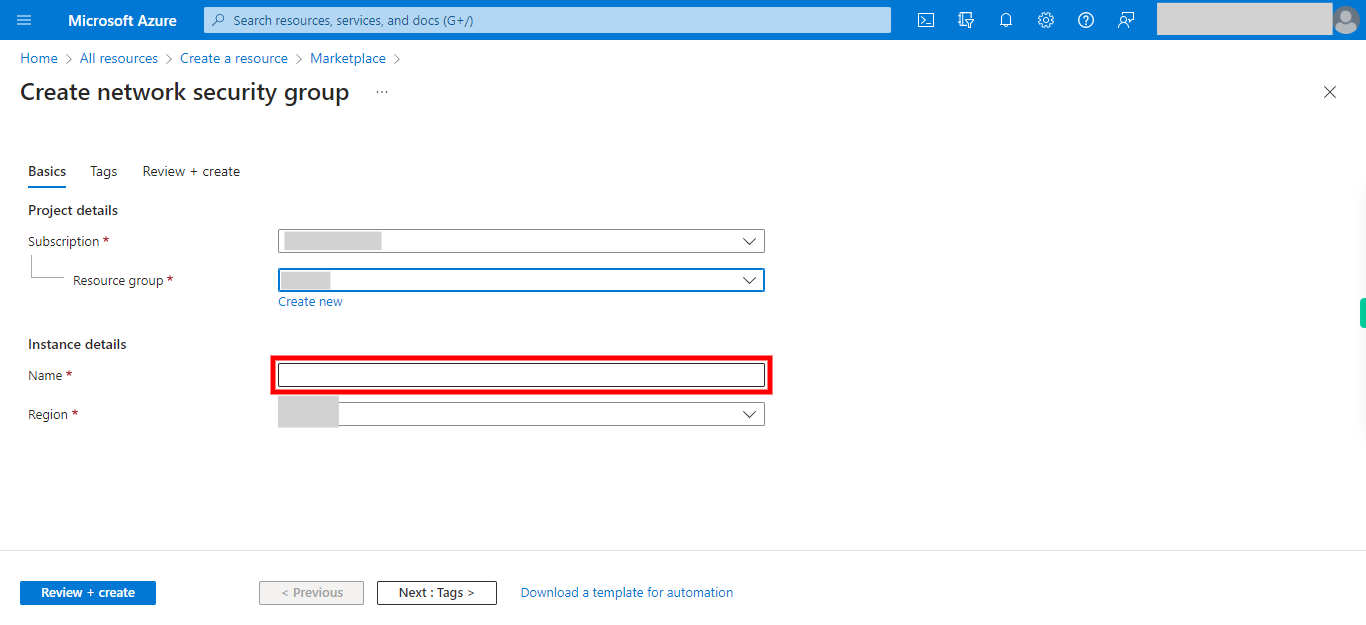
10. Click Name and type name then click on next. Once done, click on the Next button on the Supervity instruction widget.
-
12.
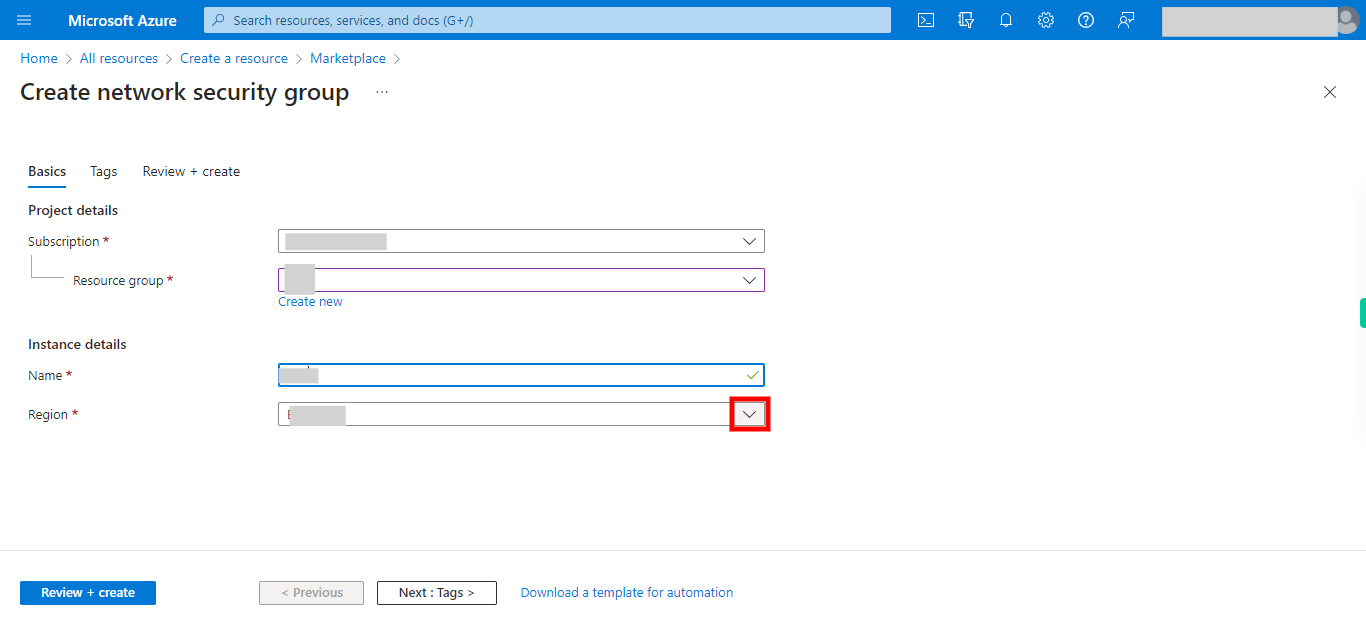
11. Click Toggle and select region then click next. Once done, click on the Next button on the Supervity instruction widget.
-
13.
12. Click __Next : Tags >__.
-
14.
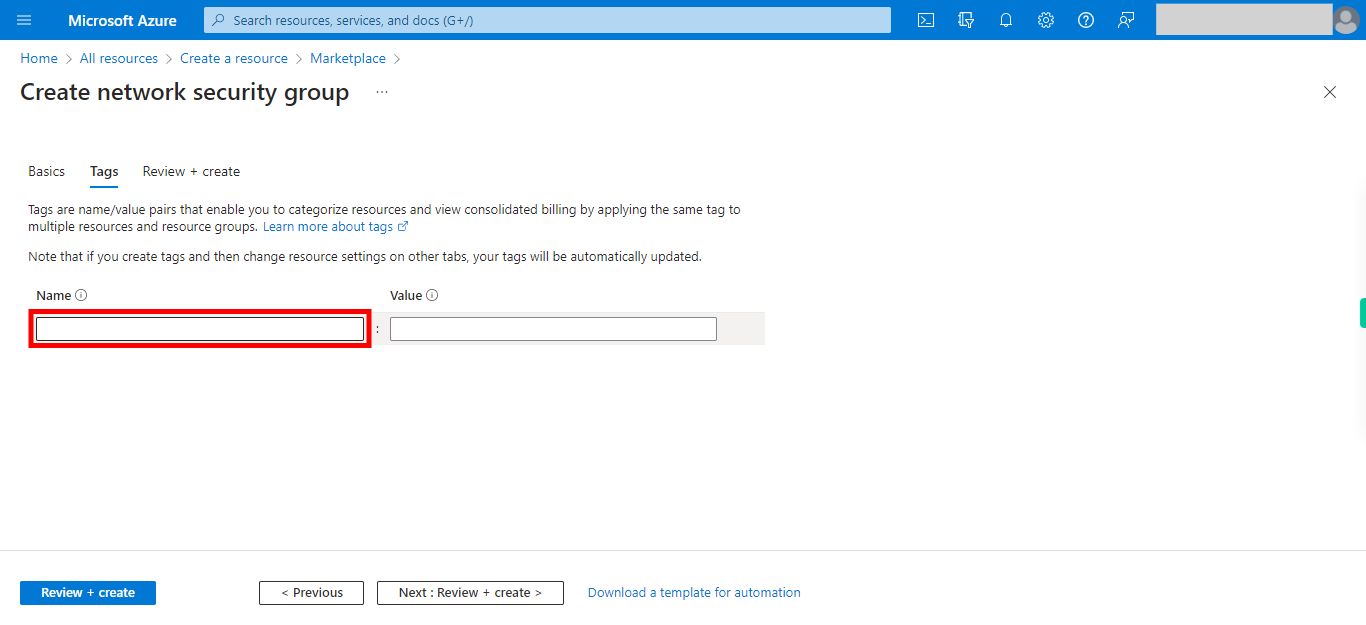
13. Enter key-value pairs as desired. Once done, click on the Next button on the Supervity instruction widget.
-
15.
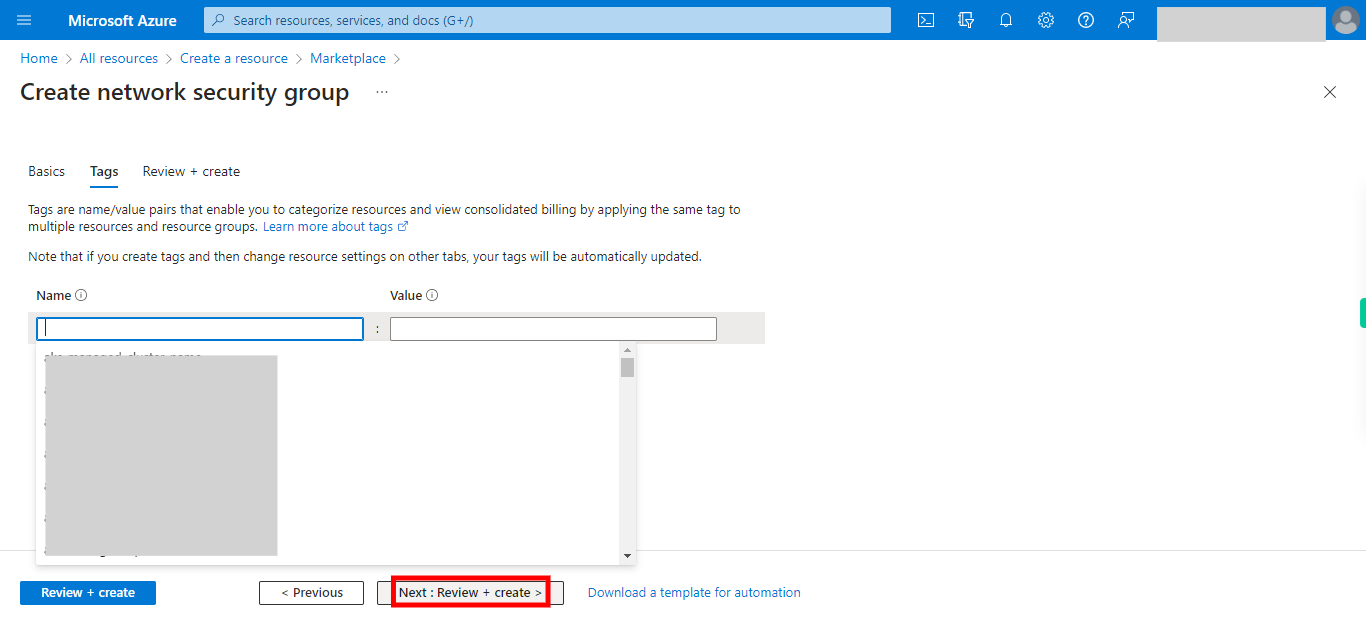
14. Click __Next : Review + create >__.
-
16.
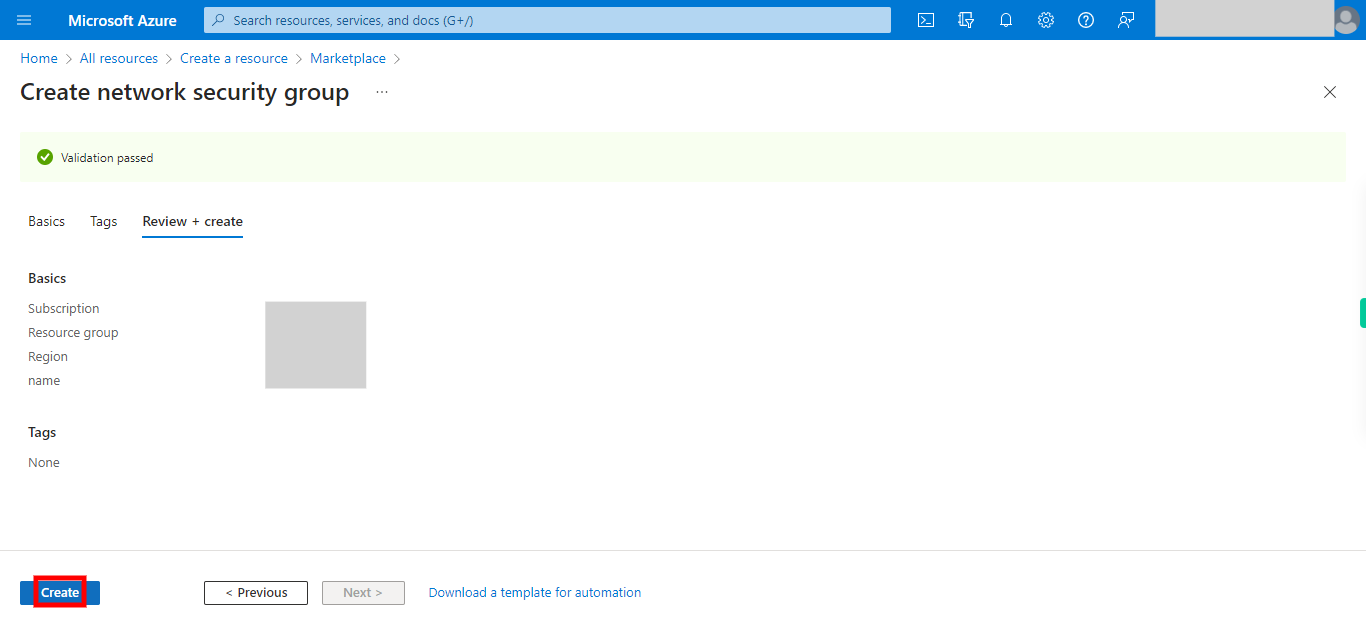
15. Click __Create__.
-
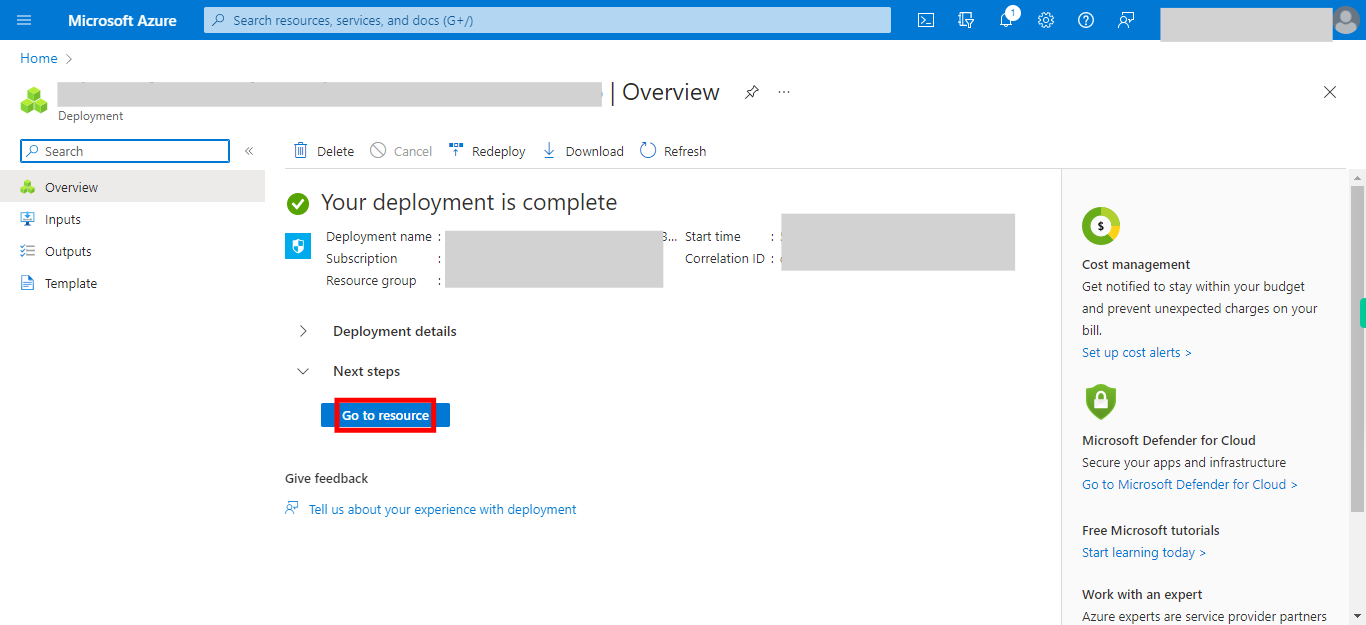
17.
16. Click __Go to resource__.


