<p>This skill helps to walk you through in Creation of the Azure Public IP by step by step assistance. </p>
<p><strong>Note:</strong> Ensure you have access to a subscription in the Azure Portal with sufficient privileges to perform skill successfully. </p>
<p><strong>Prerequisites:</strong> Login to portal.azure.com beforehand. </p>
<p><strong>Tags:</strong> Azure, Cloud</p>
-
1.
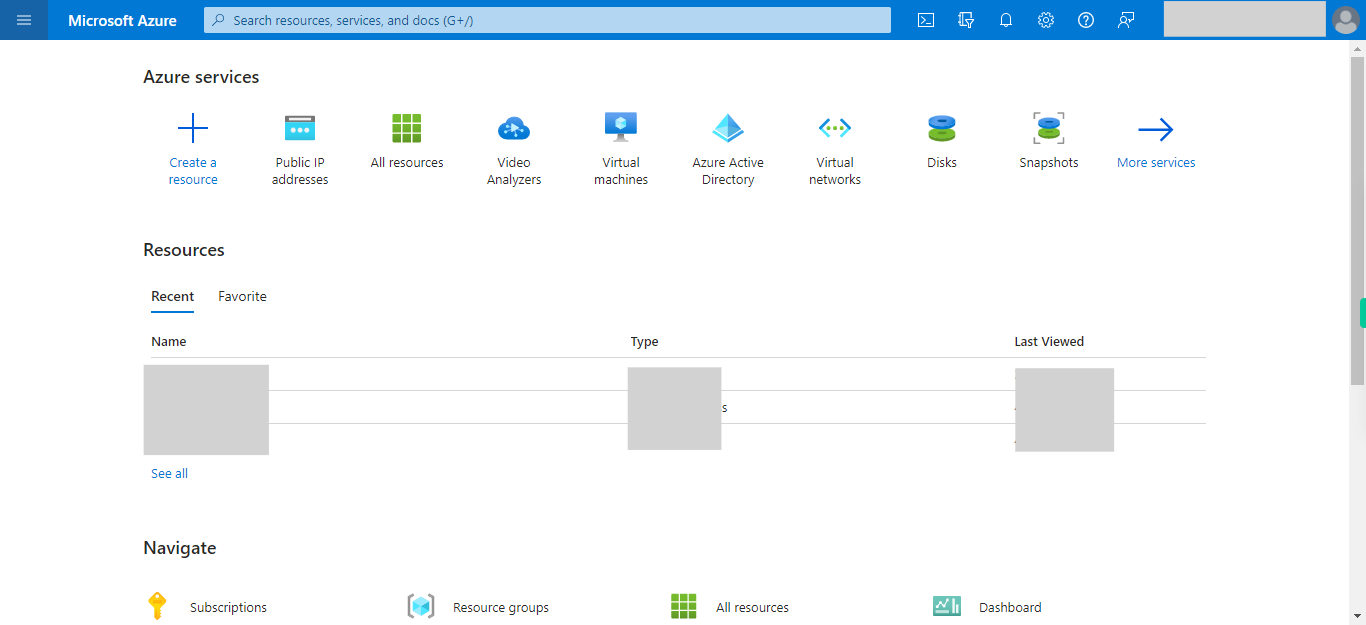
open Home - Microsoft Azure
-
2.
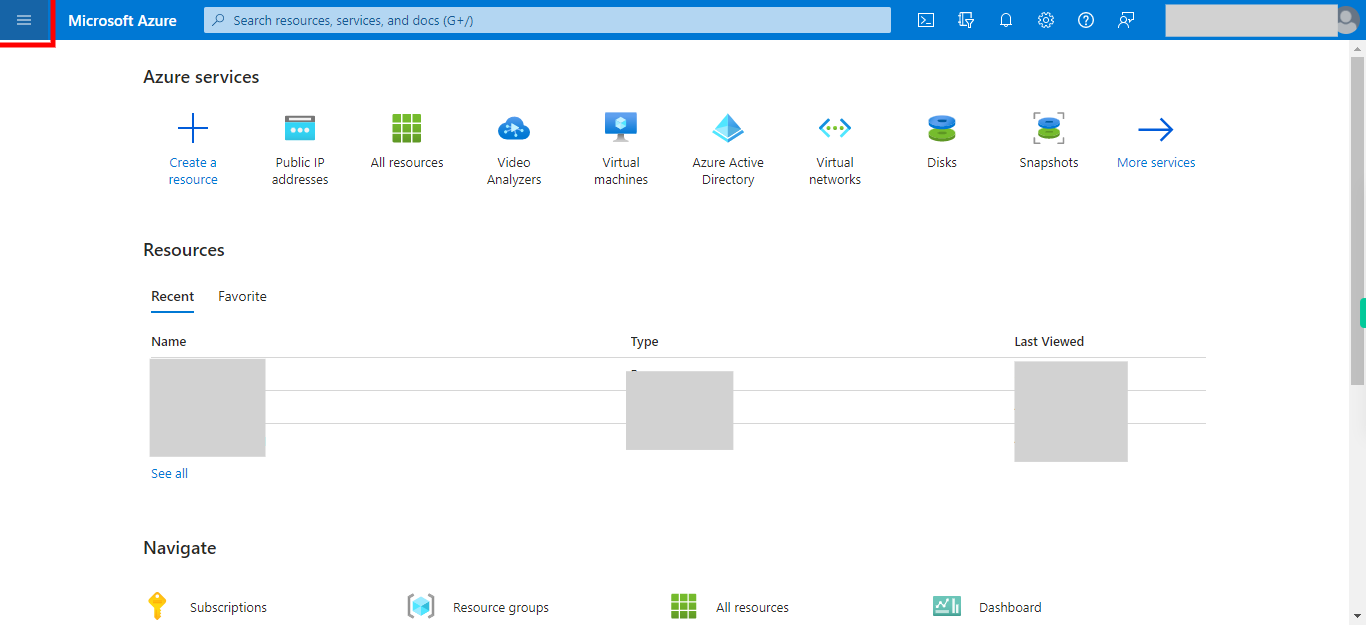
1. Click Show portal menu
-
3.
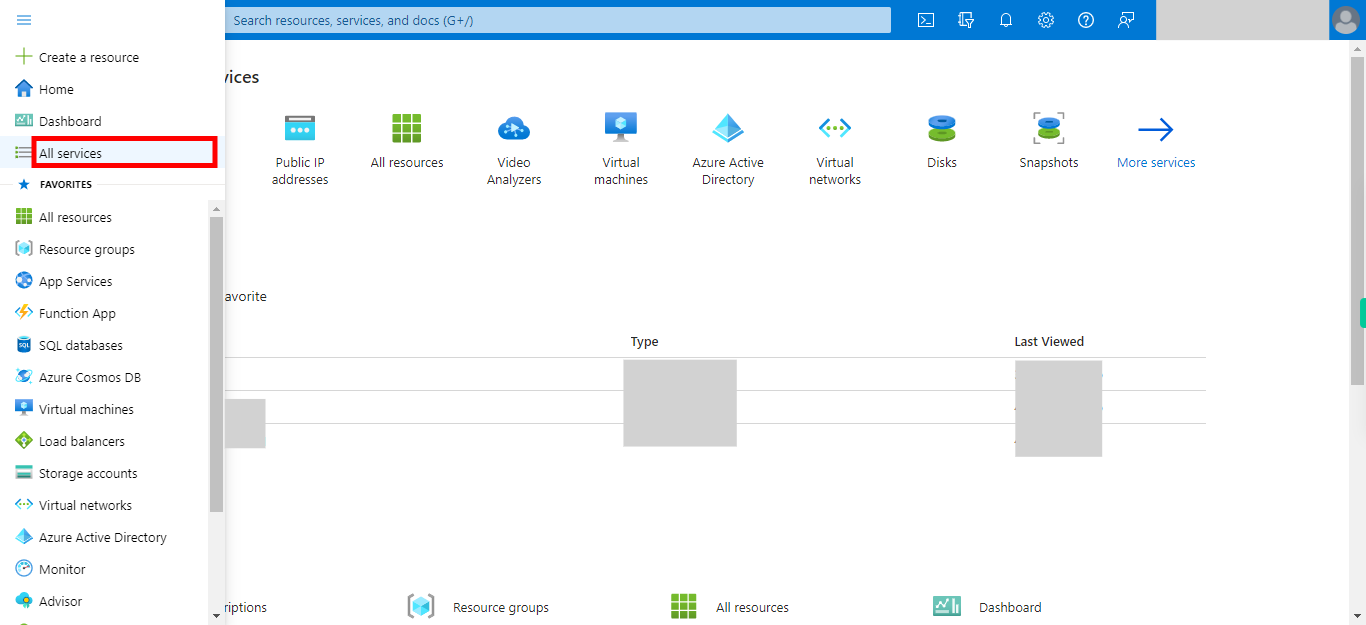
2. Click All services
-
4.
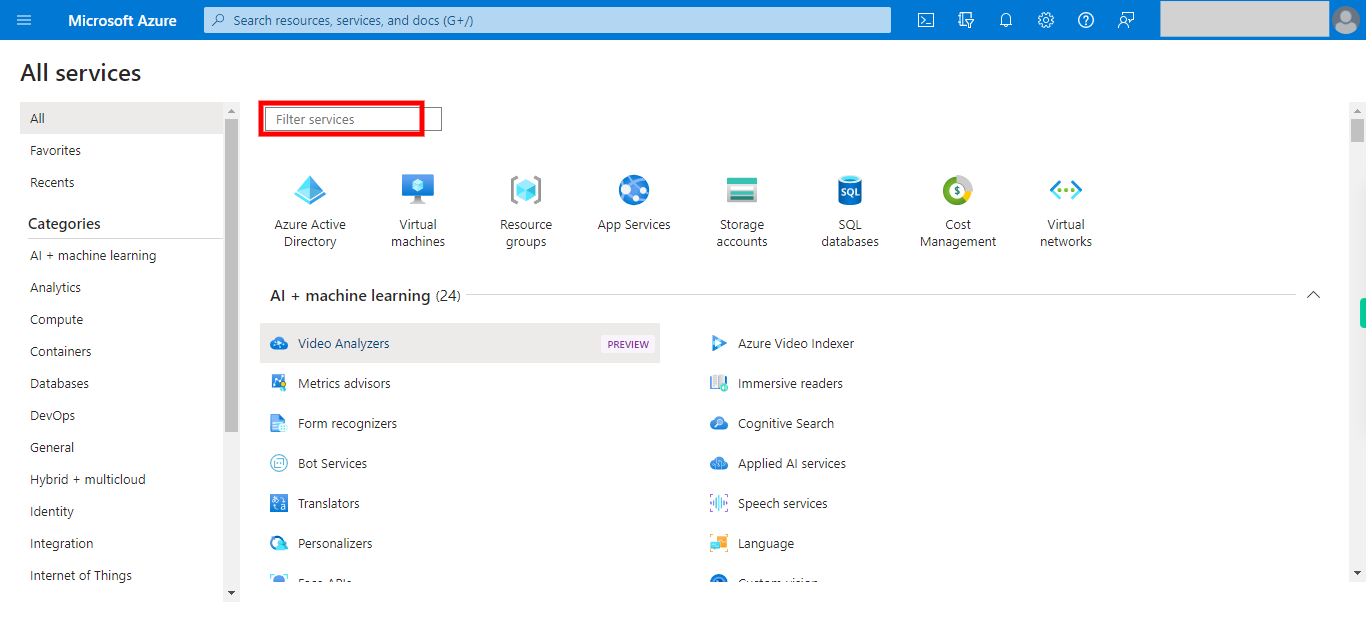
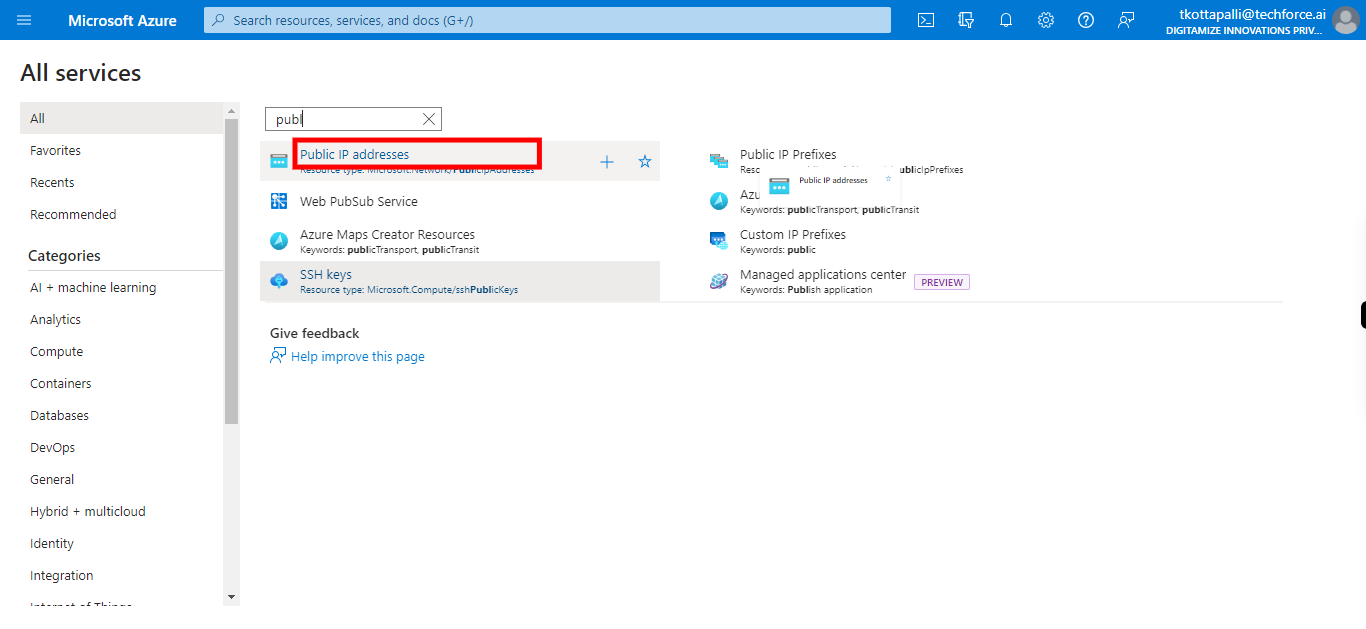
3. Click Filter services and type Public IP addresses. Once done, click on the Next button on the Supervity instruction widget.
-
5.
4. Click Public IP addresses
-
6.
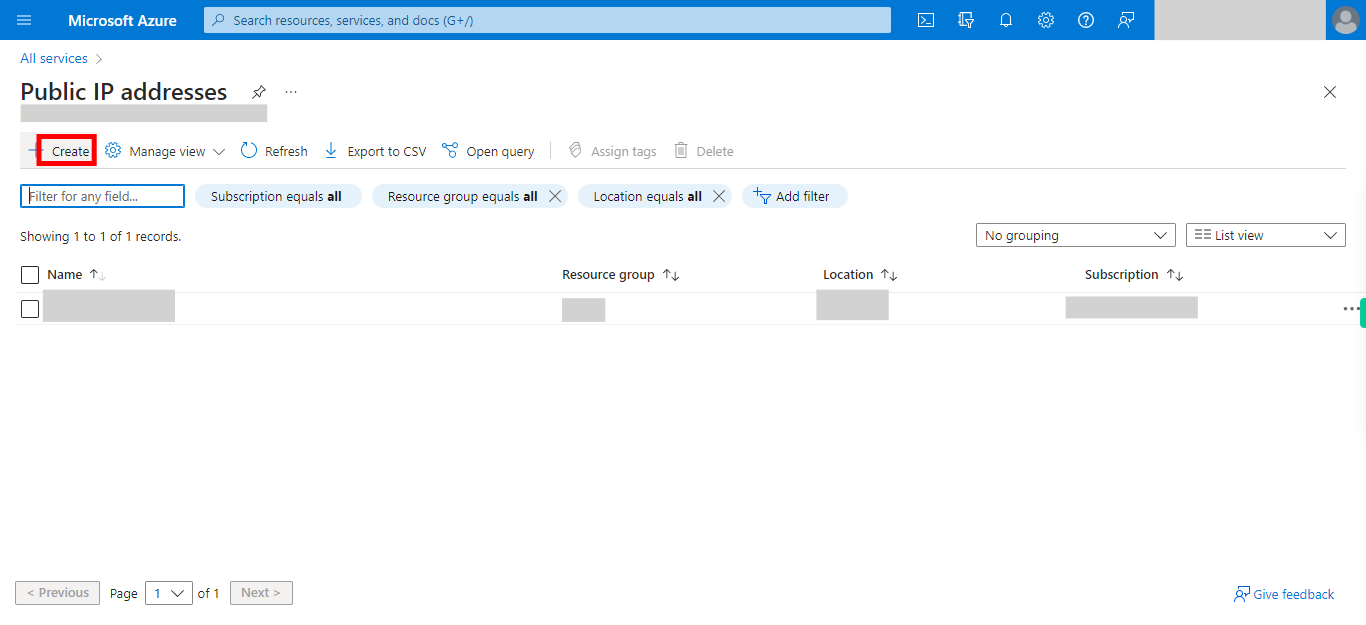
5. Click Create
-
7.
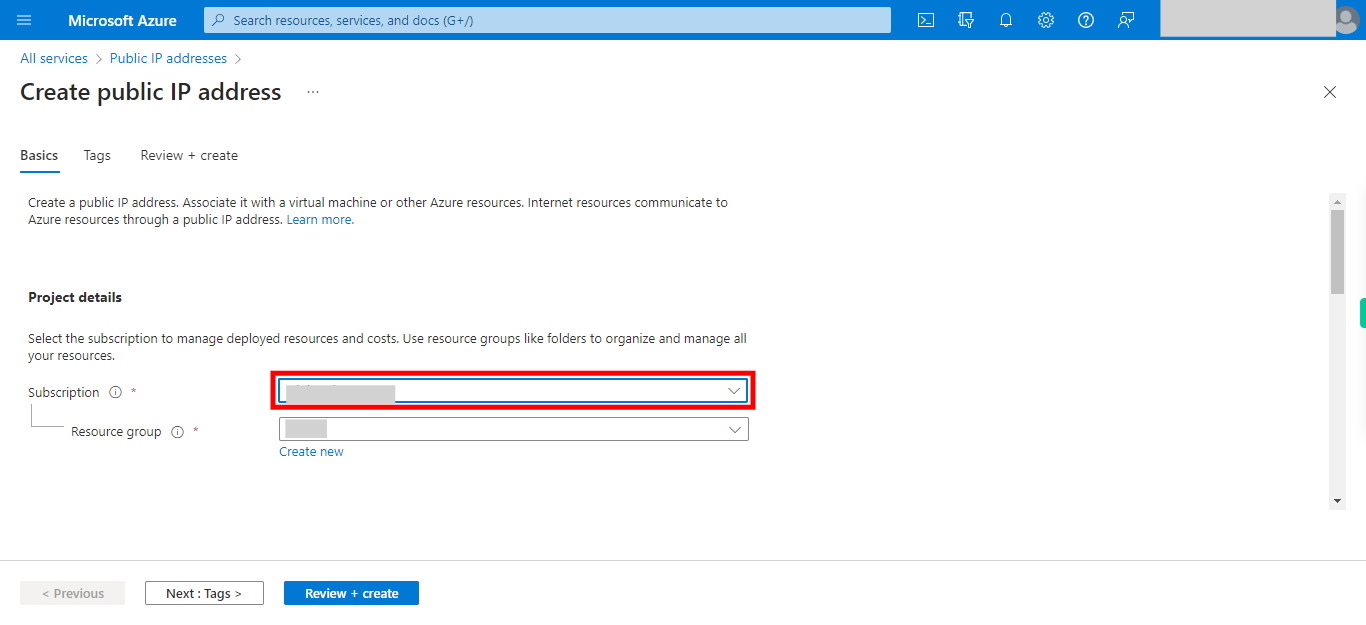
6. Click and select subscription. Once done, click on the Next button on the Supervity instruction widget.
-
8.
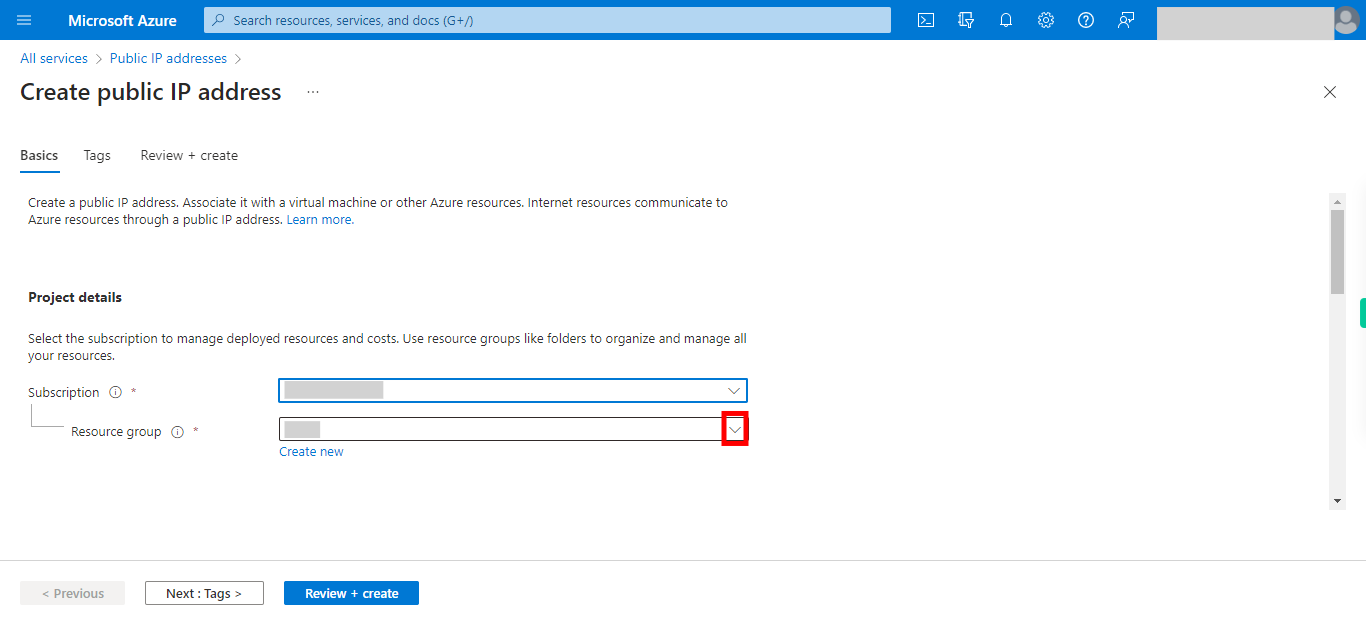
7. Click and choose resource group. Once done, click on the Next button on the Supervity instruction widget.
-
9.
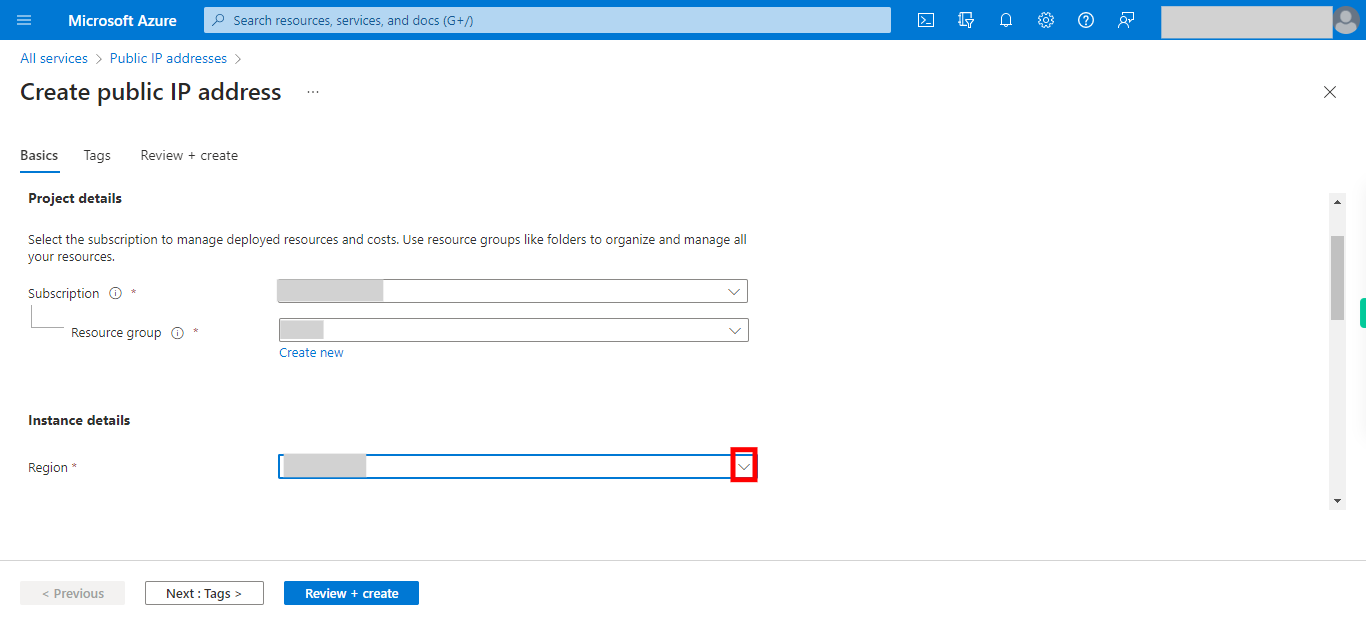
8. Click and select the Region. Once done, click on the Next button on the Supervity instruction widget.
-
10.
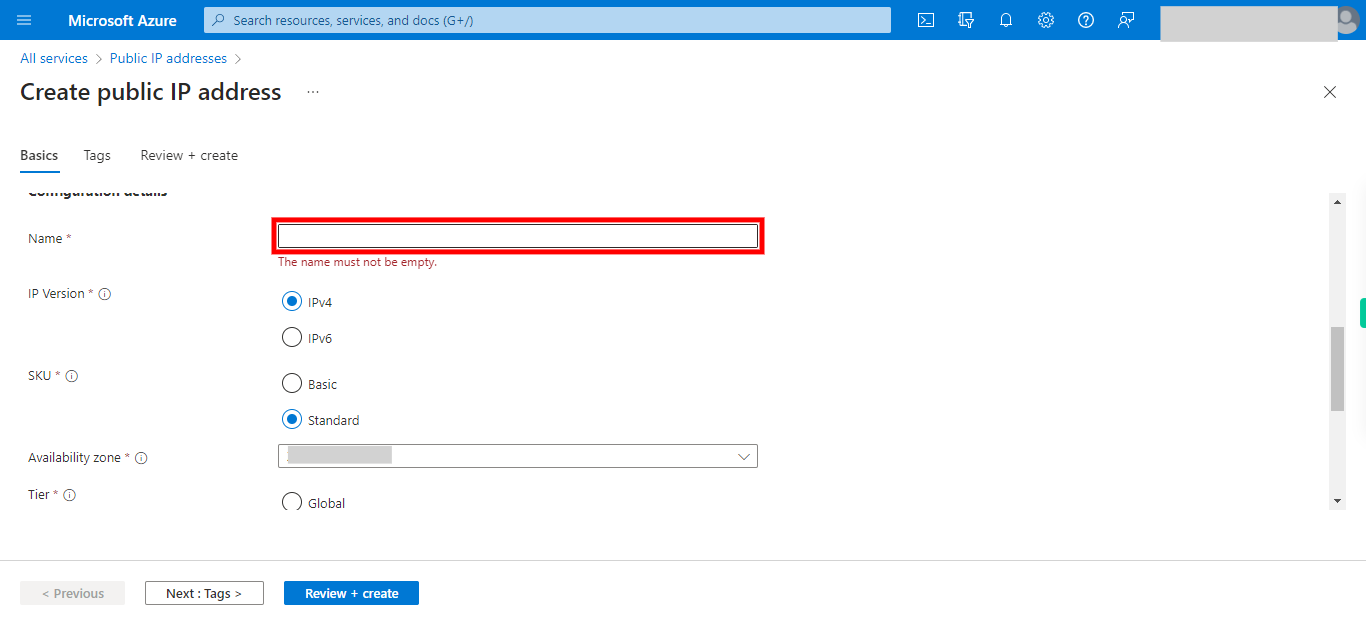
9. Click and type name for Public IP Address. Once done, click on the Next button on the Supervity instruction widget.
-
11.
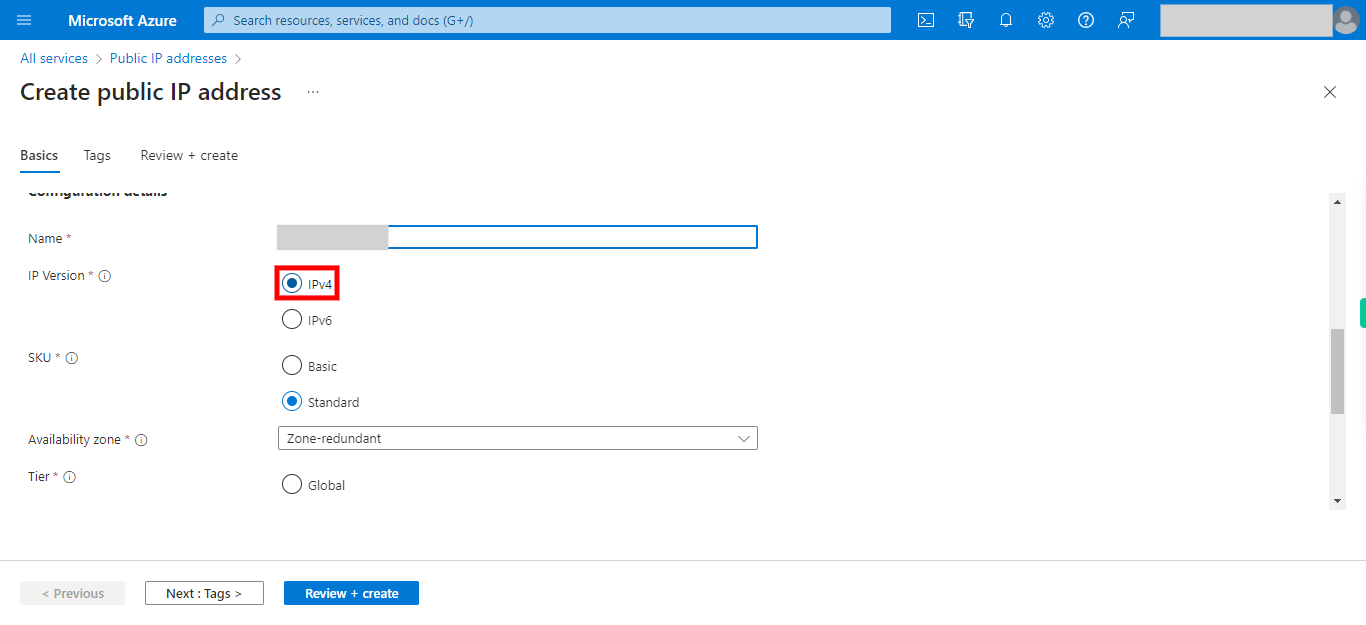
10. Click and Select the IP-version. Once done, click on the Next button on the Supervity instruction widget.
-
12.
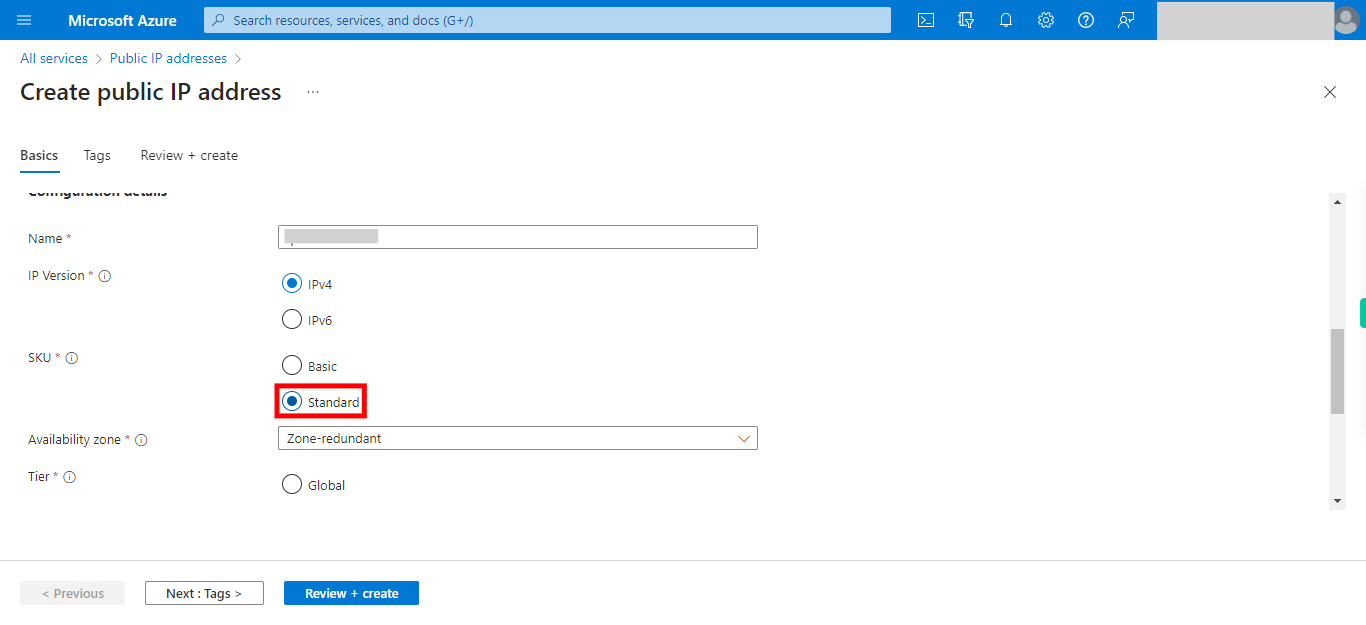
11. Click and Select the SKU type Note: If you select the __Basic__ we can't see the __Availability zone__ option as that option is available only when __Standard__ is selected please select the availability zone too when in standard . Once done, click on the Next button on the Supervity instruction widget.
-
13.
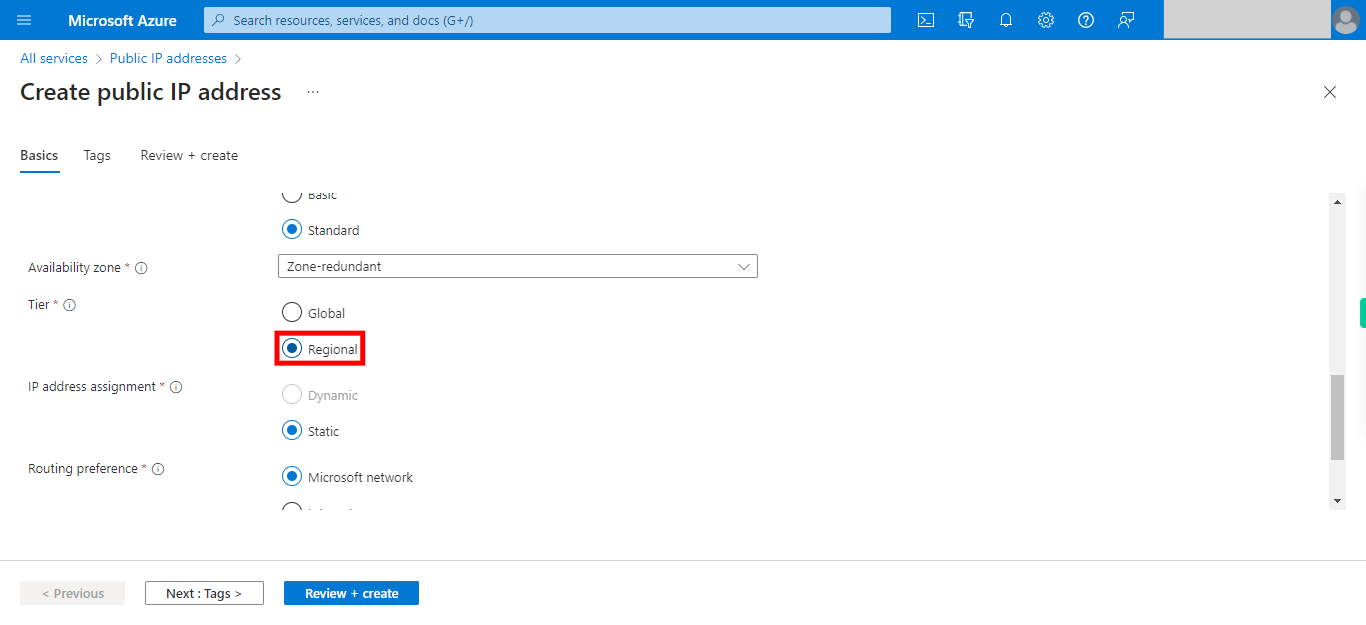
13. Click and select the tier. Once done, click on the Next button on the Supervity instruction widget.
-
14.
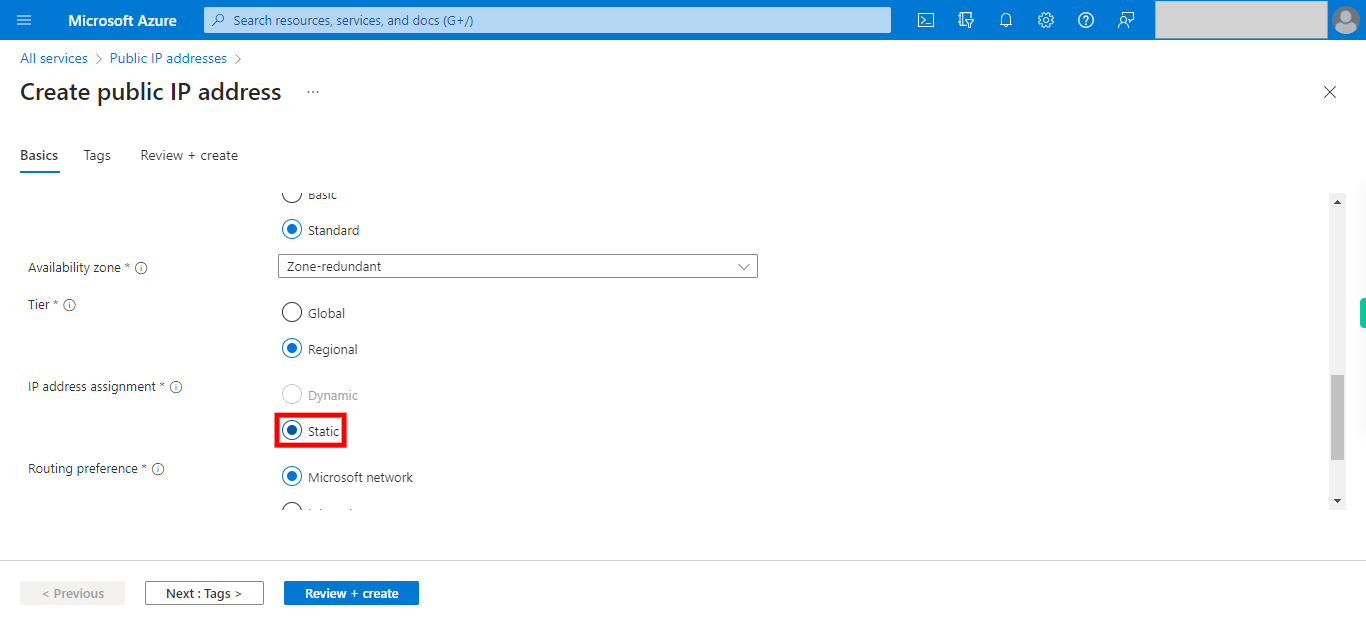
14. Click and select the Ip Assignment Option. Once done, click on the Next button on the Supervity instruction widget.
-
15.
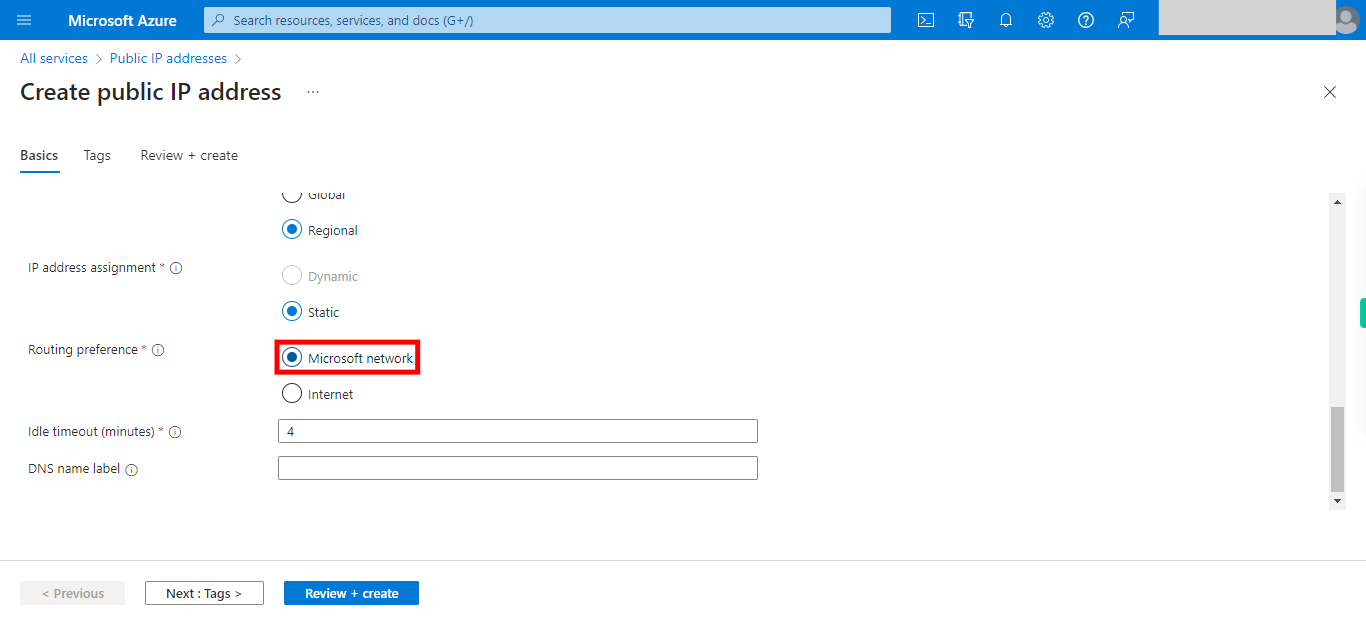
15. Click and select the Routing Preference. Once done, click on the Next button on the Supervity instruction widget.
-
16.
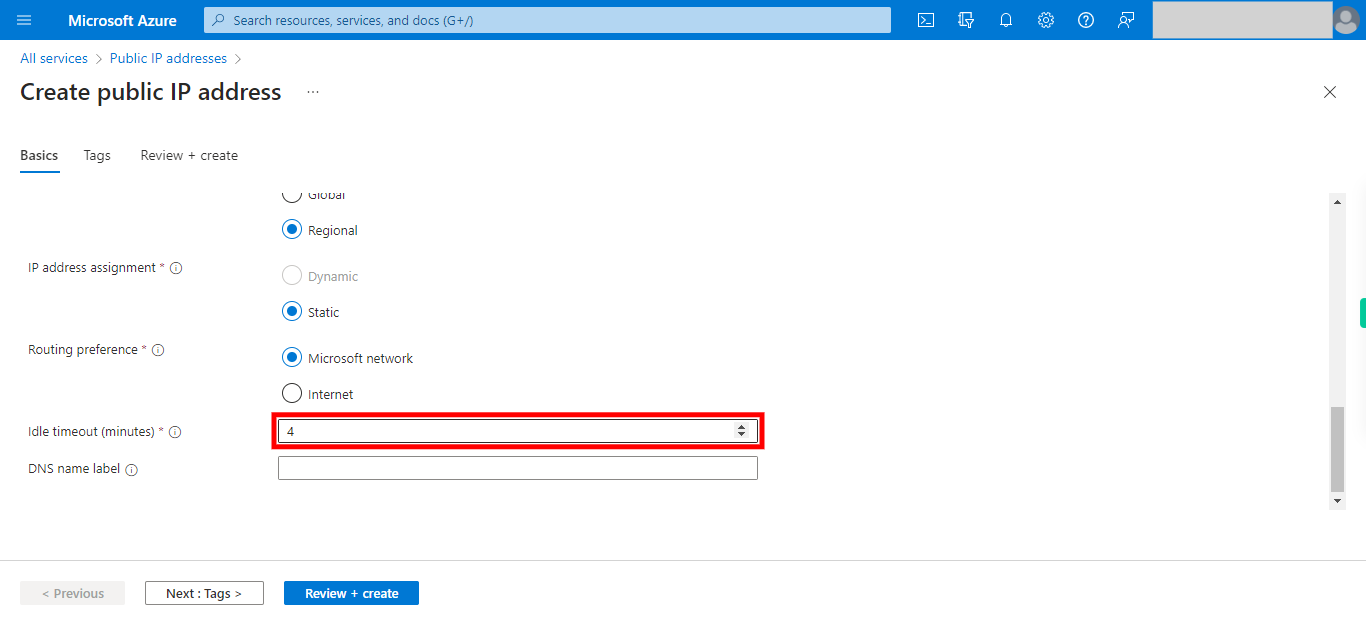
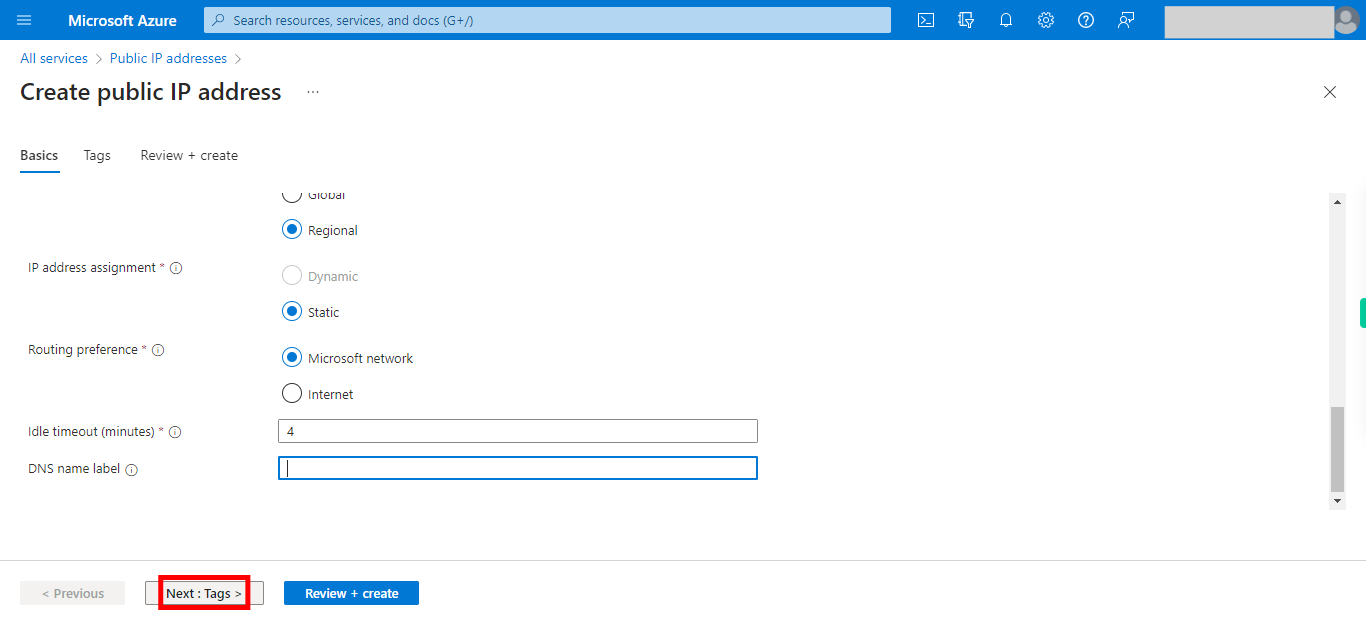
16. Click and Select the Idle timeout (minutes). Once done, click on the Next button on the Supervity instruction widget.
-
17.
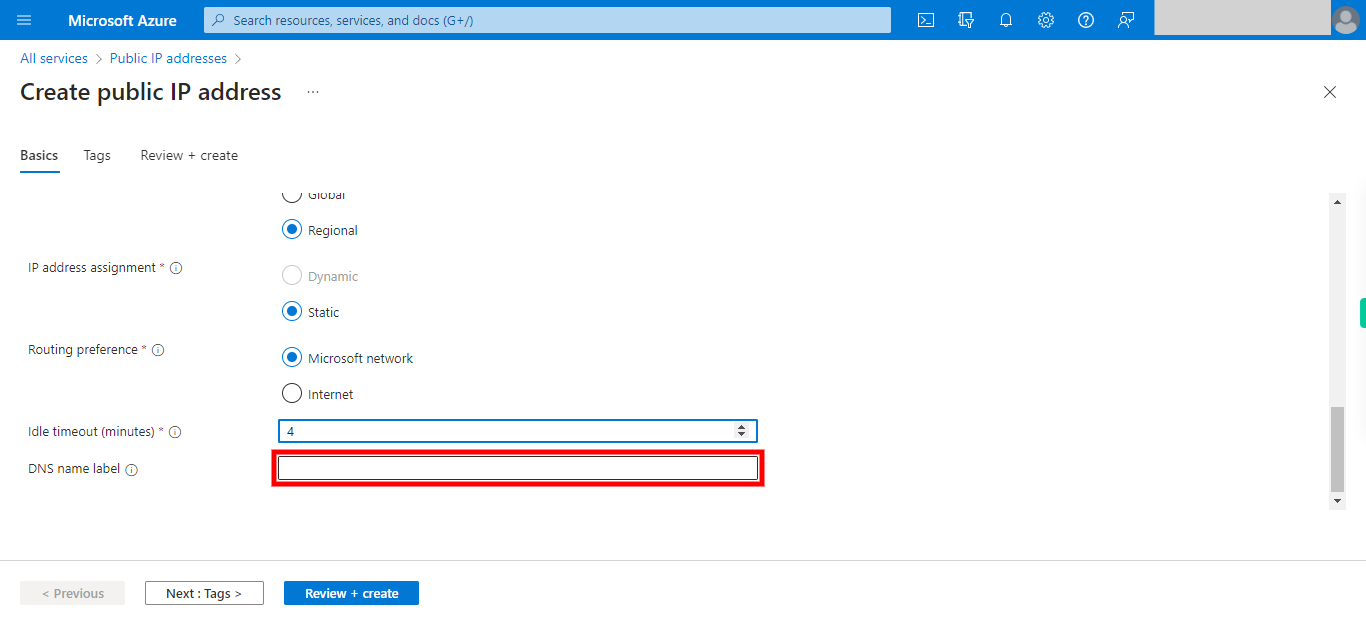
17. Click and type DNS Name Label. Note: Label should only include Domain Name. Rest is automatically appended. Eg., mylabel.eastus.cloudapp.azure.com Once done, click on the Next button on the Supervity instruction widget.
-
18.
18. Click Next : Tags >
-
19.
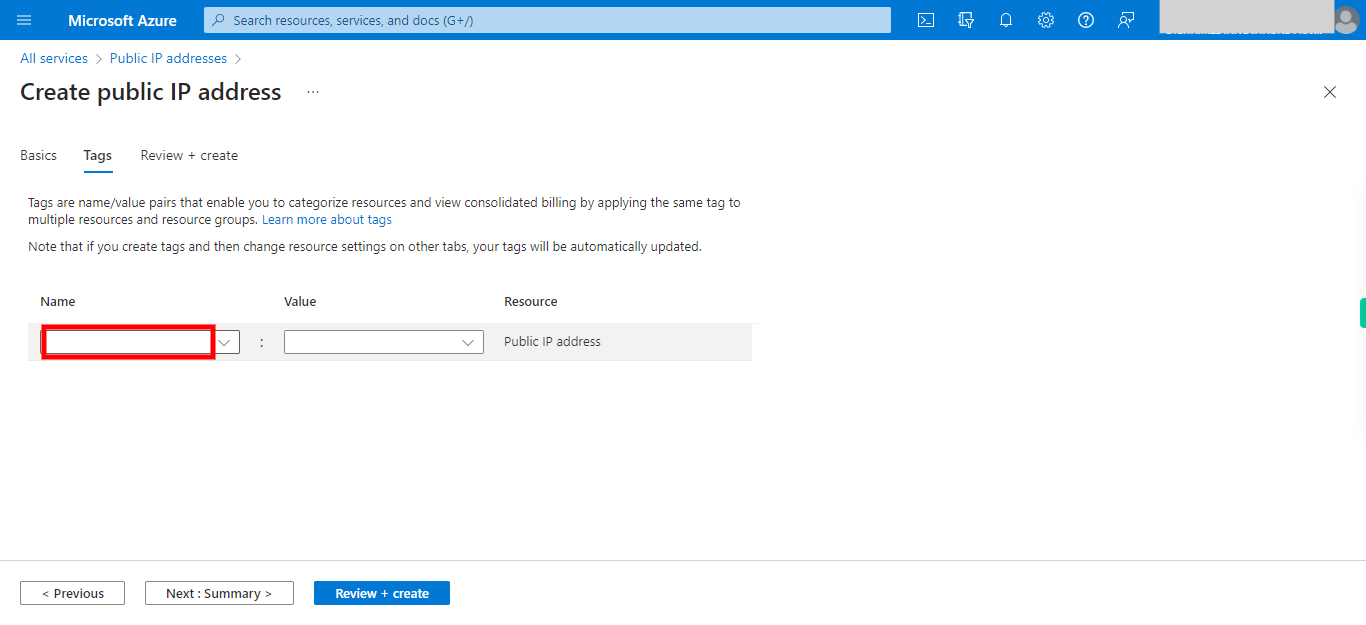
19. Click and Give the Tags as key and values. Once done, click on the Next button on the Supervity instruction widget.
-
20.
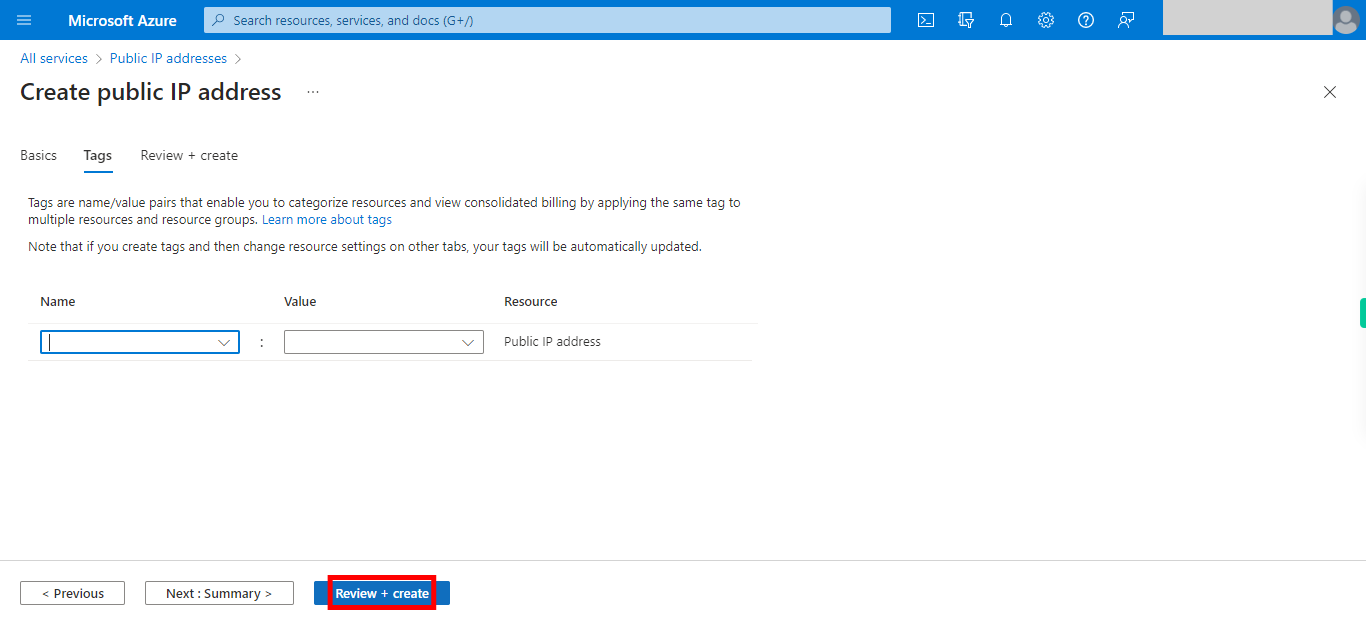
20. Click Review + create
-
21.
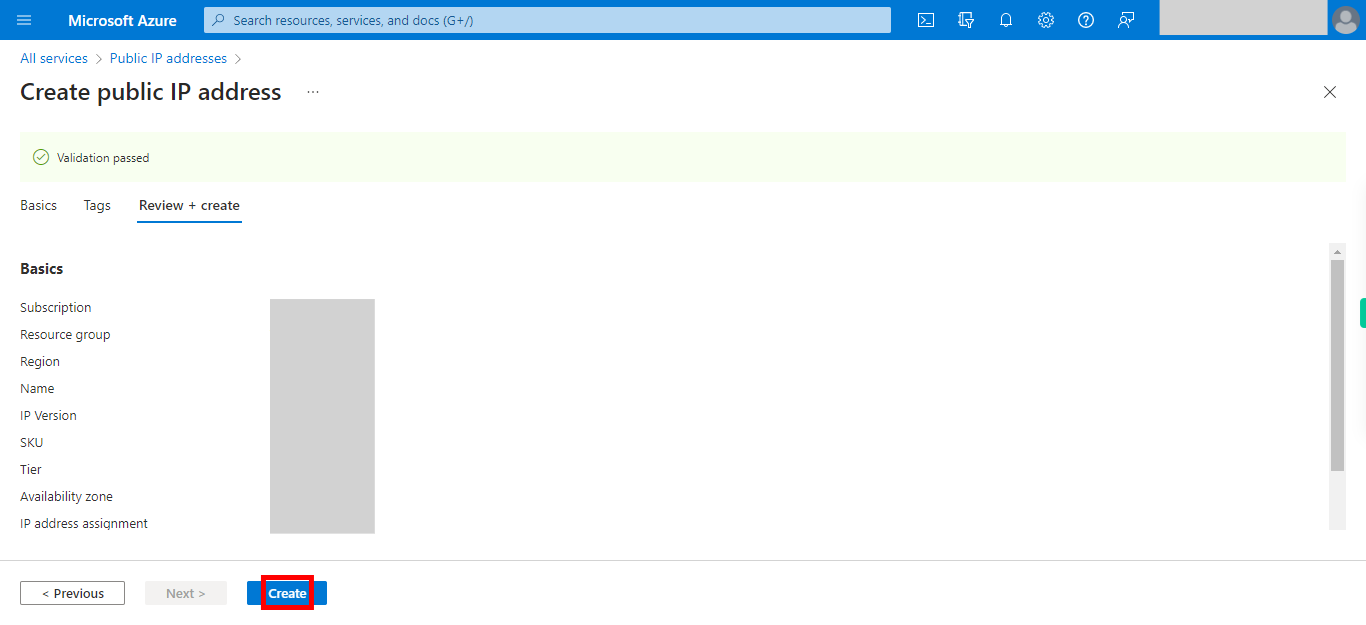
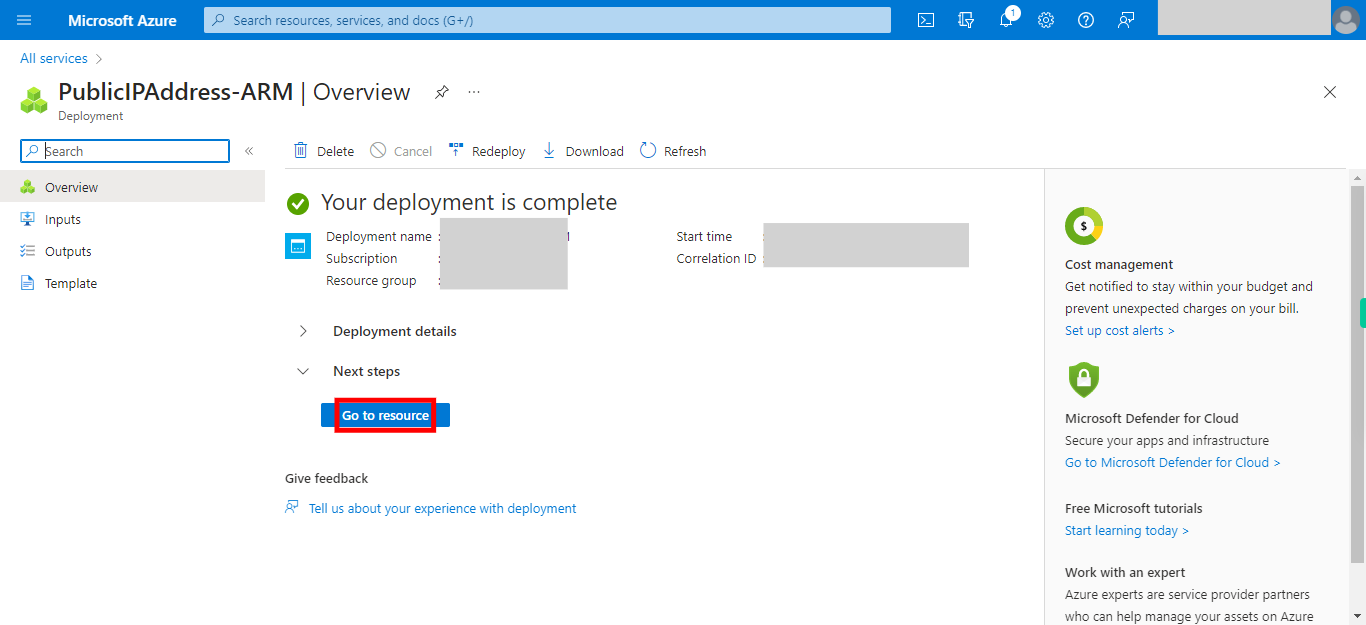
21. Click Create, once the validation is passed. The deployment will take sometime to be completed and meanwhile check the status notifications at the top right pane to be aware of deployment being successful or if it has any errors.
-
22.
22. Click Go to resource


