This skill helps to walk you through in Creation of the Address Space( Azure assigns resources in a virtual network a private IP address from the address space that you assign) by step by step assistance.
Note: Ensure you have access to a subscription in the Azure Portal with sufficient privileges to perform the skill successfully, while also making sure that the address space chosen is not overlapping with existing address spaces.
Prerequisites: Login to portal.azure.com beforeand.
Tags: Azure, Cloud
-
1.
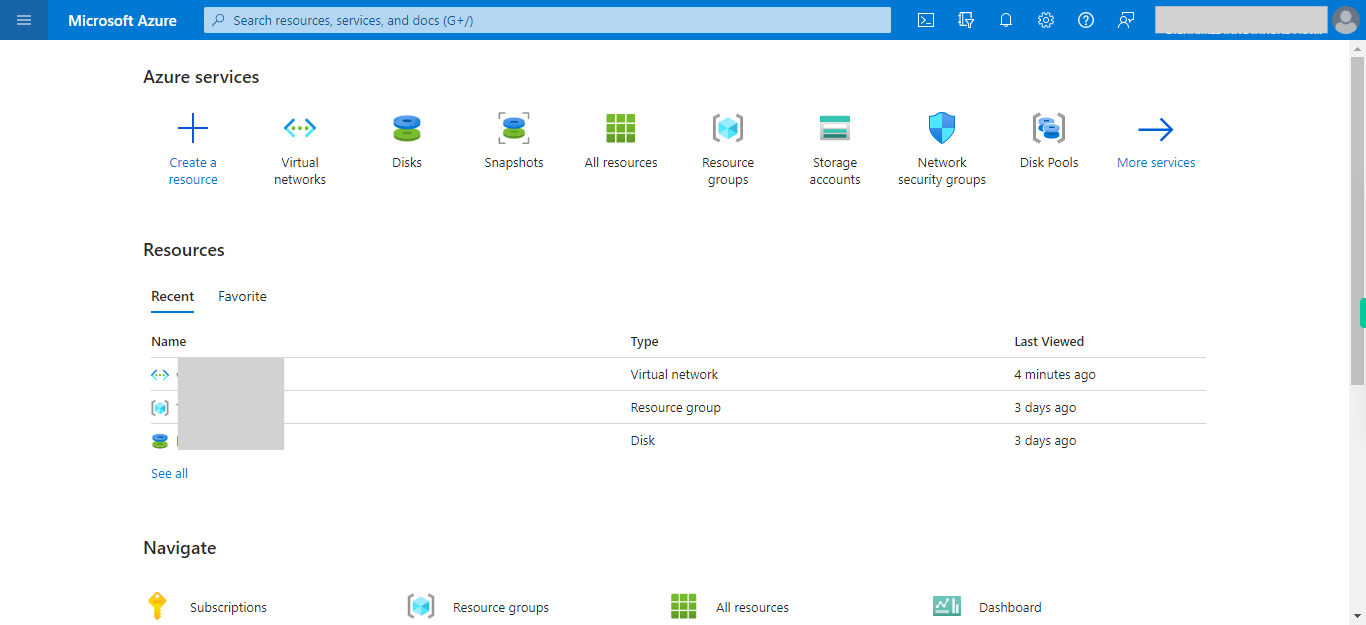
open Home - Microsoft Azure
-
2.
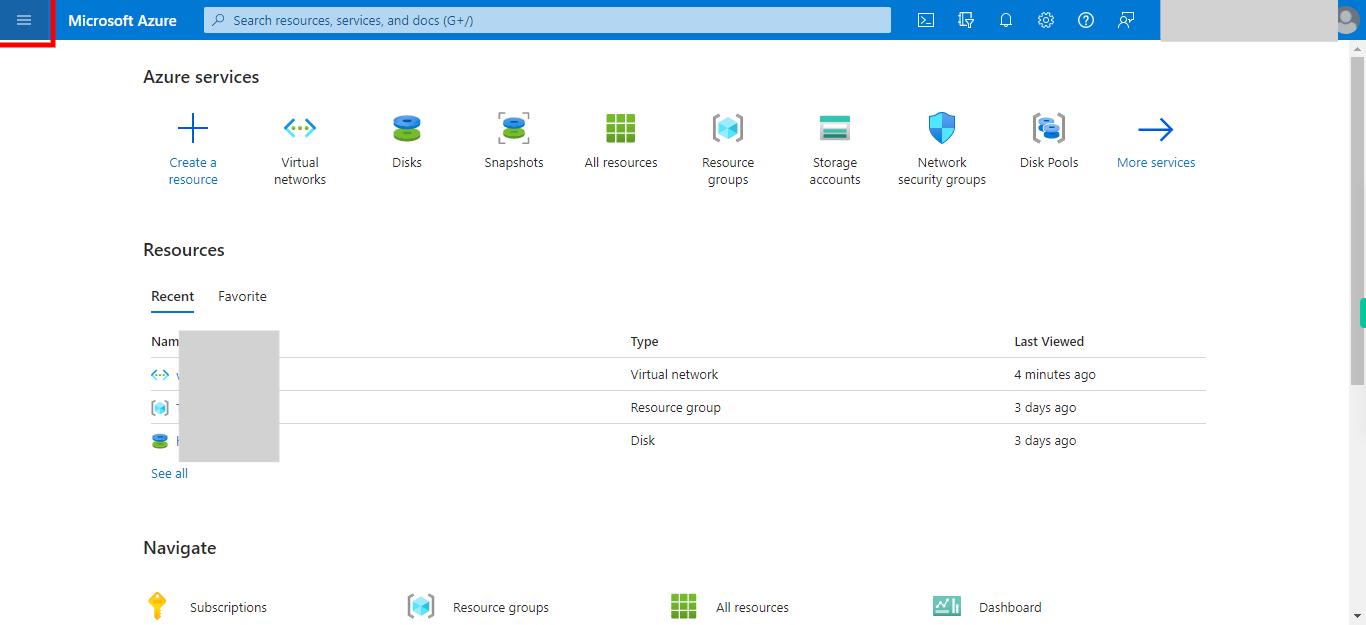
1. Click Show portal menu
-
3.
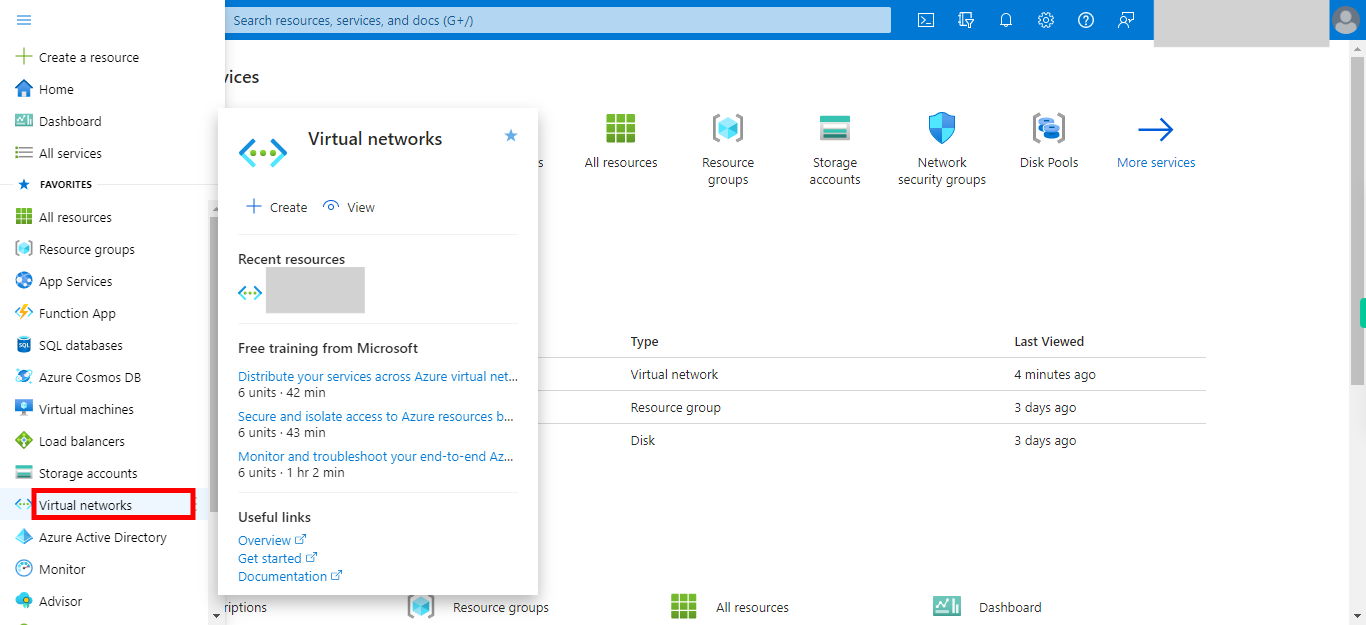
2. Click __Virtual networks__.
-
4.
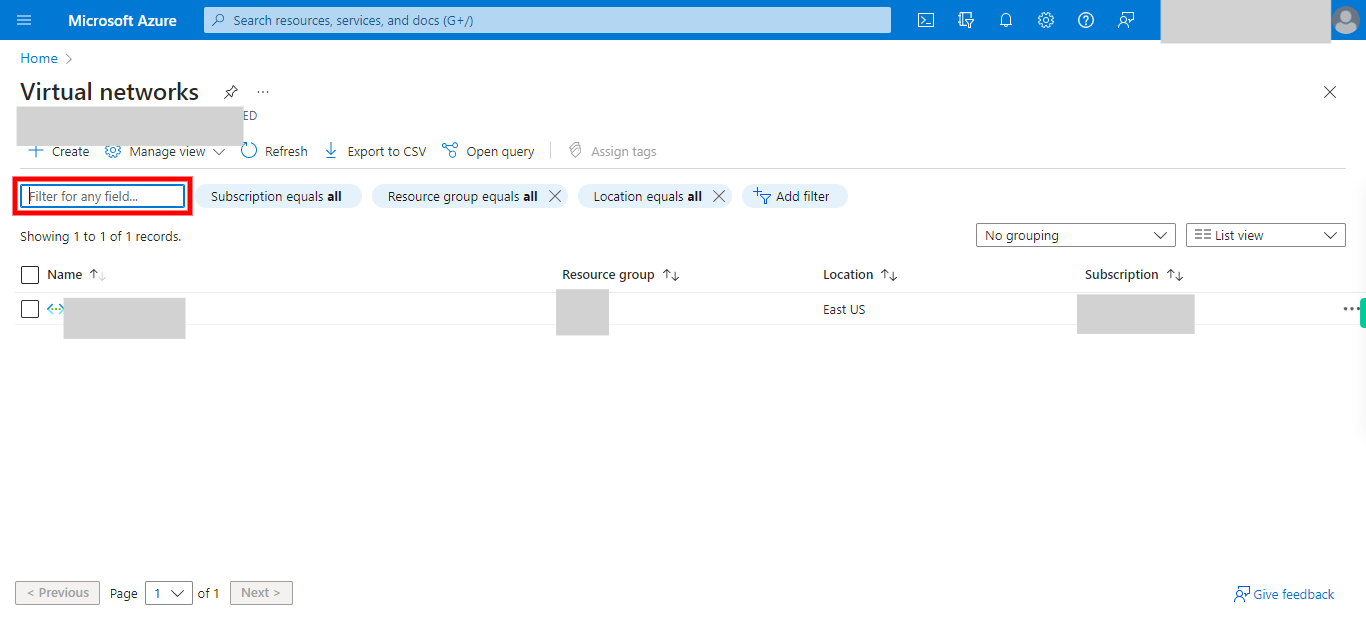
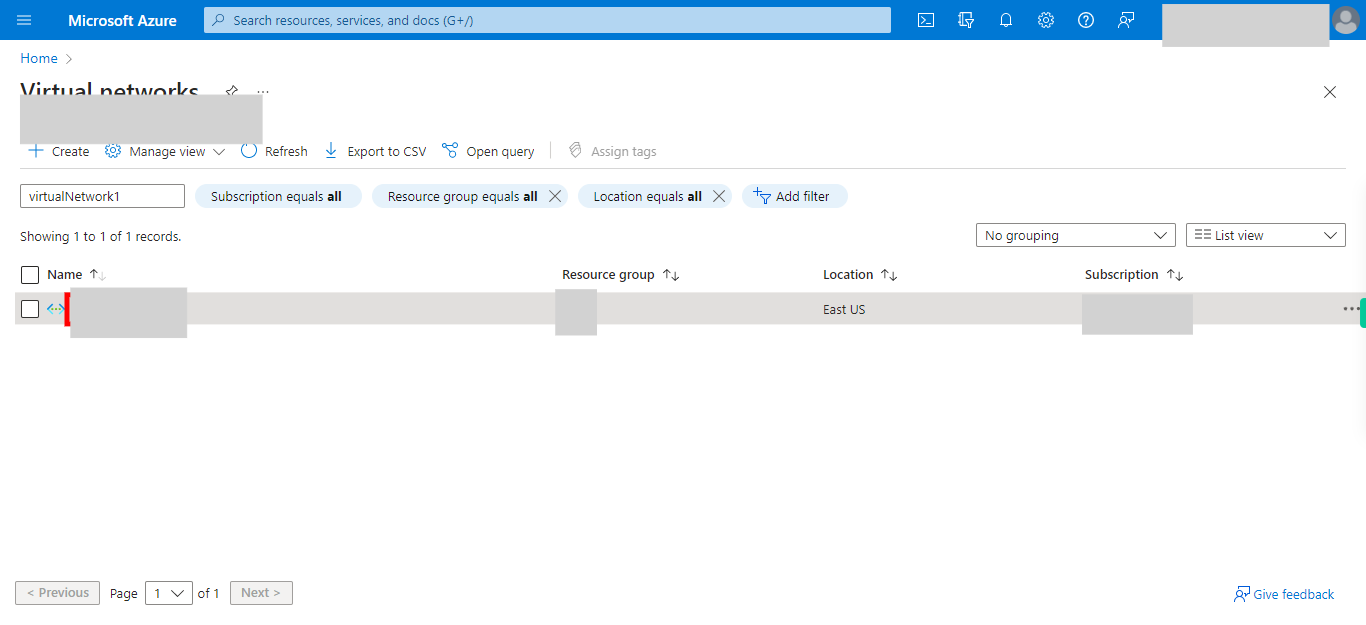
3. Click and type the Virtual network name in which you want to create. Once done, click on the Next button on the Supervity instruction widget.
-
5.
4.Click on the Virtual Network
-
6.
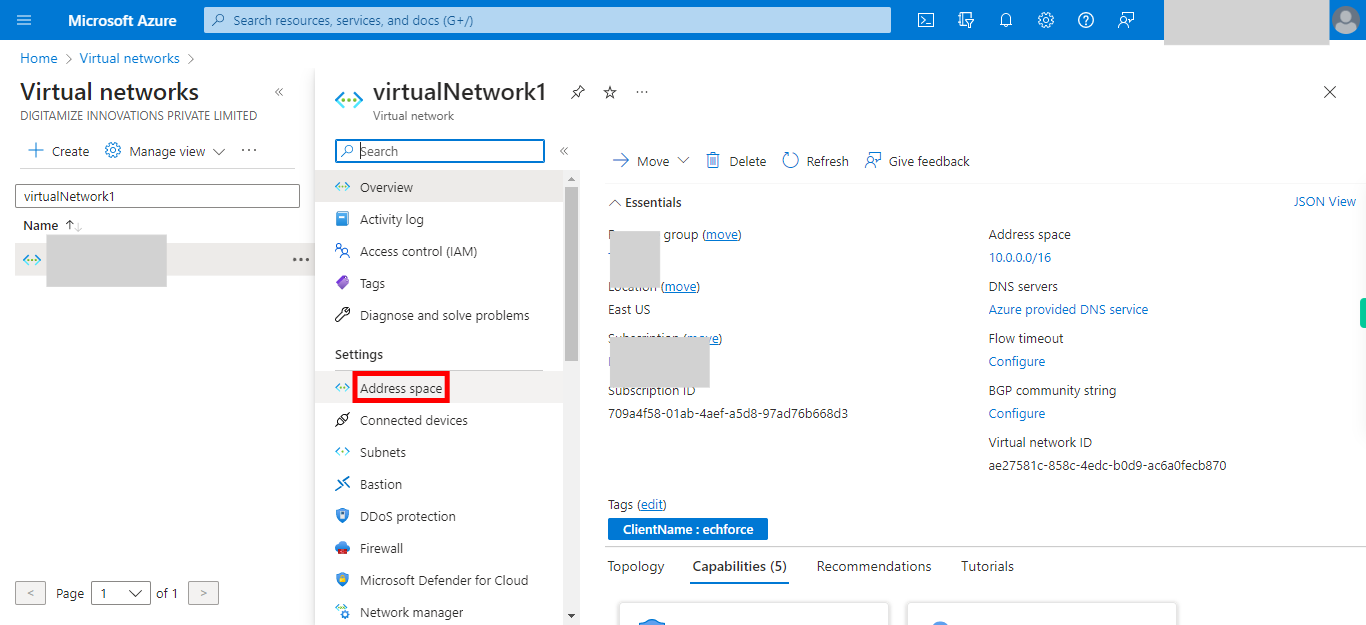
5. Click __Address space__.
-
7.
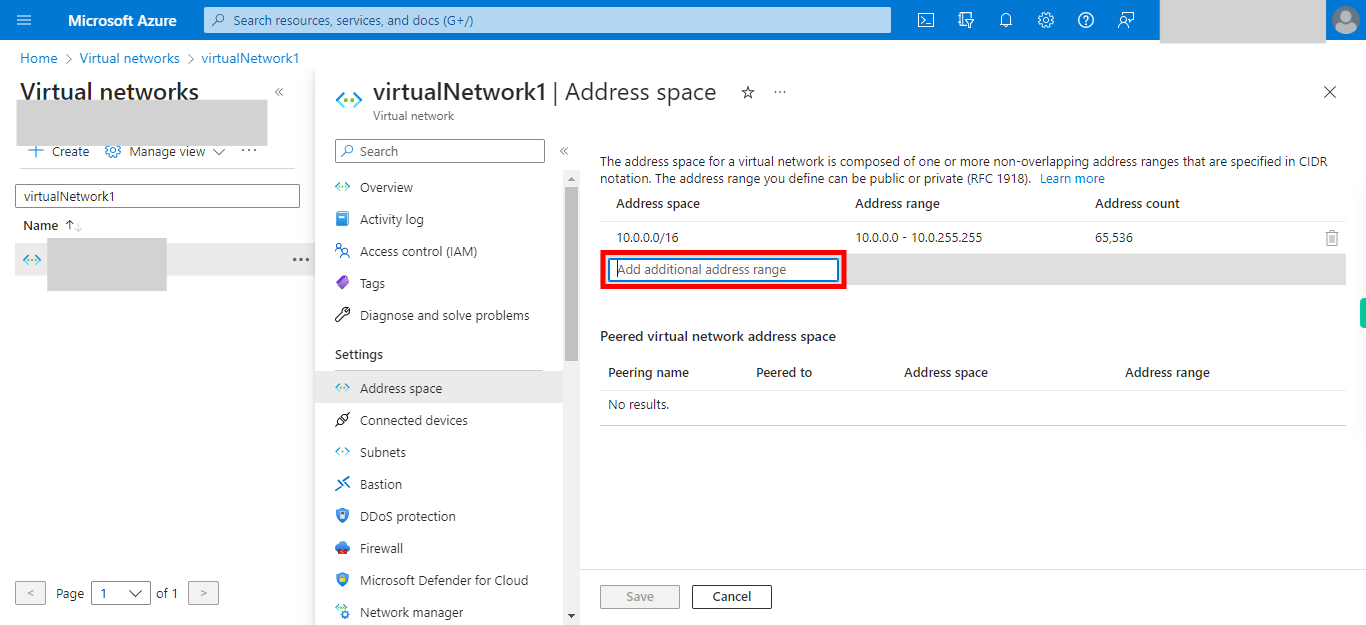
6. Click and Add additional address range. Once done, click on the Next button on the Supervity instruction widget.
-
8.
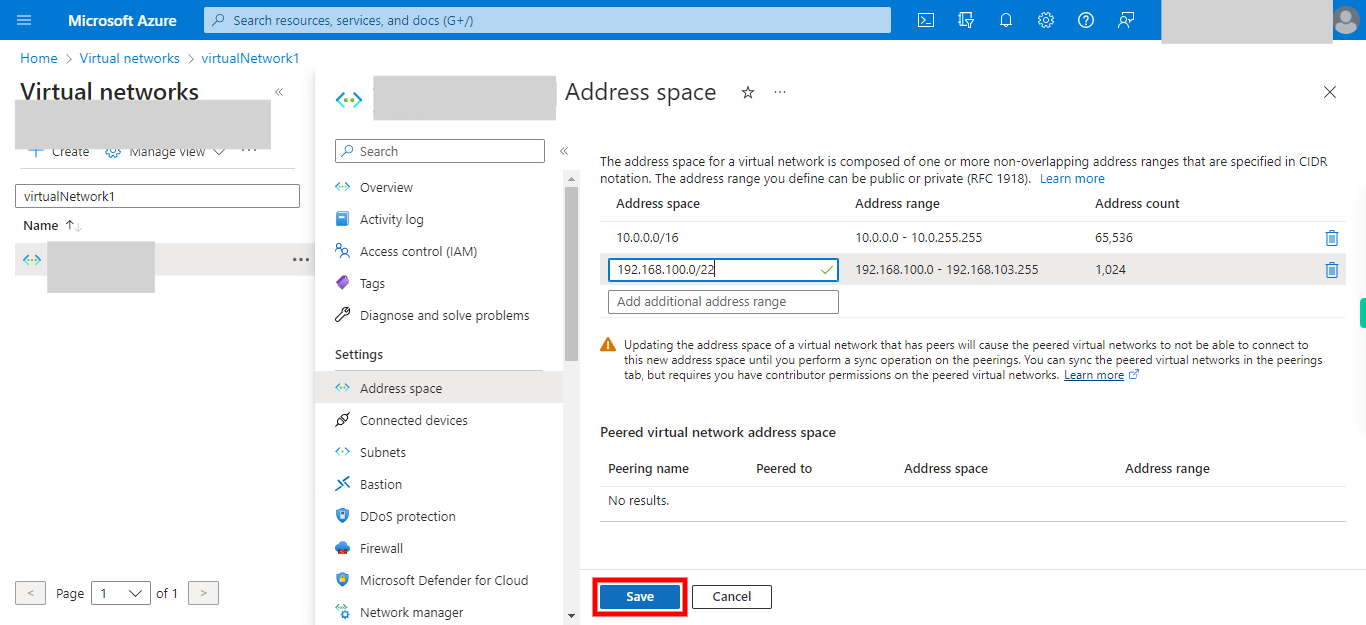
7. Click __Save__.


