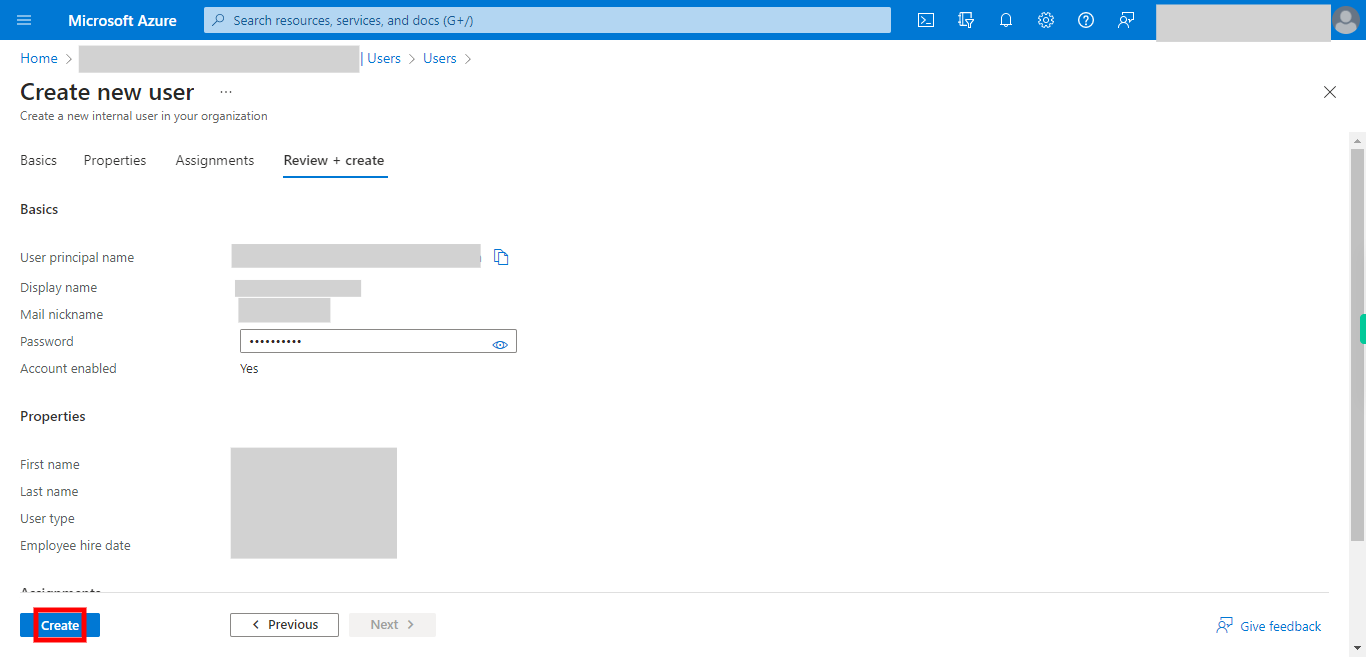
This skill helps to walk you through in creation of the user in the Azure Active Directory by step by step assistance.
Note: Ensure you have access to a subscription in the Azure Portal with sufficient privileges to perform the skill successfully.
Prerequisites: Login to portal.azure.com beforehand.
Tags: Azure, Cloud
-
1.
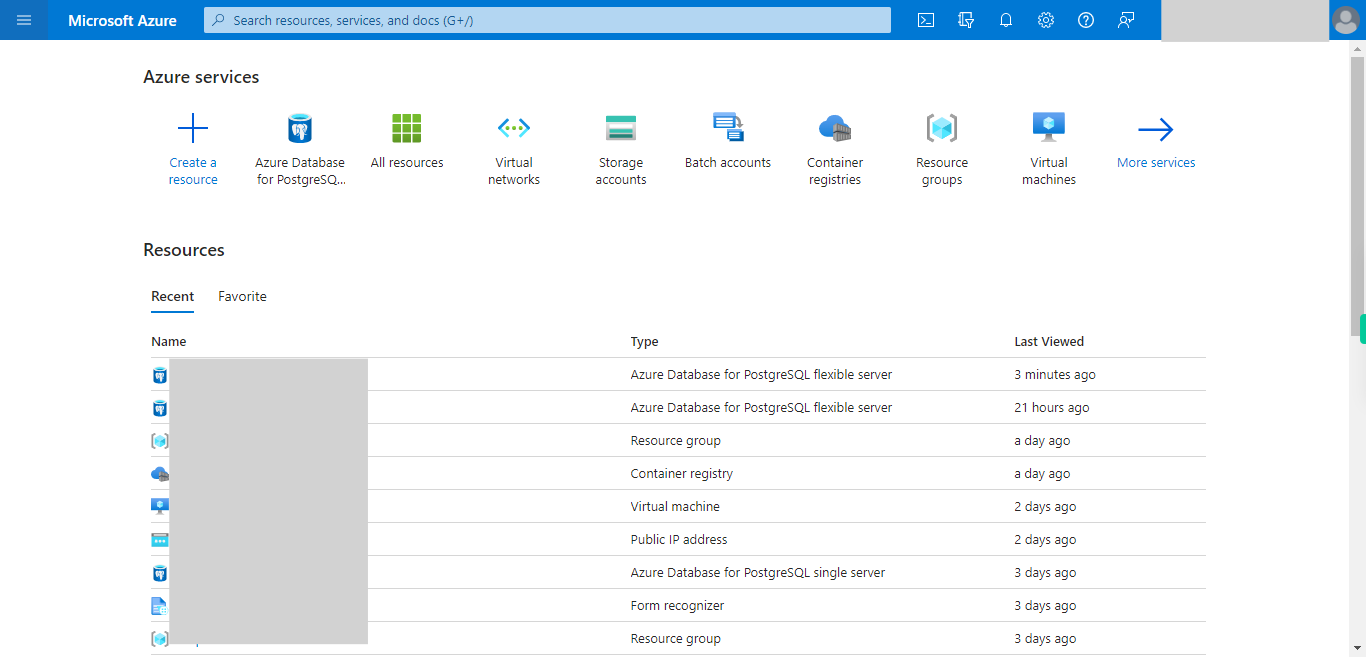
open Home - Microsoft Azure
-
2.
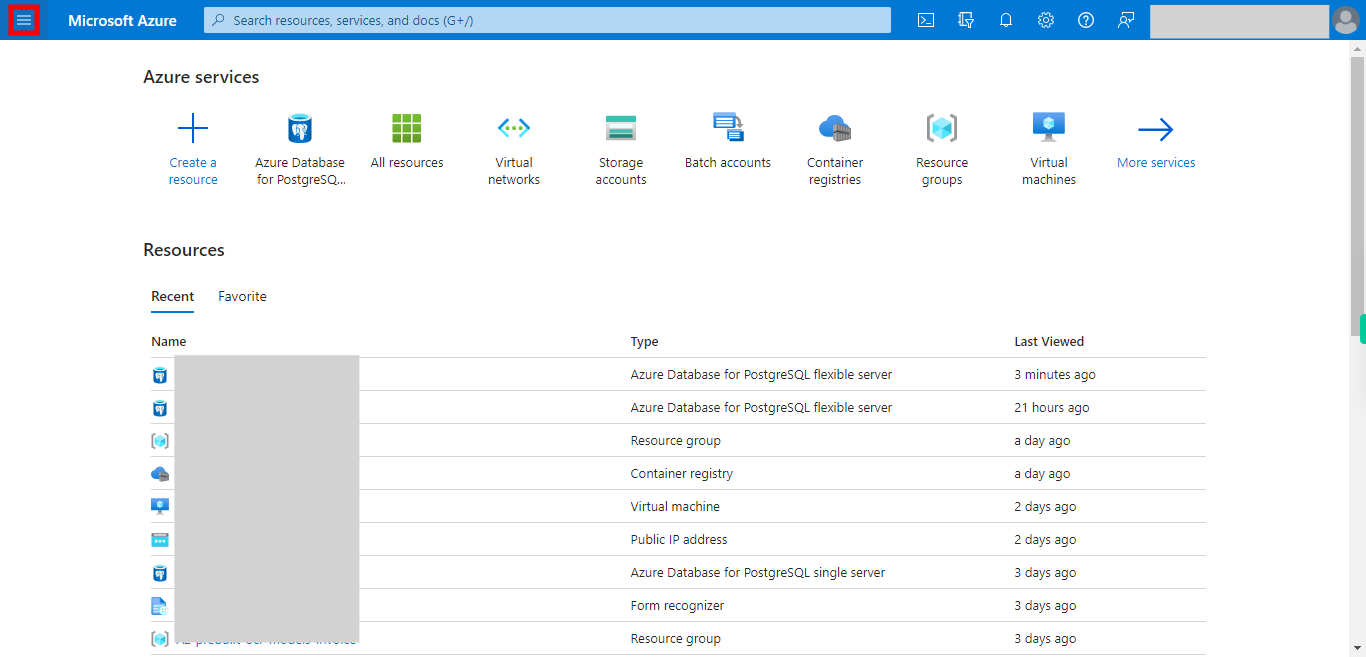
1. Click to see all the services
-
3.
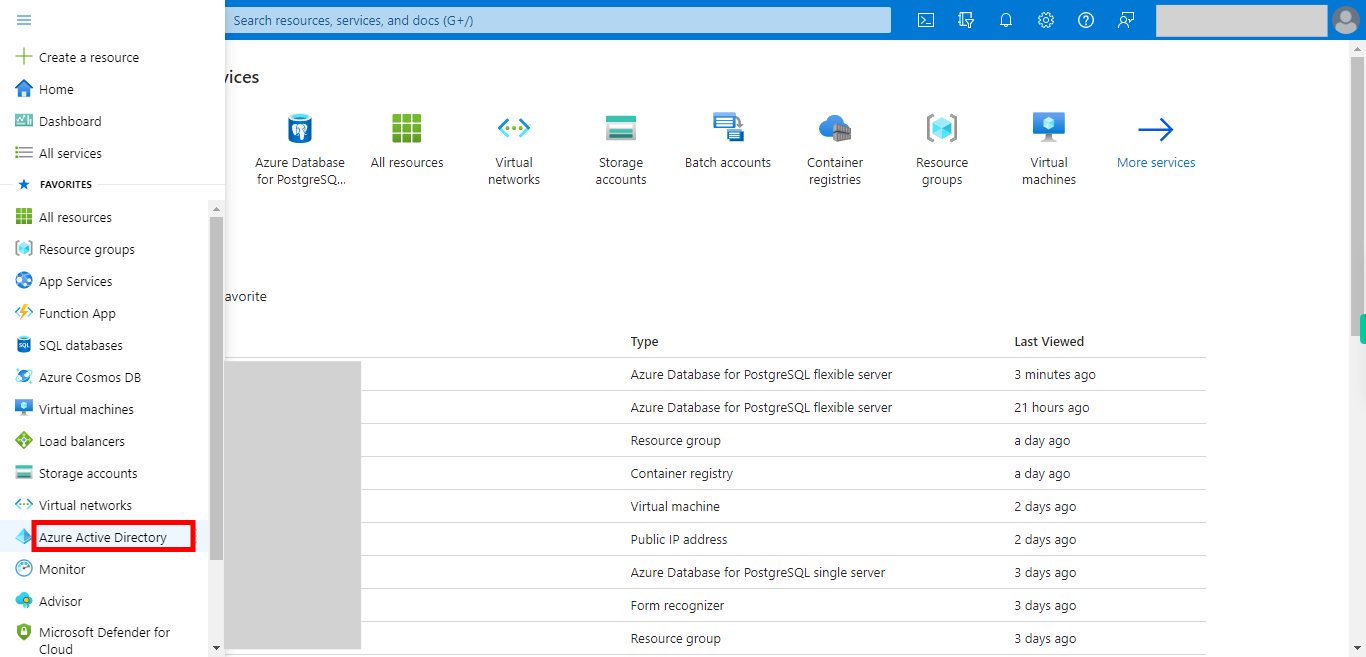
2. Click __Microsoft Entra Id__.
-
4.
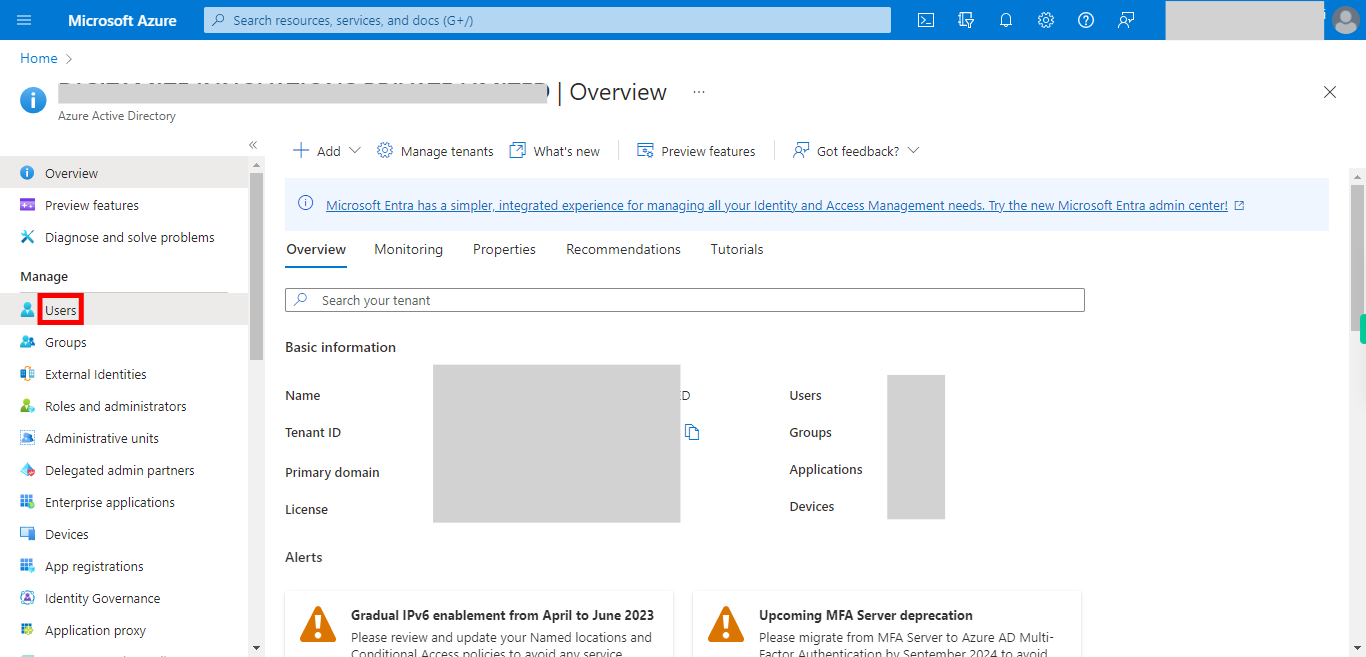
3. Click __Users__.
-
5.
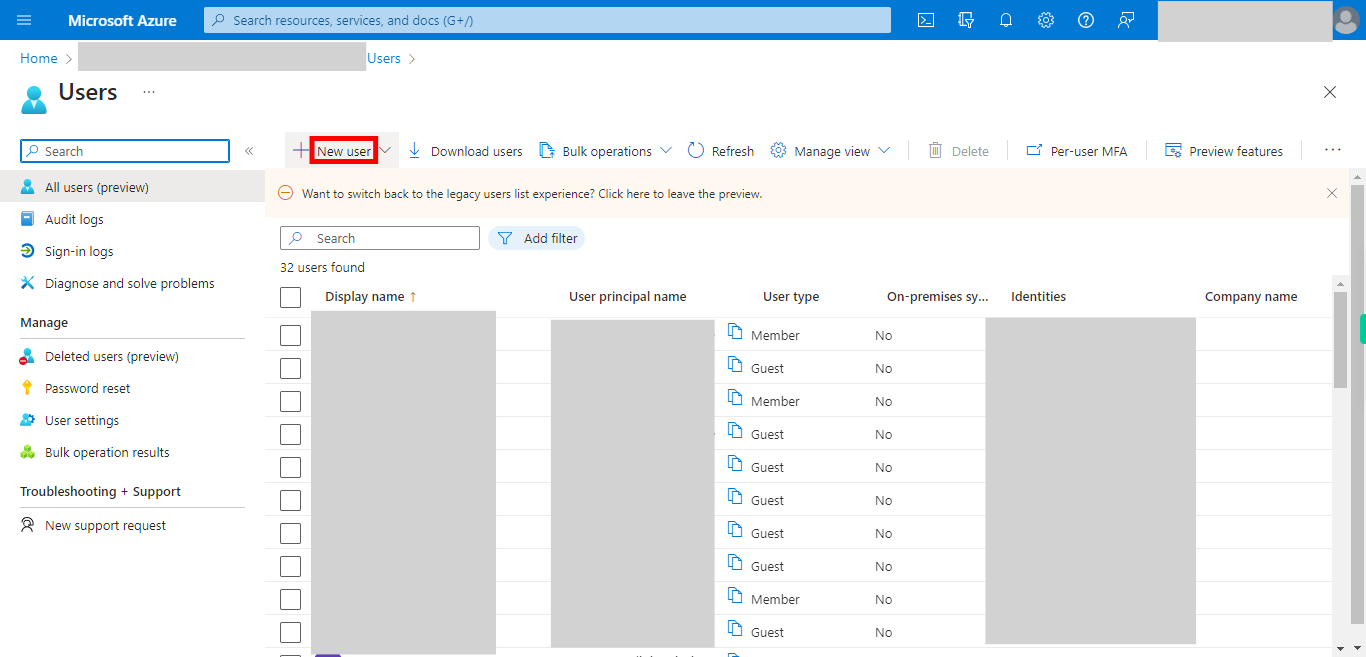
4. Click __New user__.
-
6.
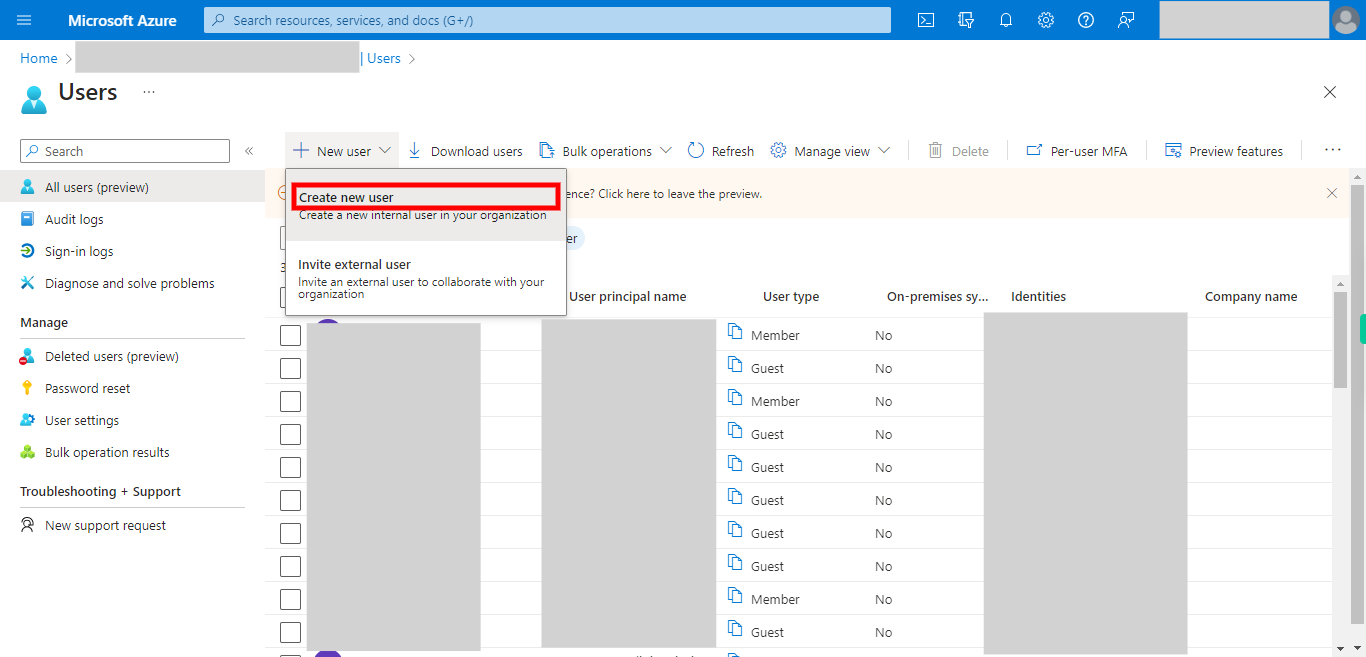
5. Click __Create new user__.
-
7.
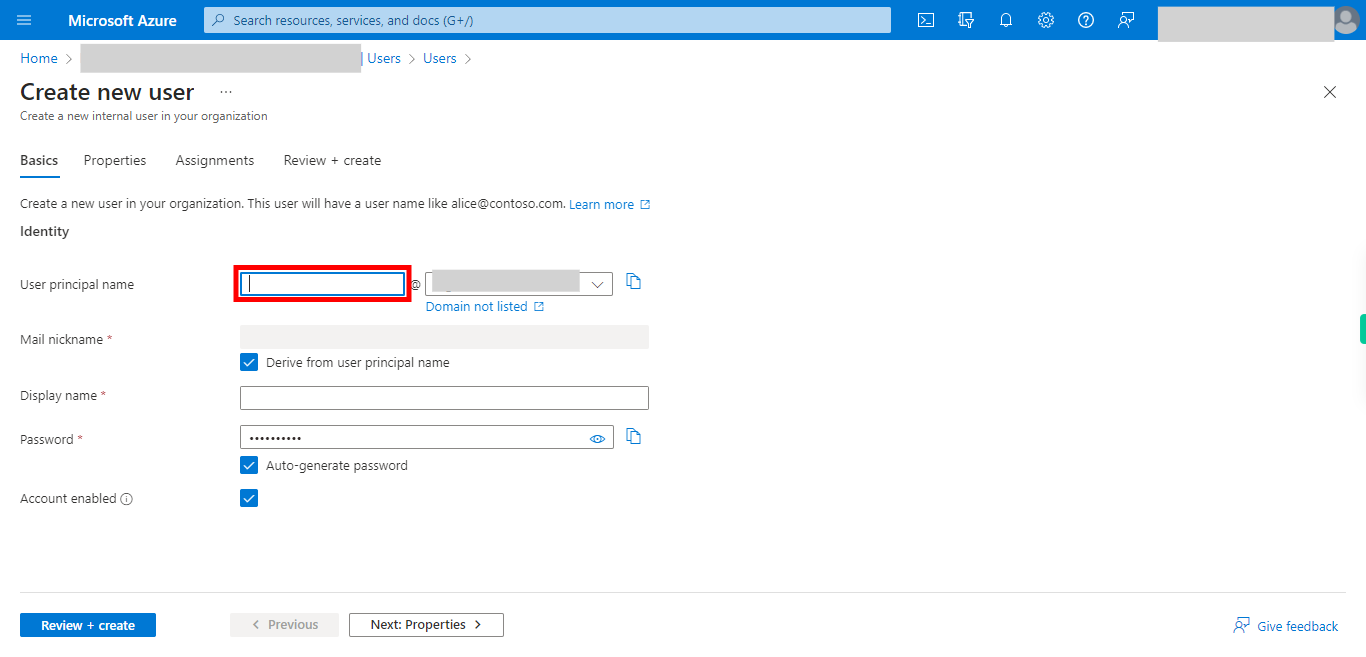
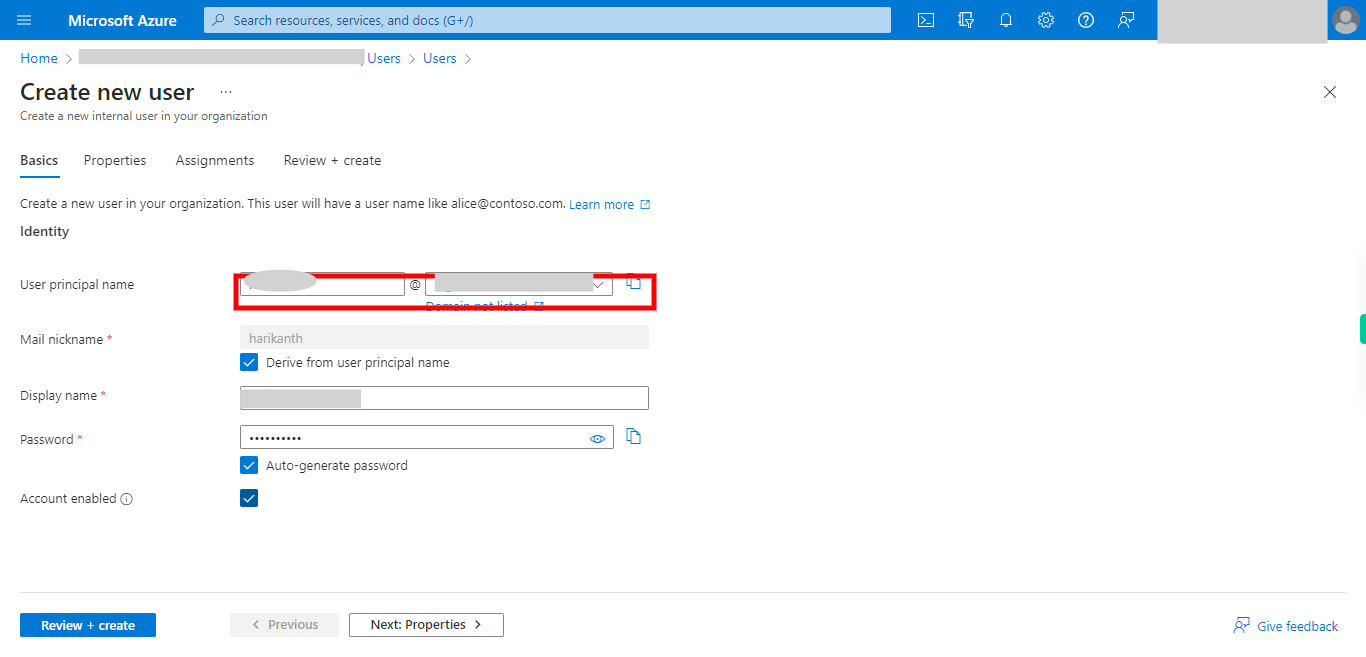
6. Click user account name of user principal name and give the name. Once done, click on the Next button on the Supervity instruction widget.
-
8.
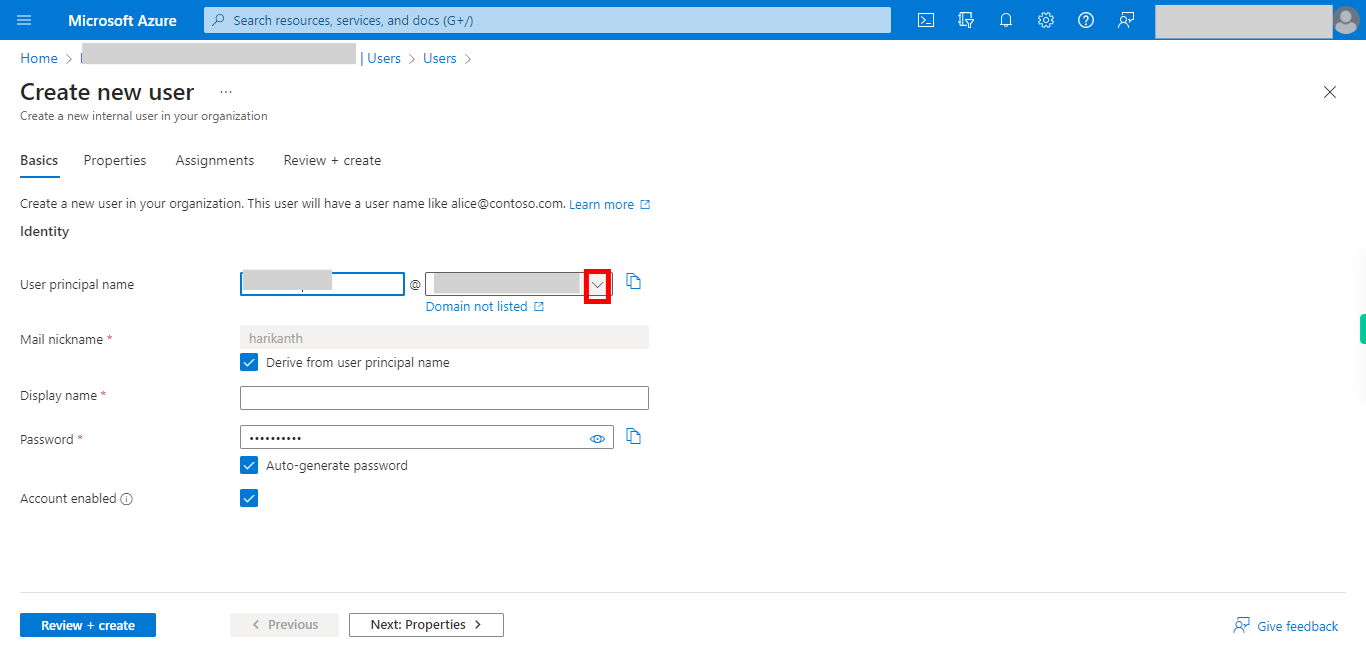
7. Click and select the domain from the available for extension for user. Once done, click on the Next button on the Supervity instruction widget.
-
9.
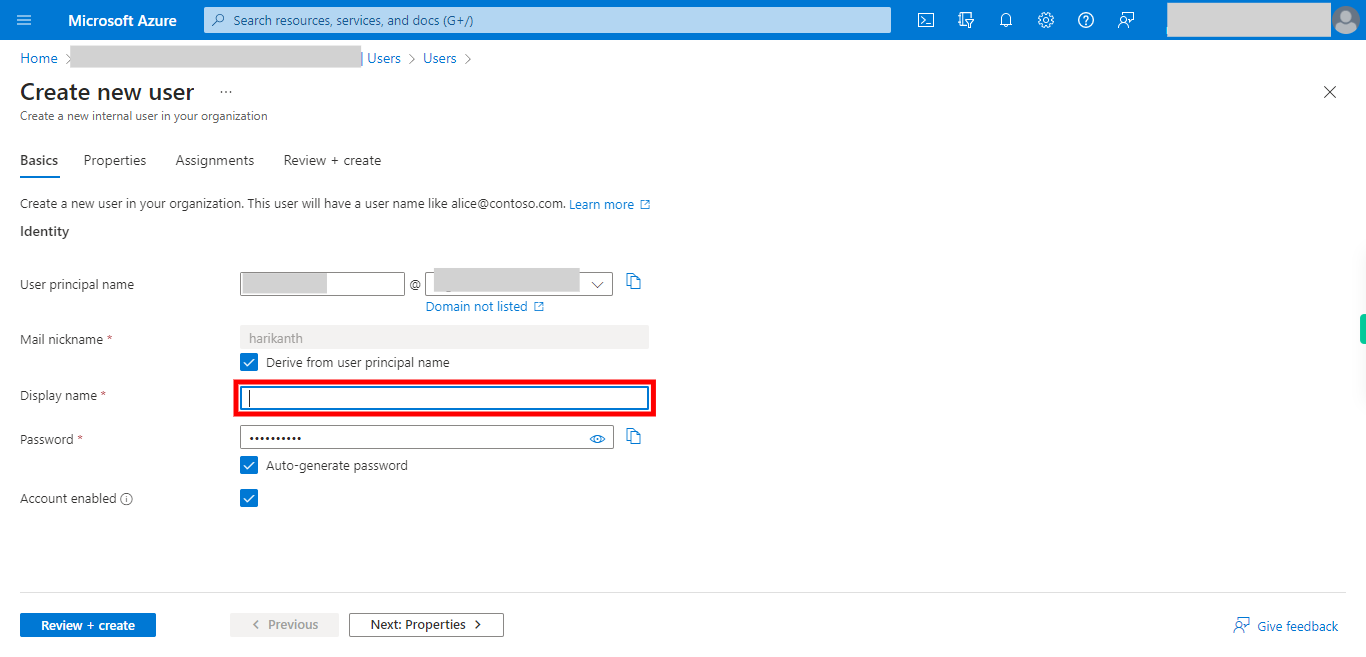
8. Click and Give the Display name. Once done, click on the Next button on the Supervity instruction widget.
-
10.
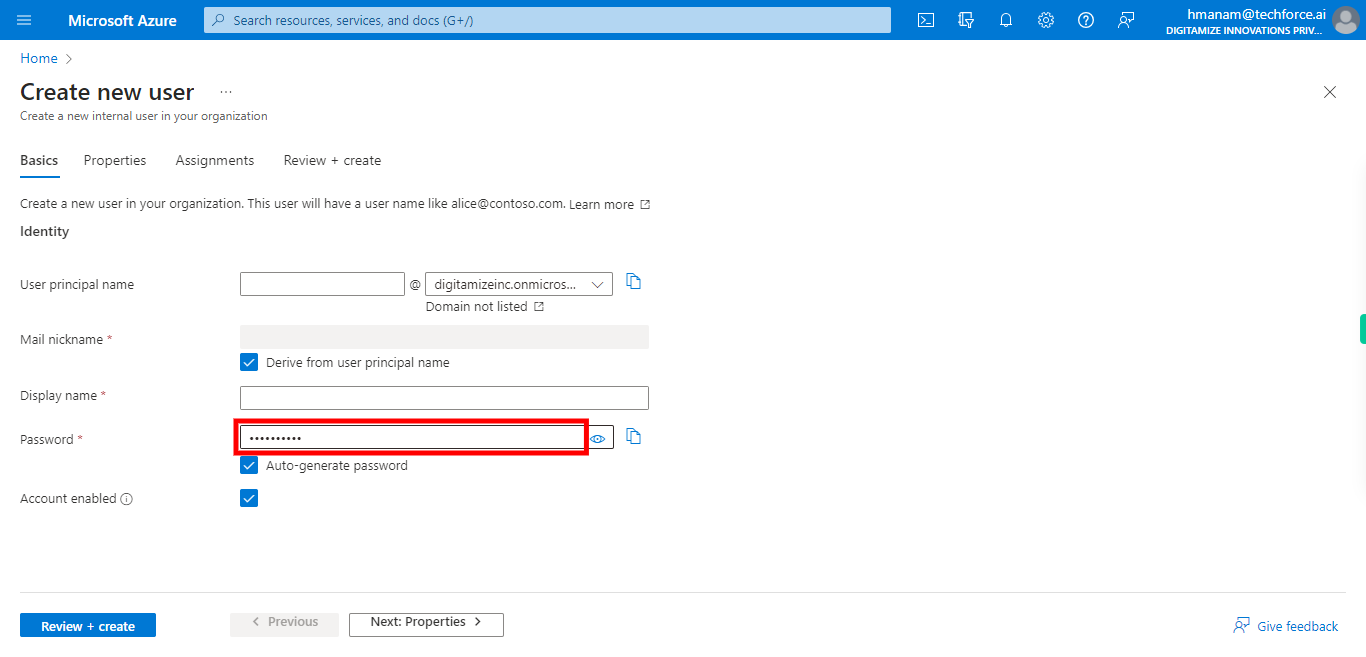
9. Click and Give the Password or else skip the step. Once done, click on the Next button on the Supervity instruction widget.
-
11.
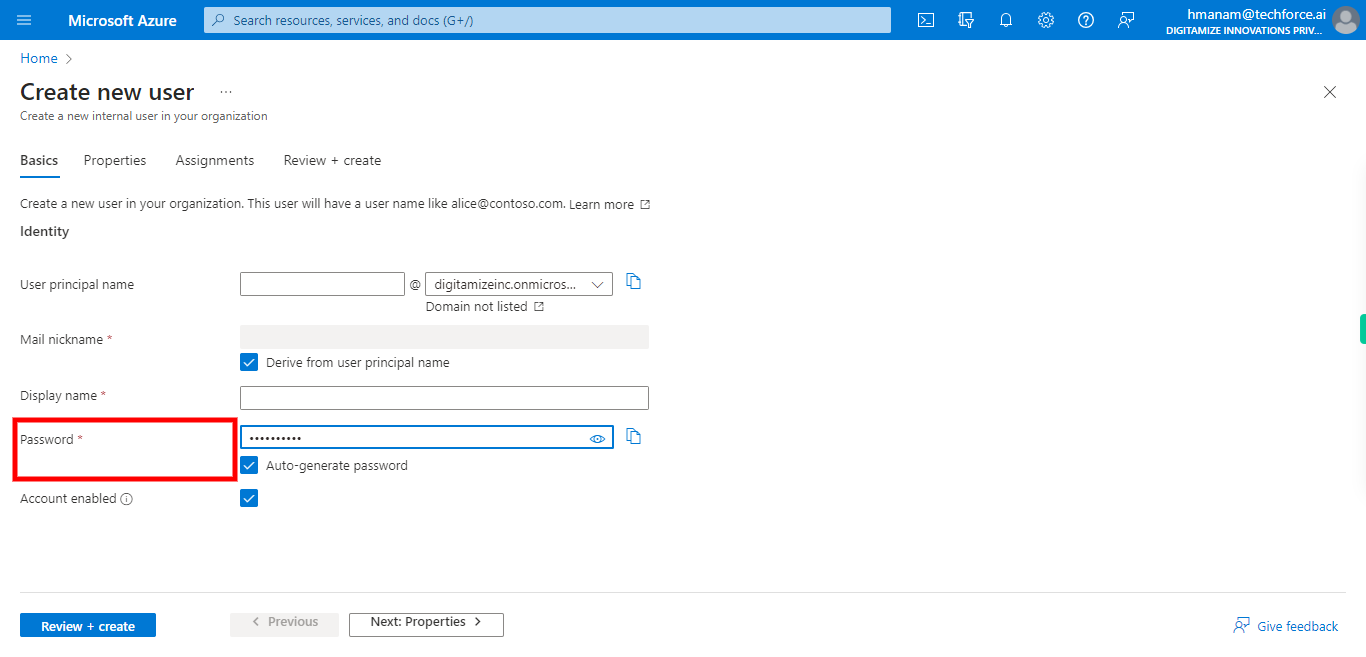
10. Click on this to Generate the Password Randomly or else skip this step if you have given the Password Manually in the above step. Once done, click on the Next button on the Supervity instruction widget.
-
12.
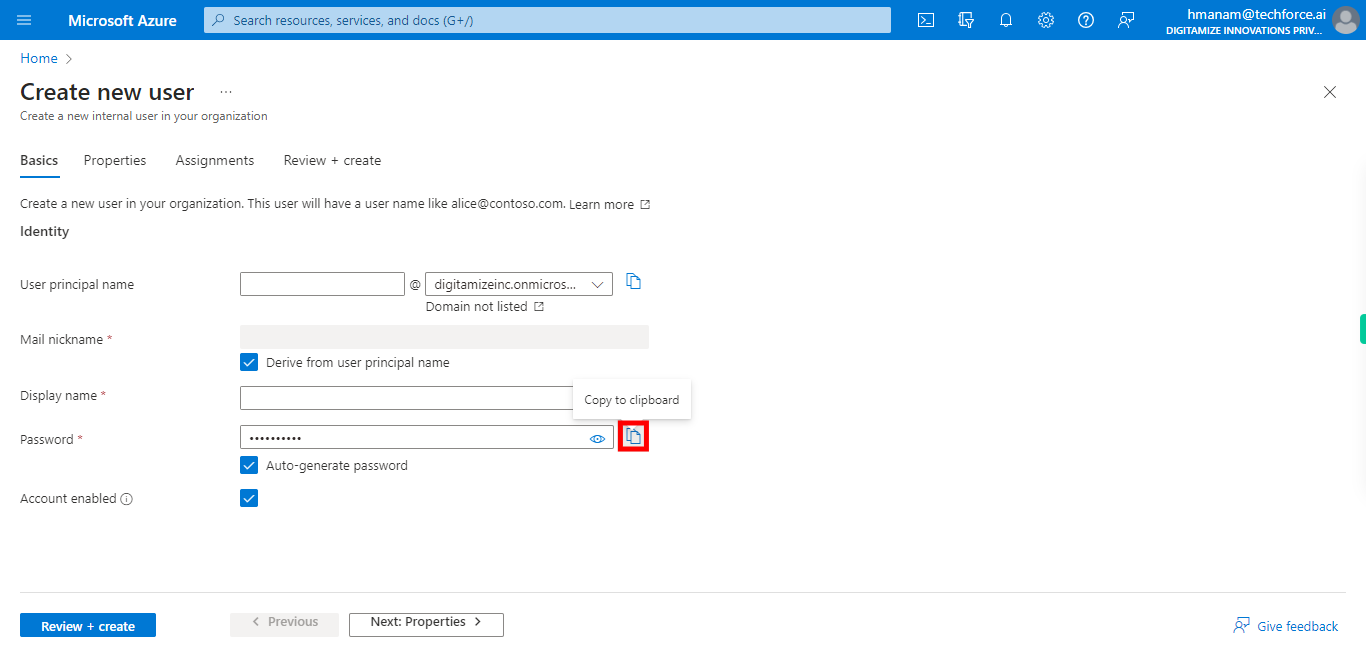
11. Click Here to Copy the Password to avoid Missing of the Password as we can't retrieve the Password once the Process completed. Once done, click on the Next button on the Supervity instruction widget.
-
13.
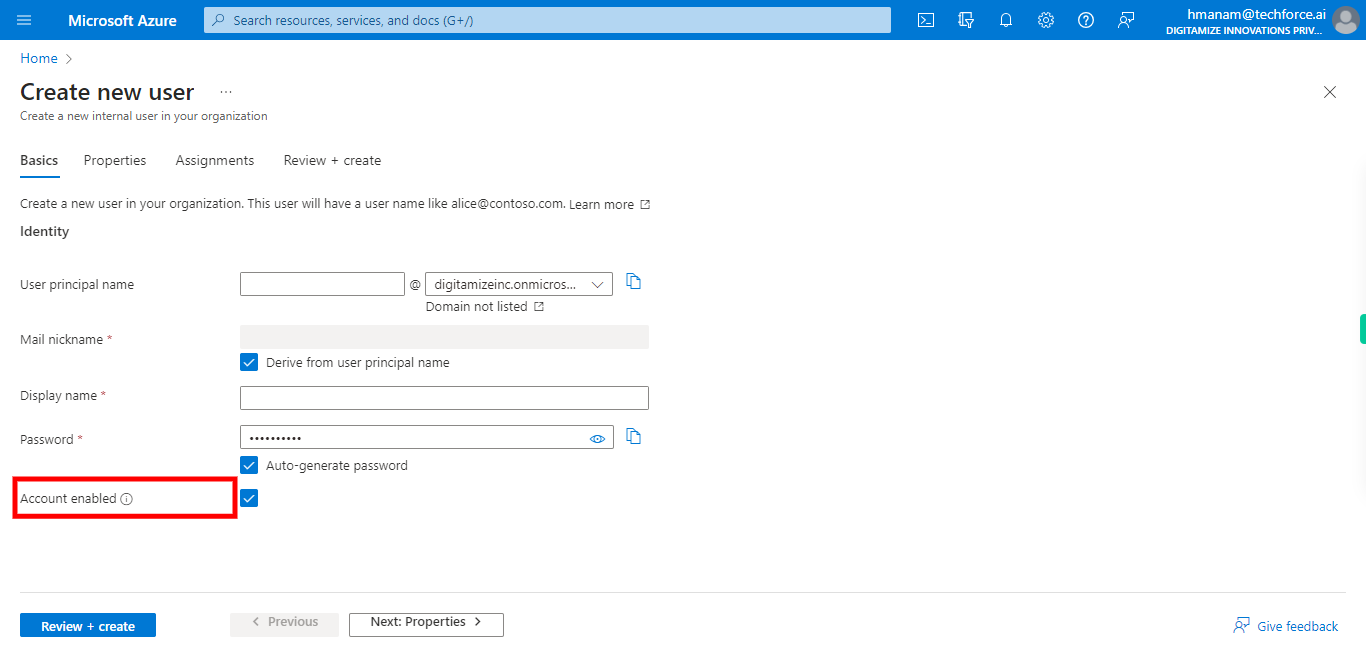
12. Make sure that the Account is enabled! If not checked, this user will be blocked from signing in. Once done, click on the Next button on the Supervity instruction widget.
-
14.
13. Click __Next: Properties>__.
-
15.
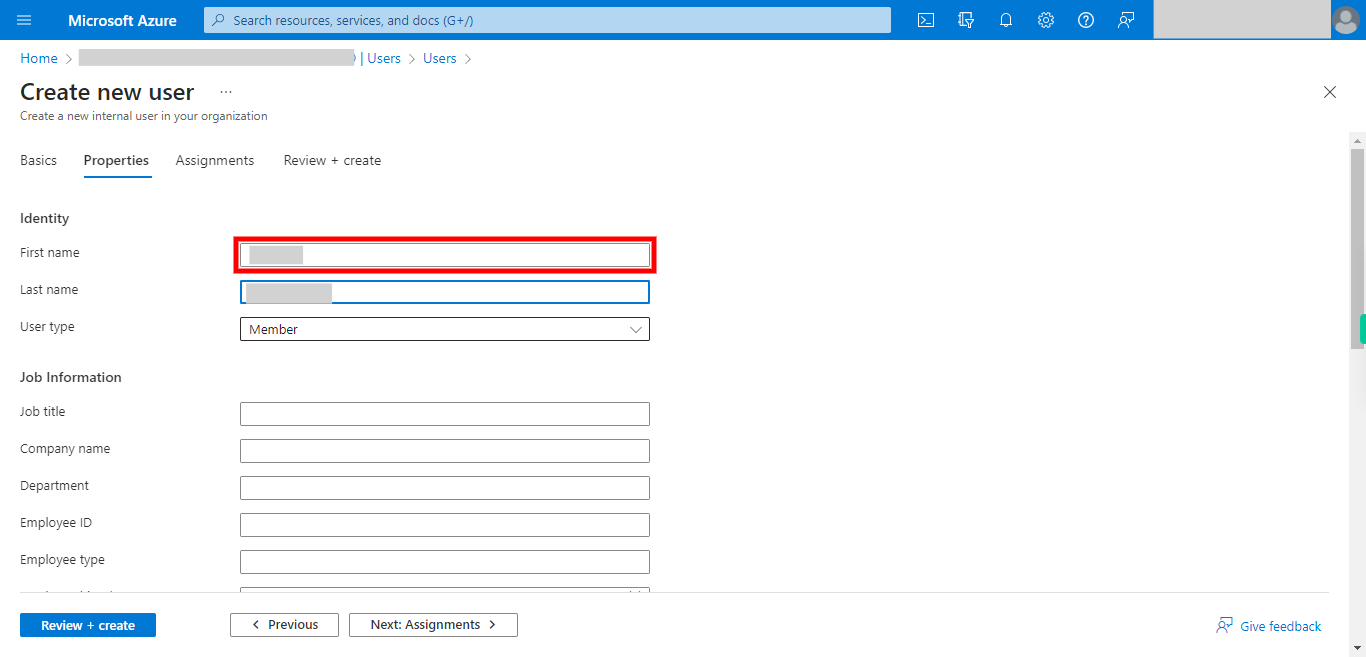
14. Click and Give the First name. Once done, click on the Next button on the Supervity instruction widget.
-
16.
15. Click and Give the Last name. Once done, click on the Next button on the Supervity instruction widget.
-
17.
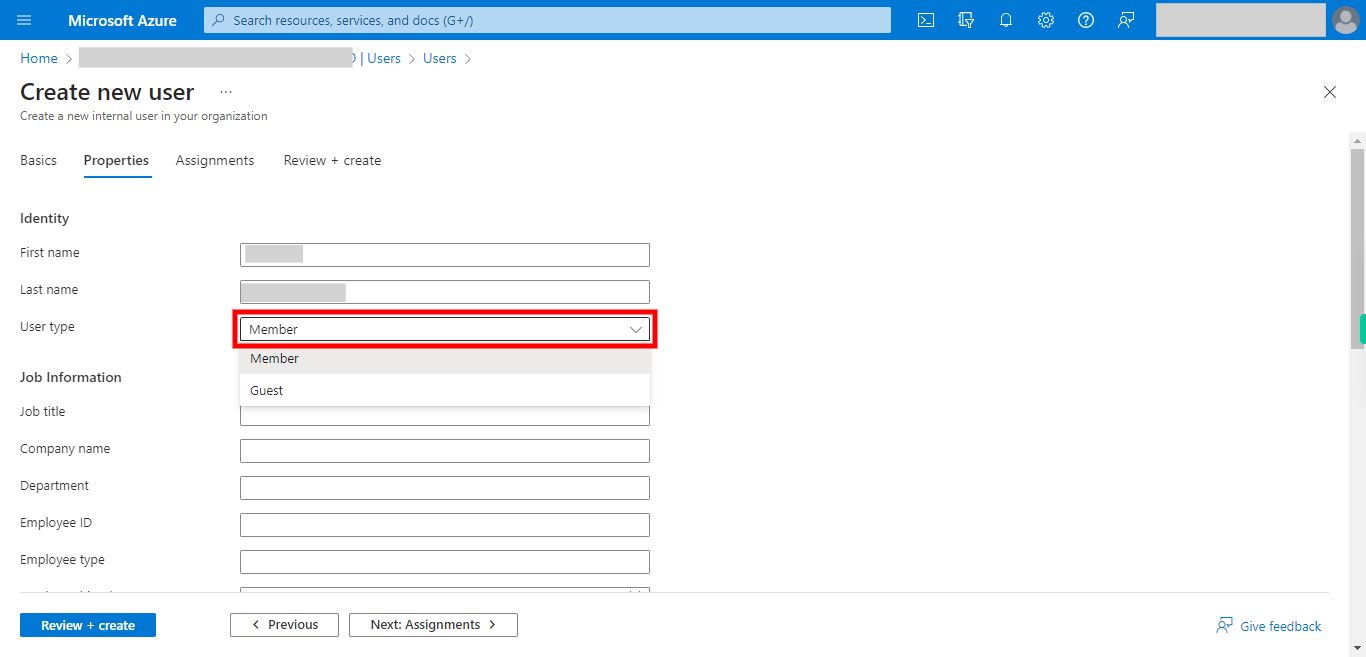
16. Click and select the Option. Once done, click on the Next button on the Supervity instruction widget.
-
18.
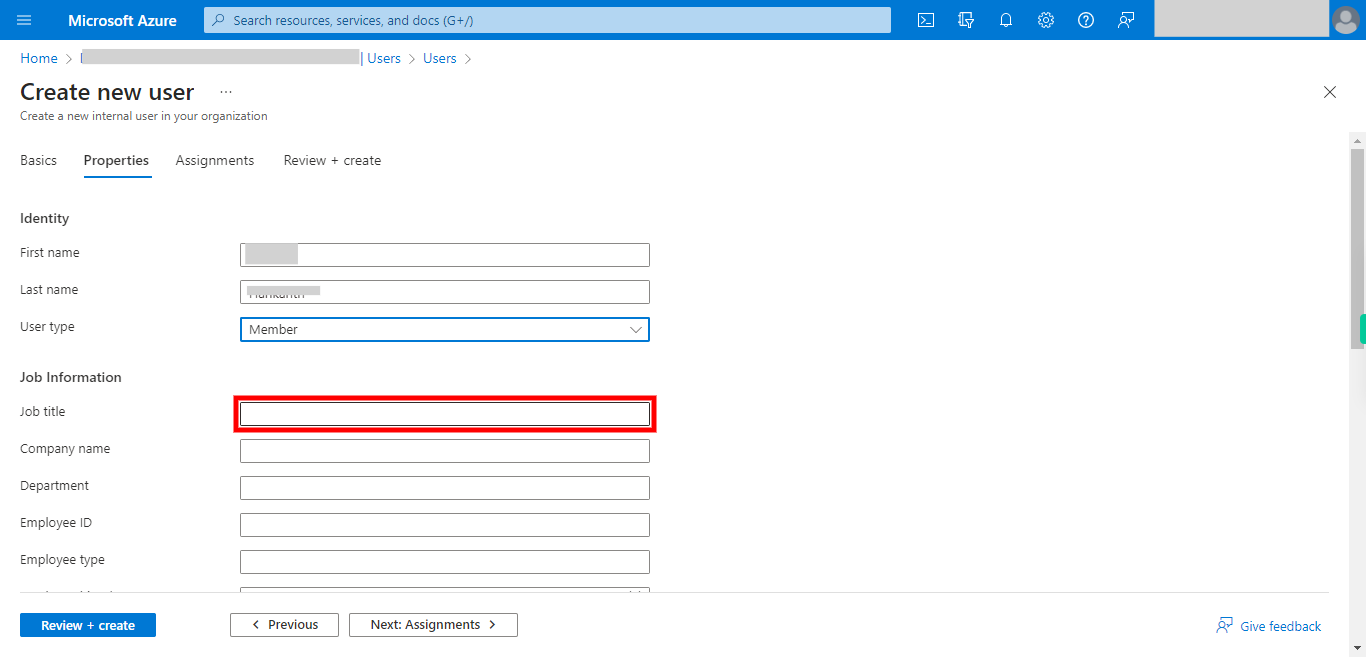
17. Click and Give the Job title. Once done, click on the Next button on the Supervity instruction widget.
-
19.
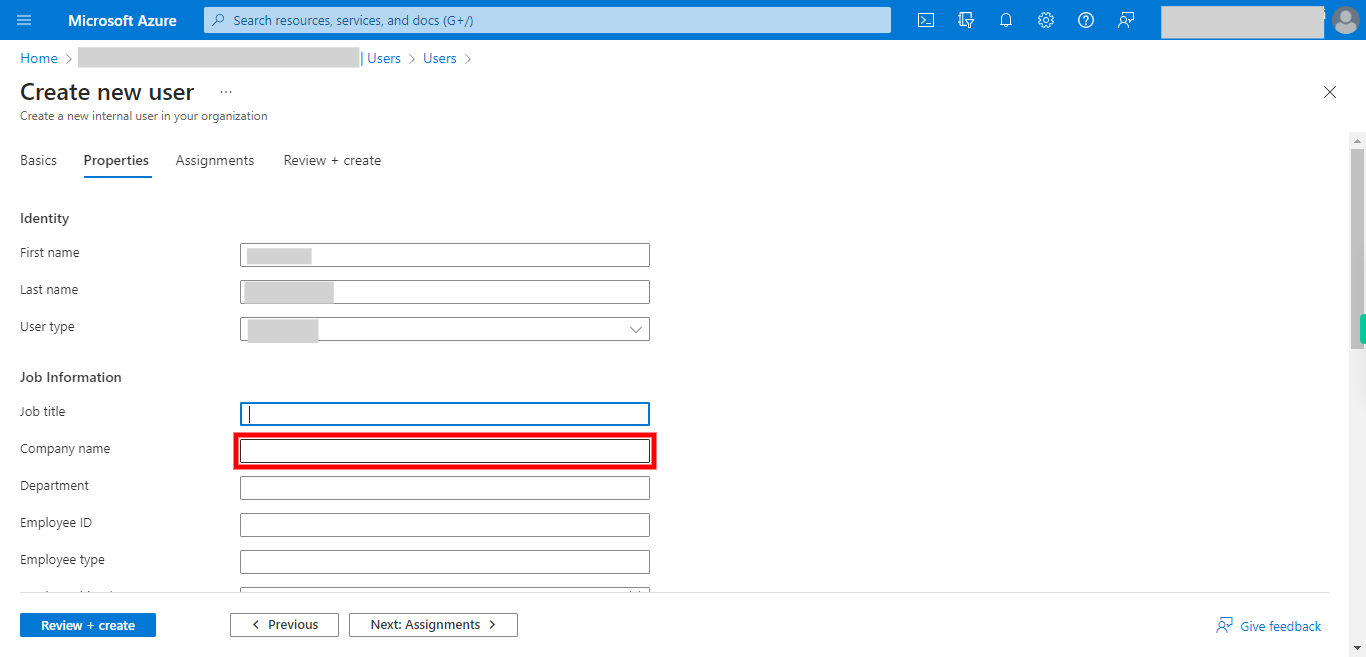
18. Click and Give Company name. Once done, click on the Next button on the Supervity instruction widget.
-
20.
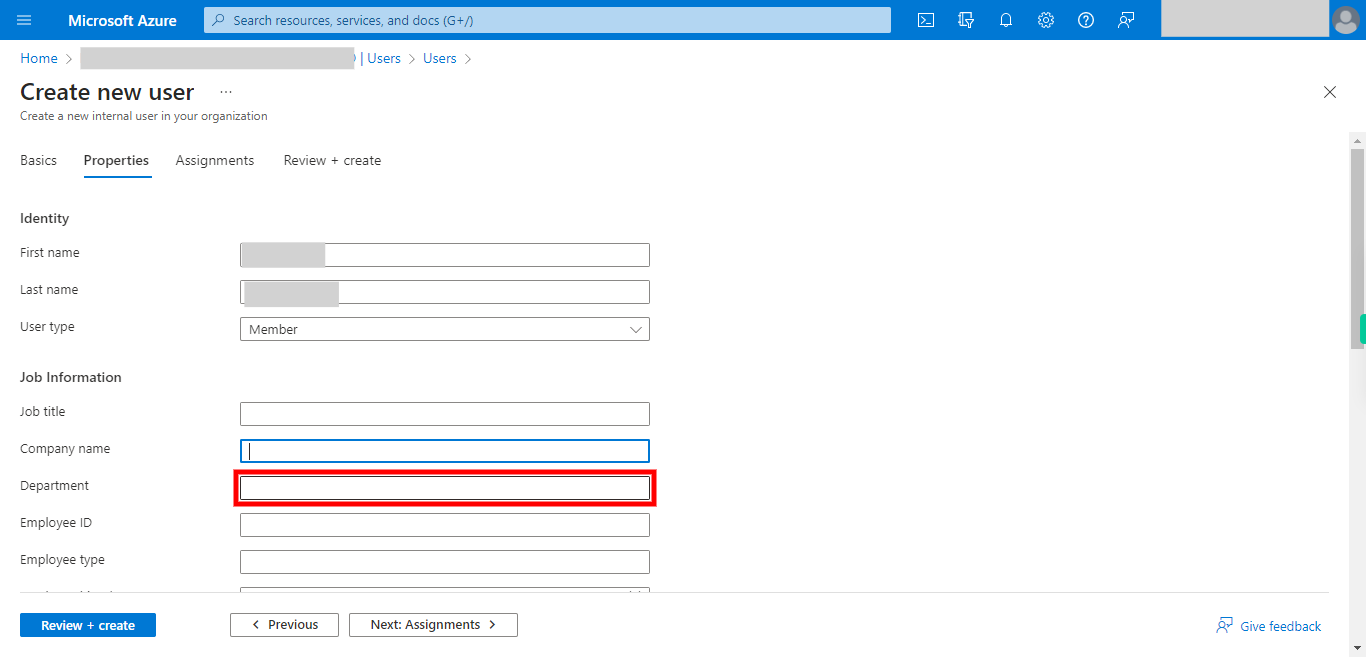
19. Click and Give the Department. Once done, click on the Next button on the Supervity instruction widget.
-
21.
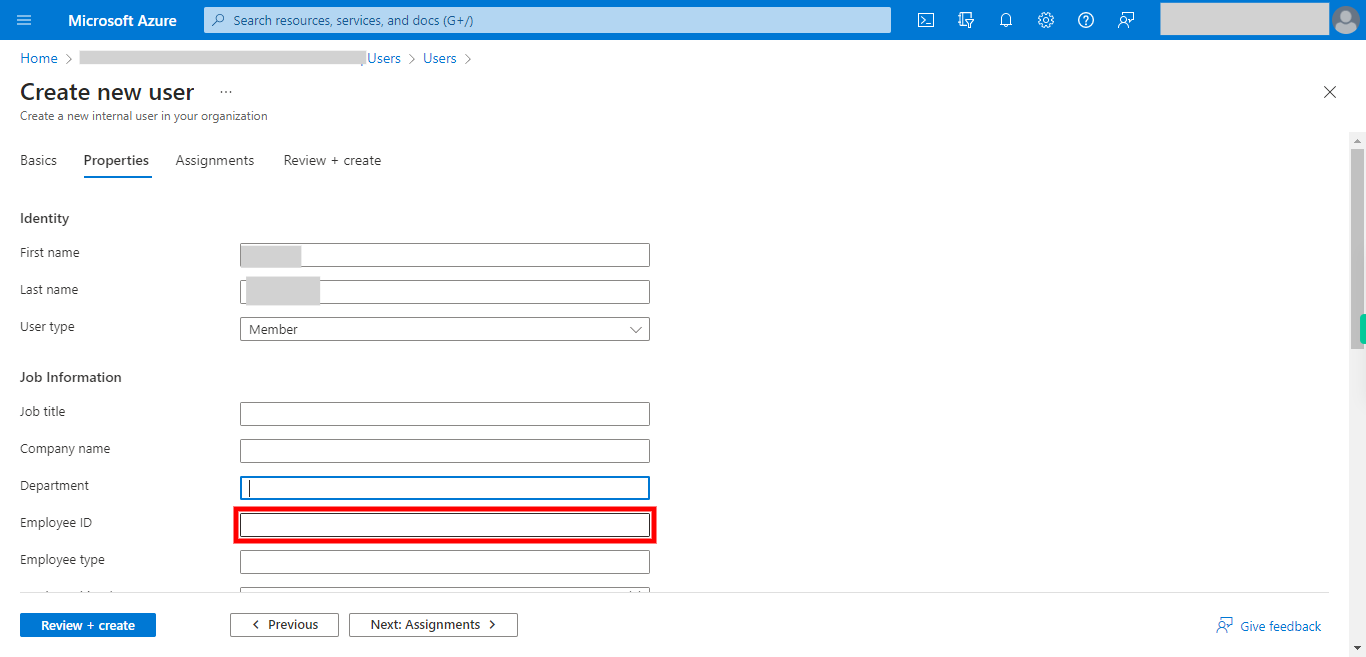
20. Click and Give the Employee ID. Once done, click on the Next button on the Supervity instruction widget.
-
22.
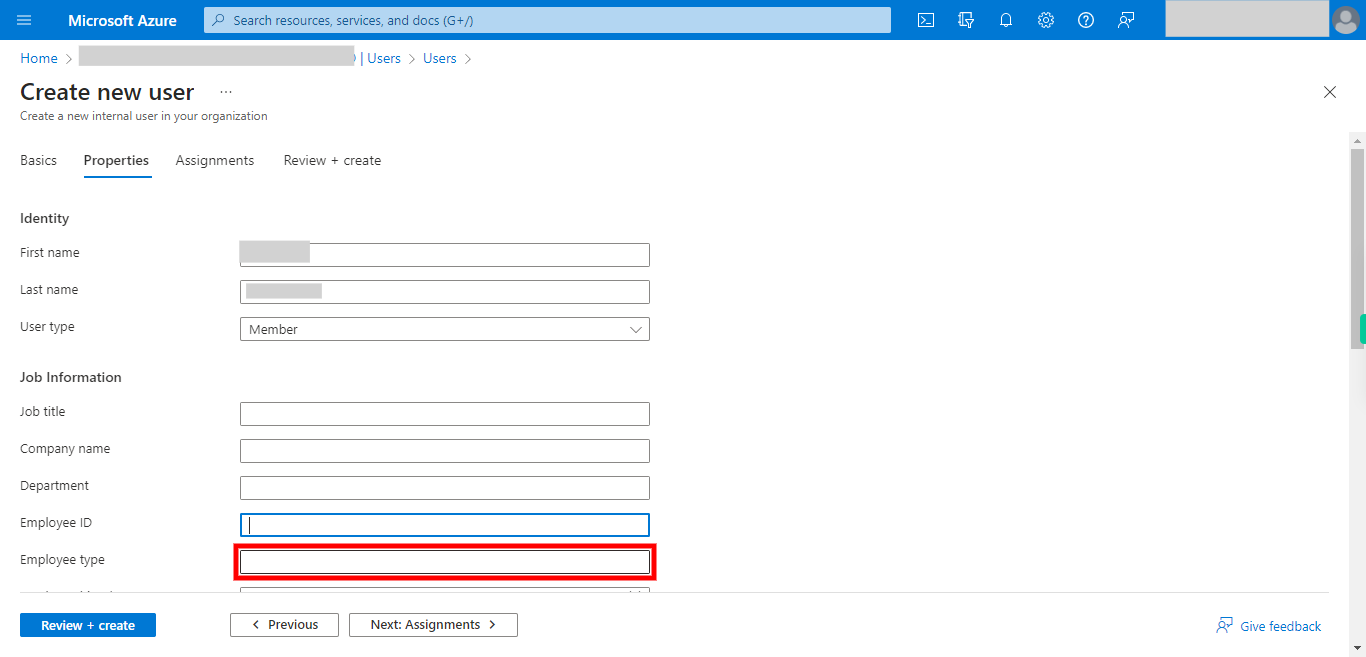
21. Click and Give the Employee type. Once done, click on the Next button on the Supervity instruction widget.
-
23.
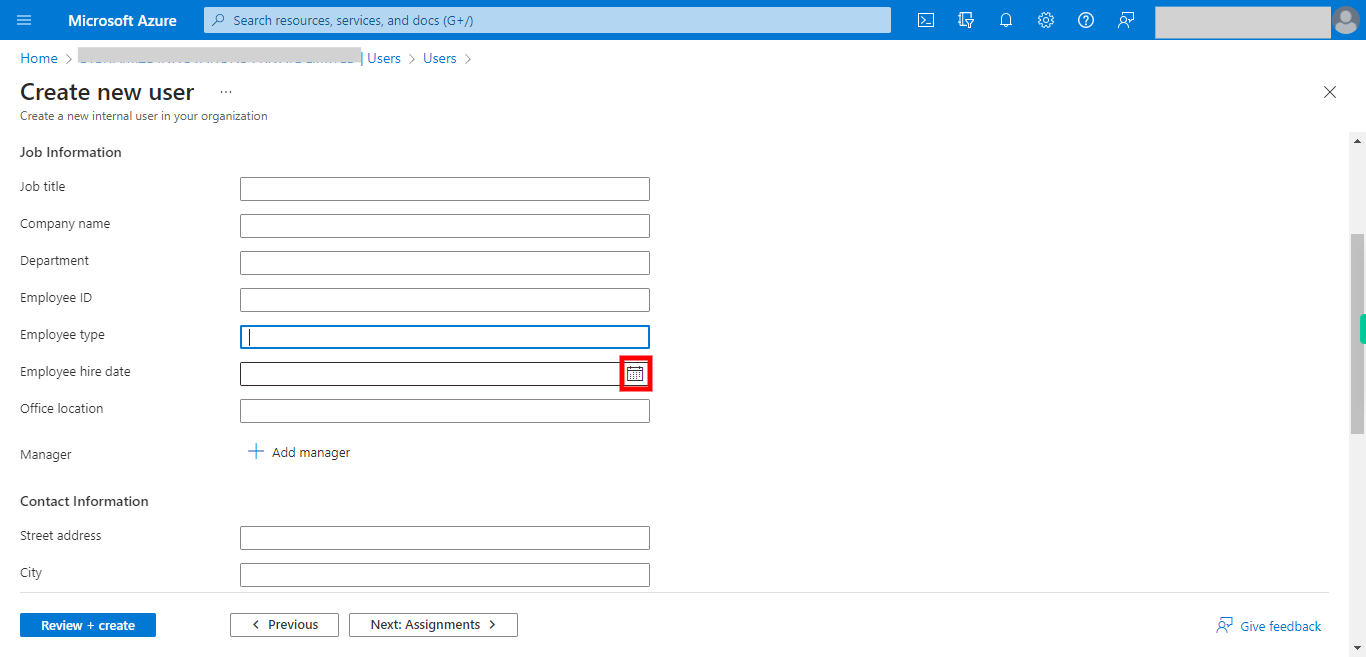
22. Click and Select the Date. Once done, click on the Next button on the Supervity instruction widget.
-
24.
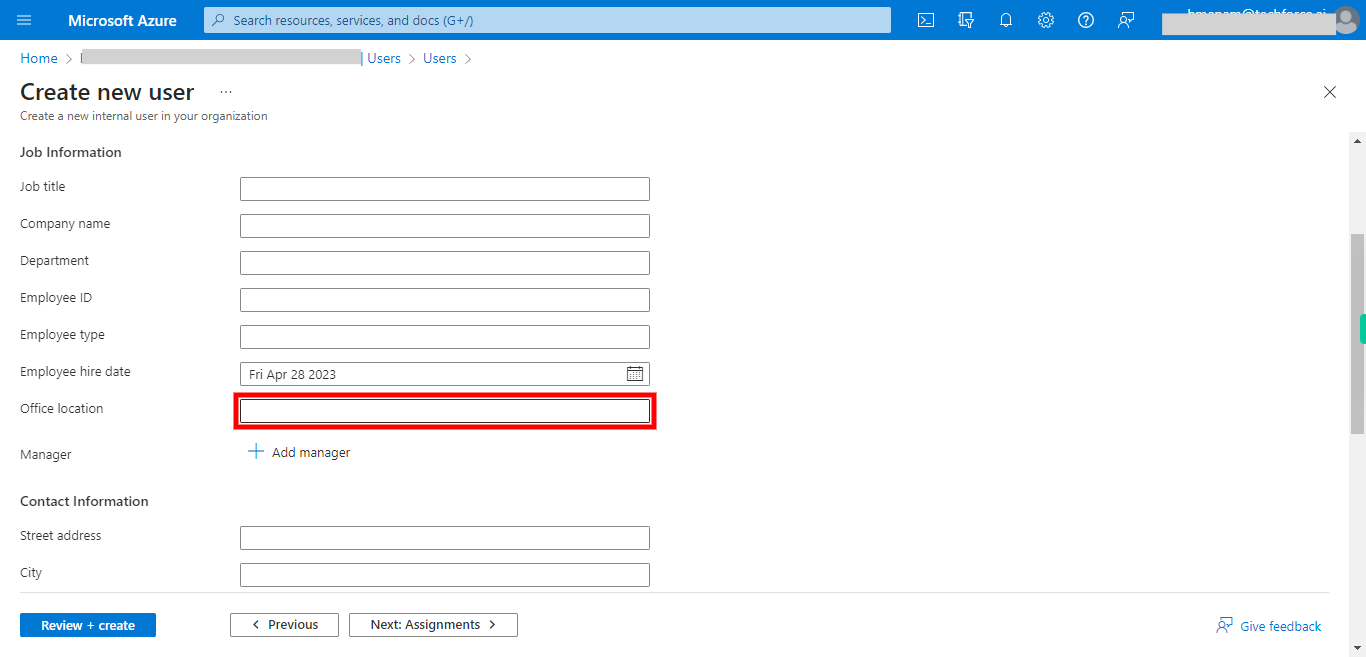
23. Click and Give the Office location. Once done, click on the Next button on the Supervity instruction widget.
-
25.
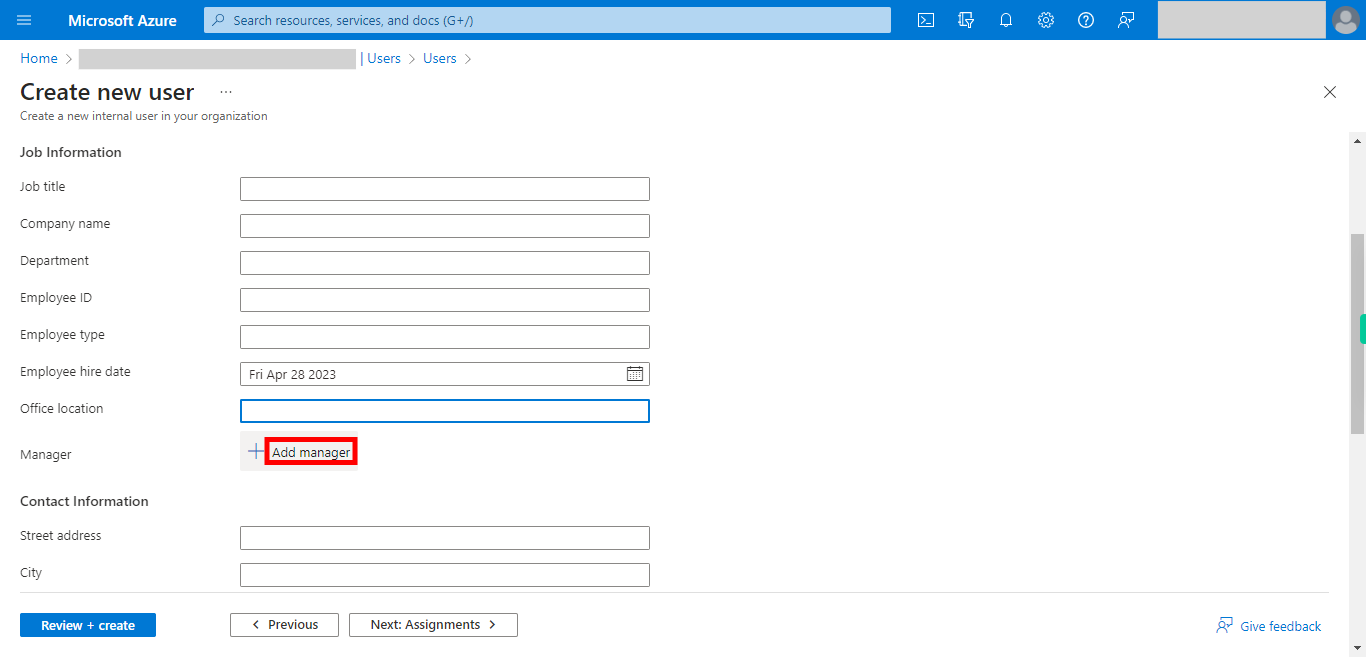
24. Click Add manager and Select the Manager. Once done, click on the Next button on the Supervity instruction widget.
-
26.
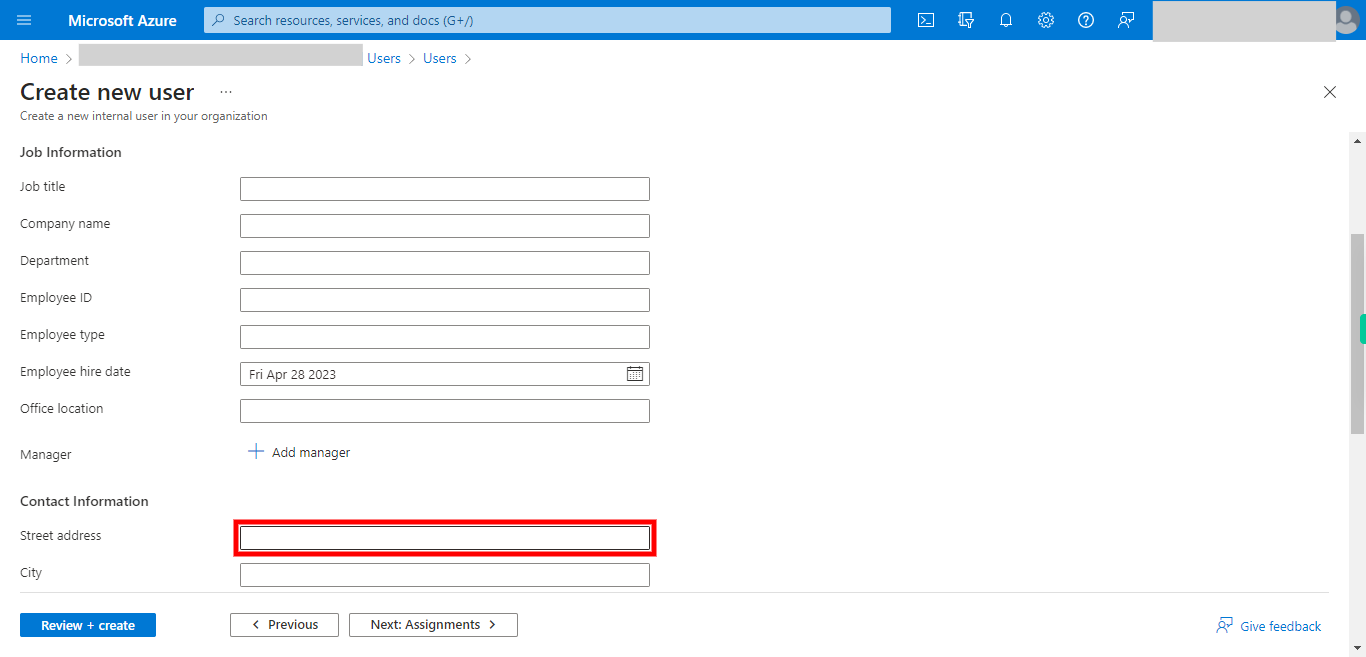
25. Click and Give the Street address. Once done, click on the Next button on the Supervity instruction widget.
-
27.
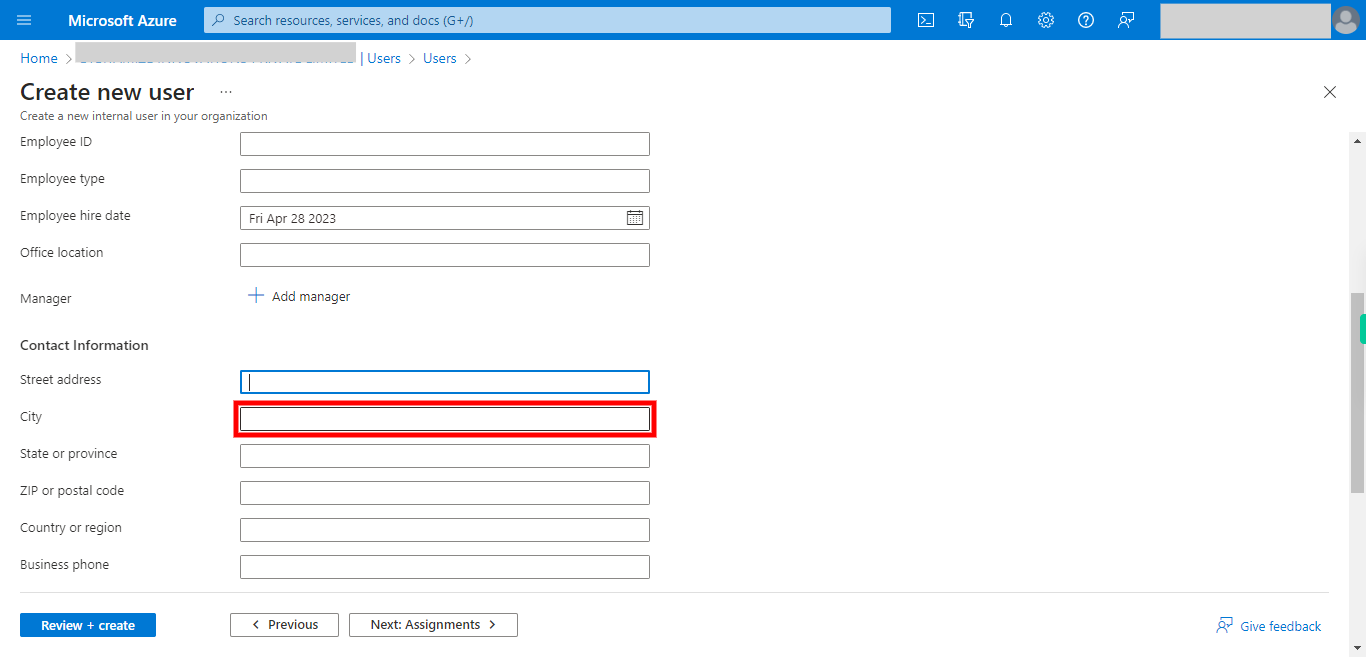
26. Click and Give the City. Once done, click on the Next button on the Supervity instruction widget.
-
28.
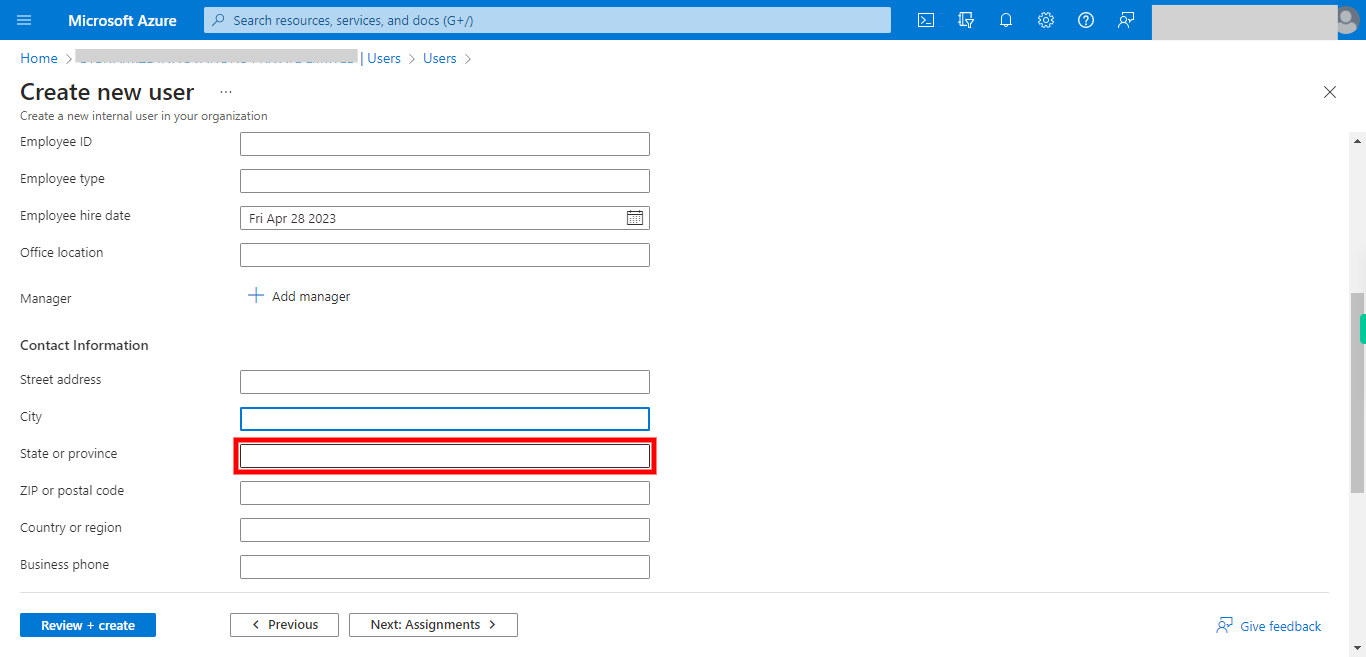
27. Click and Give the State or province. Once done, click on the Next button on the Supervity instruction widget.
-
29.
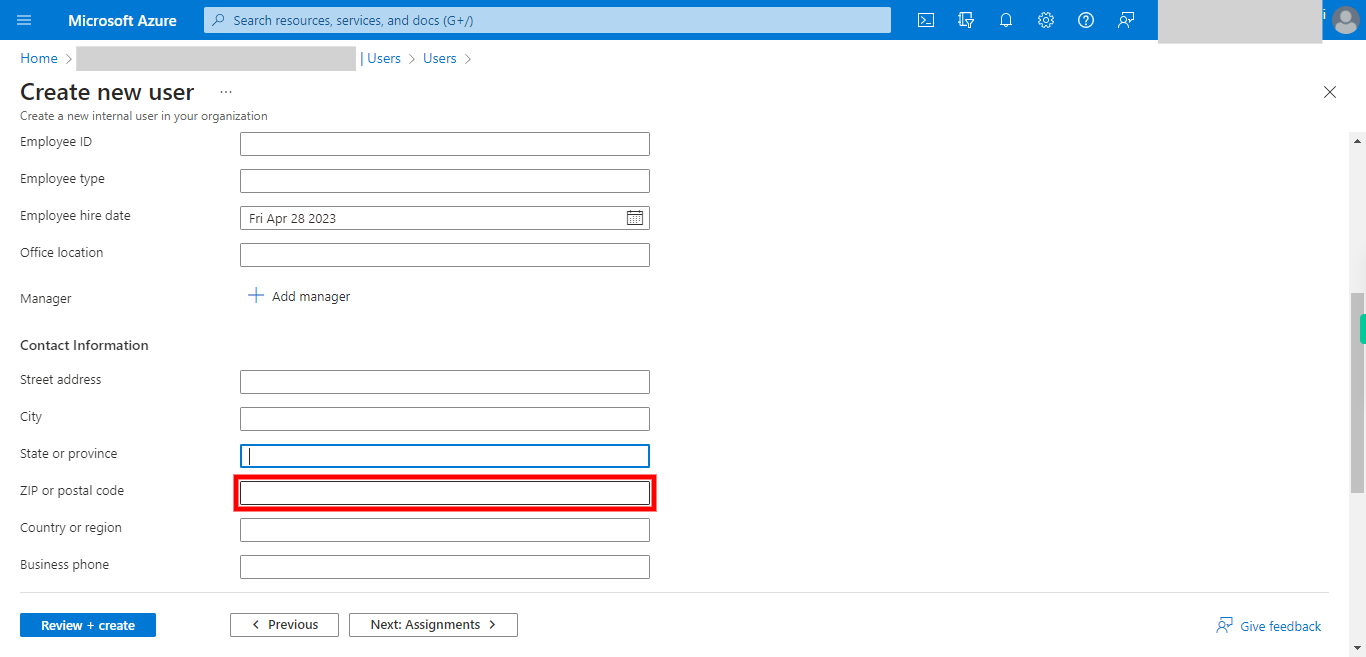
28. Click and Give the ZIP or postal code. Once done, click on the Next button on the Supervity instruction widget.
-
30.
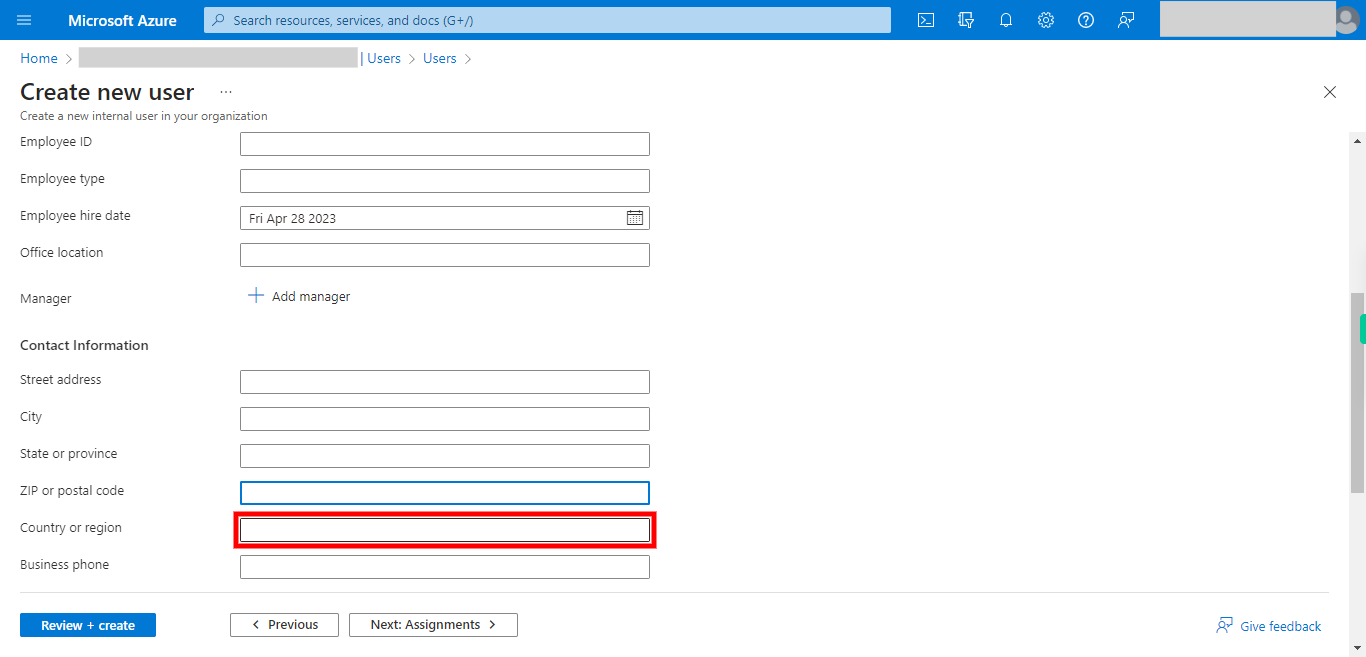
29. Click and Give the Country or region. Once done, click on the Next button on the Supervity instruction widget.
-
31.
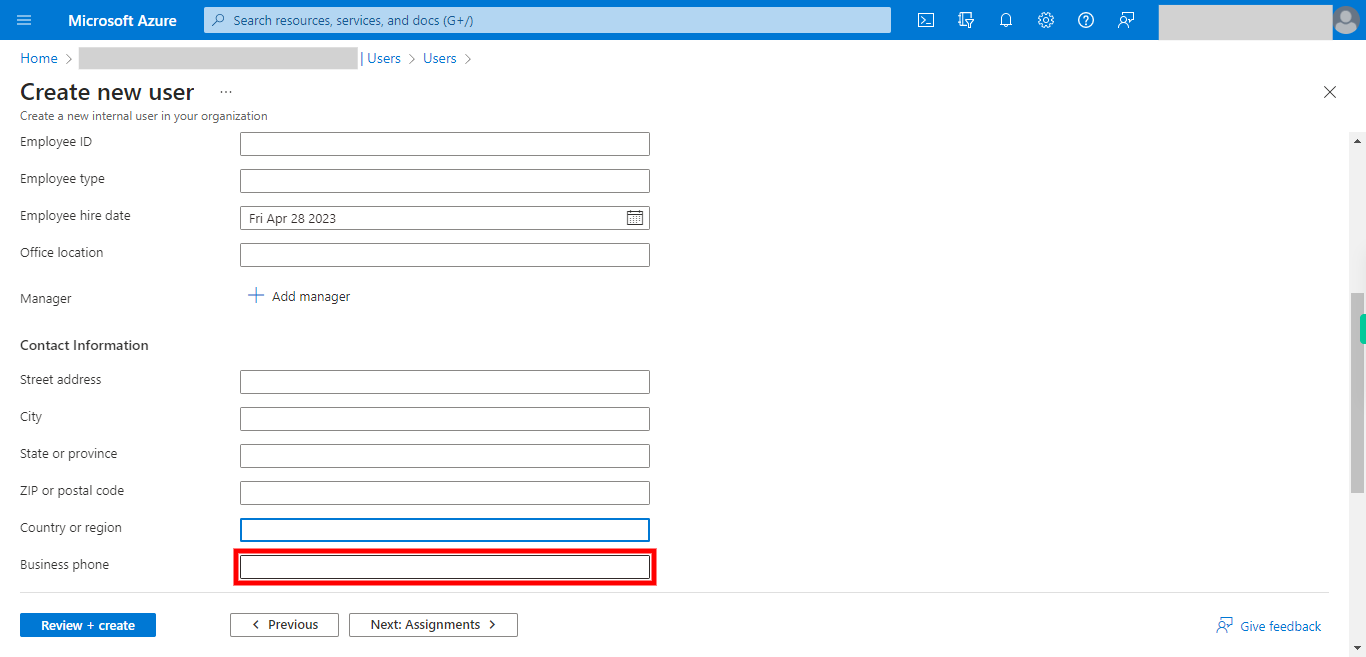
30. Click and Give the Business phone. Once done, click on the Next button on the Supervity instruction widget.
-
32.
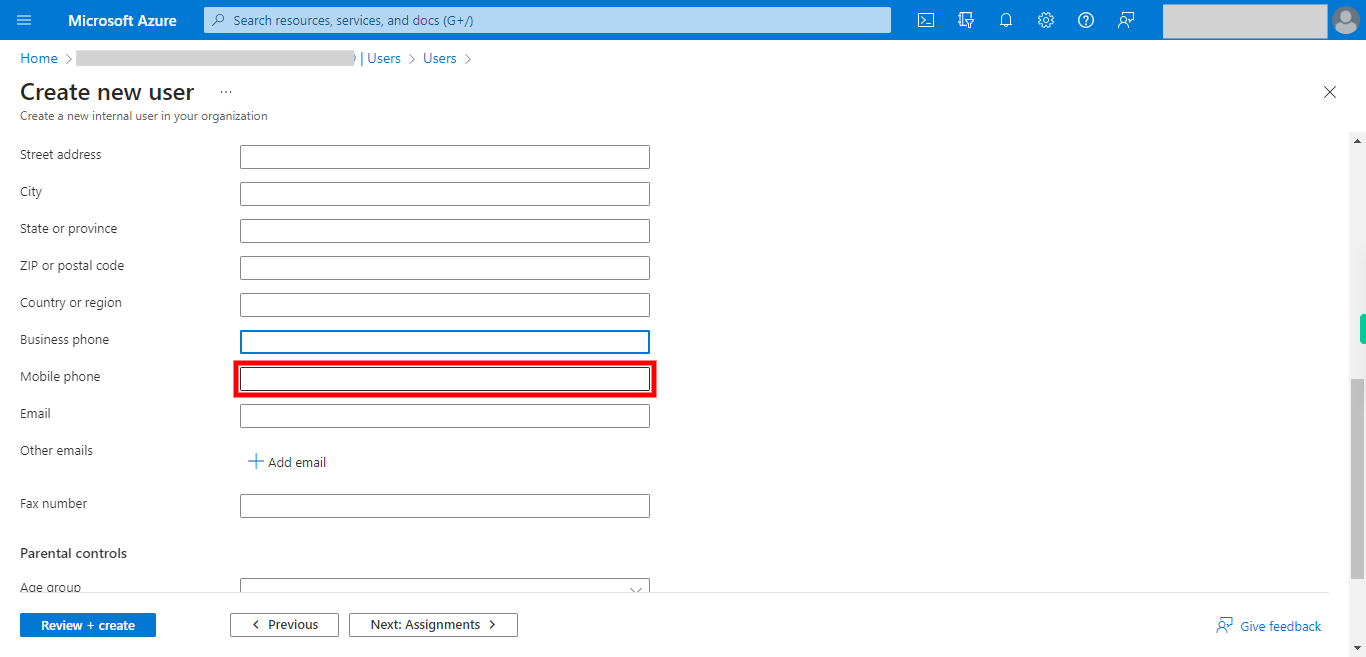
31. Click and Give the Mobile phone. Once done, click on the Next button on the Supervity instruction widget.
-
33.
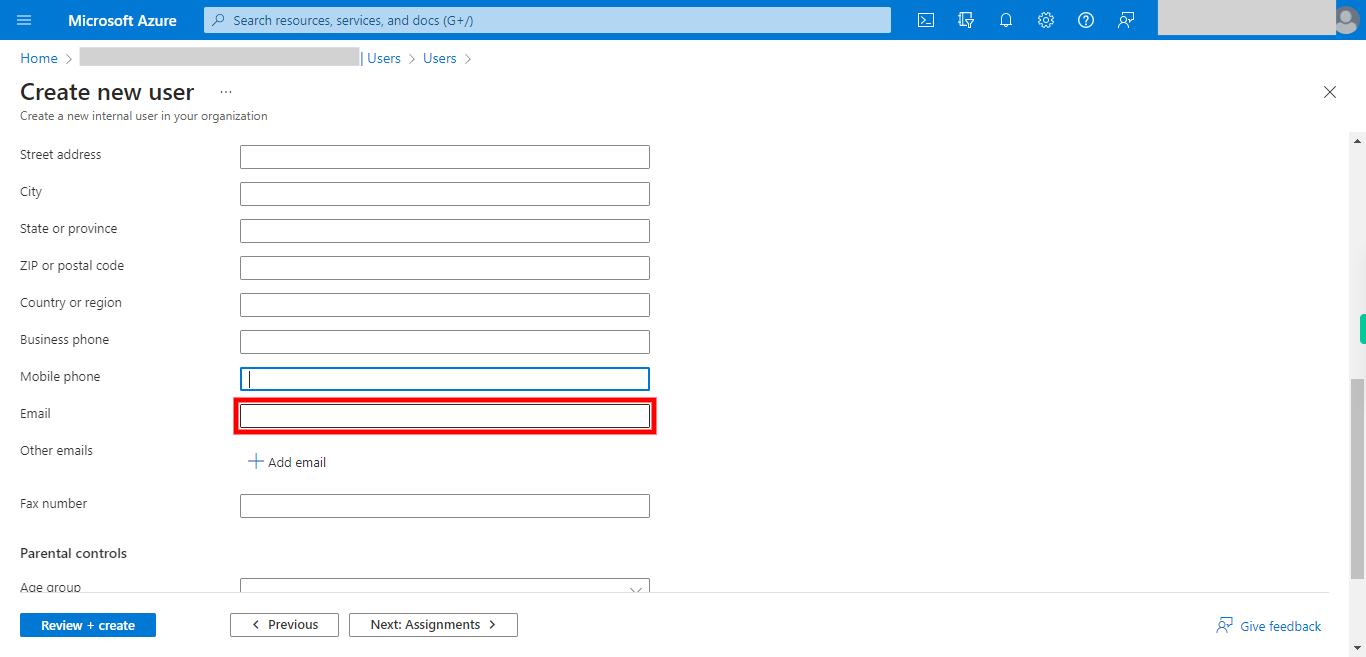
32. Click and Give the Email. Once done, click on the Next button on the Supervity instruction widget.
-
34.
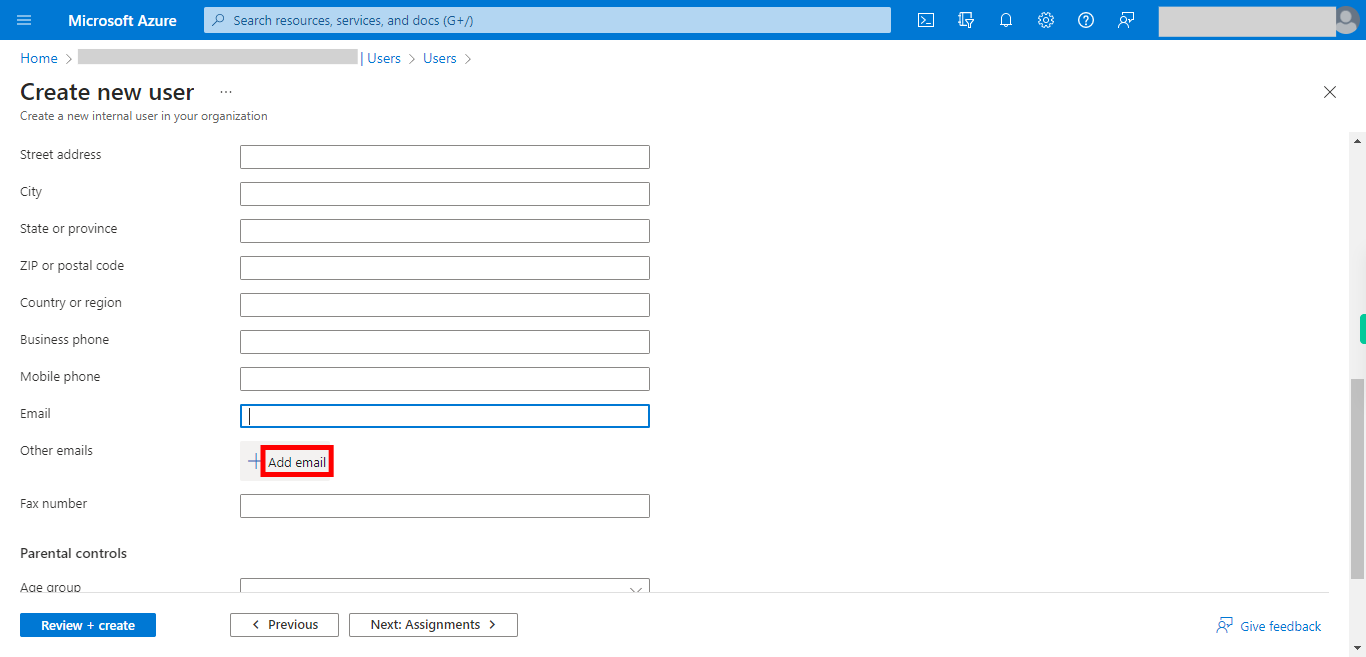
33. Click and Add email. Once done, click on the Next button on the Supervity instruction widget.
-
35.
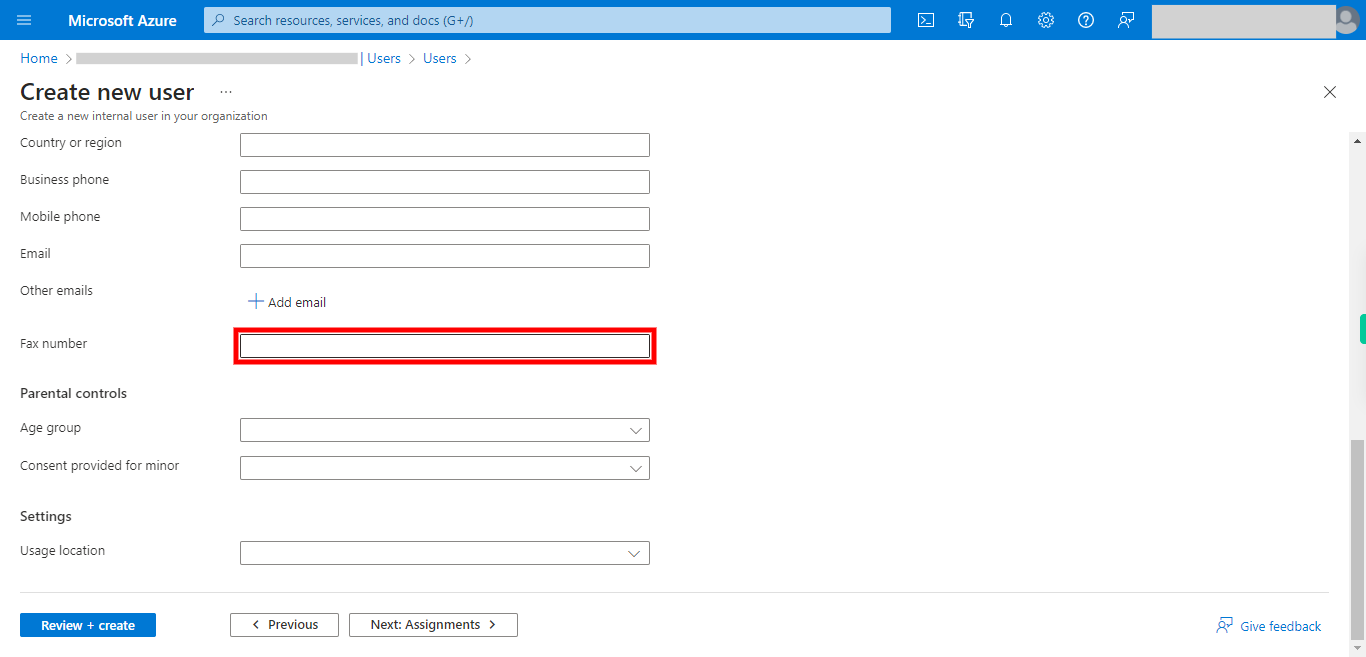
34. Click and Give the Fax number. Once done, click on the Next button on the Supervity instruction widget.
-
36.
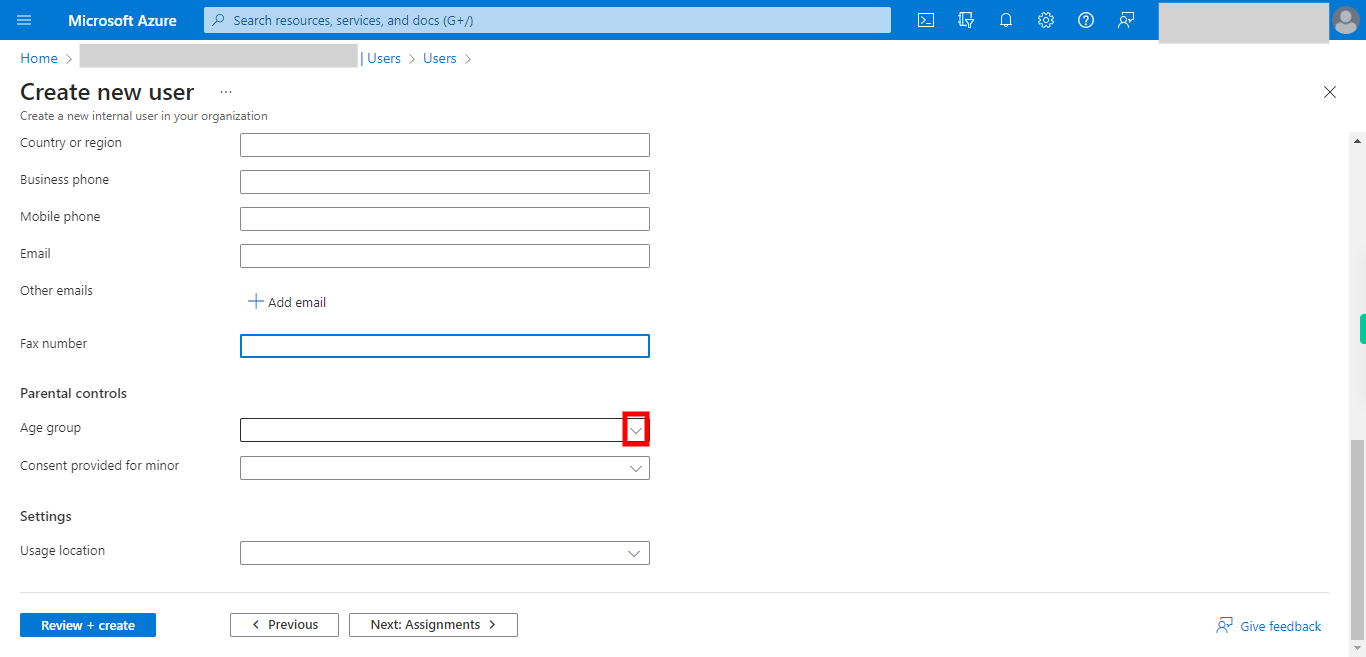
35. Click and Select the Age Group. Once done, click on the Next button on the Supervity instruction widget.
-
37.
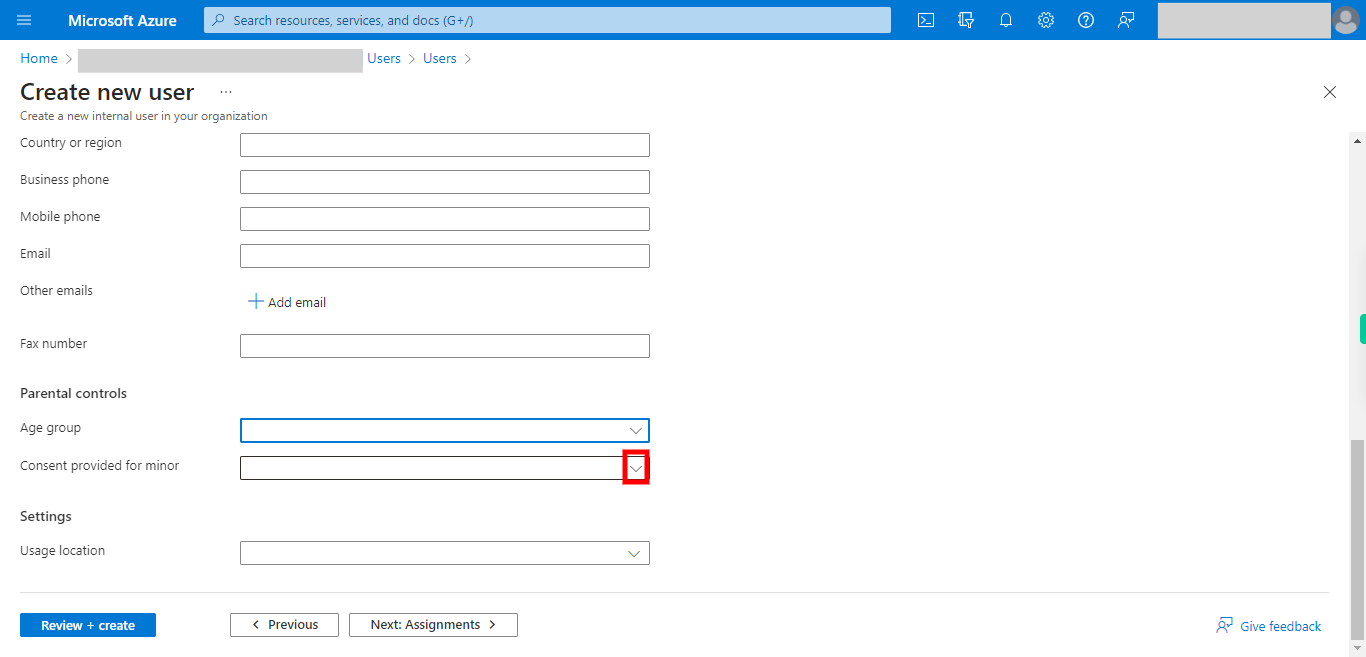
36. Click and Select the Consent Provided for minor. Once done, click on the Next button on the Supervity instruction widget.
-
38.
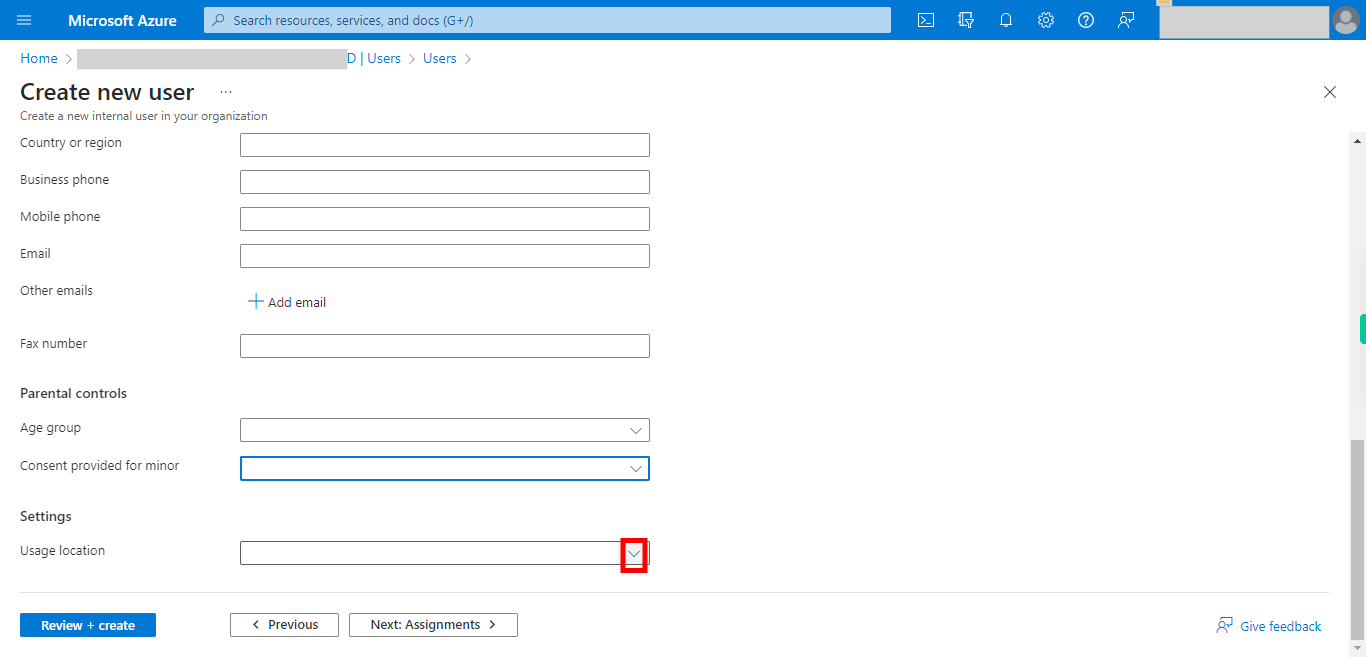
37. Click and Select the Location. Once done, click on the Next button on the Supervity instruction widget.
-
39.
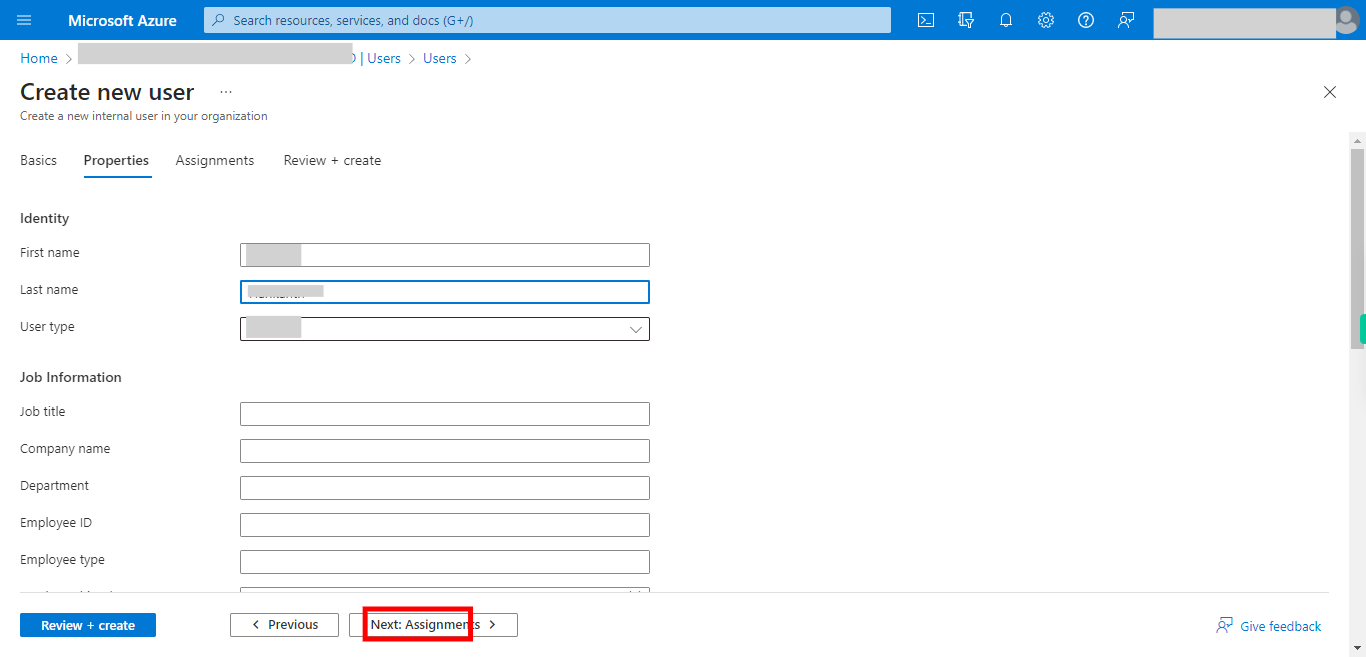
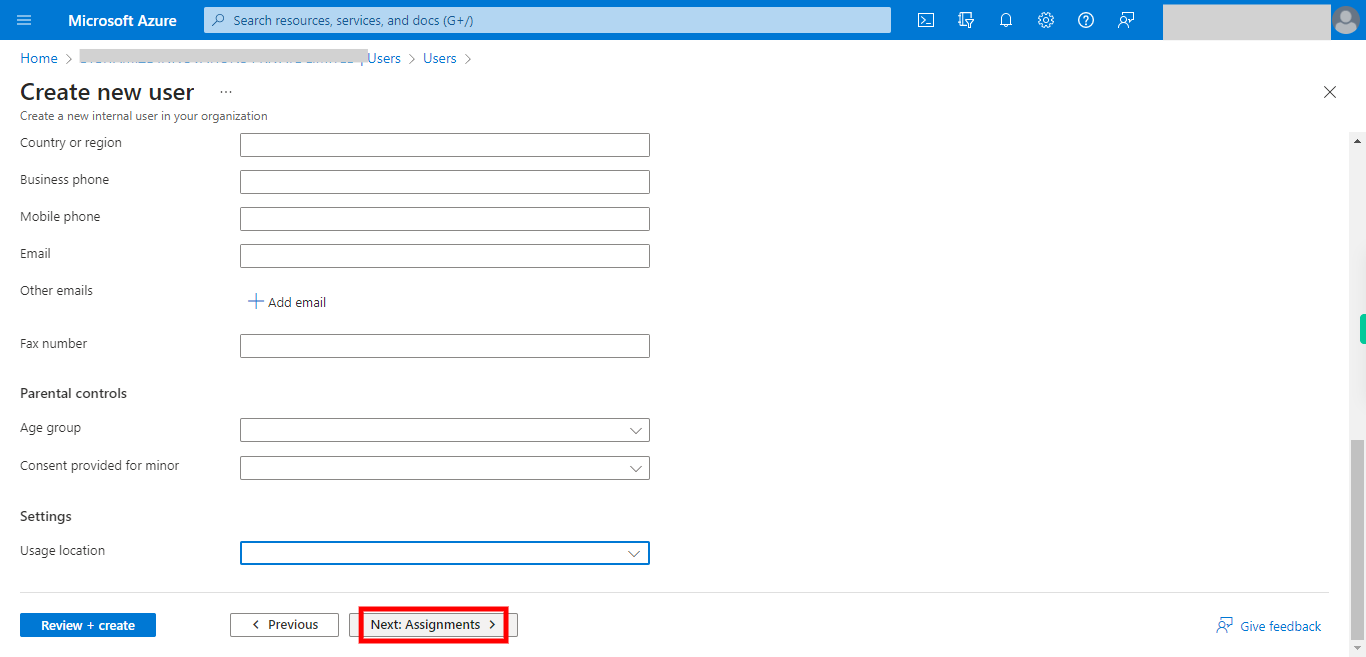
38. Click __Next: Assignments__.
-
40.
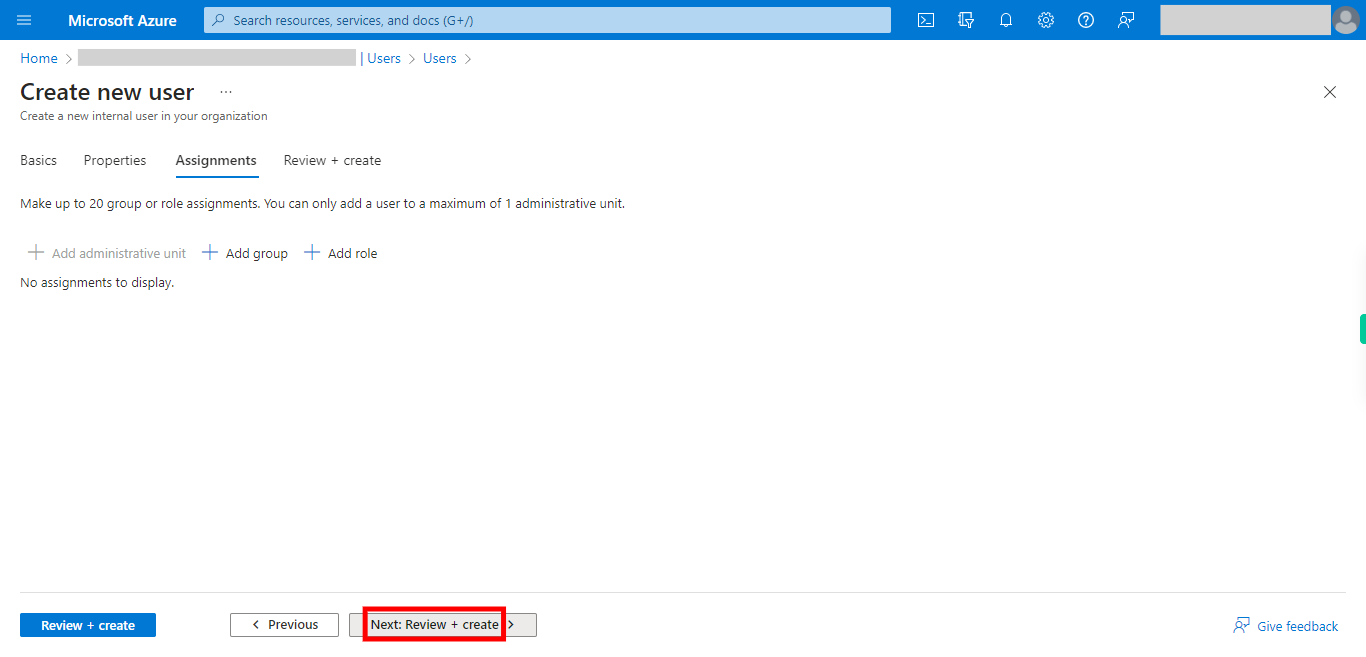
39. Under this new tab, add any options if applicable to add new user to a group or assign a role. Once done click __Next: Review + create__.
-
41.
40. Click __Create__


