This skill helps to walk you through in inviting a new user external to currently logged-in Azure Active Directory by step by step assistance.
Note: Ensure you have access to a subscription in the Azure Portal with sufficient privileges to perform the skill successfully.
Prerequisites: Login to portal.azure.com beforeand.
Tags: Azure, Cloud
-
1.
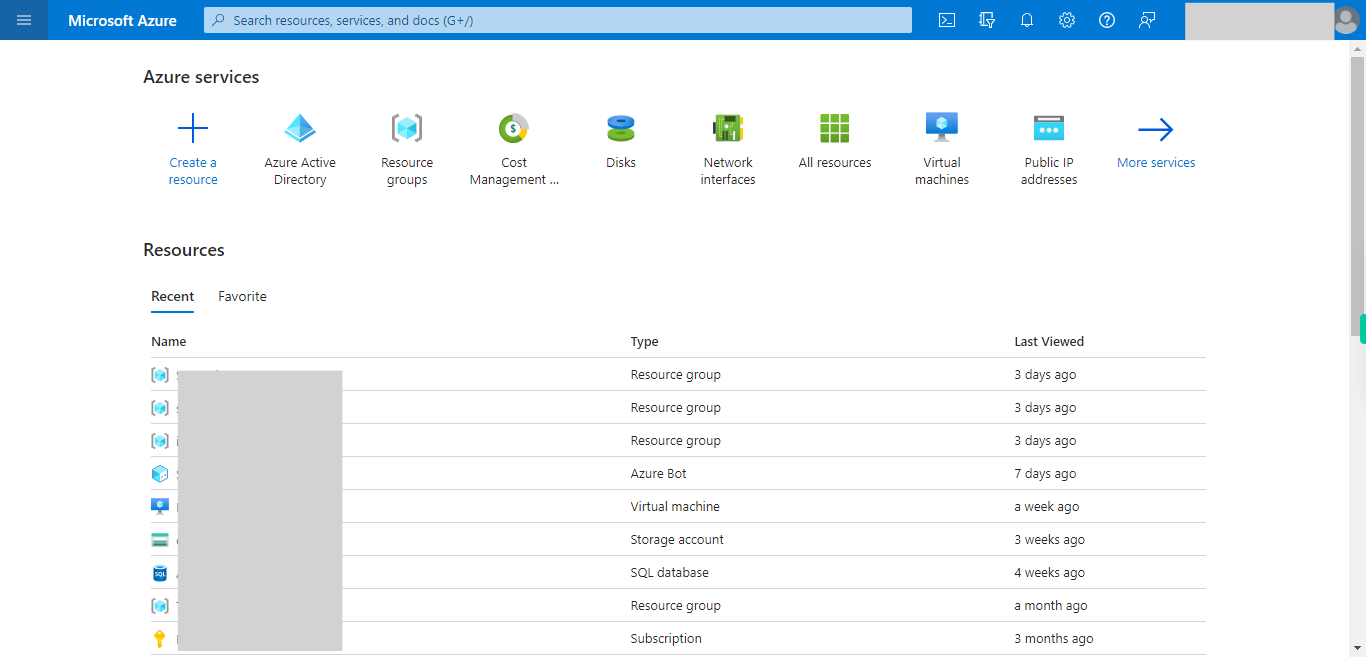
open Home - Microsoft Azure
-
2.
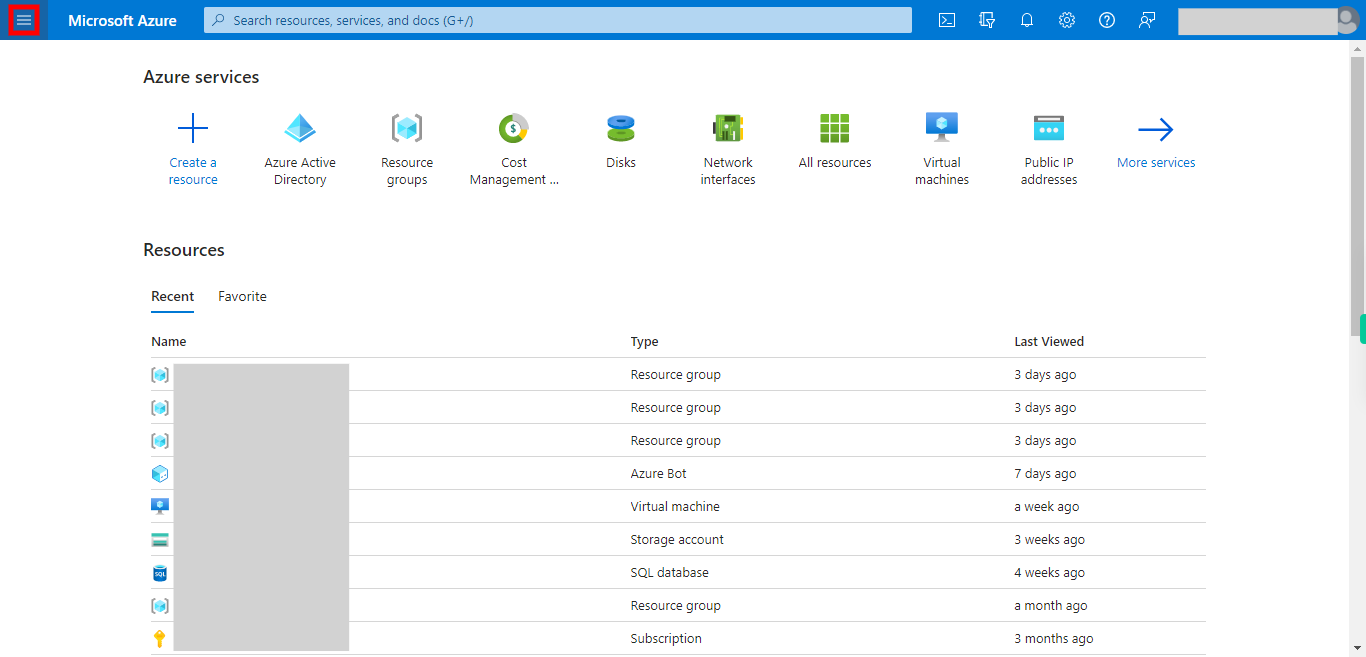
1. Click to see the Menu Items.
-
3.
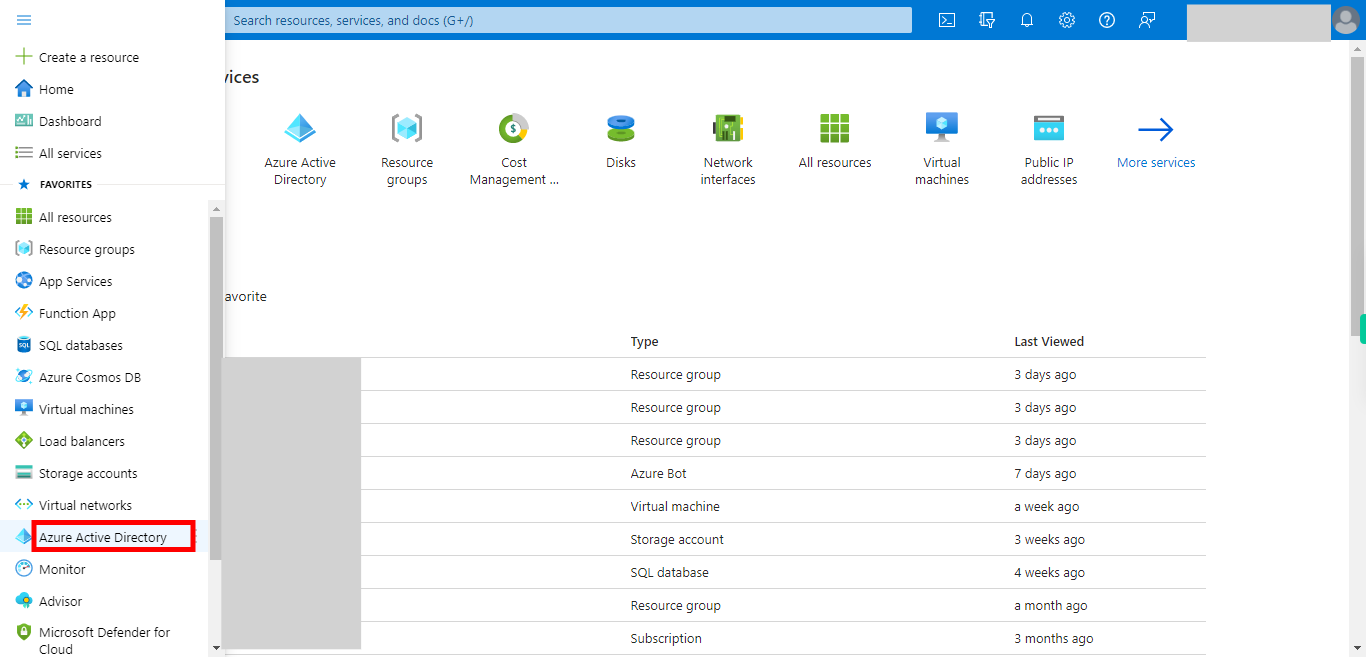
2. Click __Microsoft Entra Id__.
-
4.
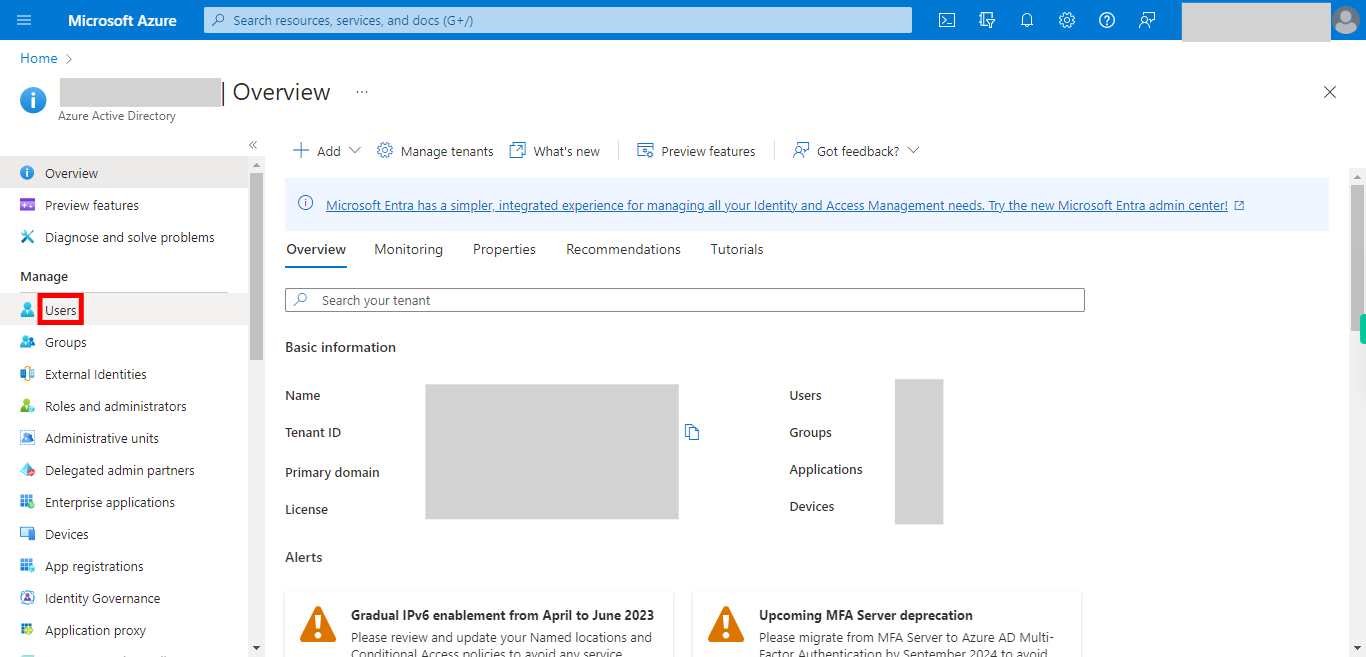
3. Click __Users__.
-
5.
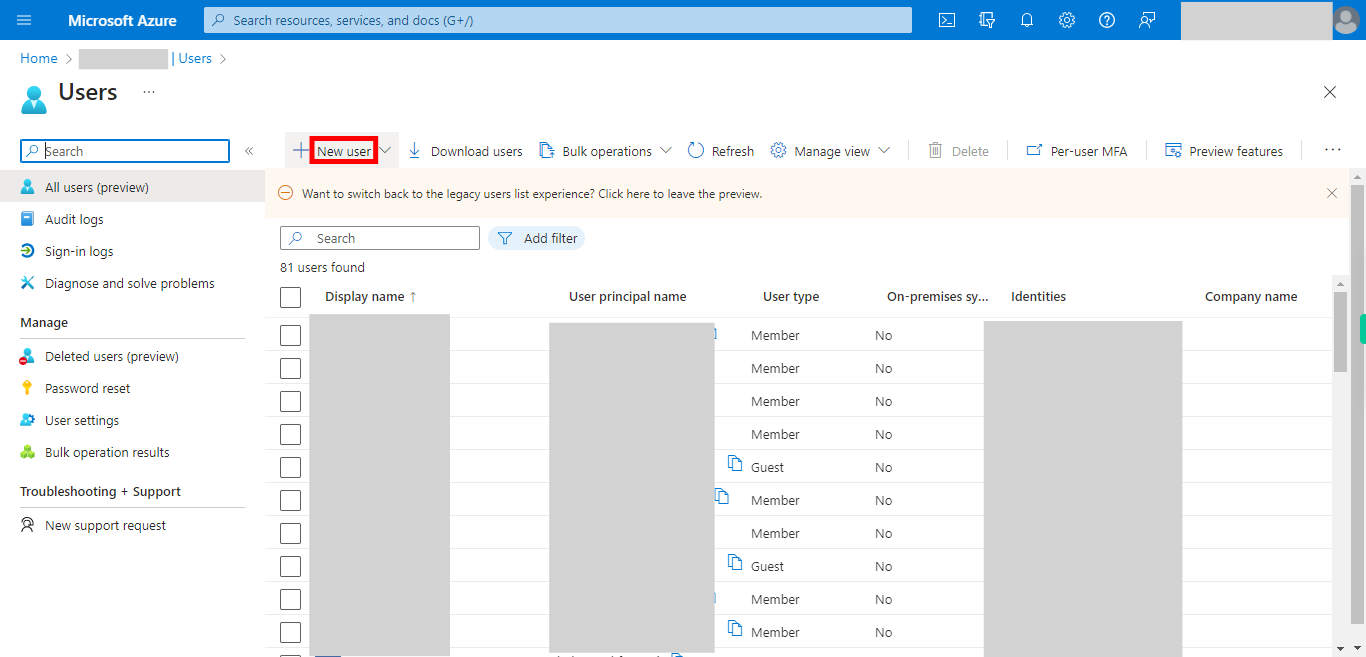
4. Click __New user__.
-
6.
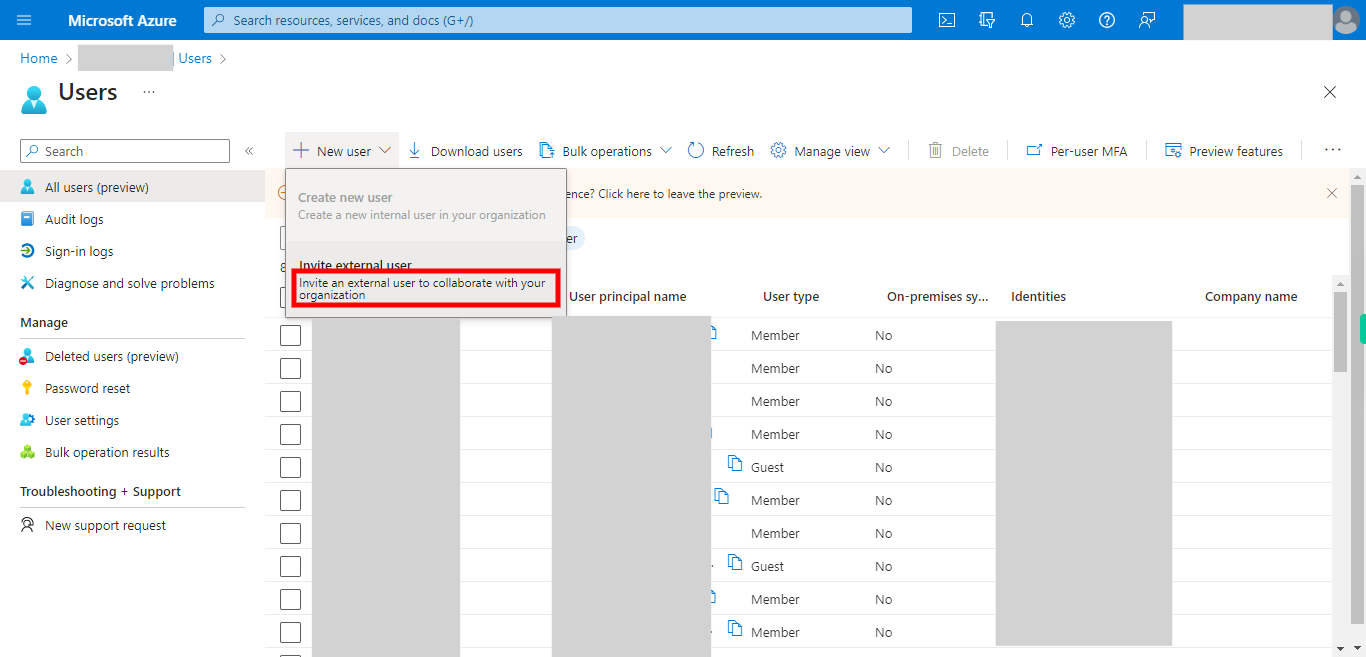
5. Click __Invite an external user__ to collaborate with your organization
-
7.
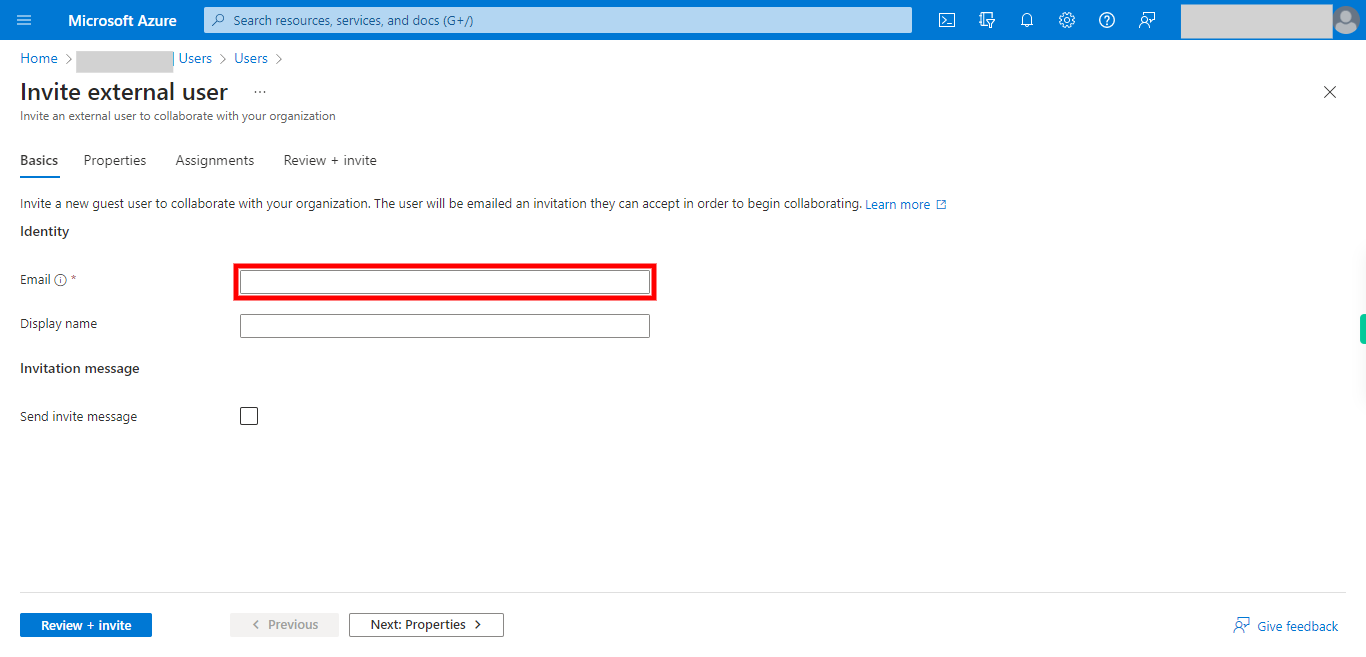
6. Click and Give the Email of the user. Once done, click on the Next button on the Supervity instruction widget.
-
8.
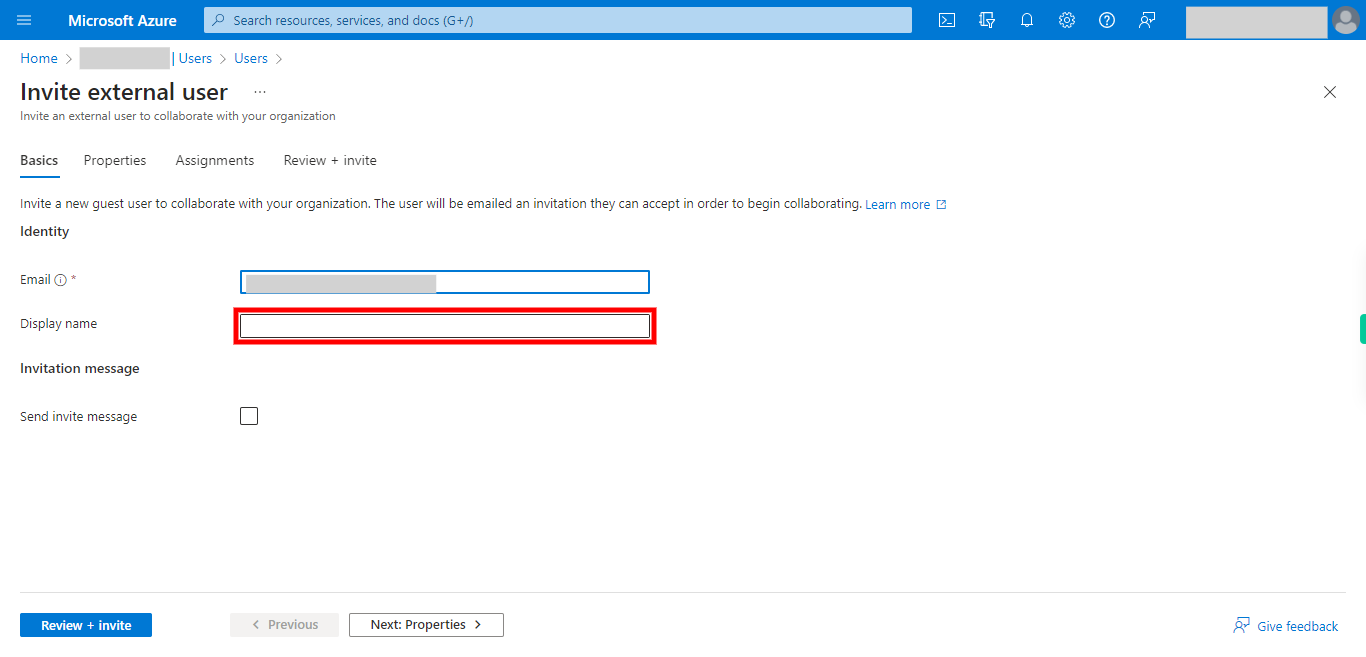
7. Click and give the User's Name. Once done, click on the Next button on the Supervity instruction widget.
-
9.
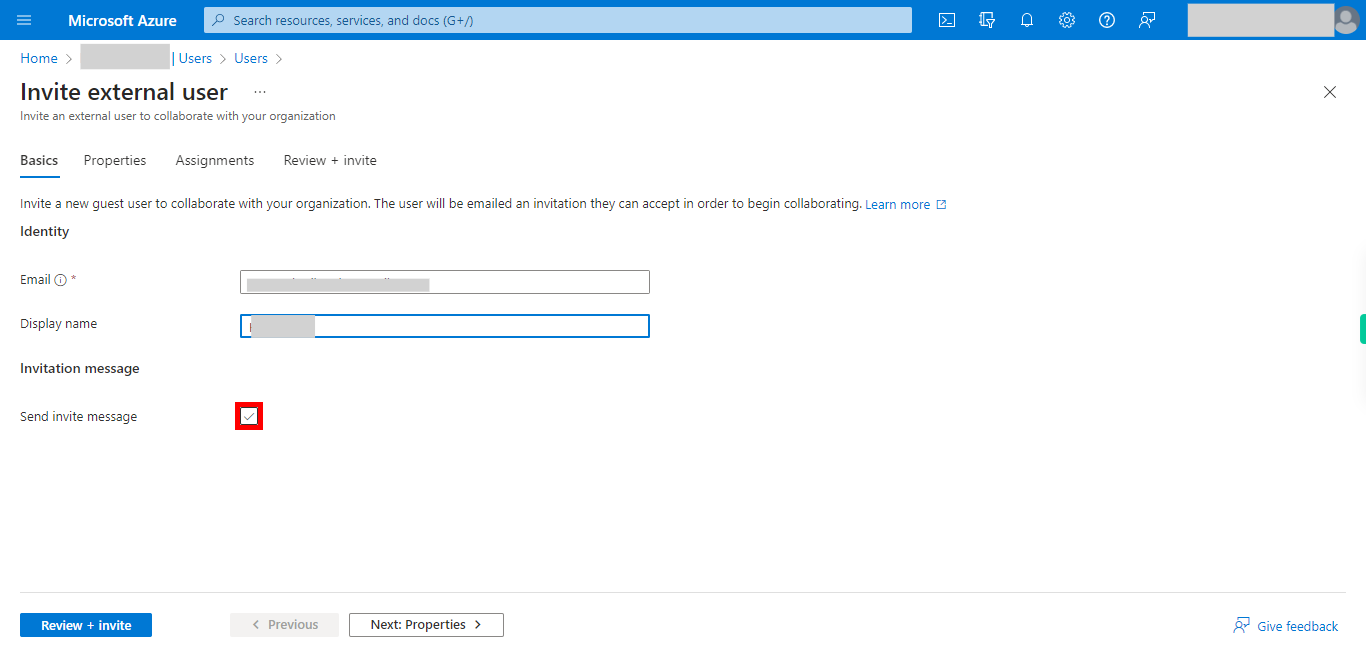
8. Make sure to select this box is enabled to send a invitation Message to the user. Once done, click on the Next button on the Supervity instruction widget.
-
10.
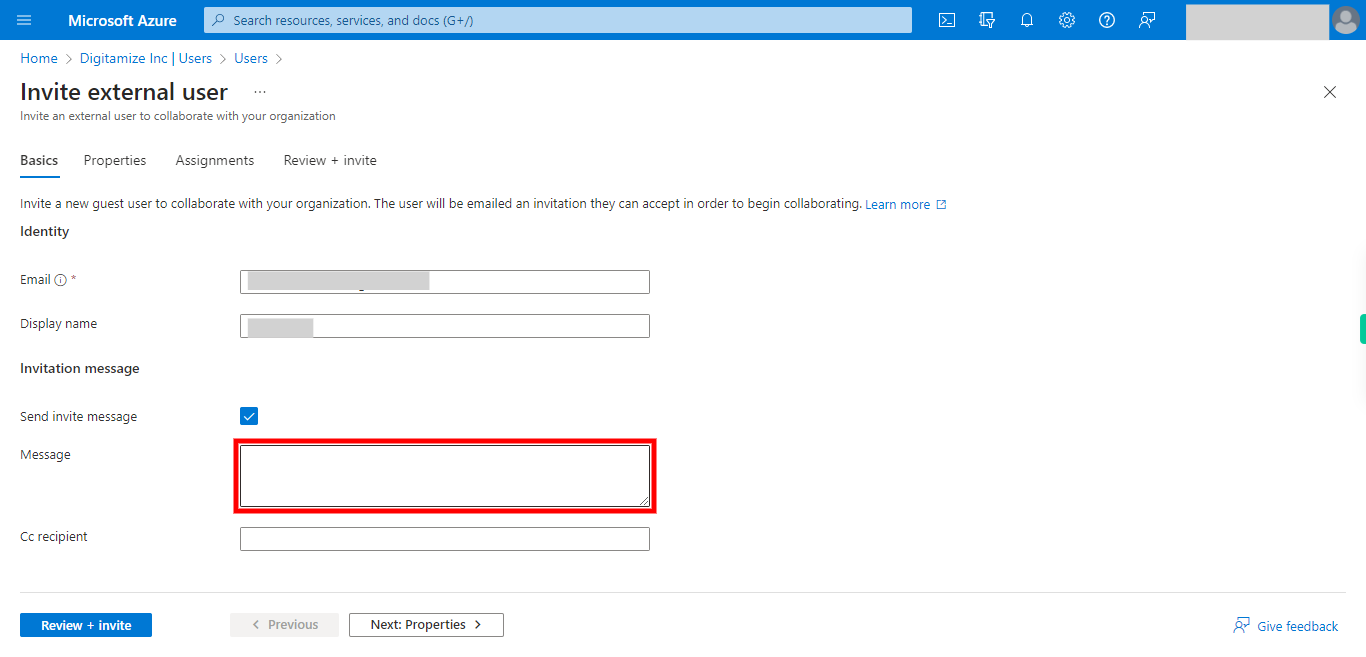
9. Click and Type a personalized message for the invitee to understand. Once done, click on the Next button on the Supervity instruction widget.
-
11.
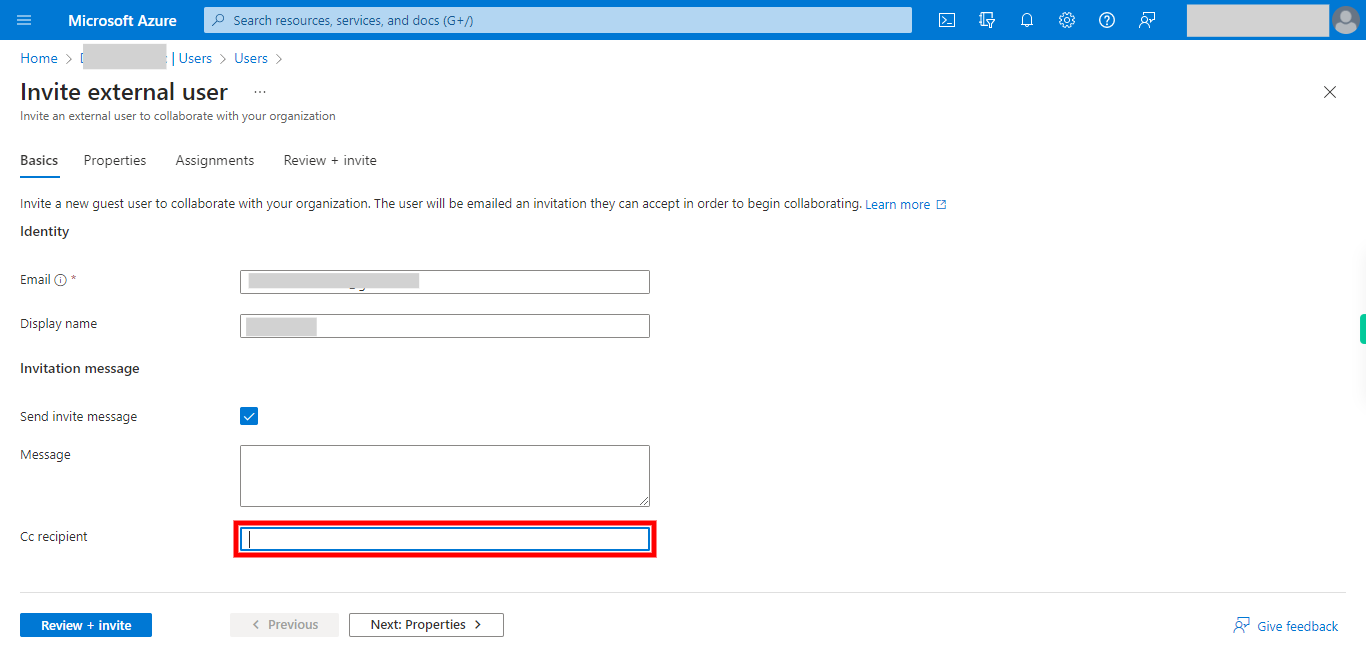
10. Click and give the details. Once done, click on the Next button on the Supervity instruction widget.
-
12.
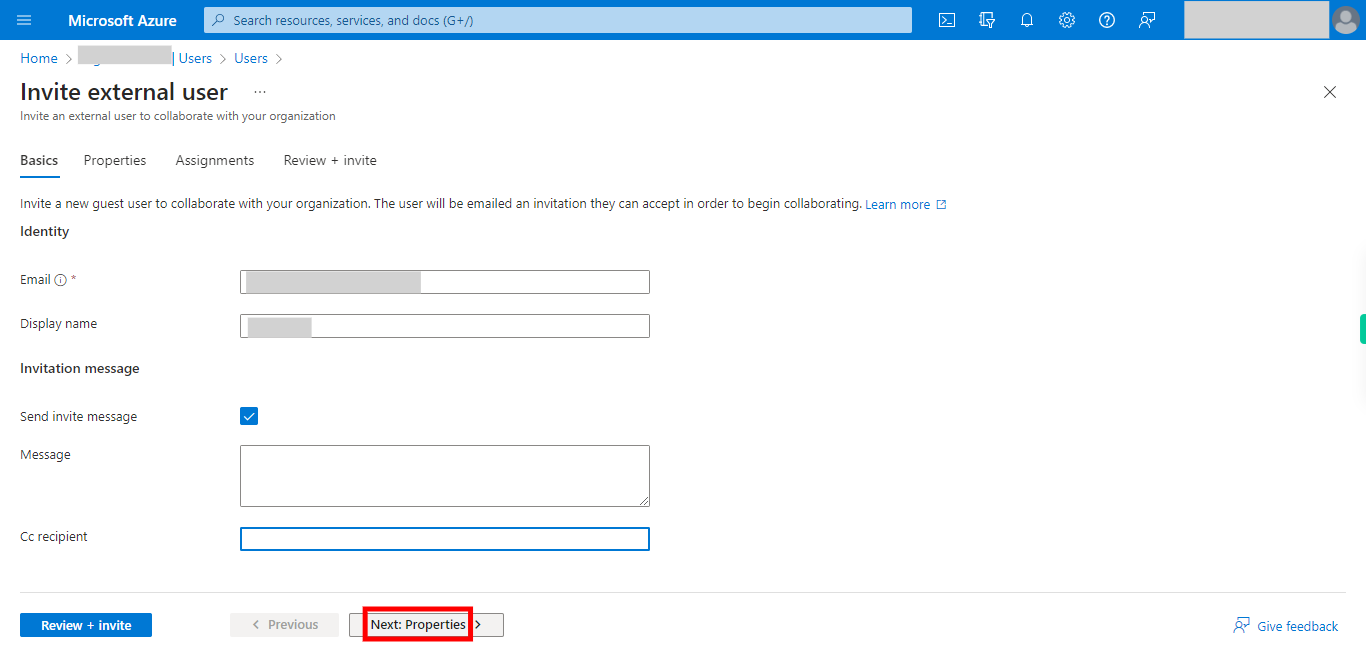
11. Click __Next: Properties__.
-
13.
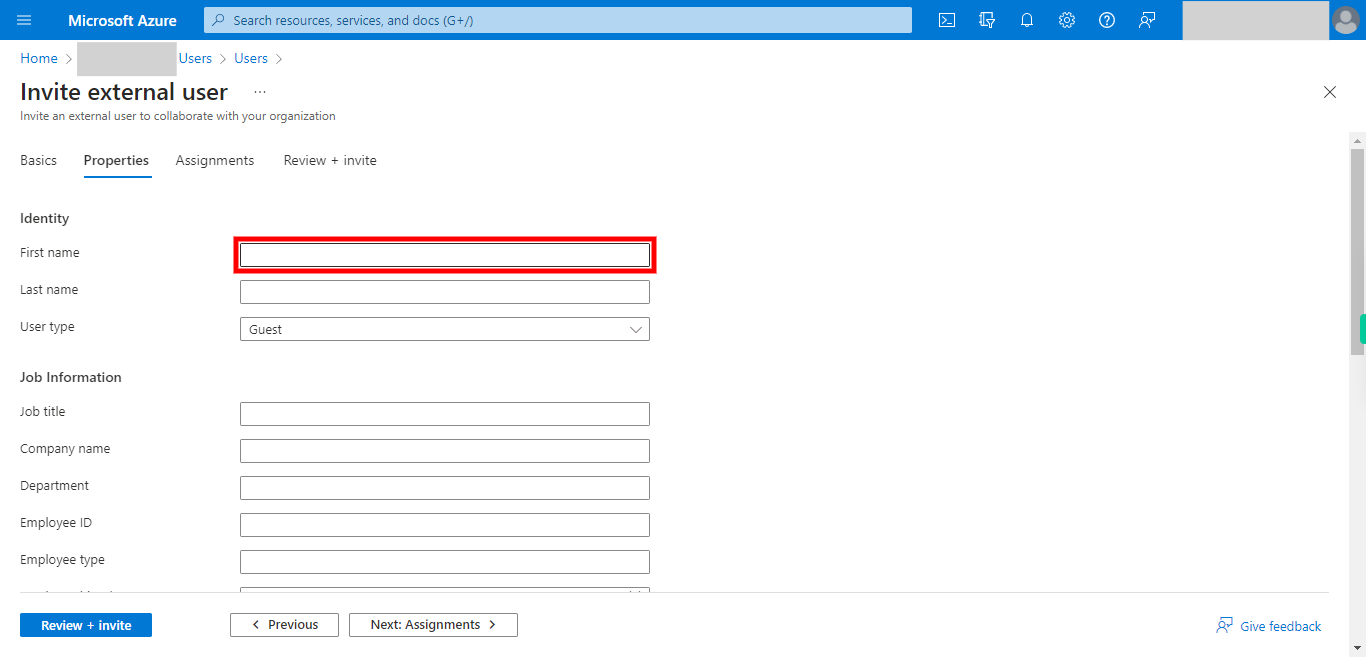
12. Click and give the First Name. Once done, click on the Next button on the Supervity instruction widget.
-
14.
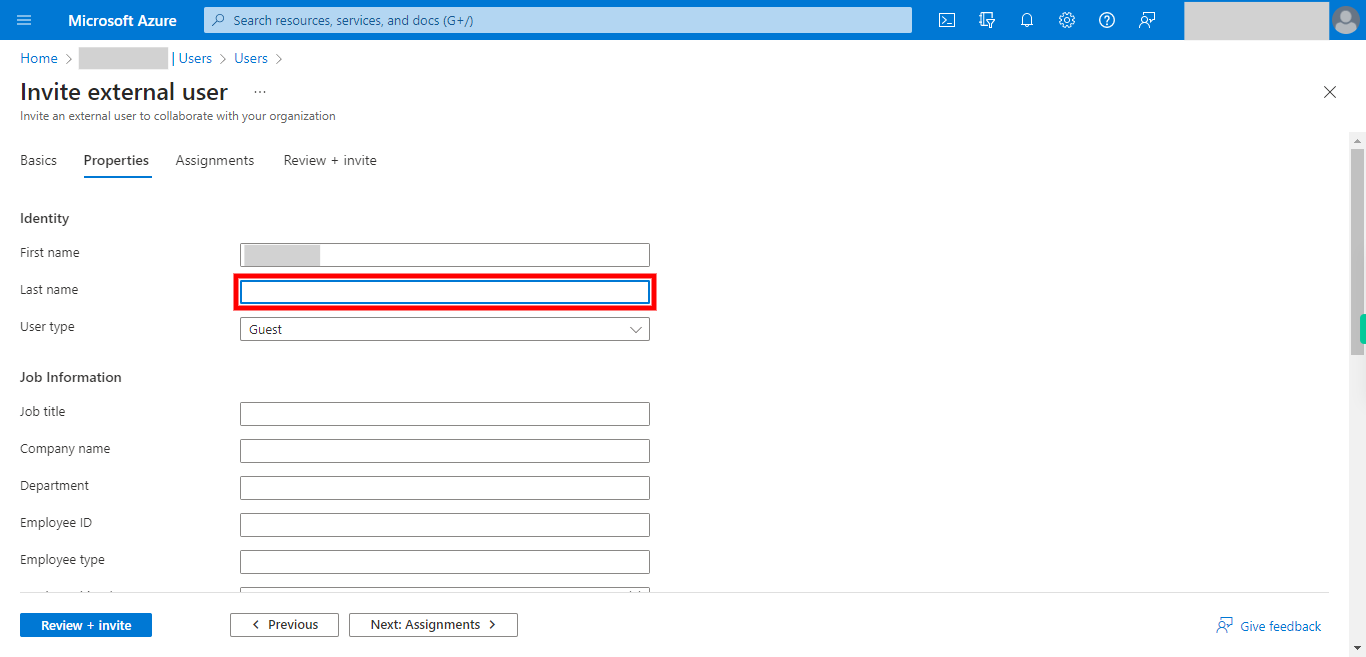
13. Click and Give the Last Name. Once done, click on the Next button on the Supervity instruction widget.
-
15.
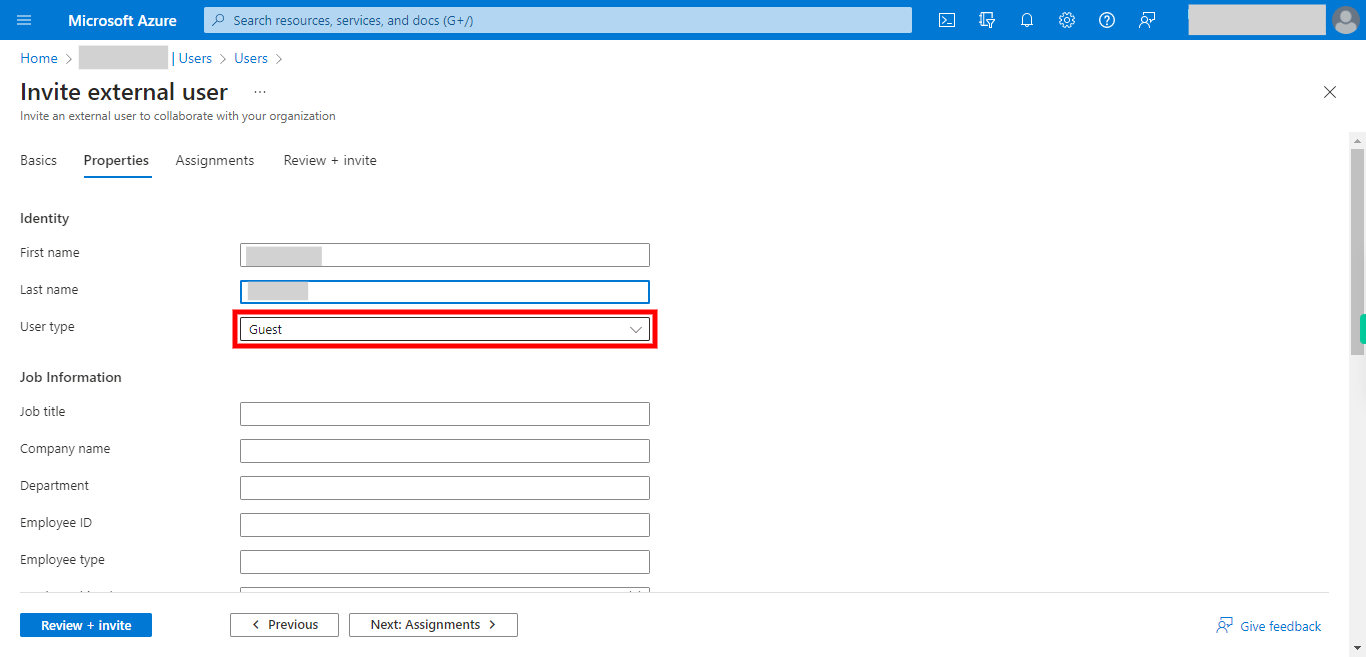
14. Click and select the Type of the user. Once done, click on the Next button on the Supervity instruction widget.
-
16.
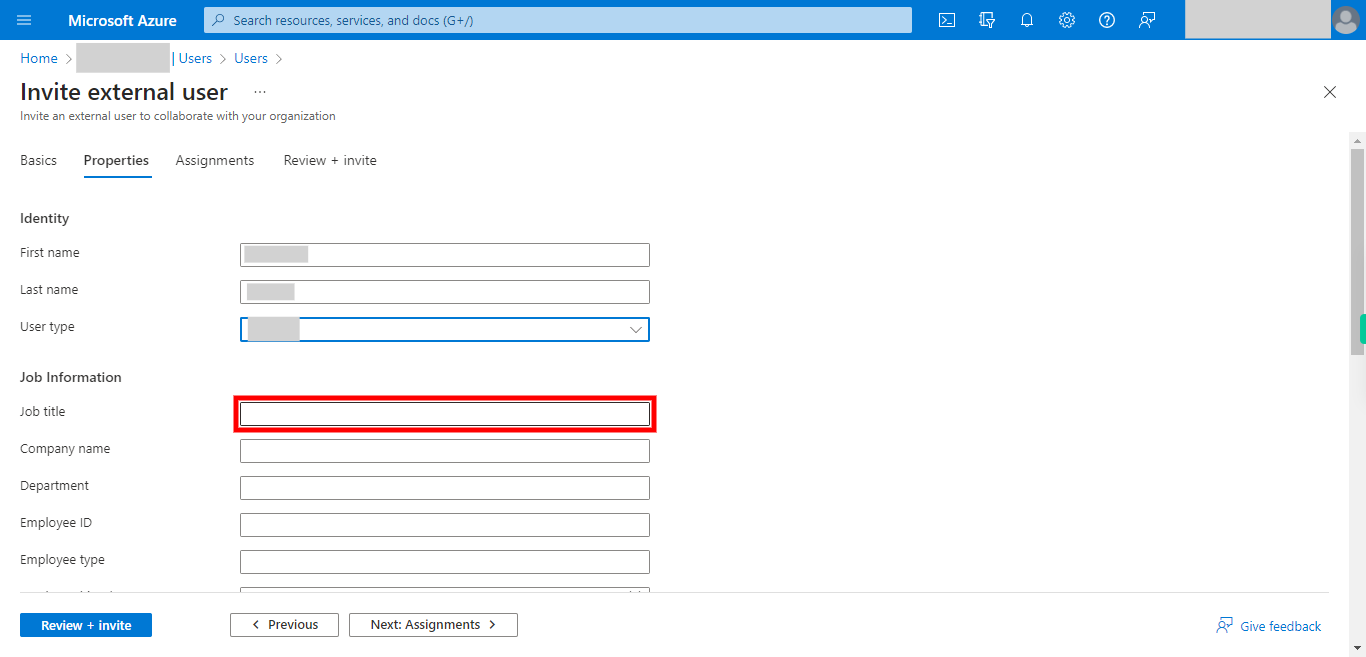
15. Click and Give the Job title. Once done, click on the Next button on the Supervity instruction widget.
-
17.
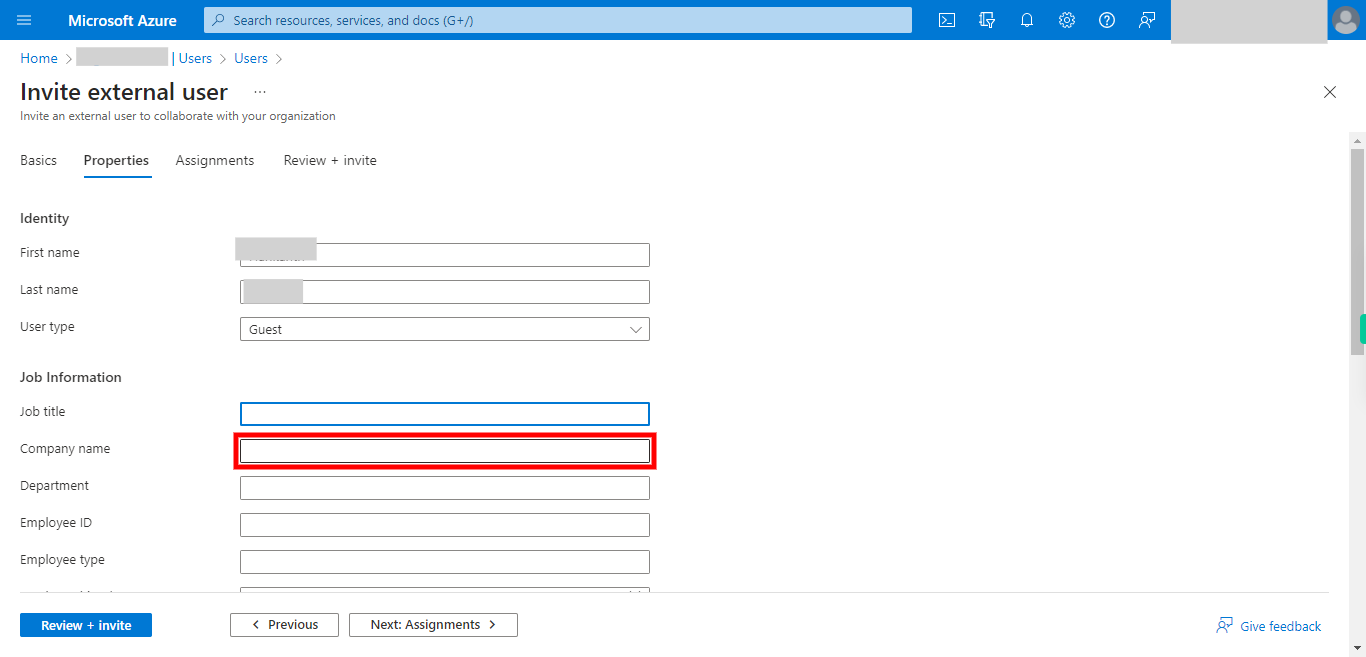
16. Click and Give the Company name. Once done, click on the Next button on the Supervity instruction widget.
-
18.
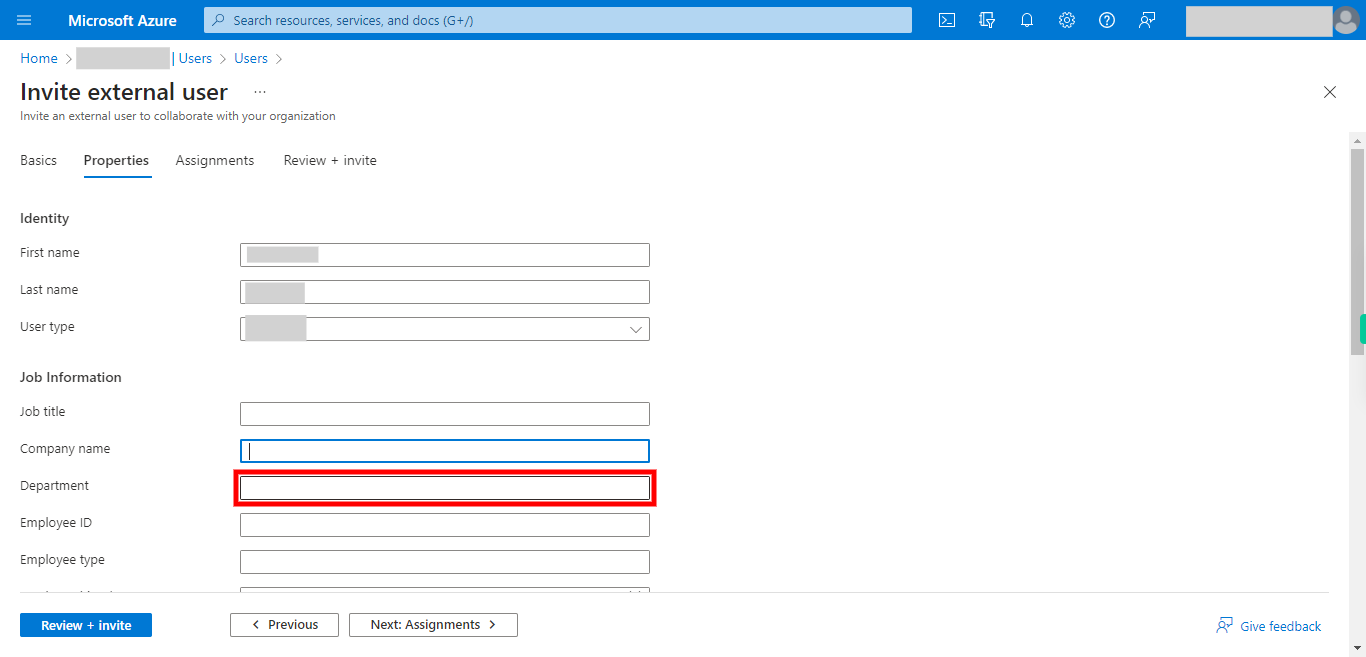
17. Click and Give the Department. Once done, click on the Next button on the Supervity instruction widget.
-
19.
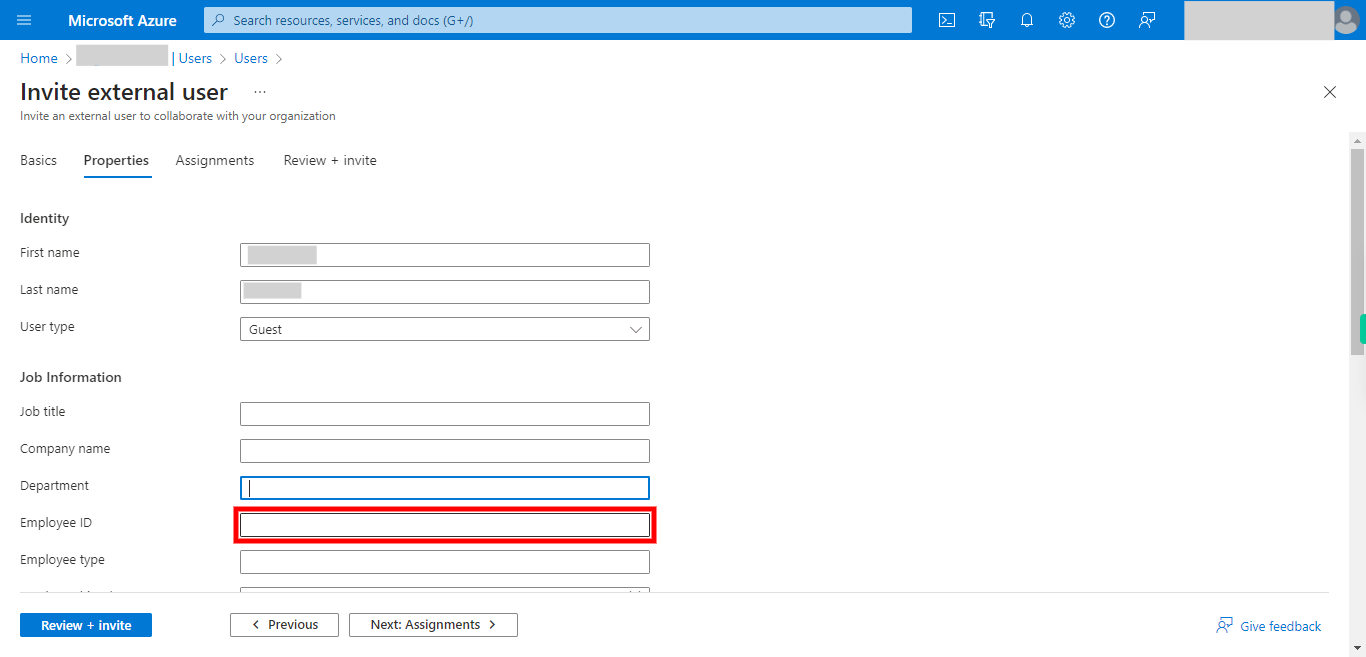
18. Click and Give the Employee ID. Once done, click on the Next button on the Supervity instruction widget.
-
20.
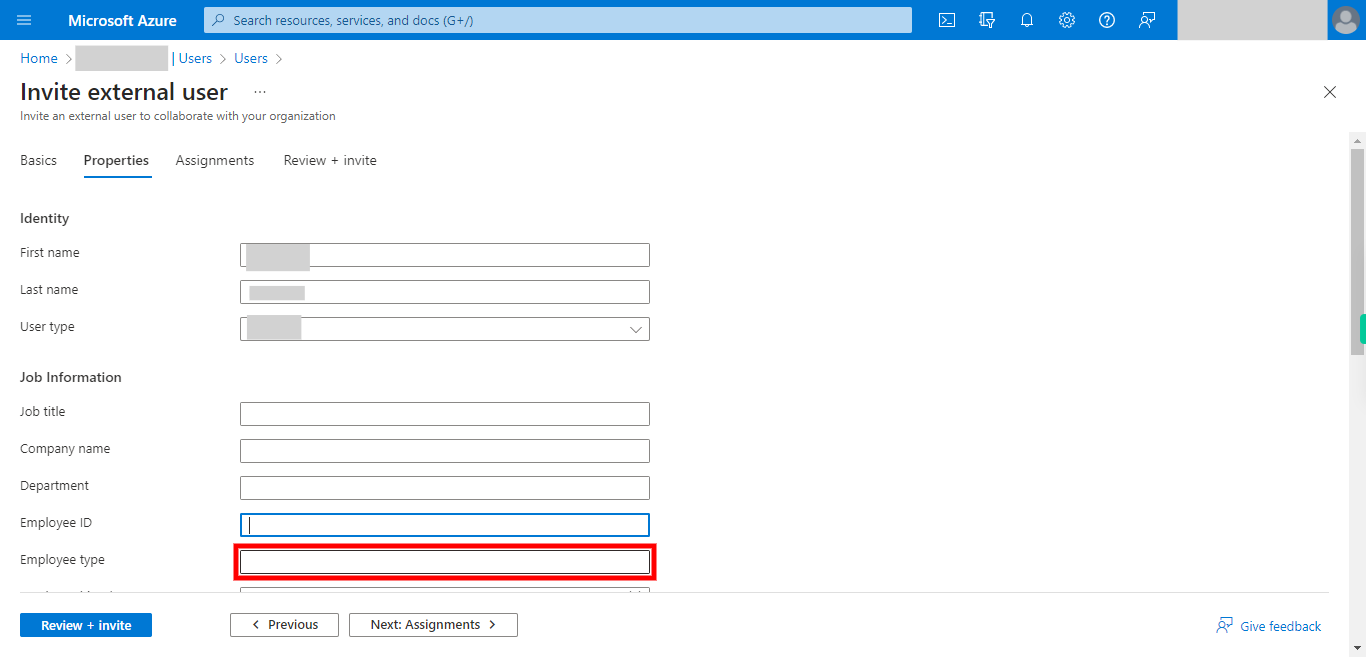
19. Click and Give the Employee type. Once done, click on the Next button on the Supervity instruction widget.
-
21.
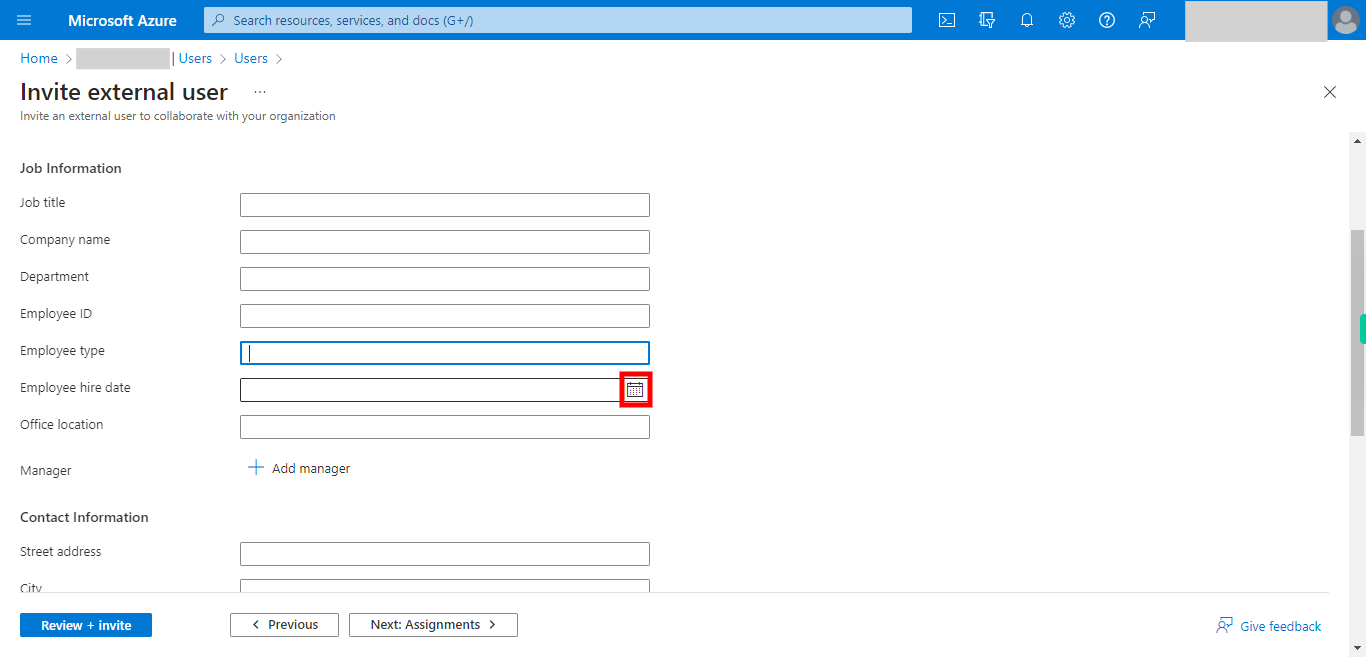
20. Click and Select the date. Once done, click on the Next button on the Supervity instruction widget.
-
22.
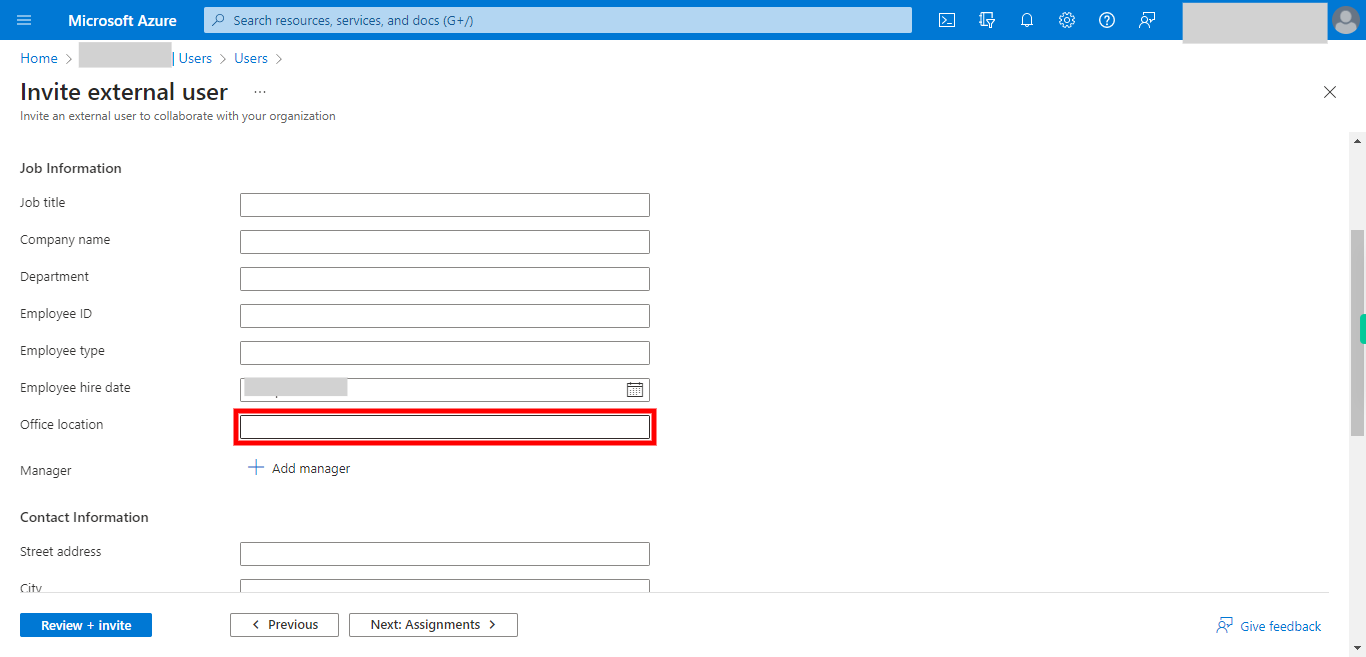
21. Click and present the Office location from which the invitee will be operating from. Once done, click on the Next button on the Supervity instruction widget.
-
23.
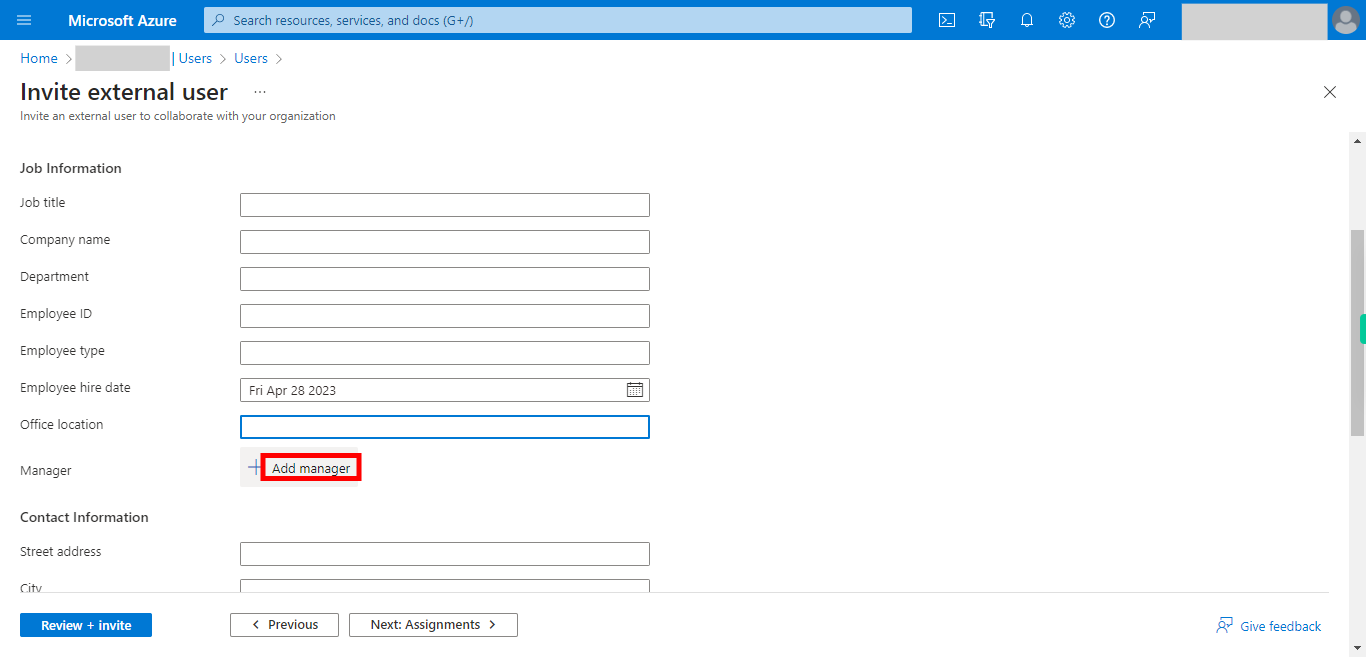
22. Click Add manager and Select manager and Click Select. Once done, click on the Next button on the Supervity instruction widget.
-
24.
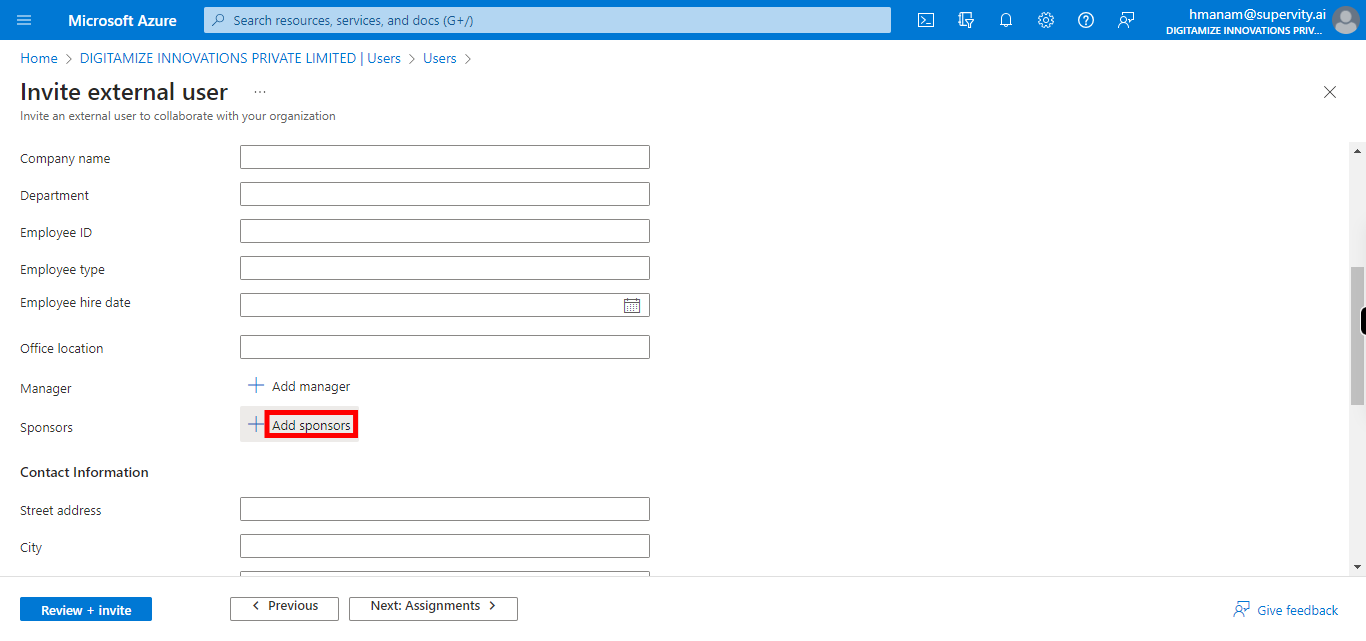
23. Click Add sponsors to add sponsers.
-
25.
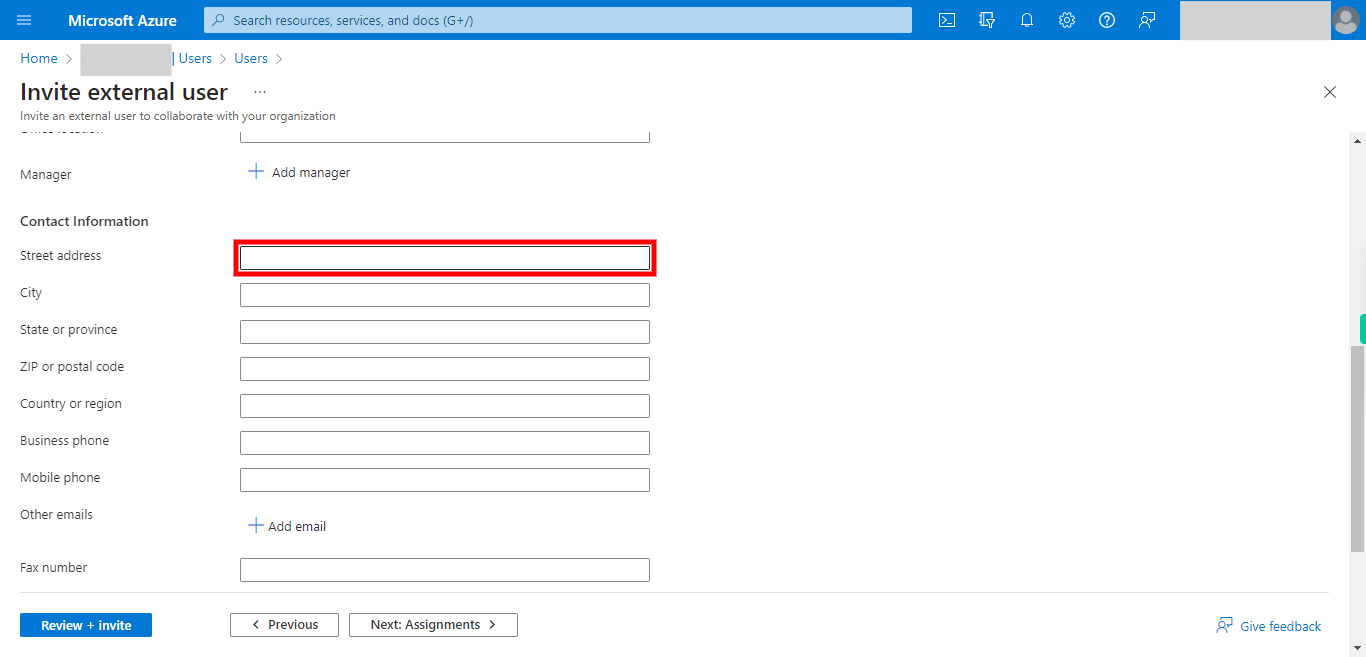
24. Click and Give the Street address. Once done, click on the Next button on the Supervity instruction widget.
-
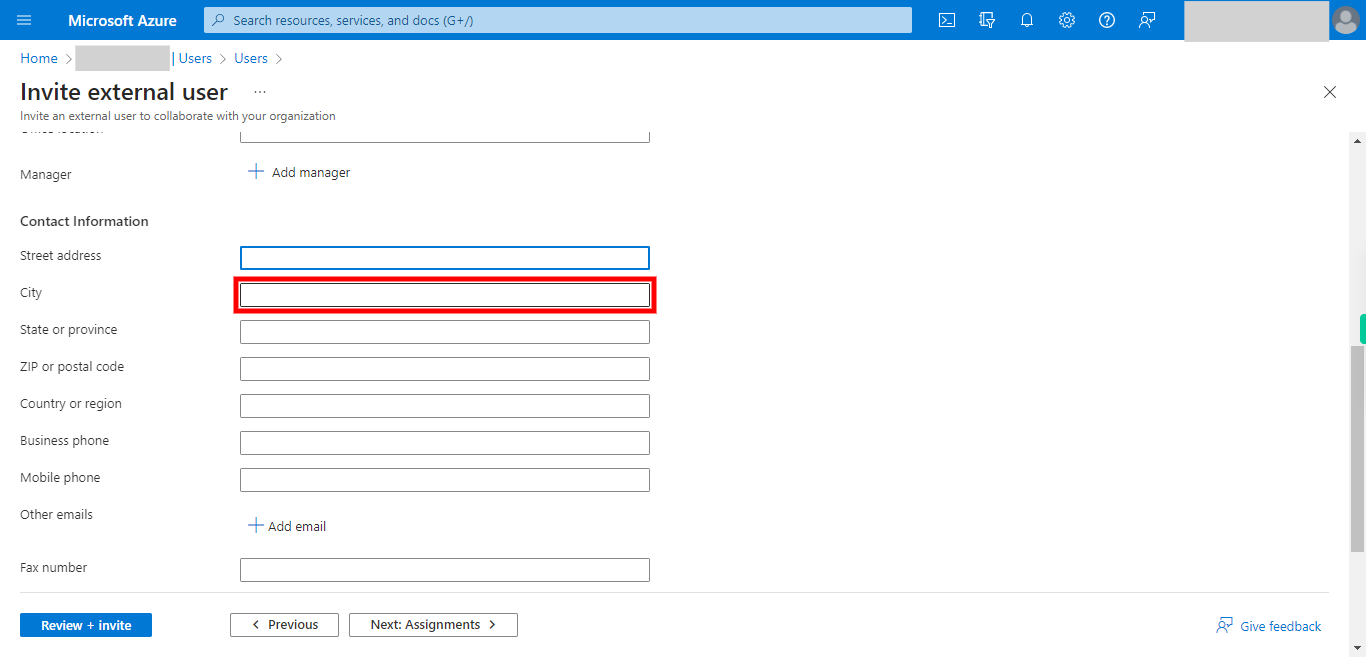
26.
25. Click and Give the City. Once done, click on the Next button on the Supervity instruction widget.
-
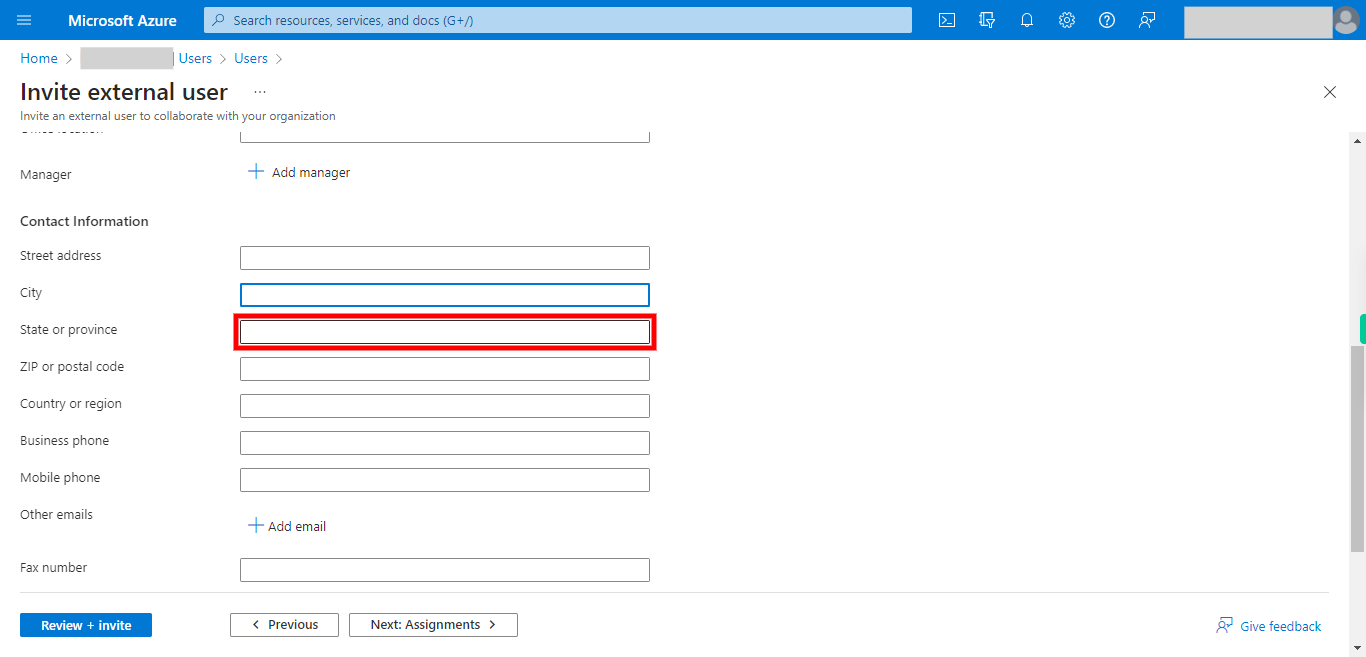
27.
26. Click and Give the State or province. Once done, click on the Next button on the Supervity instruction widget.
-
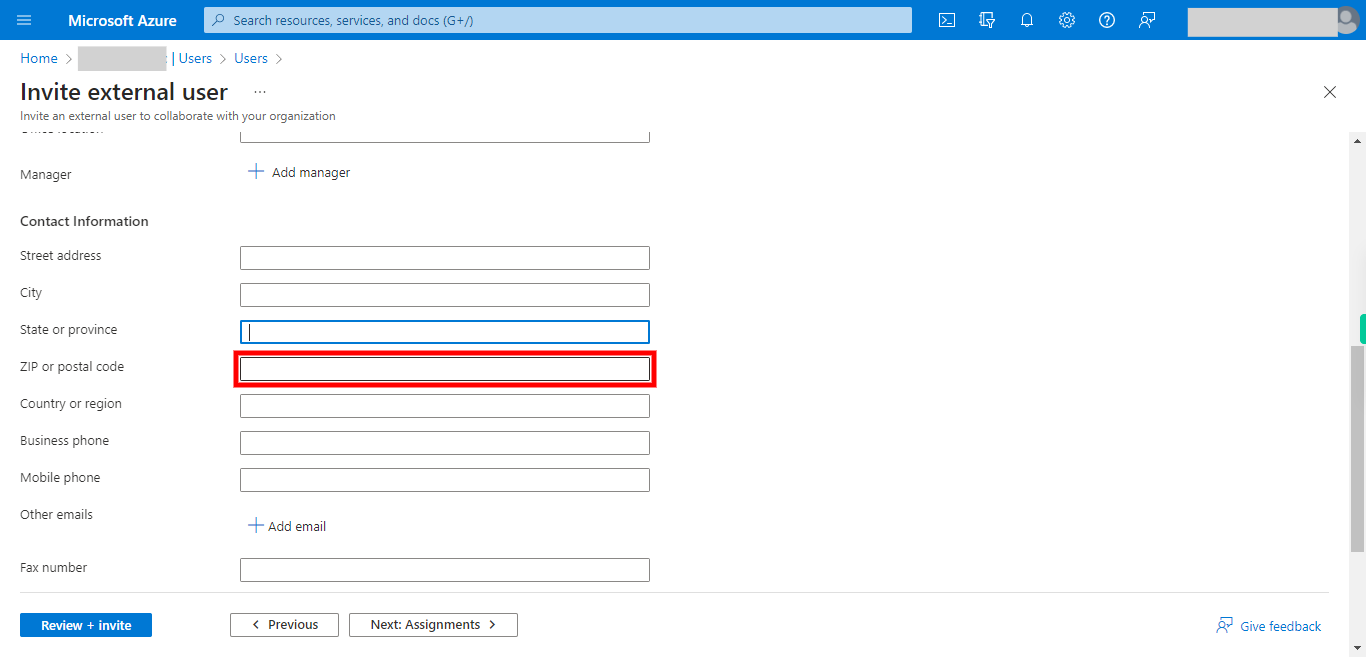
28.
27. Click and Give the ZIP or postal code. Once done, click on the Next button on the Supervity instruction widget.
-
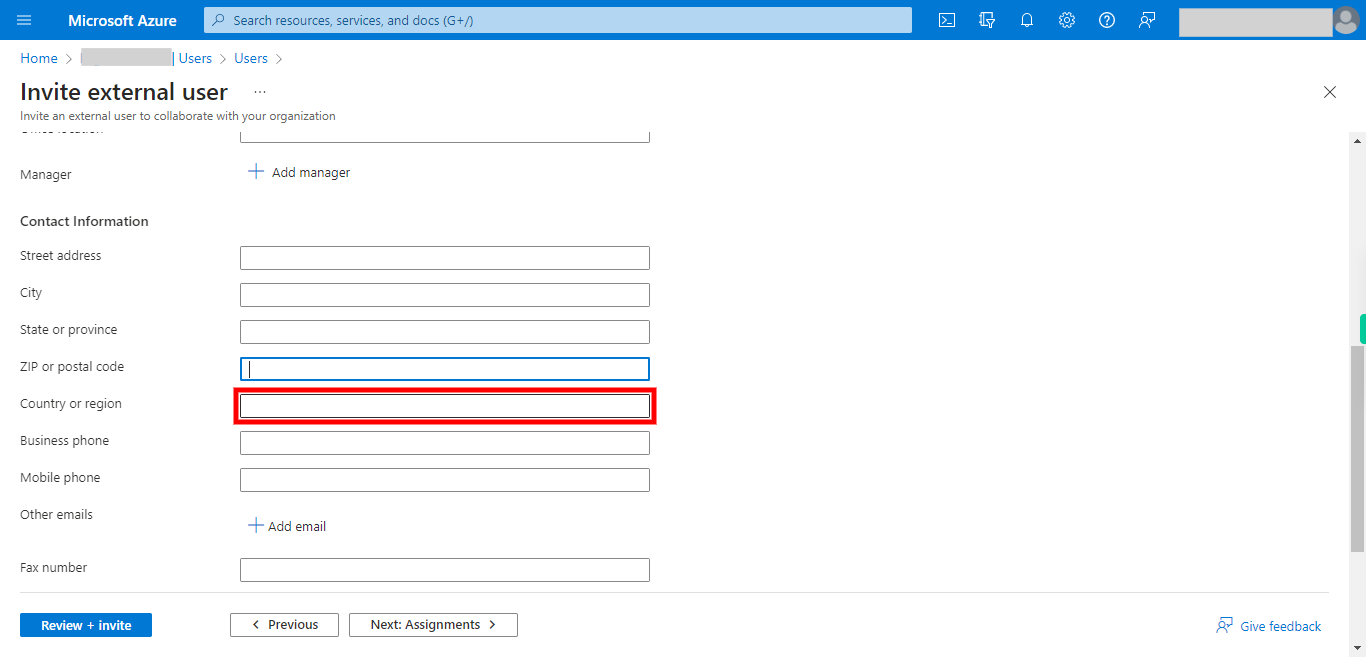
29.
28. Click and Give the Country or region. Once done, click on the Next button on the Supervity instruction widget.
-
30.
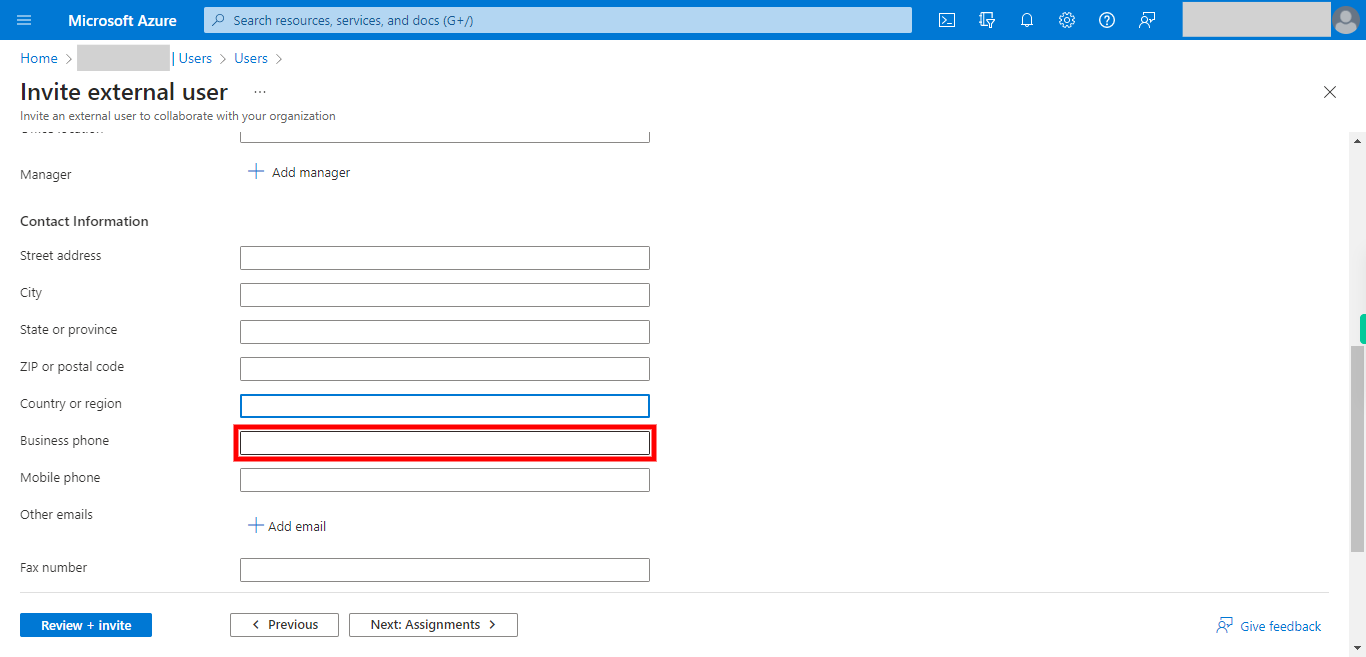
29. Click and Give the Business phone. Once done, click on the Next button on the Supervity instruction widget.
-
31.
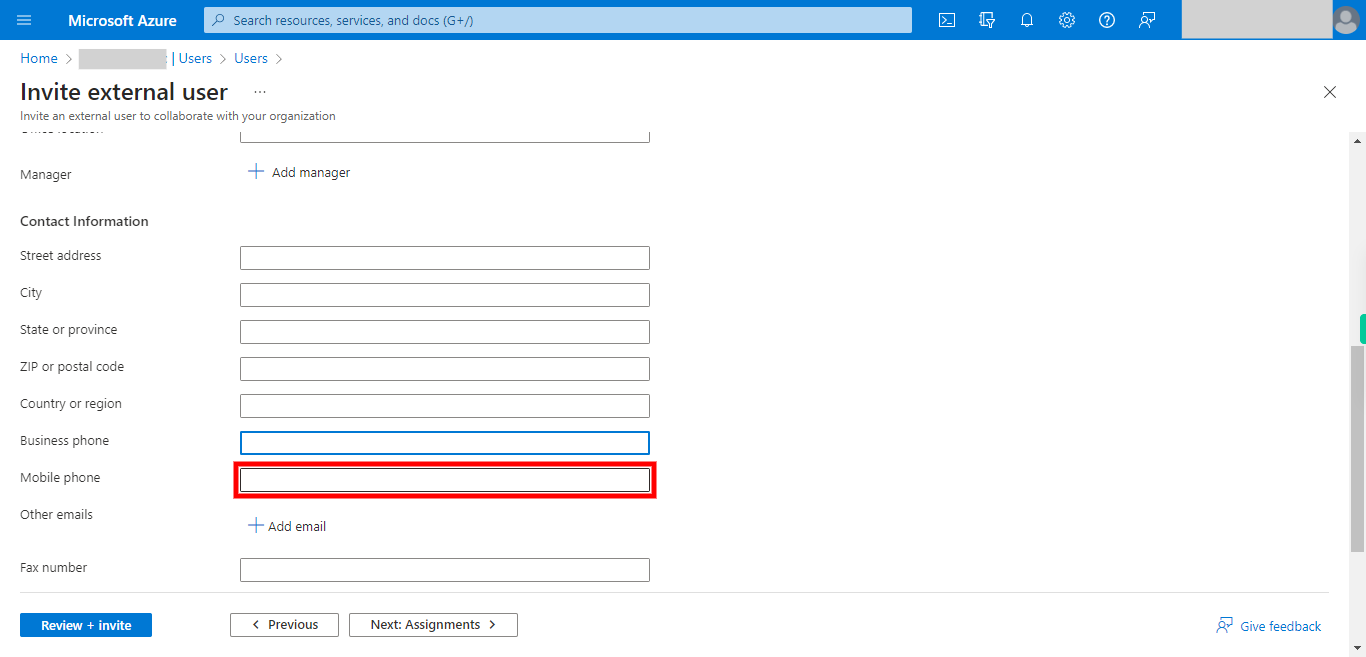
30. Click and Give the Mobile phone. Once done, click on the Next button on the Supervity instruction widget.
-
32.
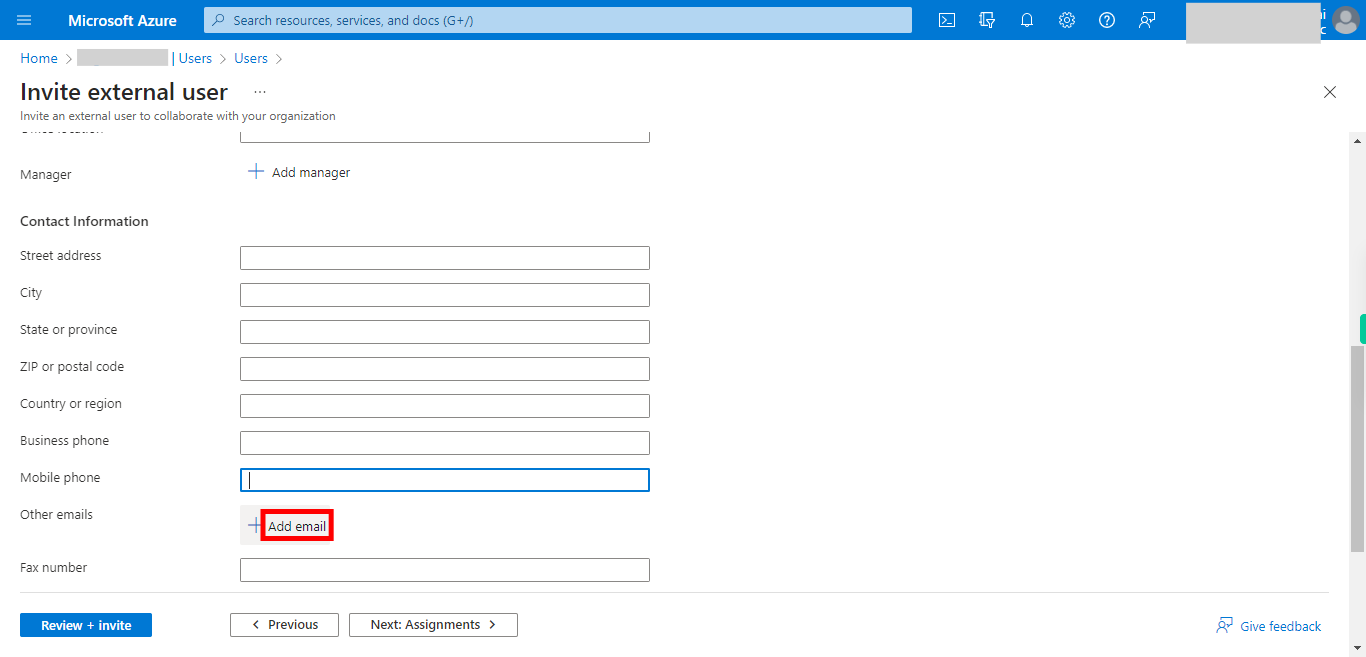
31. Click Add email to add another mail. Once done, click on the Next button on the Supervity instruction widget.
-
33.
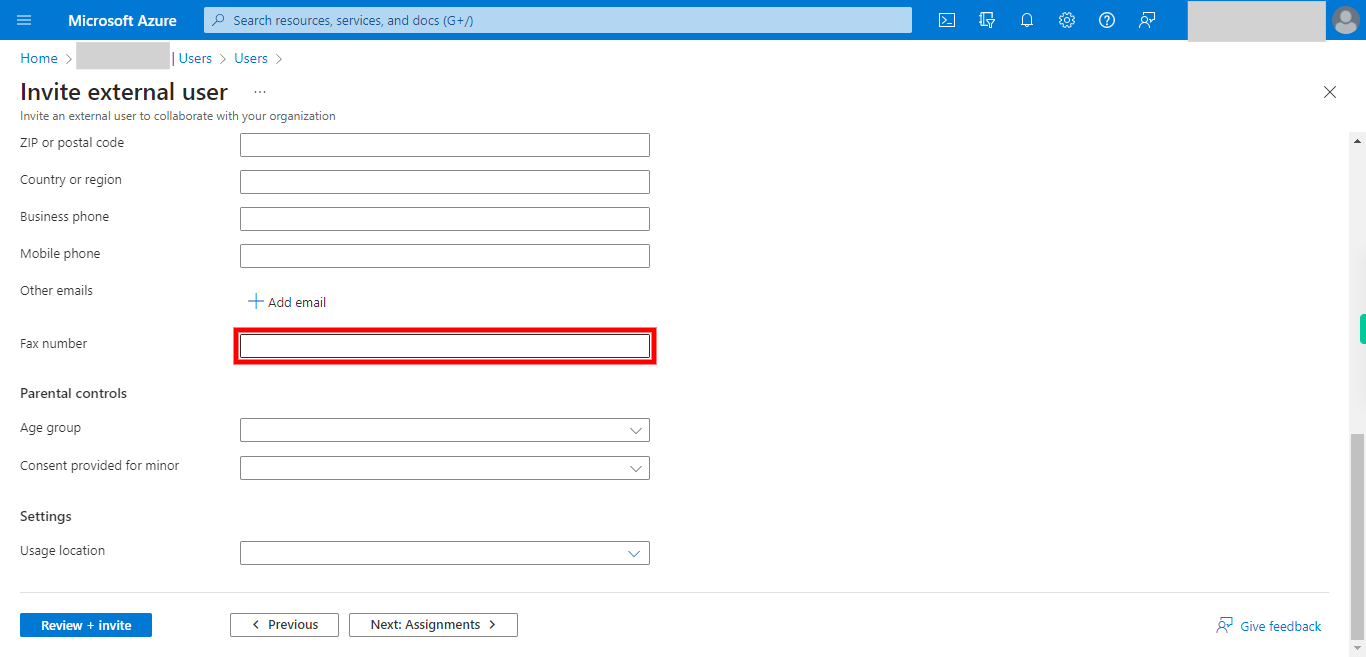
32. Click and Give the Fax number. Once done, click on the Next button on the Supervity instruction widget.
-
34.
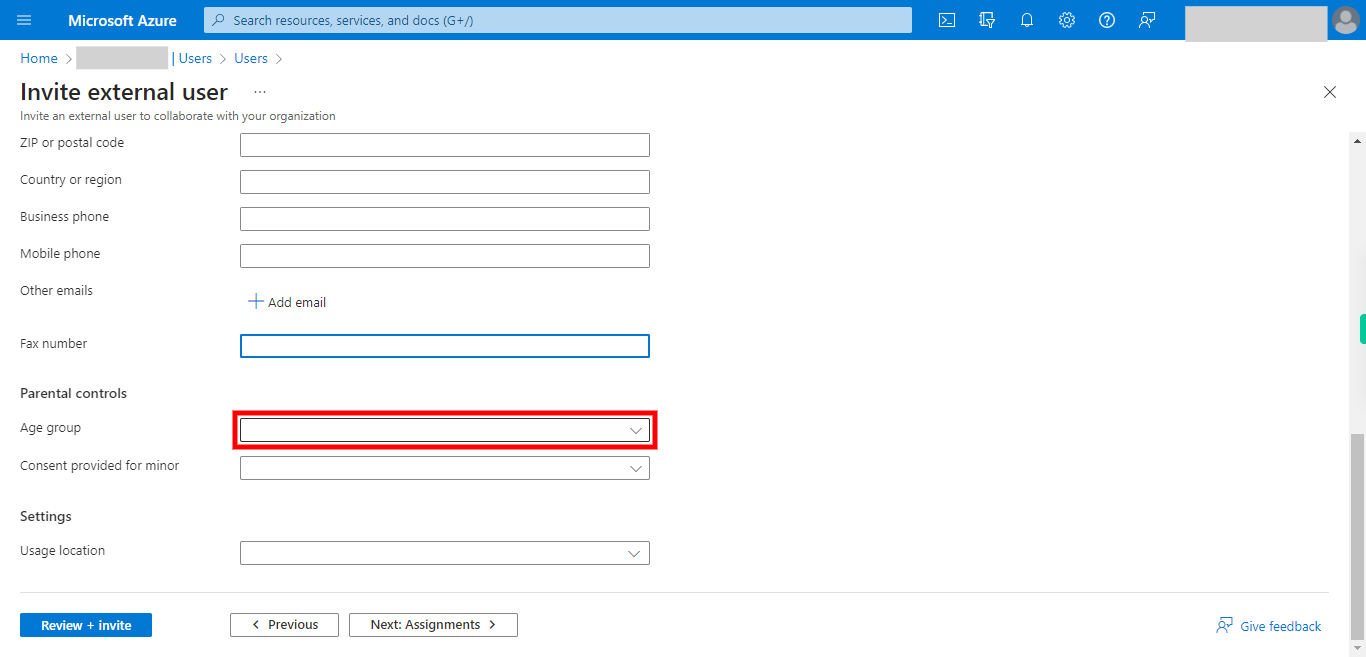
33. Click and Select the Age Group. Once done, click on the Next button on the Supervity instruction widget.
-
35.
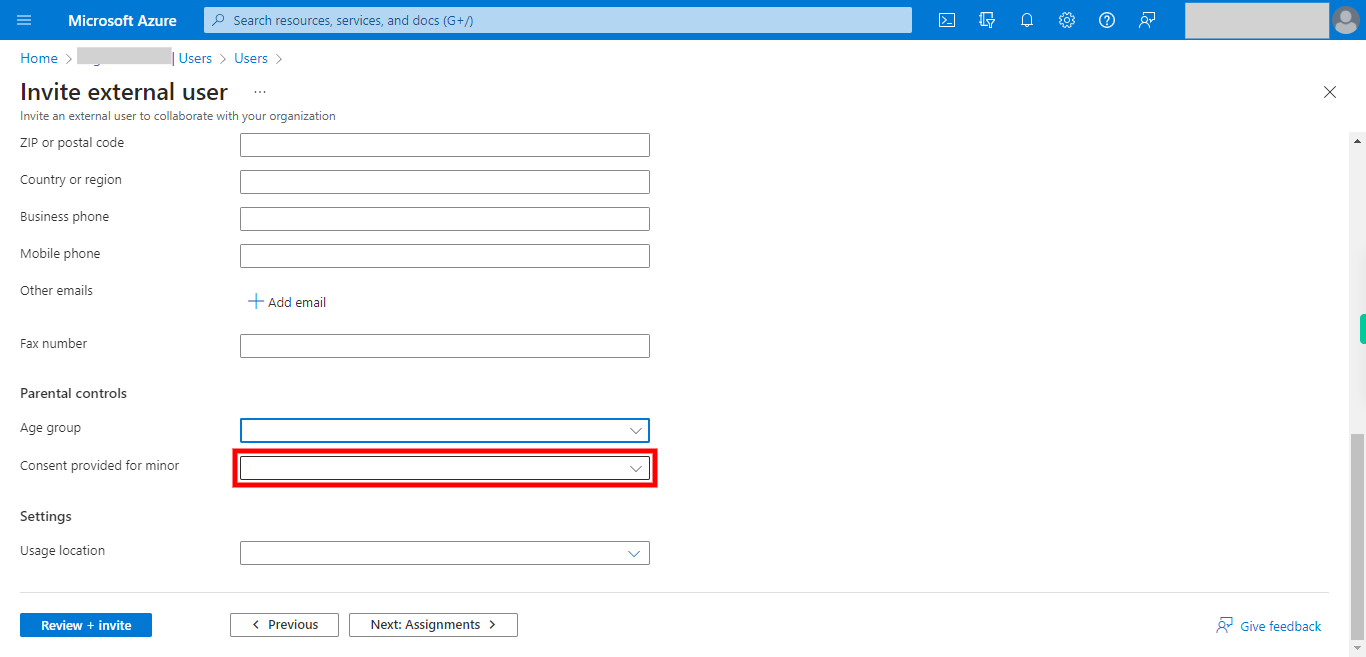
34. Click and Select the Consent for Minor from the Drop Down list. Once done, click on the Next button on the Supervity instruction widget.
-
36.
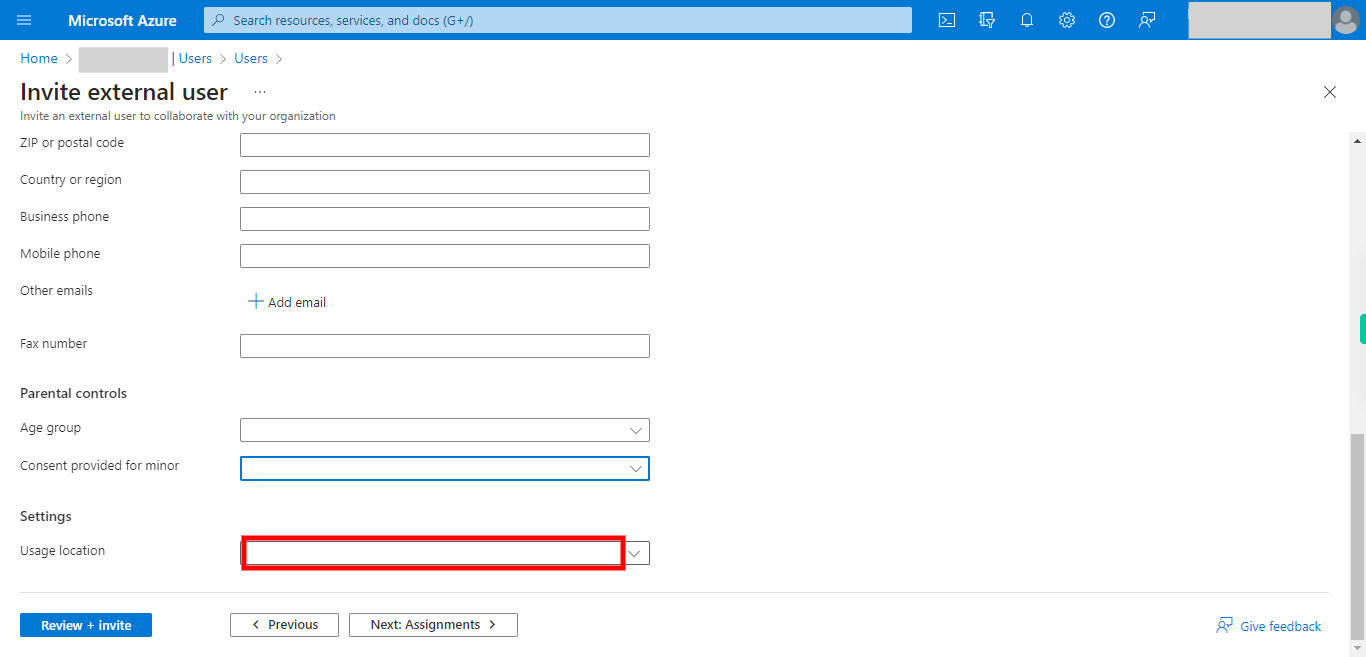
35. Click and Select the Usage location. Once done, click on the Next button on the Supervity instruction widget.
-
37.
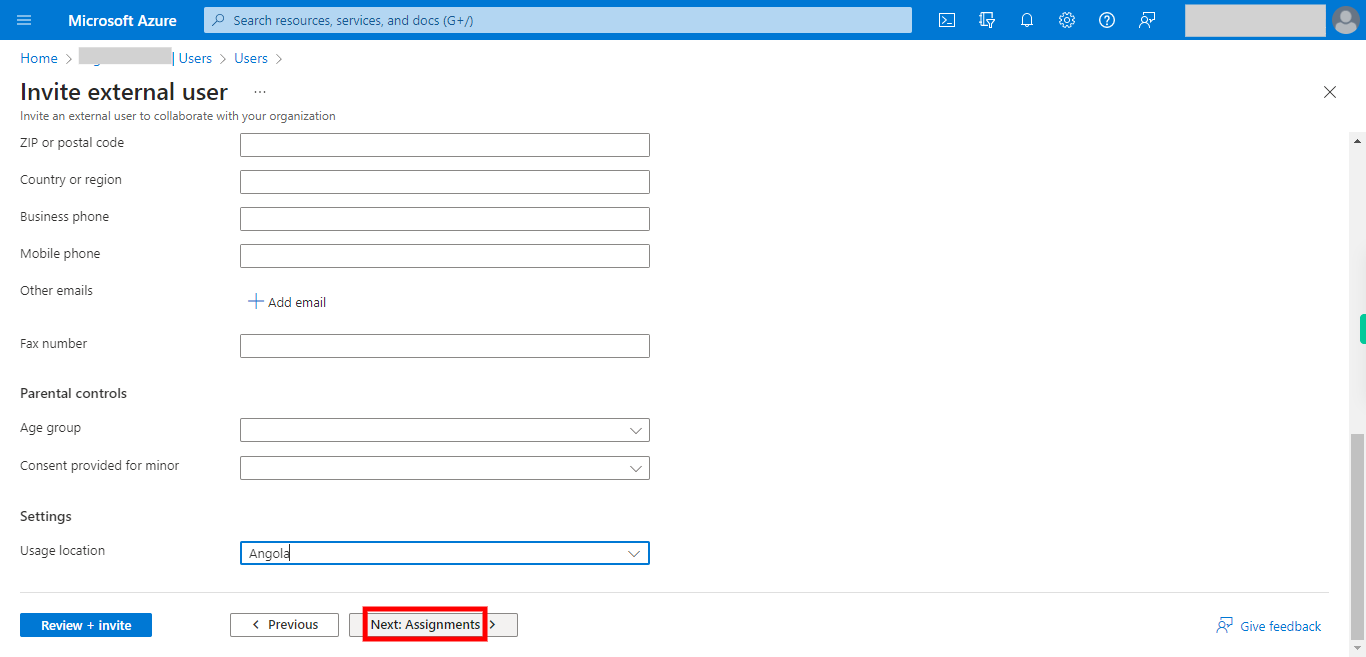
36. Click __Next: Assignments__.
-
38.
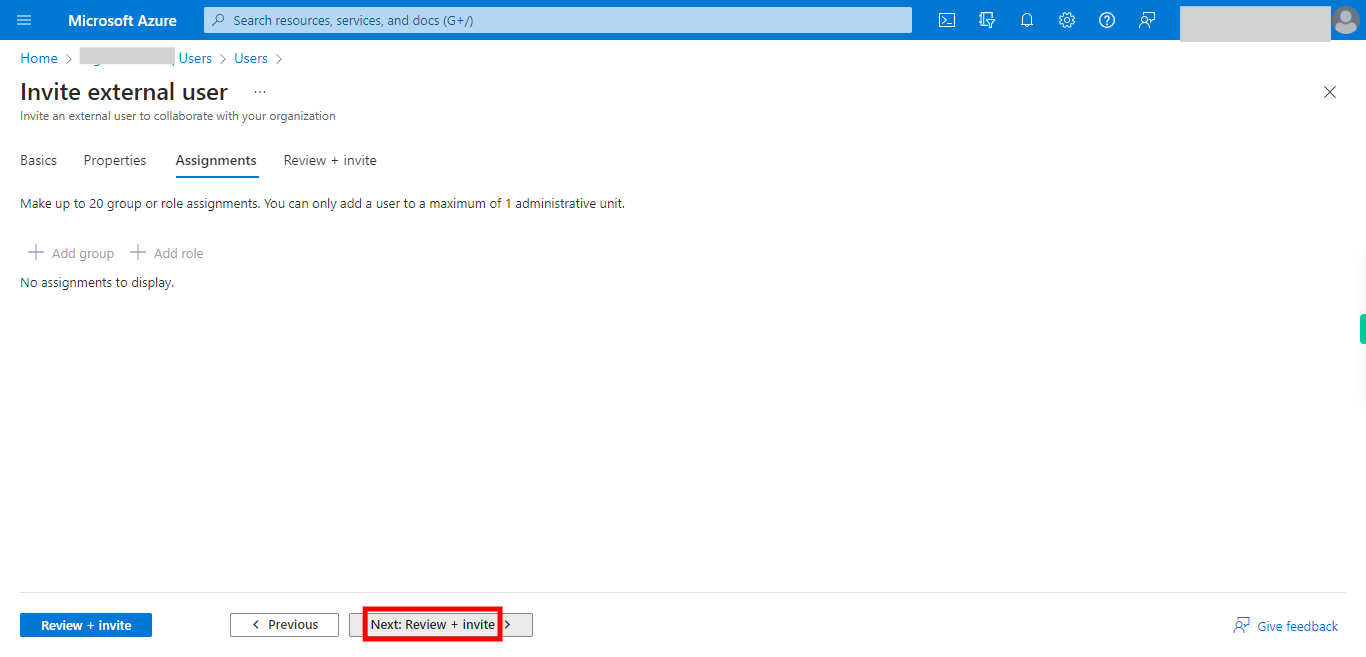
37. In the new tab opened, select appropriate Role and Group for this invitee to have and at the bottom Click __Next: Review + invite__.
-
39.
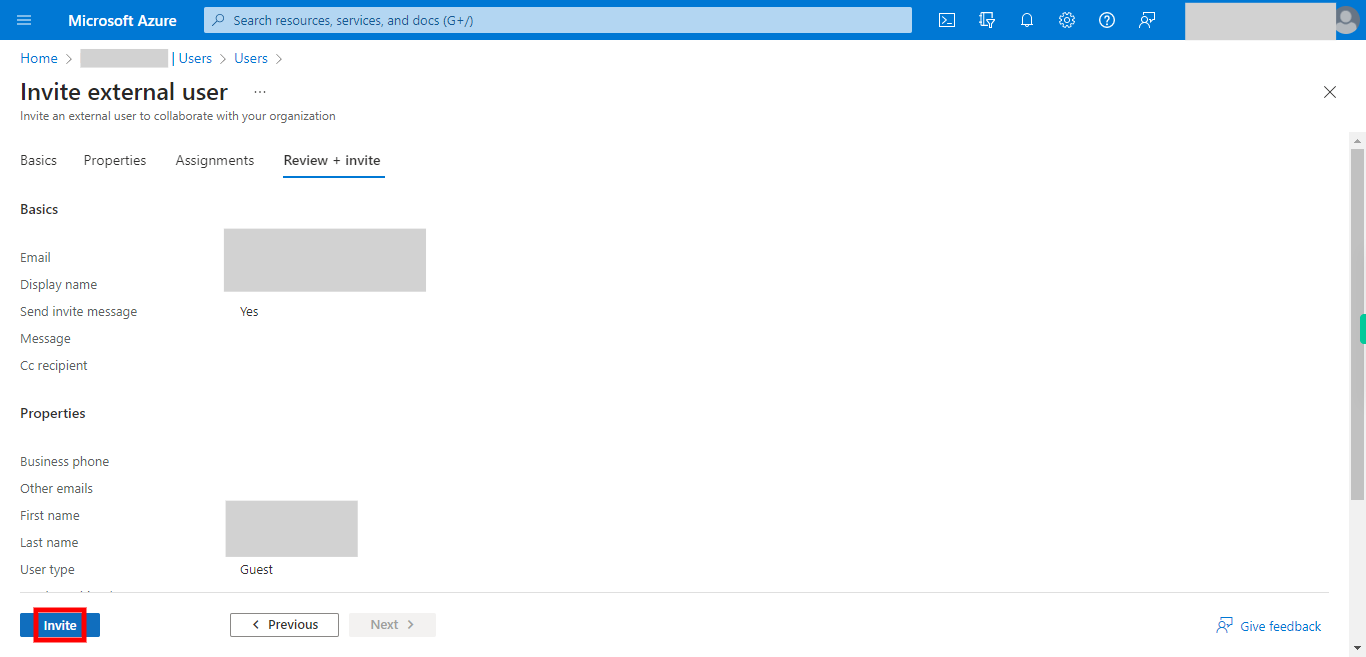
38. Click __Invite__.


