This skill helps to walk you through in Creation of the Azure Container Registry(a private registry service for building, storing, and managing container images and related artifacts) by step by step assistance.
Note: Ensure you have access to a subscription in the Azure Portal with sufficient privileges to perform the skill successfully.
Prerequisites: Login to portal.azure.com beforeand.
Tags: Azure, Cloud
-
1.
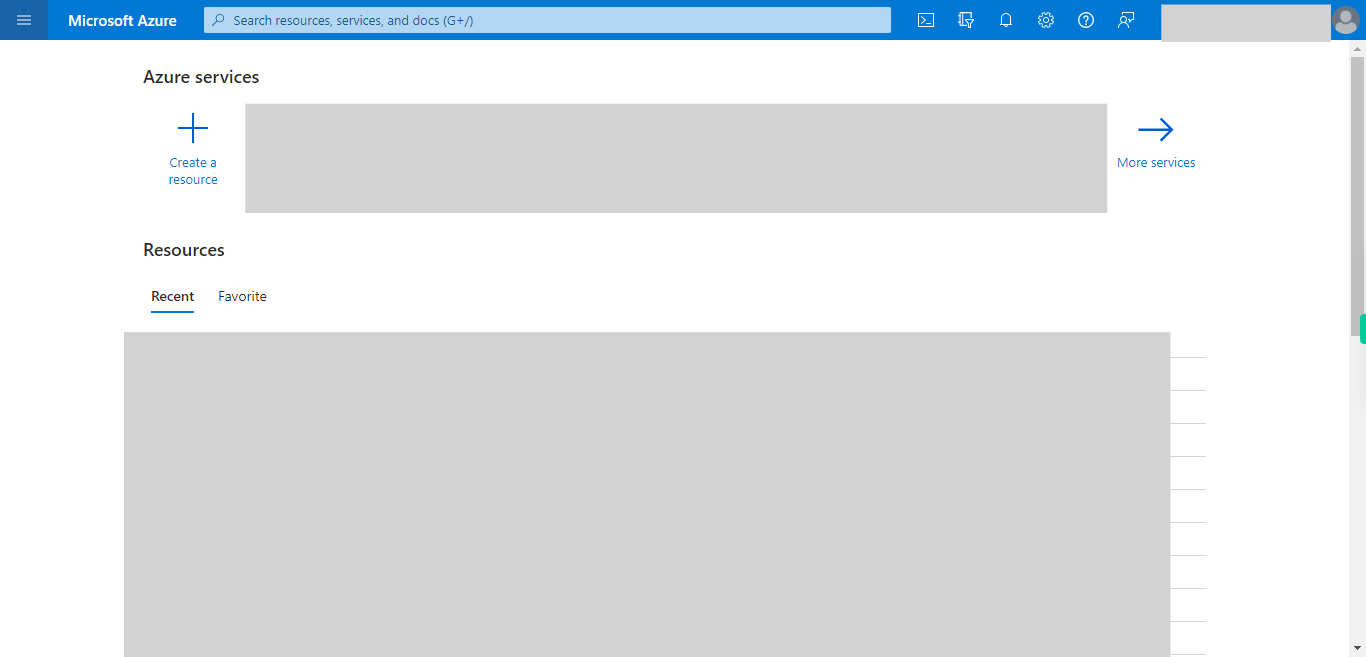
open Home - Microsoft Azure
-
2.
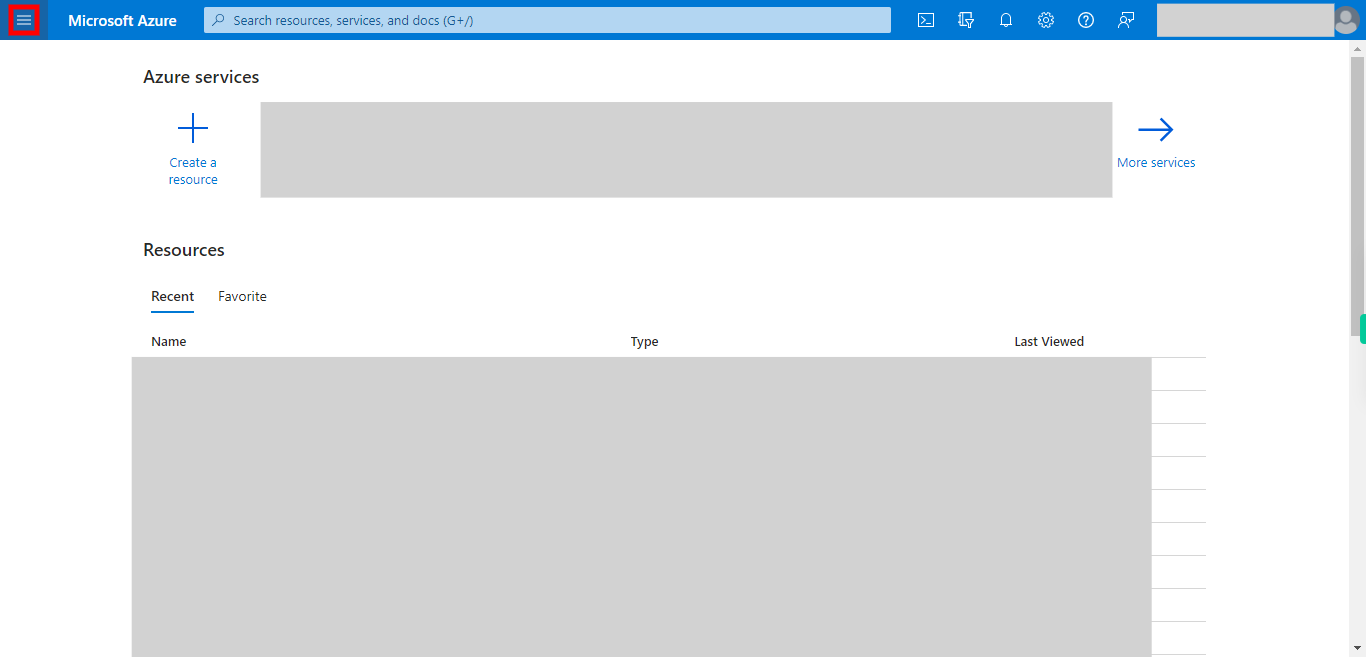
1.Click on hamburger icon.
-
3.
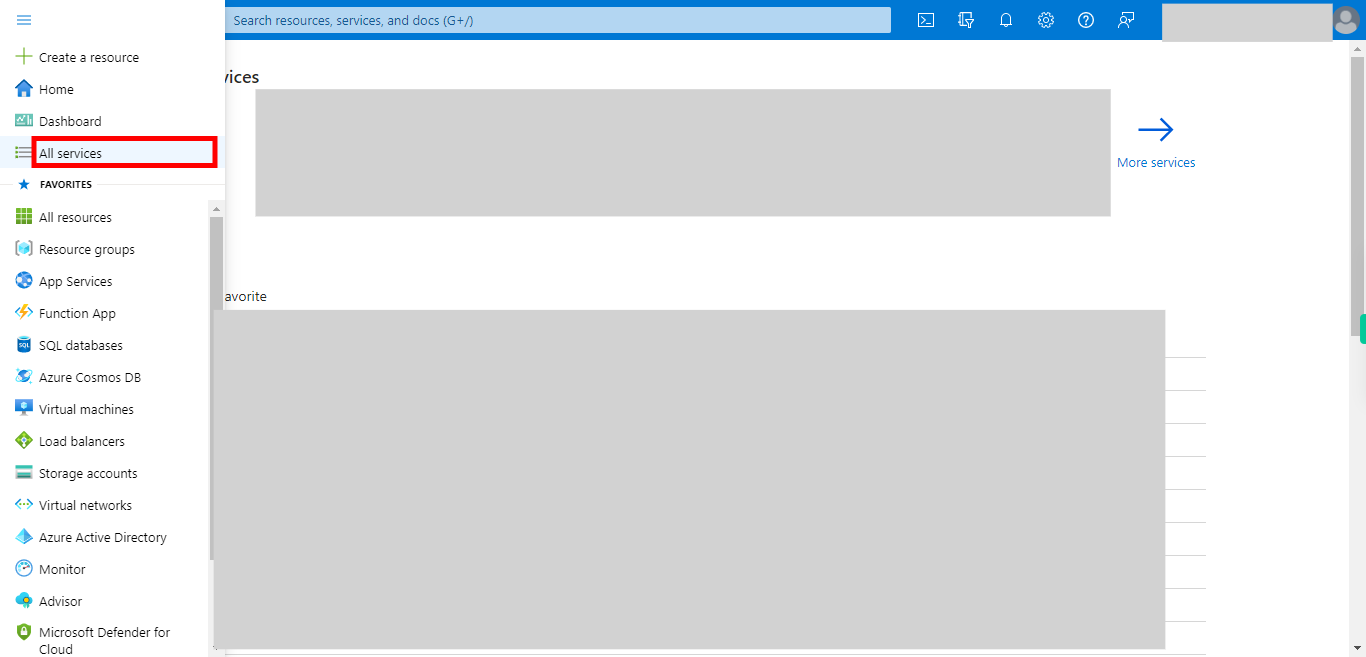
2.Click __All services__.
-
4.
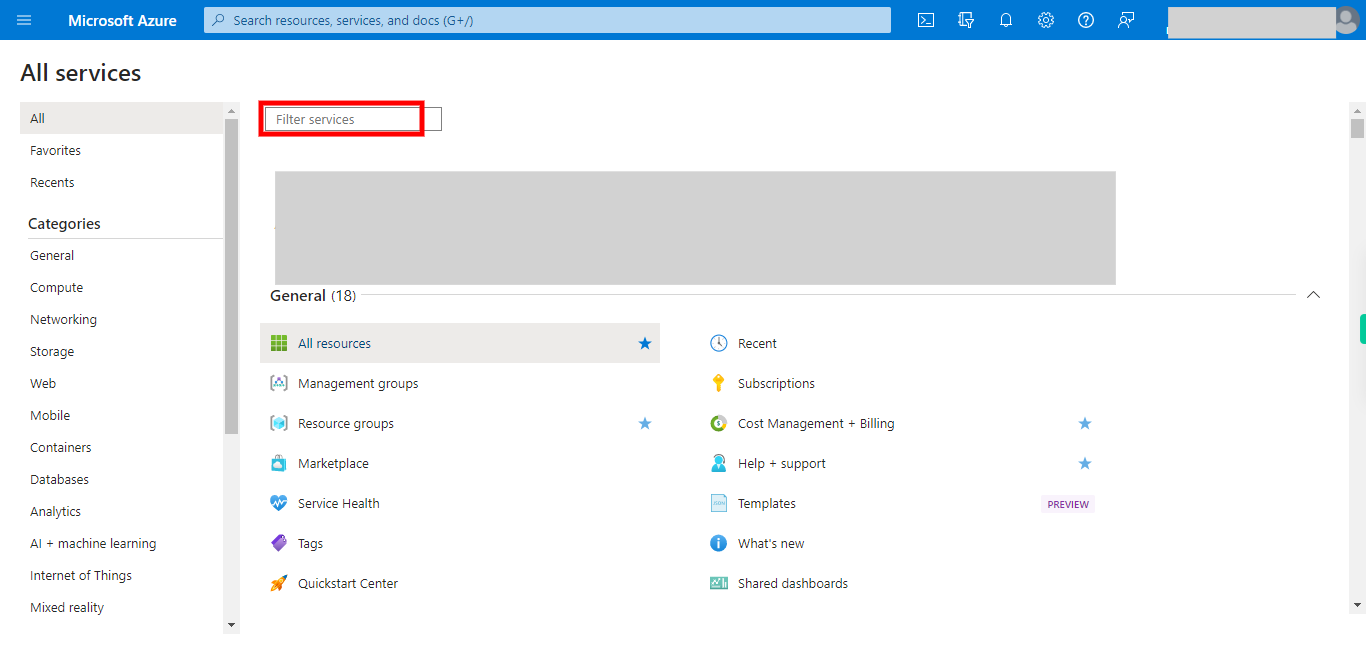
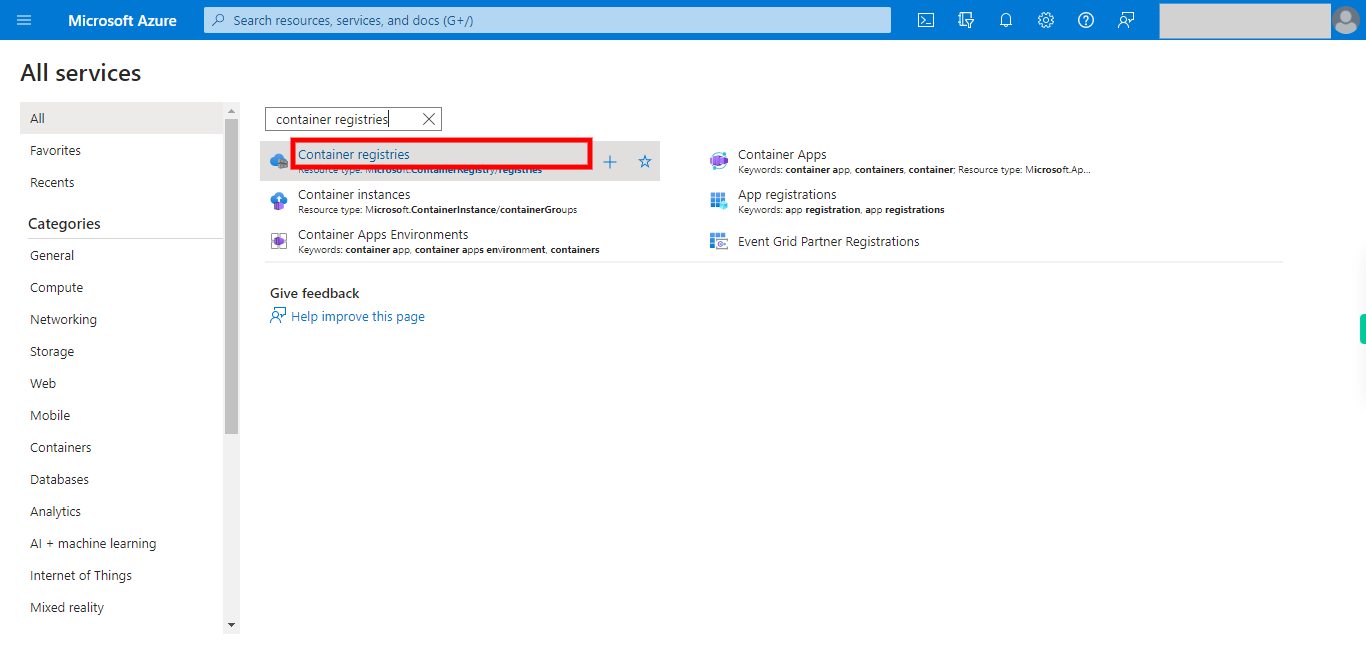
3.Click and type __'Container Registries'__.
-
5.
4.Click __Container registries__.
-
6.
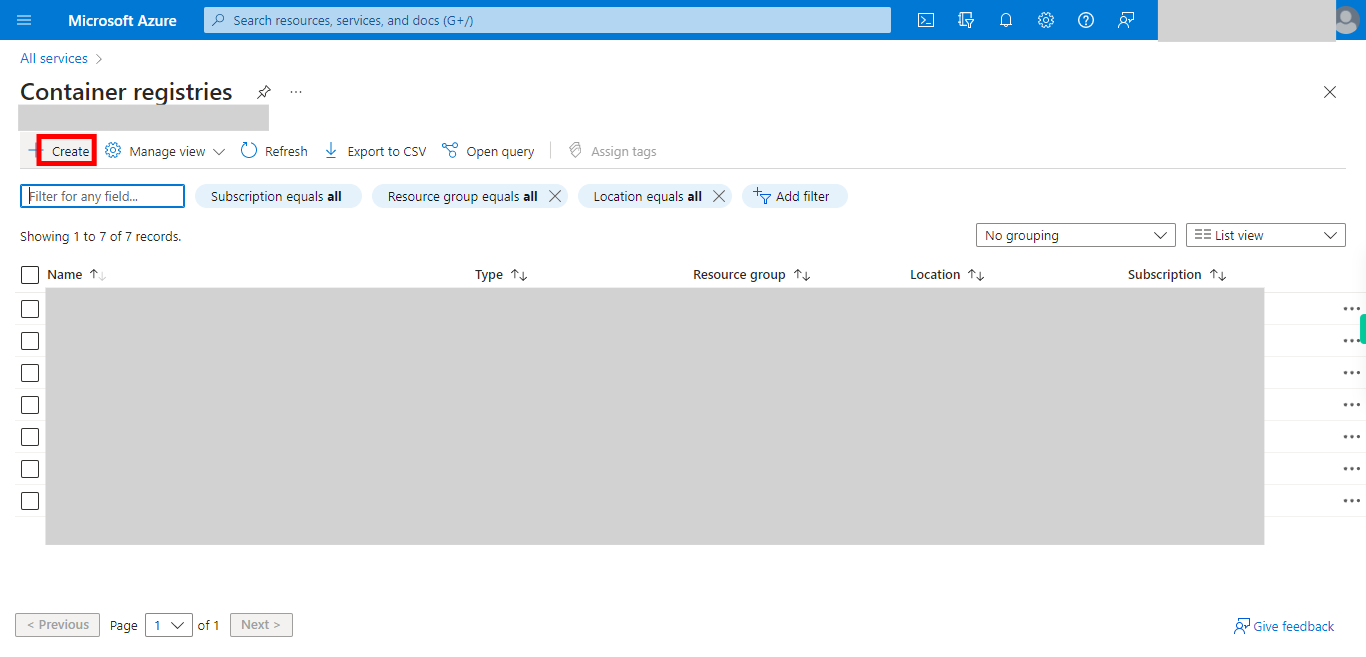
5.Click __Create__.
-
7.
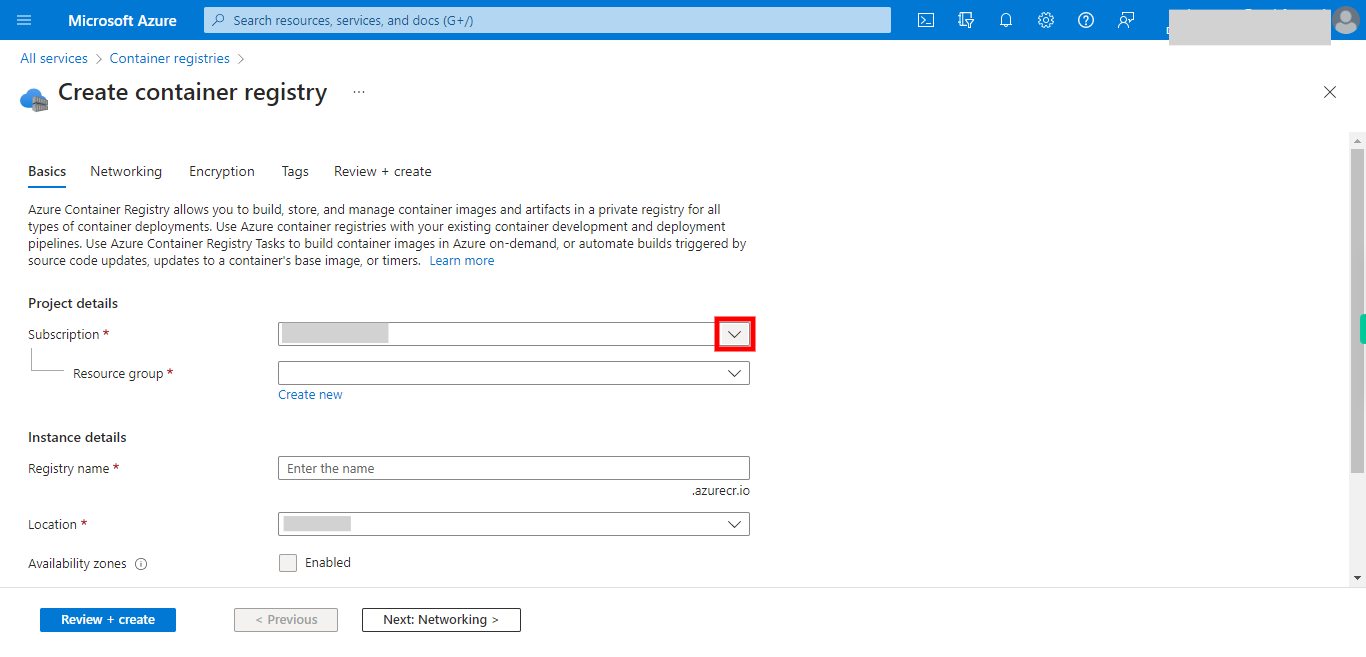
6.Click and select the Subscription from Drop down
-
8.
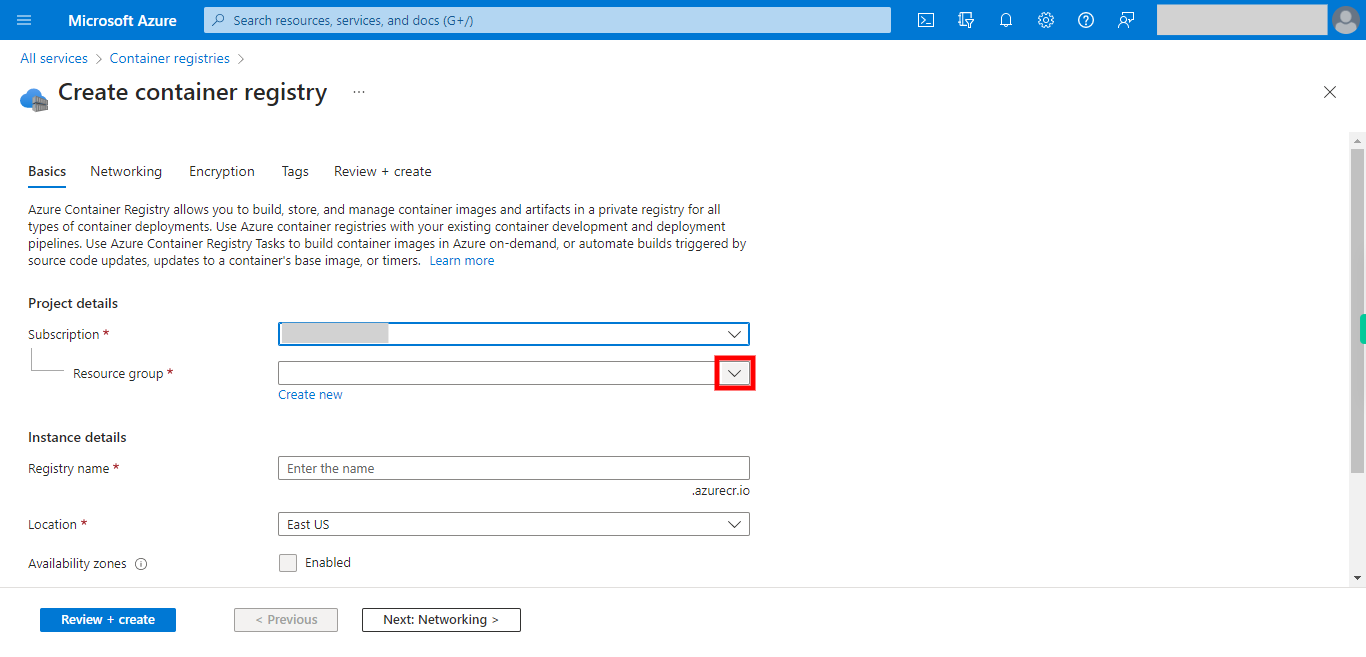
7.Click and Select the Resource Group from the Drop Down or Create New one
-
9.
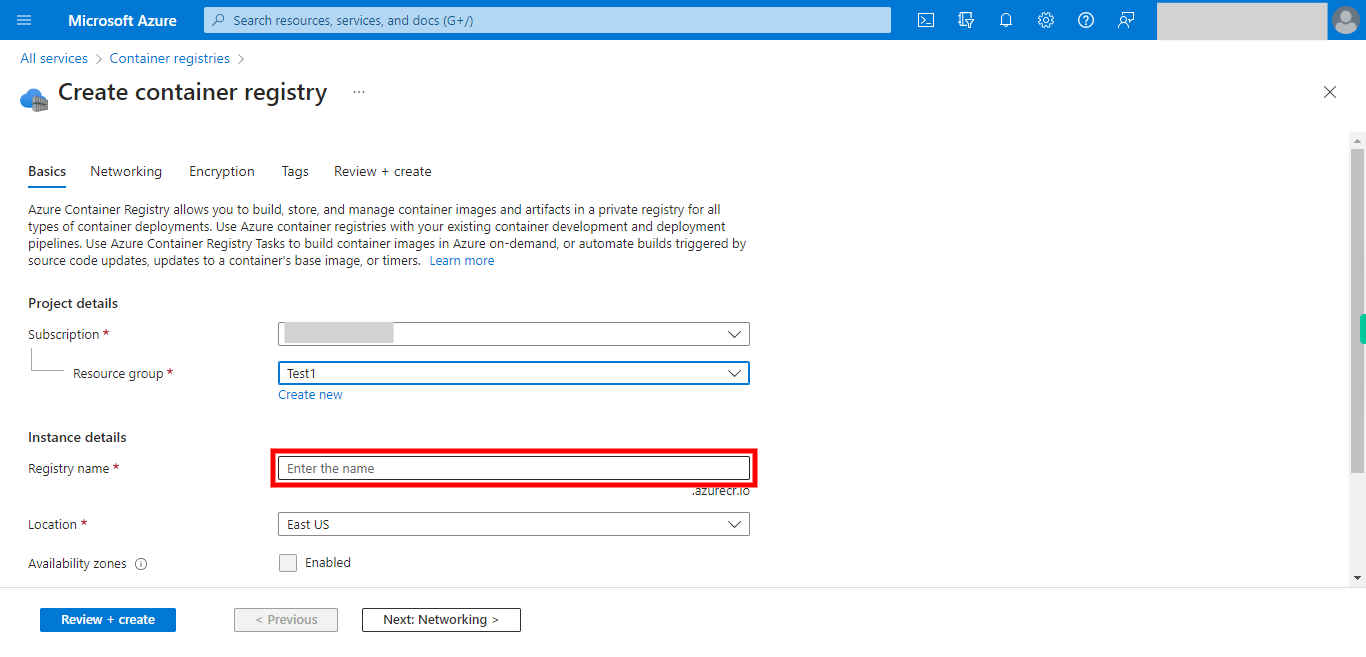
8.Click Enter Desired Name to Container Registry
-
10.
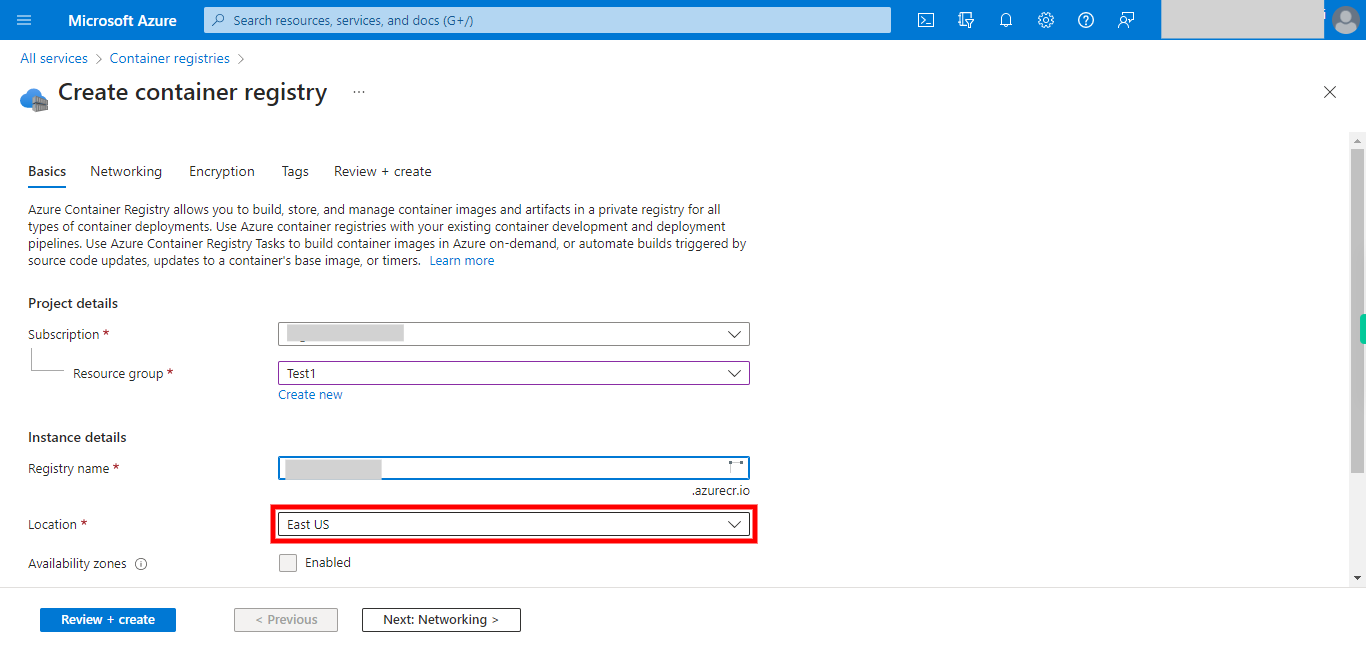
9.Click and Select the Region
-
11.
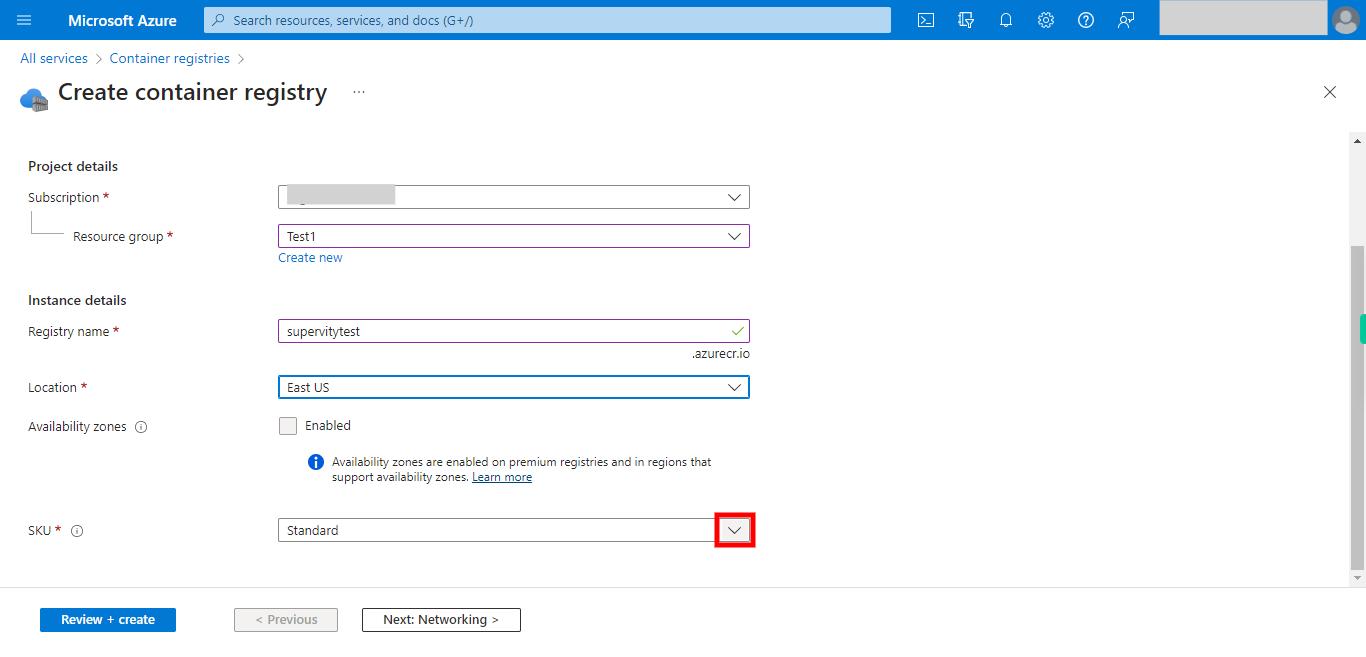
10.Click and Select the pricingplan type from the Drop Down
-
12.
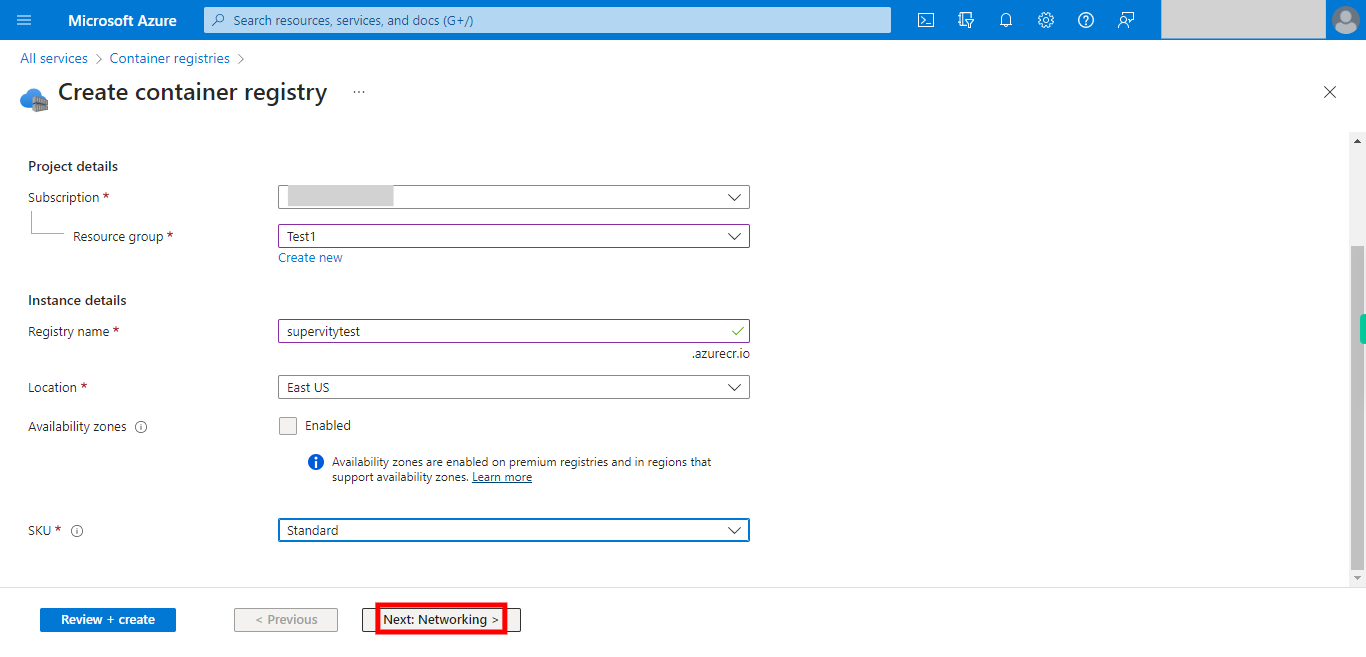
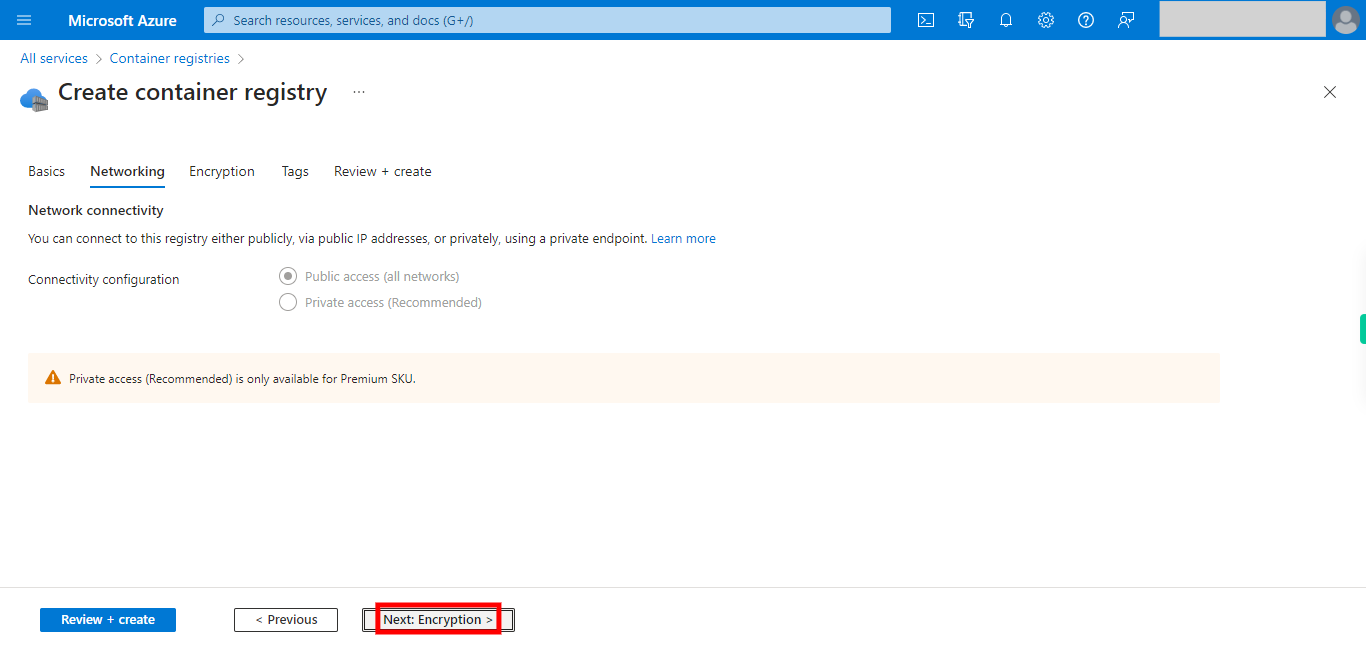
11.Click __Next: Networking >__.
-
13.
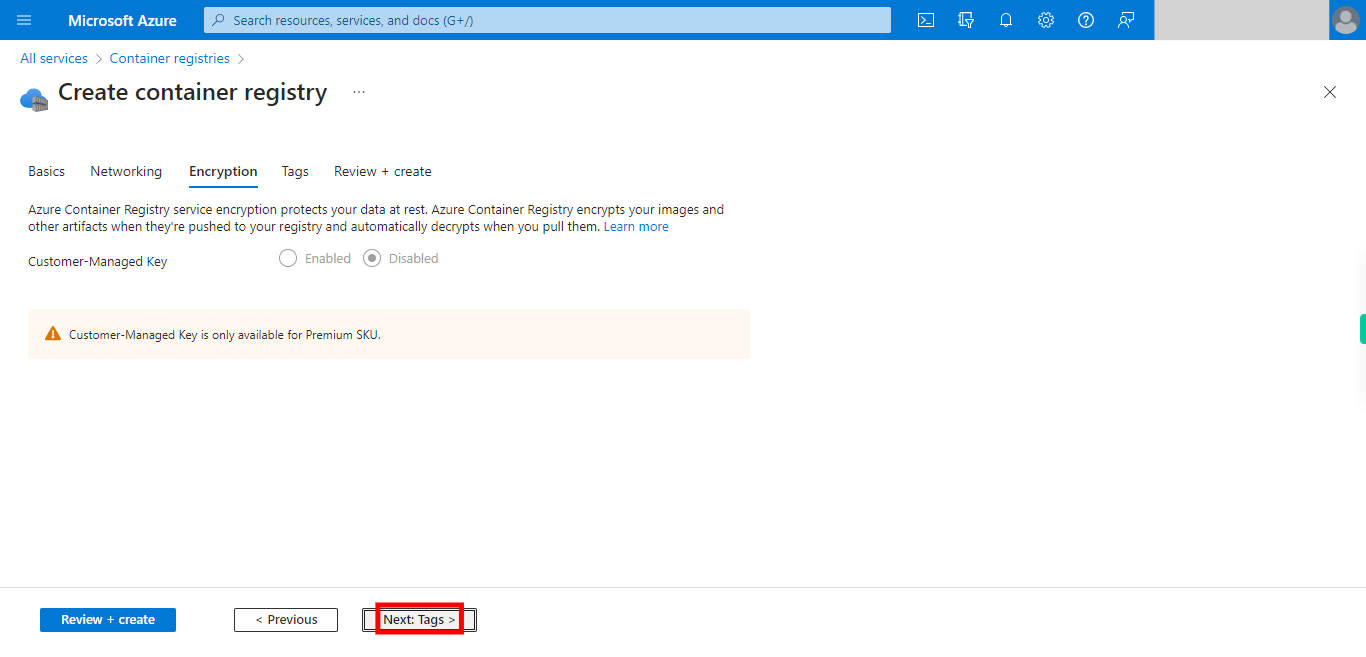
12.Choose desired options for Networking and Click Next to move to __Encryption__ tab.
-
14.
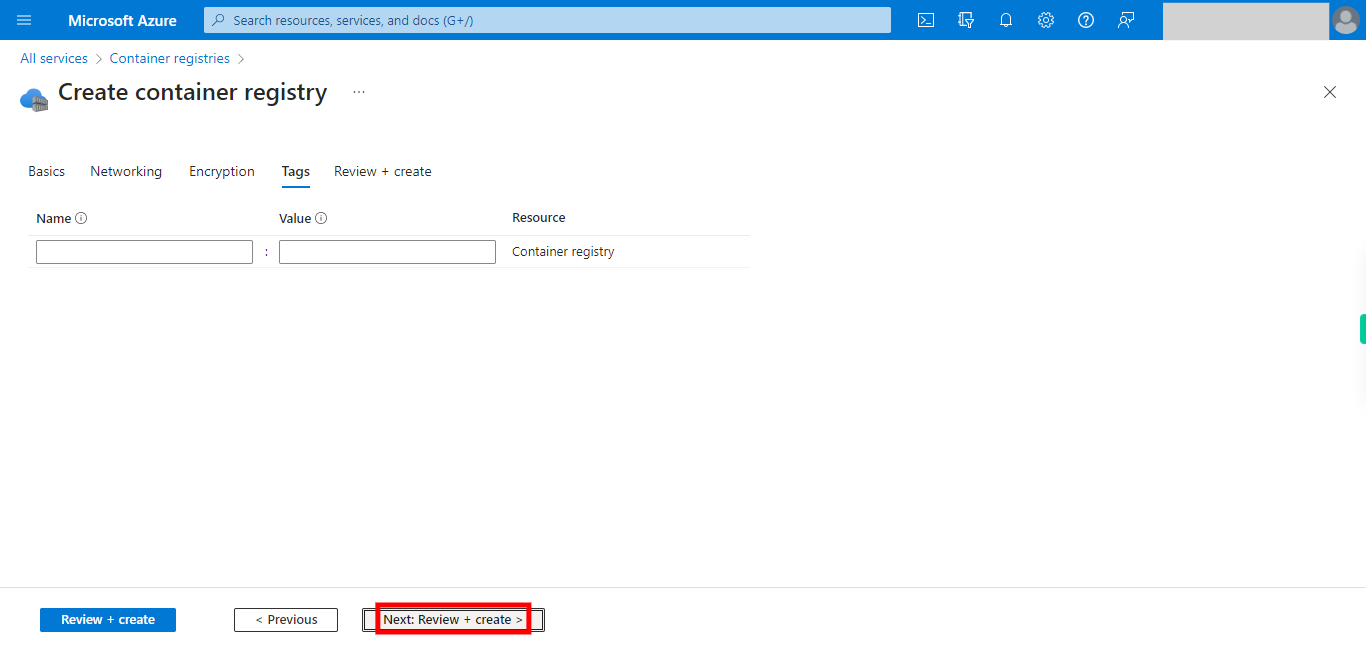
13. Choose desired options for Encryption as desired and Click Next to move to __Tags__.
-
15.
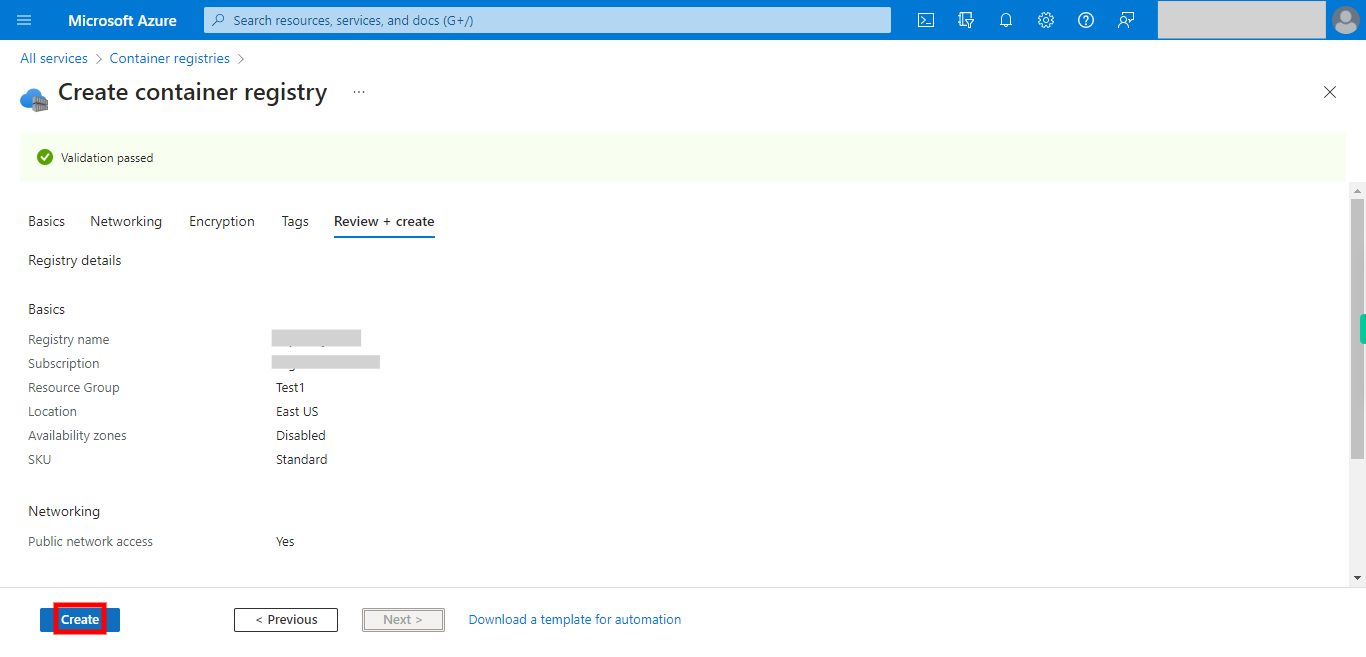
14. Add the Tags as desired and click on __Next:Review+Create__.
-
16.
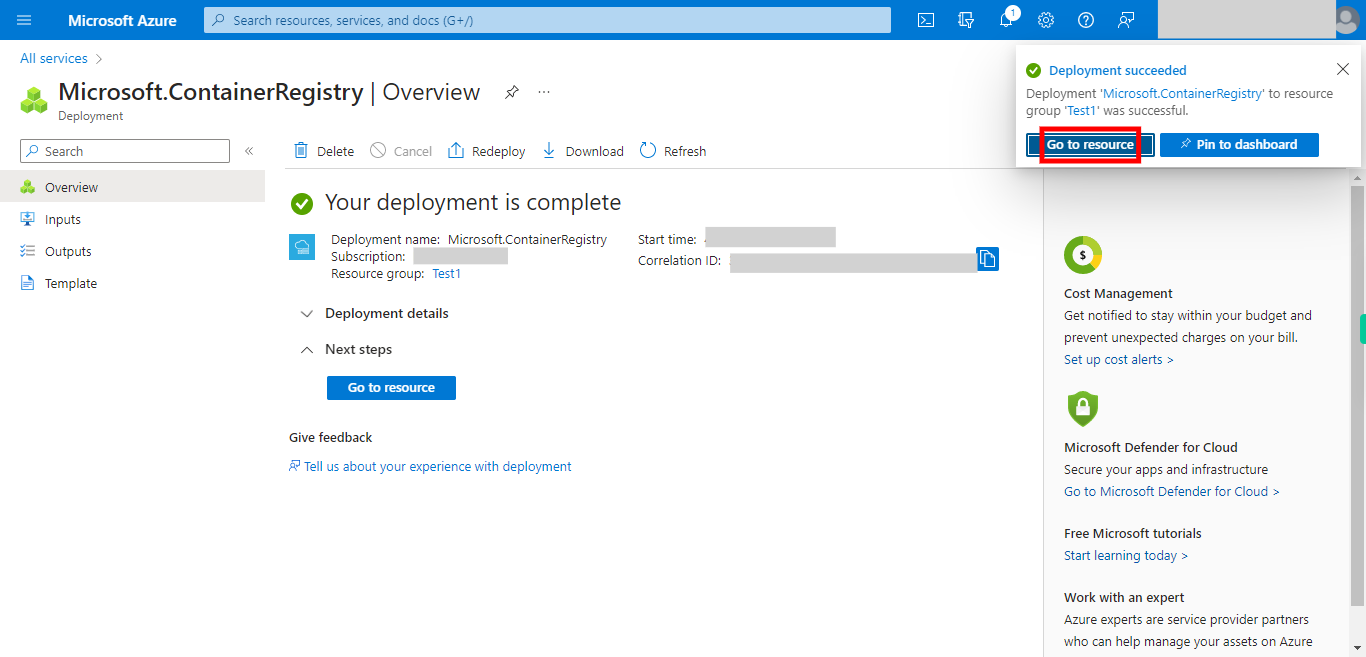
15.Click __Create__. The deployment will take sometime to be completed and meanwhile check the status notifications at the top right pane to be aware of deployment being successful or if it has any errors.
-
17.
16.Click __Go to resource__.


