This skill helps to walk you through in Creation of the Azure Virtual Network (enables many types of Azure resources, such as Azure Virtual Machines (VM), to securely communicate with each other, the internet, and on-premises networks) by step by step assistance.
Note: Ensure you have access to a subscription in the Azure Portal with sufficient privileges to perform skill successfully.
Prerequites: Login to portal.azure.com beforeand.
Tags: Azure, Cloud
-
1.
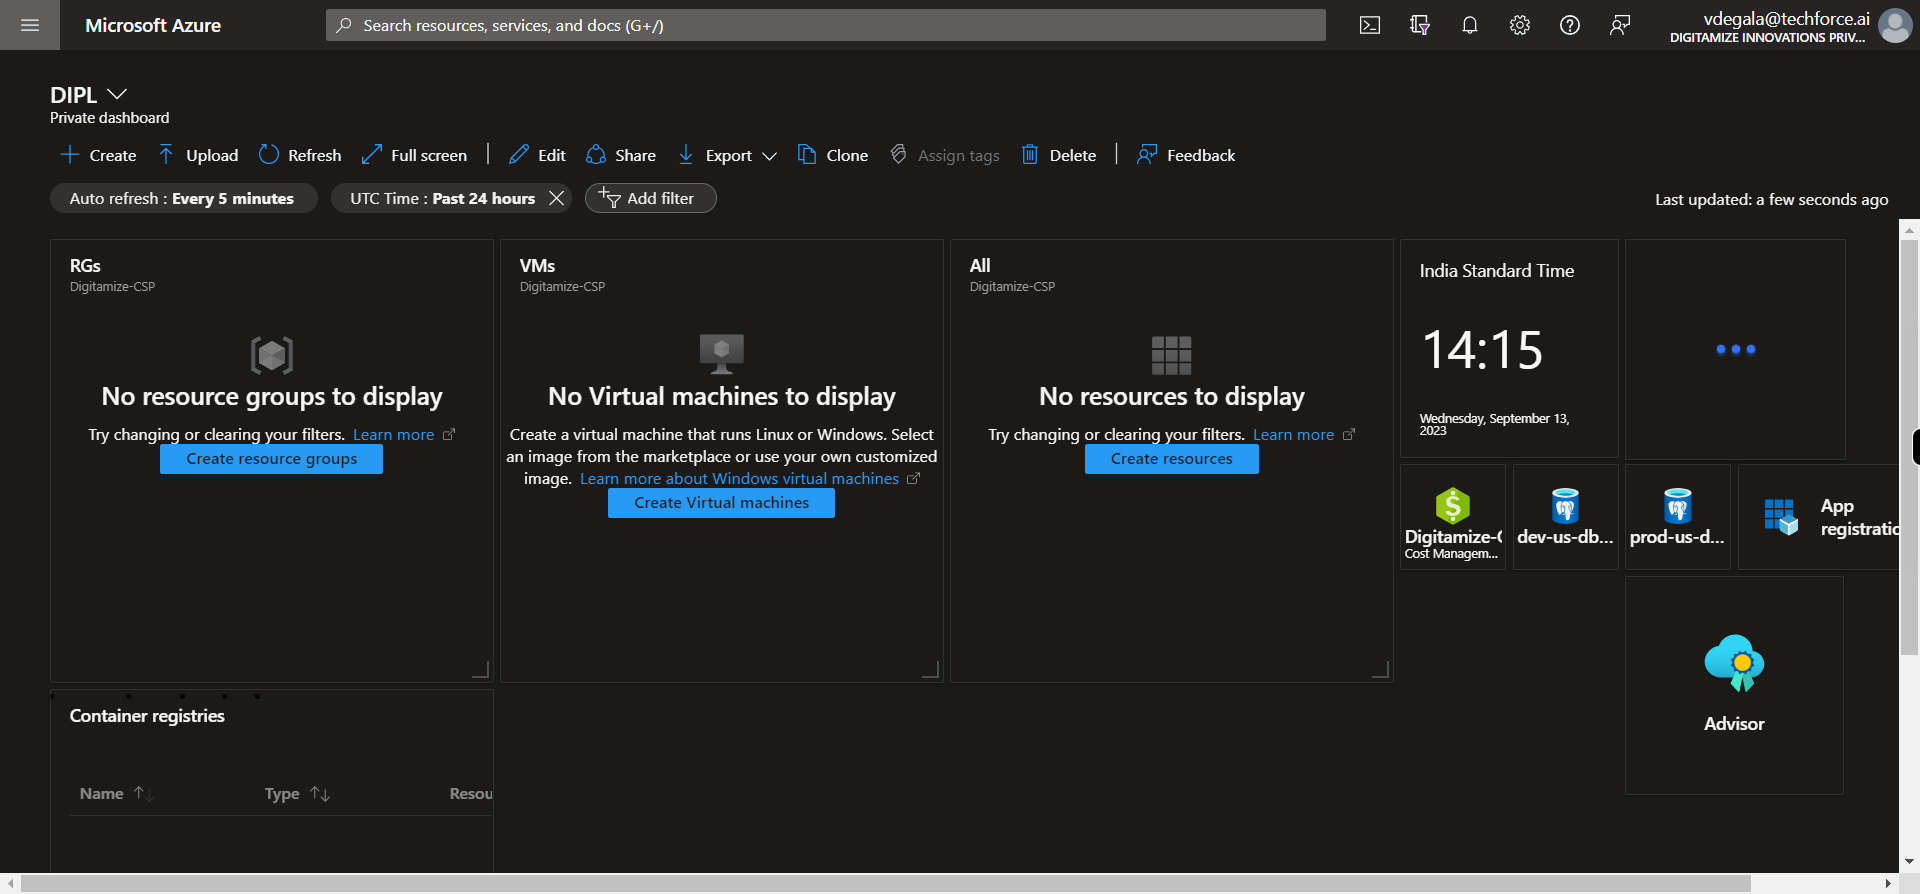
open DIPL - Microsoft Azure
-
2.
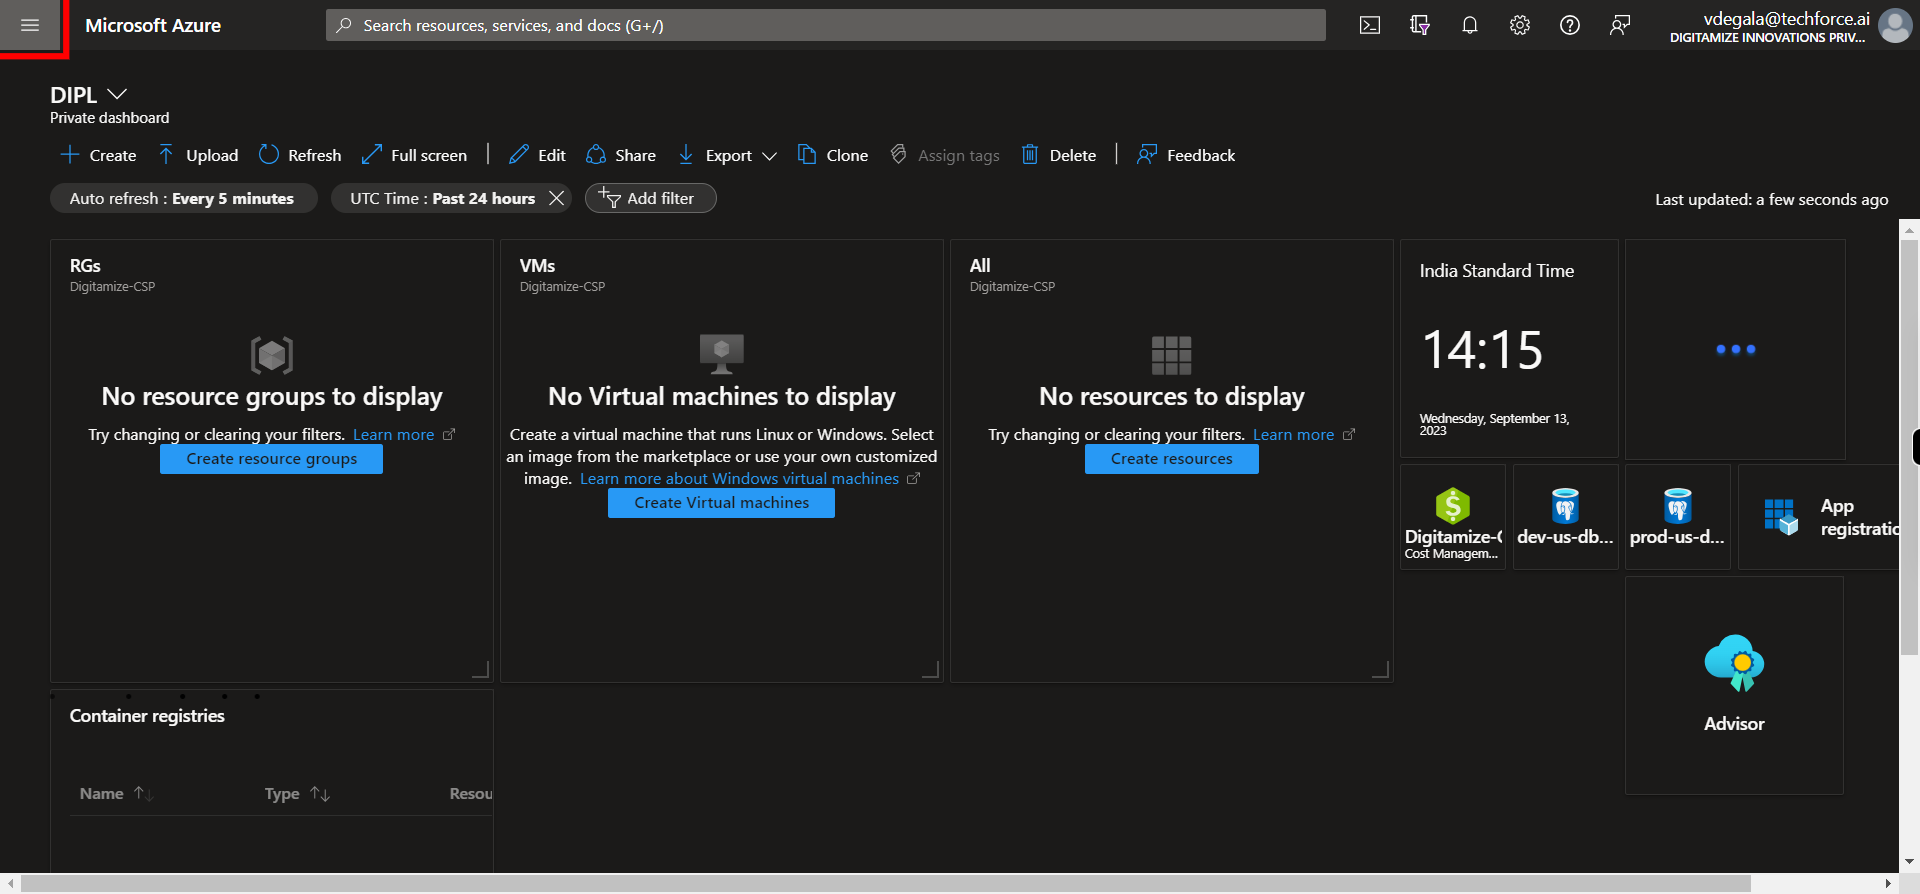
1. Click Show portal menu
-
3.
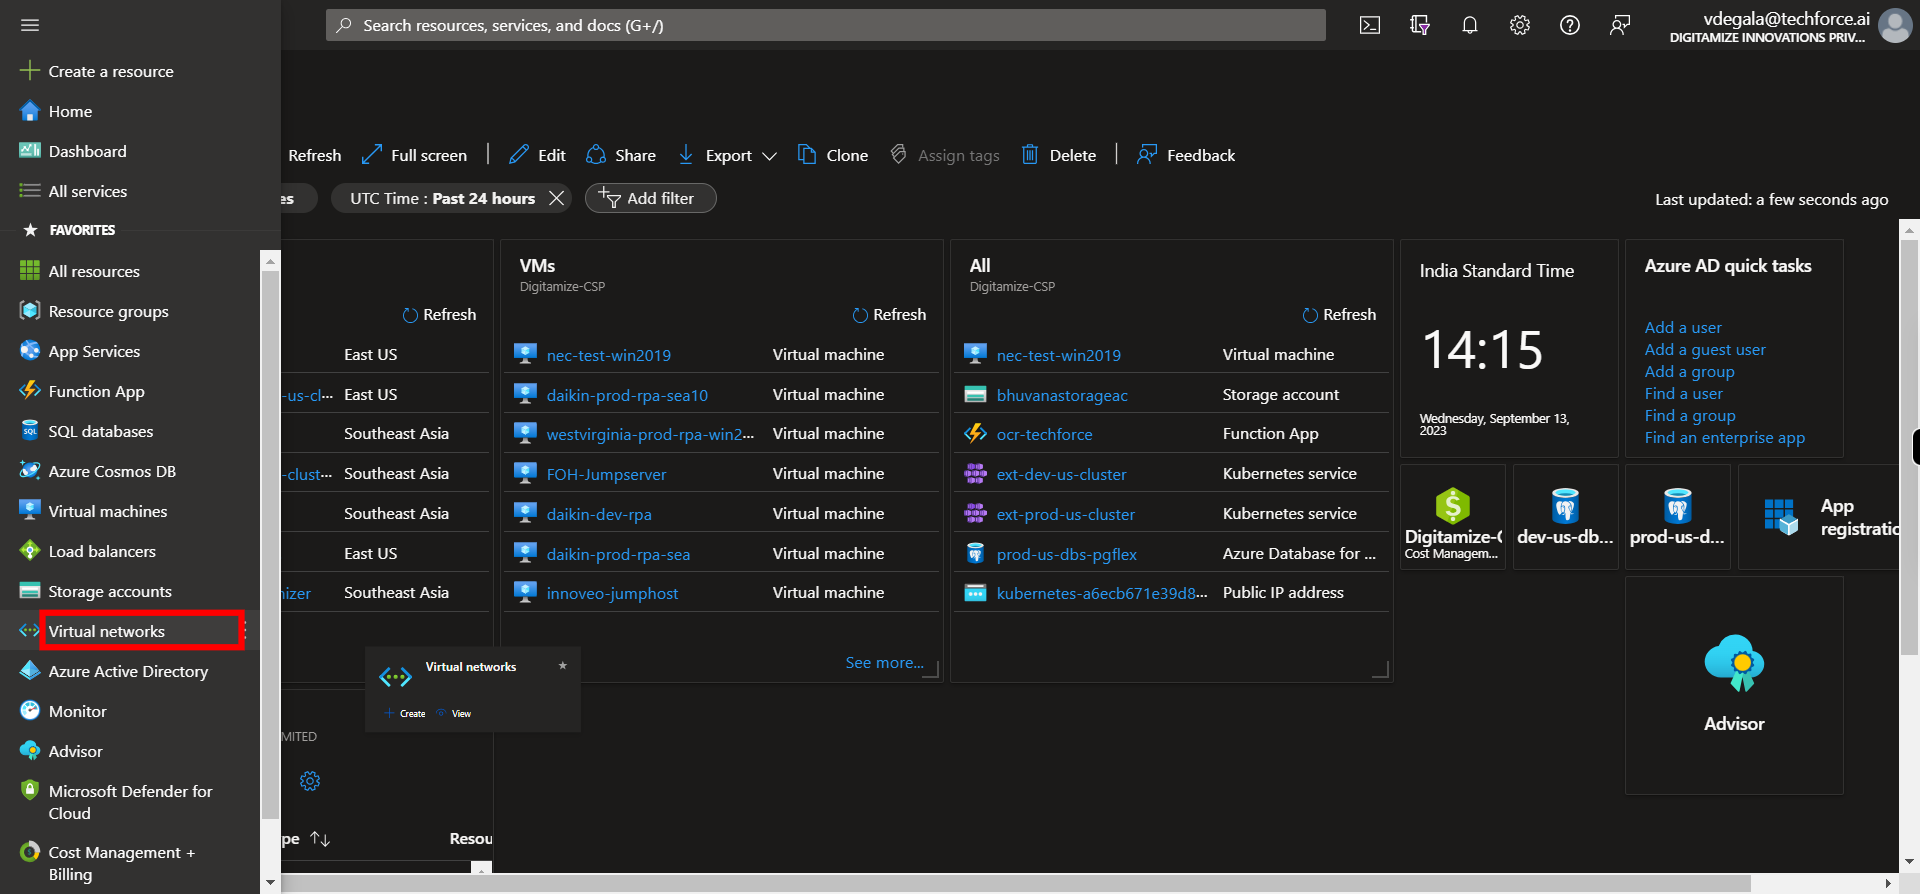
2. Click __Virtual networks__.
-
4.
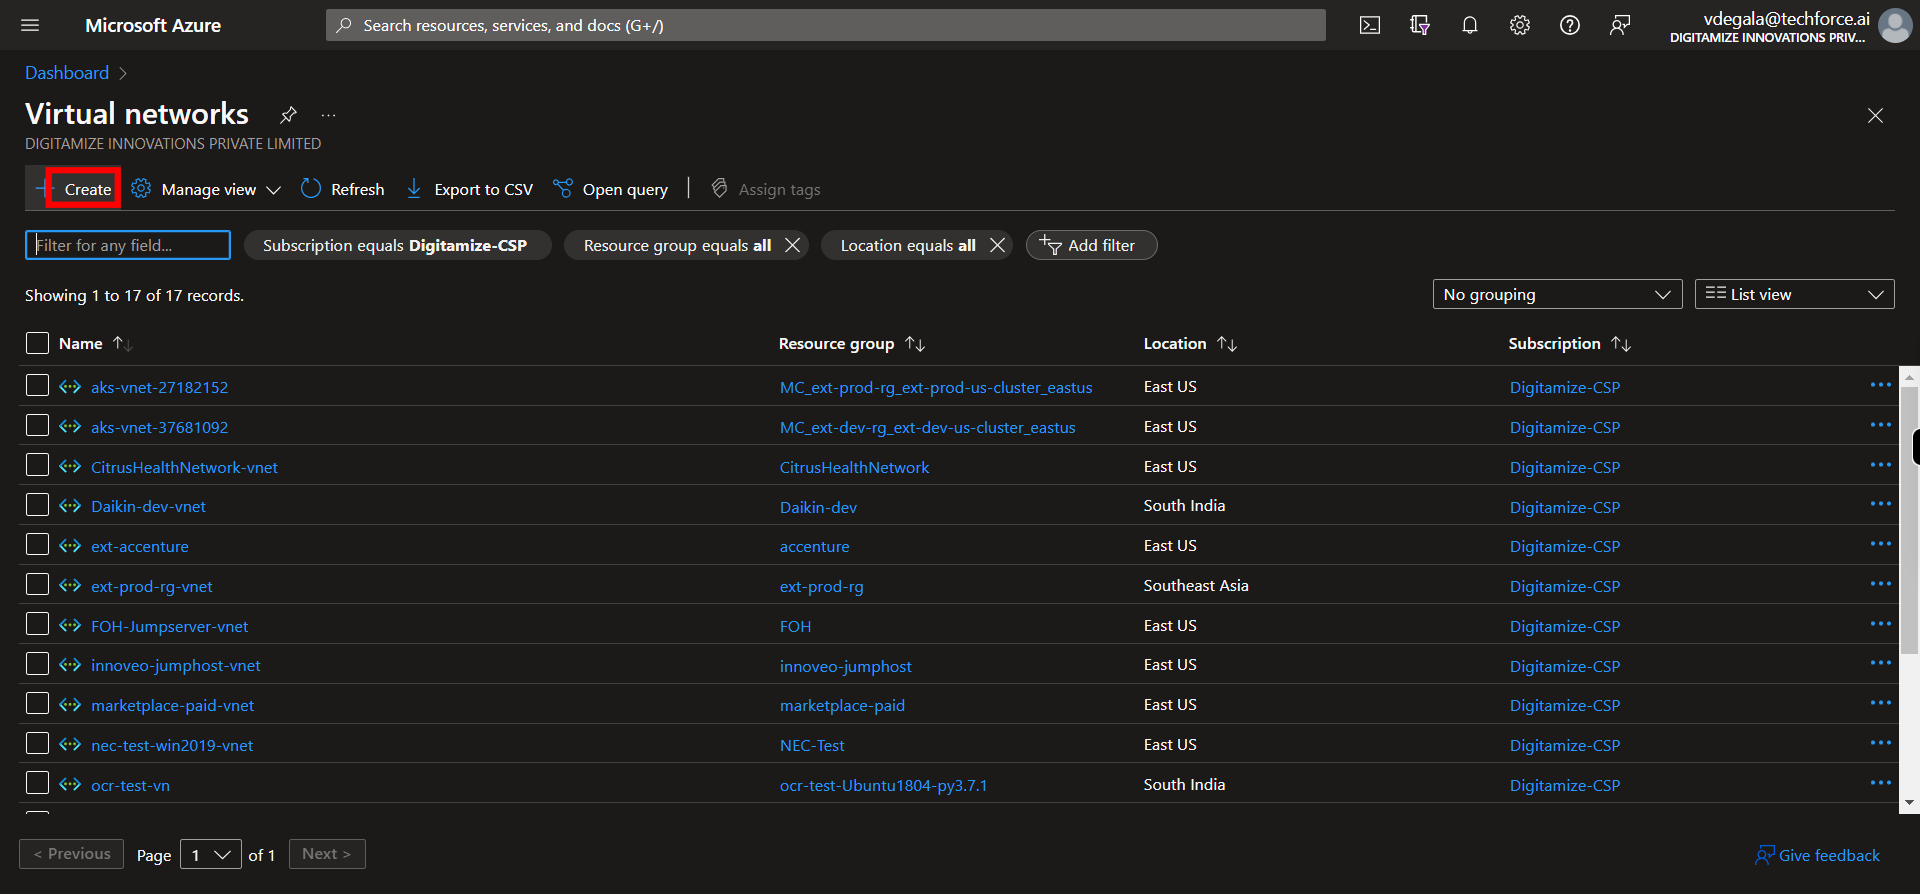
3. Click __Create__.
-
5.
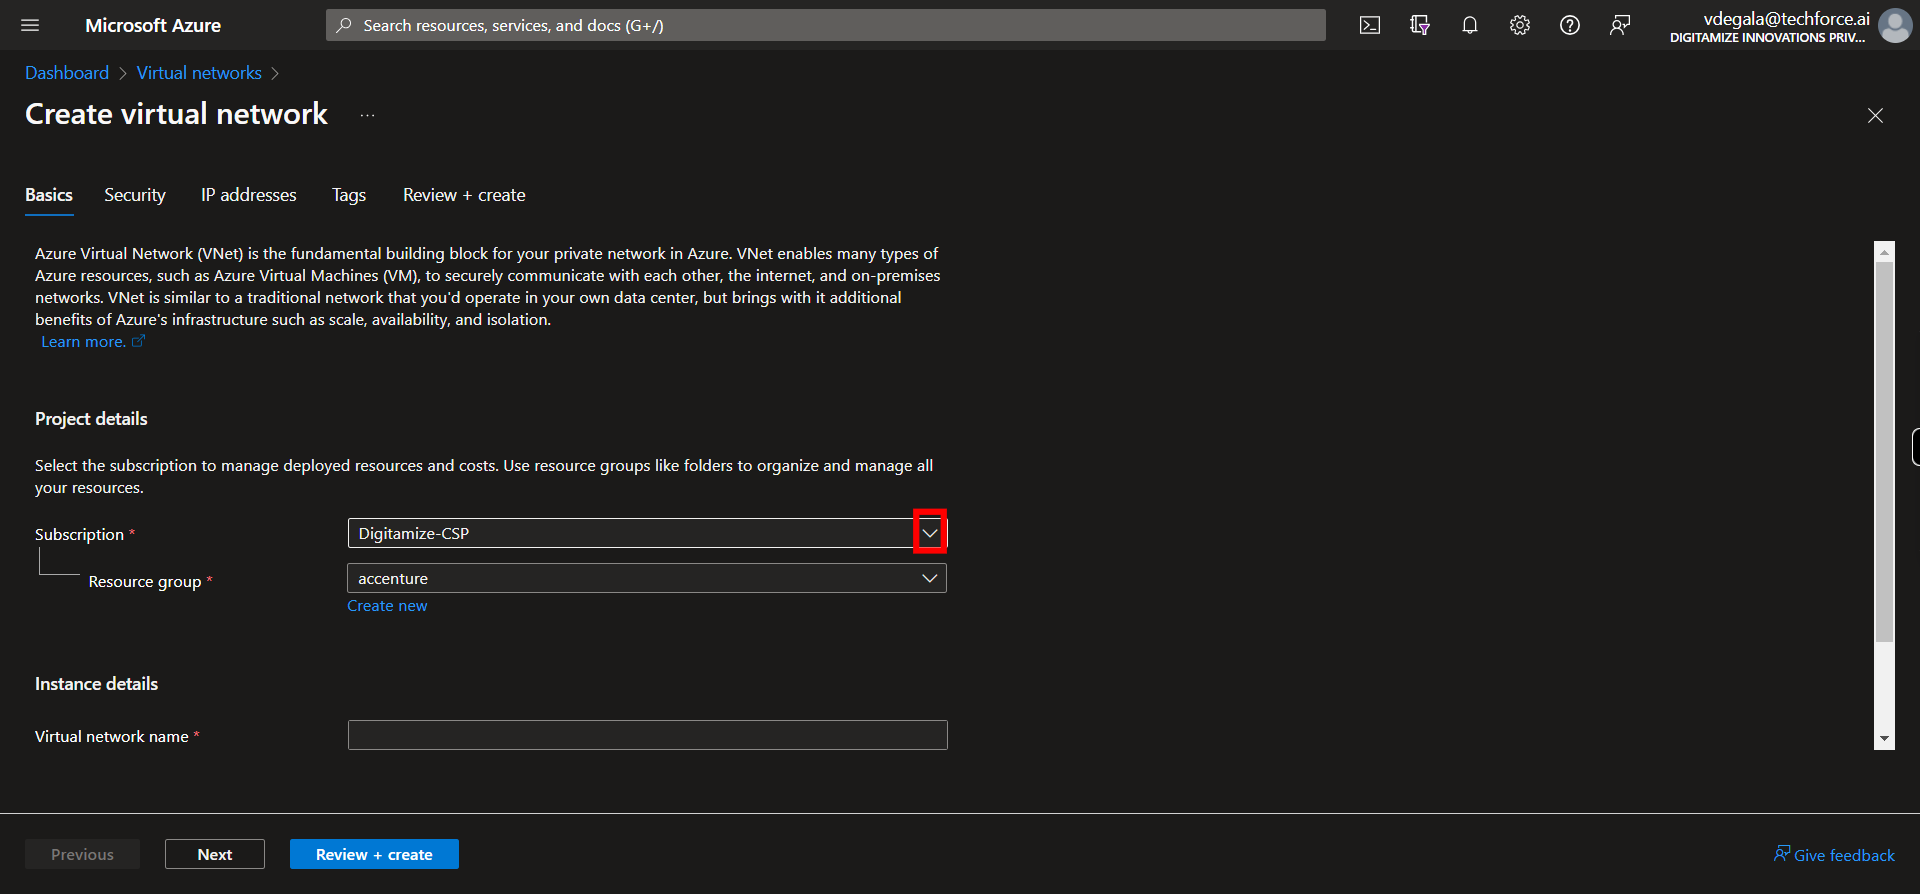
4. Click and Select the subscription from the list. Once done, Click Next on supervity instruction widget.
-
6.
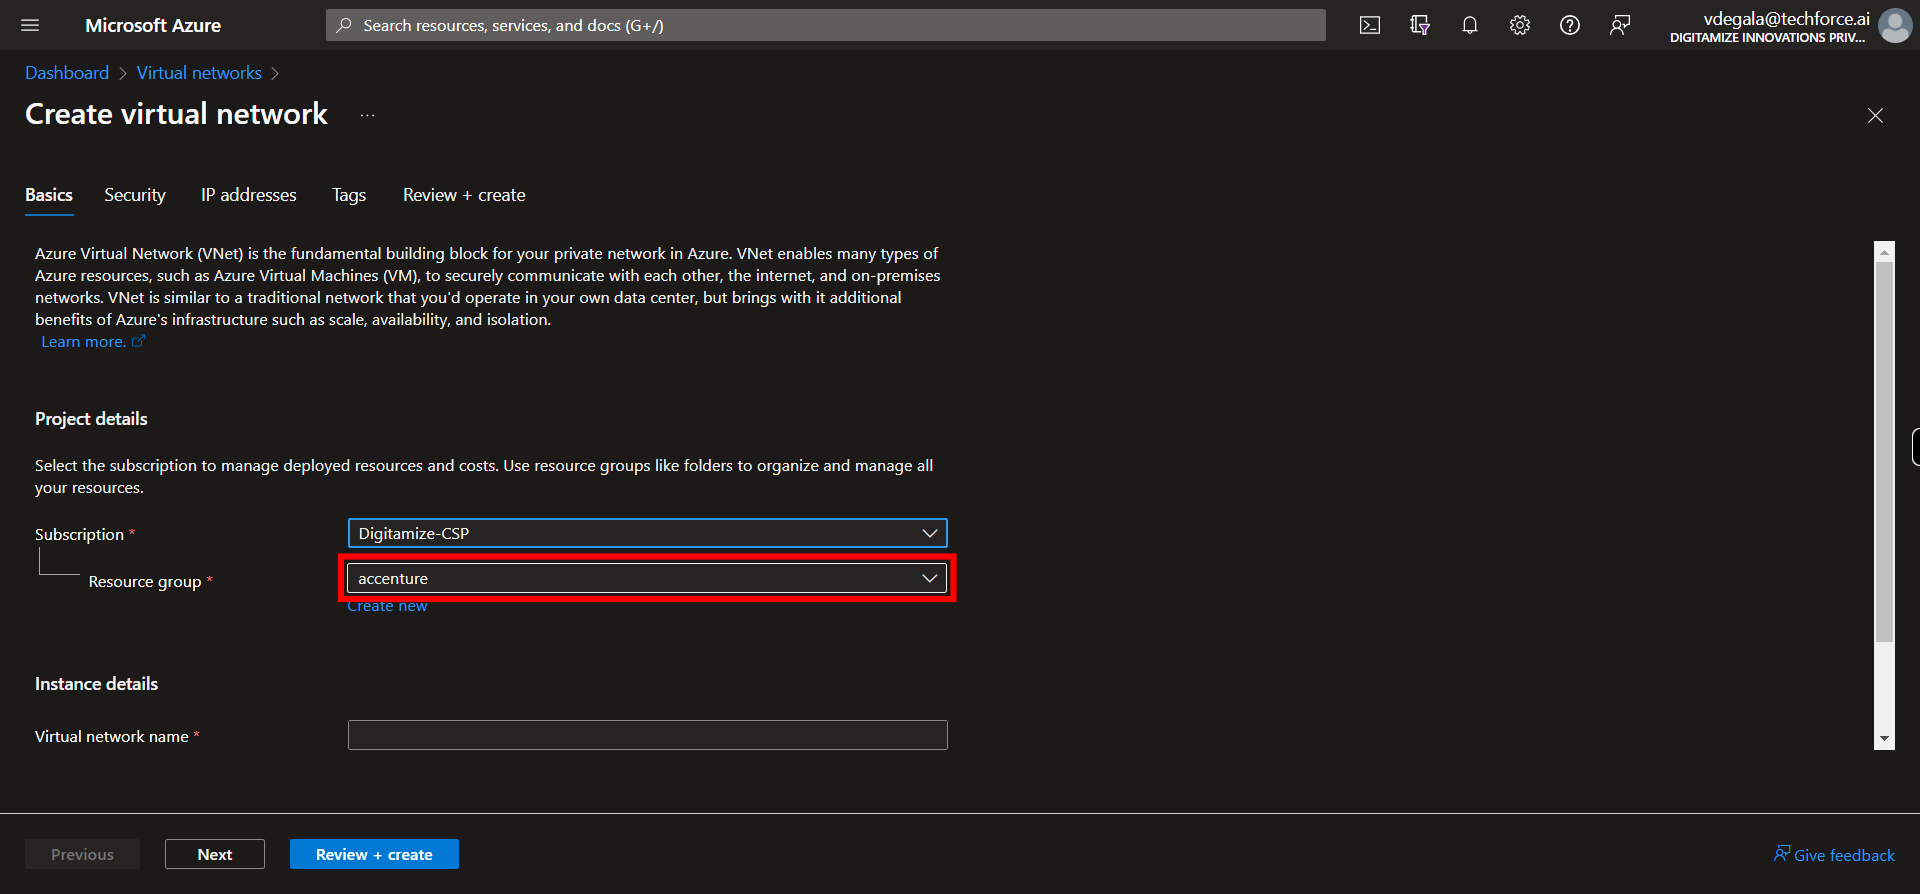
5. Click and Select Resource Group from the list. Once done, Click Next on supervity instruction widget.
-
7.
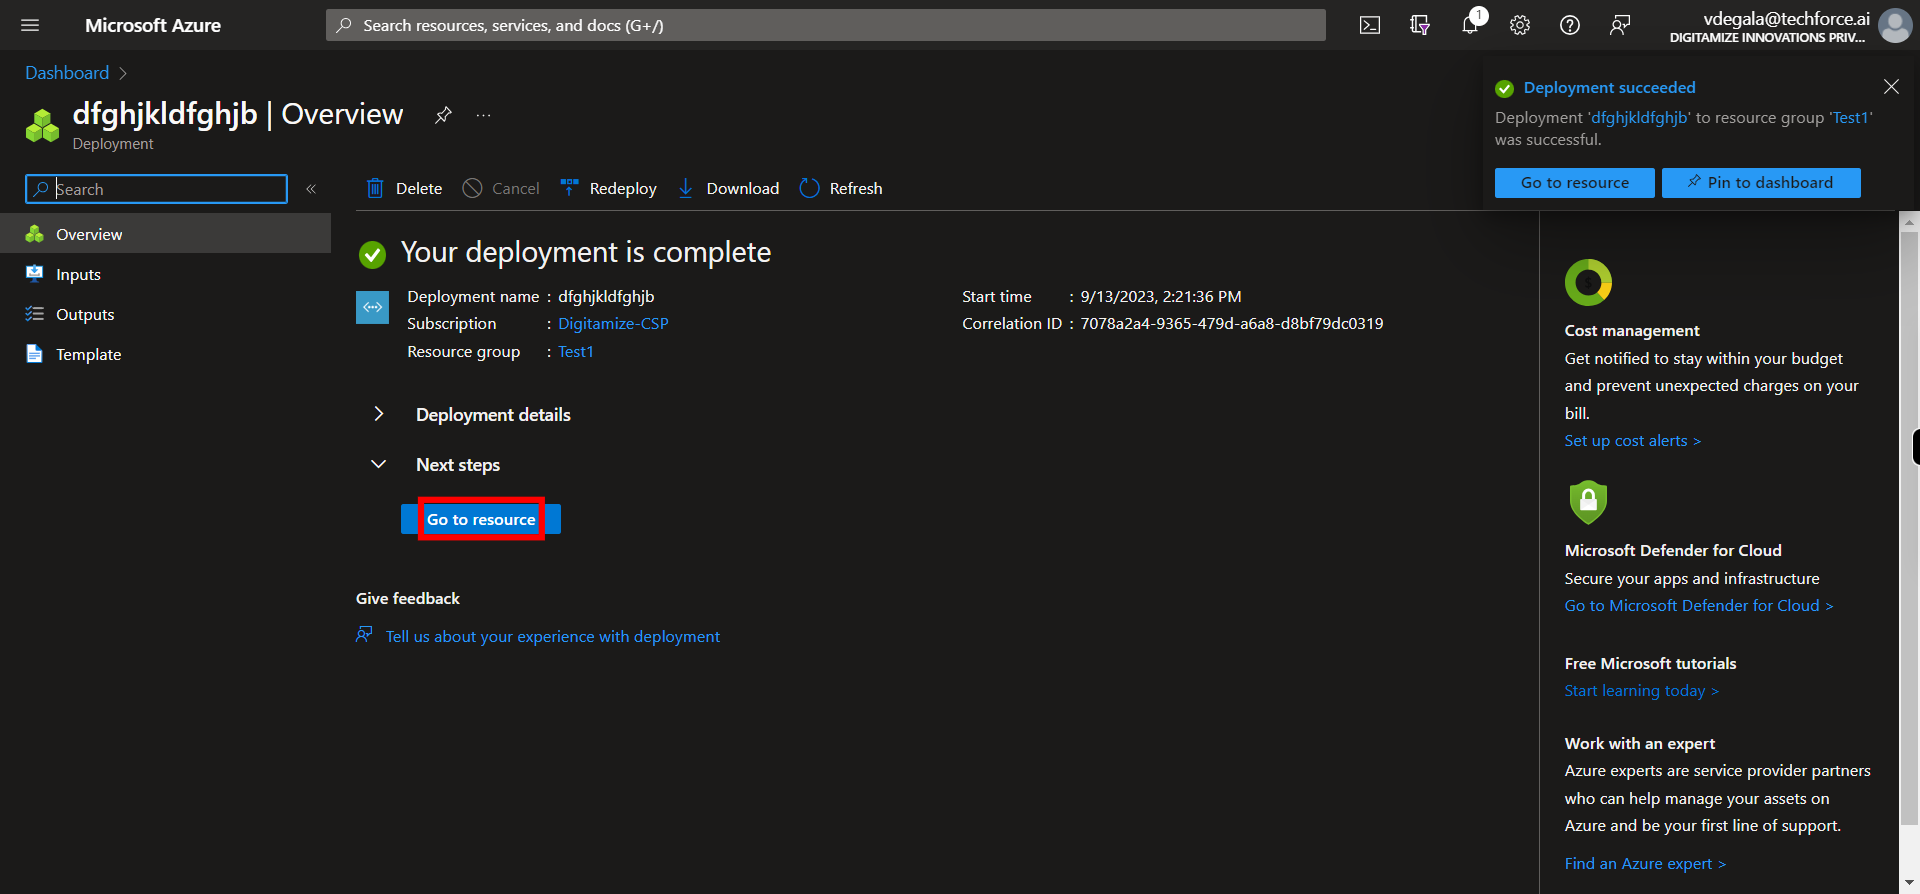
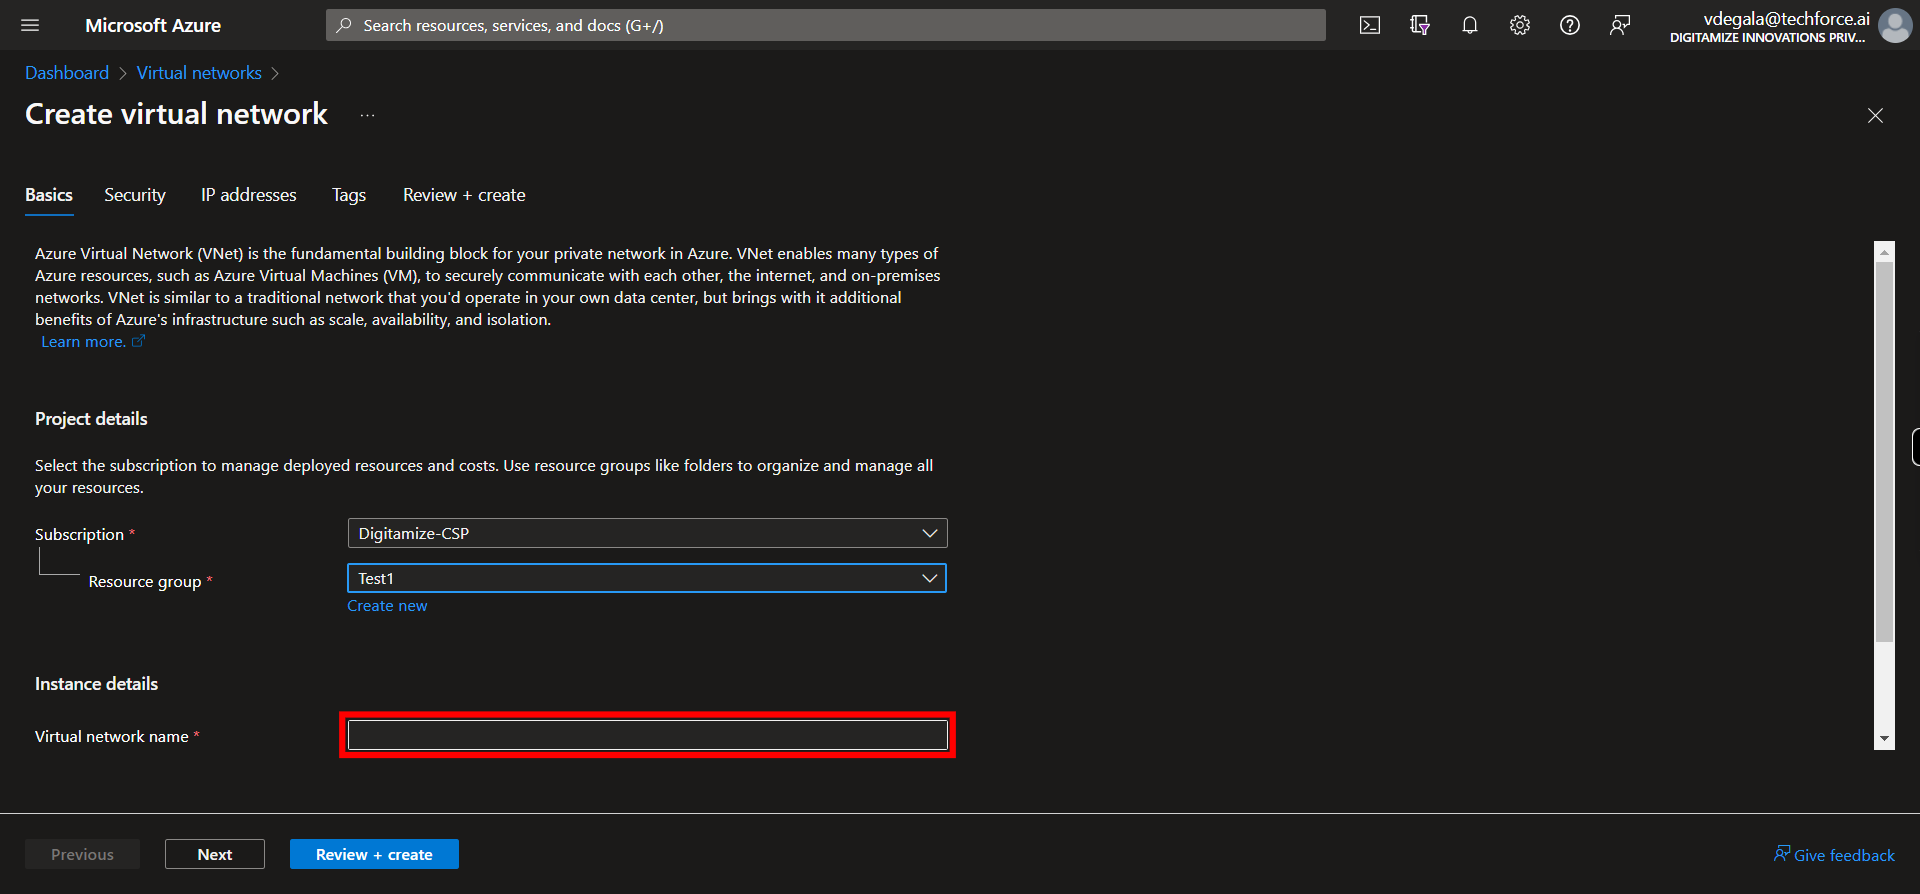
6. Click and give name for Virtual Network. Once done, Click Next on supervity instruction widget.
-
8.
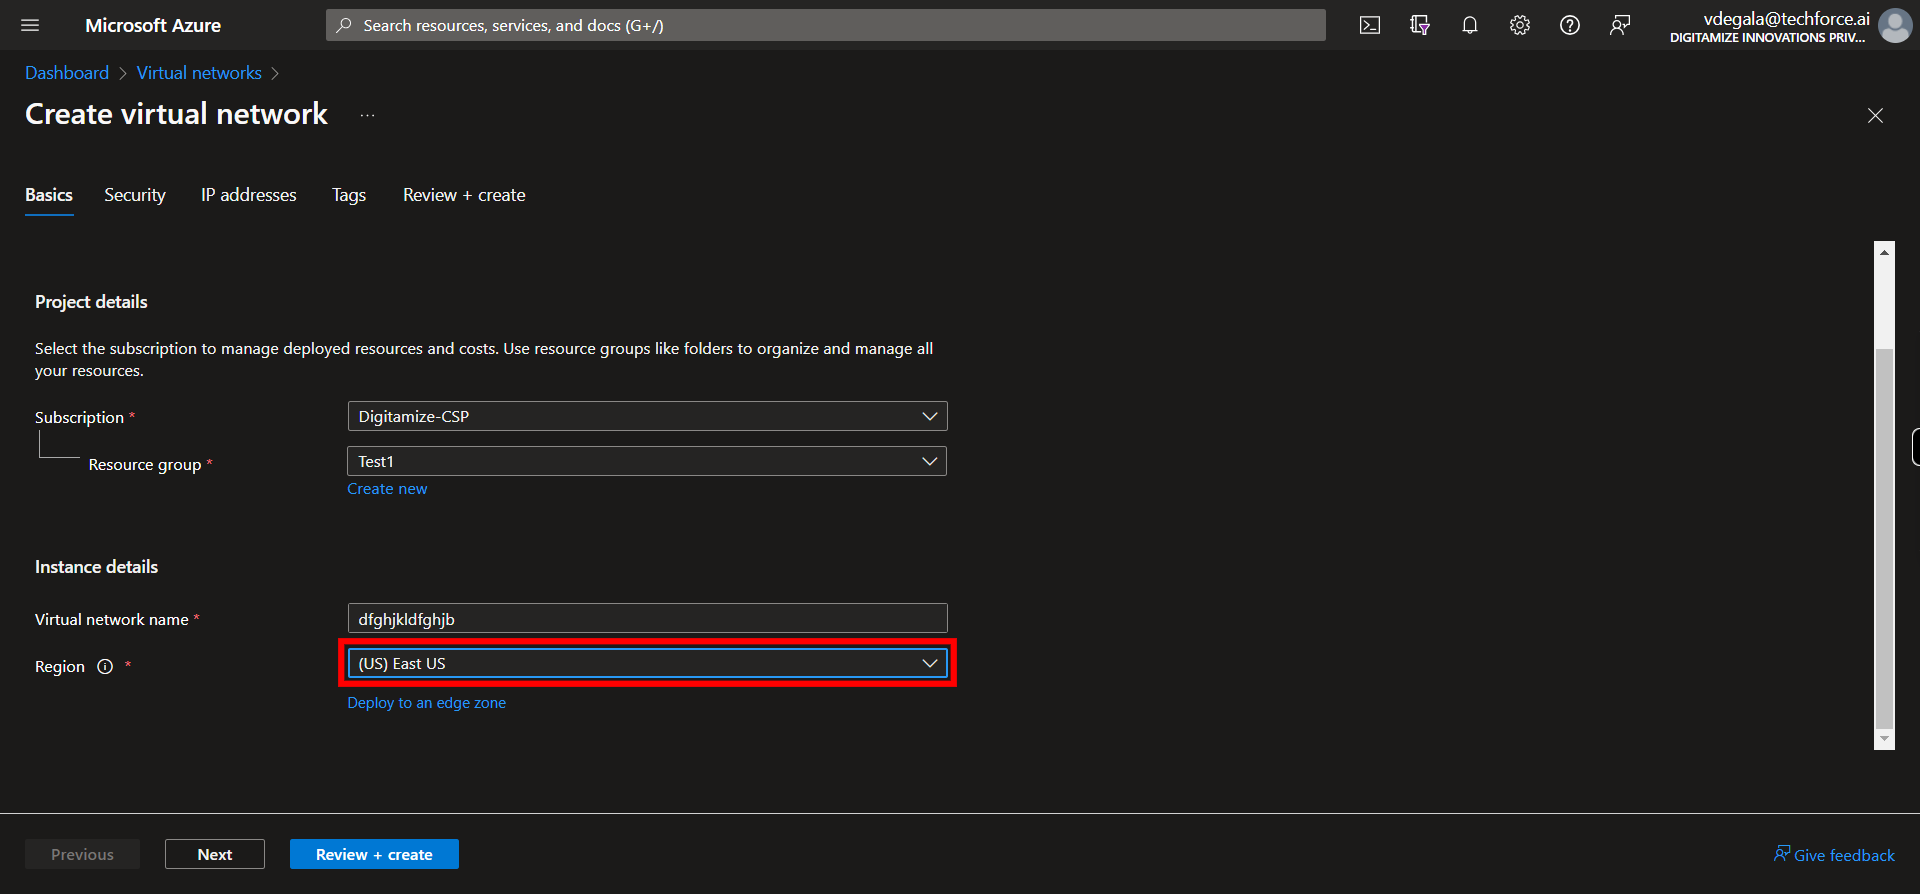
7. Click and Select Region from the list. Once done, Click Next on supervity instruction widget.
-
9.
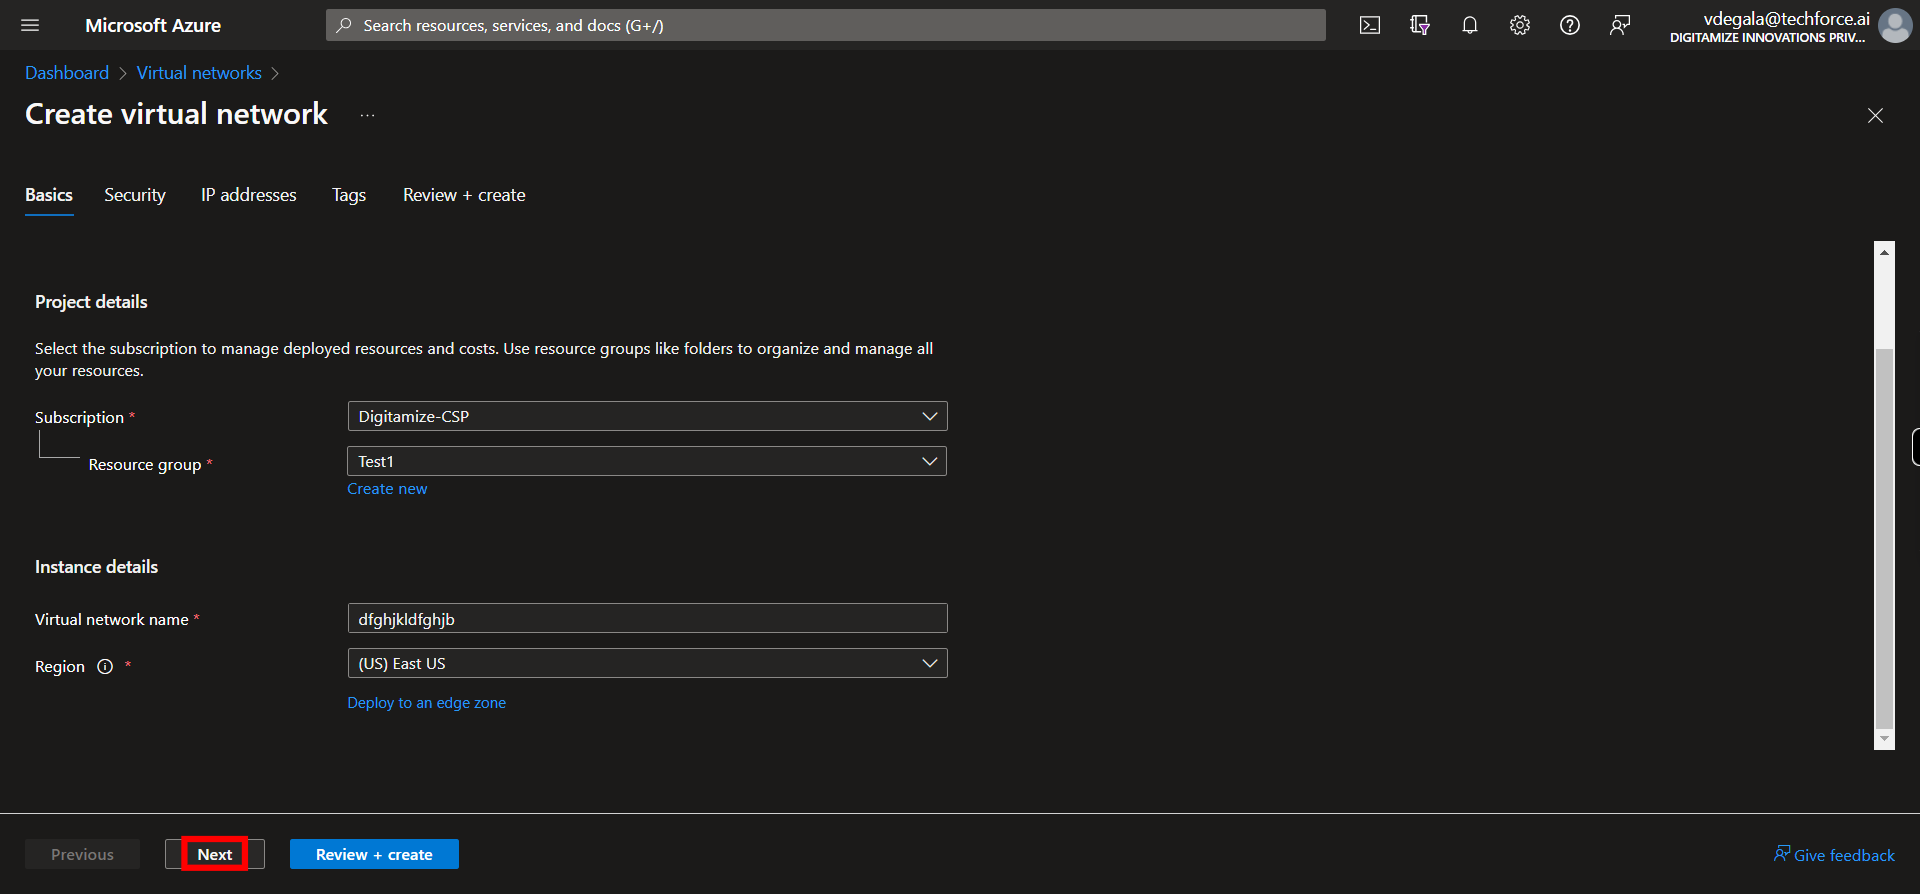
8. Click __Next__.
-
10.
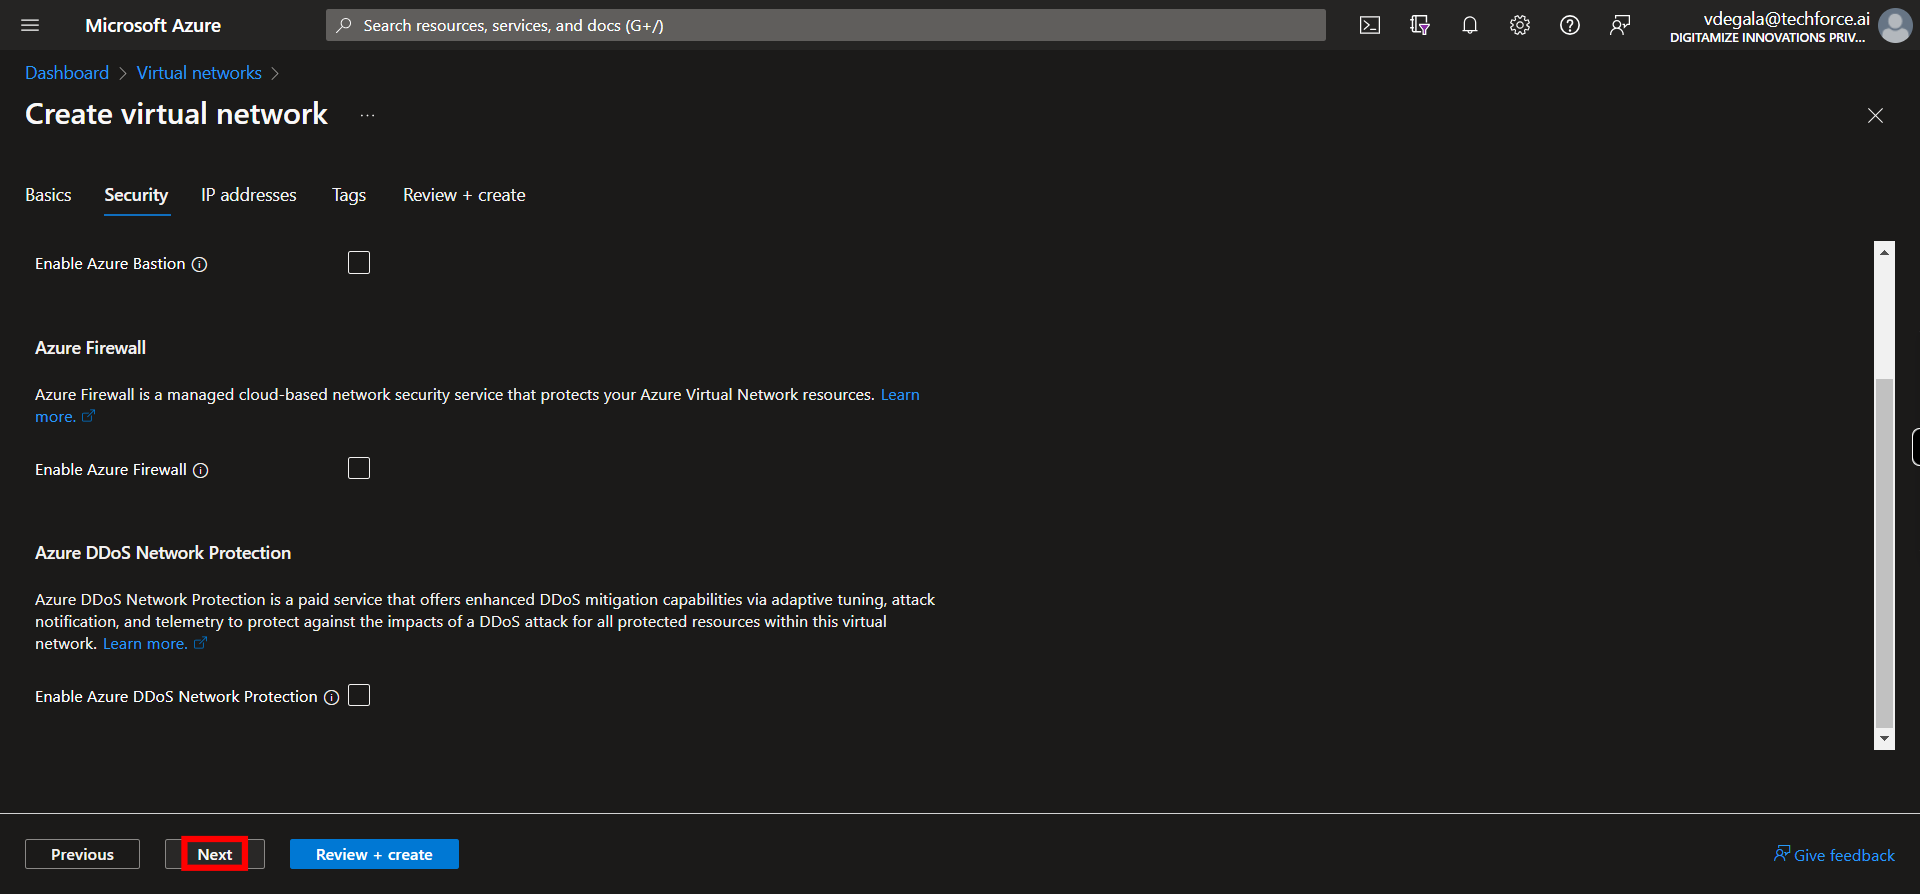
9. Modify the Options in Security tab related to Azure Bastion, Azure Firewall and Azure DDoS Network Protection if needed and Click __Next__.
-
11.
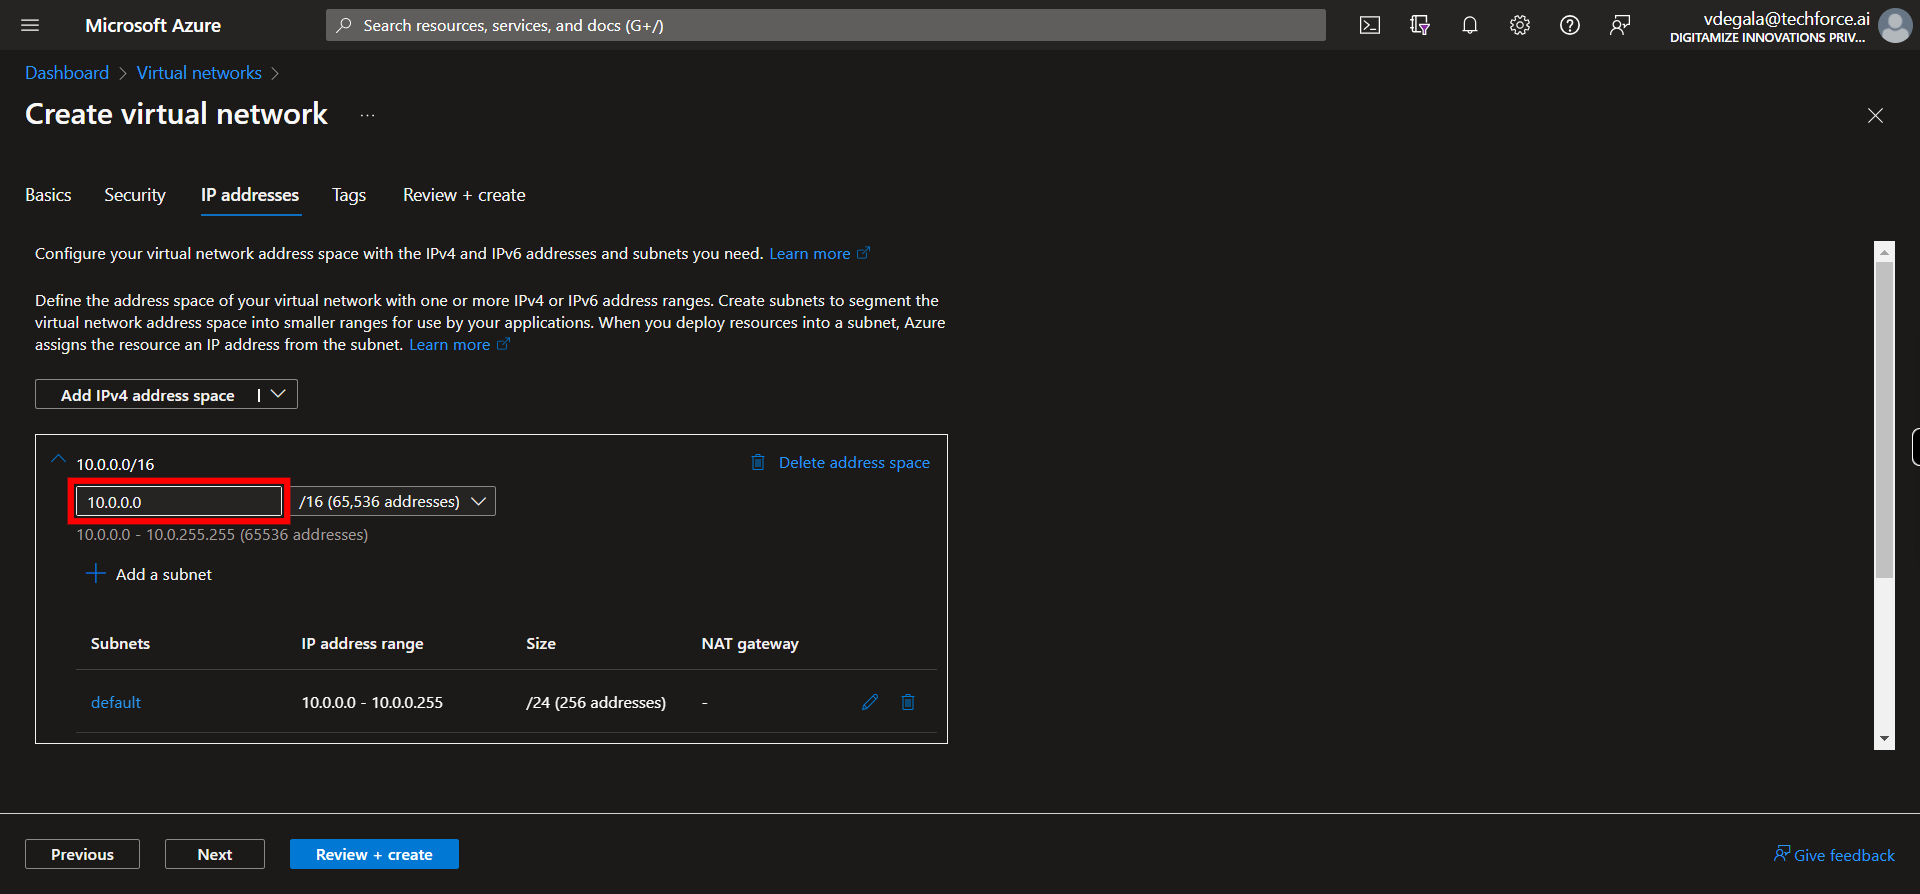
10. Click and edit the address space IP for the Virtual Network. Once done, Click Next on supervity instruction widget.
-
12.
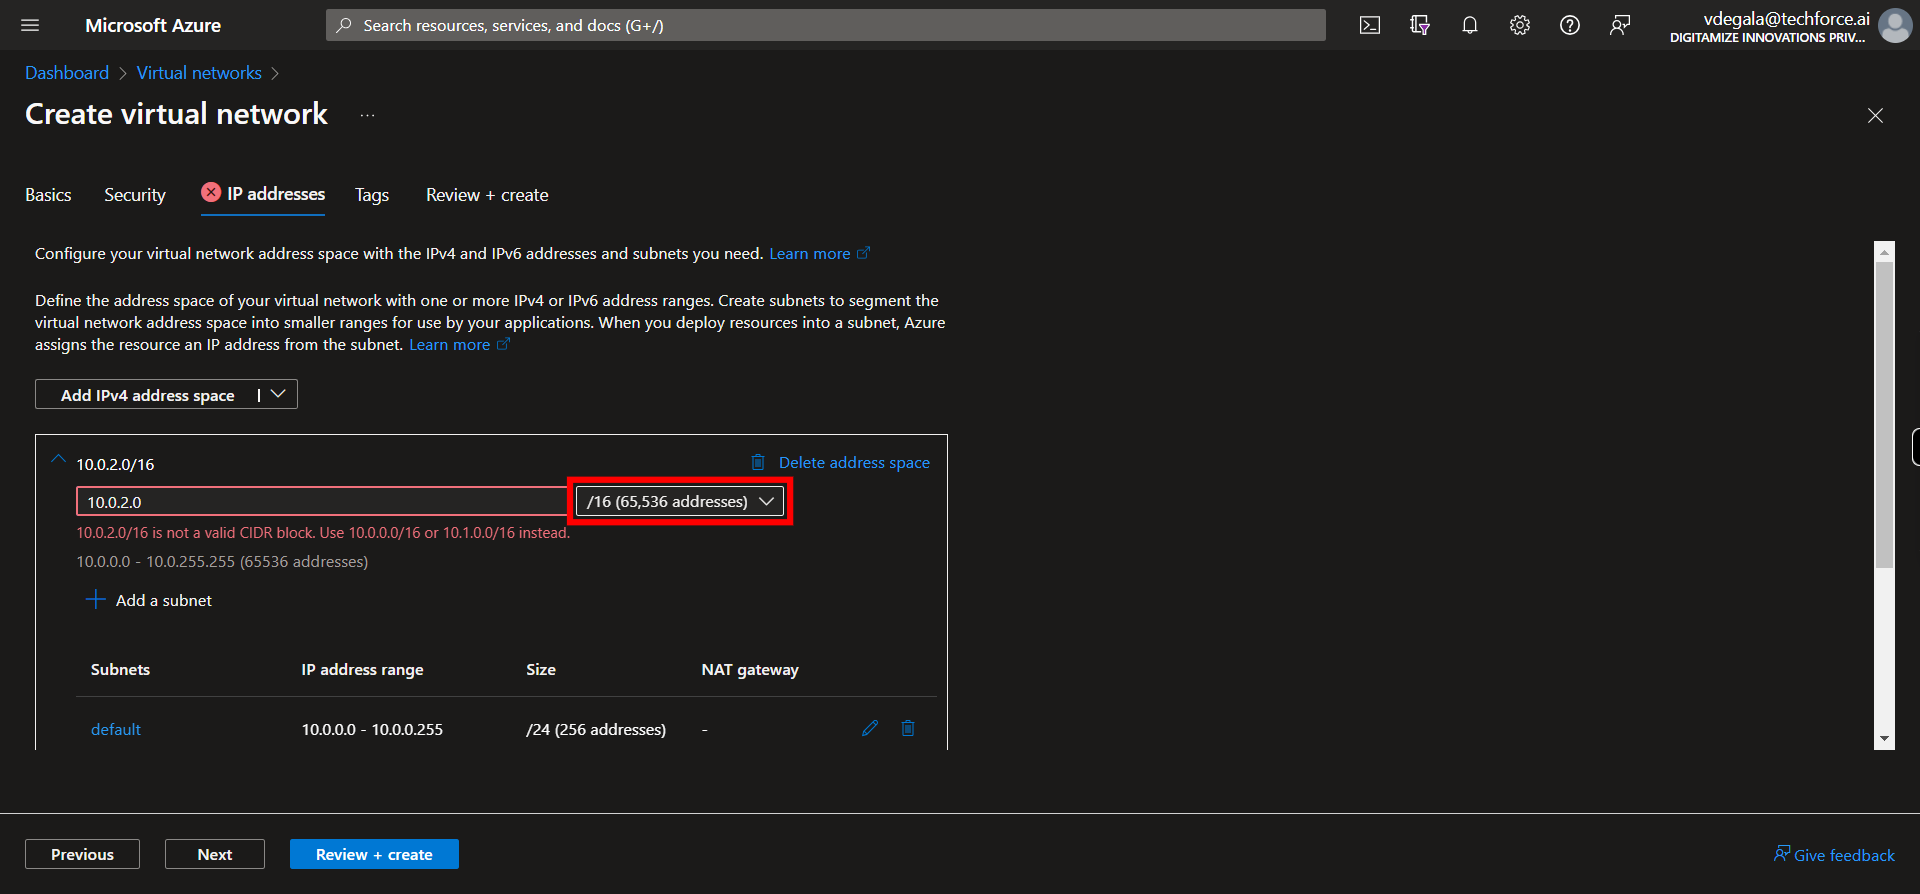
11. Click and Select the range of IP addresses from the list in CIDR format. Once done, Click Next on supervity instruction widget.
-
13.
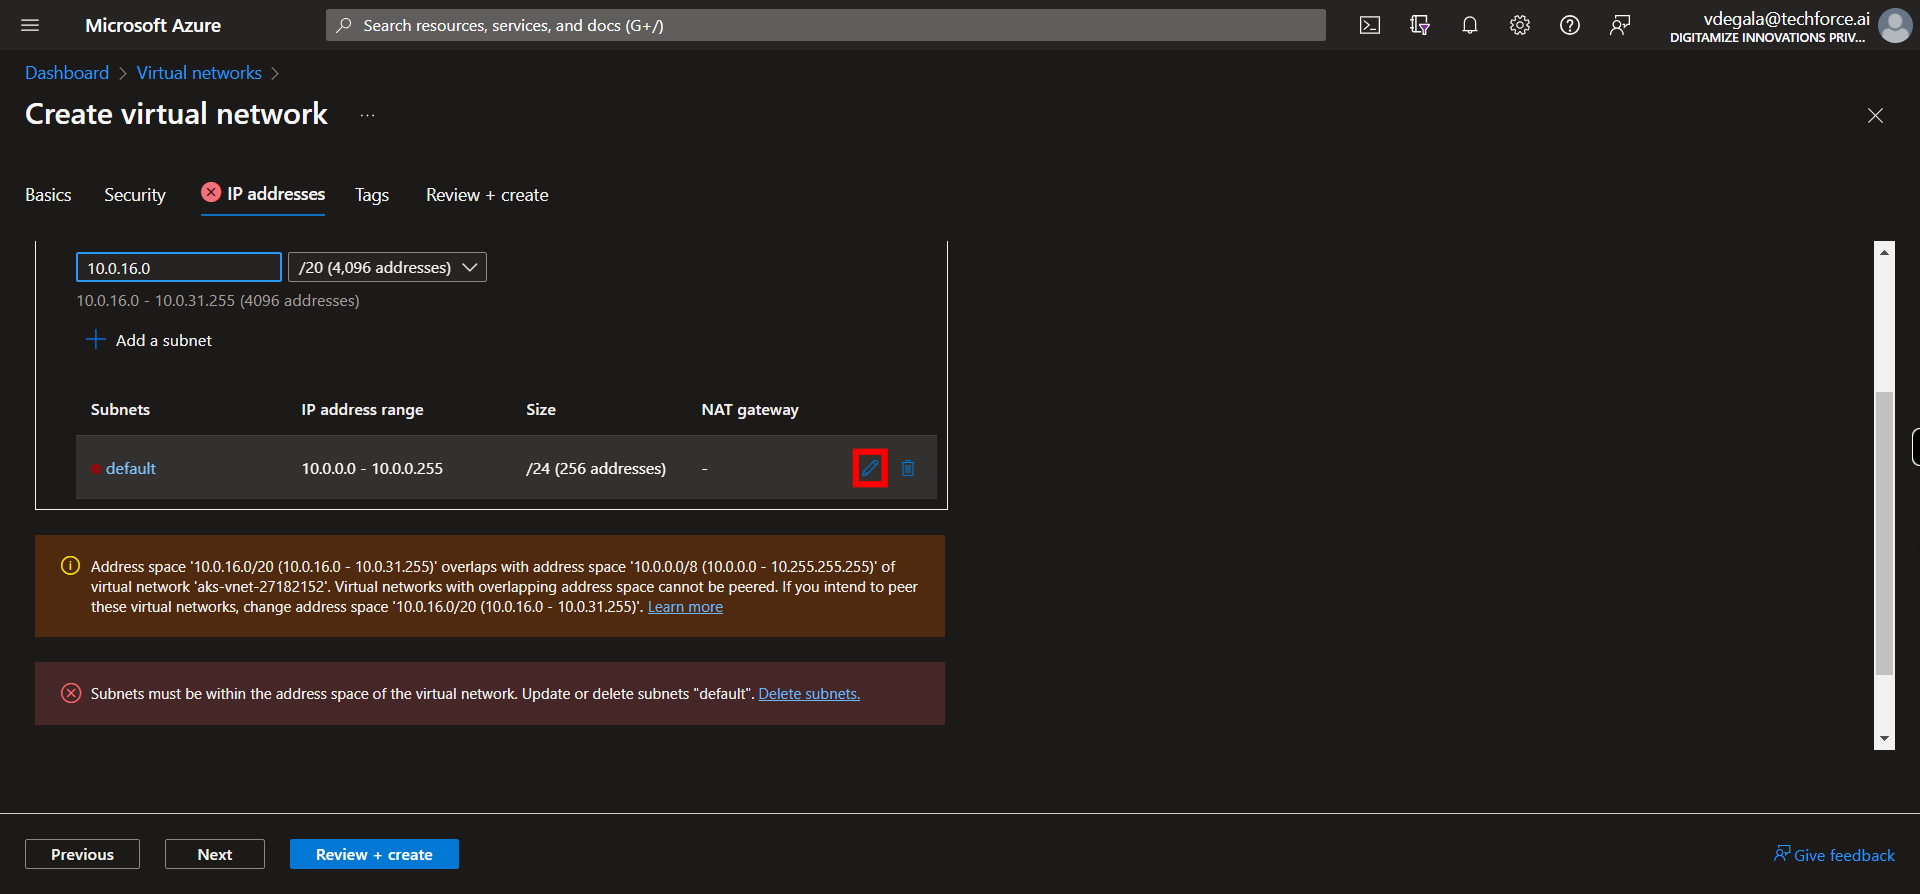
12. Click here to edit the subnet range of ip addresses.
-
14.
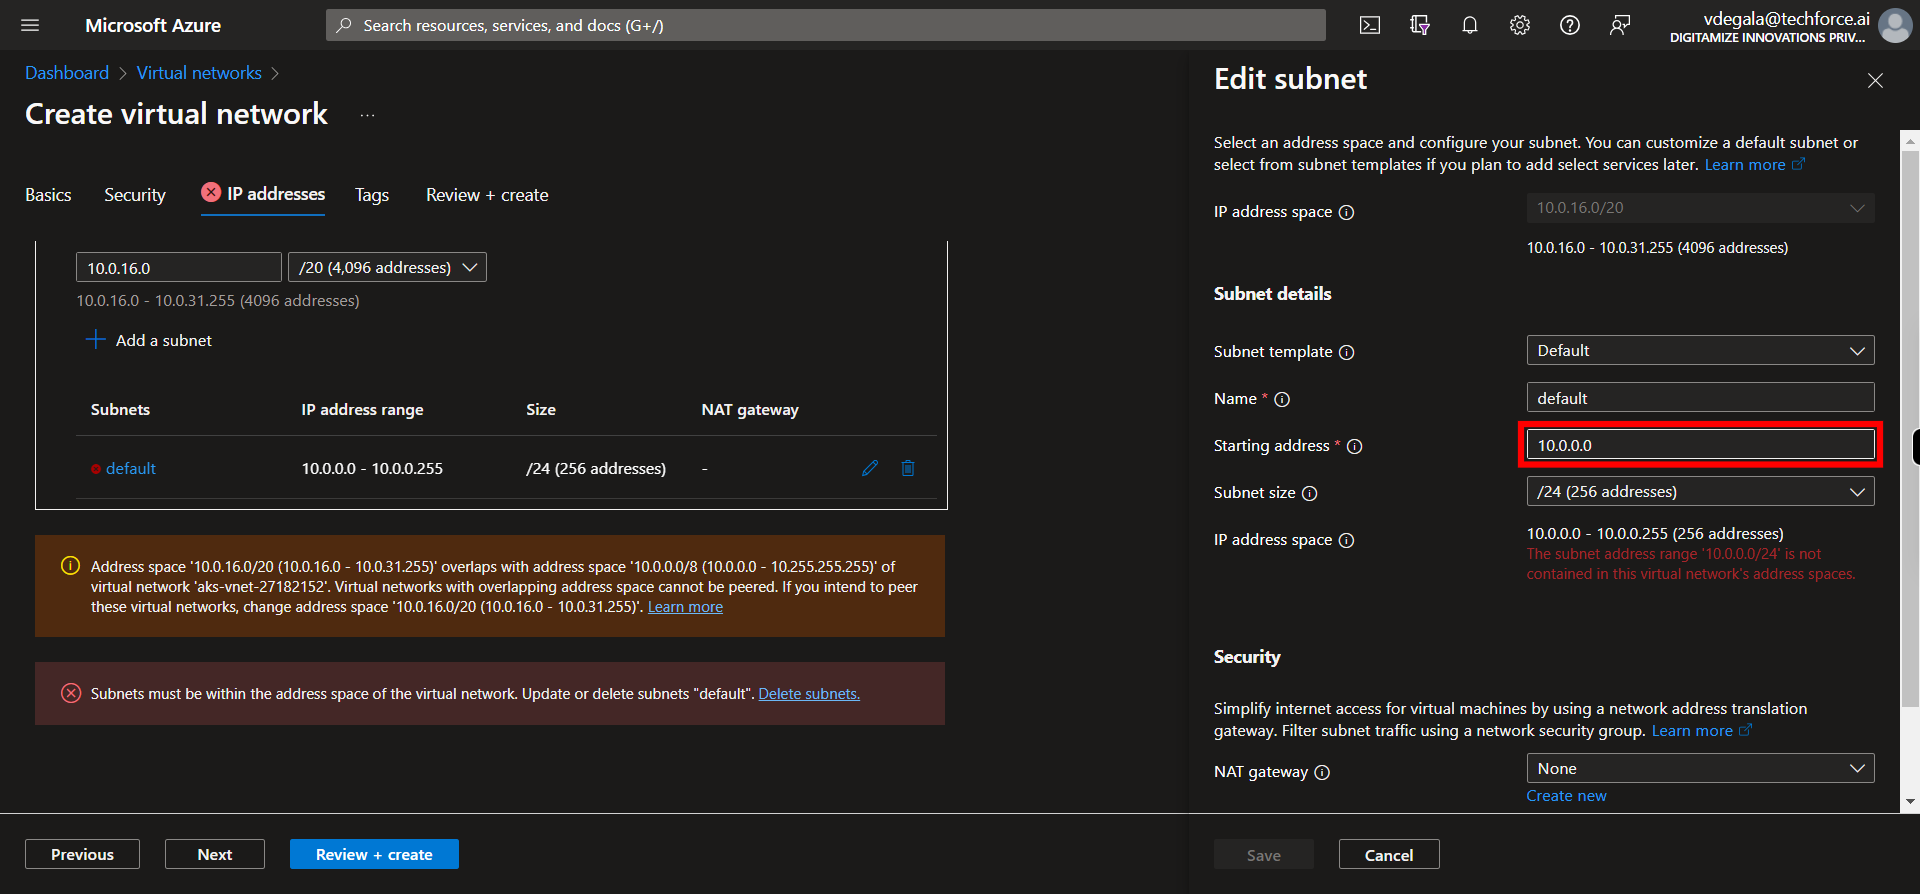
13. Click and edit the starting address. Once done, Click Next on supervity instruction widget.
-
15.
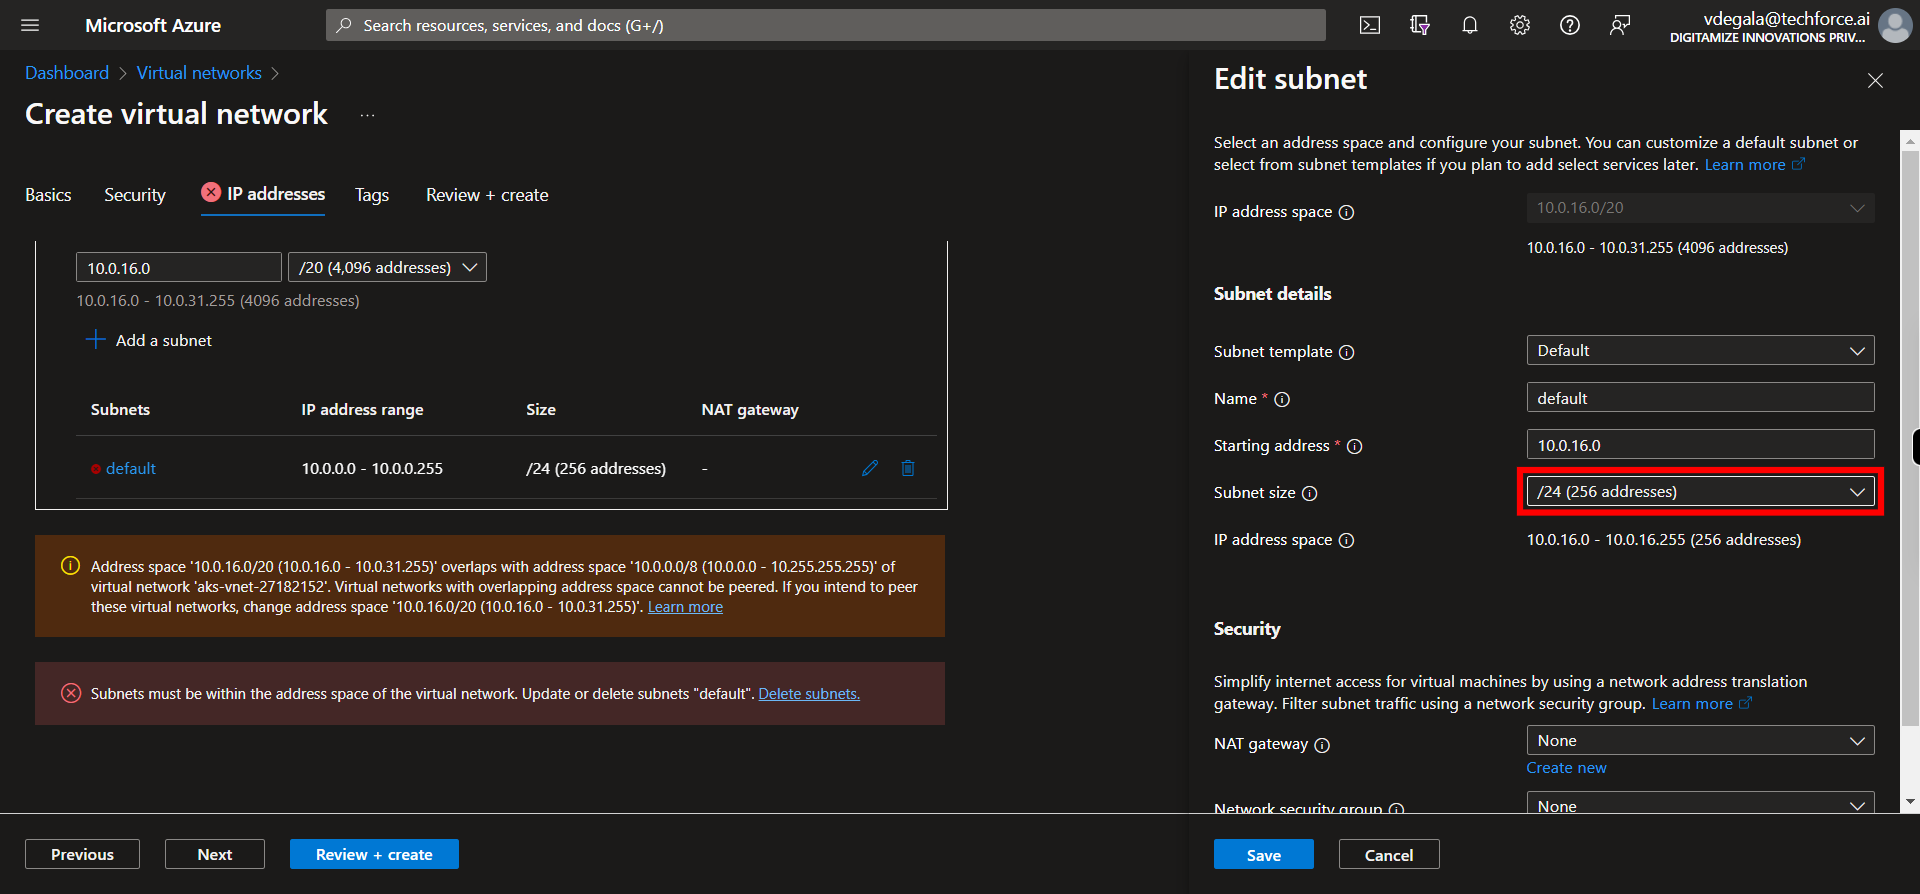
14. Click and Select sunnet size from the list. Once done, Click Next on supervity instruction widget.
-
16.
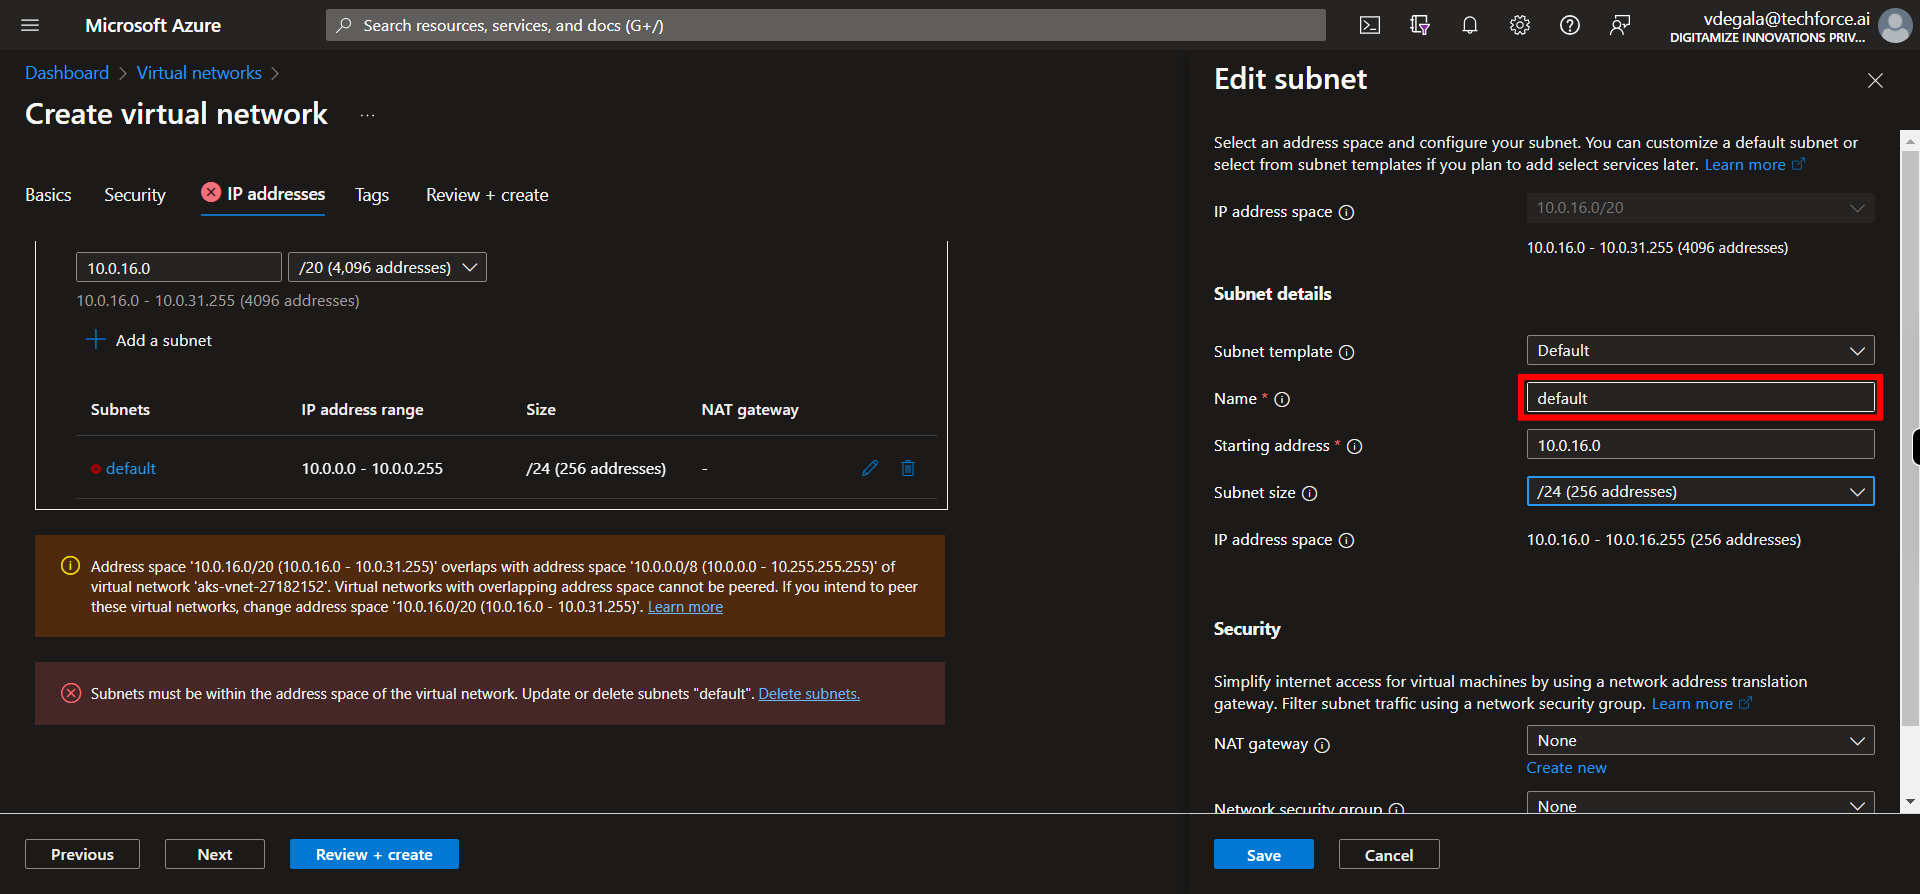
15. Click and modify the name if required. Once done, Click Next on supervity instruction widget.
-
17.
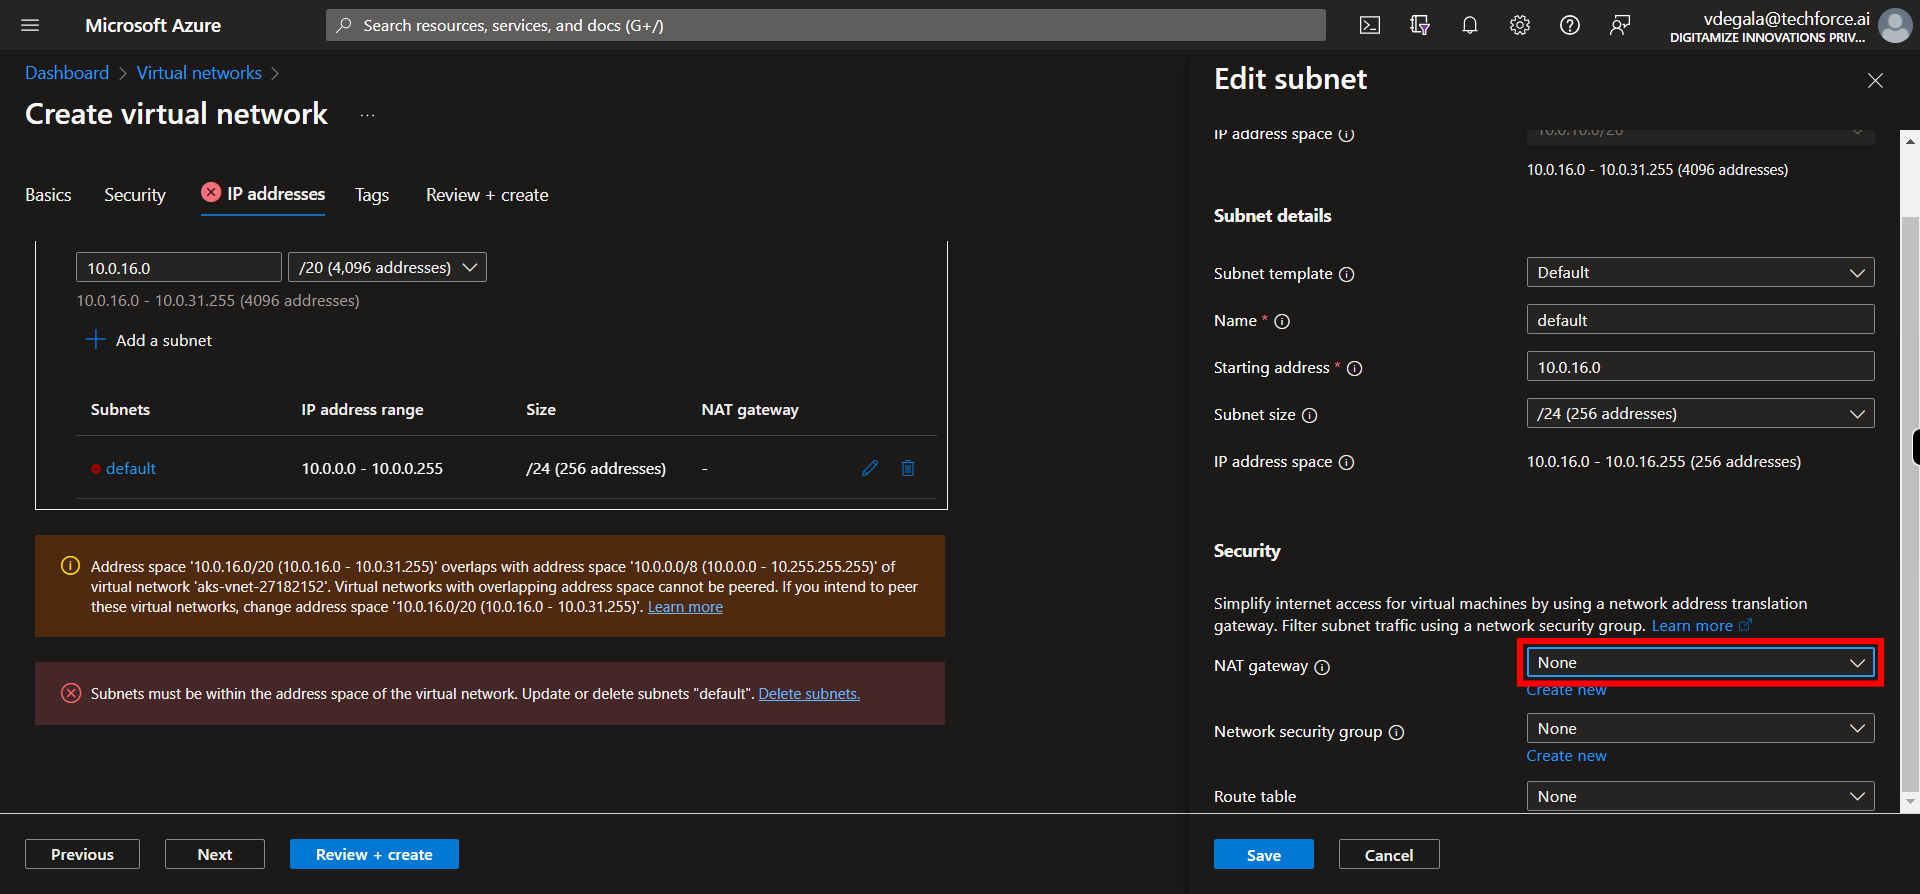
16. Click and Select Nat Gateway from the list otherwise Click __Create new__ to create new Nat Gateway by following the respective menu. Once done, Click Next on supervity instruction widget.
-
18.
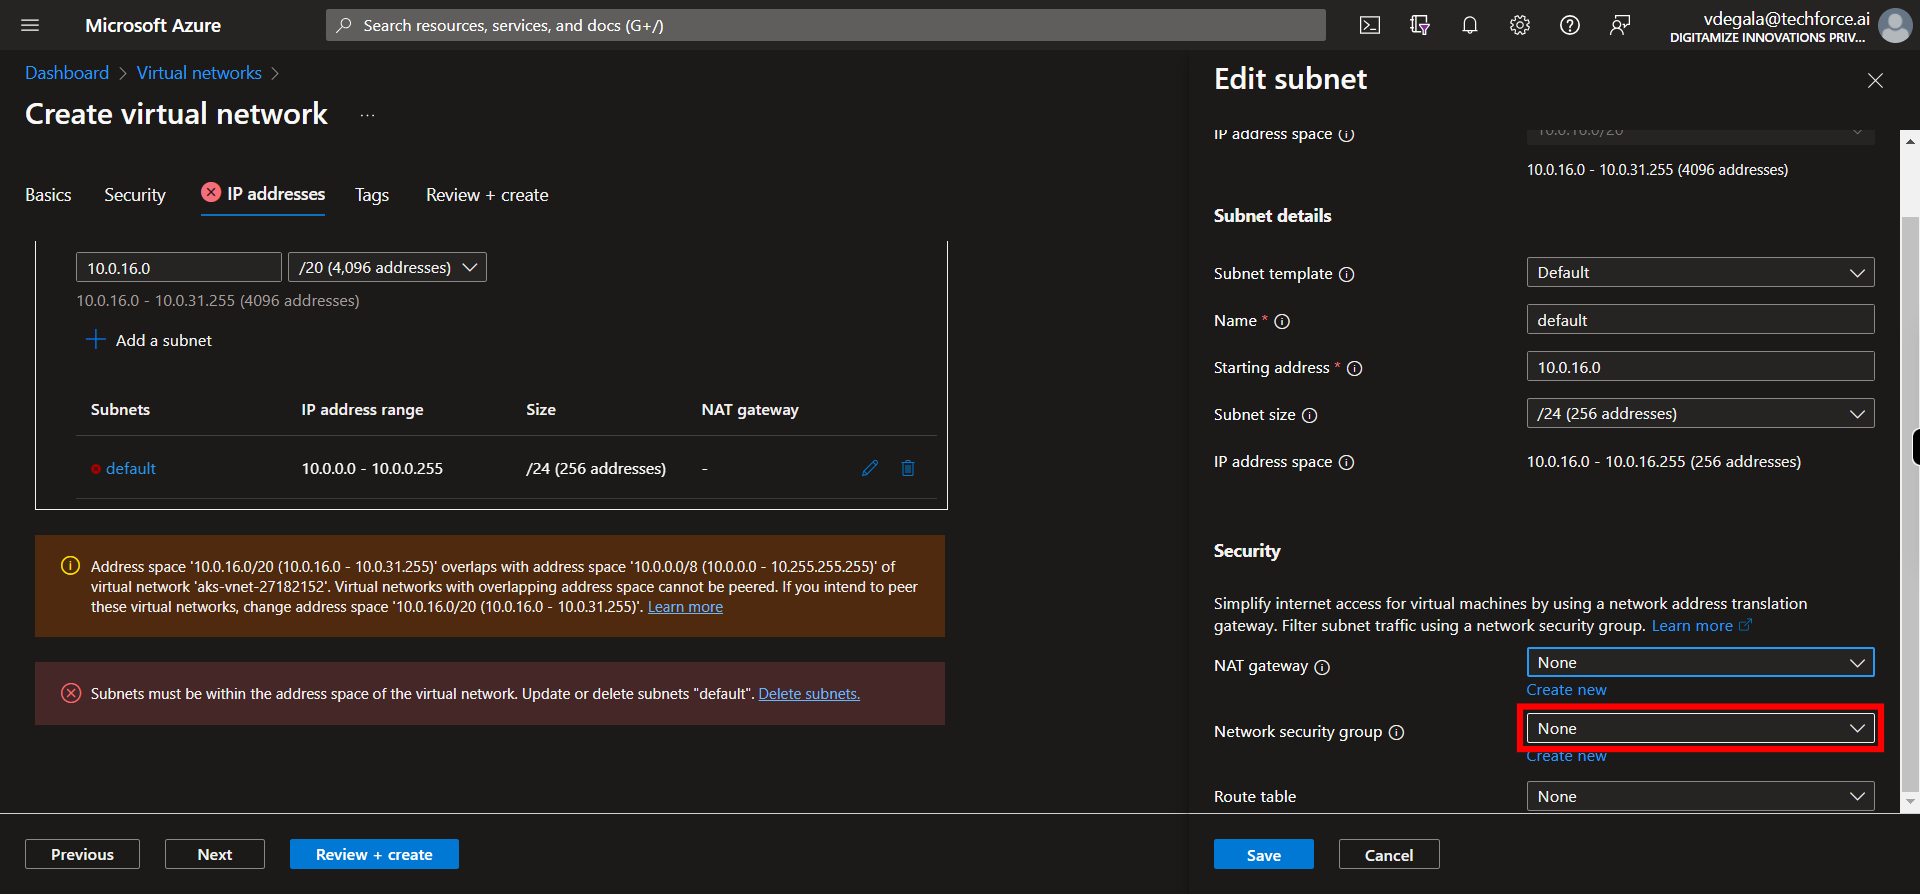
17. Click and Select the Network Security Group from the list othewise Click __ Create new __ to create Network Security Group by following the respective menu. Once done, Click Next on supervity instruction widget.
-
19.
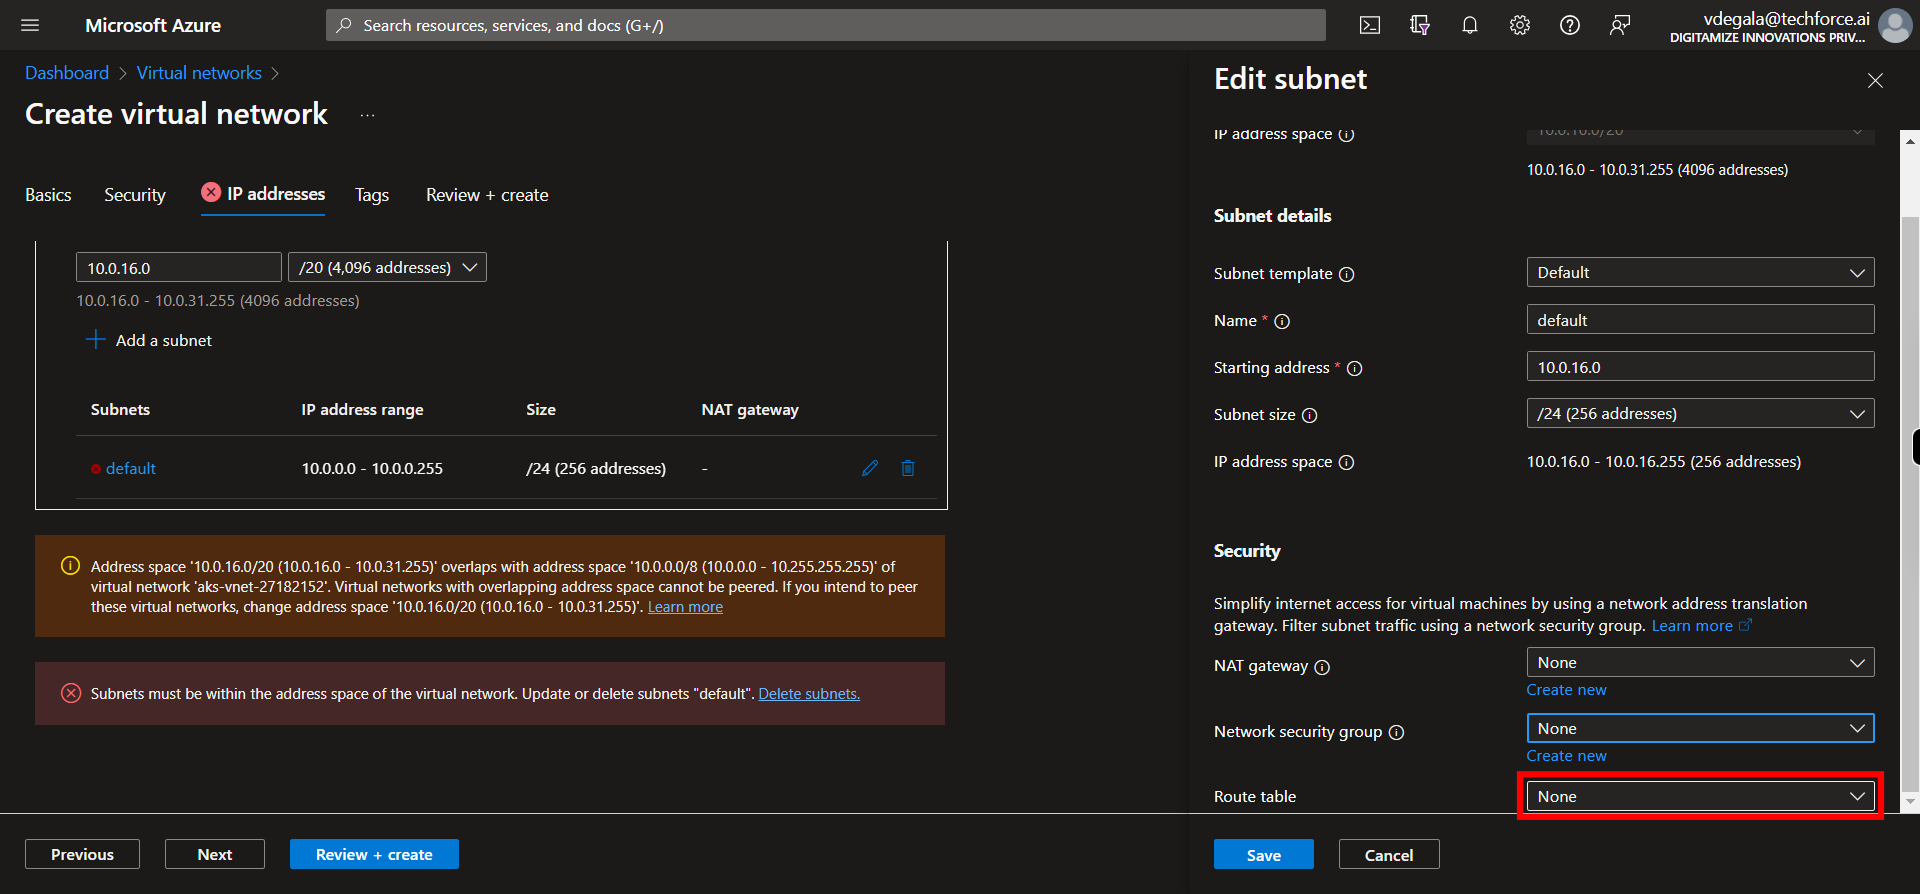
18. Click and Select the Route table from the list. Once done, Click Next on supervity instruction widget.
-
20.
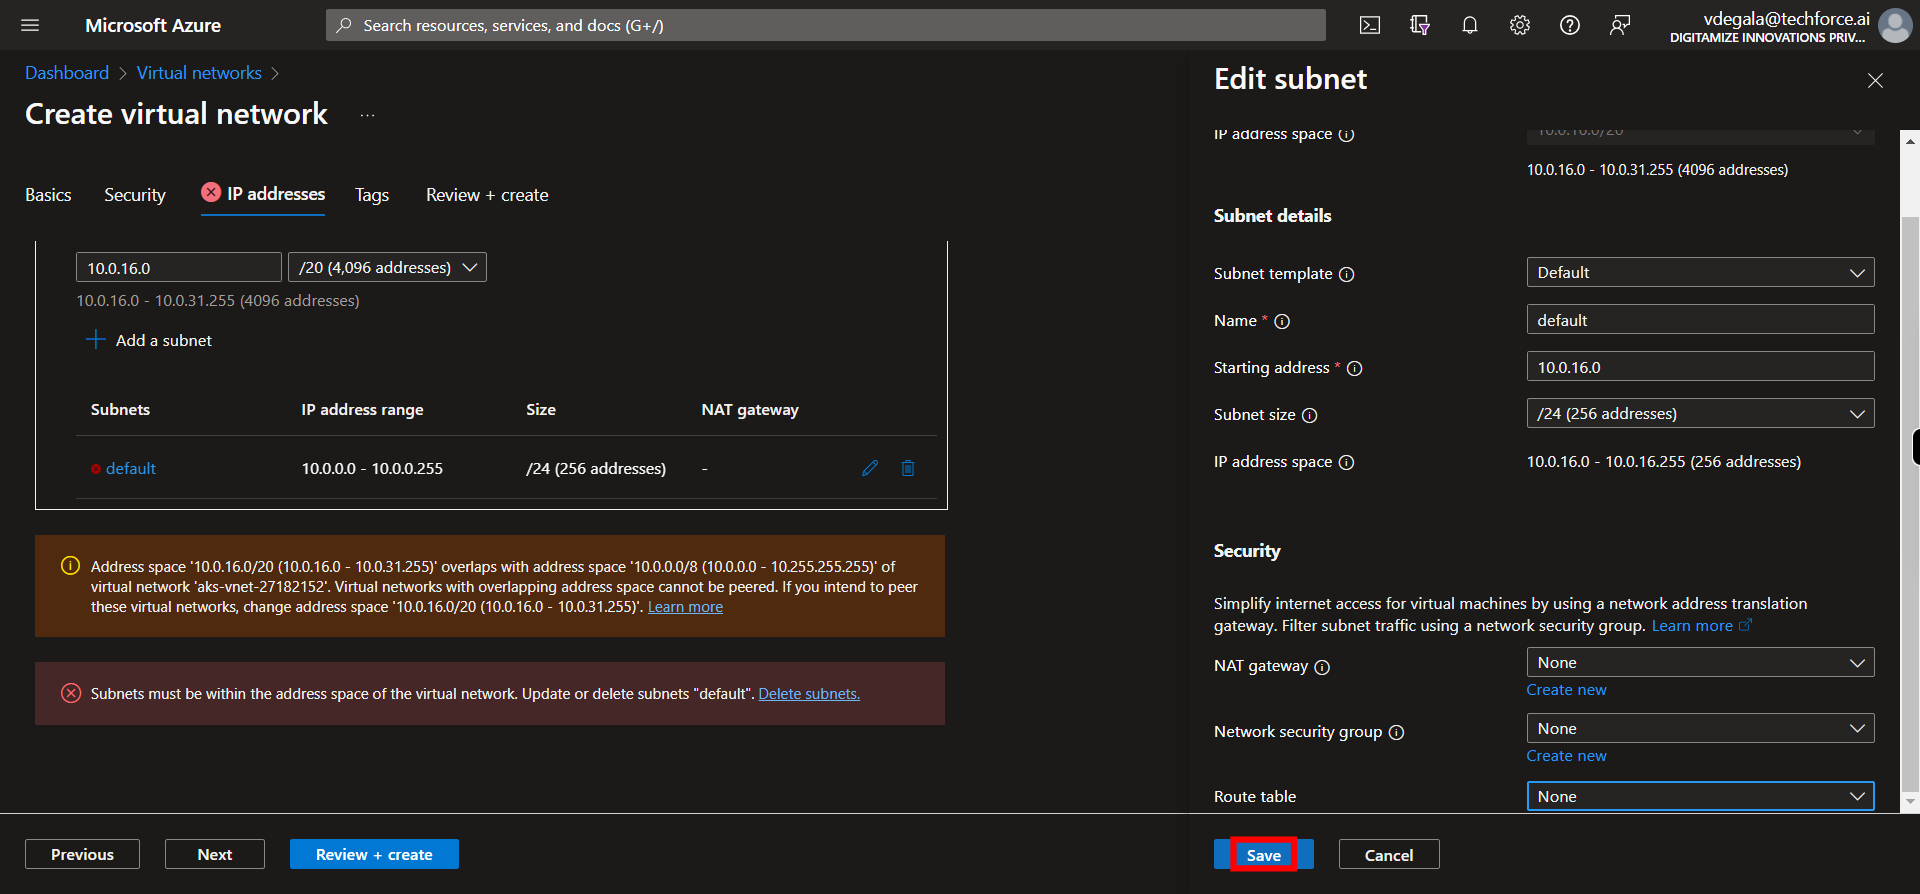
19. Click __Save__.
-
21.
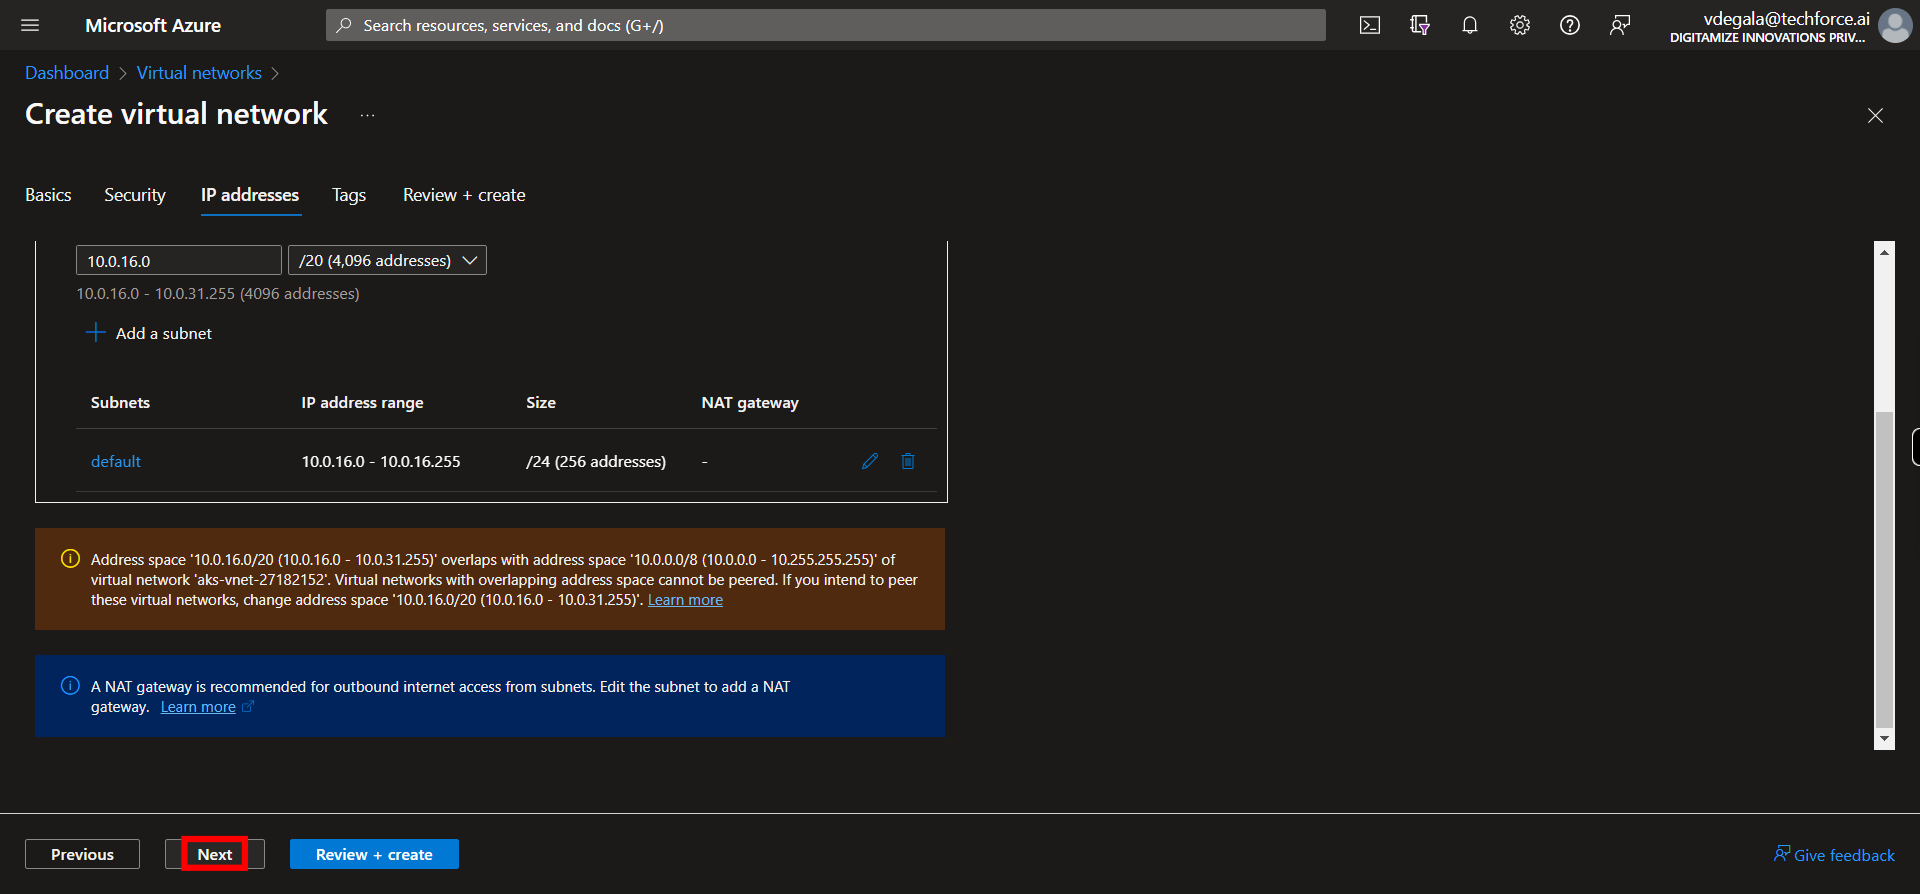
20. Once all desired address space(s), subnets are defined, click __Next__.
-
22.
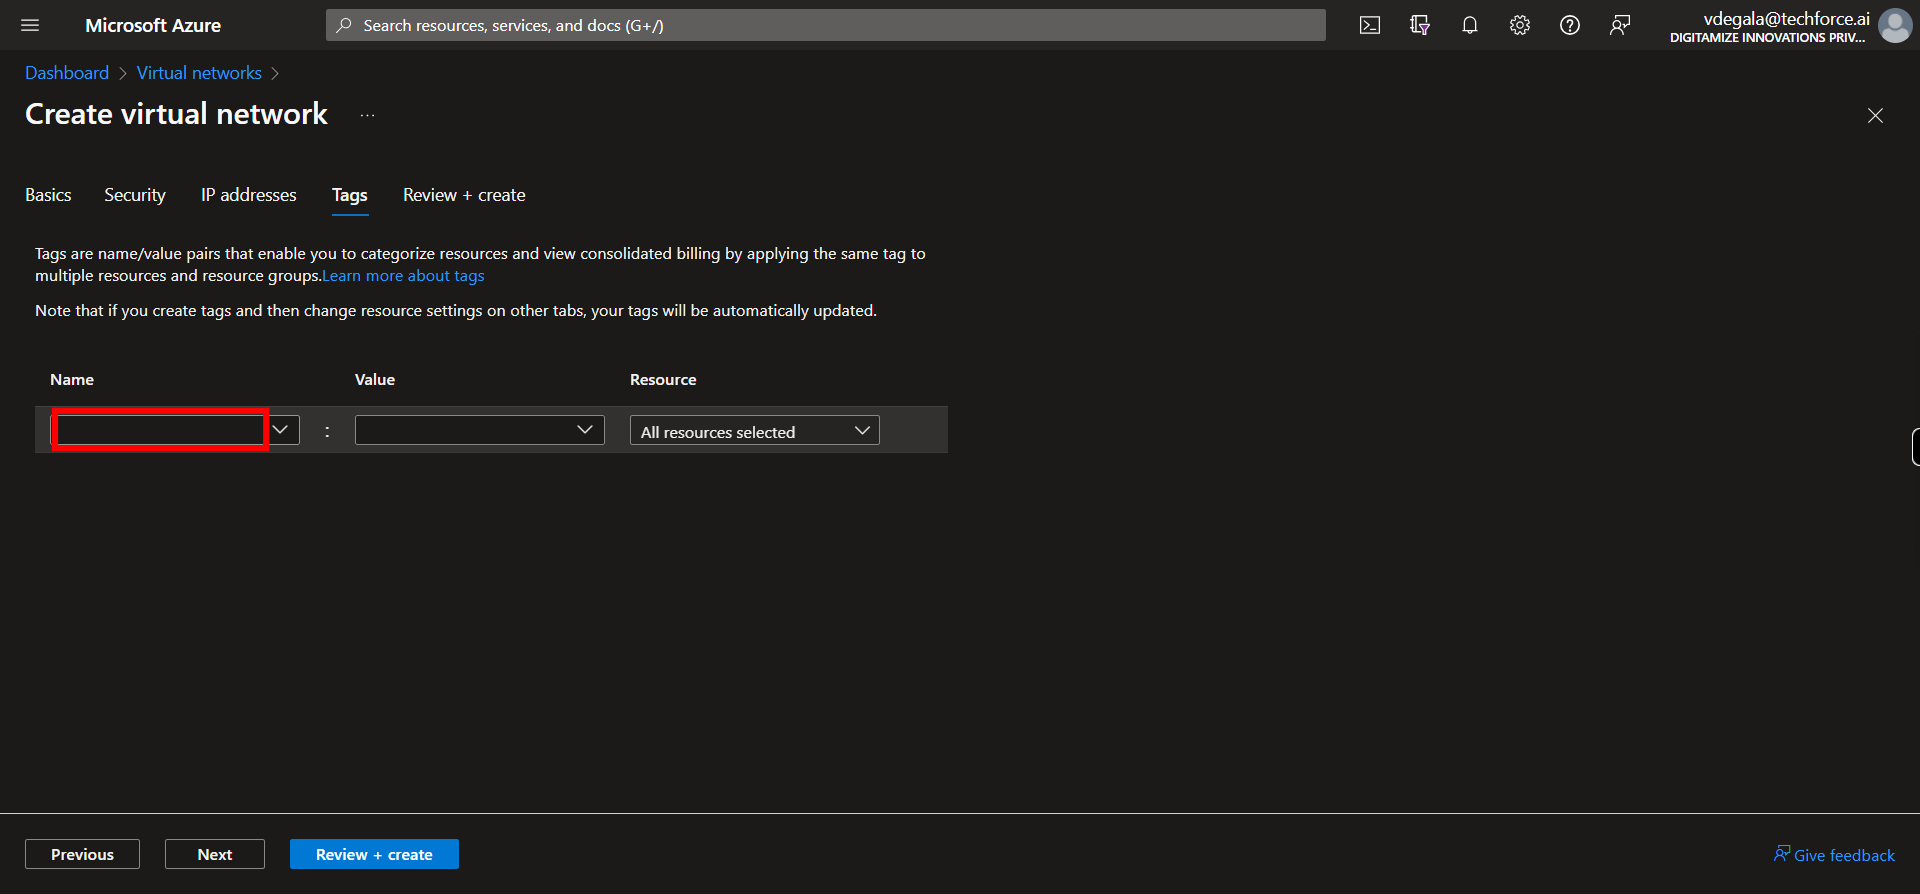
21. Click and Give the tags in key value pairs. Once done, Click Next on supervity instruction widget.
-
23.
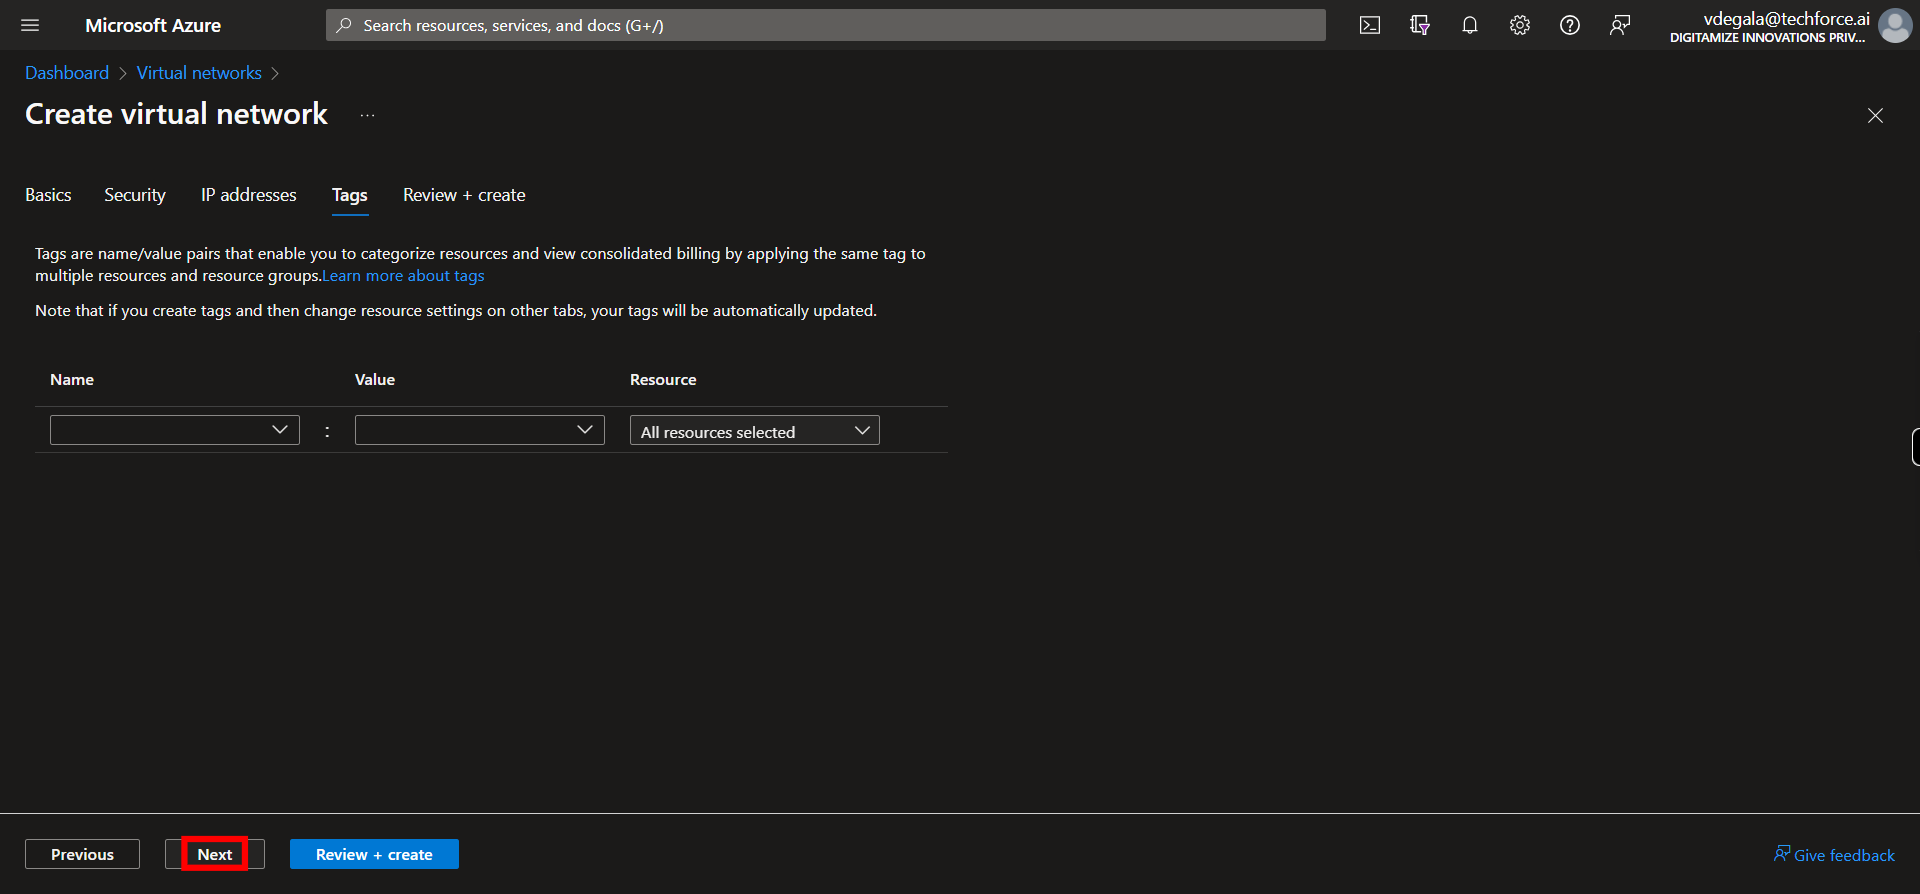
22. Click __Next__.
-
24.
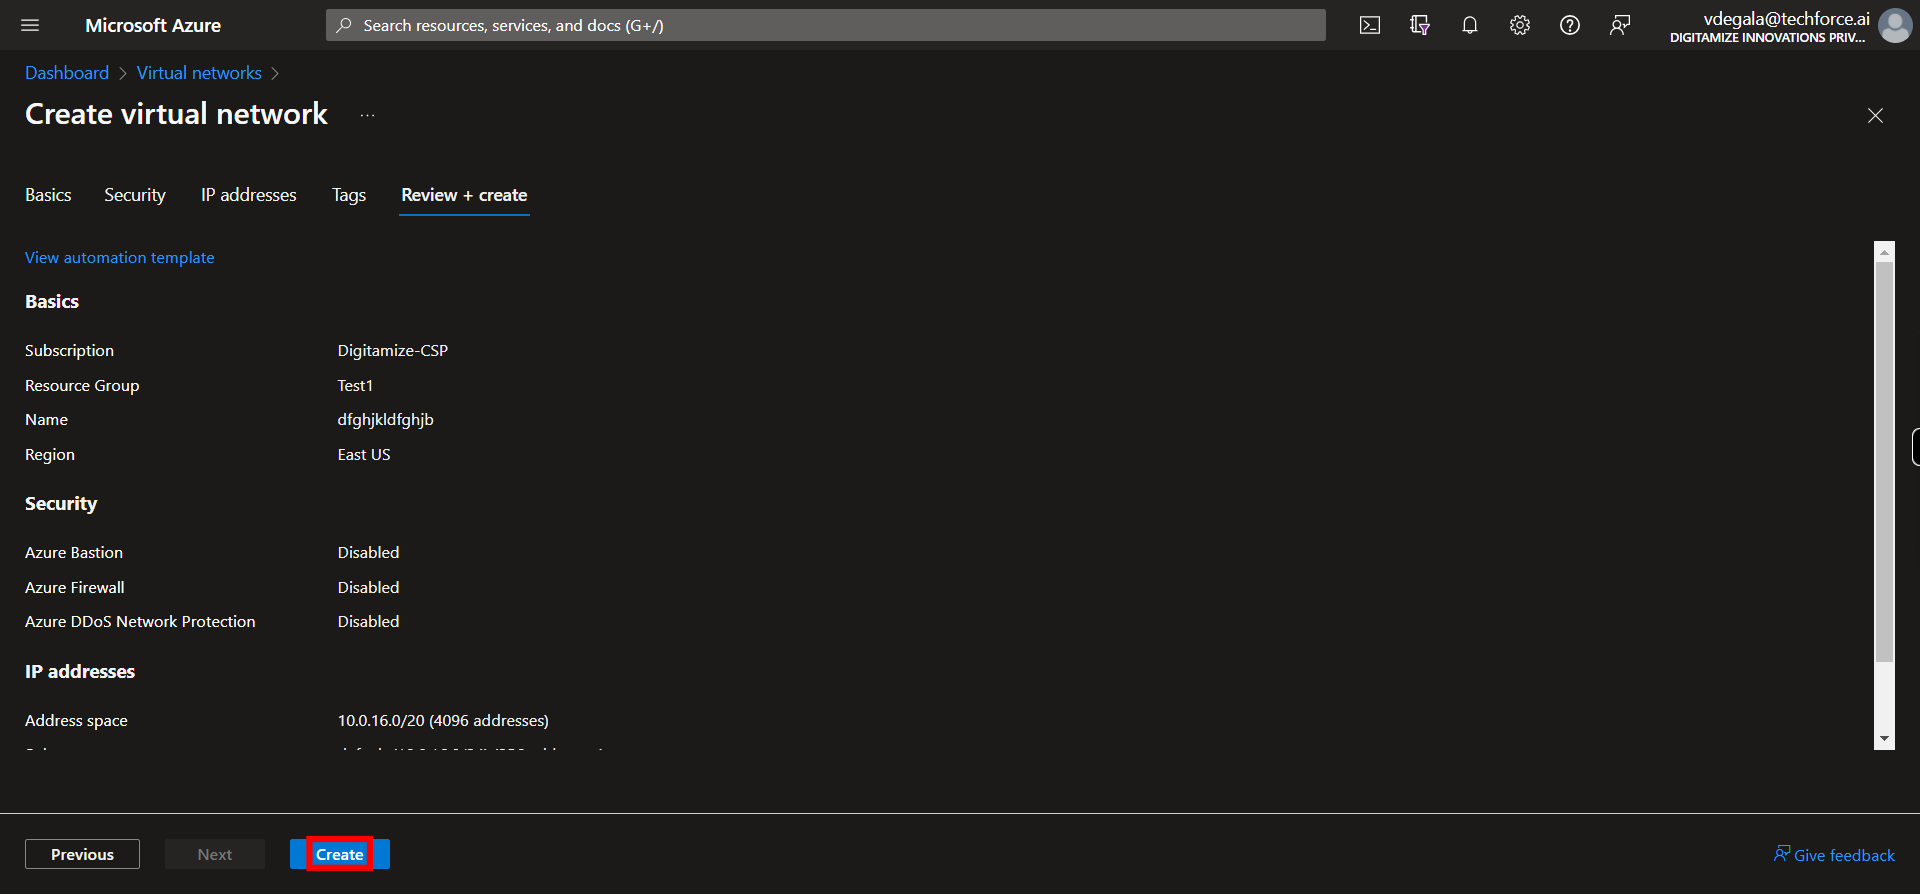
23. Once the validation is passed, Click __Create__. This will take some time be patient.
-
25.
24. Click __Go to resource__.
