Step-by-step process to add tables in google docs by using the insert menu. We can add tables in three ways 1. Using the toolbar 2. Using the Insert menu 3. Using the shortcut. This skill shows the user to add tables using the insert menu. Note: Before using this skill the user should Sign in to Google Docs in the browser, and should have a document for adding tables.
-
1.
Open Google Docs.
-
2.
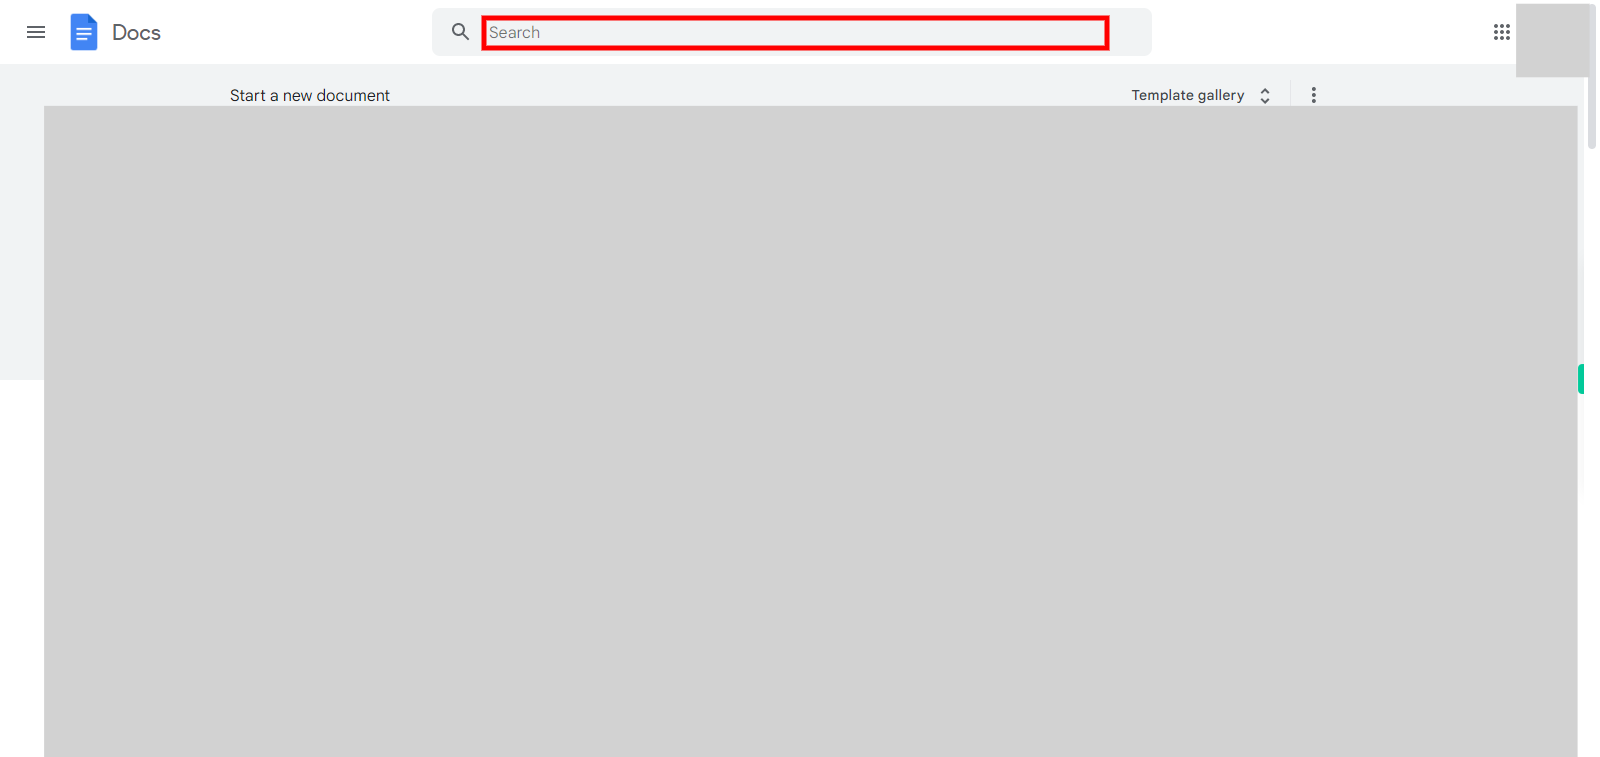
1. First click on the "Next" button in the Supervity instruction widget, then at the top of the page you will find the "Search bar" Click on the search bar, then enter your document name and press enter, now click on your document. After clicking on your document you will navigate to the document.
-
3.
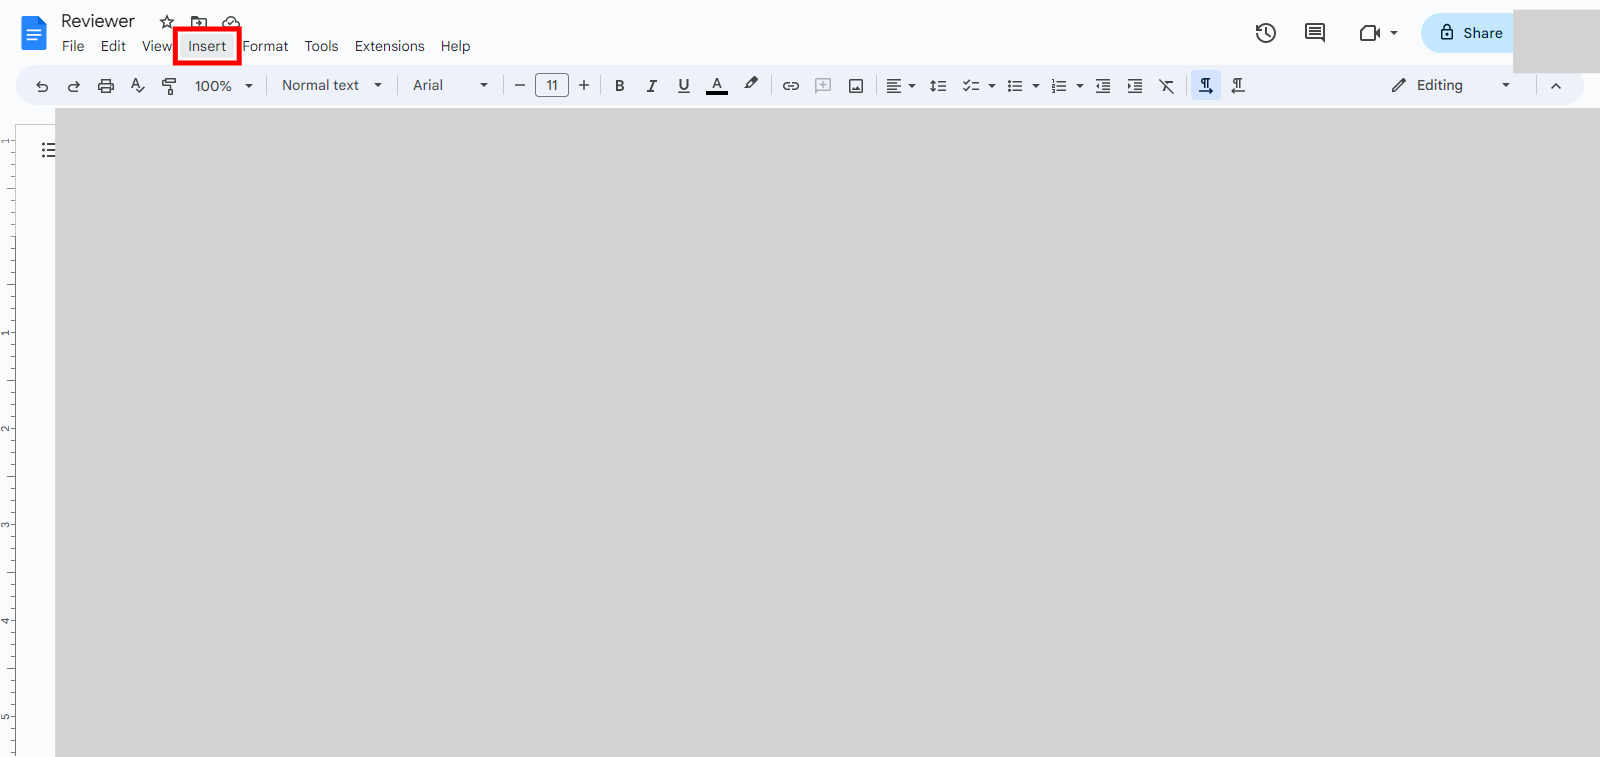
2. Click on the "Insert" menu at the top of the screen. After clicking on the insert menu drop-down will open.
-
4.
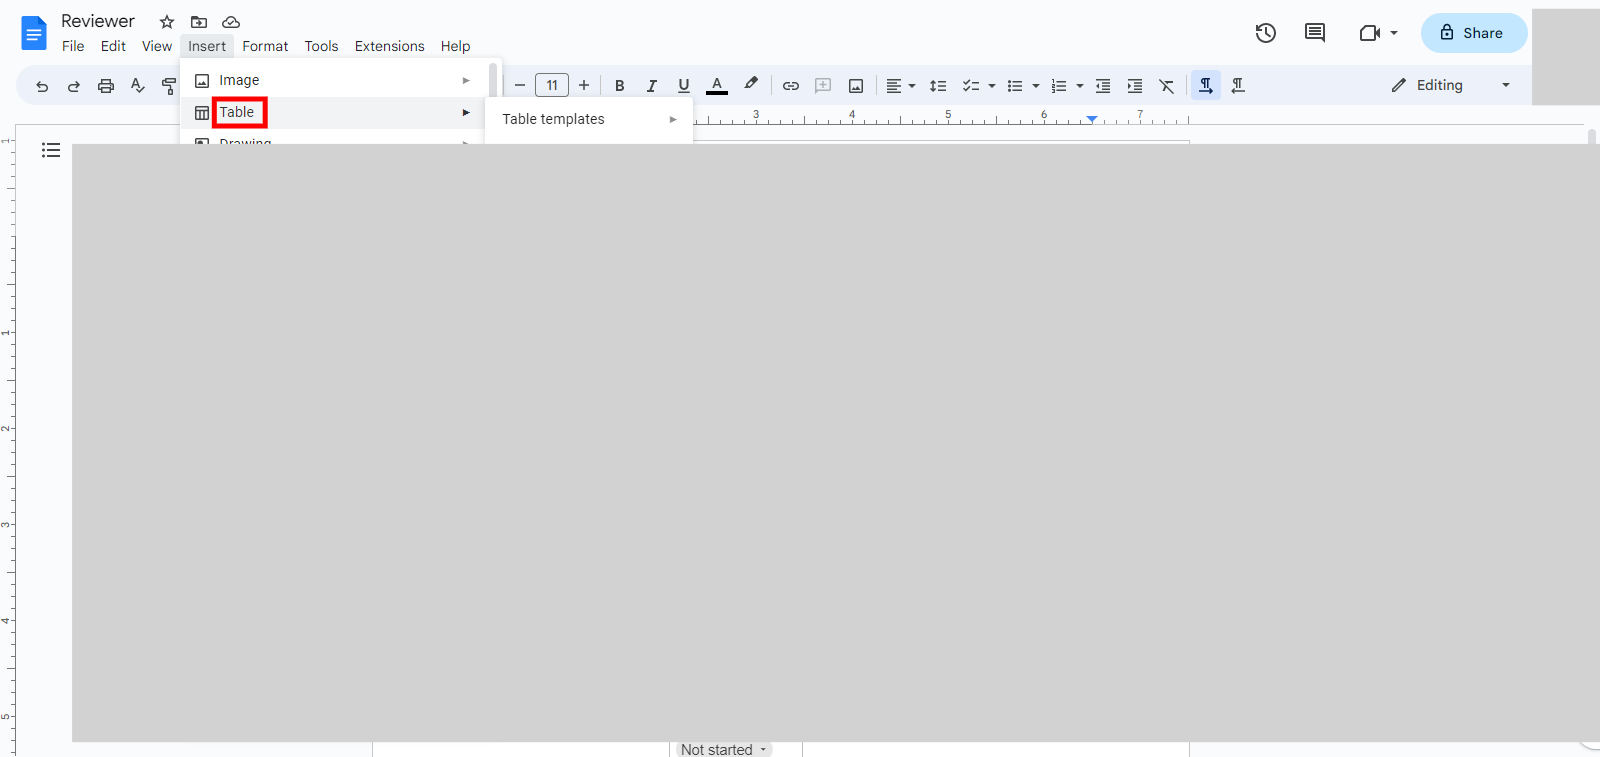
3. Click on the "Close" button in the Supervity instruction widget. From the drop-down menu, select "Table." Choose the number of rows and columns you want for your table and the table will be inserted at the cursor location. After adding the table user can Adjust the table size, Edit the table content and Format the table...


