By following this skill, you can easily add images to your Google Slides presentation and format them using various editing and formatting options available in the sidebar. Pre-Requisites: Make sure you had a Google account and you have already created Google Slides before executing this skill. NOTE: Please sign in to your Google account and then execute this skill.
-
1.
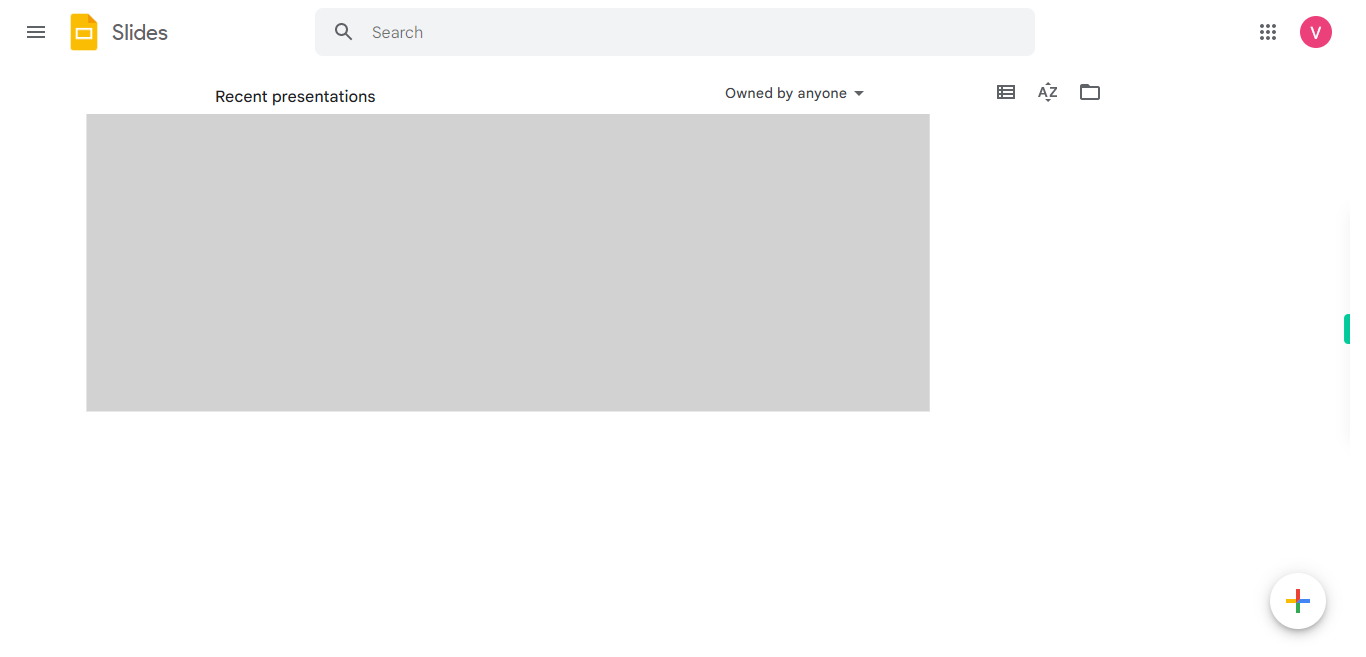
Open Google Slides
-
2.
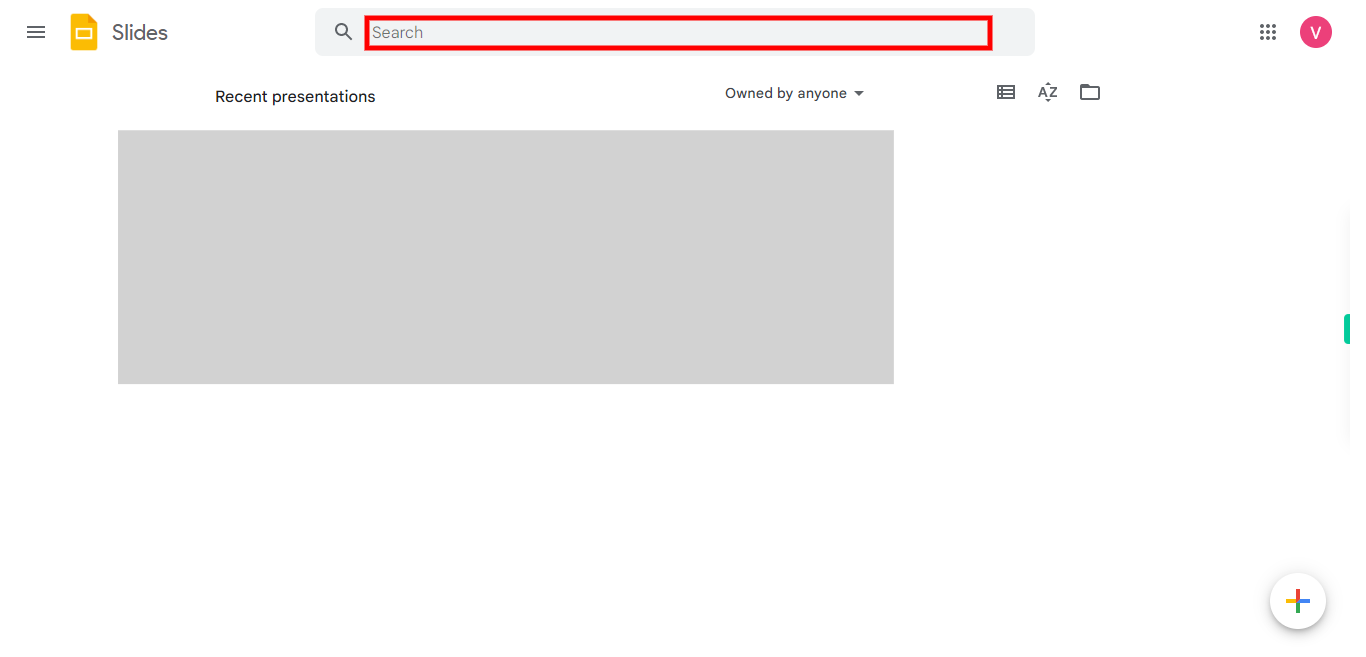
Search for the file name that you want to add an image to, and then click on the Next button in the Supervity instruction widget, and then select the file from the suggested files. Once your slides were opened select the slide where you want to add the image.
-
3.
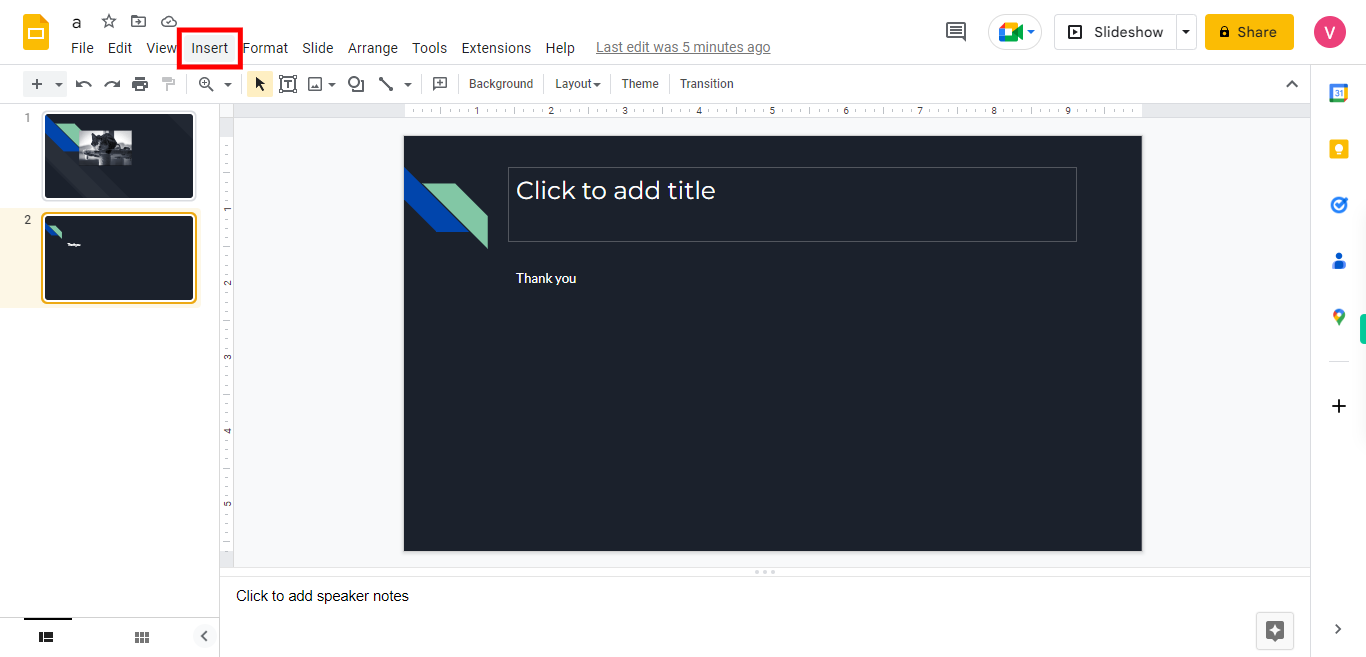
Click on the "Insert" option that is present in the ribbon, to see a list of options available.
-
4.
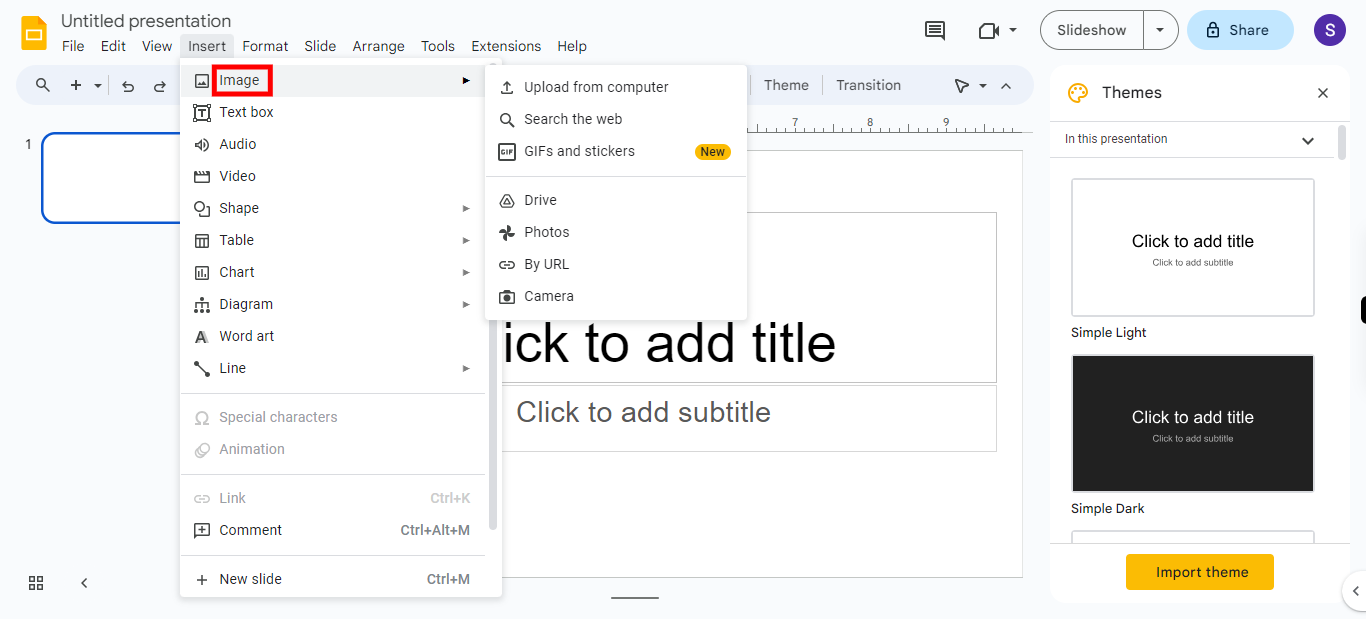
Click on the "Image" option. and then you will see still more options to insert an image, from your desktop, or from the web, from Drive, Photos, Camera, and By URL. Select "Search the Web" 🔍 option from the list.
-
5.
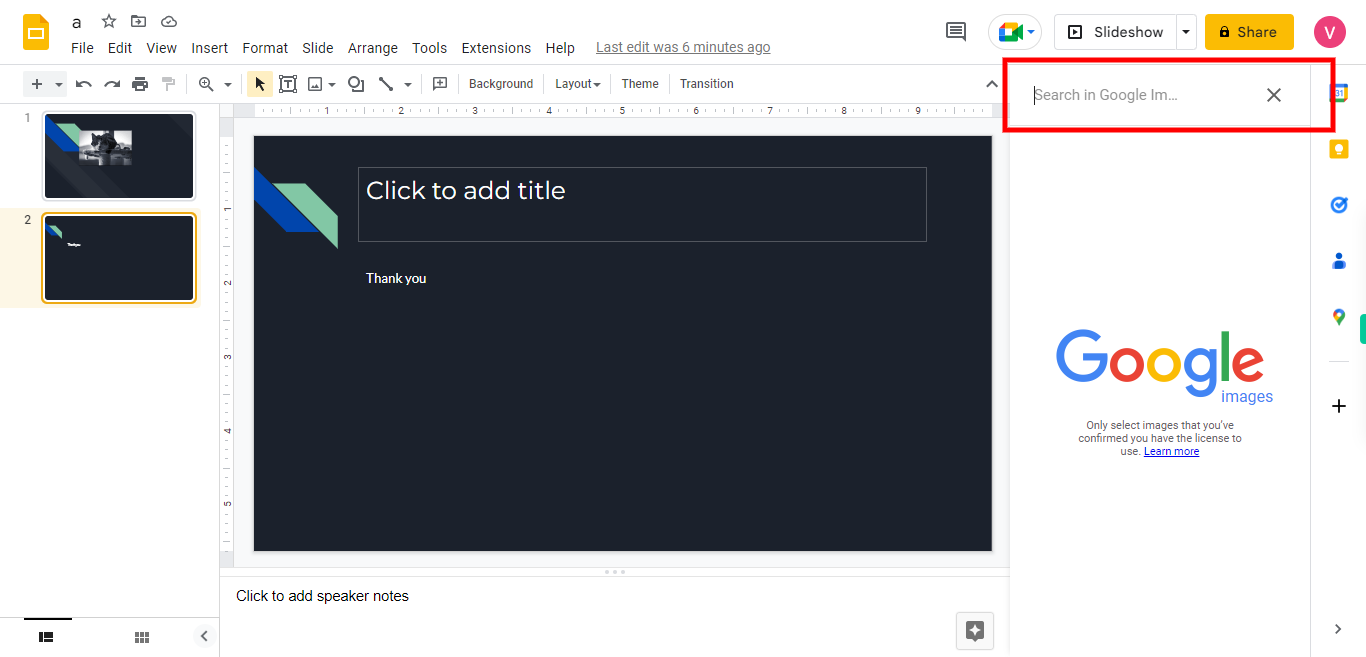
Type in the image name you want. then click on the Next button in the Supervity instruction widget. and click enter and select an image that suits into your presentation from the suggestions shown. Just click on the required image to select.
-
6.
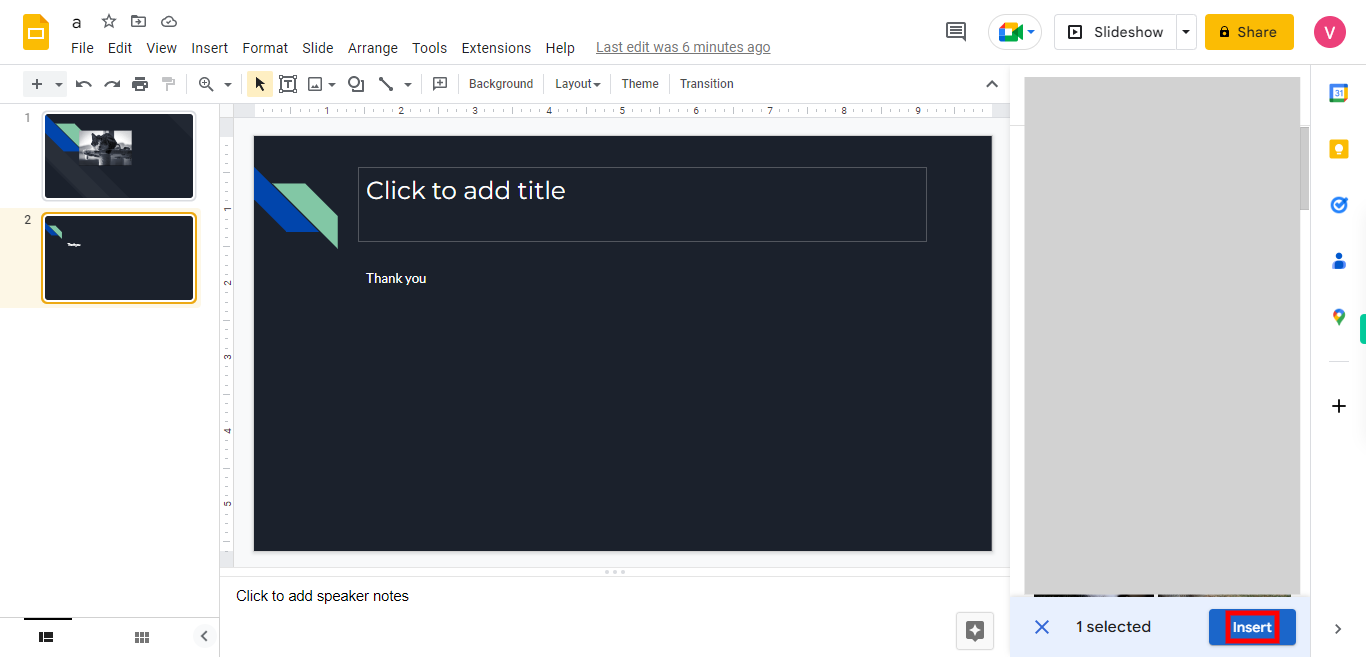
Once selected click on the "Insert" button to add the selected image to your slides.
-
7.
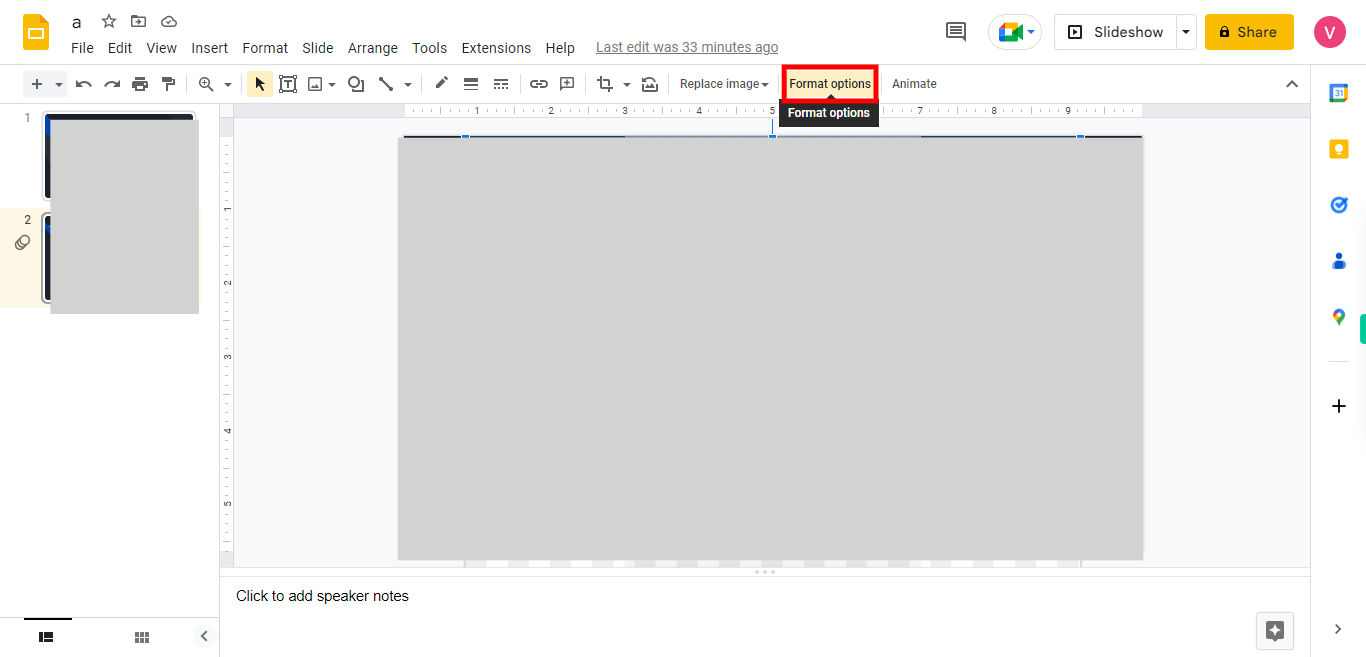
First adjust the position of the image in your slide. Choose "Format options" to open the Format Options sidebar. This sidebar provides more advanced image formatting options, including adjusting transparency, adding reflections, and applying artistic effects.
-
8.
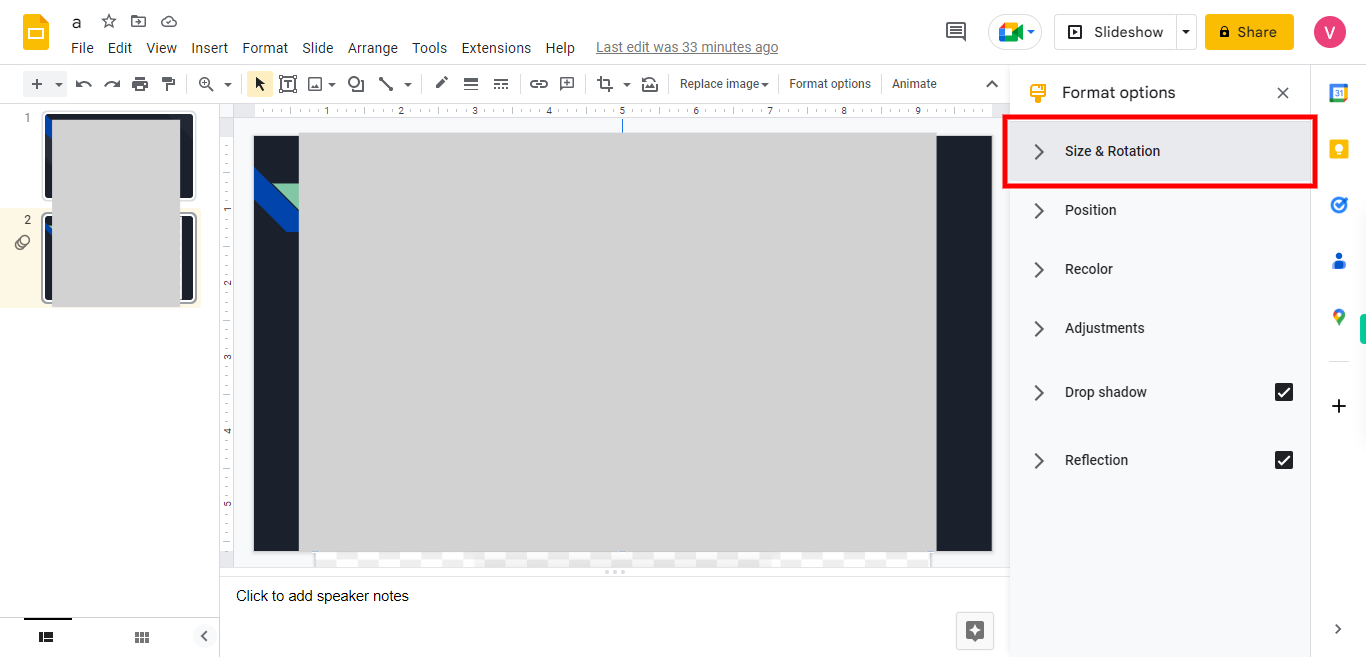
First click on the "Size & Rotation" right arrow icon. Click on the Next button in the Supervity instruction widget, then, make the required modifications.
-
9.
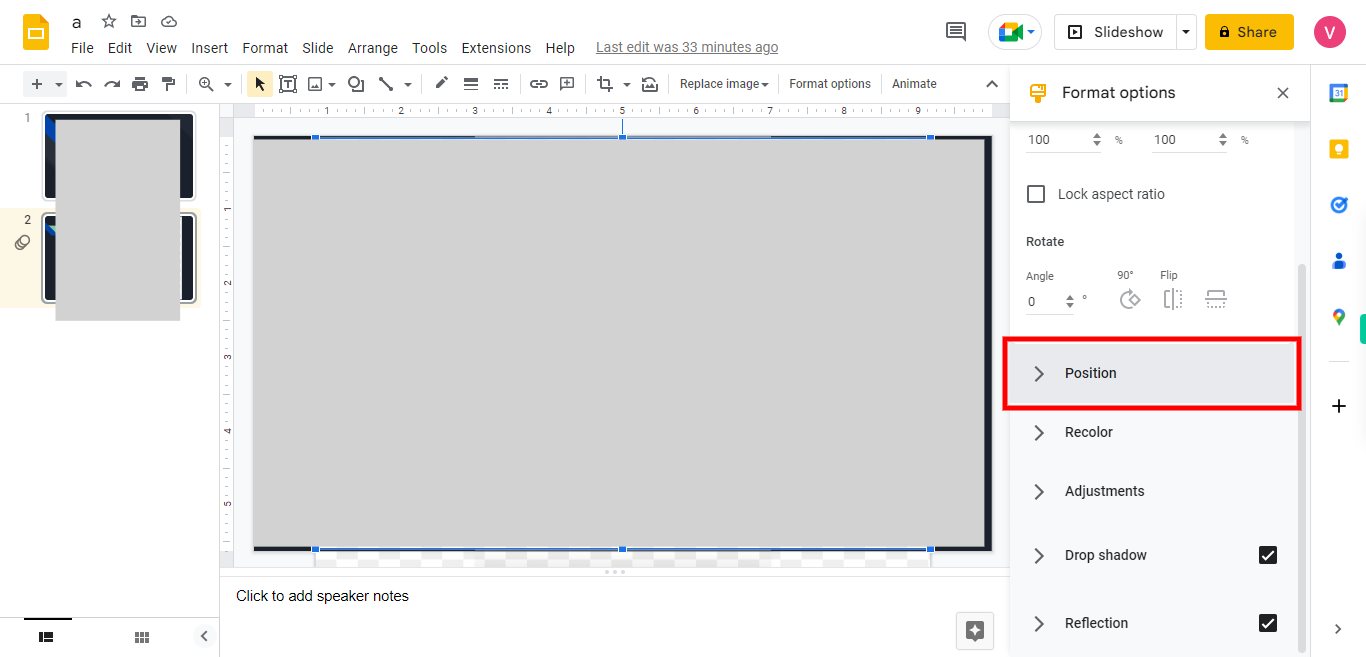
First click on the "Position" right arrow icon. Click on the Next button in the Supervity instruction widget, then make the required position changes.
-
10.
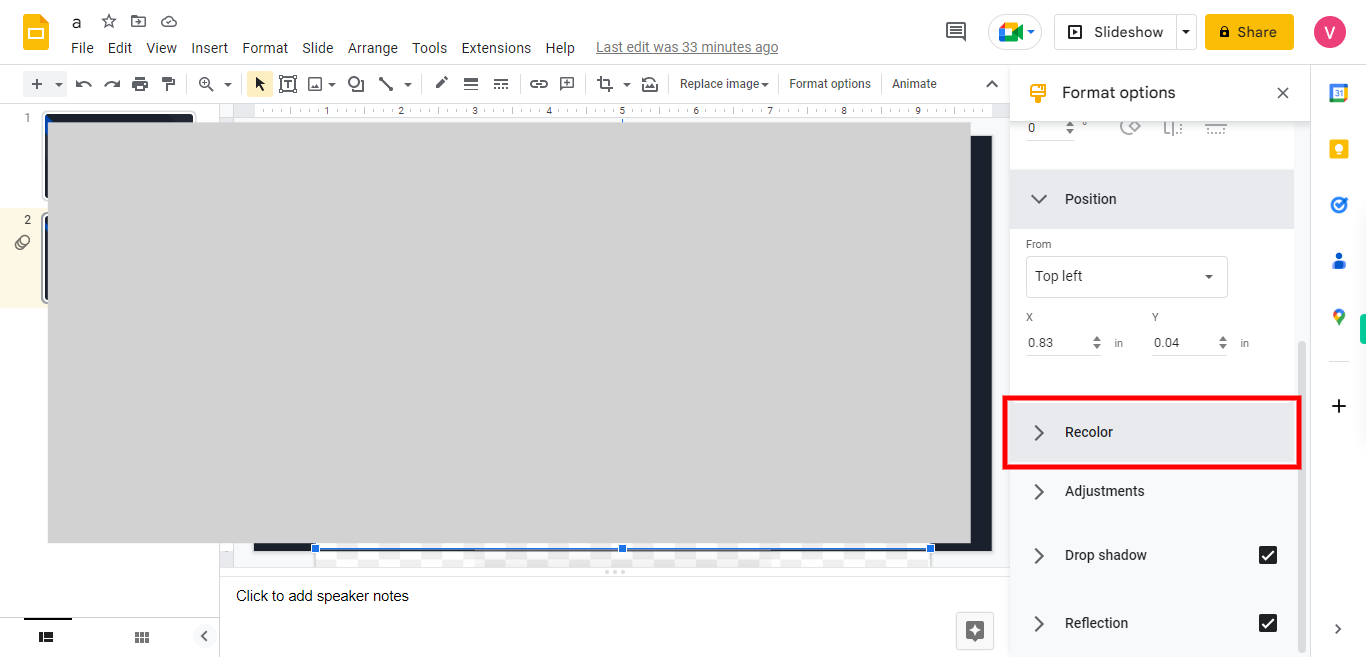
First click on the "Recolor" right arrow icon. Click on the Next button in the Supervity instruction widget, and then make the required changes.
-
11.
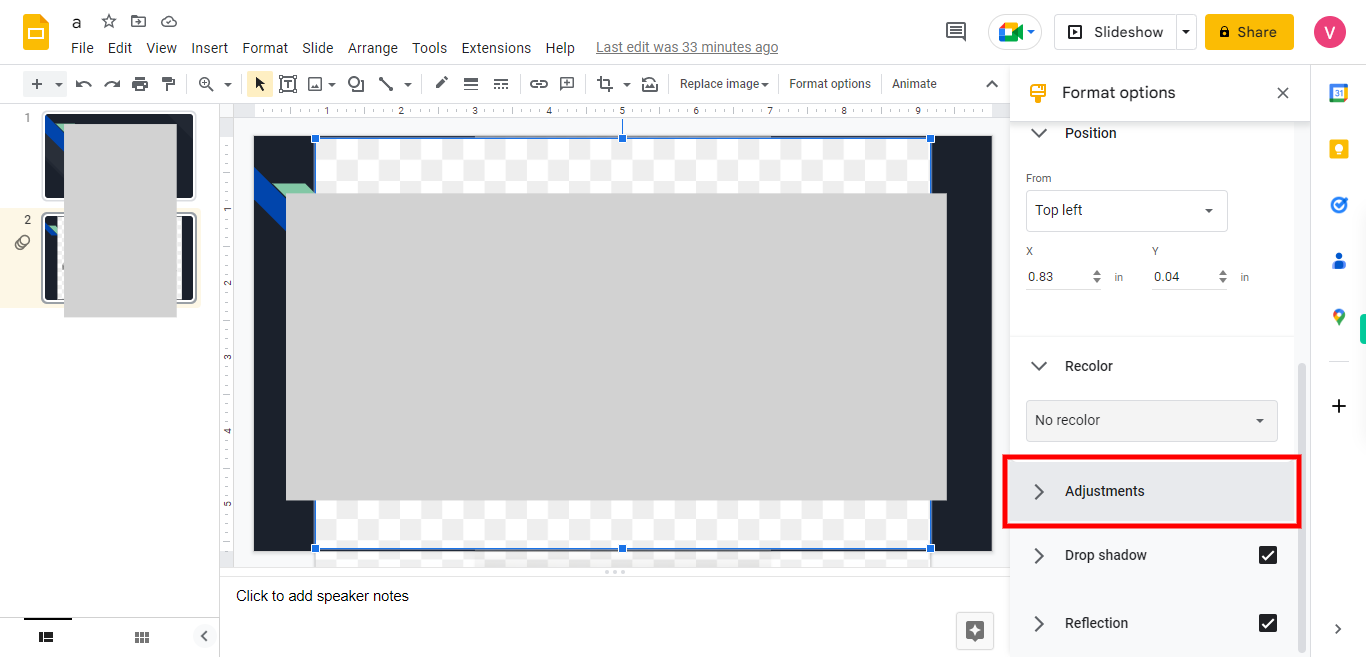
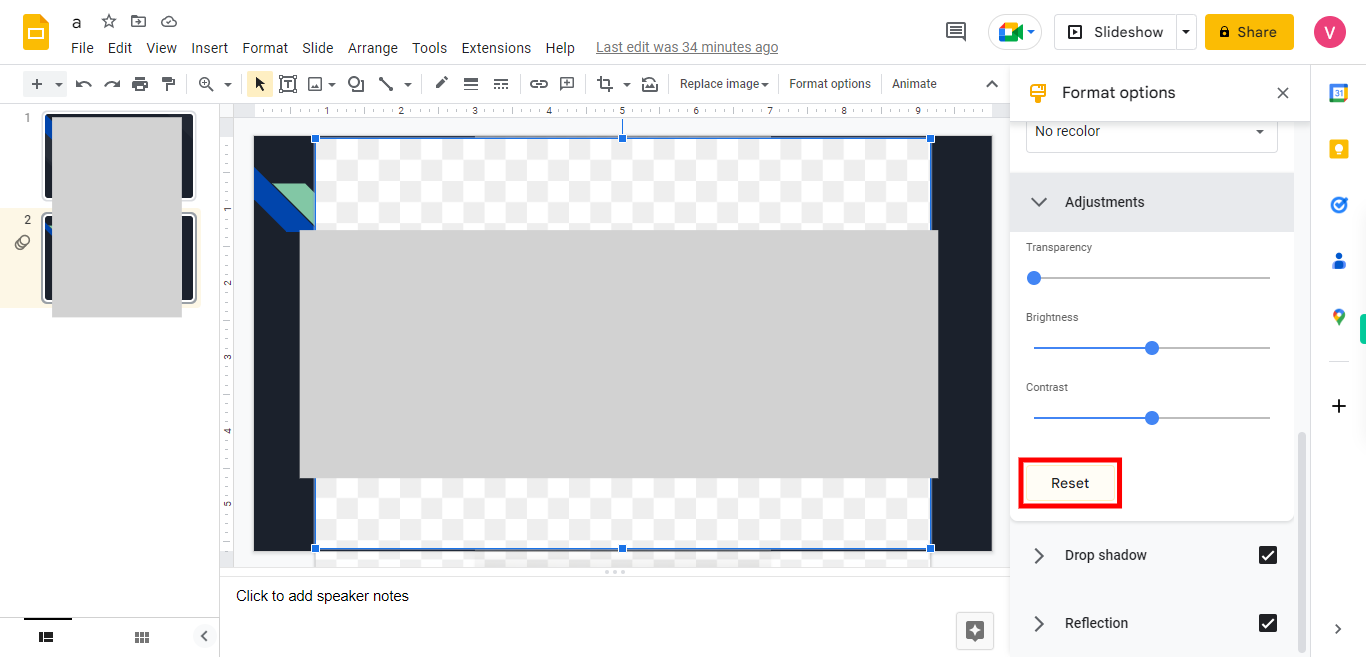
First click on "Adjustments" to open adjustment settings. Click on the Next button in the Supervity instruction widget, and then make the required changes.
-
12.
Once you are done with your adjustment settings in Transparency, Brightness, and Contrast. Click on the "Reset" button to apply these adjustments.
-
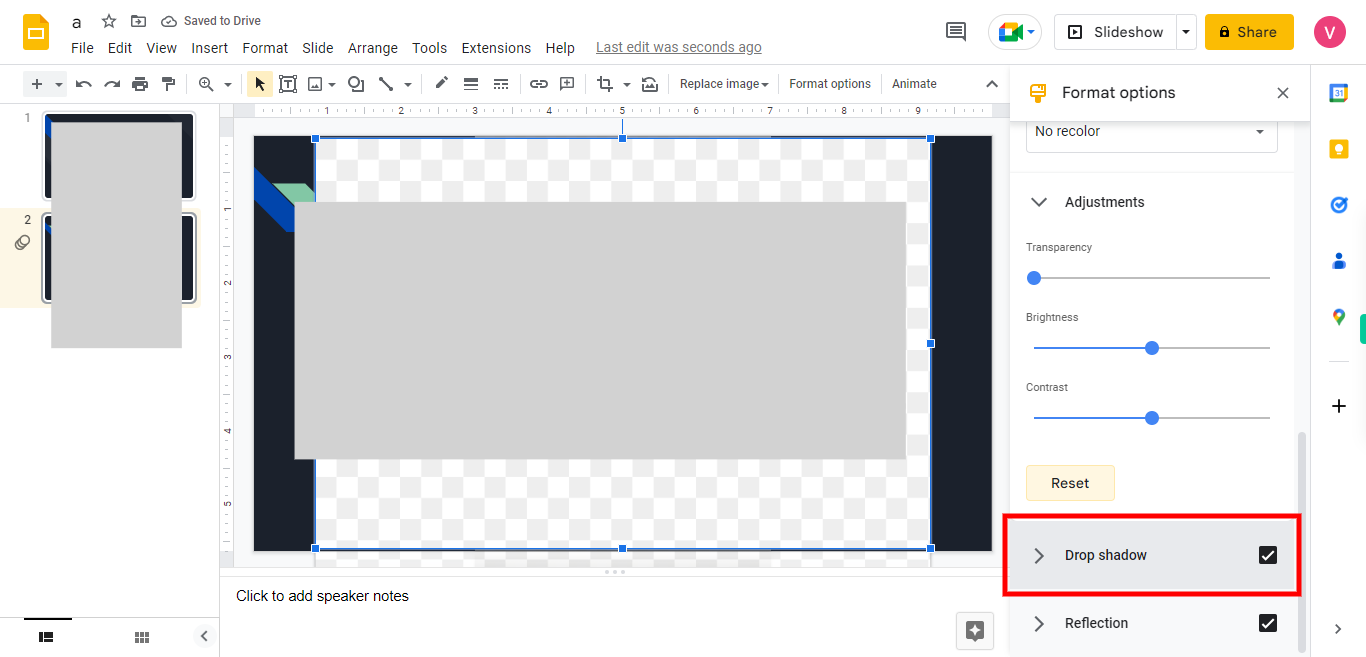
13.
First click on the "Drop shadow" checkbox if required. Click on the close button in the Supervity instruction widget, and then, do the necessary settings. Also If required select "Reflection" and do the necessary settings under Reflections. This helps in making the shadow or the reflection of the image in your slides.


