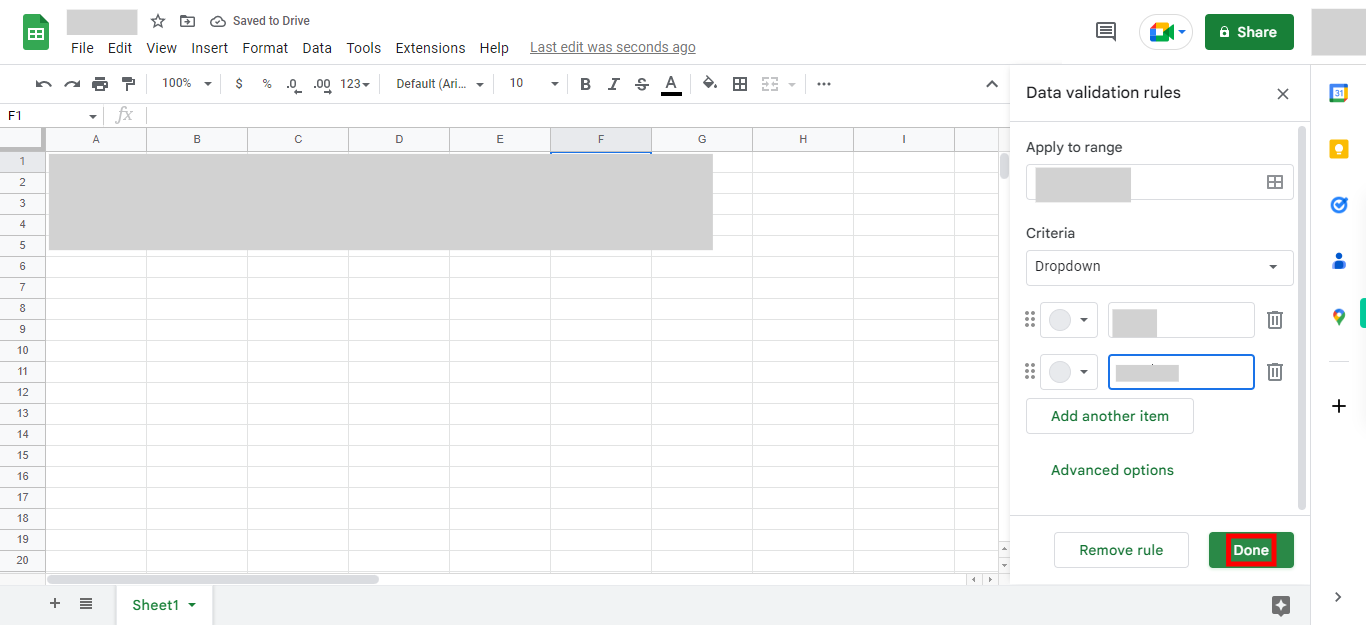
Step-by step process of using data validation feature. Note user should log in to Google sheets in browser and user should have a Spread sheet with edit mode.
-
1.
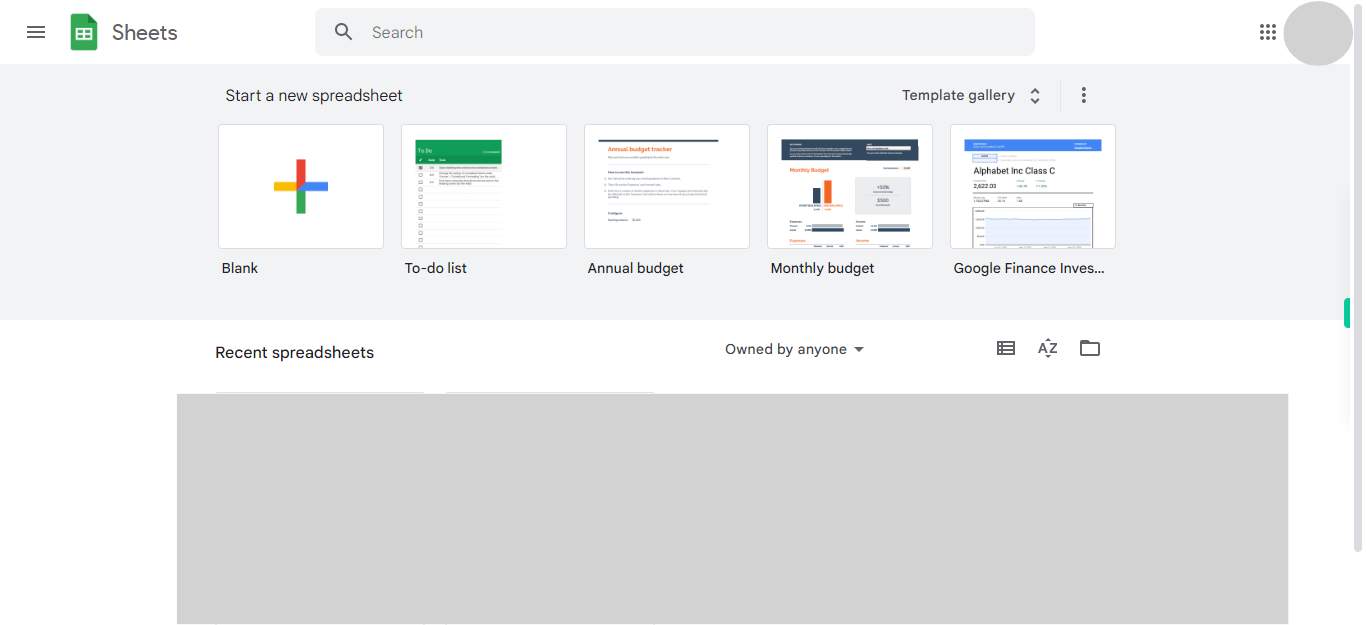
Open google sheets.
-
2.
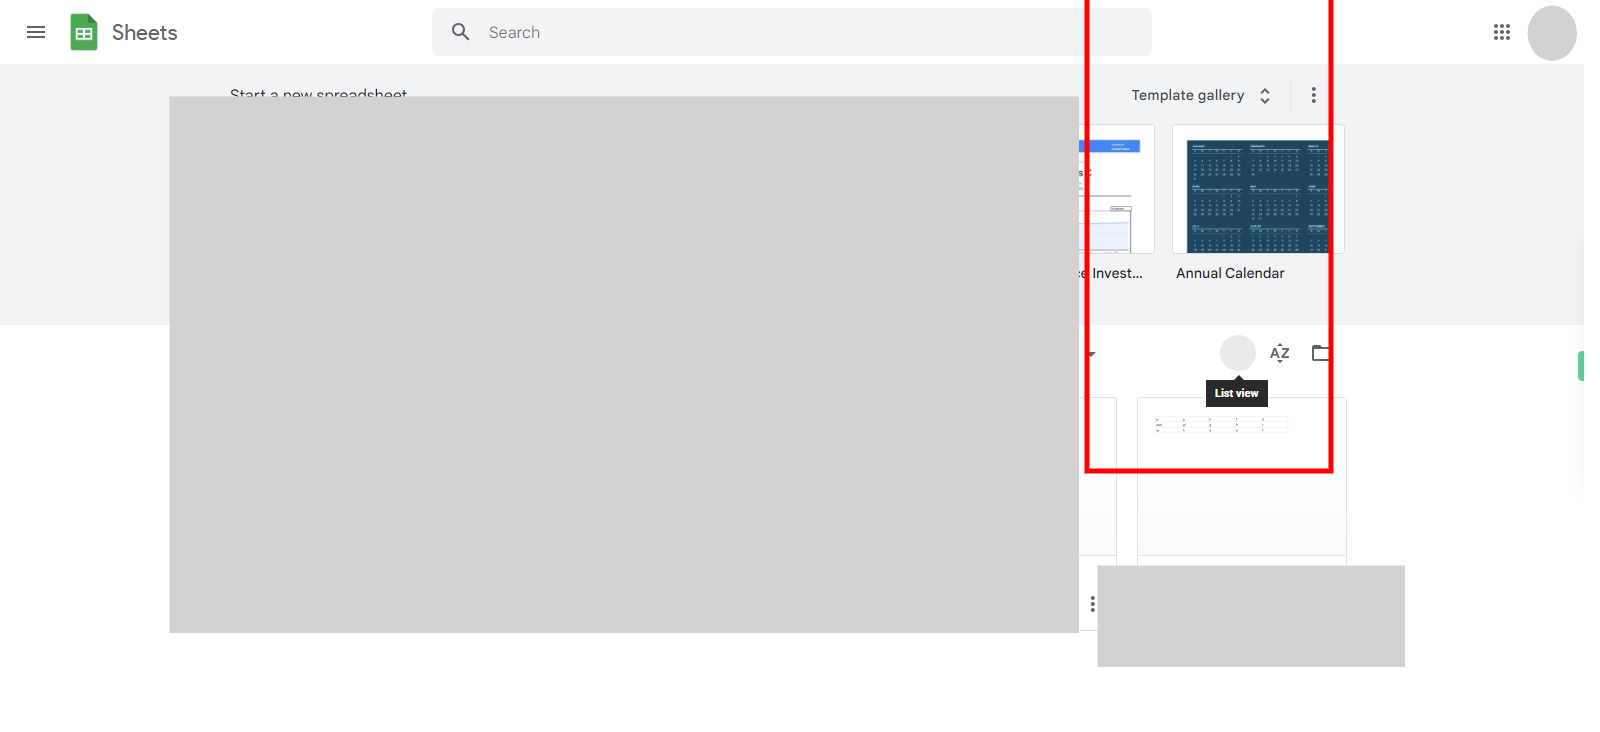
Please ensure that you are currently in the grid view. If you are not in the grid view, you can switch to it, where the content is displayed in a grid format with multiple items per row and column. Click on the Next button in the Supervity instruction widget.
-
3.
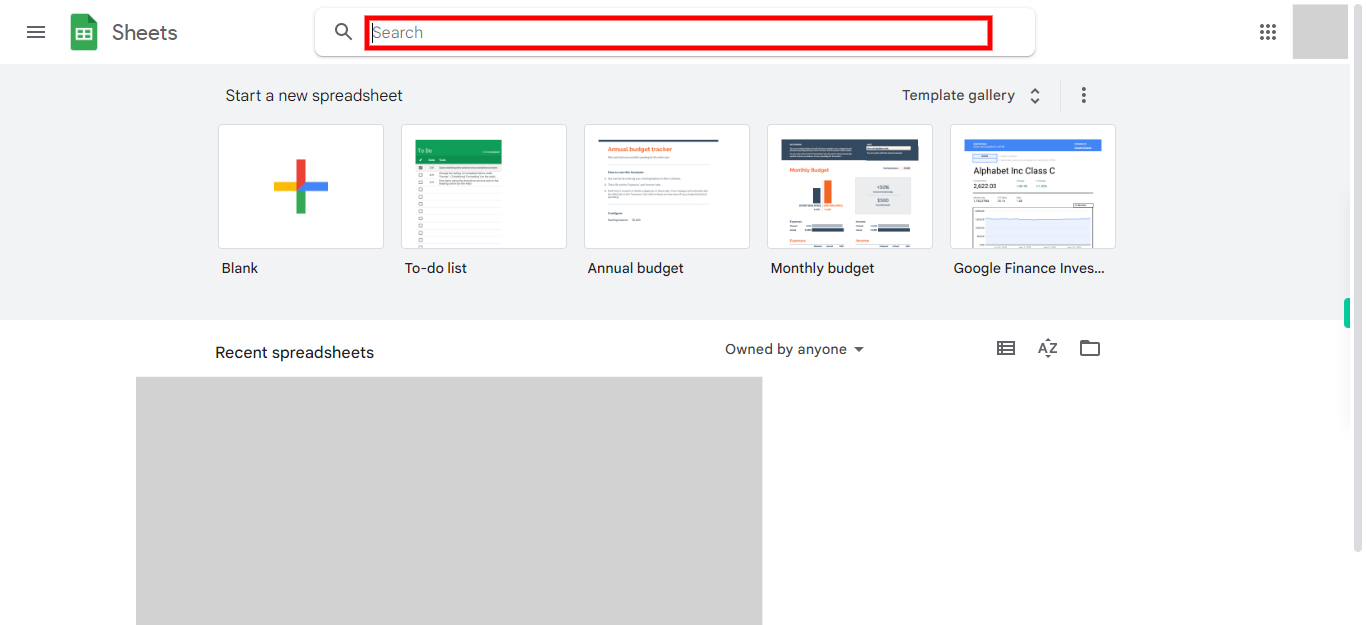
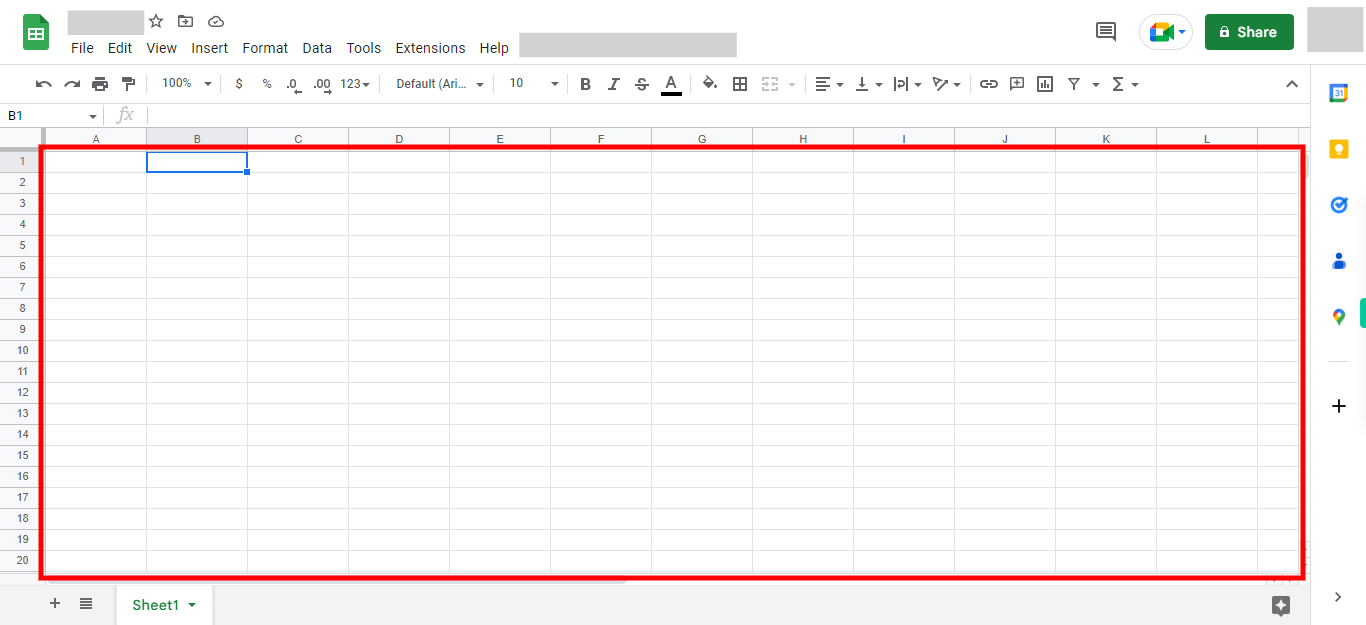
First click on the "Next" button in the Supervity instruction widget, then at the top of the page you will find the "Search bar" Click on the search bar, then enter your Spread Sheet name and press enter, now click on your Spread Sheet. After clicking on your Spread Sheet you will navigate to the Sheet.
-
4.
Click on the cell or cells where you want to apply data validation. You can select a single cell, a range of cells, or an entire column. and click on the "Next" button in the Supervity instruction widget.
-
5.
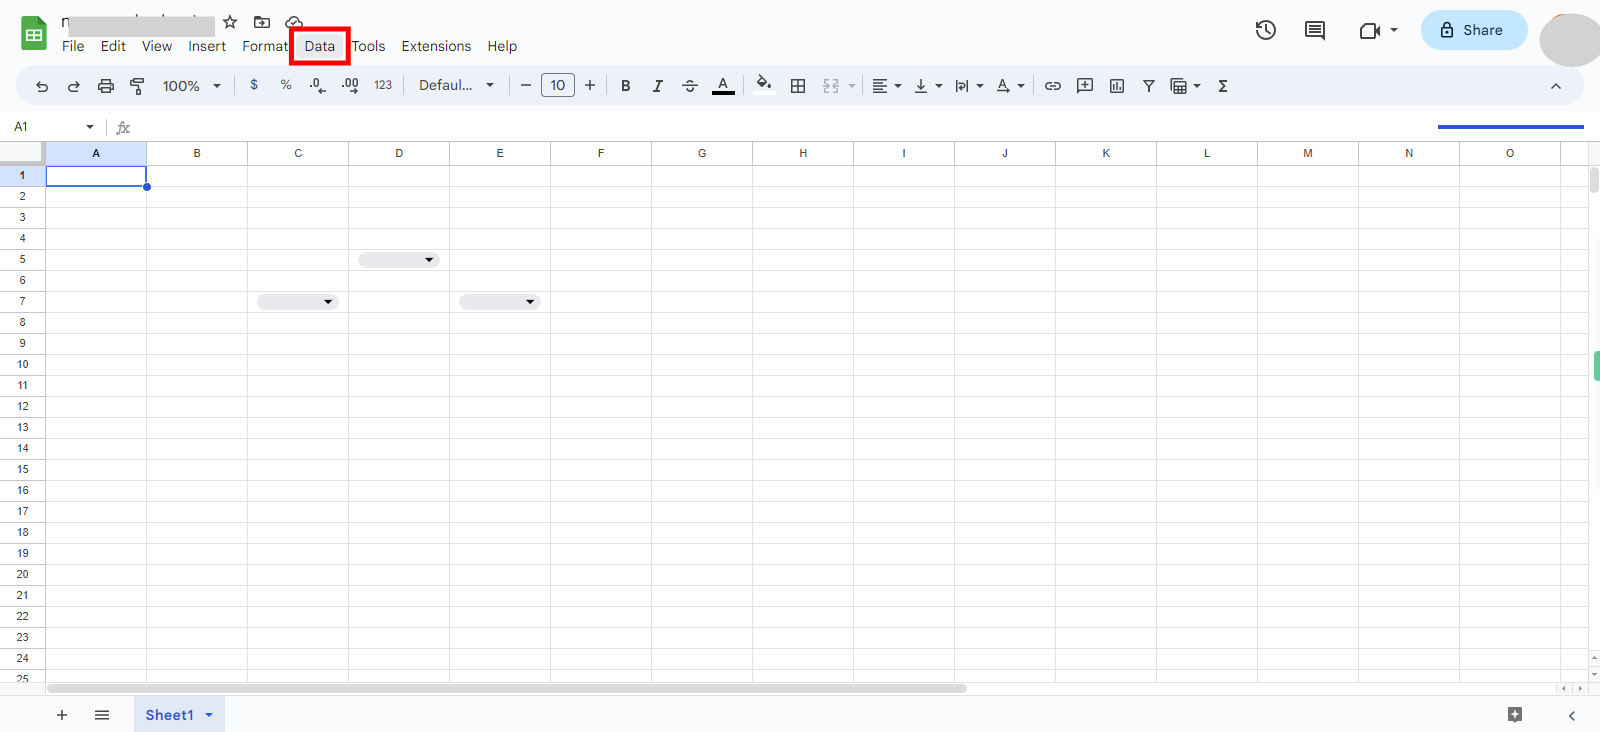
There are two ways to access the Data Validation feature: Option 1: Right-click on the selected cell(s) and choose "Data validation" from the context menu. Option 2: Go to the "Data" menu at the top of the screen and select "Data validation." This skill has been created with option 2. Click on the Data menu at the top of the page.
-
6.
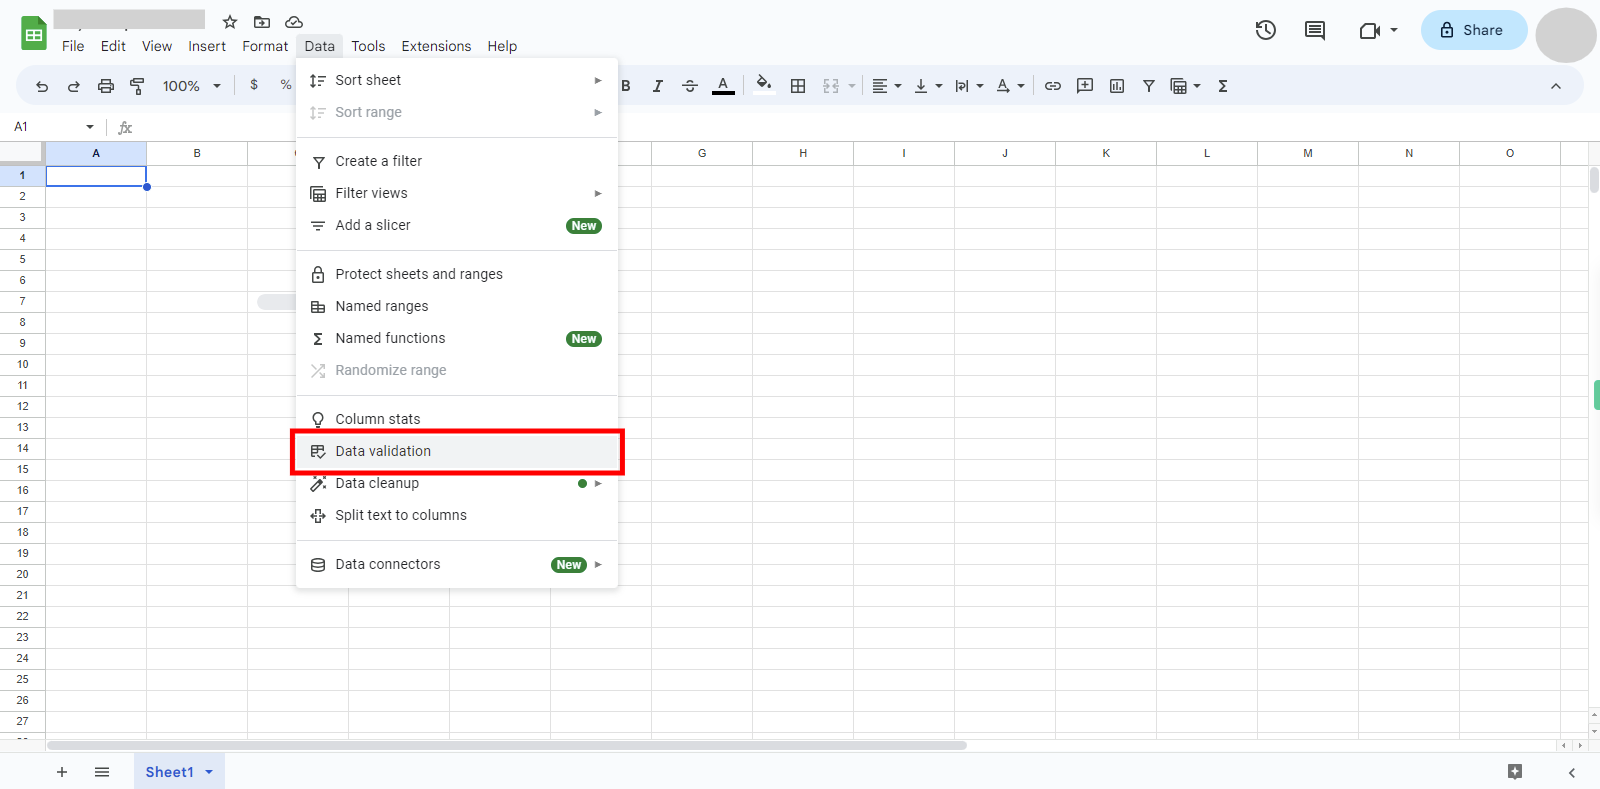
From the Drop-down click on "data validation".
-
7.
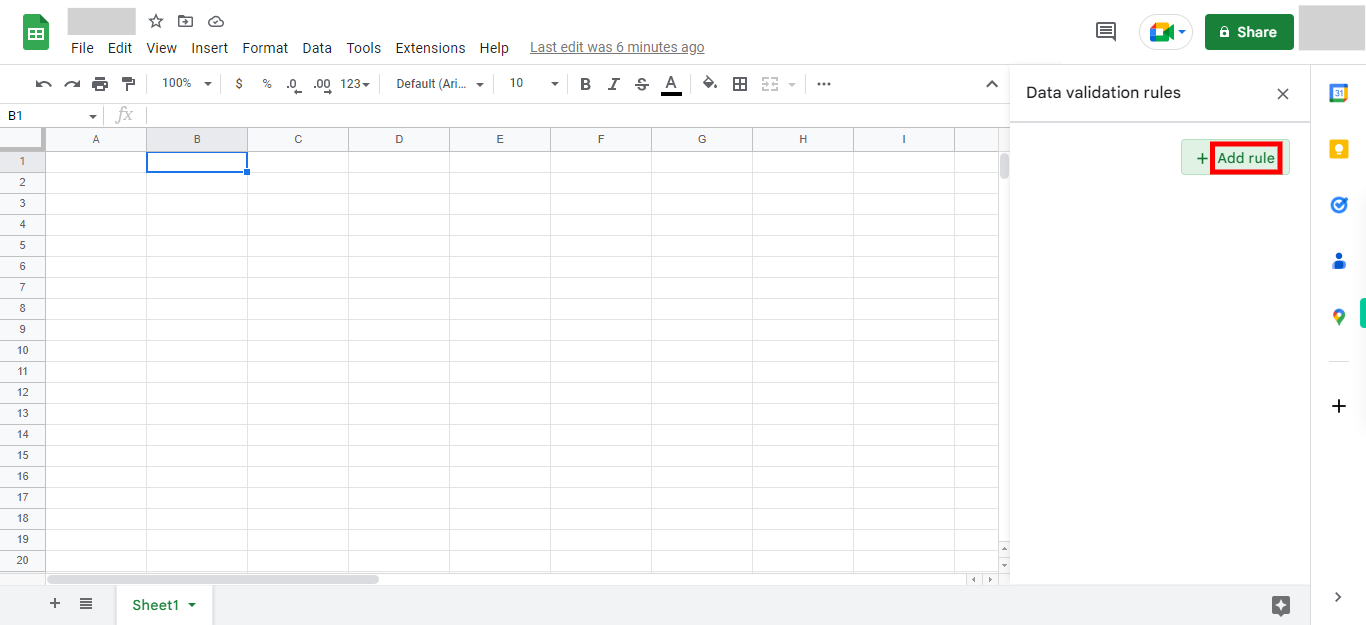
On your top right corner click on the " + Add rule" button
-
8.
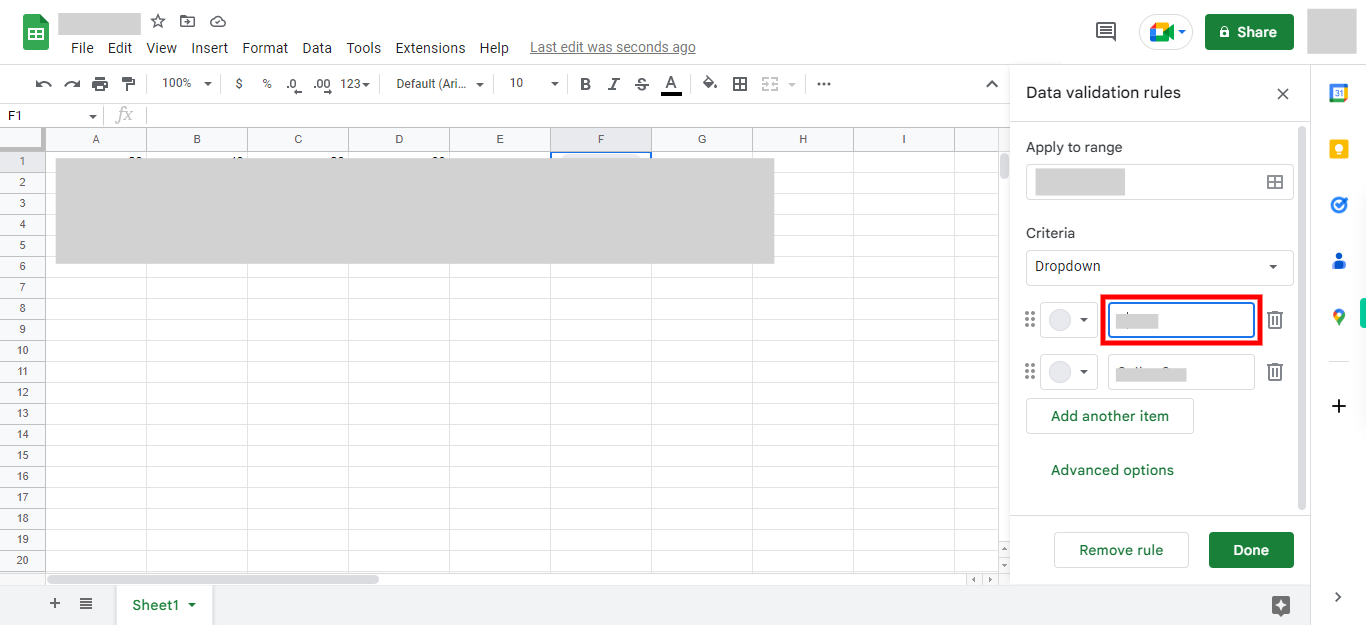
Click on the "Next" button in the Supervity instruction widget, then set the data validation rules. Select the criteria for your validation from the "Criteria" drop-down menu. For example, you can choose "List of items" to create a dropdown list, "Number" to specify a numeric range, "Date" to set a date range, or "Text" to define custom text conditions. Based on the selected criteria, you will need to provide additional information such as the allowed values, minimum and maximum values, or custom formula, depending on your chosen criteria. You can customize the error message also.
-
9.
After setting up the validation criteria and error message (if required), click the "Done" button in the Data Validation dialog box. The data validation rules will be applied to the selected cell(s).


