This skill helps to walk you through How to Custom property for a Contact in Hubspot.
Note:
Ensure you have access to a subscription in the Hubspot with sufficient privileges to perform skill successfully.
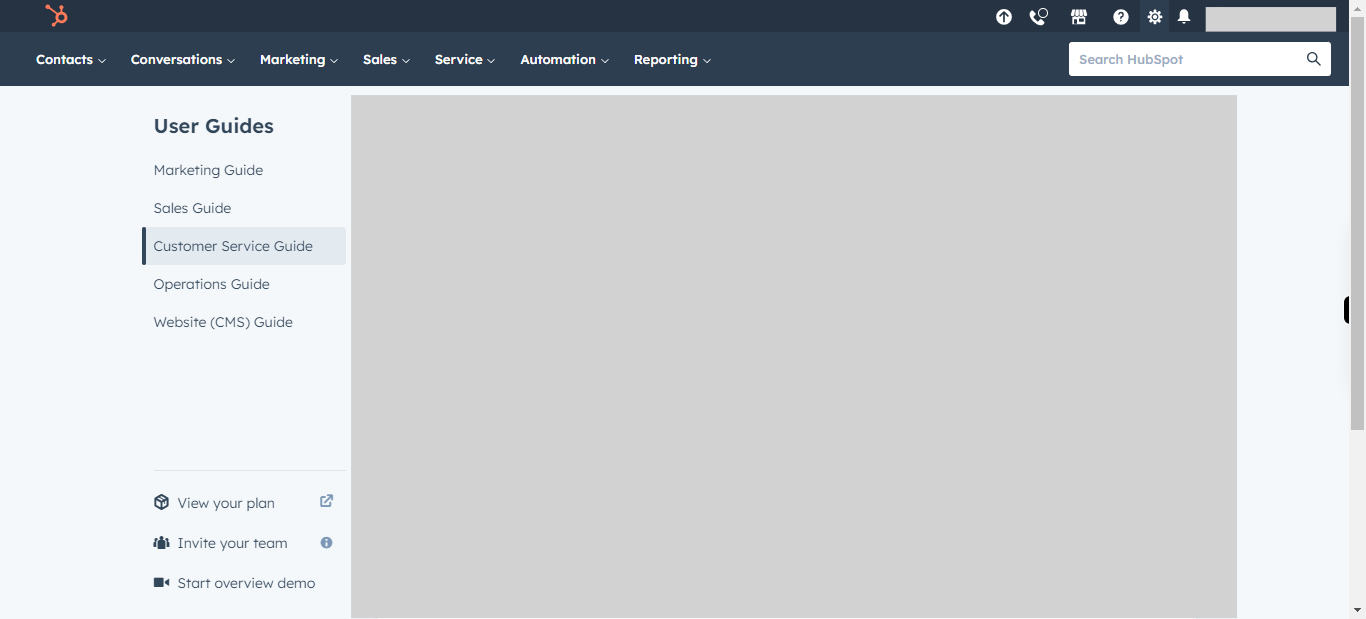
Ensure that you are already logged in into your Hubspot account.
-
1.
Open HubSpot on the web.
-
2.
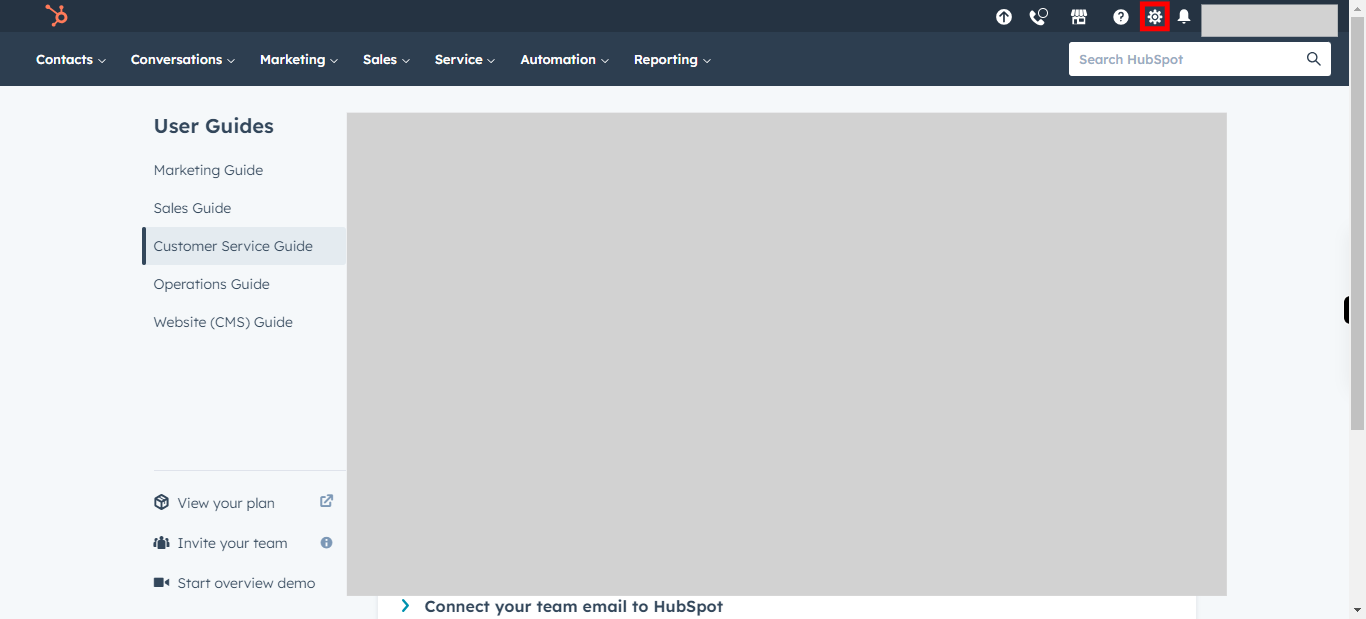
Click on Settings icon to Open the Settings.
-
3.
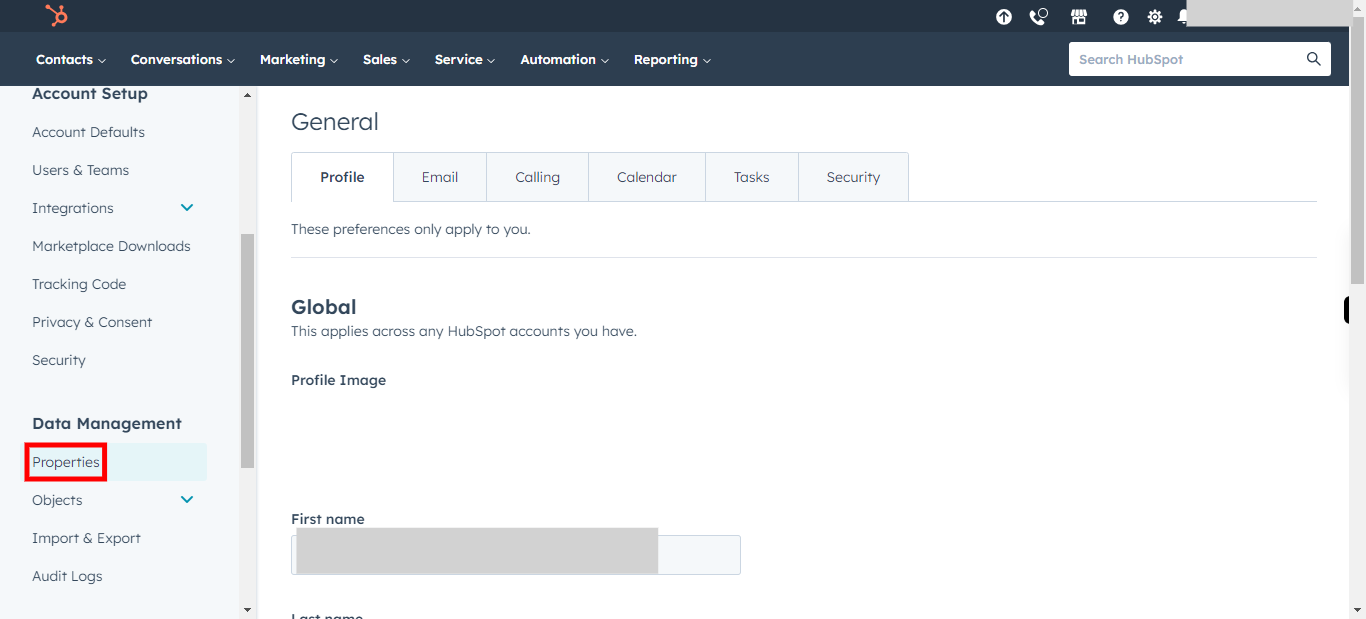
Click on Properties.
-
4.
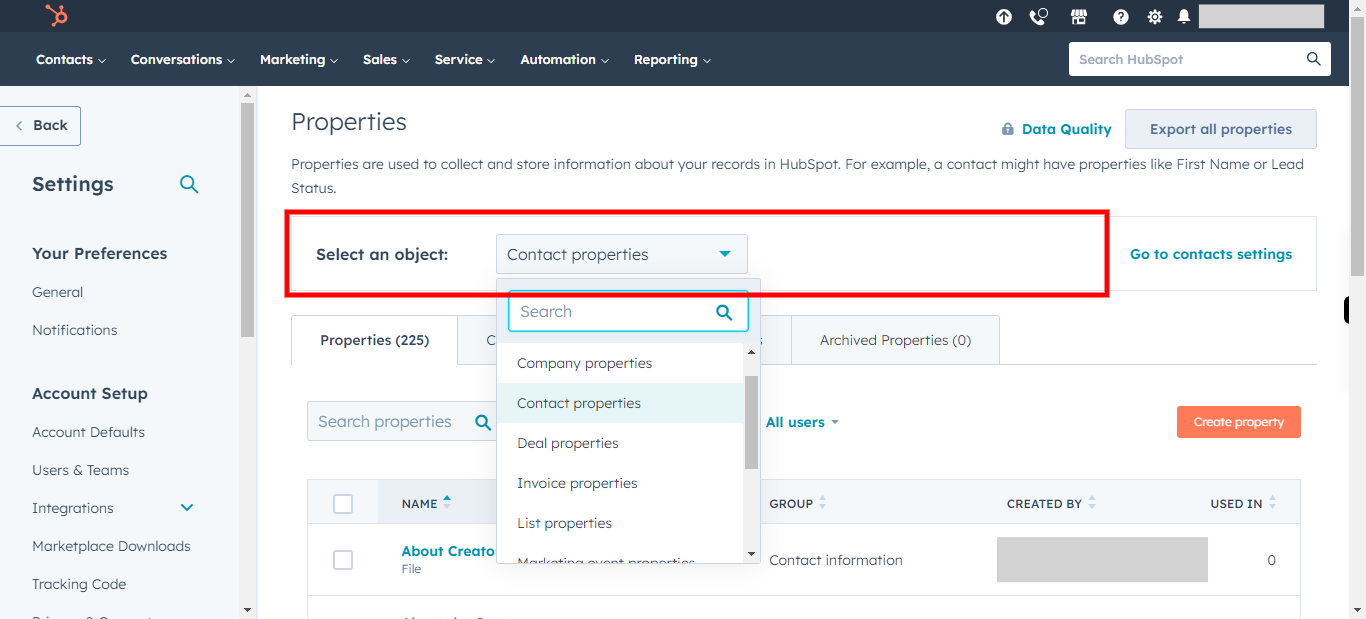
Click on Select an object and select Contact properties. Once done, Click on Next button in Supervity Widget.
-
5.
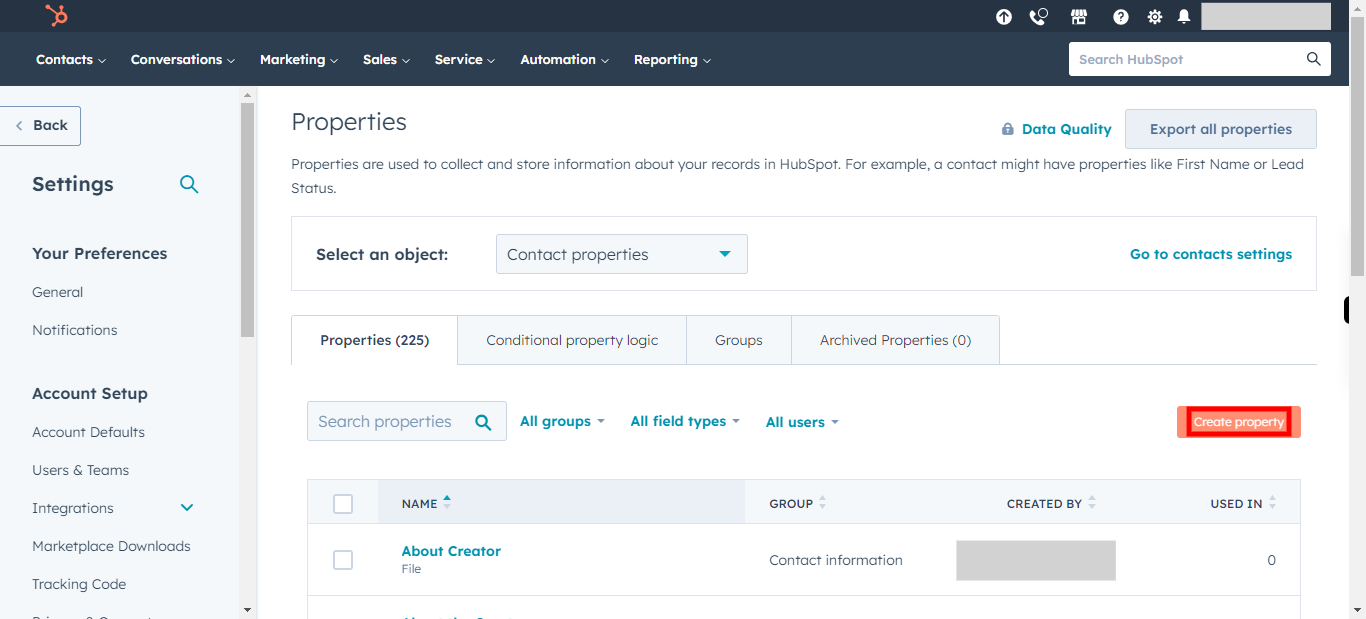
Click on Create property.
-
6.
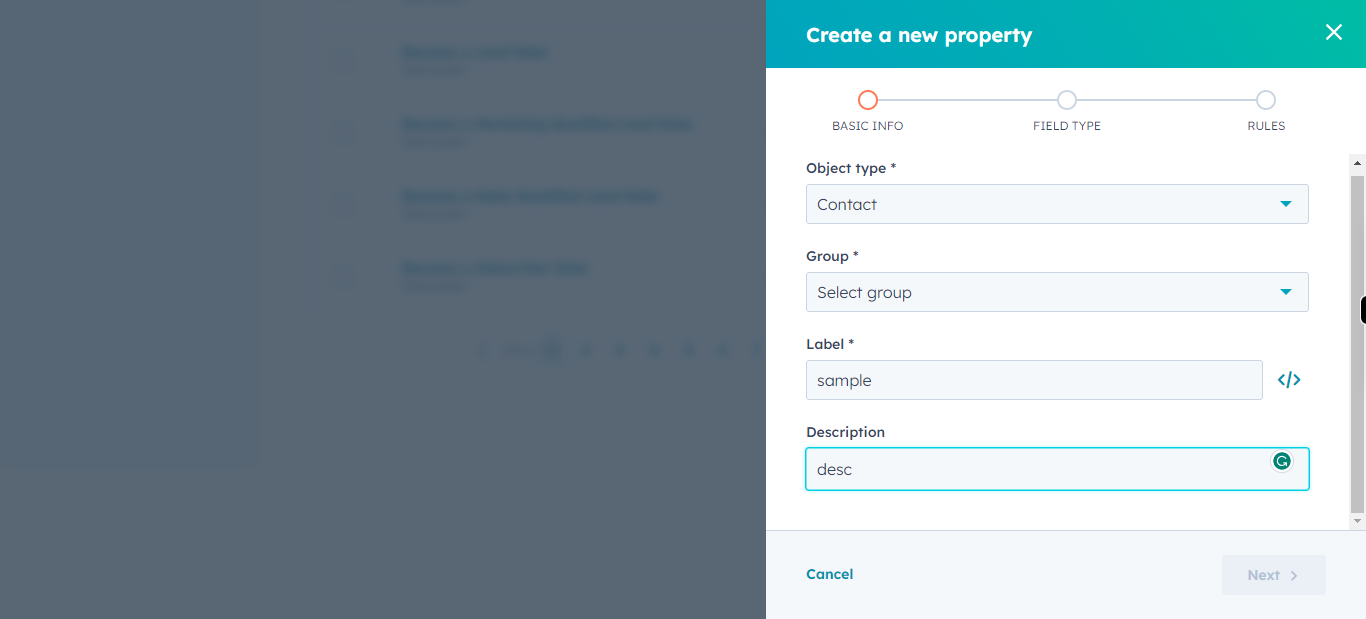
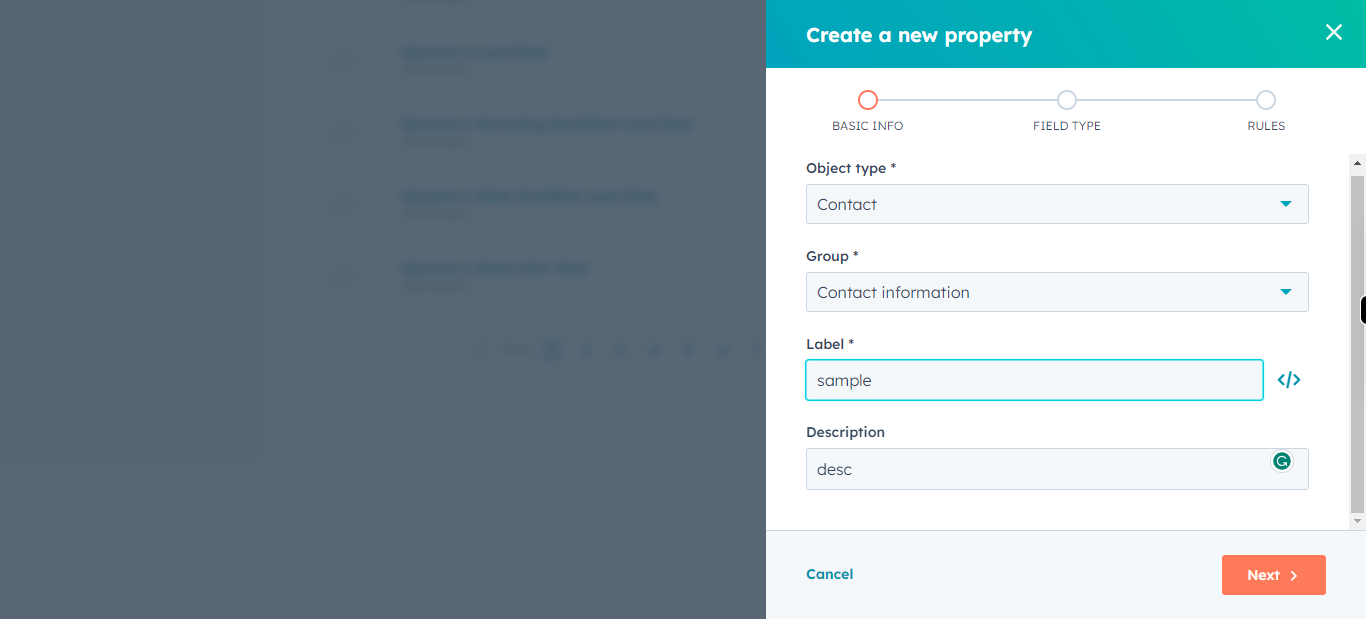
Click on Select group drop-down and Select Contact information. Once done, Click on Next button in Supervity Widget.
-
7.
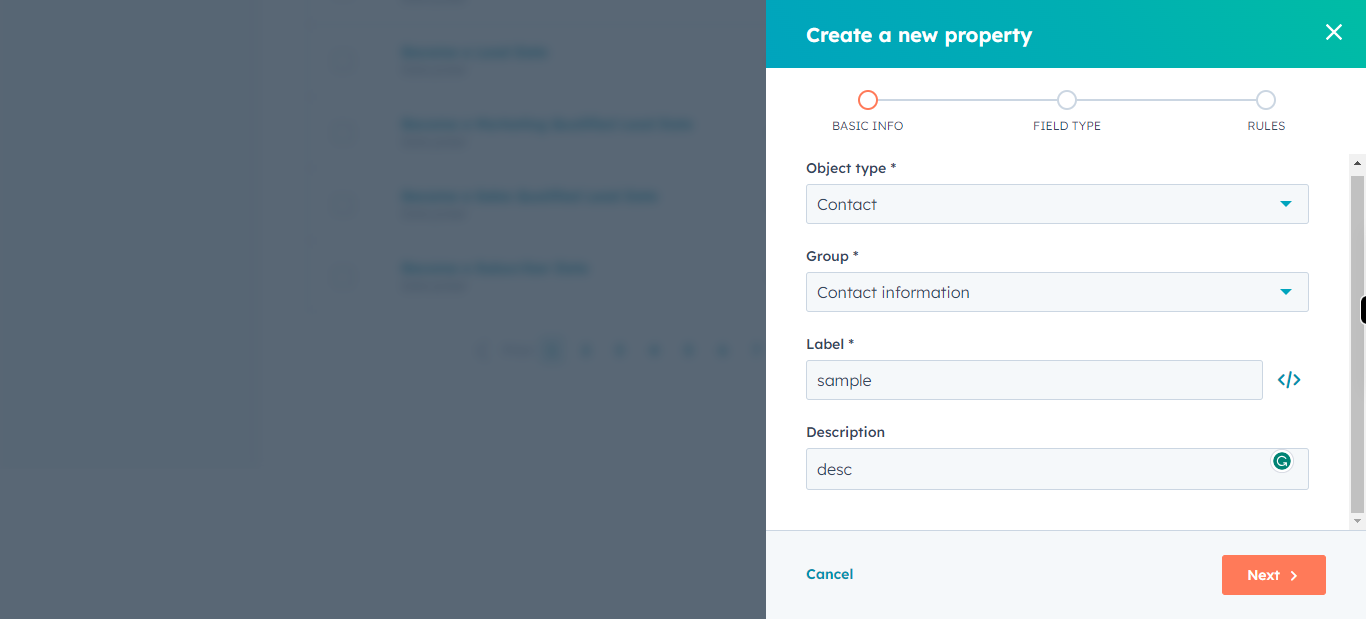
Click on Label and Type the Name of the Property. Once done, Click on Next button in Supervity Widget.
-
8.
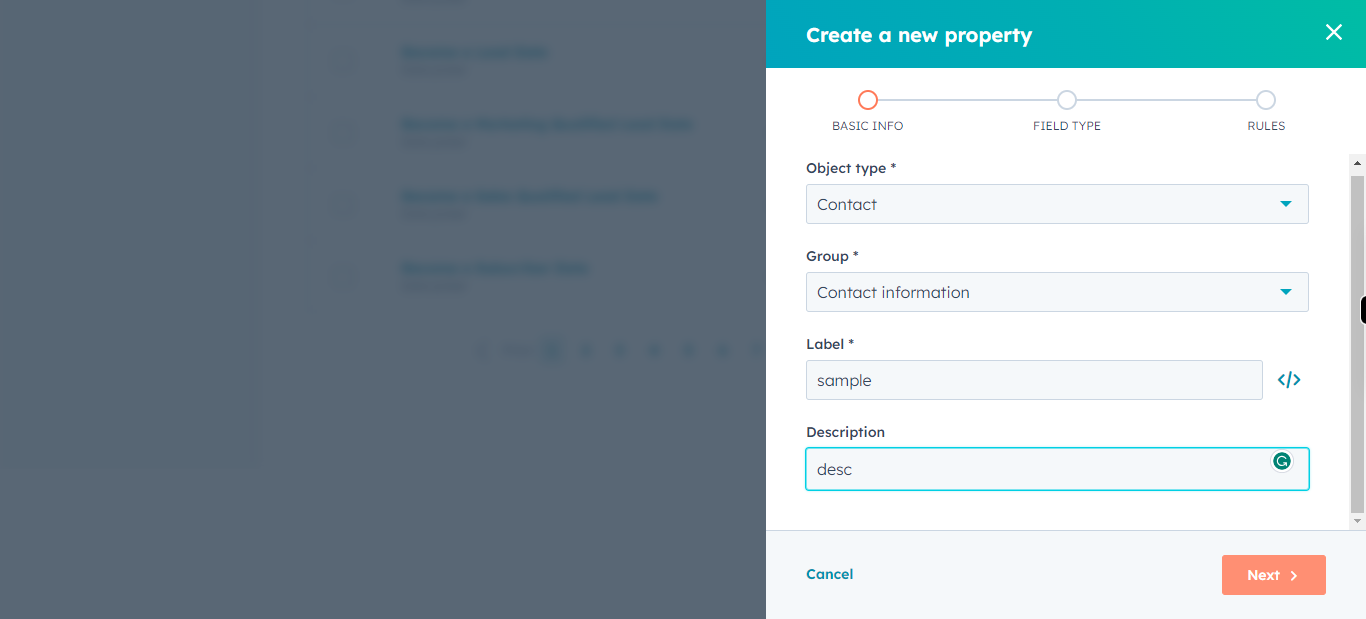
Click on Description and Add the Description for the Property. Once done, Click on Next button in Supervity Widget.
-
9.
Click on Next to continue.
-
10.
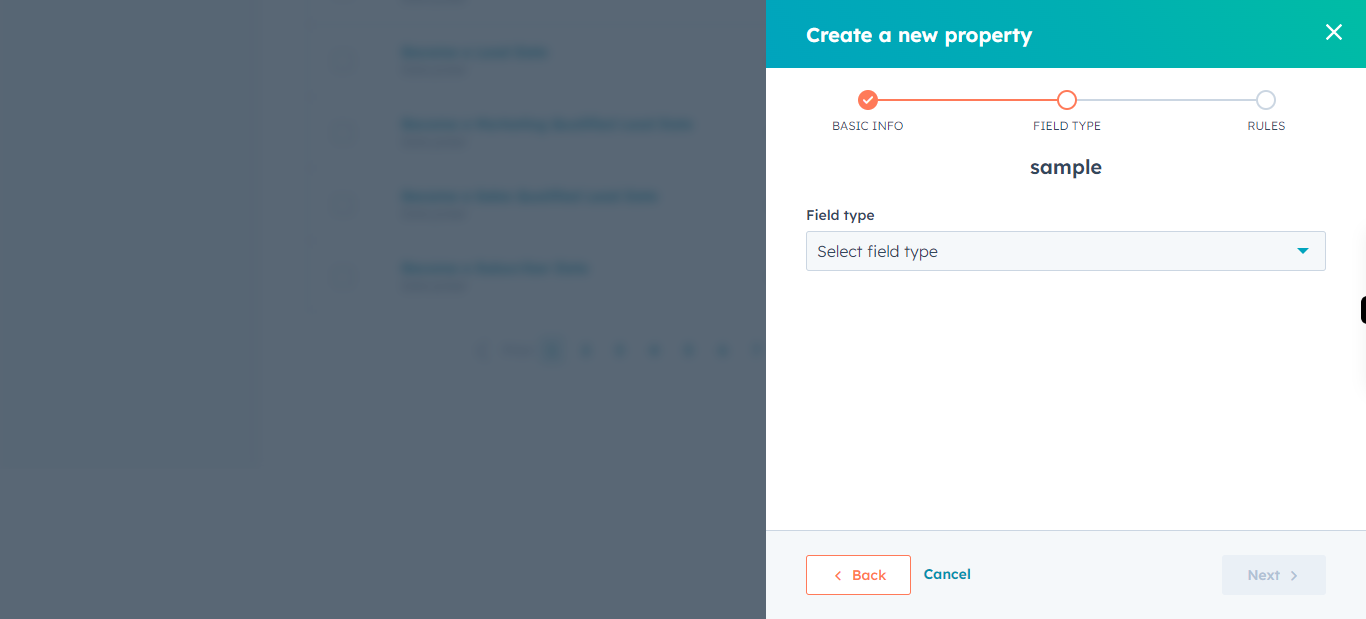
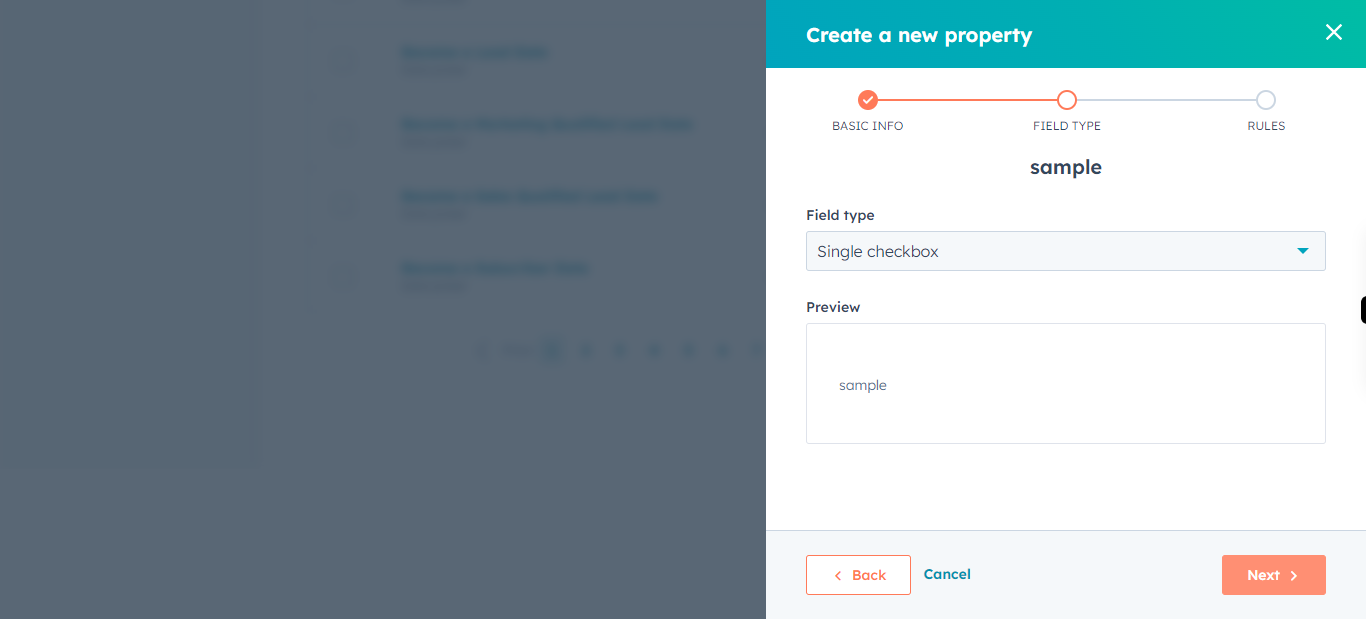
Click on the field type Drop-down and Select the type of the field, enter the details of selected fields. Once done, Click on Next button in Supervity Widget.
-
11.
Click on Next to continue.
-
12.
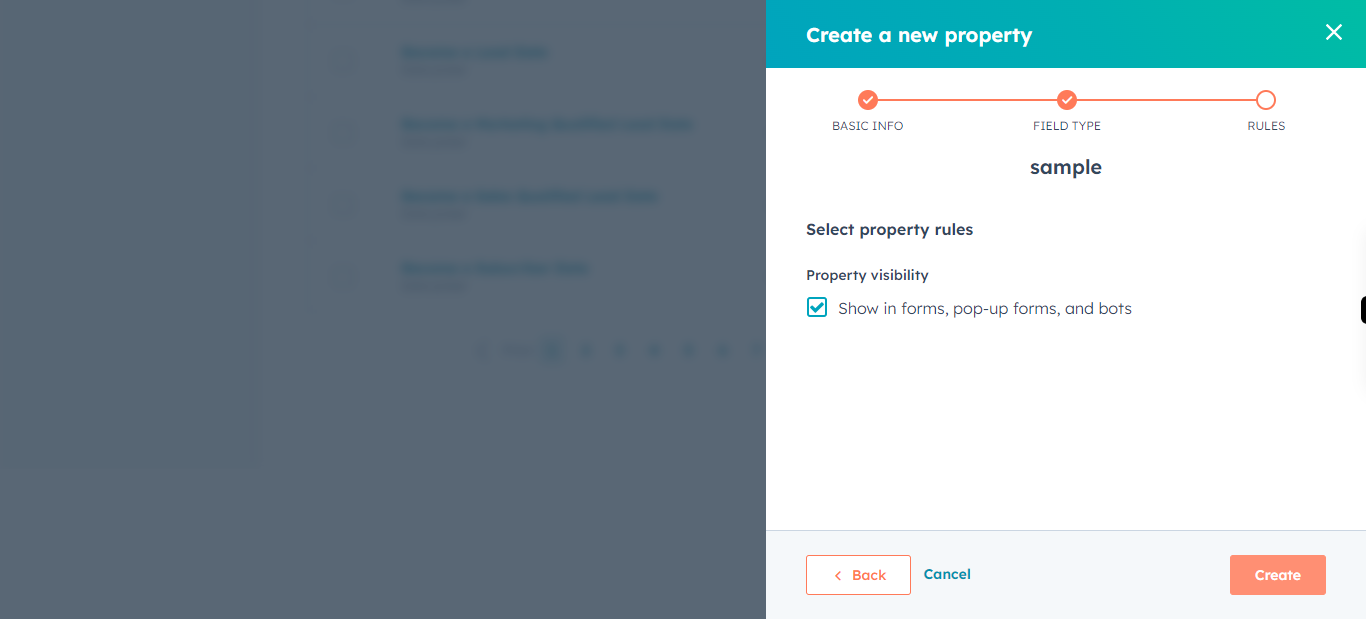
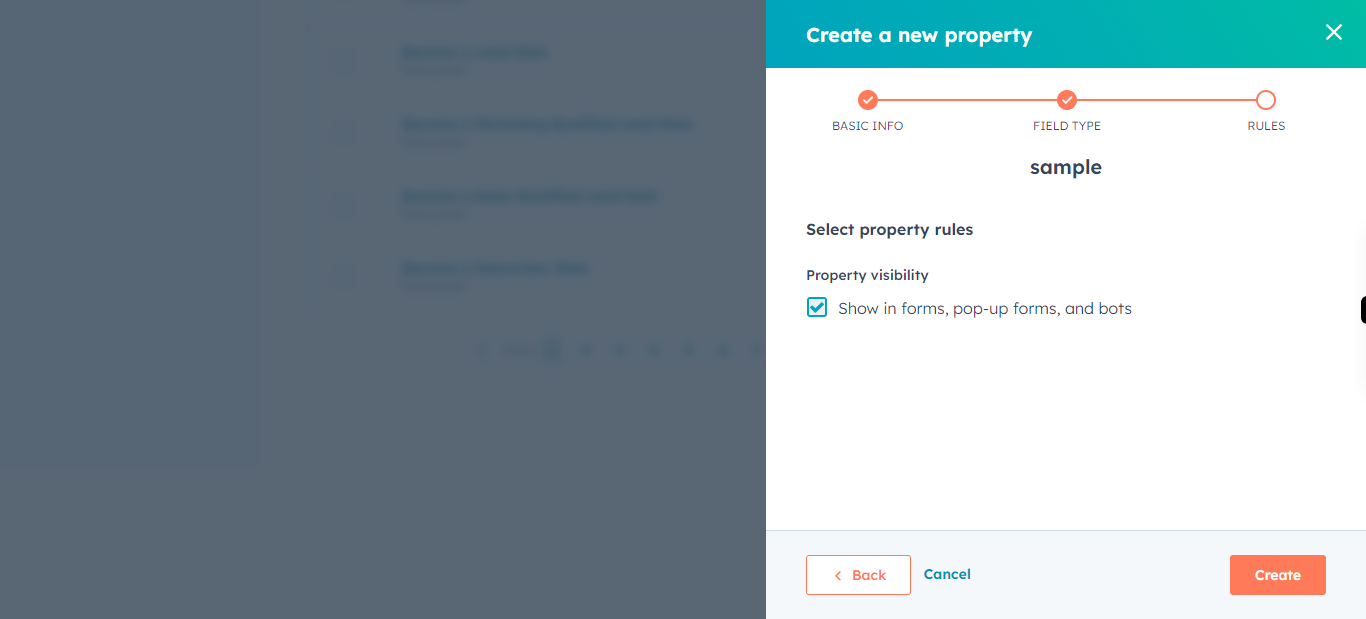
Check on Un-check to show the new property while creating a new contact. Once done, Click on Next button in Supervity Widget.
-
13.
Click on Create to create a contact.
