This skill helps to walk you through How to send a Scheduled Email to a contact in your Hubspot.
Note:
Ensure you have access to a subscription in the Hubspot with sufficient privileges to perform skill successfully.
Ensure that you are already logged in into your Hubspot account
-
1.
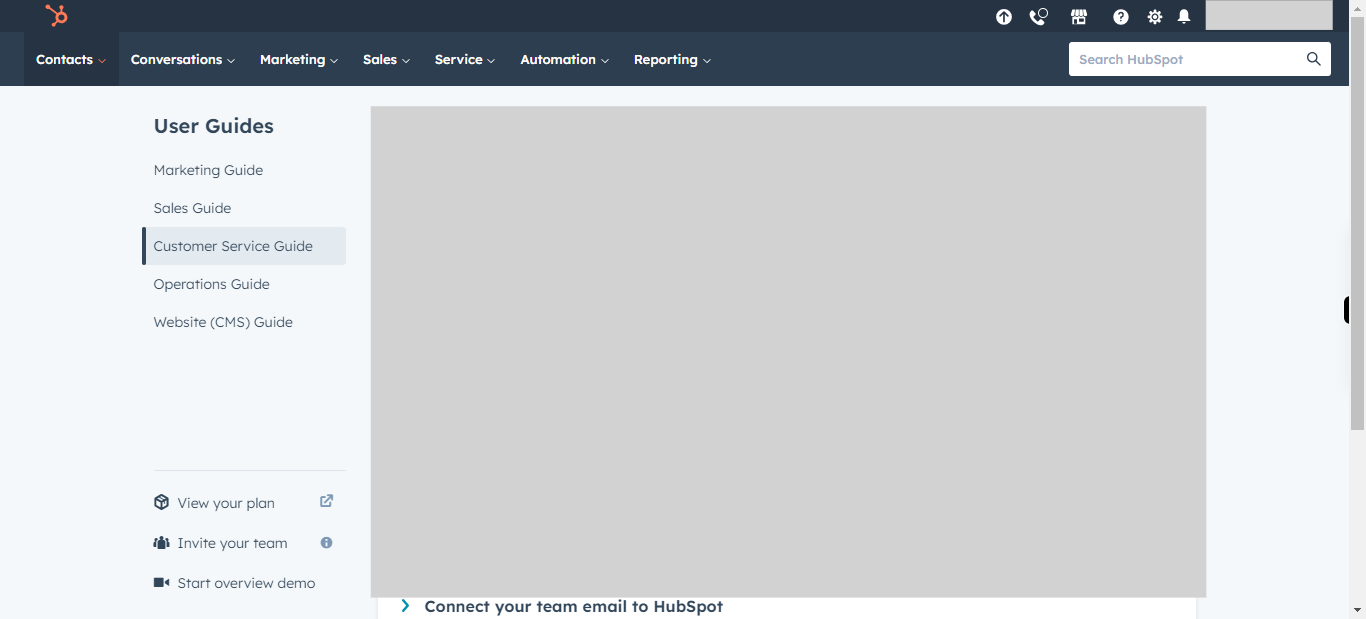
Open HubSpot on the Web.
-
2.
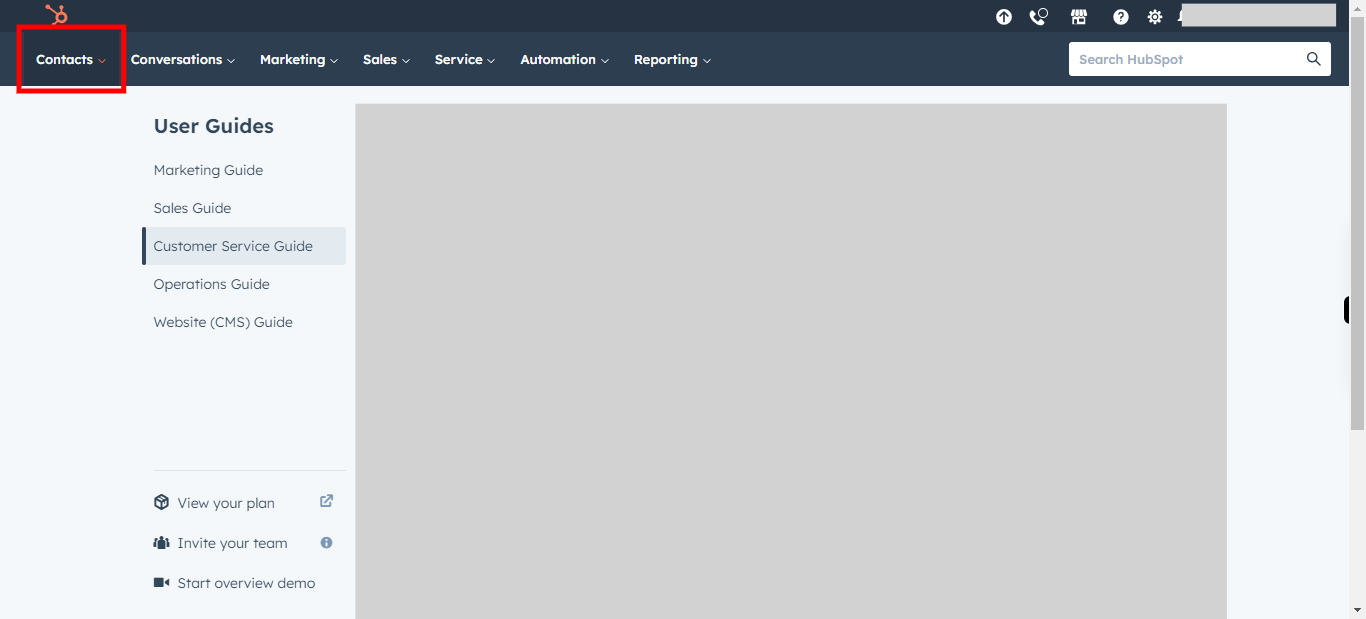
Click on Contacts Drop-down.
-
3.
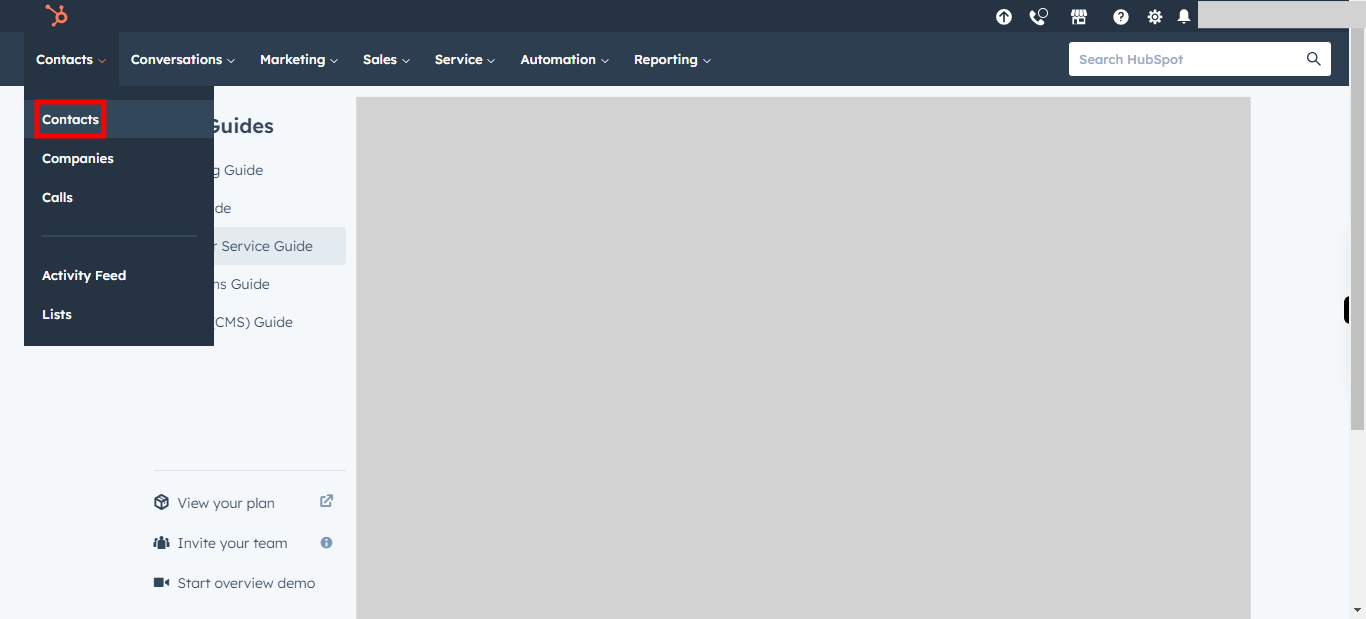
Click on Contacts to continue.
-
4.
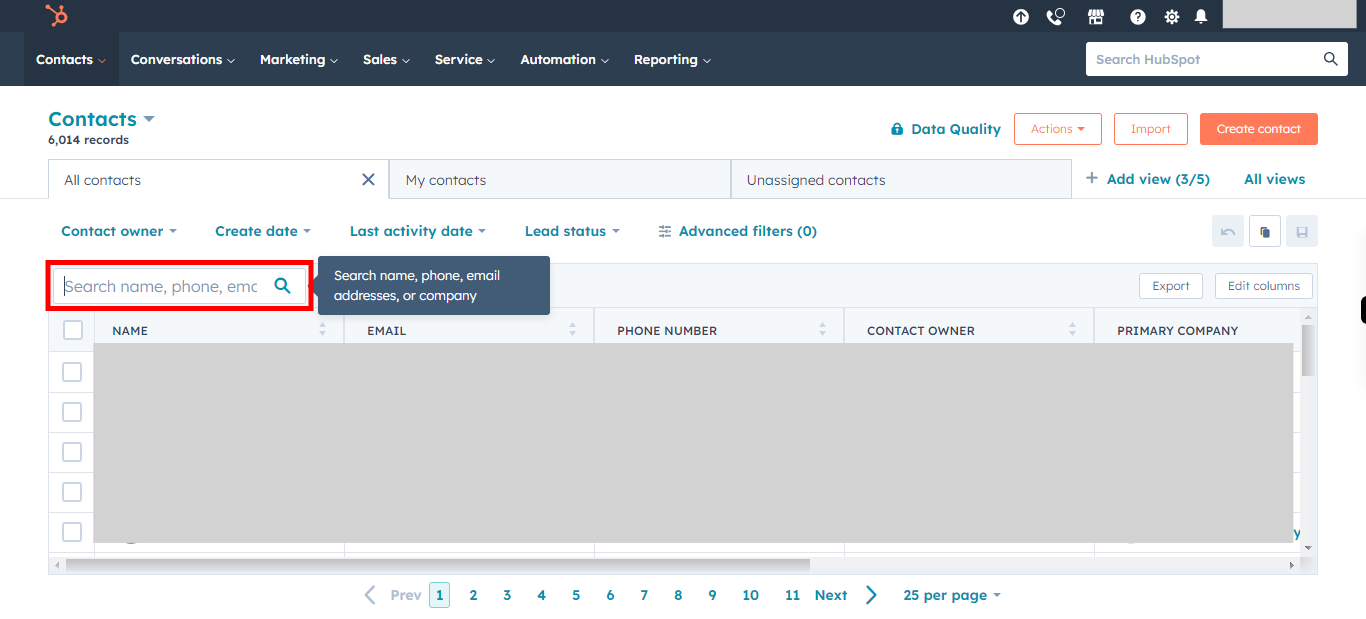
Click on the Next button in the Supervity Widget. Click on Search, type the Name of the Contact, and Select the Contact.
-
5.
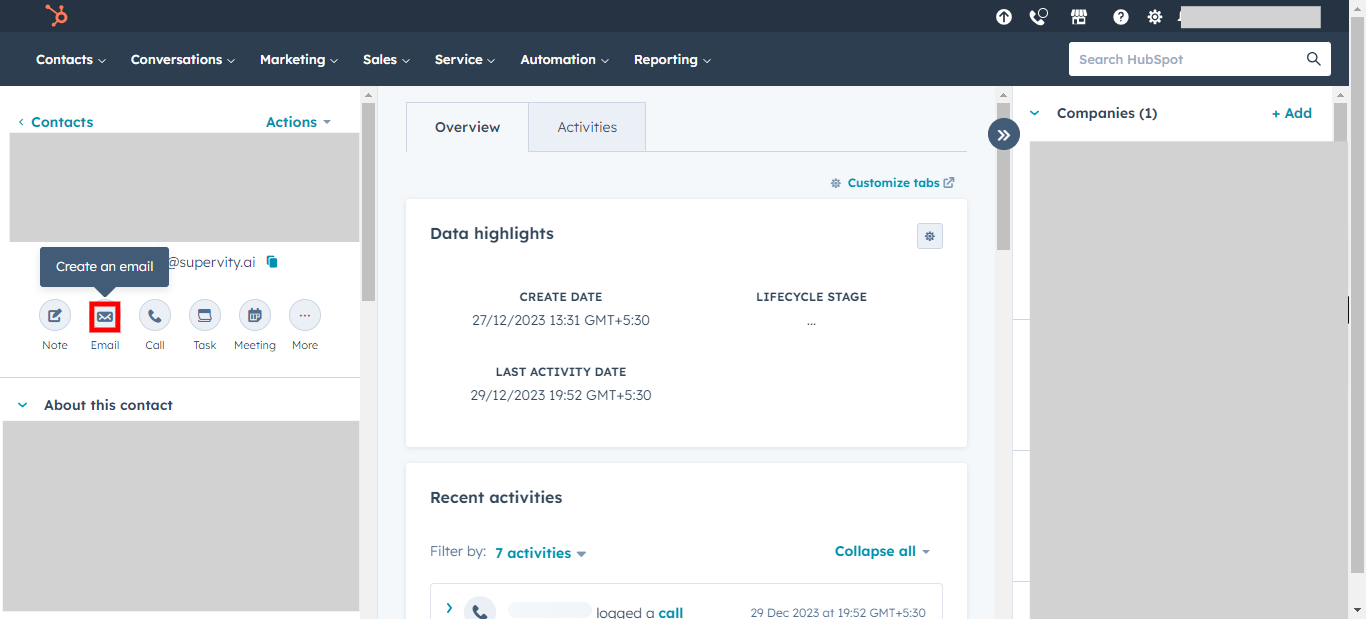
Click On Email Button Under Contact Name.
-
6.
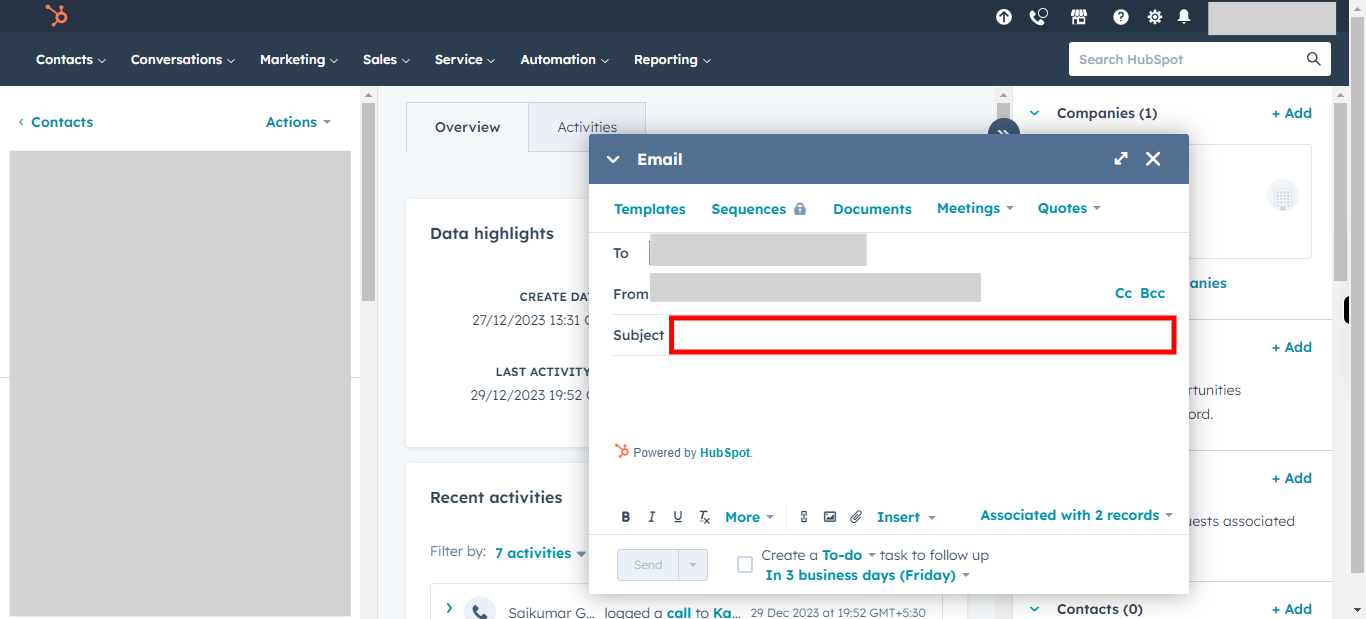
Click on the Subject and Add the Subject of the Mail. Once done, Click on the Next button in the Supervity Widget.
-
7.
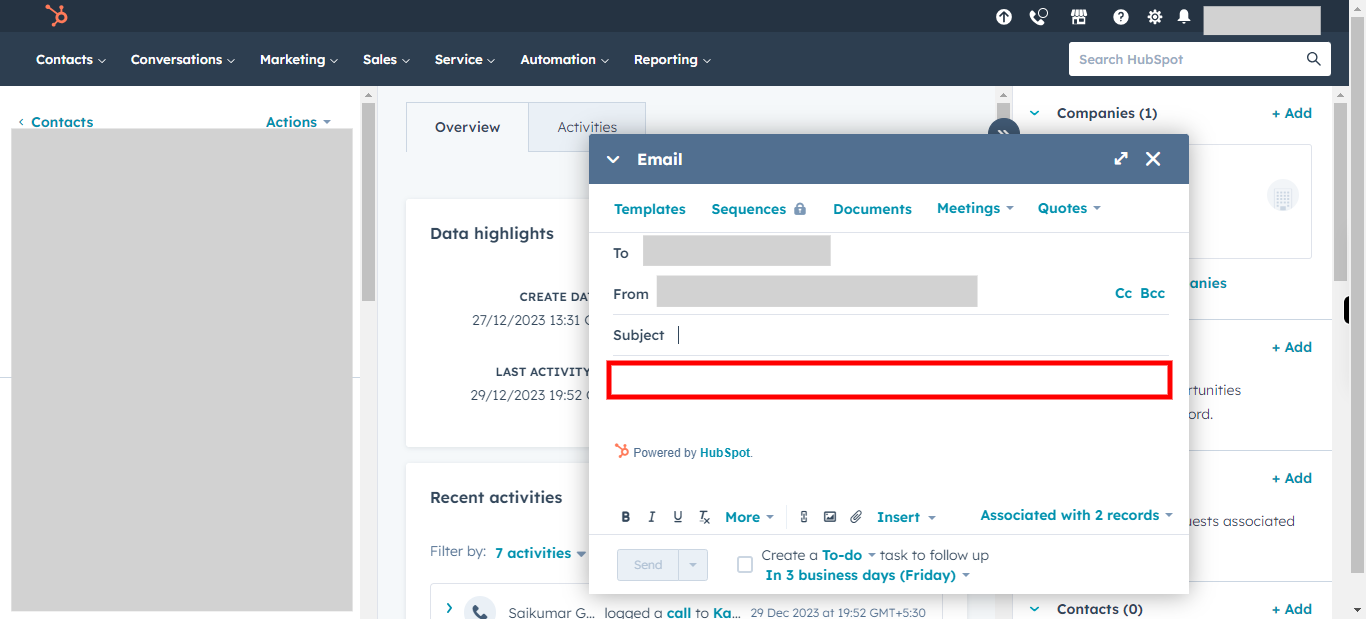
Click on the Body of the Email, type and add the Body of the email and if needed add the attatchments required. Once done, Click on the Next button in the Supervity Widget.
-
8.
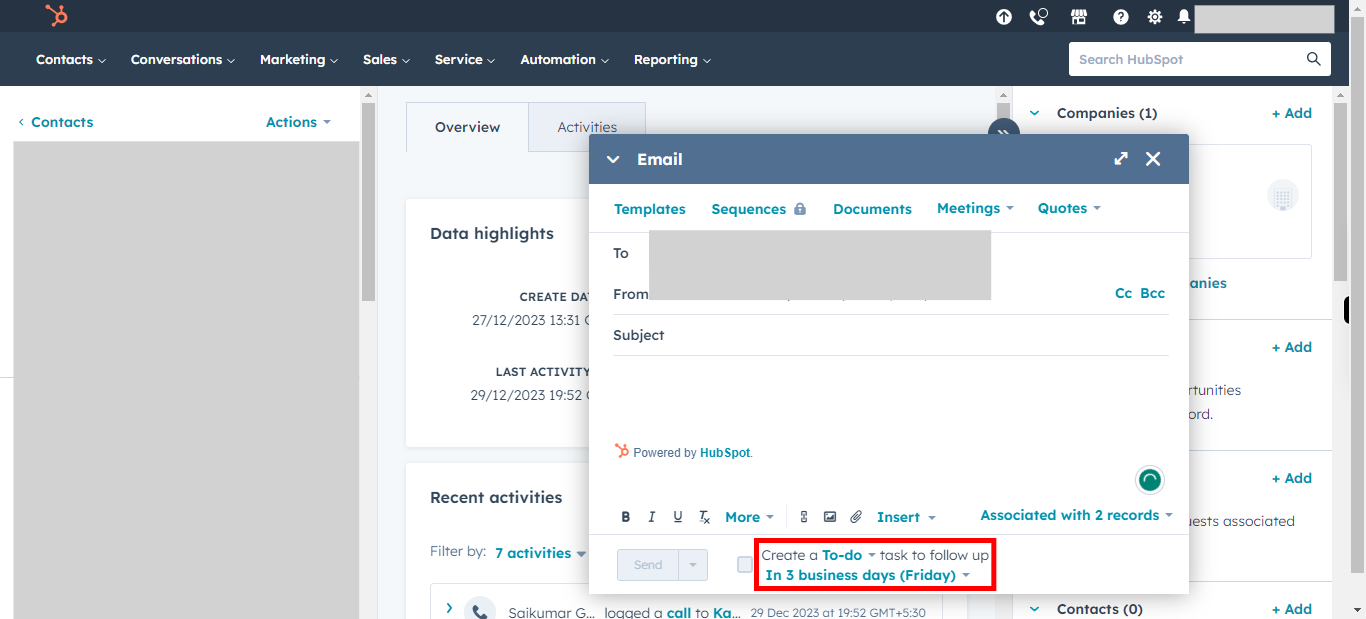
Click on the Todo Drop-down and select the Follow-up for the email you are sending or else Uncheck the follow-up. Once done, Click on the Next button in the Supervity Widget.
-
9.
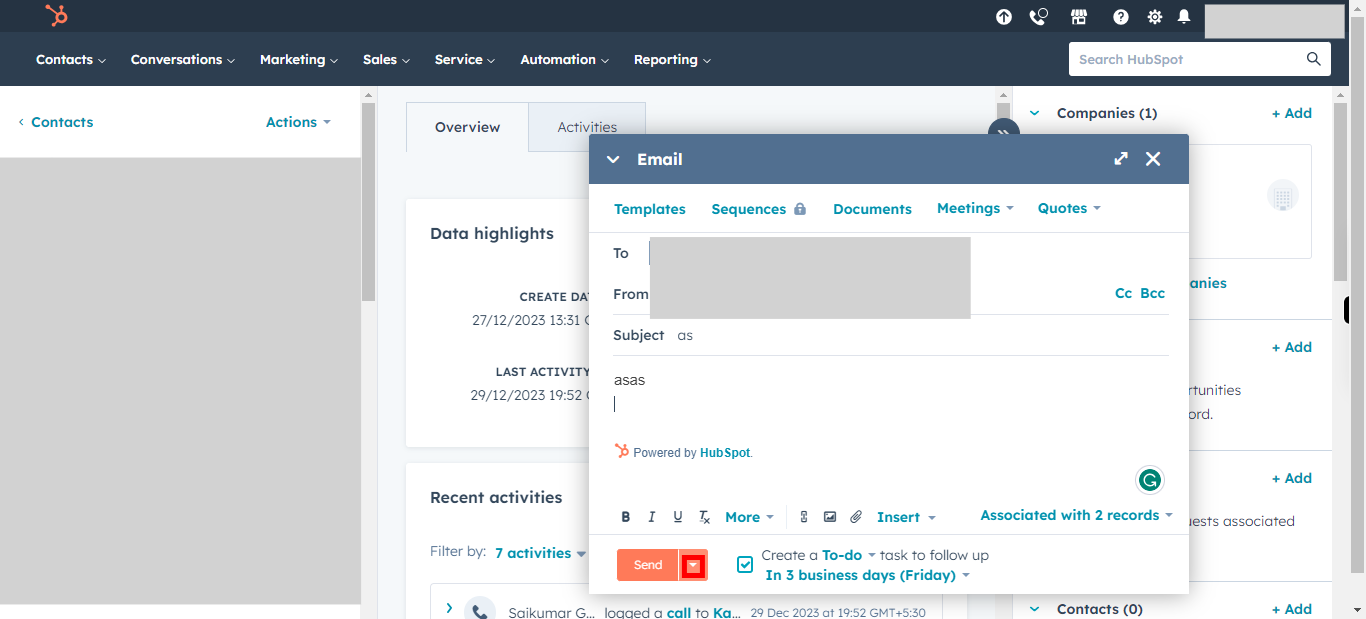
Click on Down arrow beside the Send button.
-
10.
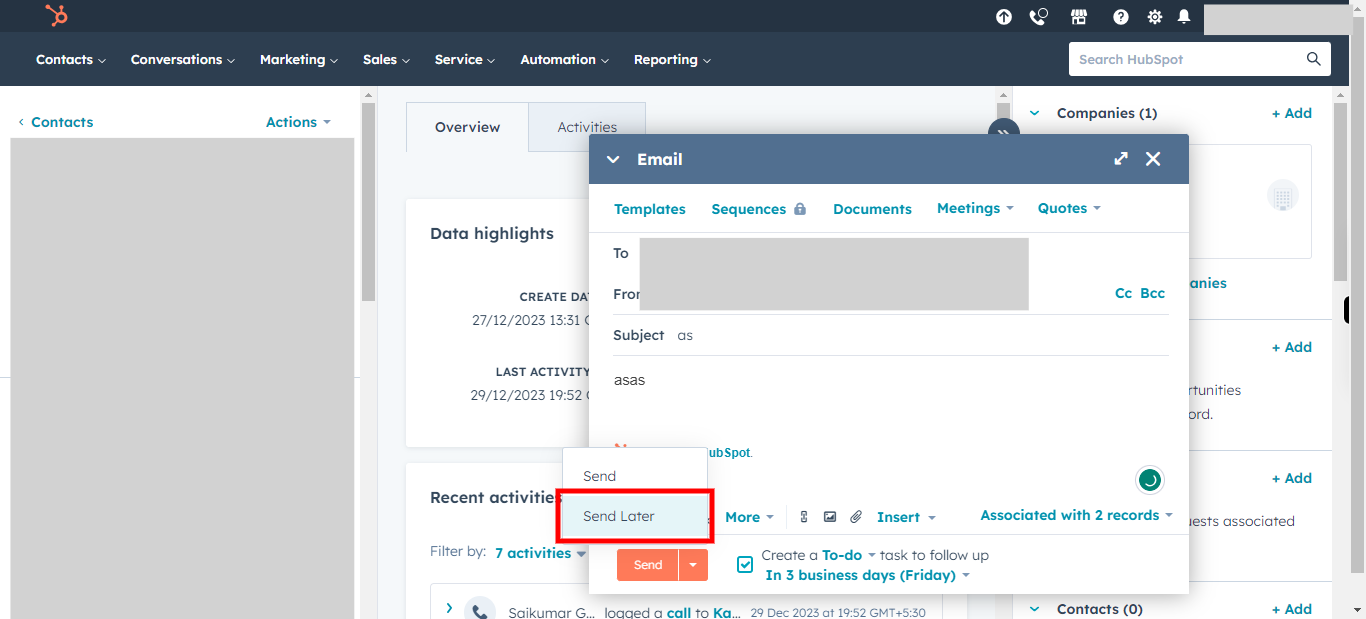
Select Send Later.
-
11.
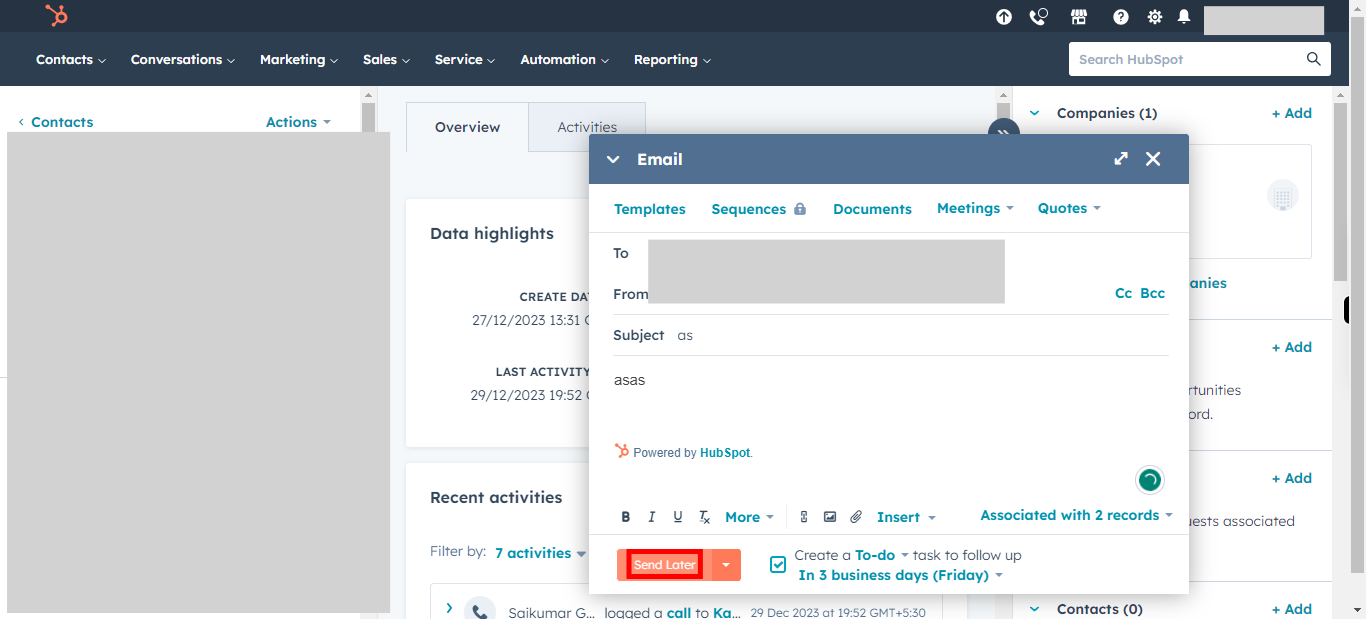
Click on Send Later to see the available options to send this email.
-
12.
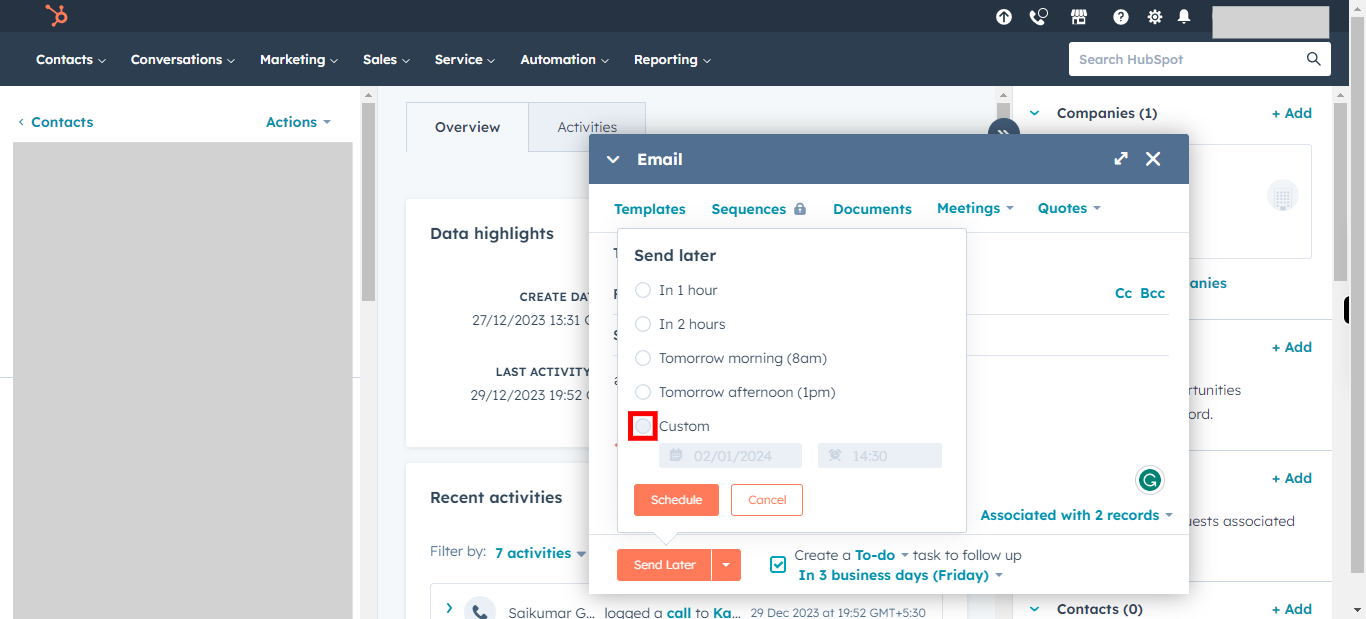
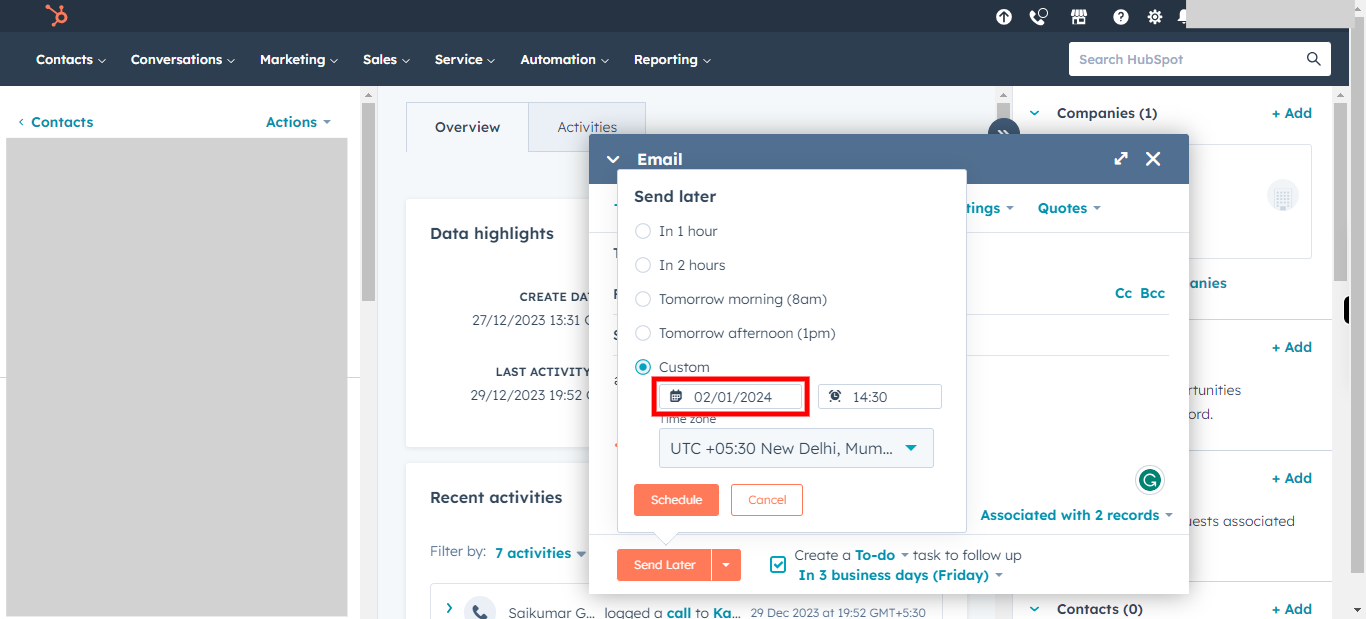
Click on Custom to select a Custom date and time.
-
13.
Click on Date and Select the Date when you want to send the Email. Once done, Click on Next button in the Supervity Widget.
-
14.
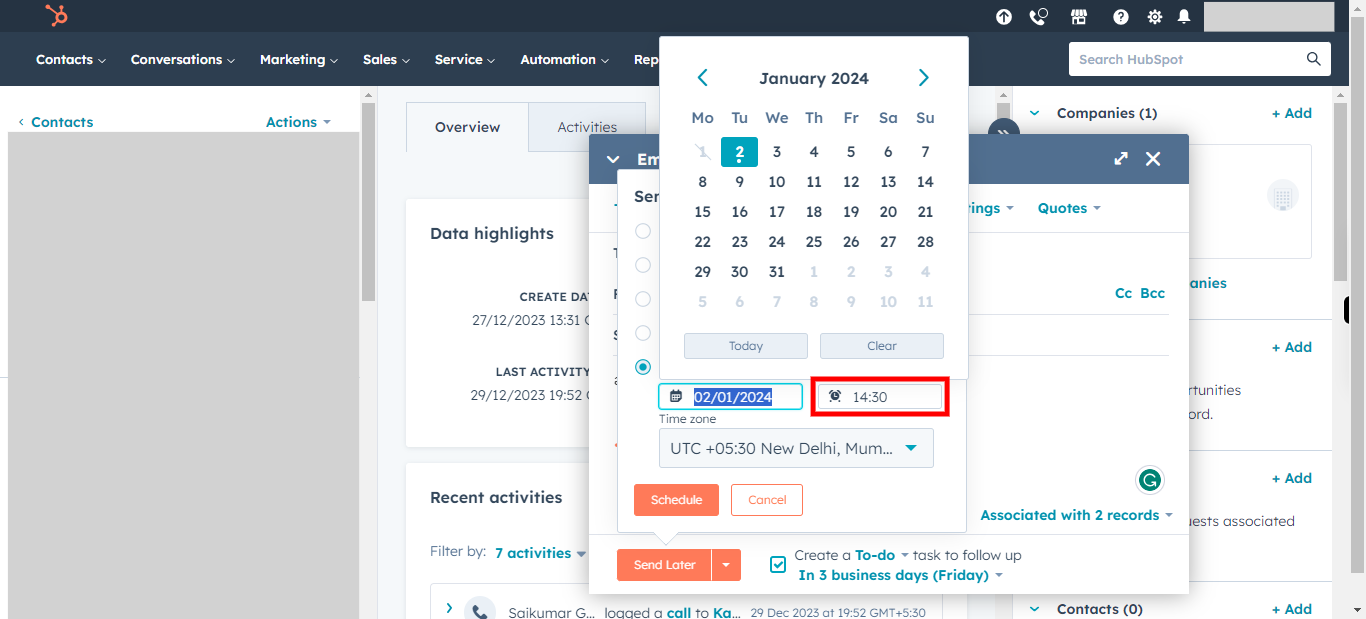
Click on Time and Select the time. Once done, Click on Next button in the Supervity Widget.
-
15.
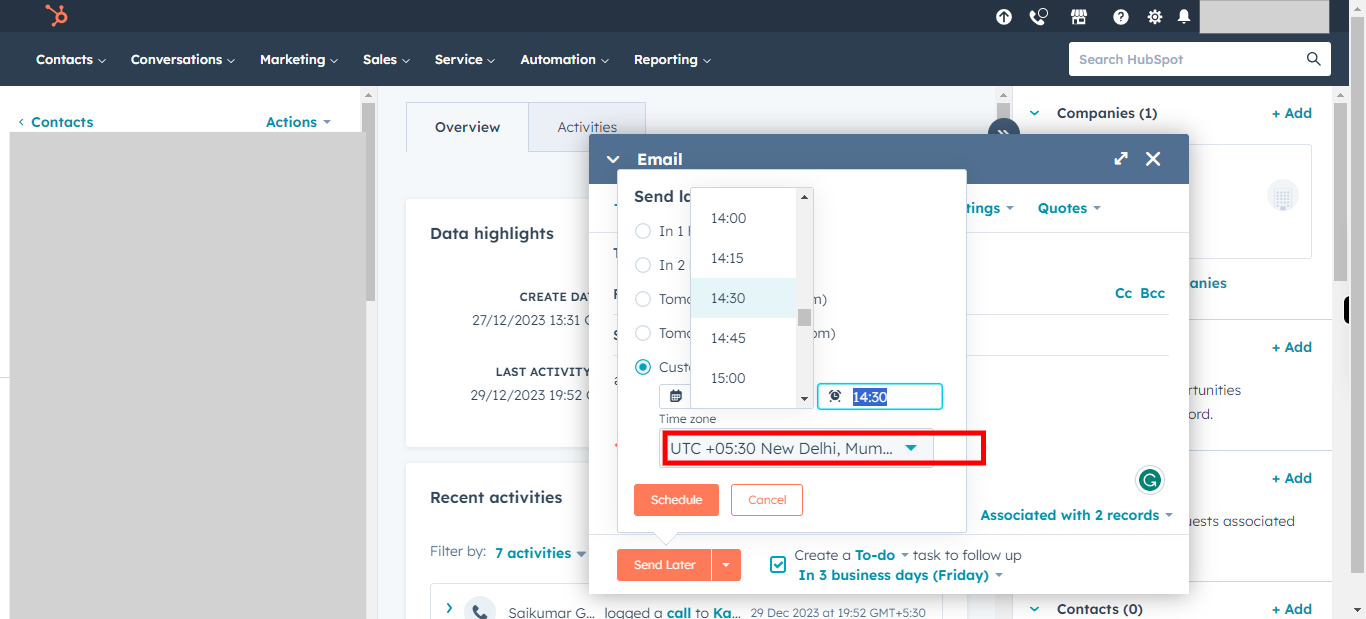
Click on Timezone and select the time Zone. Once done, Click on Next button in the Supervity Widget.
-
16.
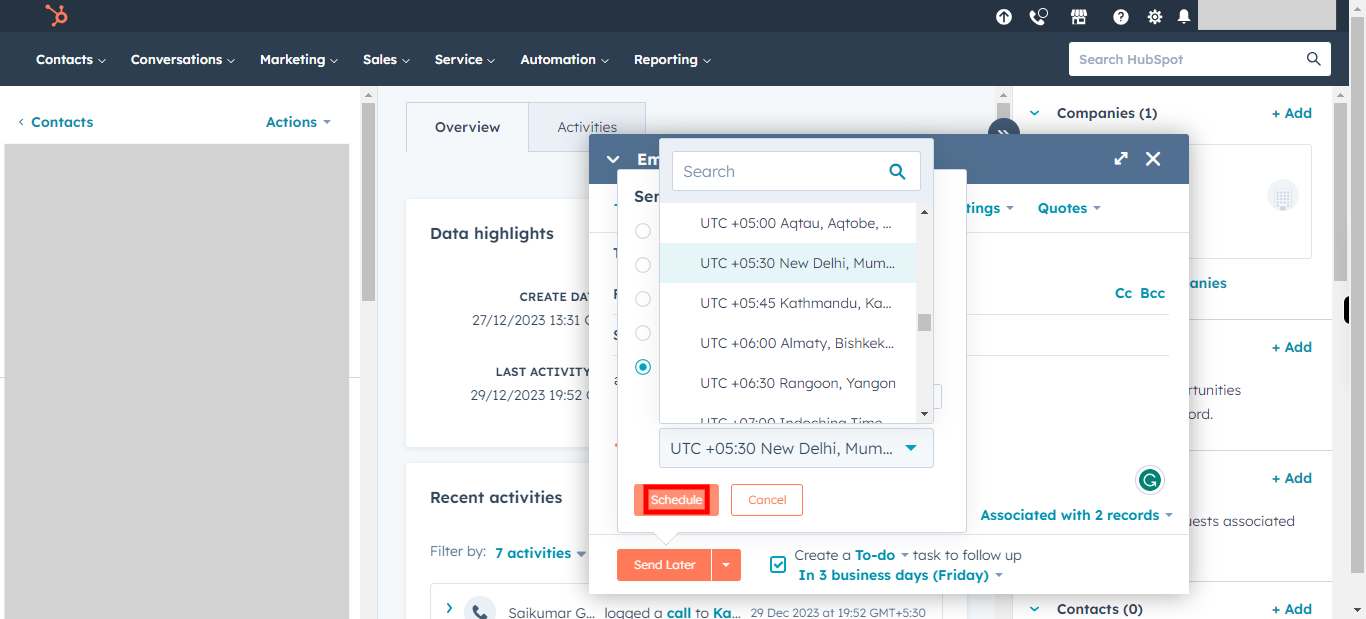
Click on Schedule to schedule the email.


