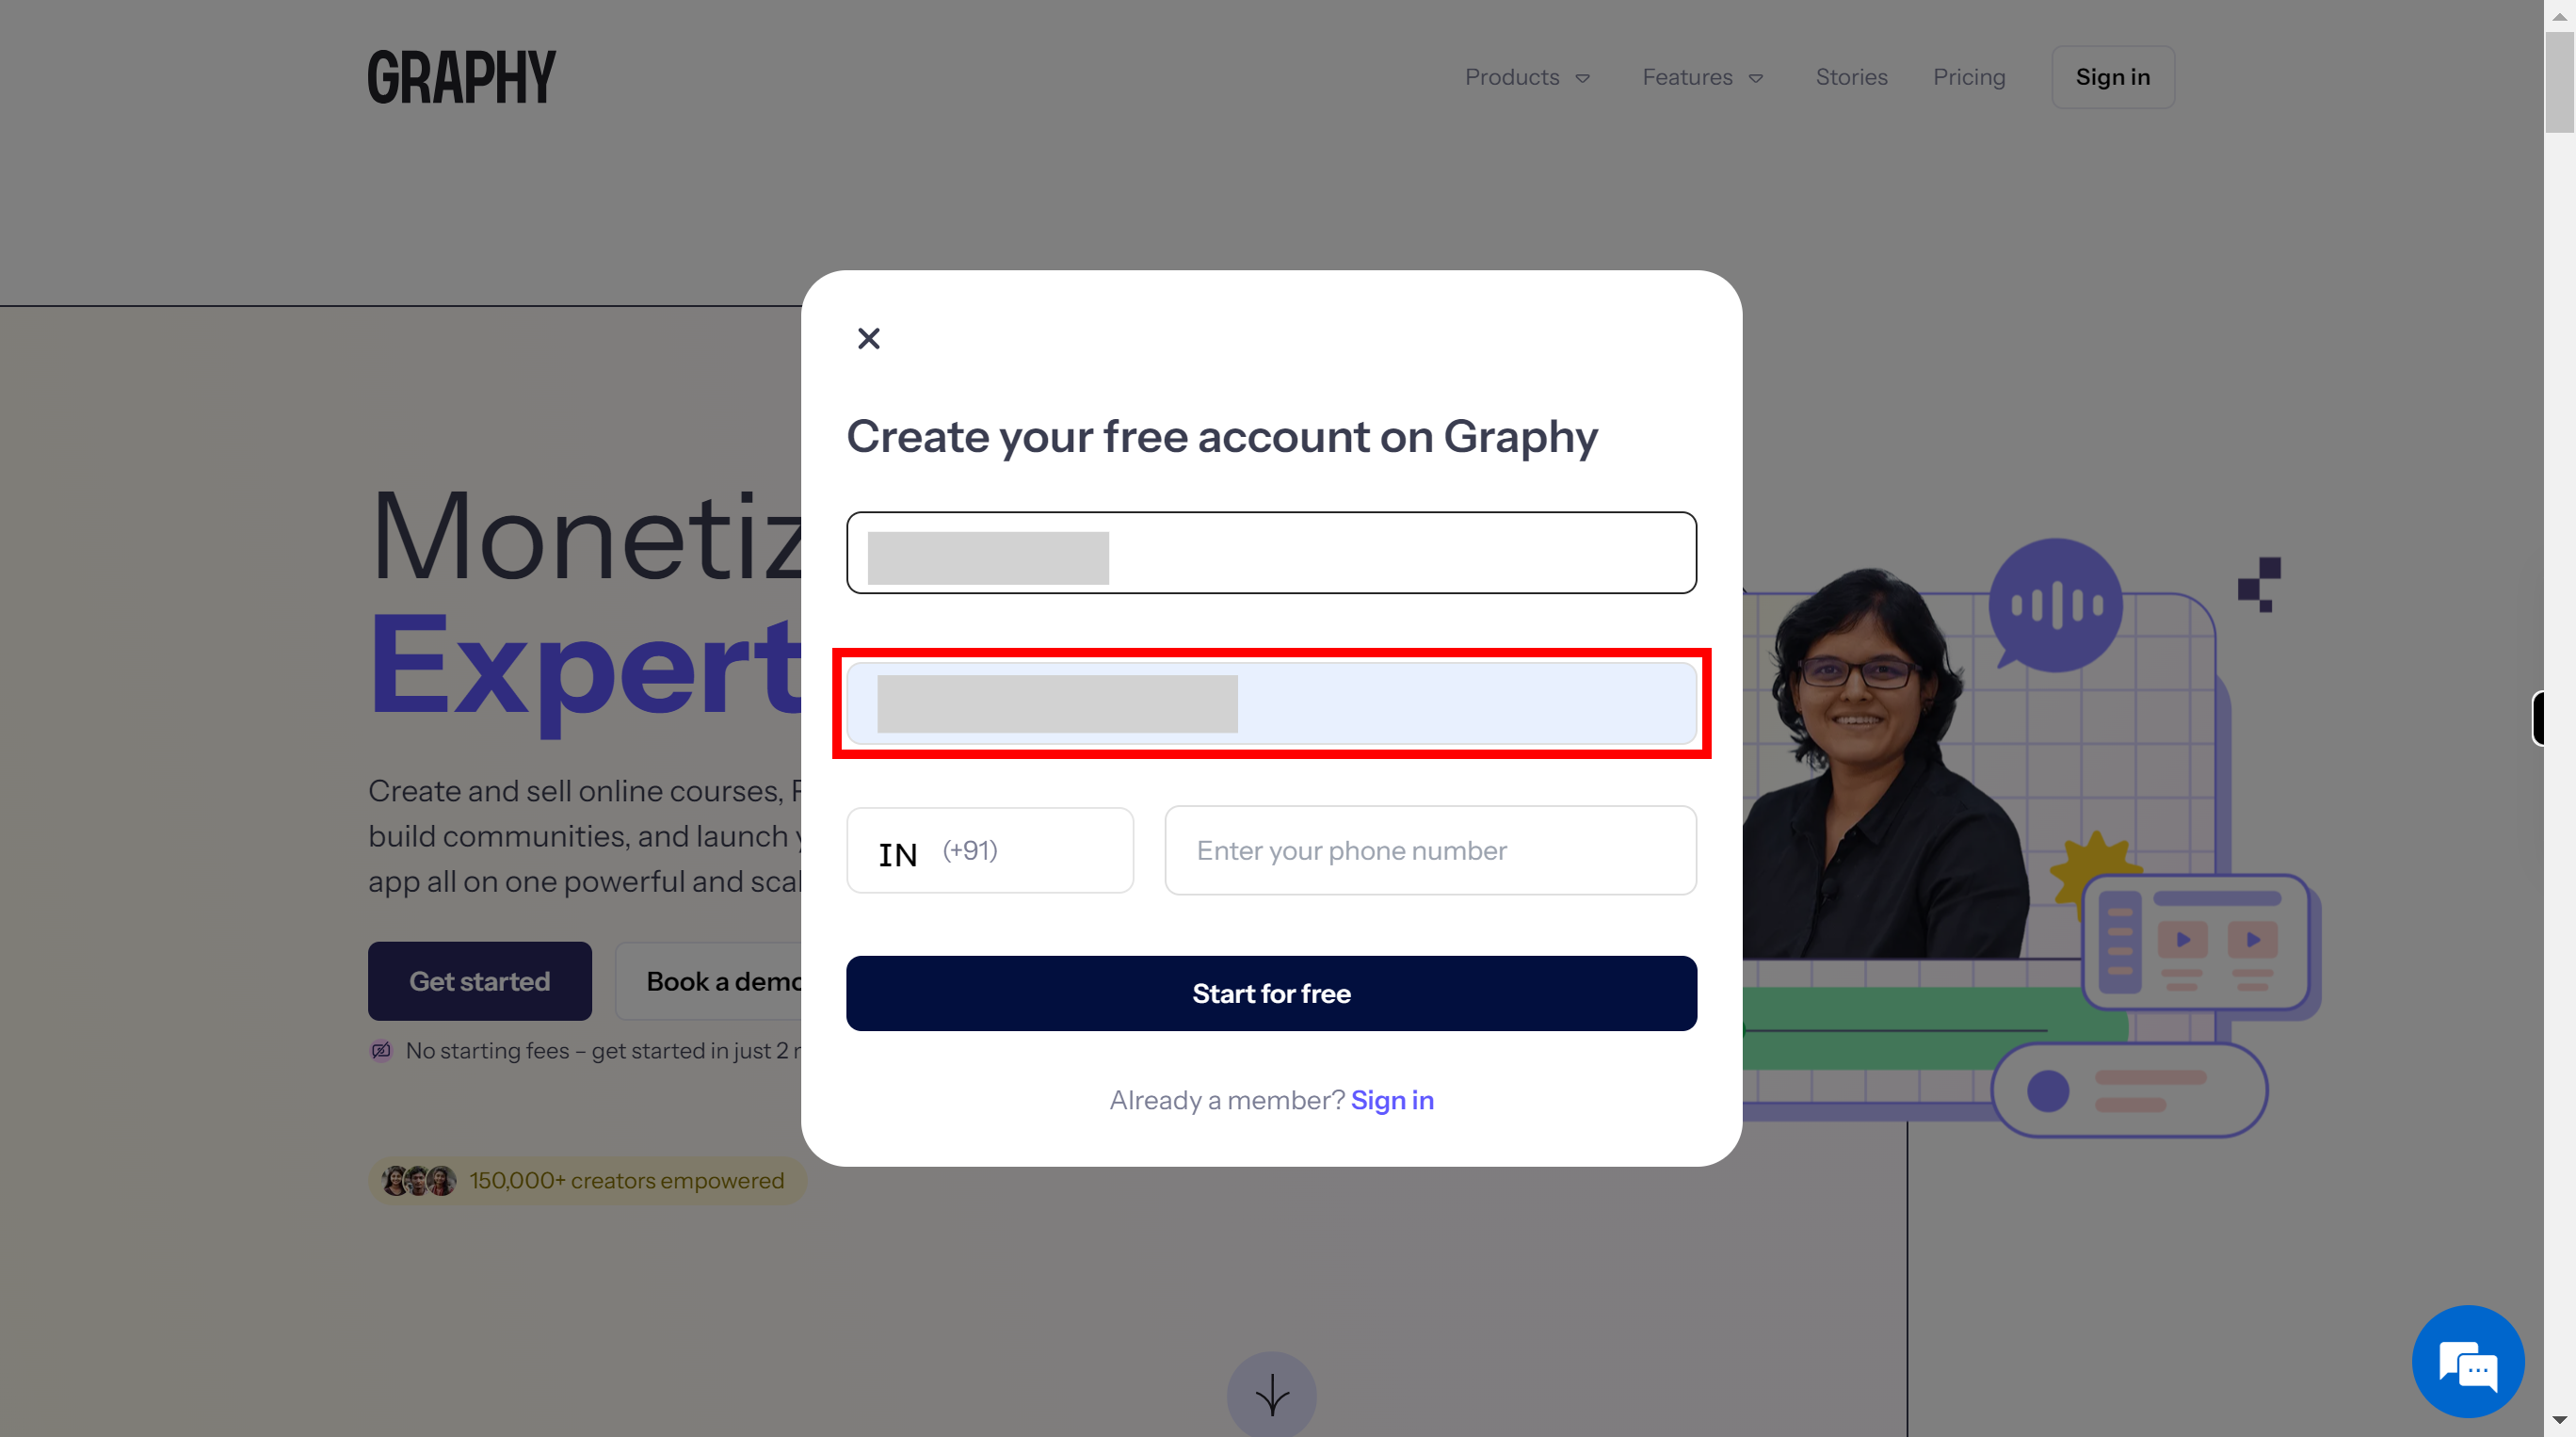
Step by step procedure for signup in Graphy wibsite. Note: for only new course creation only.
-
1.
Open Create and sell online courses - Graphy

-
2.
Click on the "Create an online course" button to create an account.

-
3.
Click on the "Name" field, enter your name. Once done, click on the "Next" button on the Supervity instruction widget.

-
4.
Click on the "Email" field, then enter your Email Id for communication. Once done, click on the "Next" button on the Supervity instruction widget.
-
5.
Click on the "Phone number" field, then enter your mobile number which is in active state for communication. Once done, click on the "Next" button on the Supervity instruction widget.
-
6.
Click on the "Start for free" button to create an account for given mail id.
-
7.
Select one of the icon for what field of expertise Graphy used for. Once done, click on the "Next" button on the Supervity instruction widget.

-
8.
Click on the "Continue" button go to next step.

-
9.
Click "Brand name" field, then enter your brand name to display. Once done, click on the "Next" button on the Supervity instruction widget.
-
10.
Click on the "YouTube field" then add your youtube link. Once done, click on the "Next" button on the Supervity instruction widget.
-
11.
Click on the "Instagram link" field, then add your instagram link. Once done, click on the "Next" button on the Supervity instruction widget.
-
12.
Click on the "View more" down arrow to view more details to add.
-
13.
Click on the "Twitter link" , then add your Twitter link. Once done, click on the "Next" button on the Supervity instruction widget.
-
14.
Click on the "LinkedIn link" field, then add your Linkedln link. Once done, click on the "Next" button on the Supervity instruction widget.
-
15.
Click on the "Facebook link" field, add your Facebook link. Once done, click on the "Next" button on the Supervity instruction widget.
-
16.
Click on the "Finish" button to create your course.


