Step by step procedure in ONDC Network Participation Form
-
1.
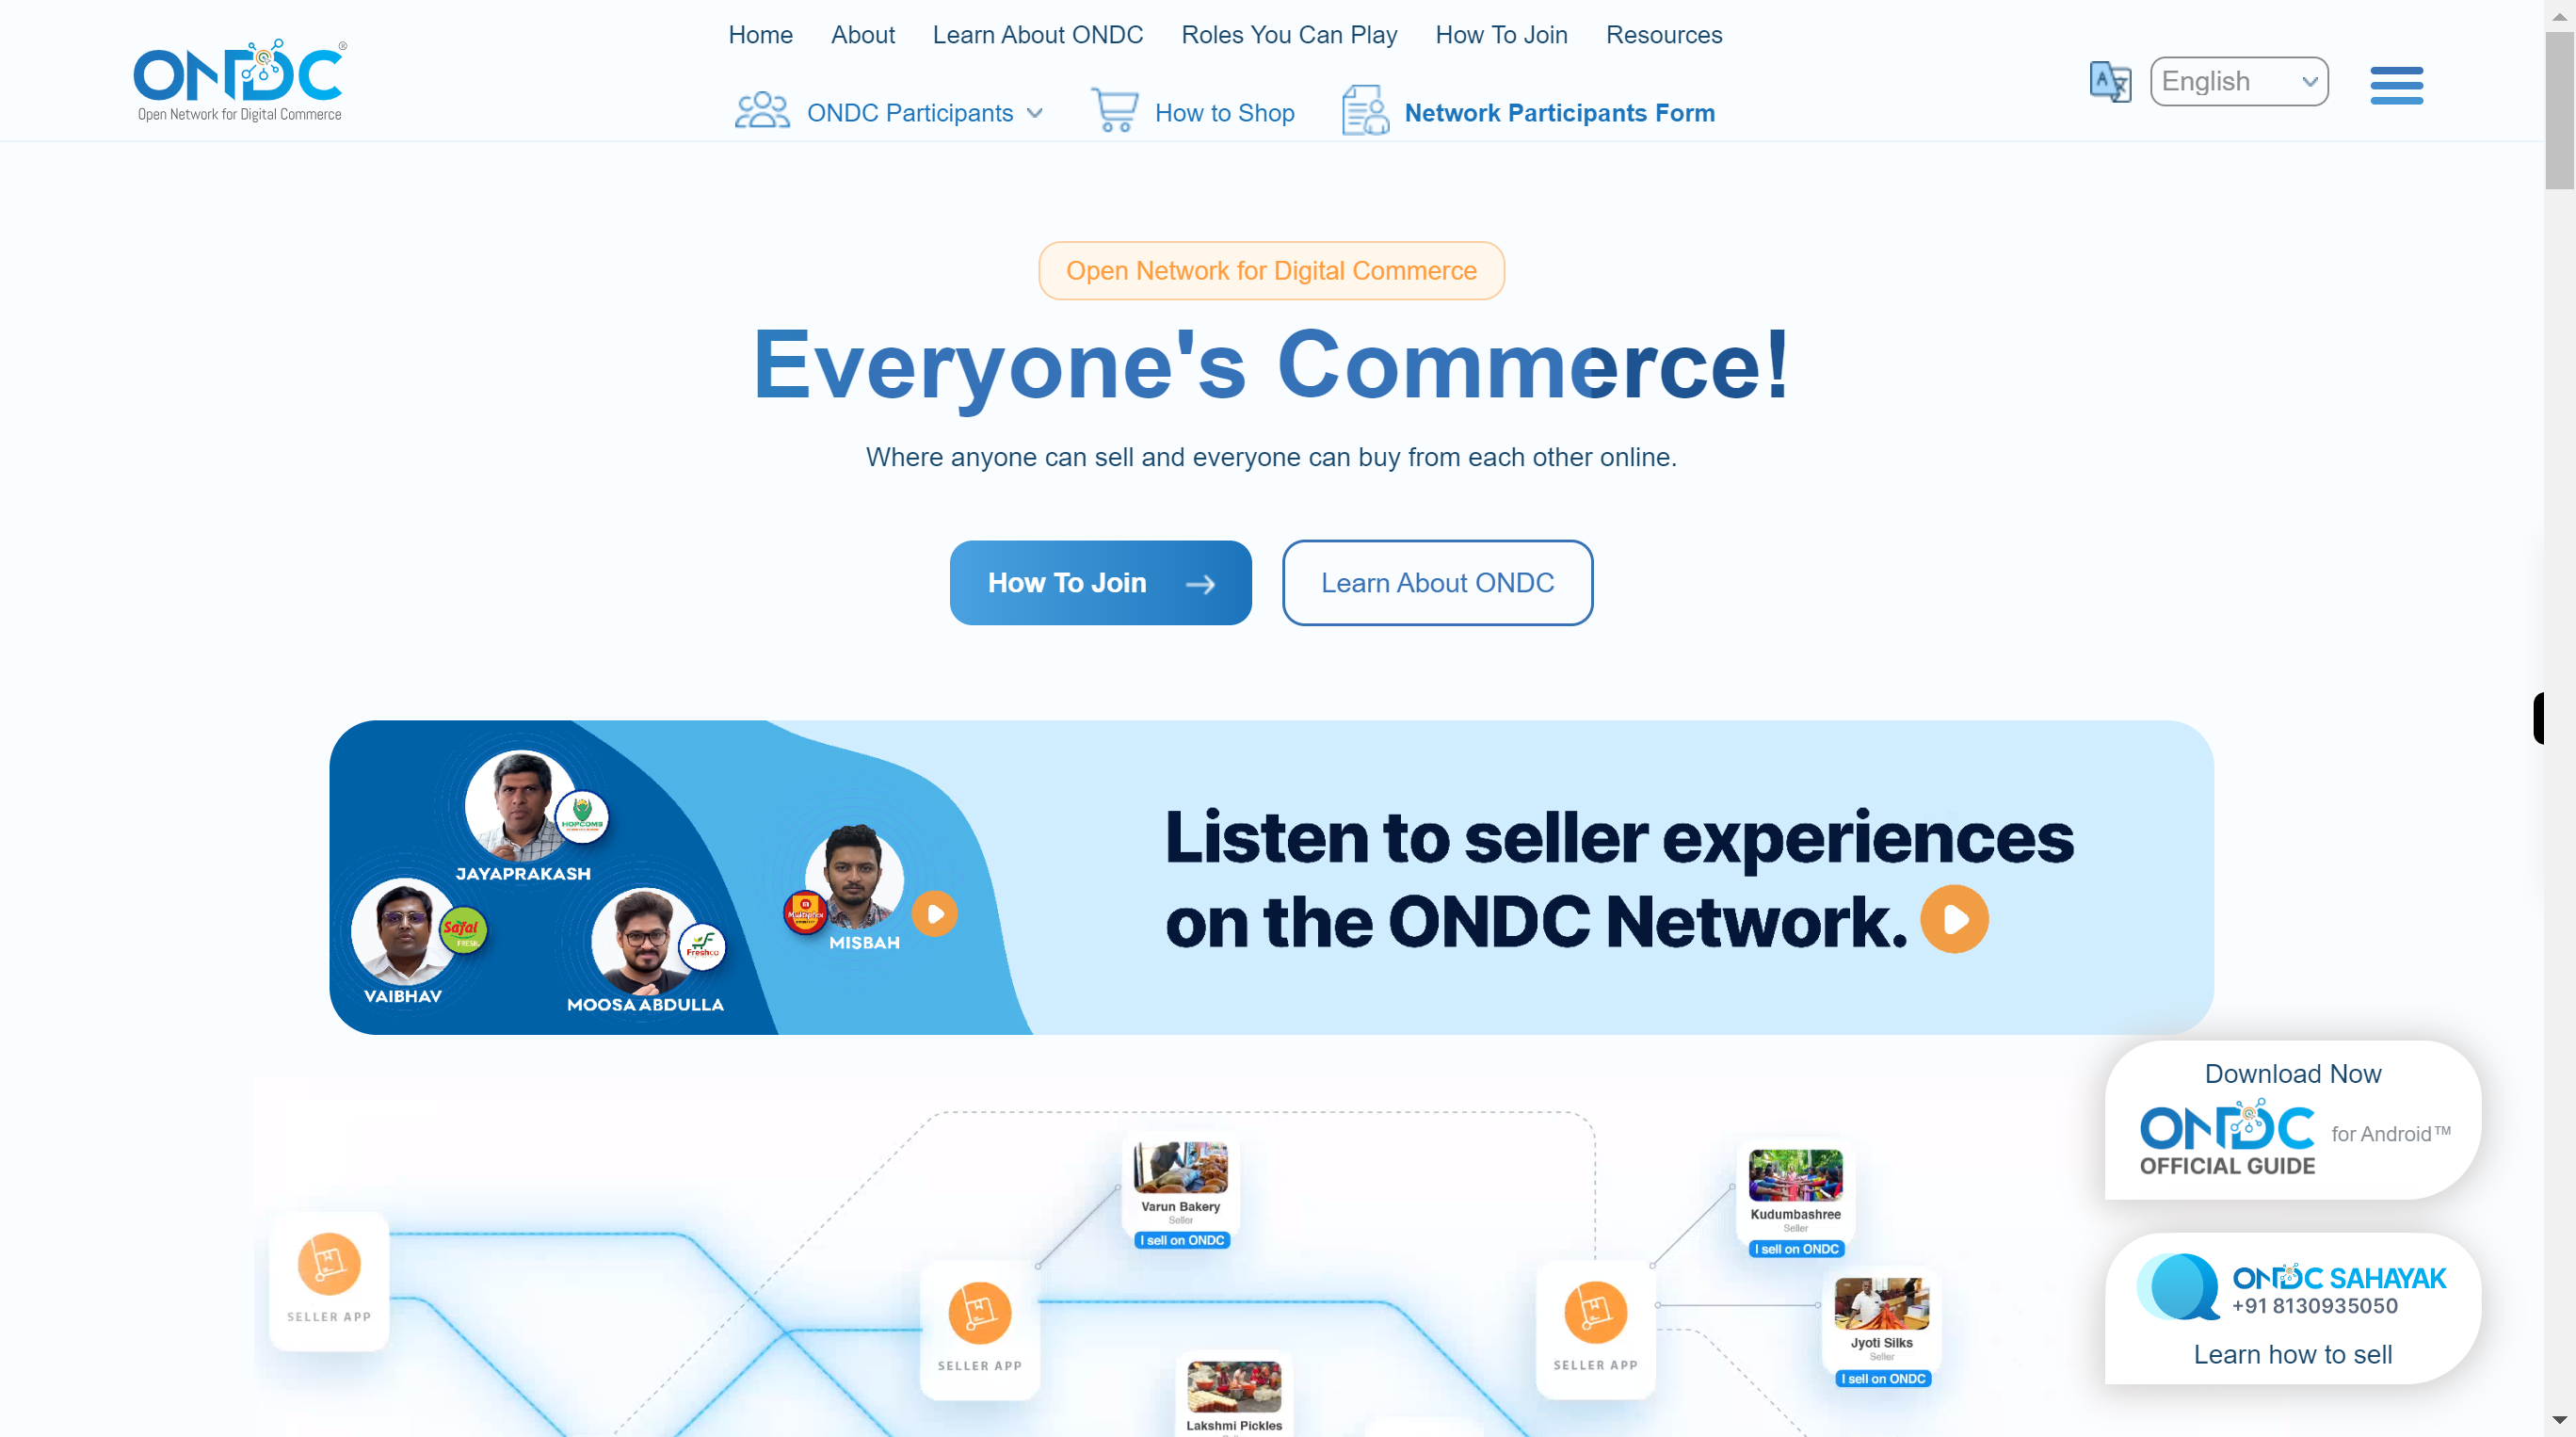
Open ONDC | Open Network for Digital Commerce
-
2.
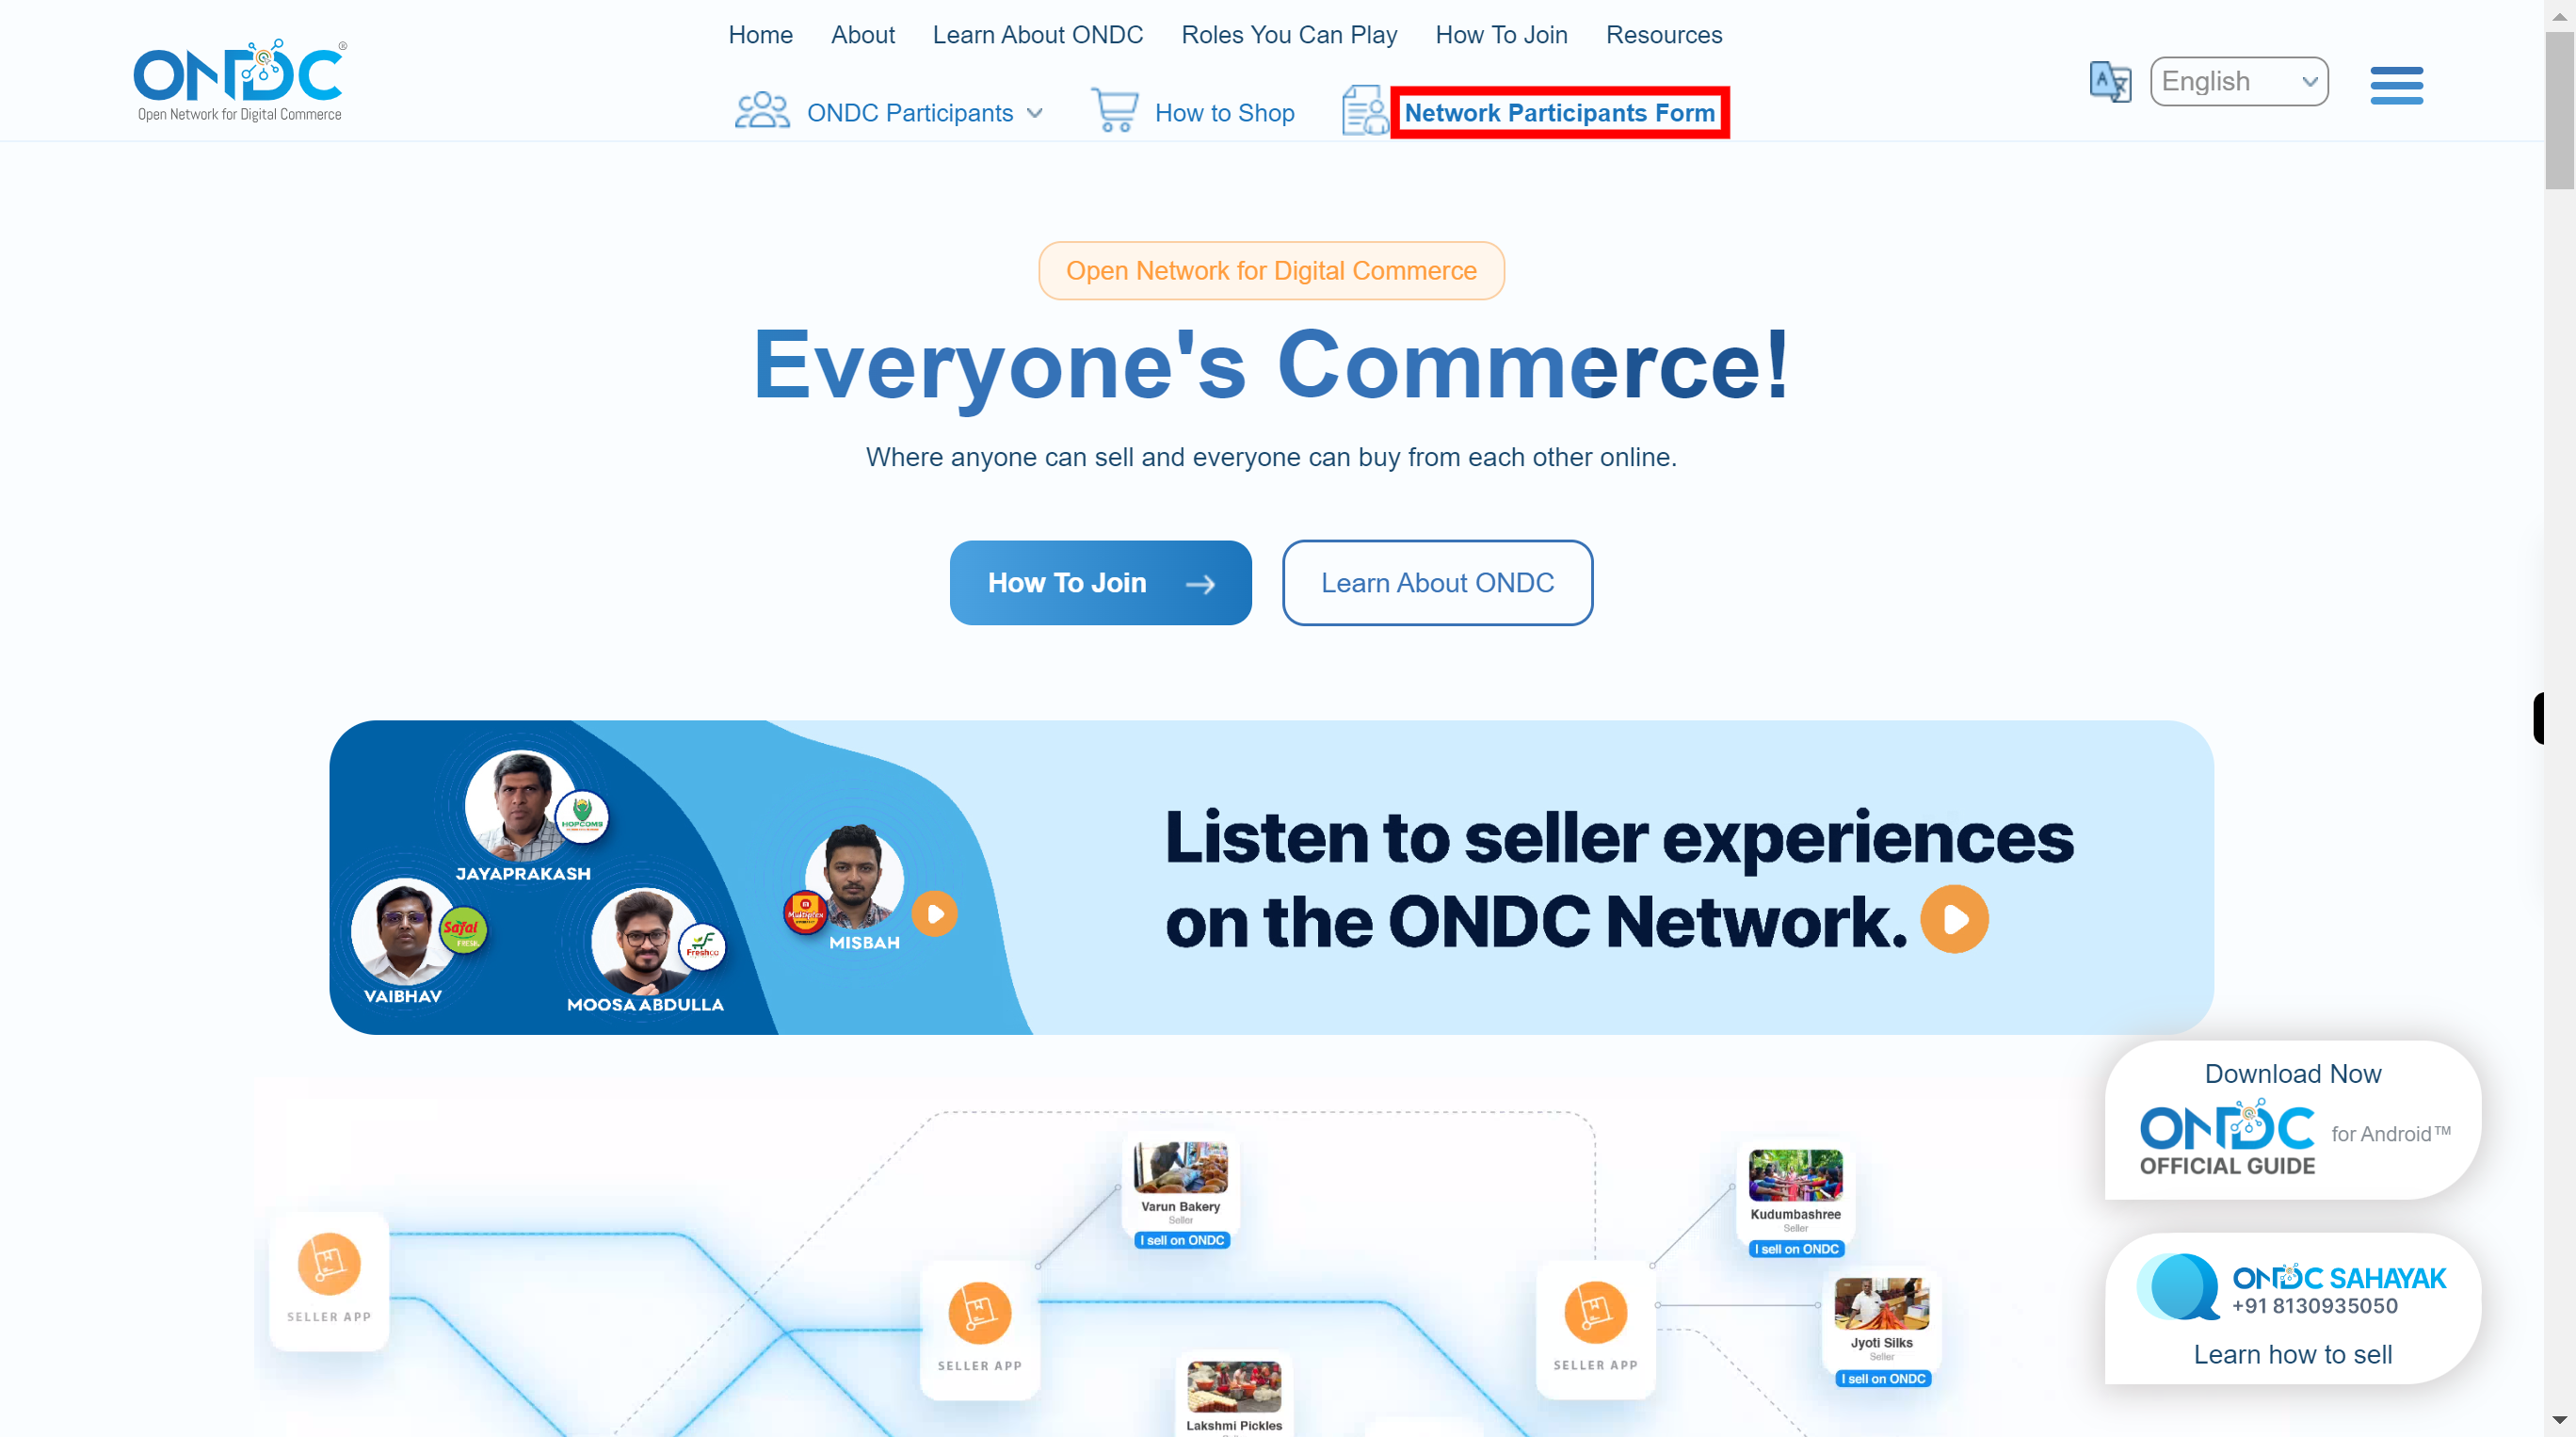
Click on the "Network Participants Form" present in the top.
-
3.
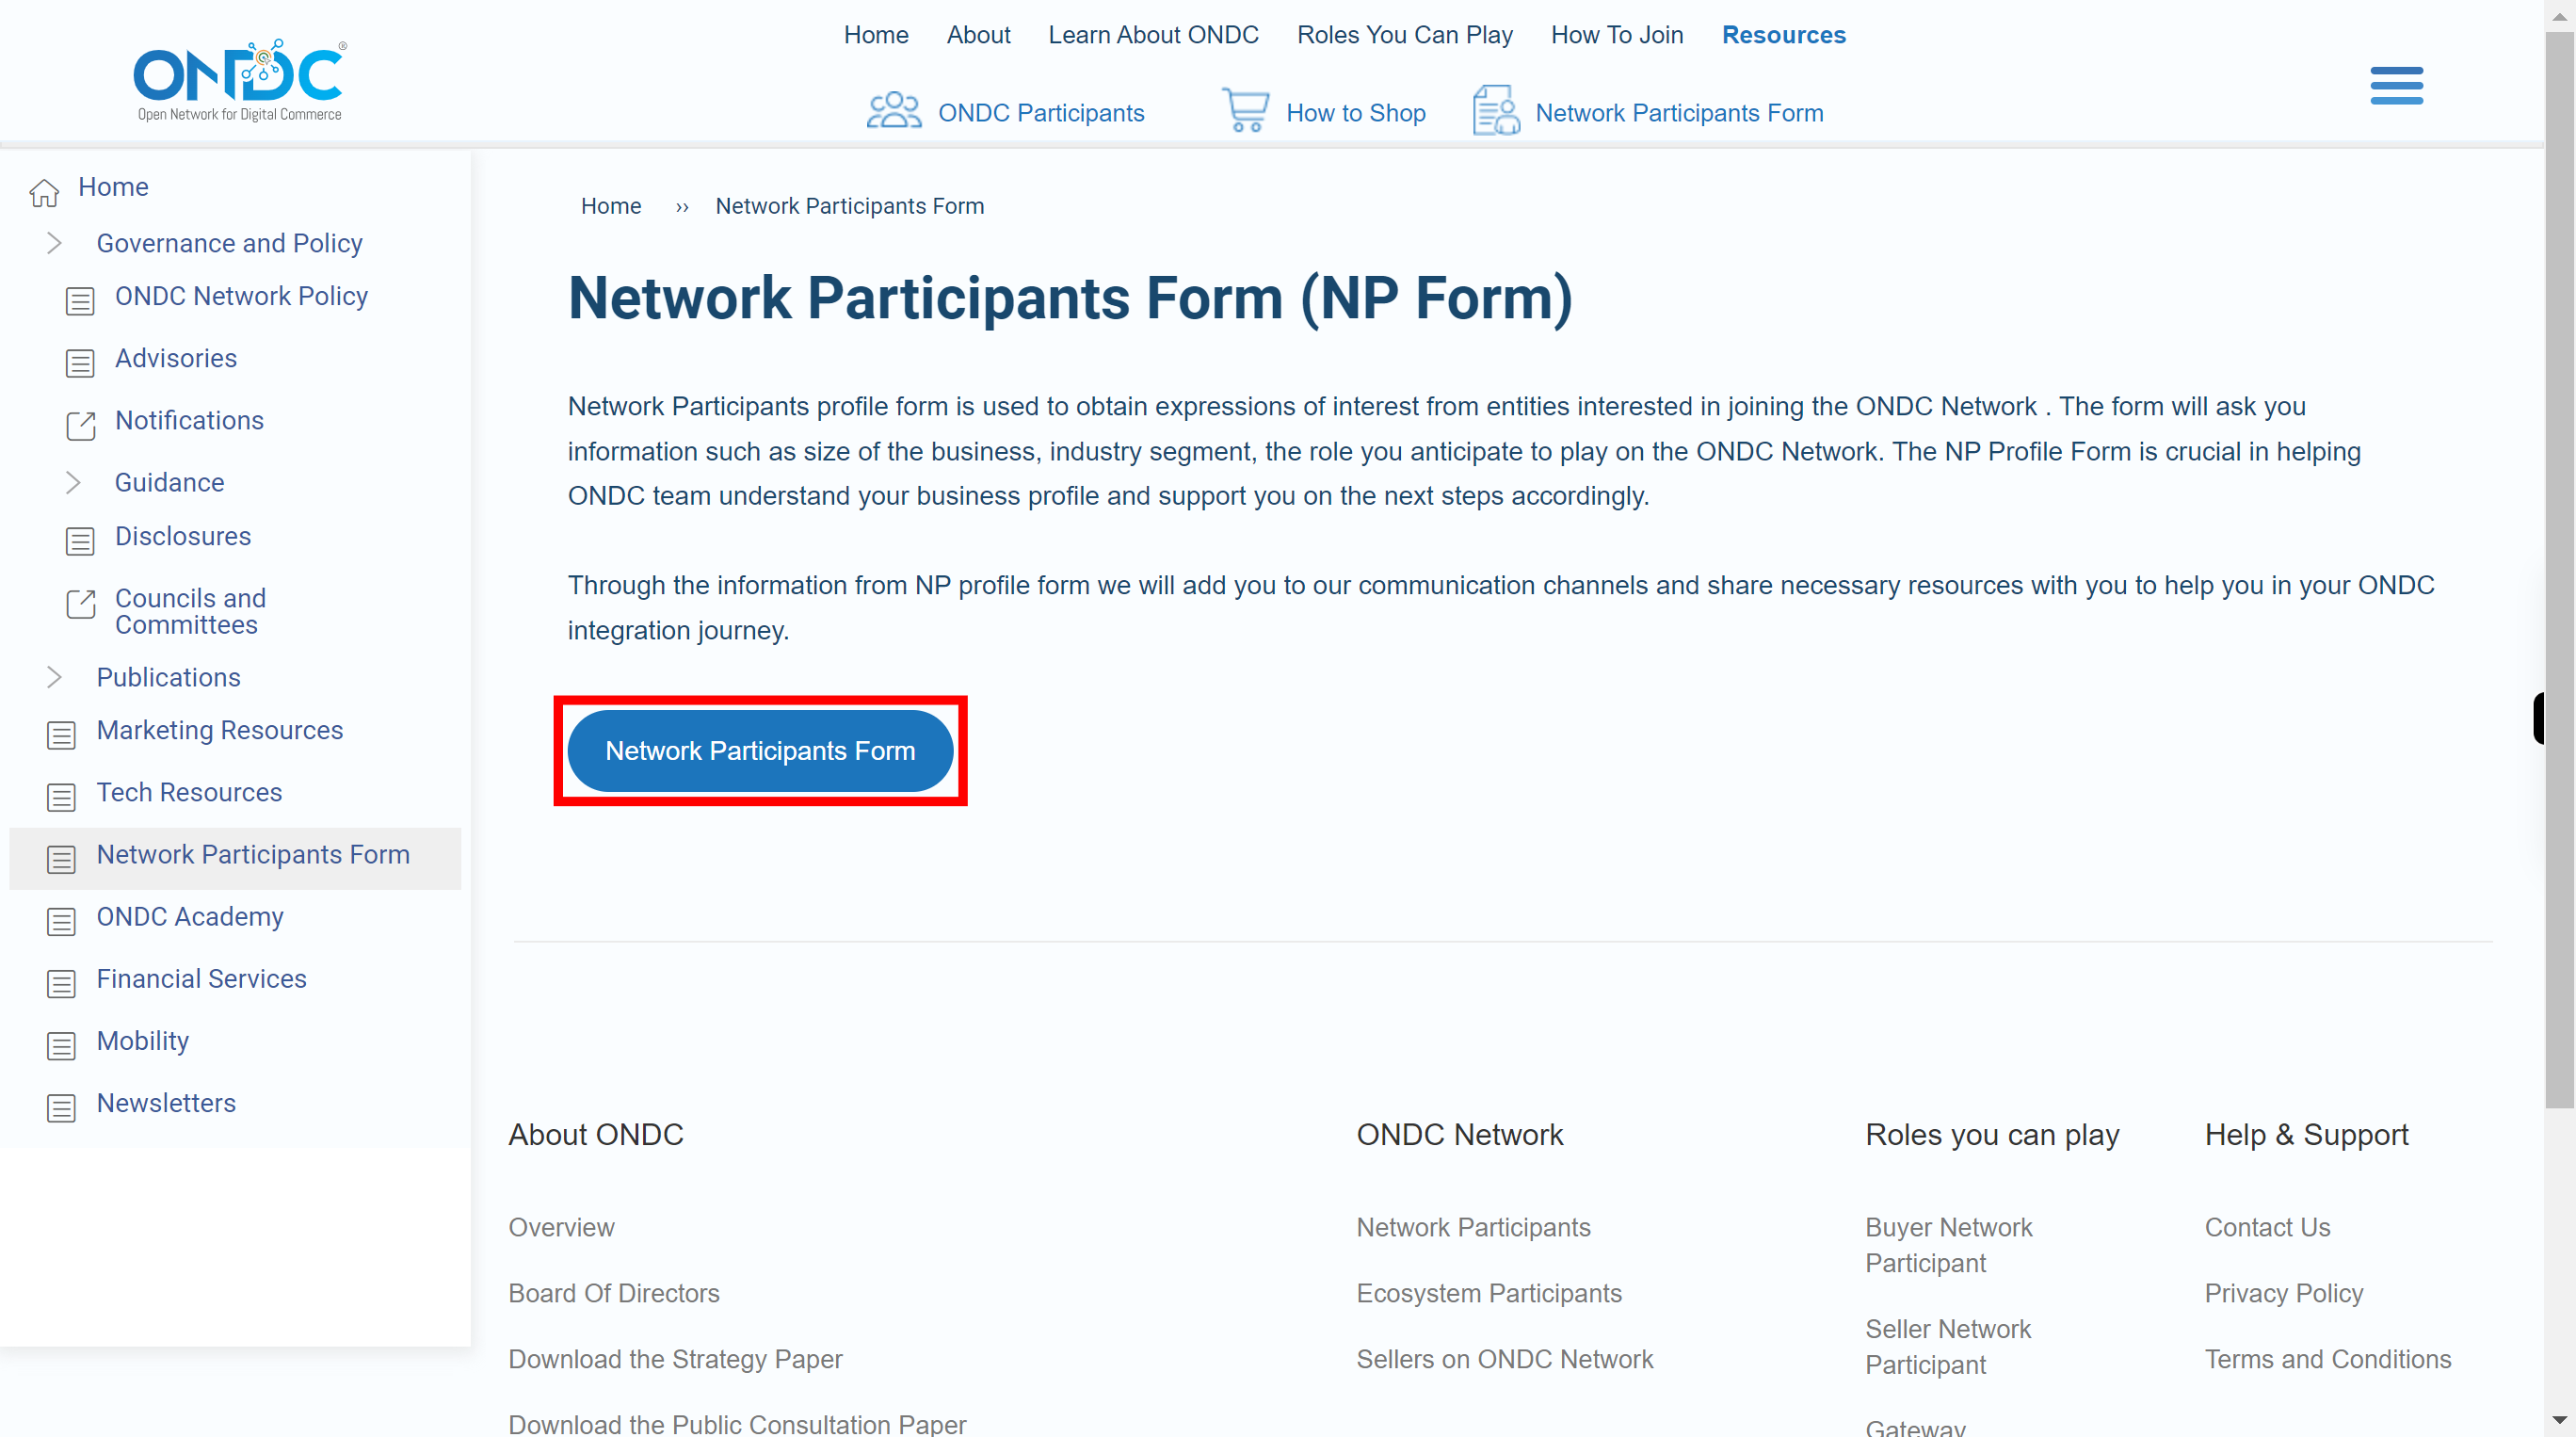
Click on the "Network Participants Form" to open the form and fill the details.
-
4.
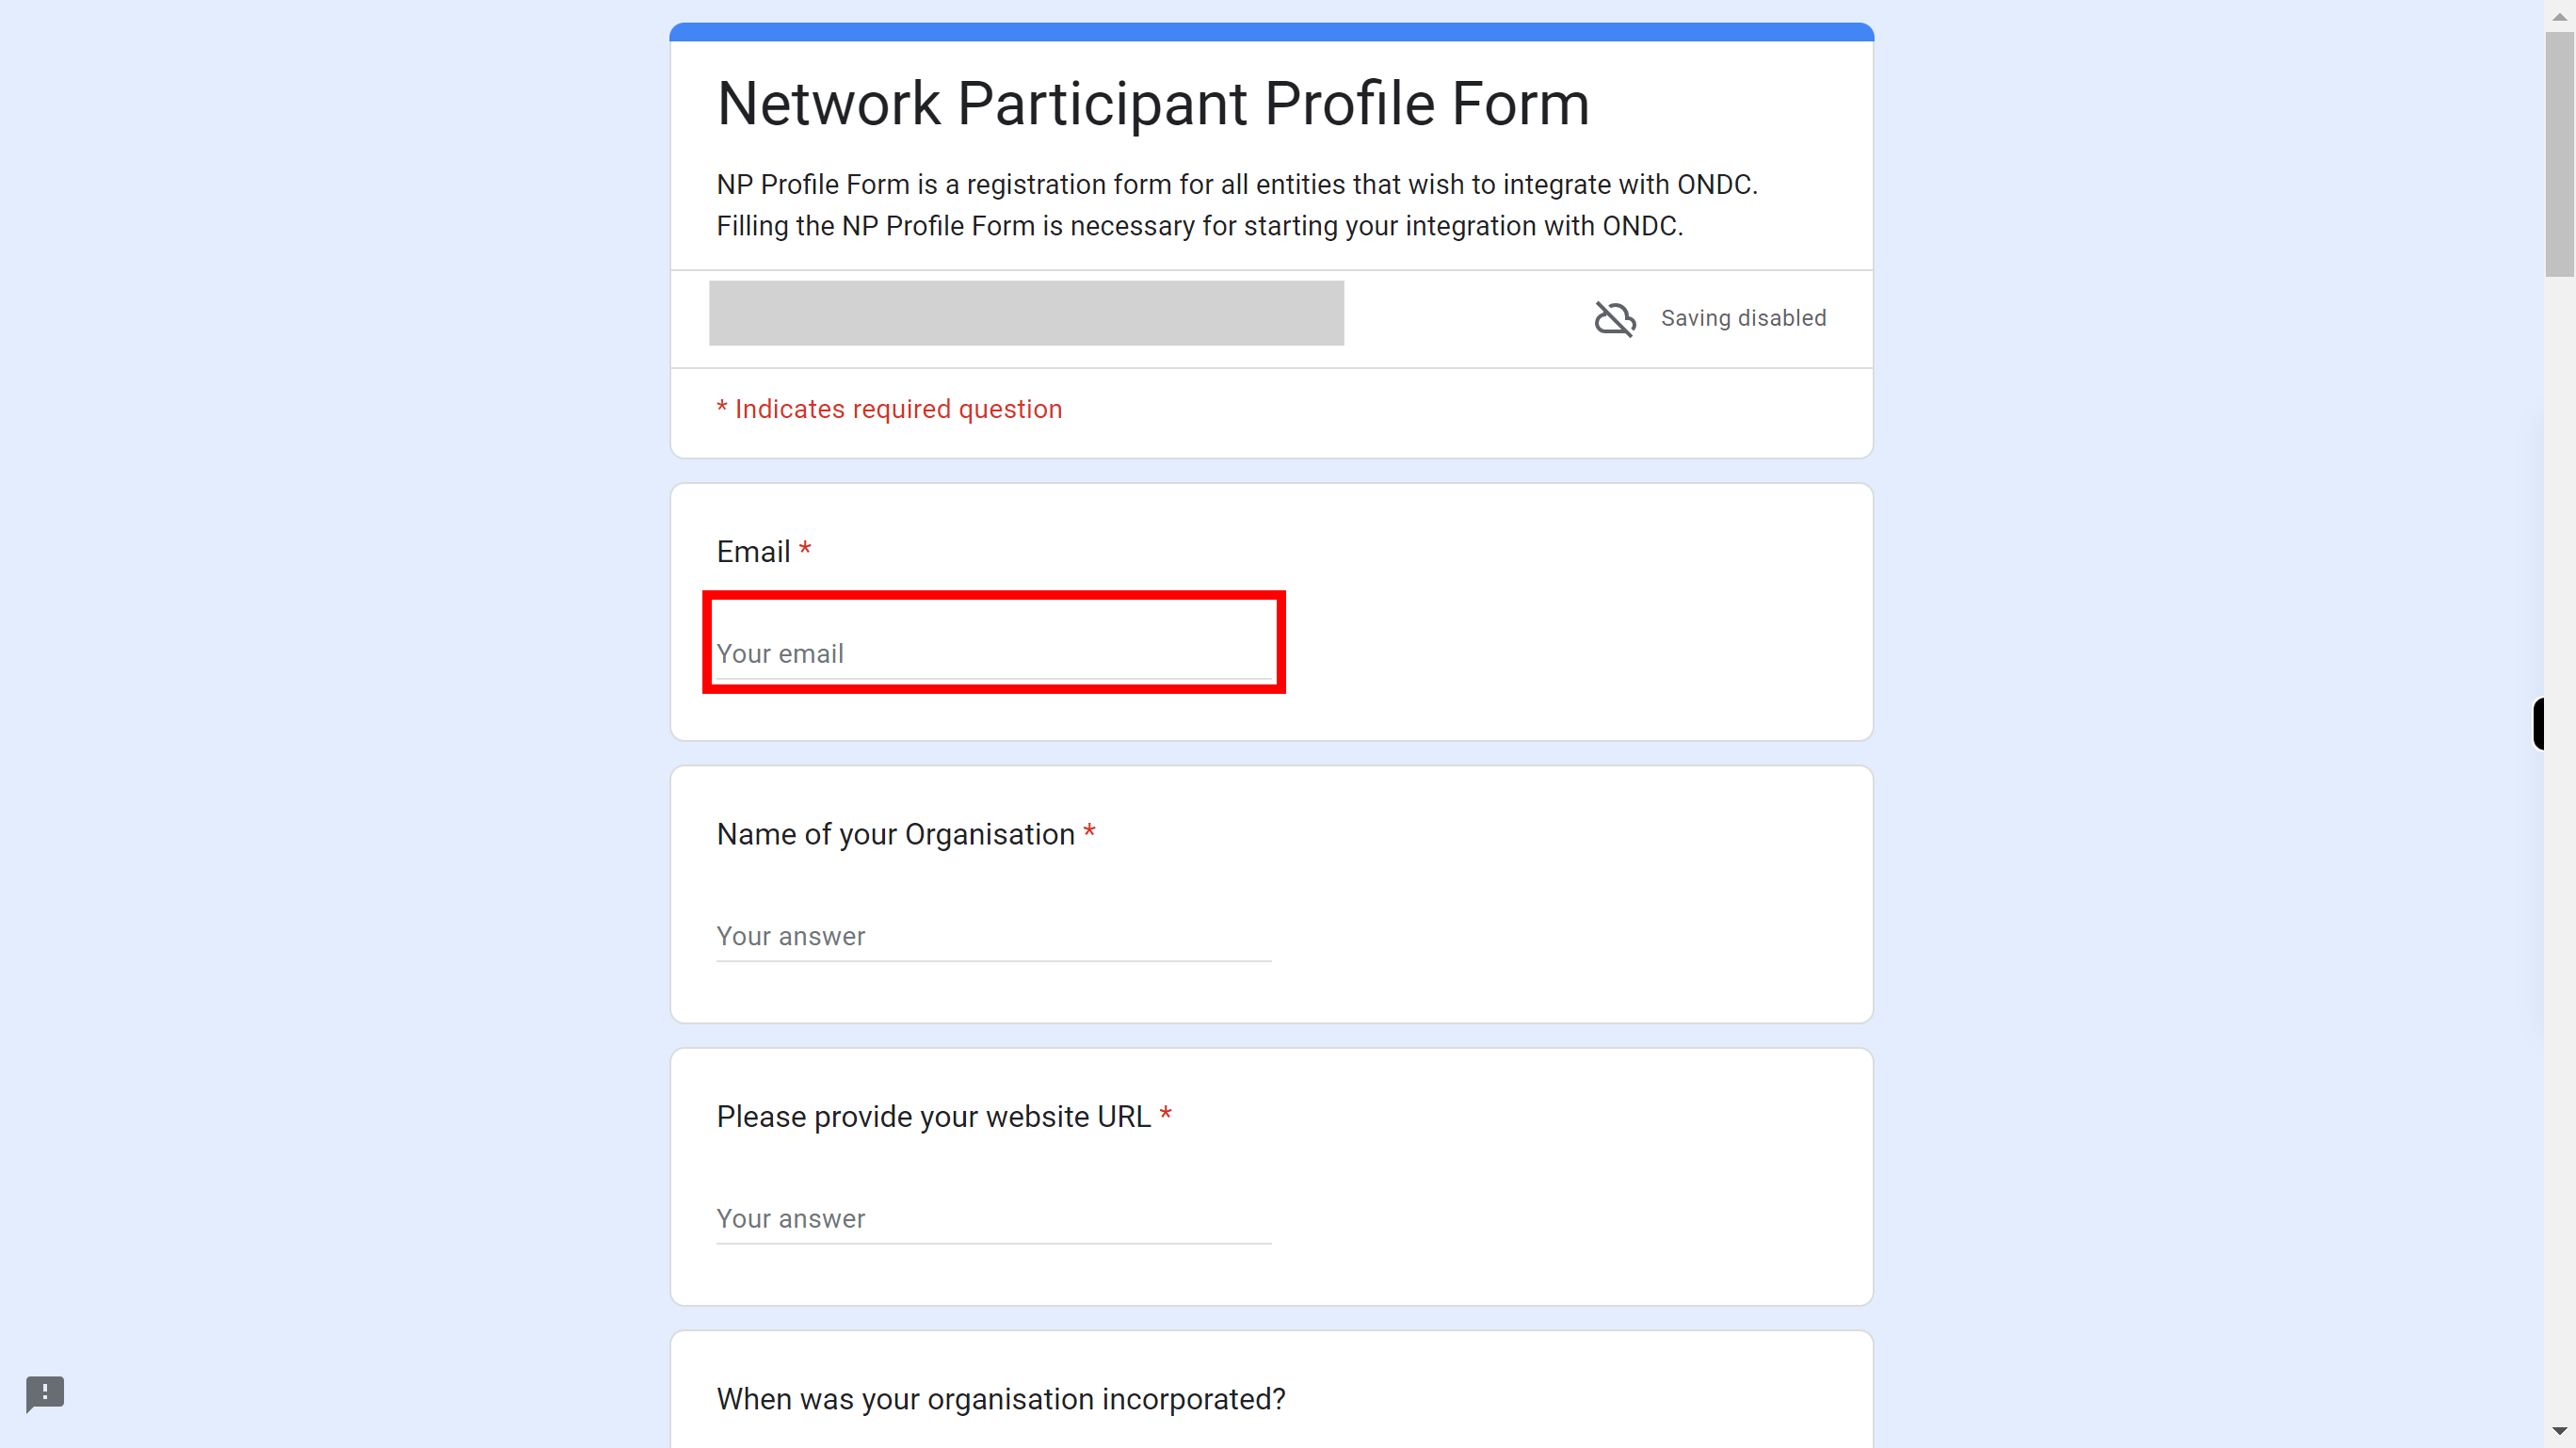
Click on 'Email' field and enter your email ID. Once done, click on the 'Next' button in the Supervity instruction widget.
-
5.
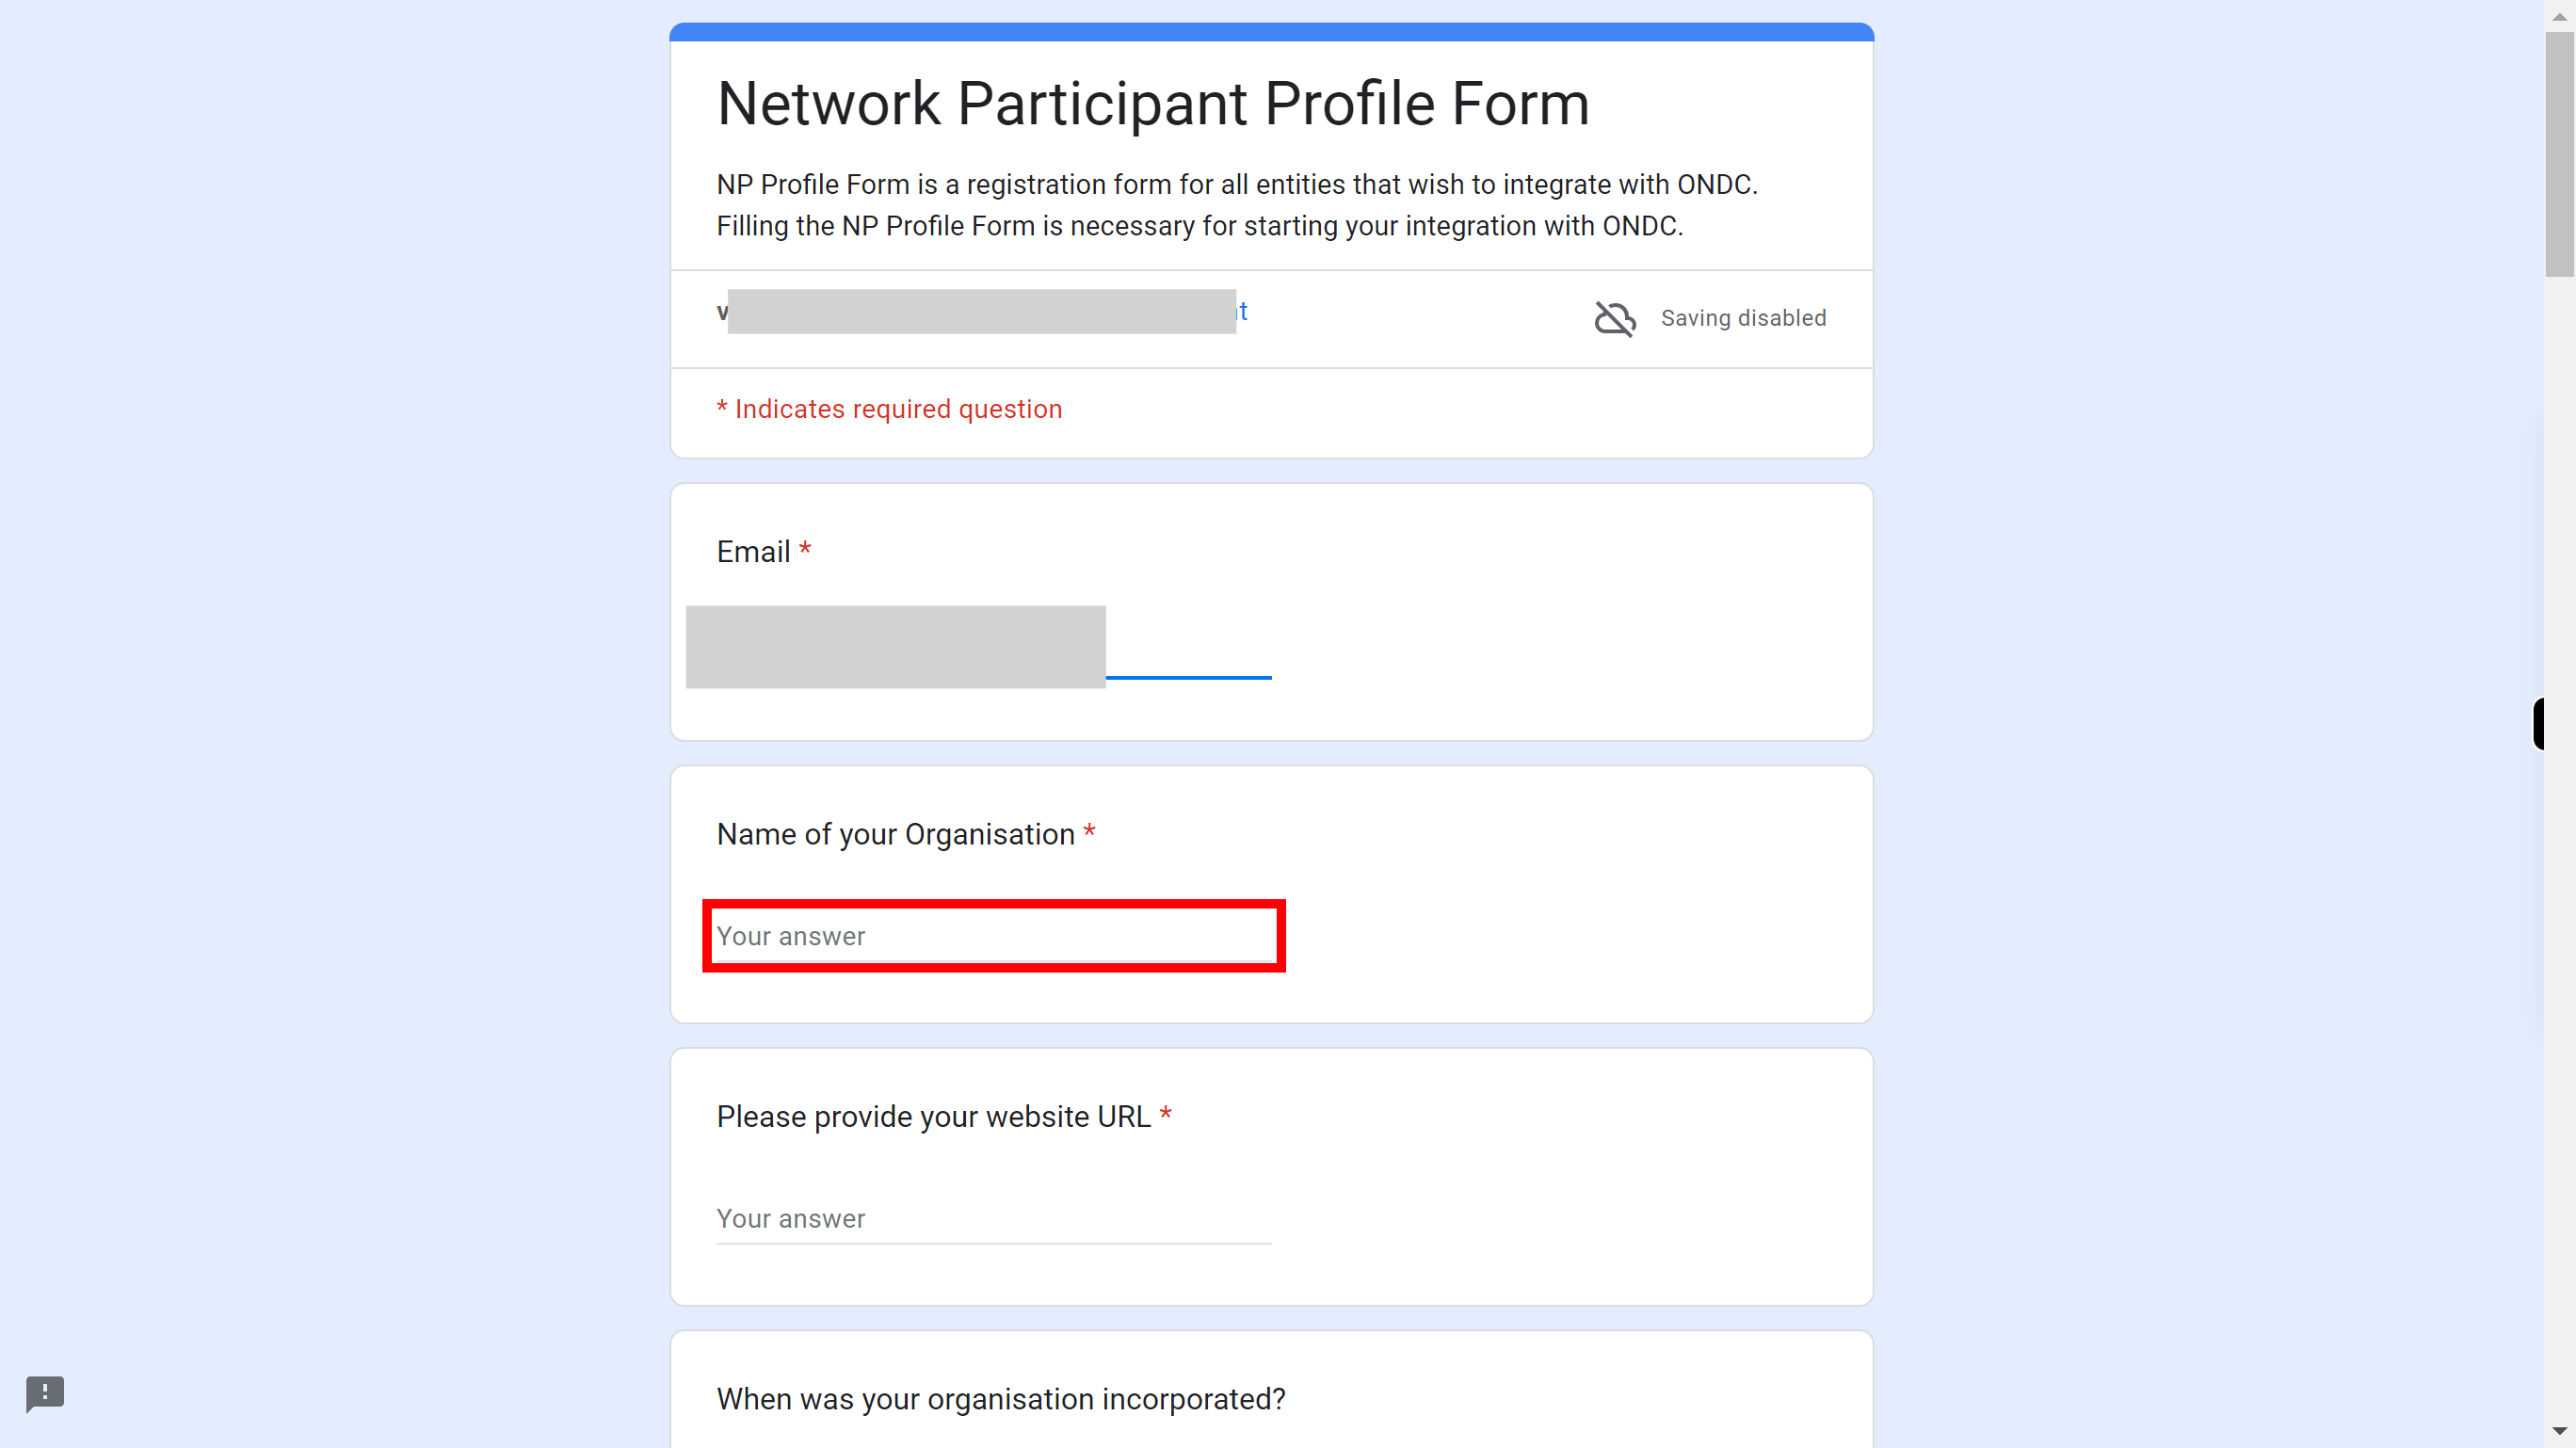
Click on the Organization field and enter the Name of your Organization. Once done, click on the 'Next' button in the Supervity instruction widget.
-
6.
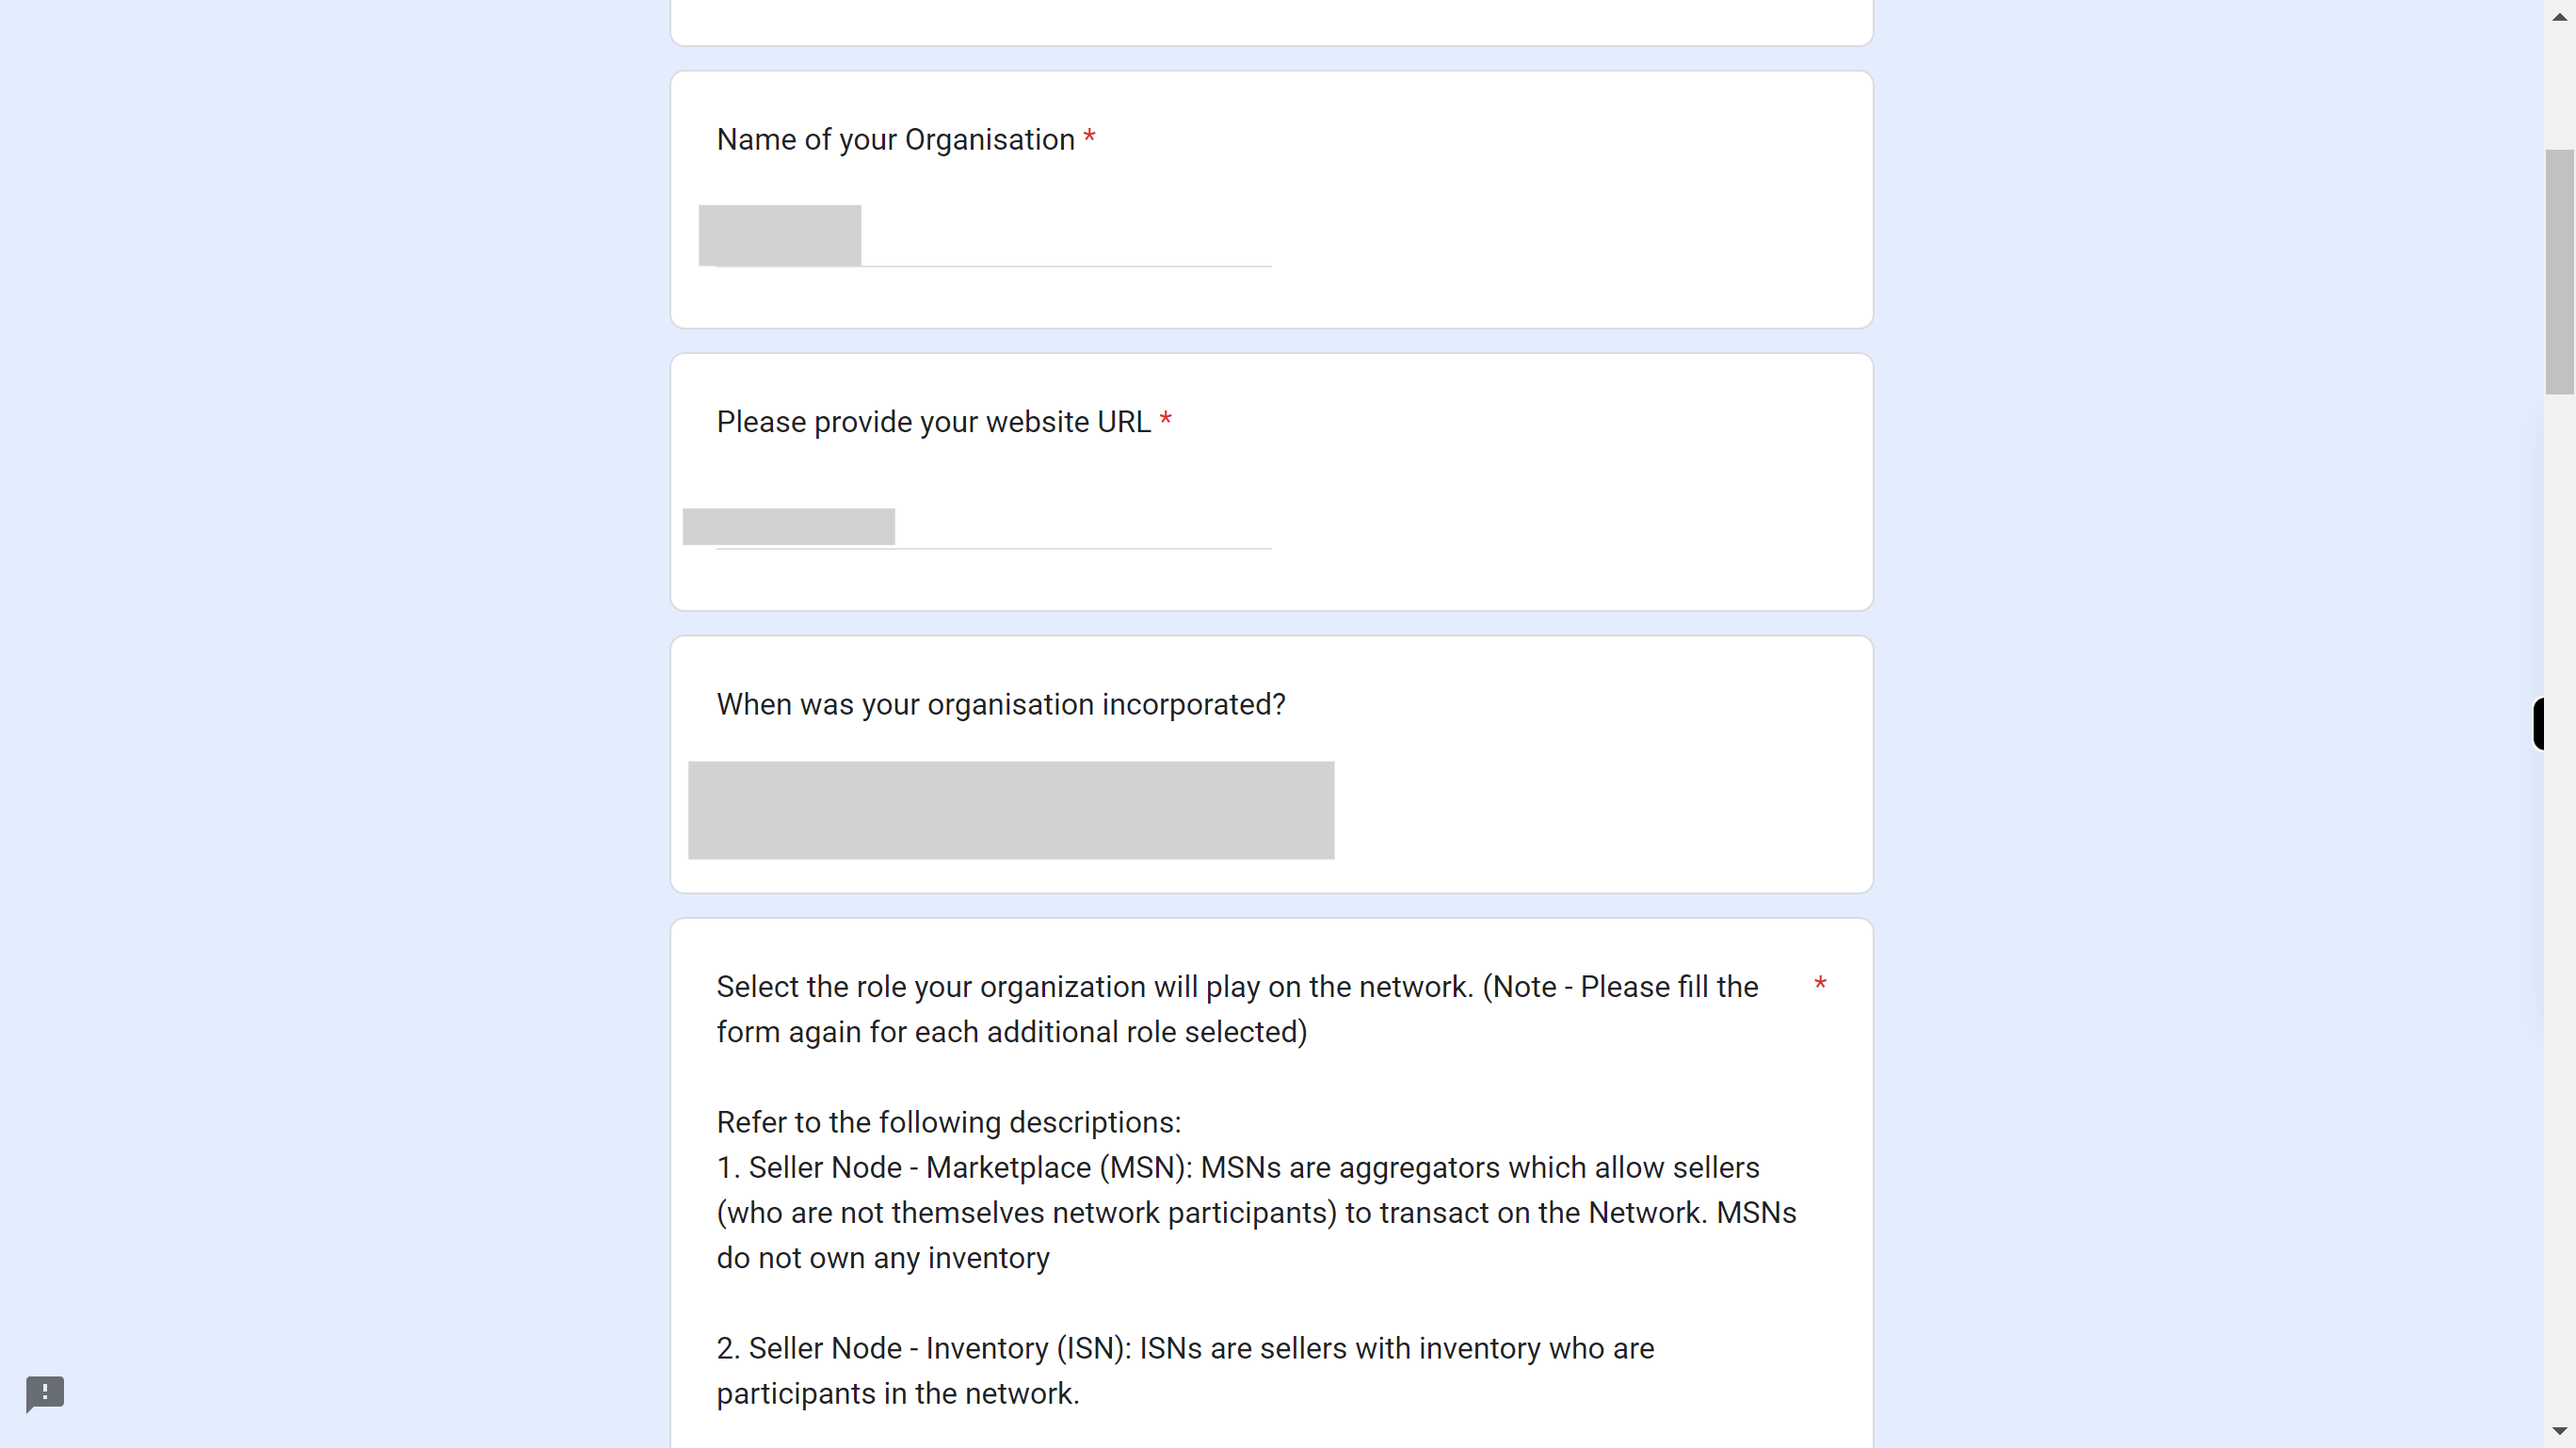
Click on the URL field and enter your website URL. Once done, click on the 'Next' button in the Supervity instruction widget.
-
7.
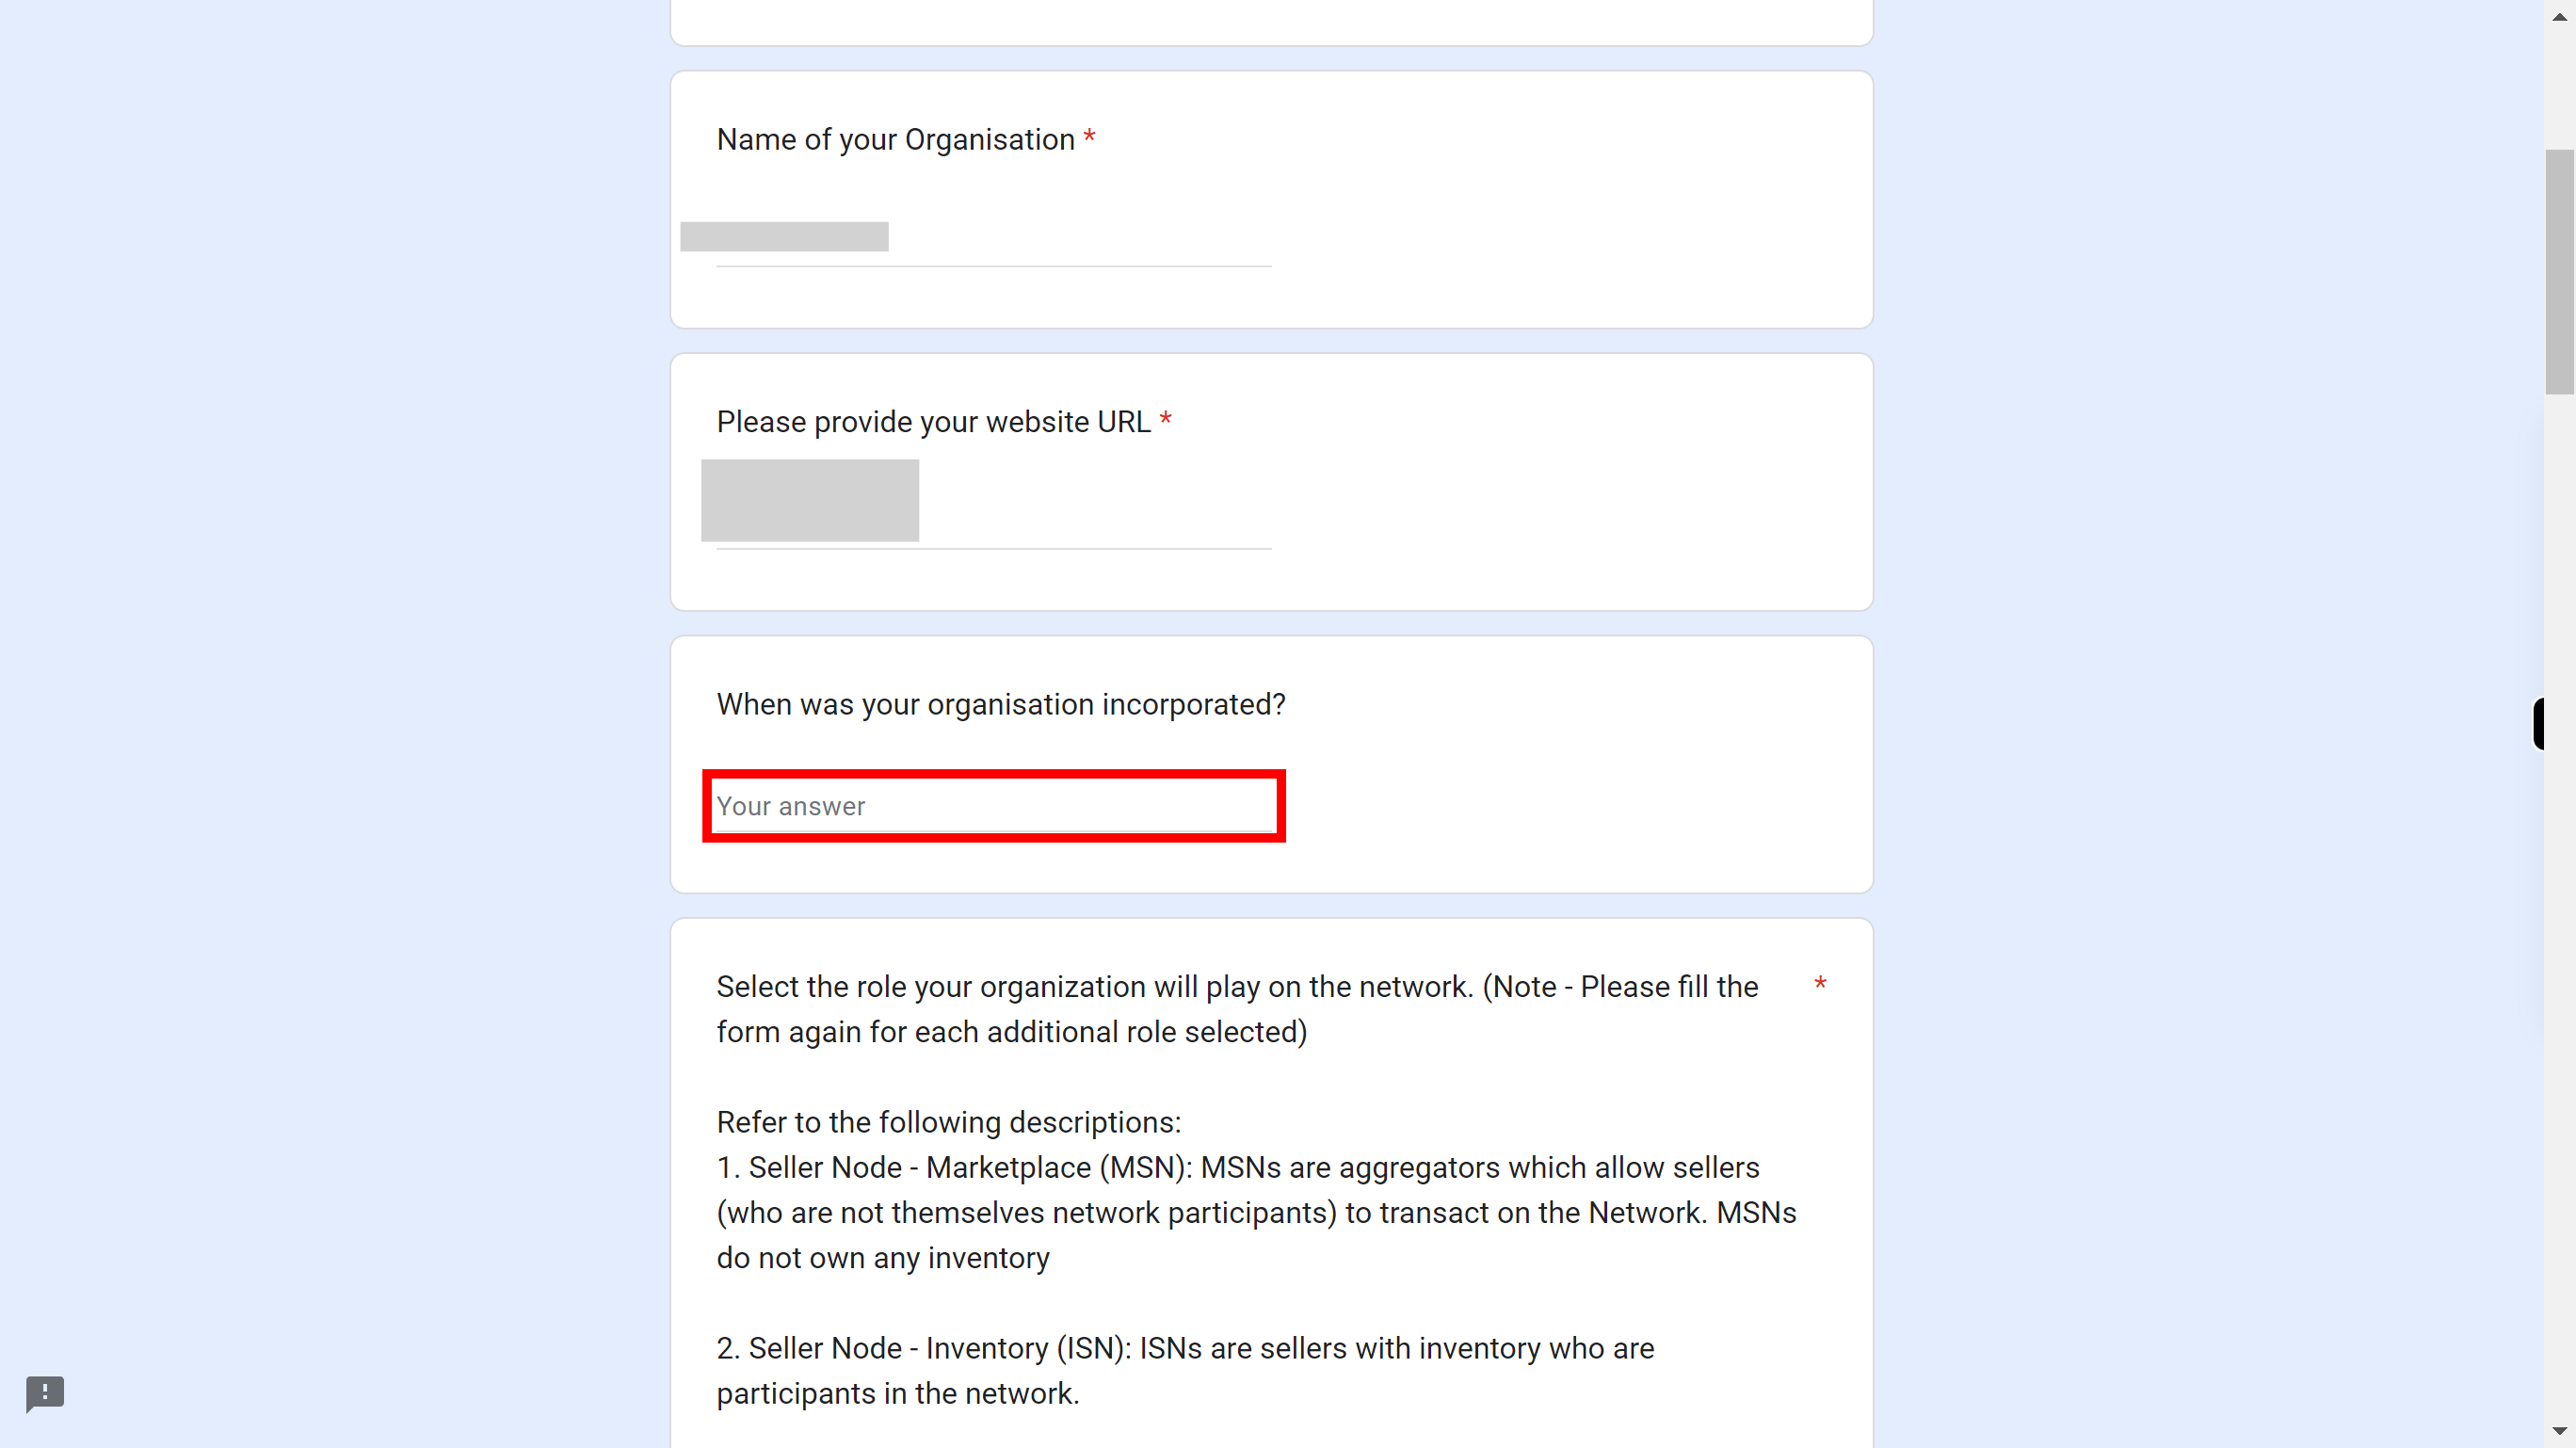
Click on Organization incorporated tab, enter the year of establishing of Organization. Once done, click on the 'Next' button in the Supervity instruction widget.
-
8.
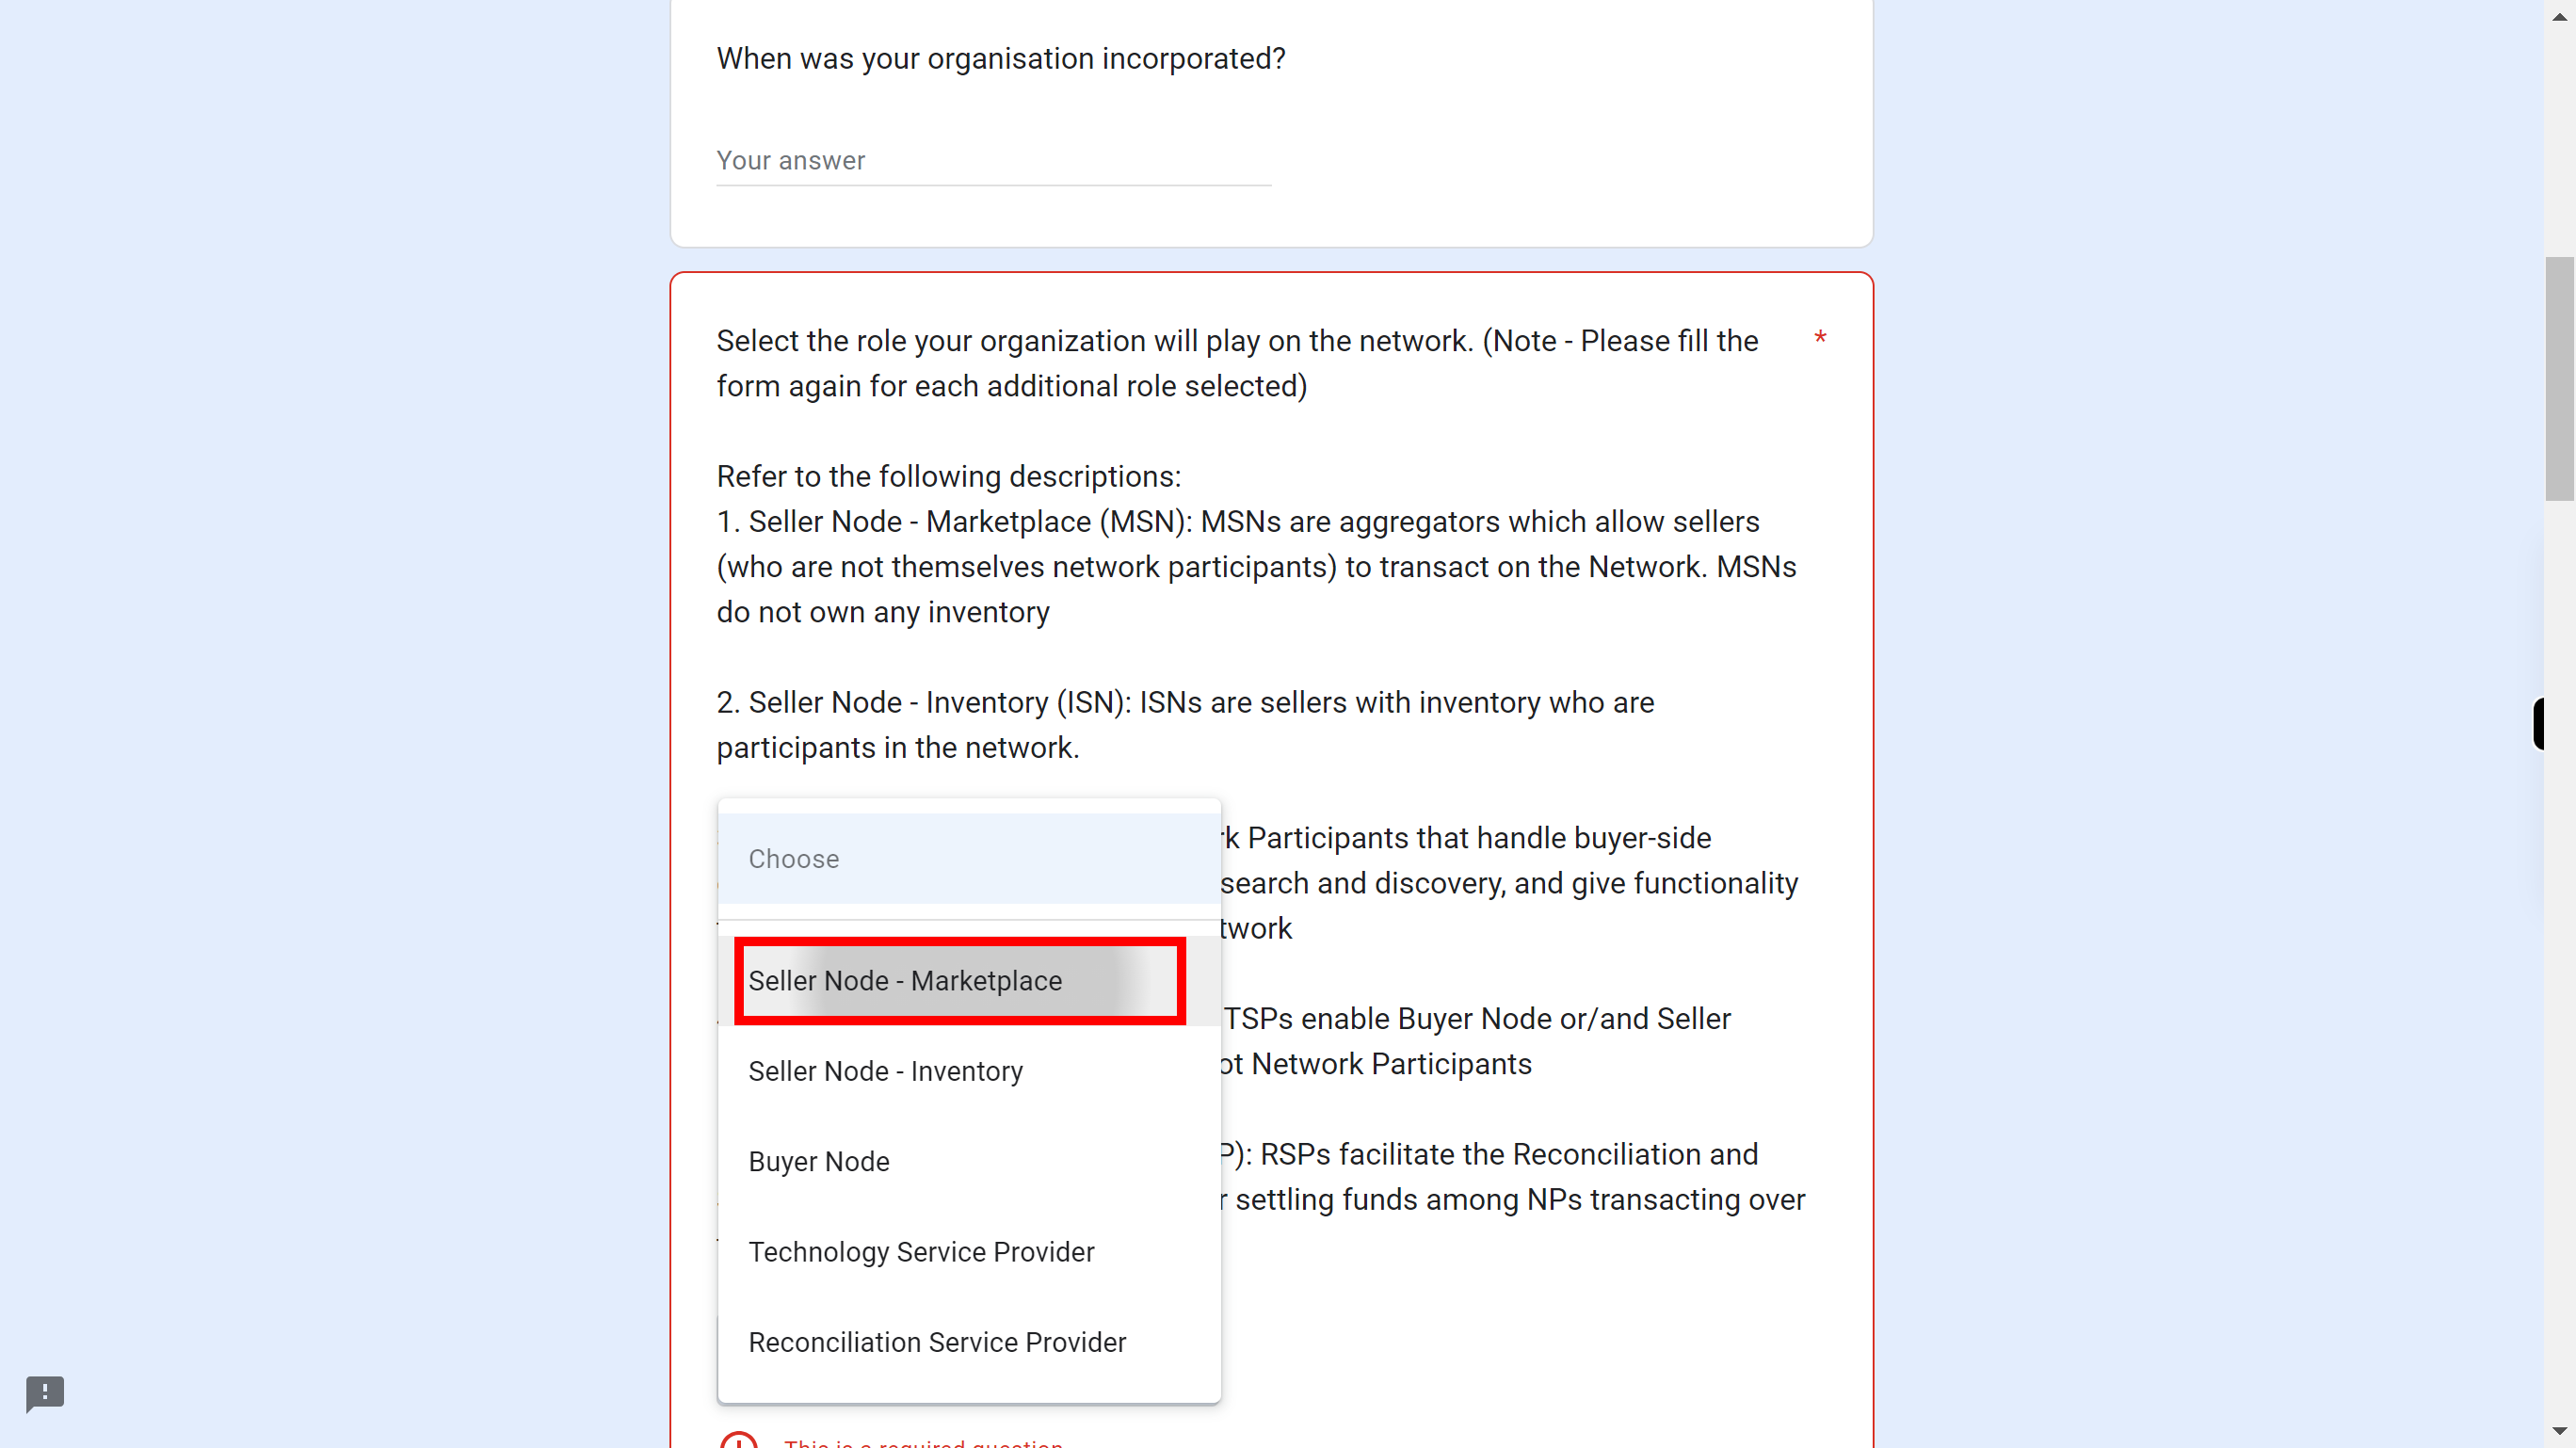
Click choose drop down, select role of organization. Once done, click on the 'Next' button in the Supervity instruction widget.
-
9.
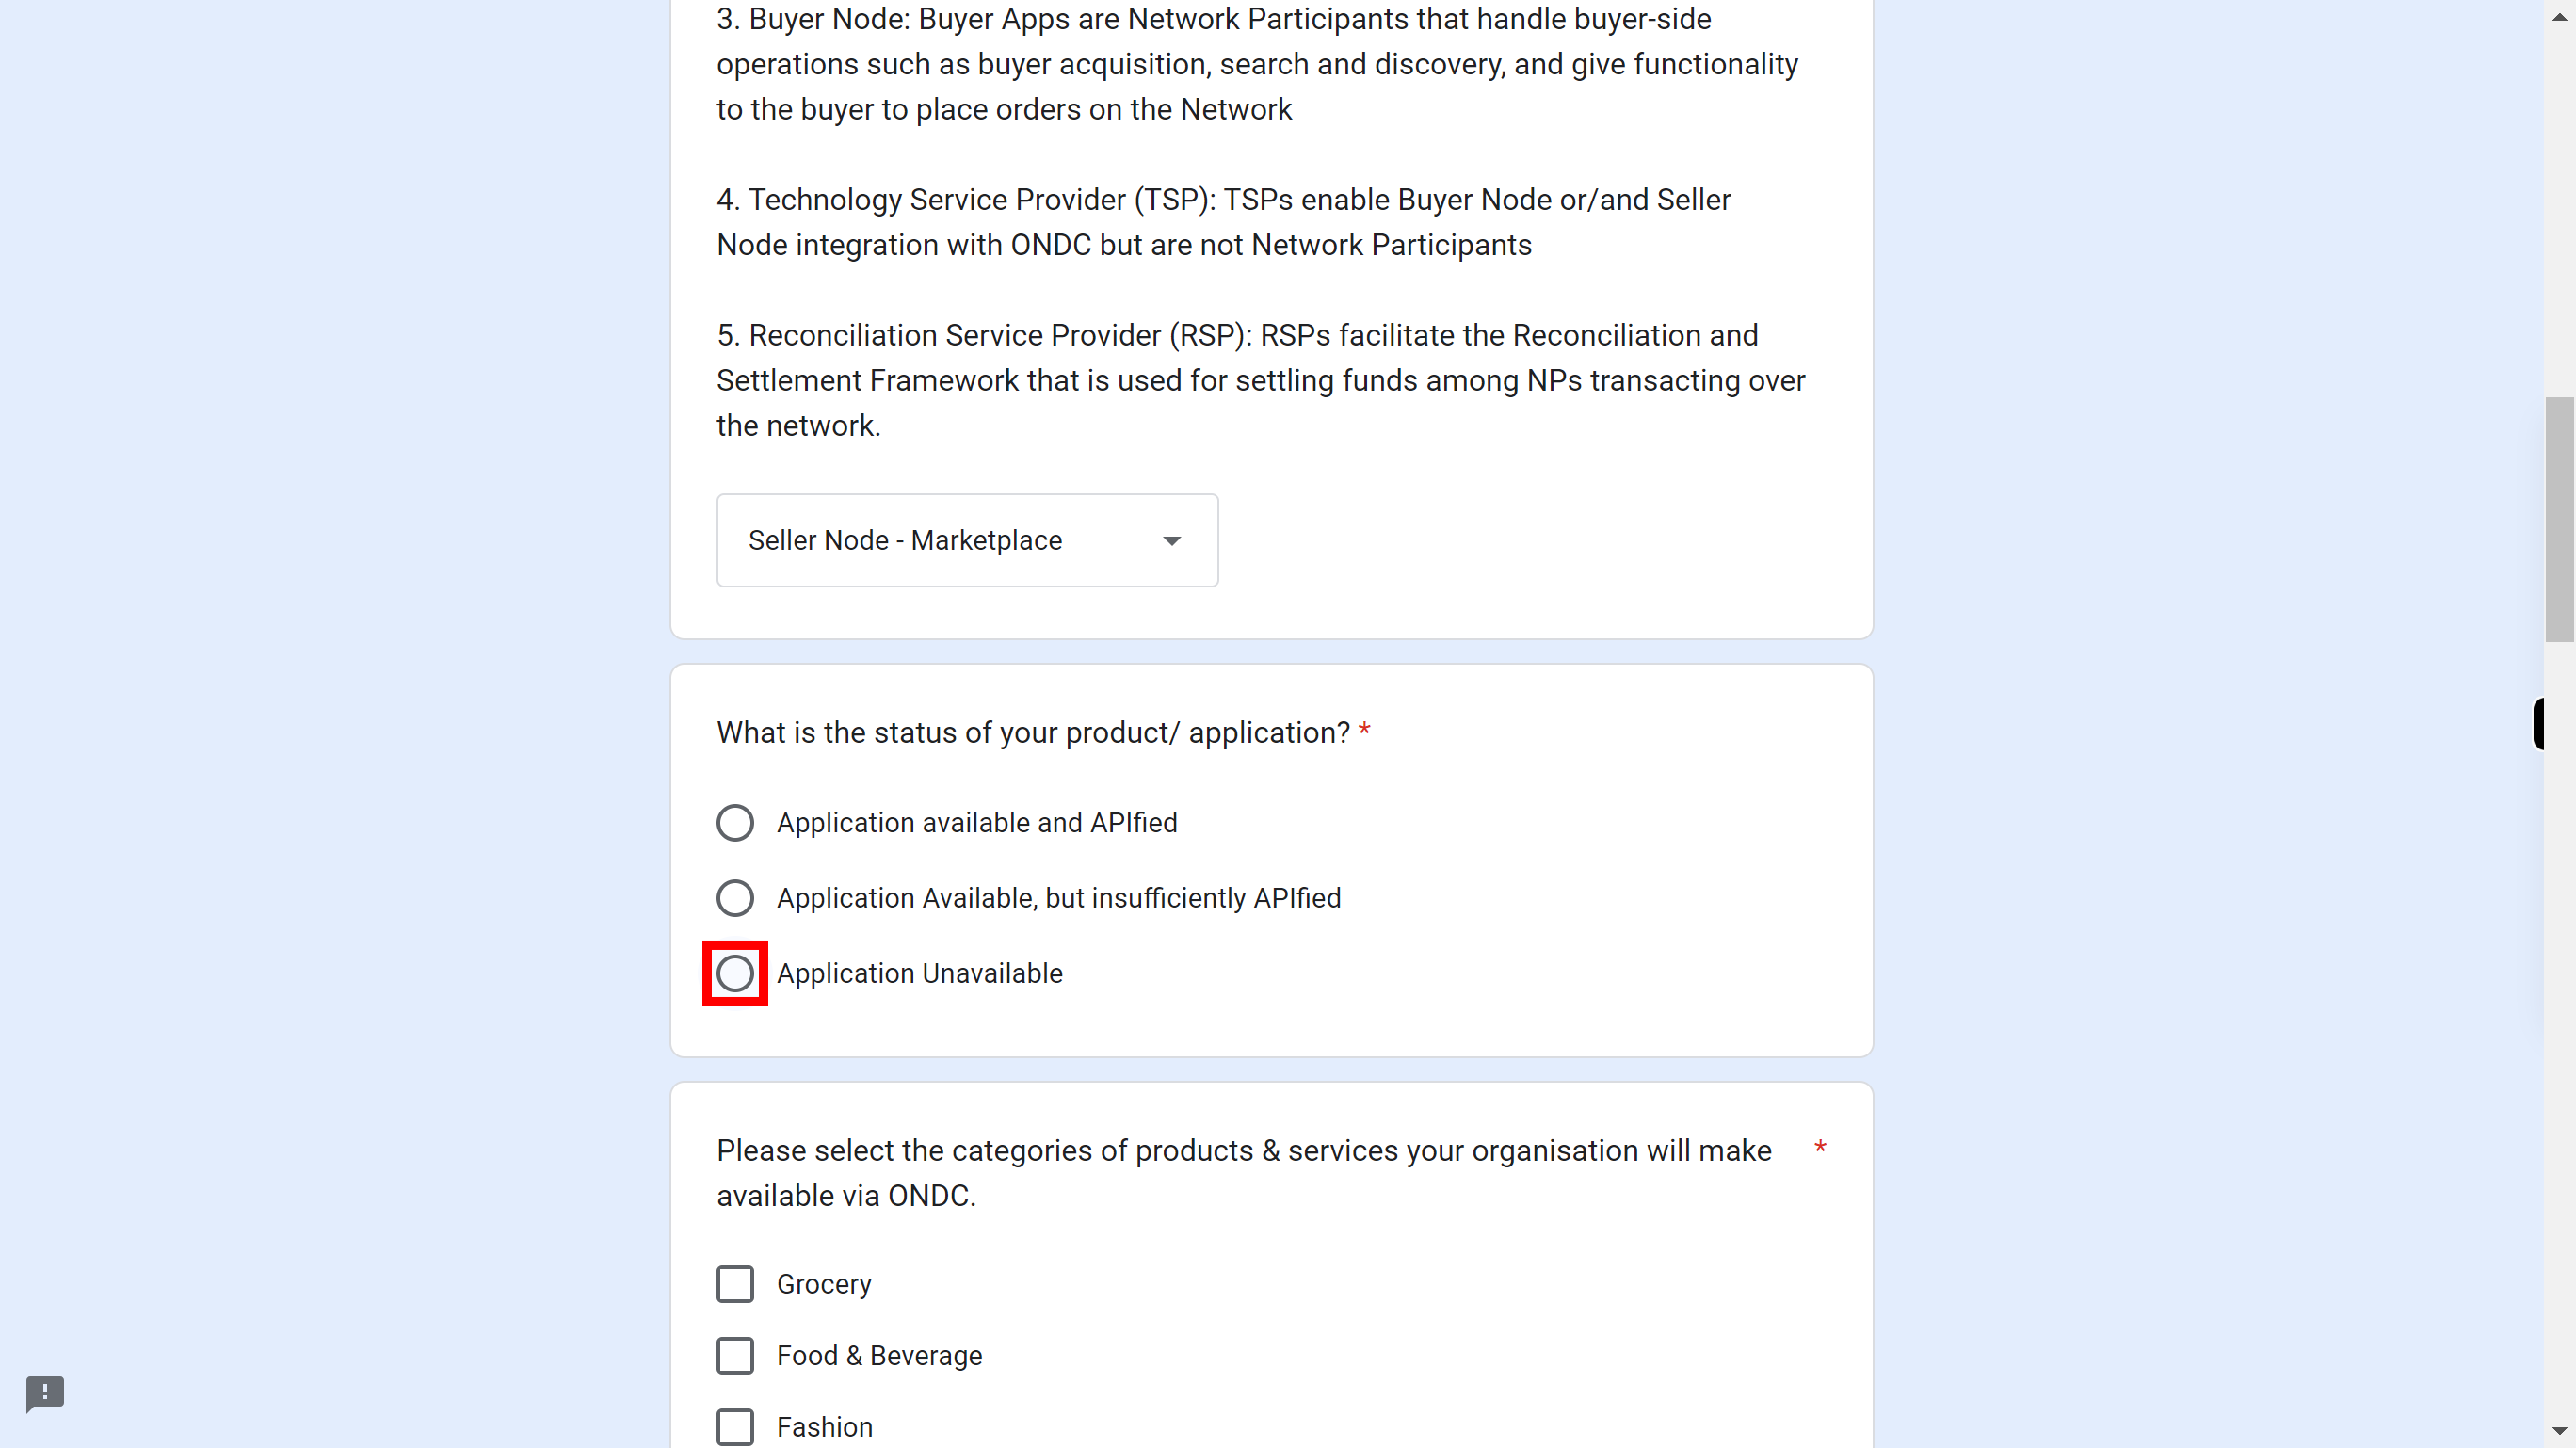
Check one check box of status of your product/application Once done, click on the 'Next' button in the Supervity instruction widget.
-
10.
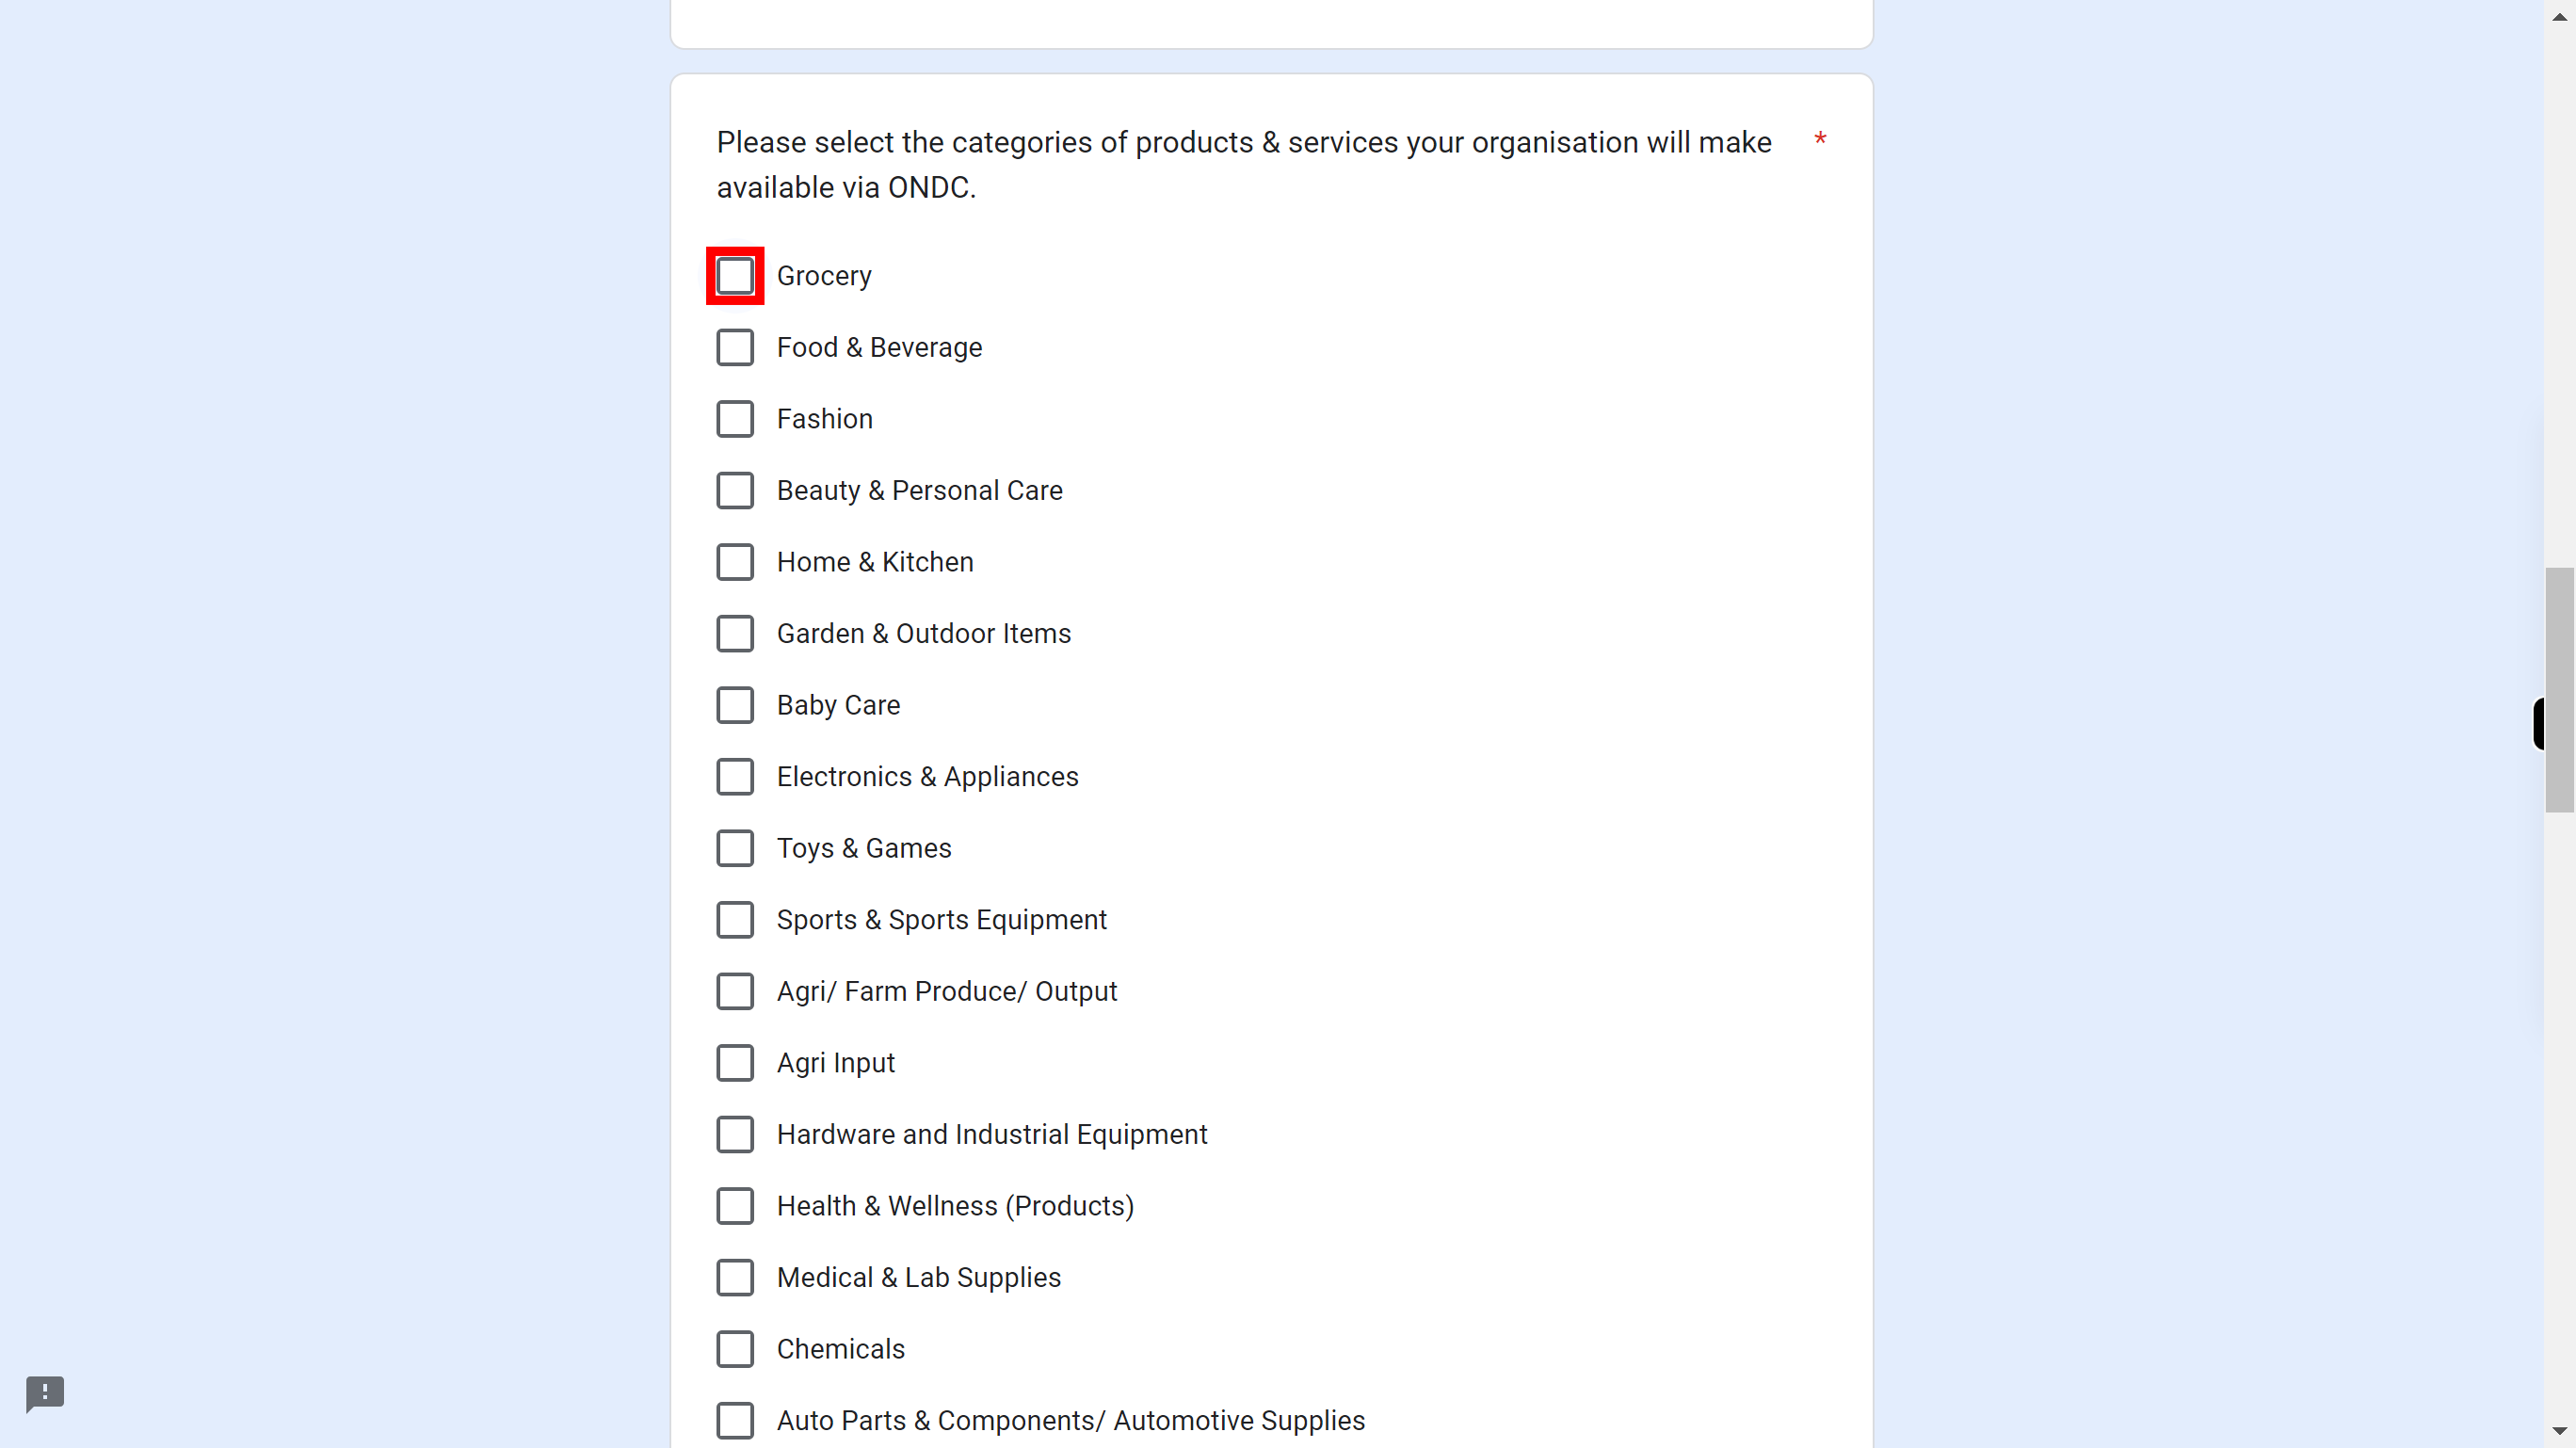
Check the below checkboxes of which categories of product your organization will make available via ONDC. Once done, click on the 'Next' button in the Supervity instruction widget.
-
11.
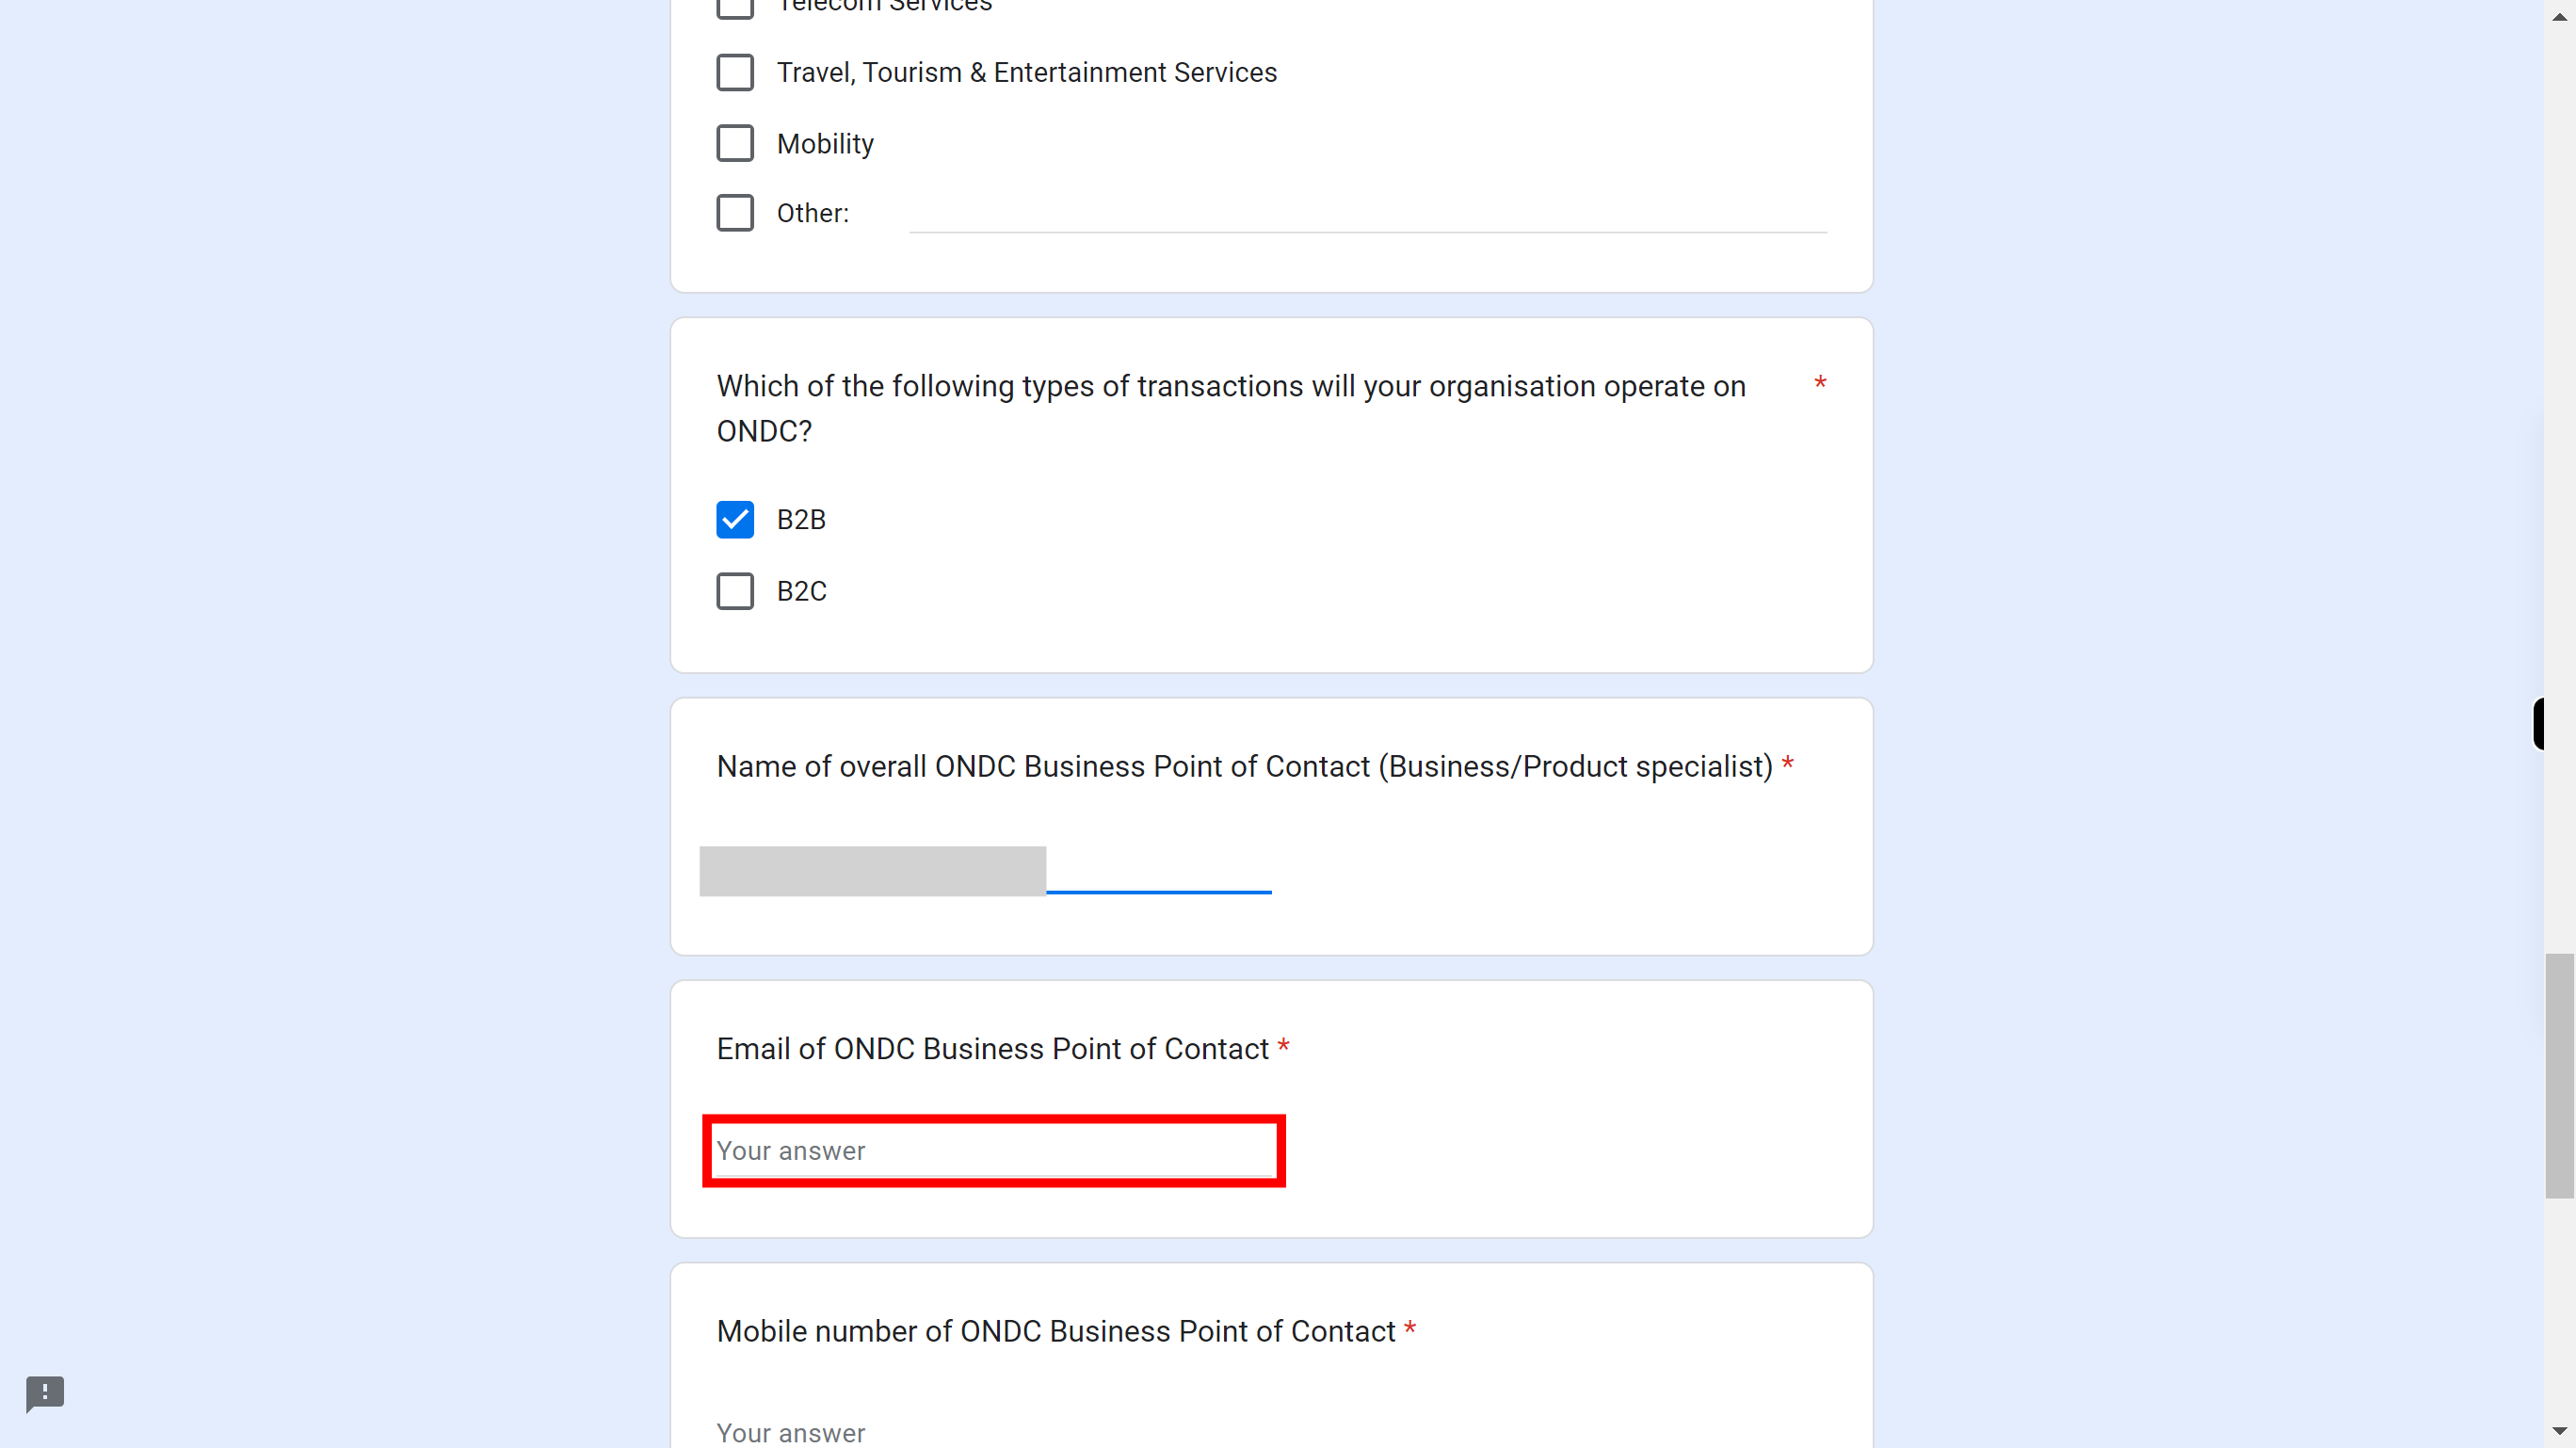
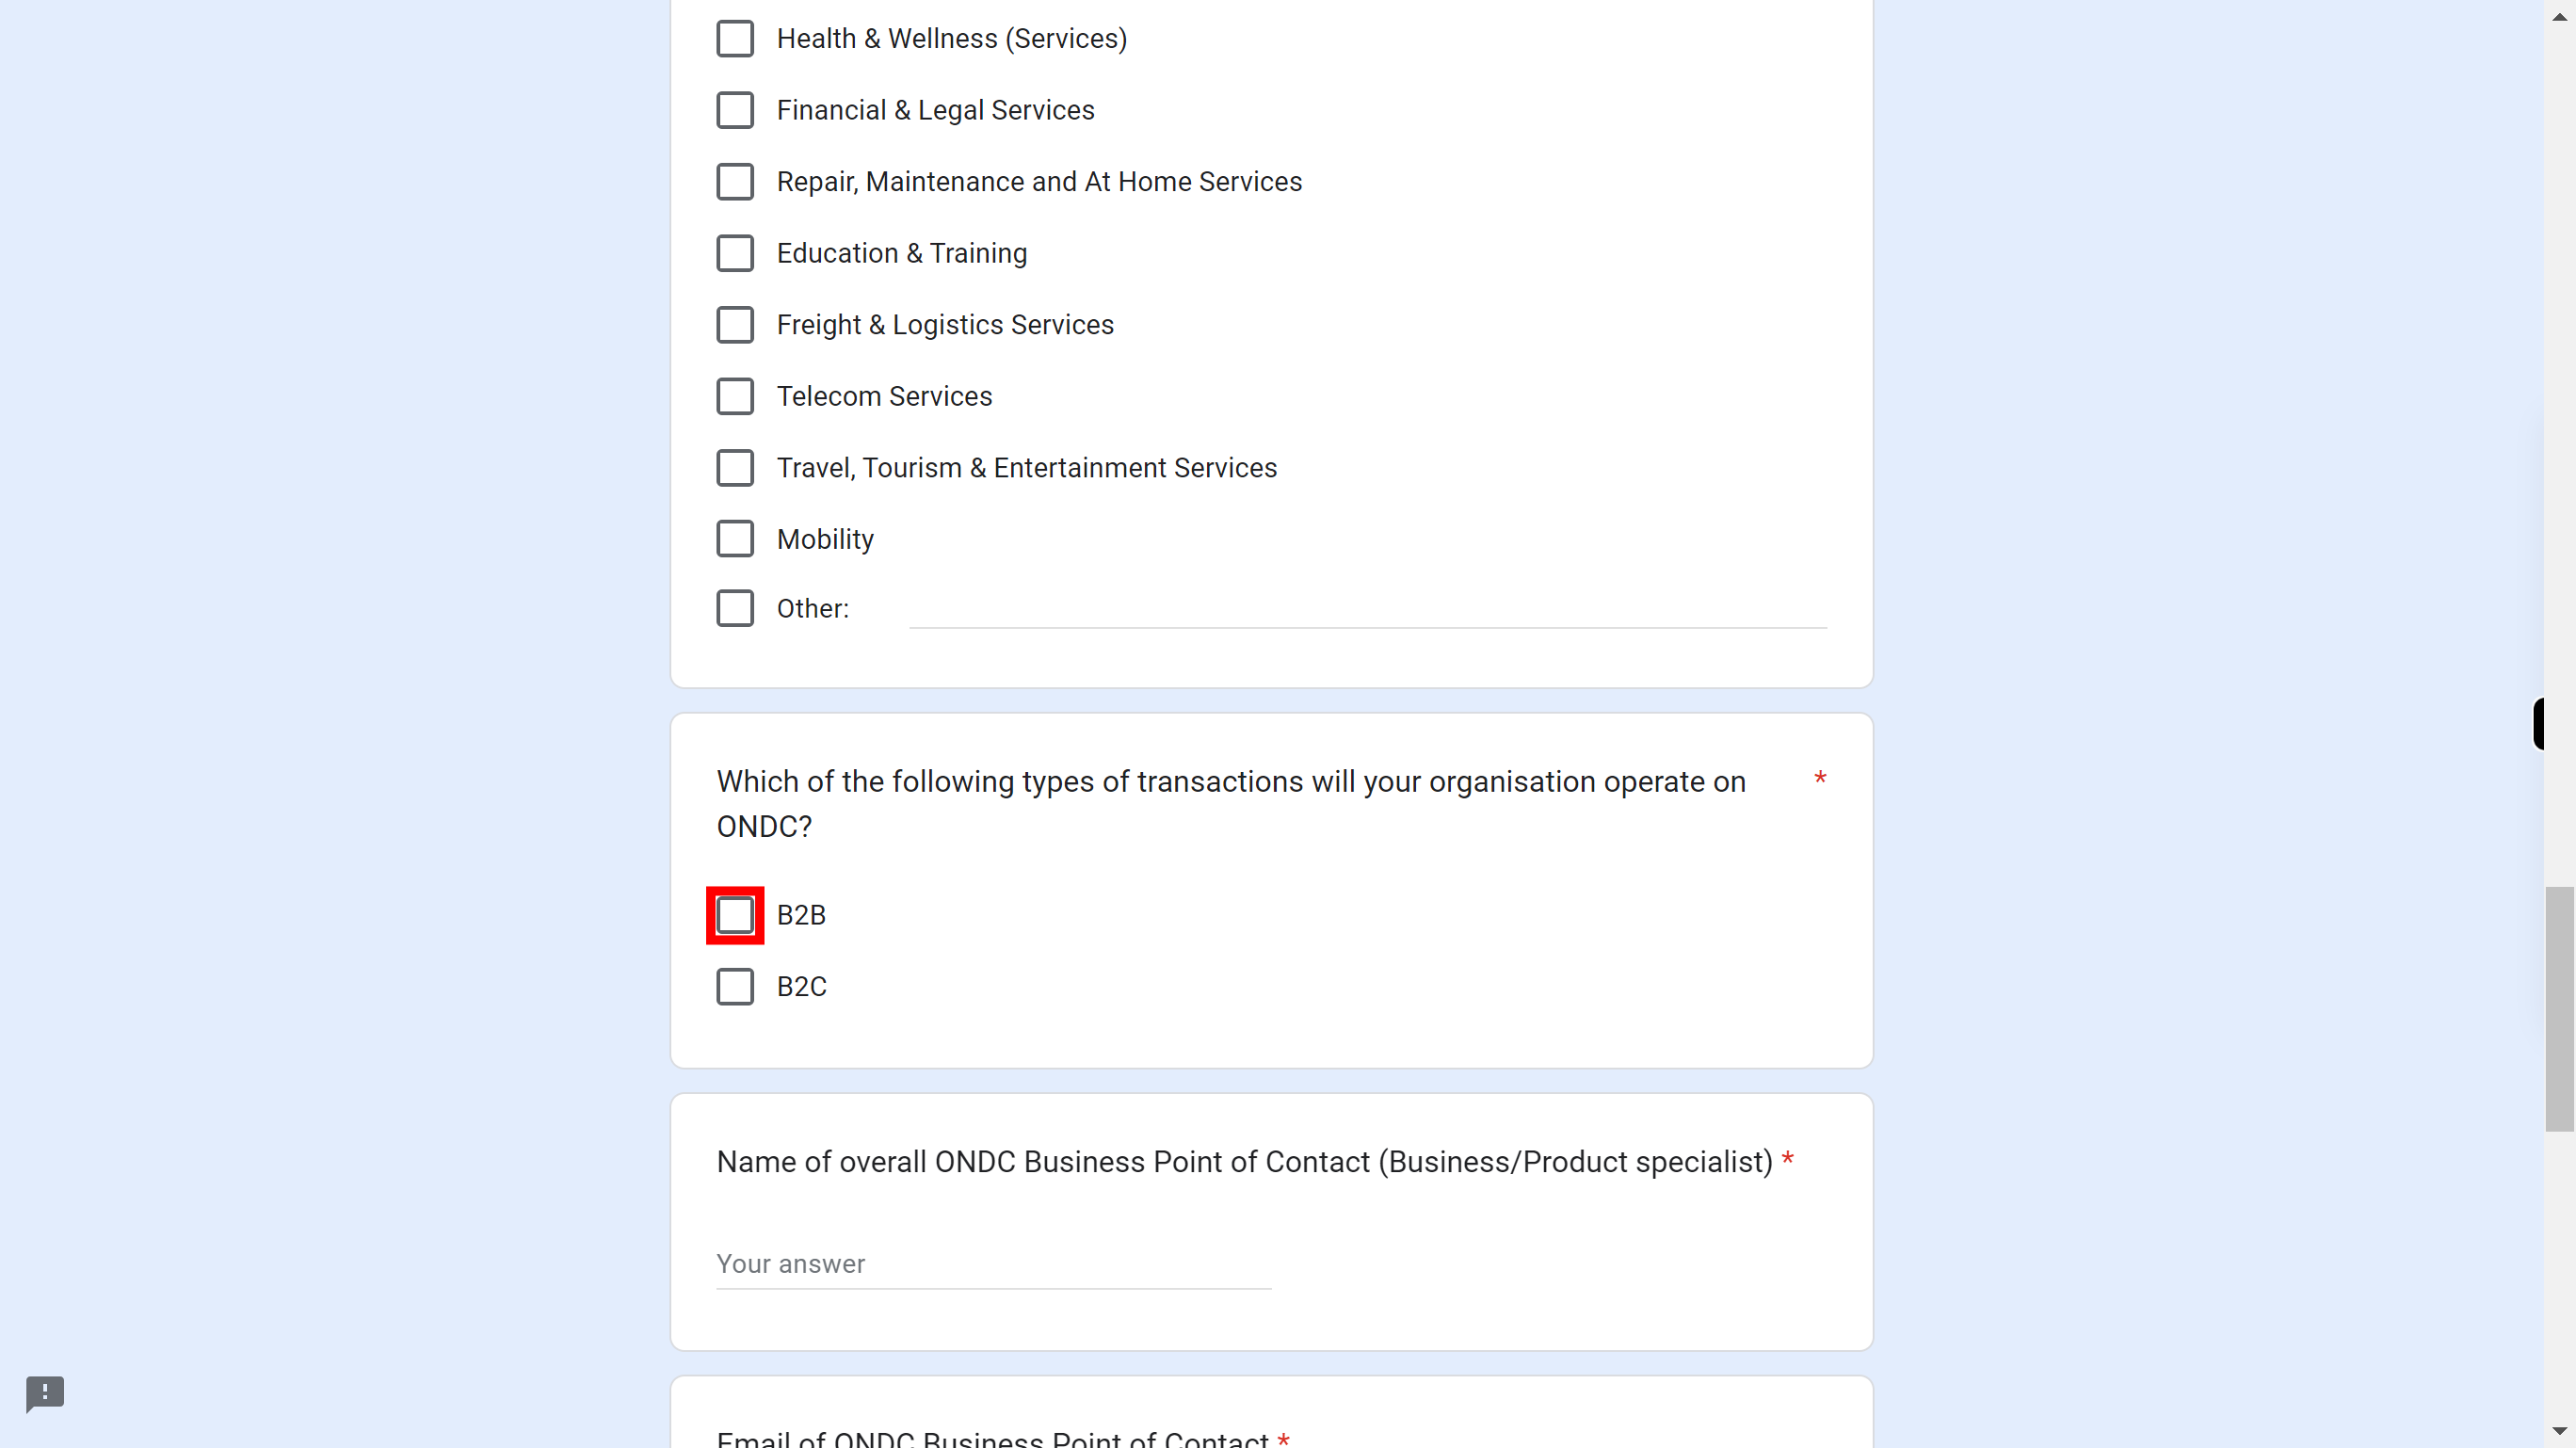
Check one checkbox, which type of transaction will your organization operate on ONDC. Once done, click on the 'Next' button in the Supervity instruction widget.
-
12.
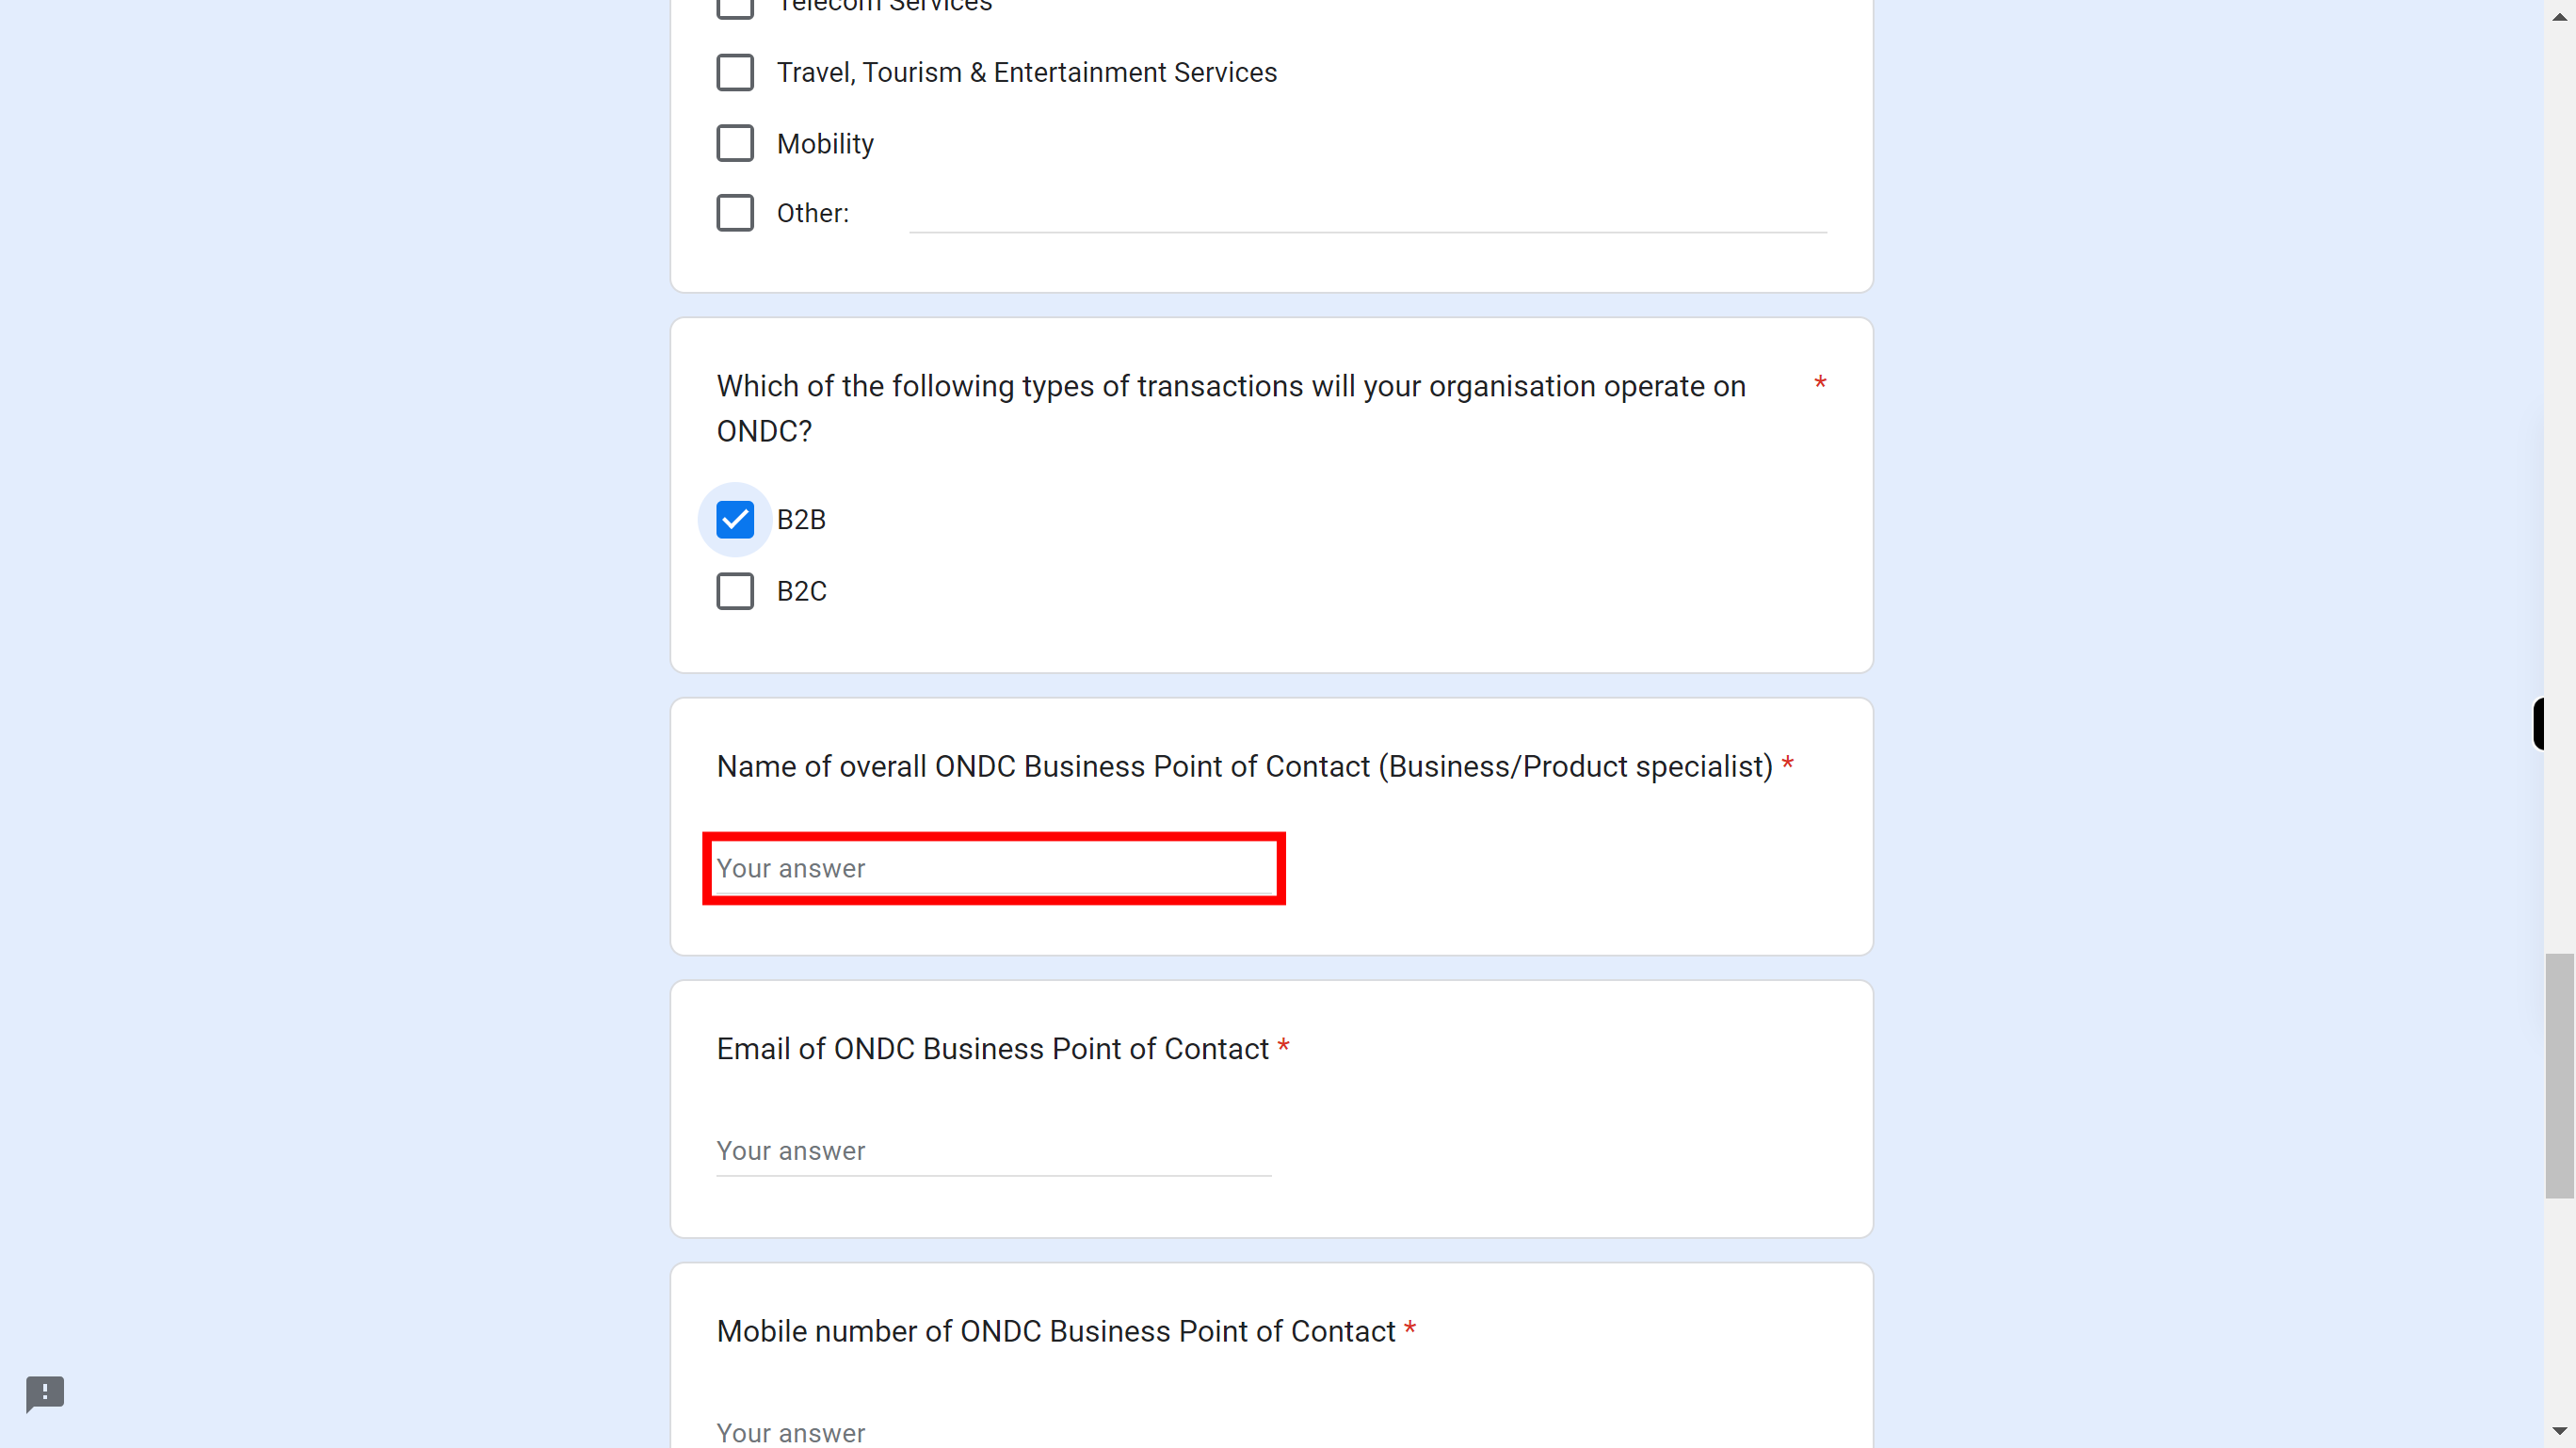
Click and enter the name of the overall ONDC Business Point of Contact. Once done, click on the 'Next' button in the Supervity instruction widget.
-
13.
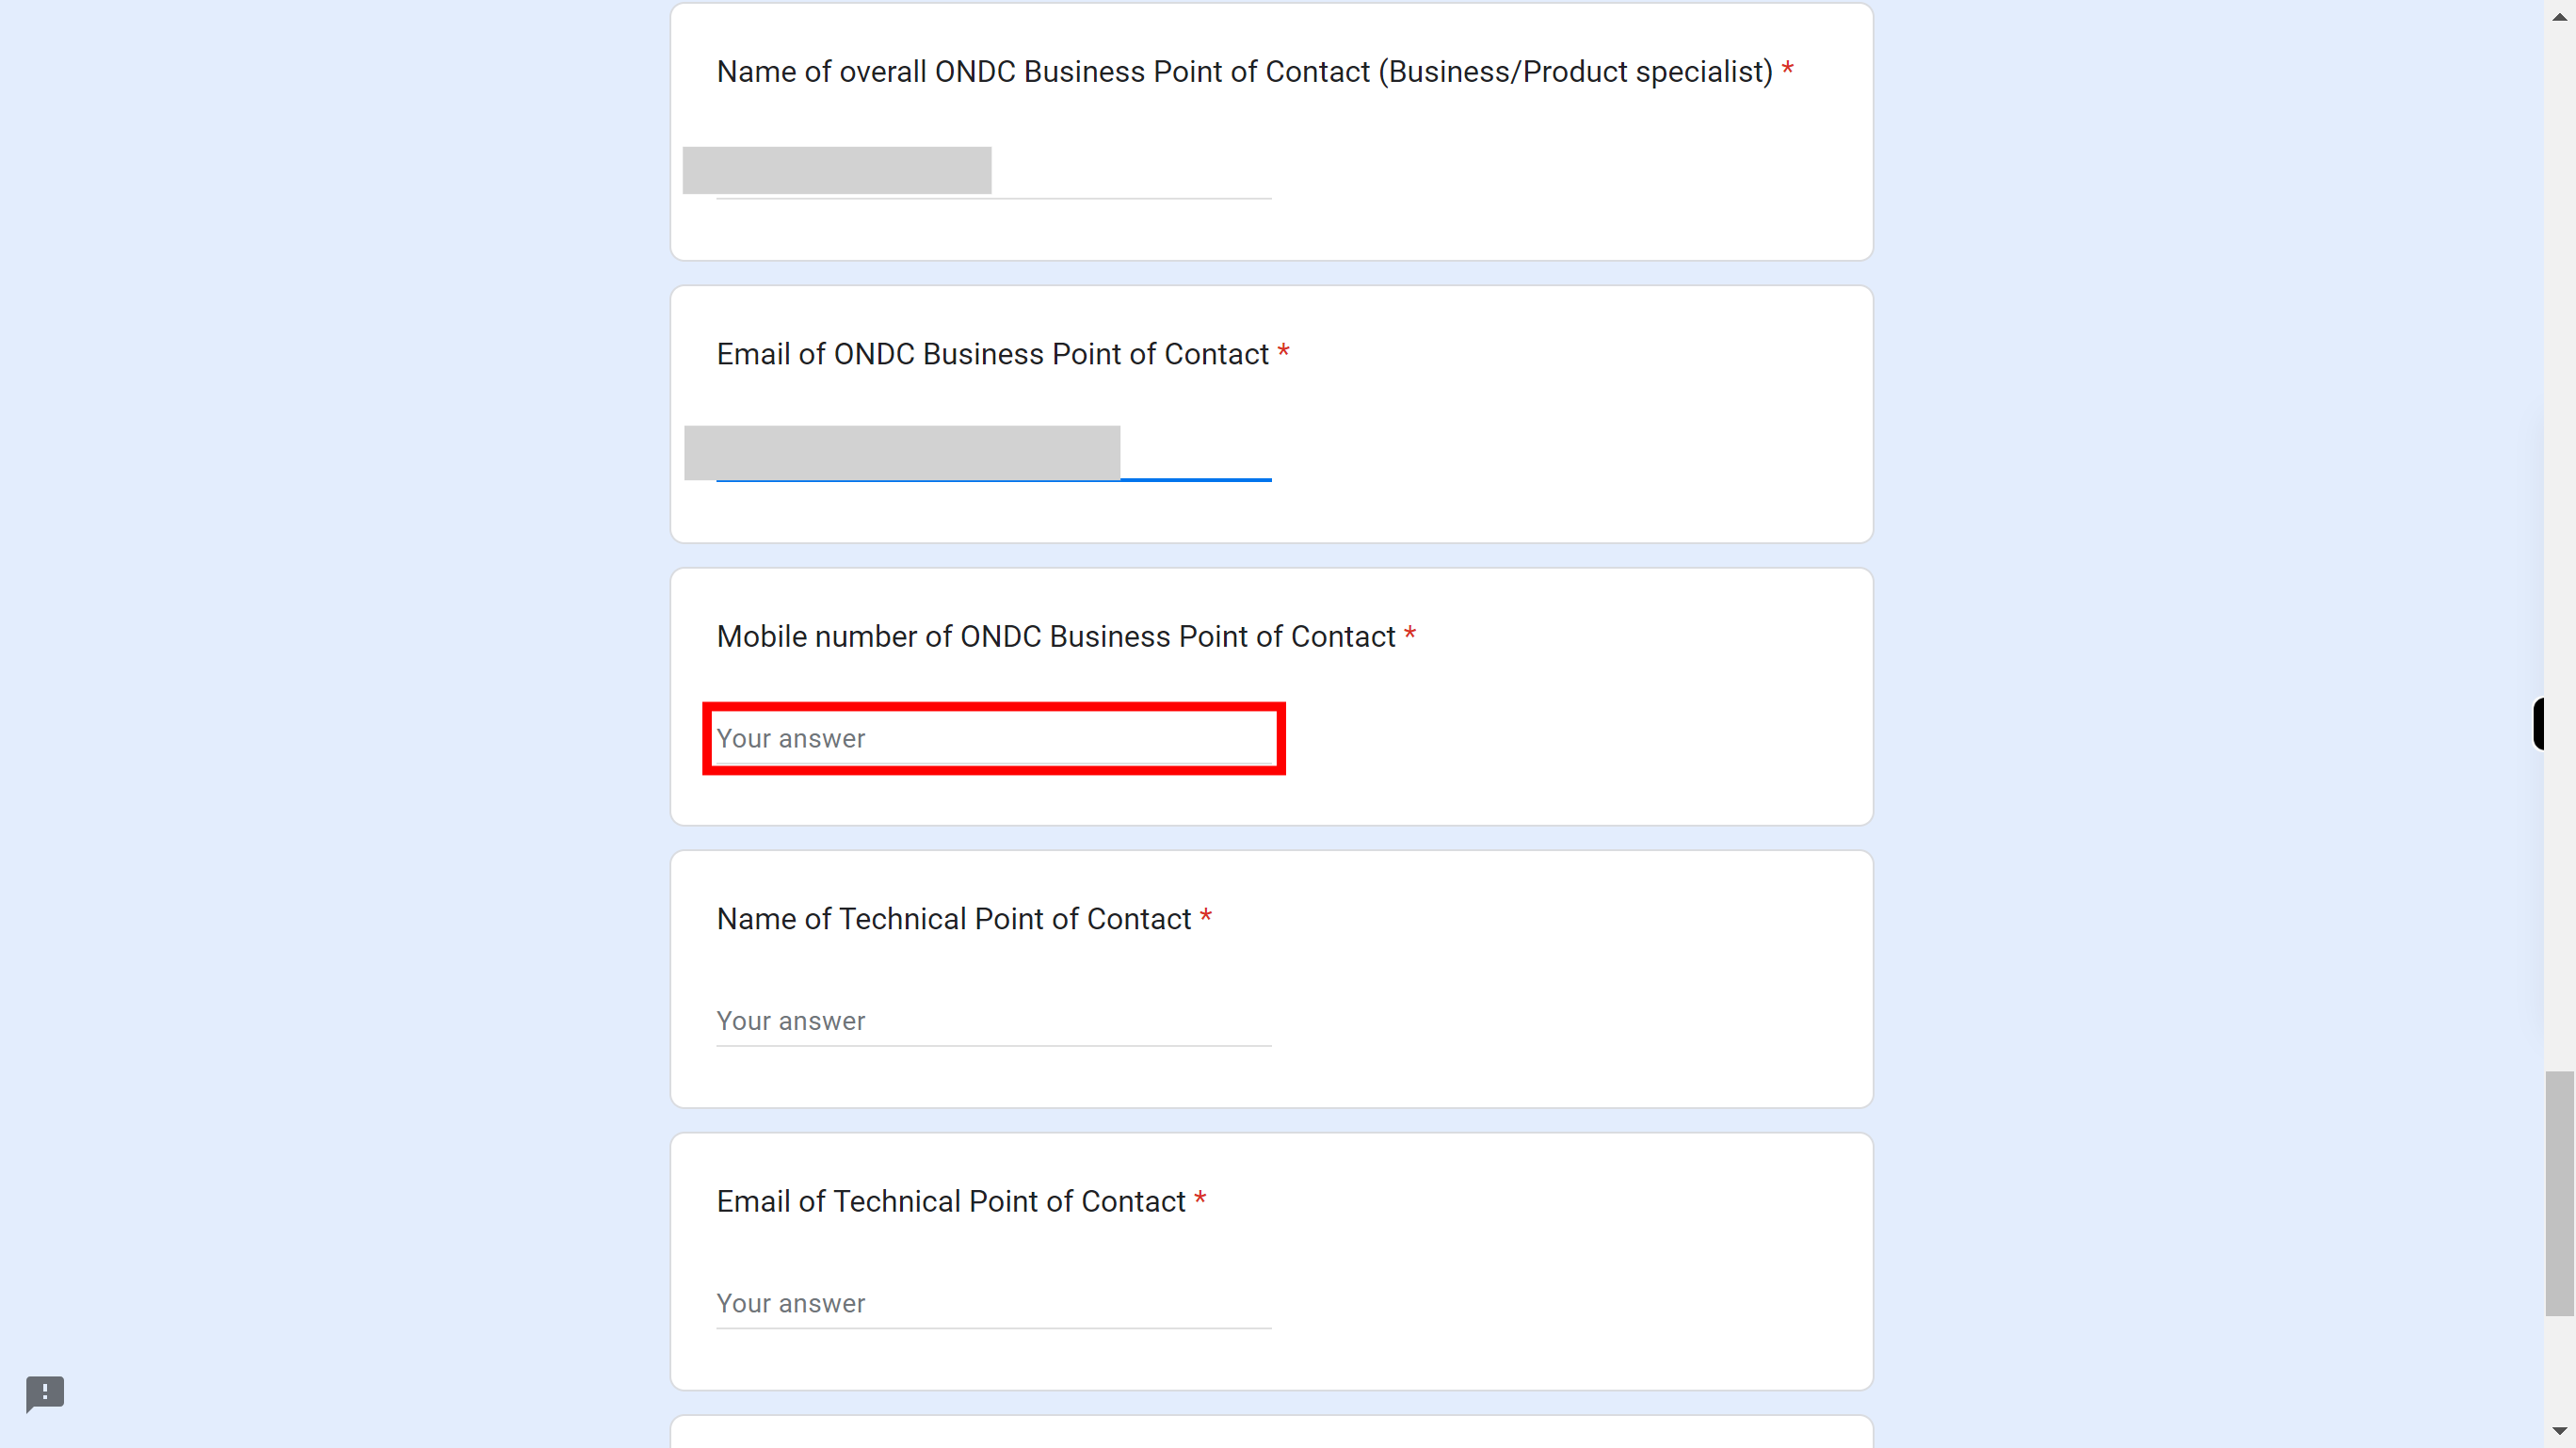
Click and enter the Email of the ONDC Business Point of Contact. Once done, click on the 'Next' button in the Supervity instruction widget.
-
14.
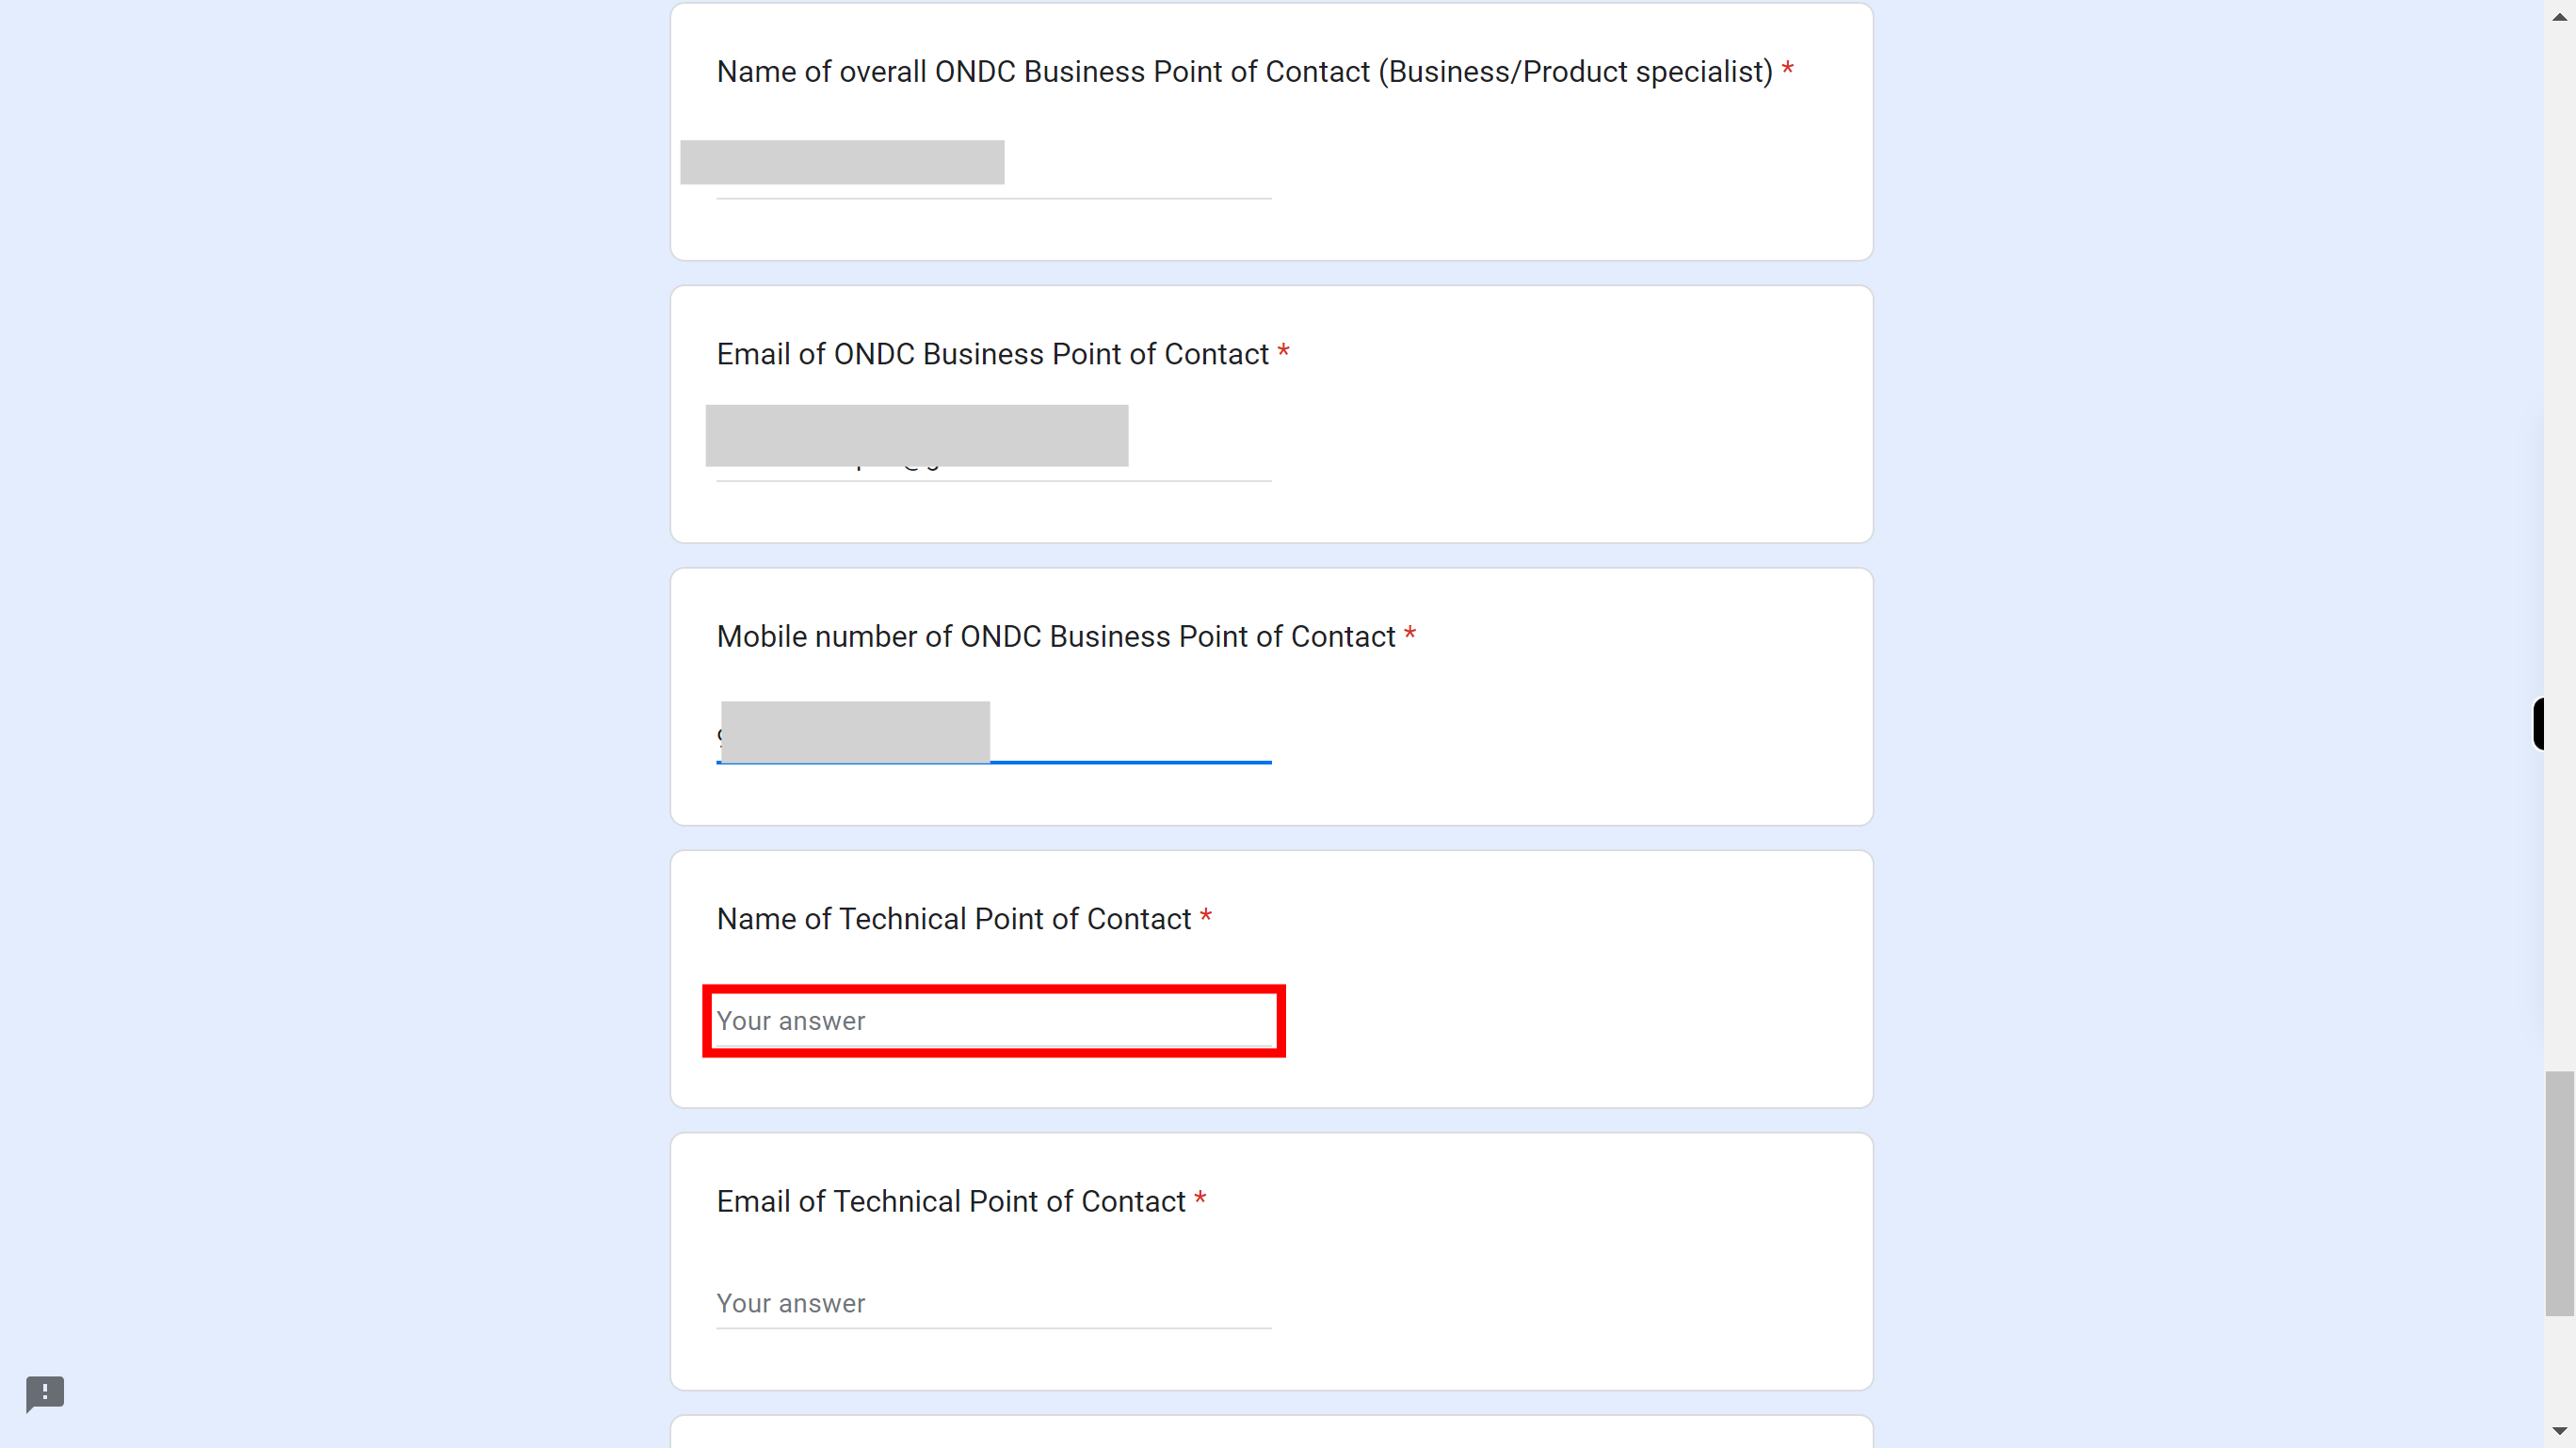
Click and enter the mobile number of ONDC Business Point of Contact. Once done, click on the 'Next' button in the Supervity instruction widget.
-
15.
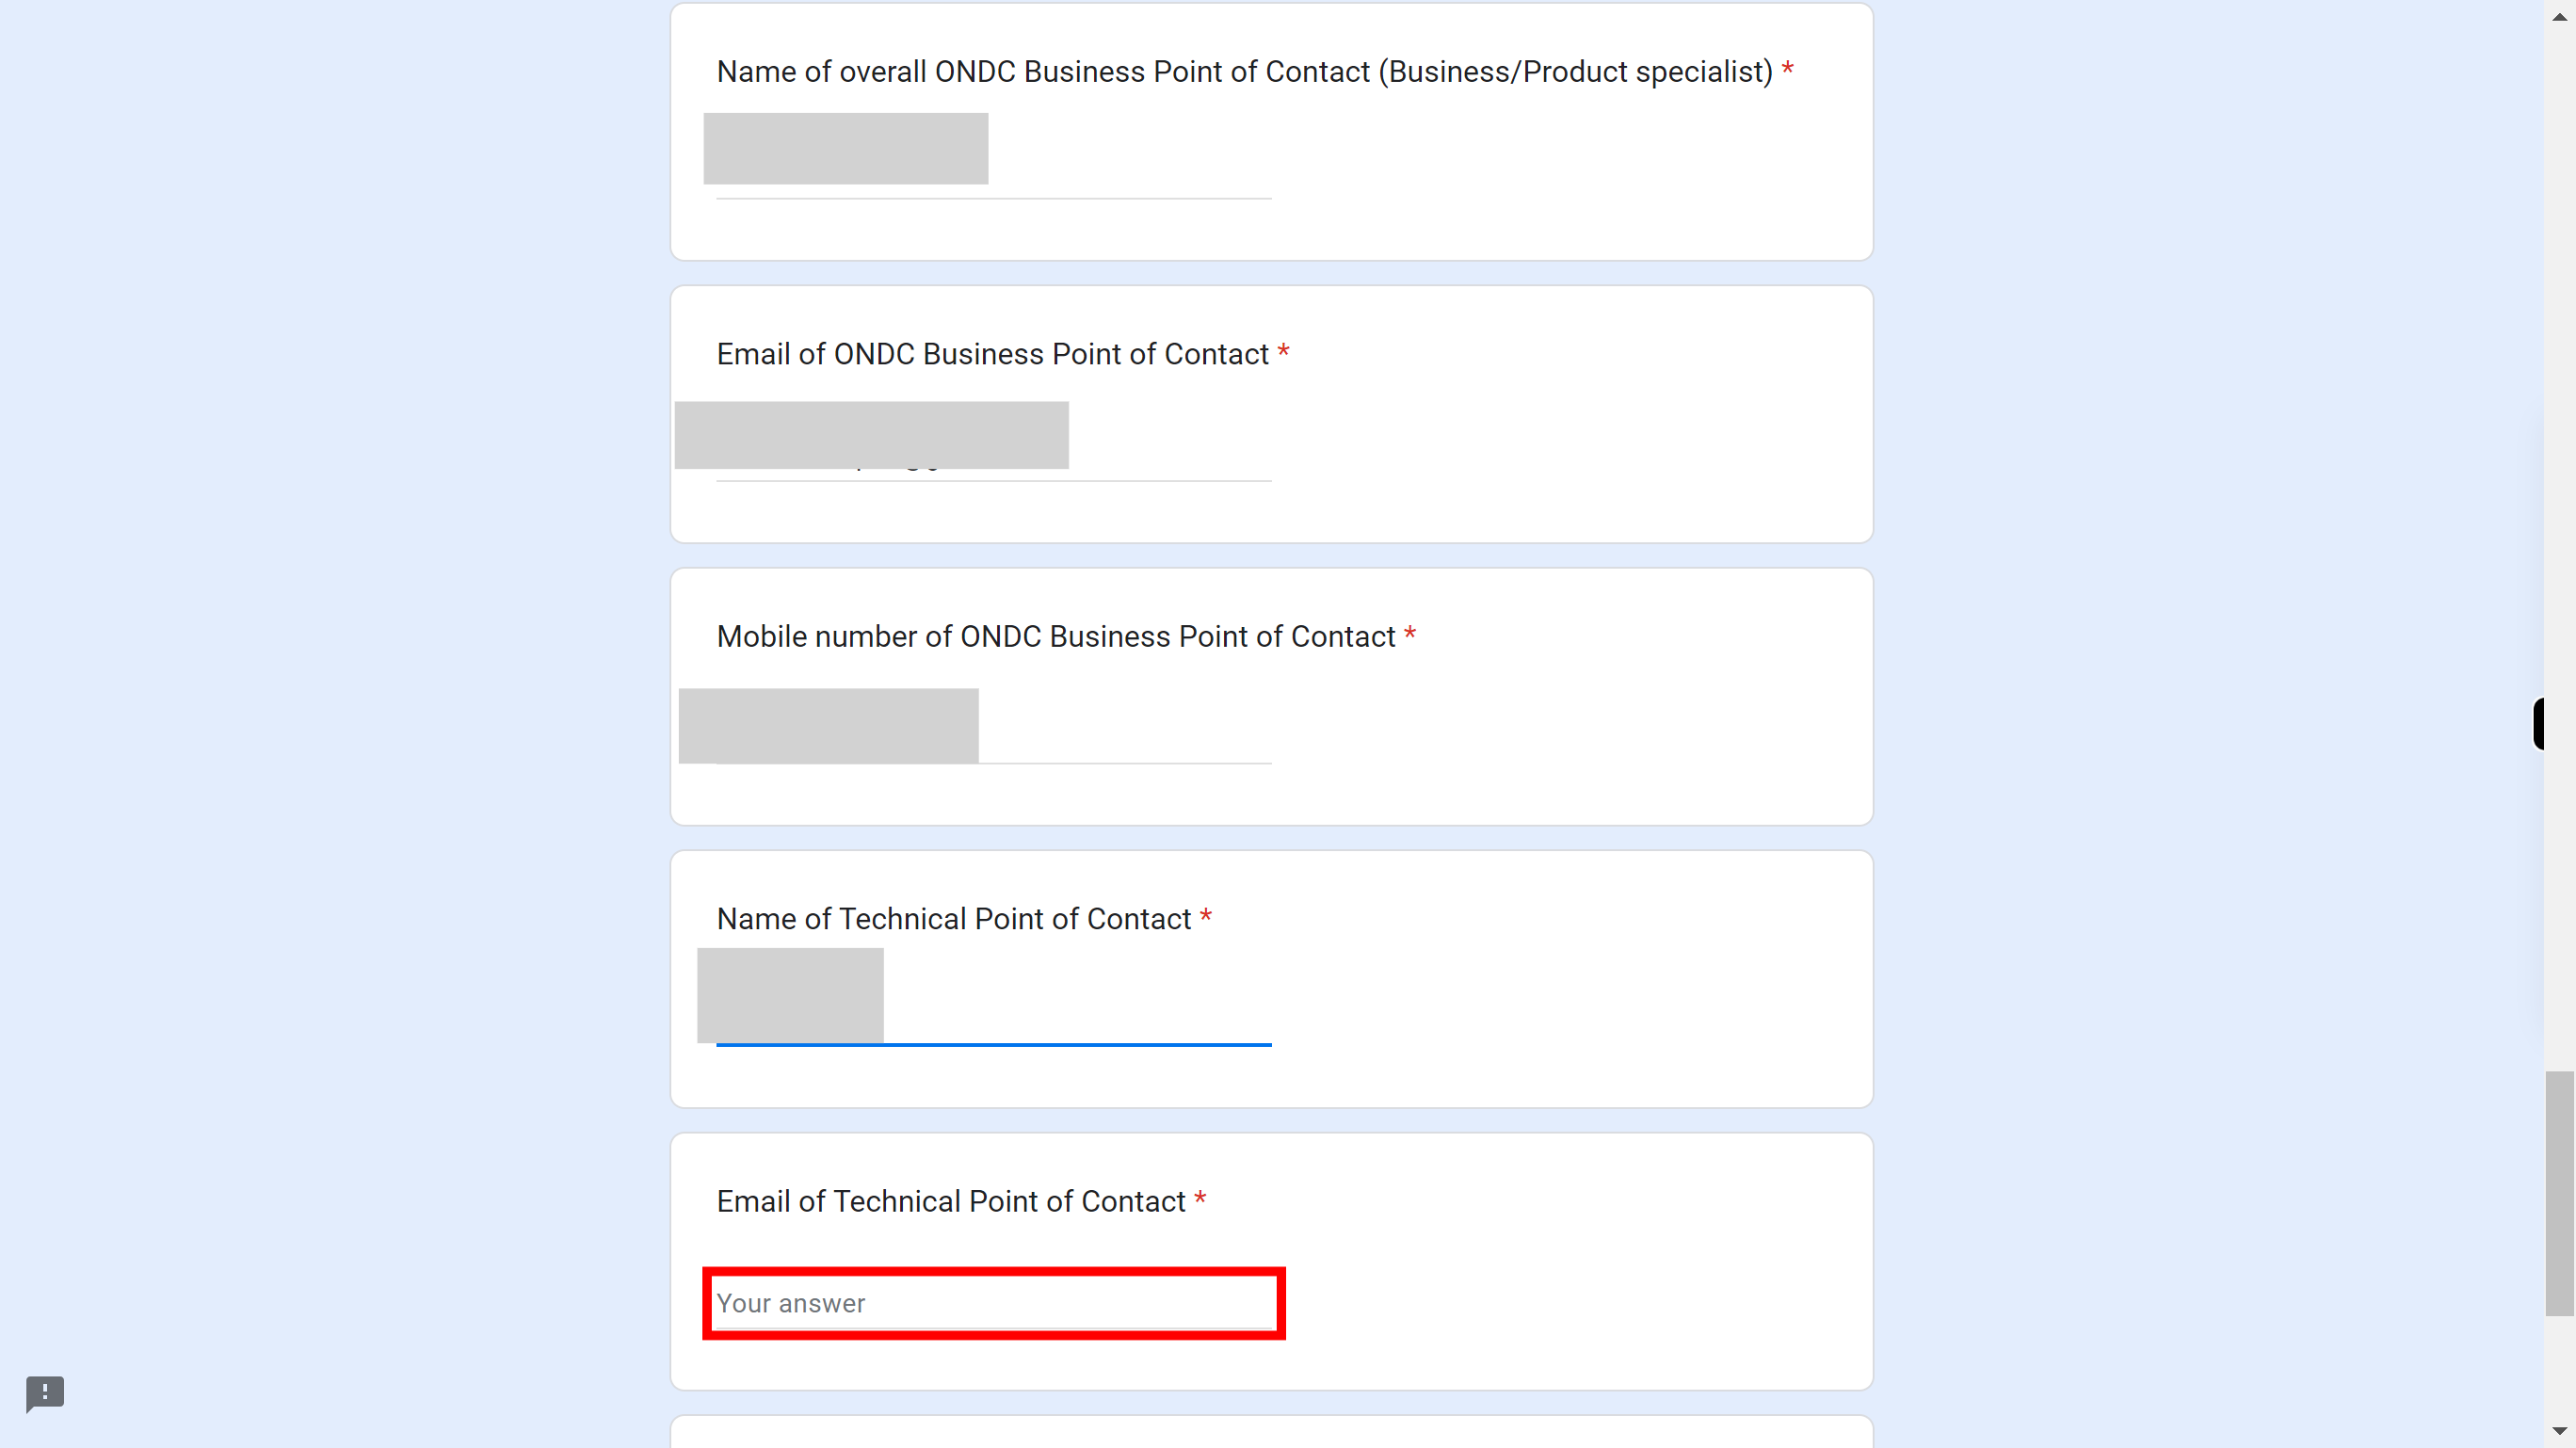
Click and enter the name of the Technical point of contact. Once done, click on the 'Next' button in the Supervity instruction widget.
-
16.
Click and enter the Email address of the Technical point of contact. Once done, click on the 'Next' button in the Supervity instruction widget.
-
17.
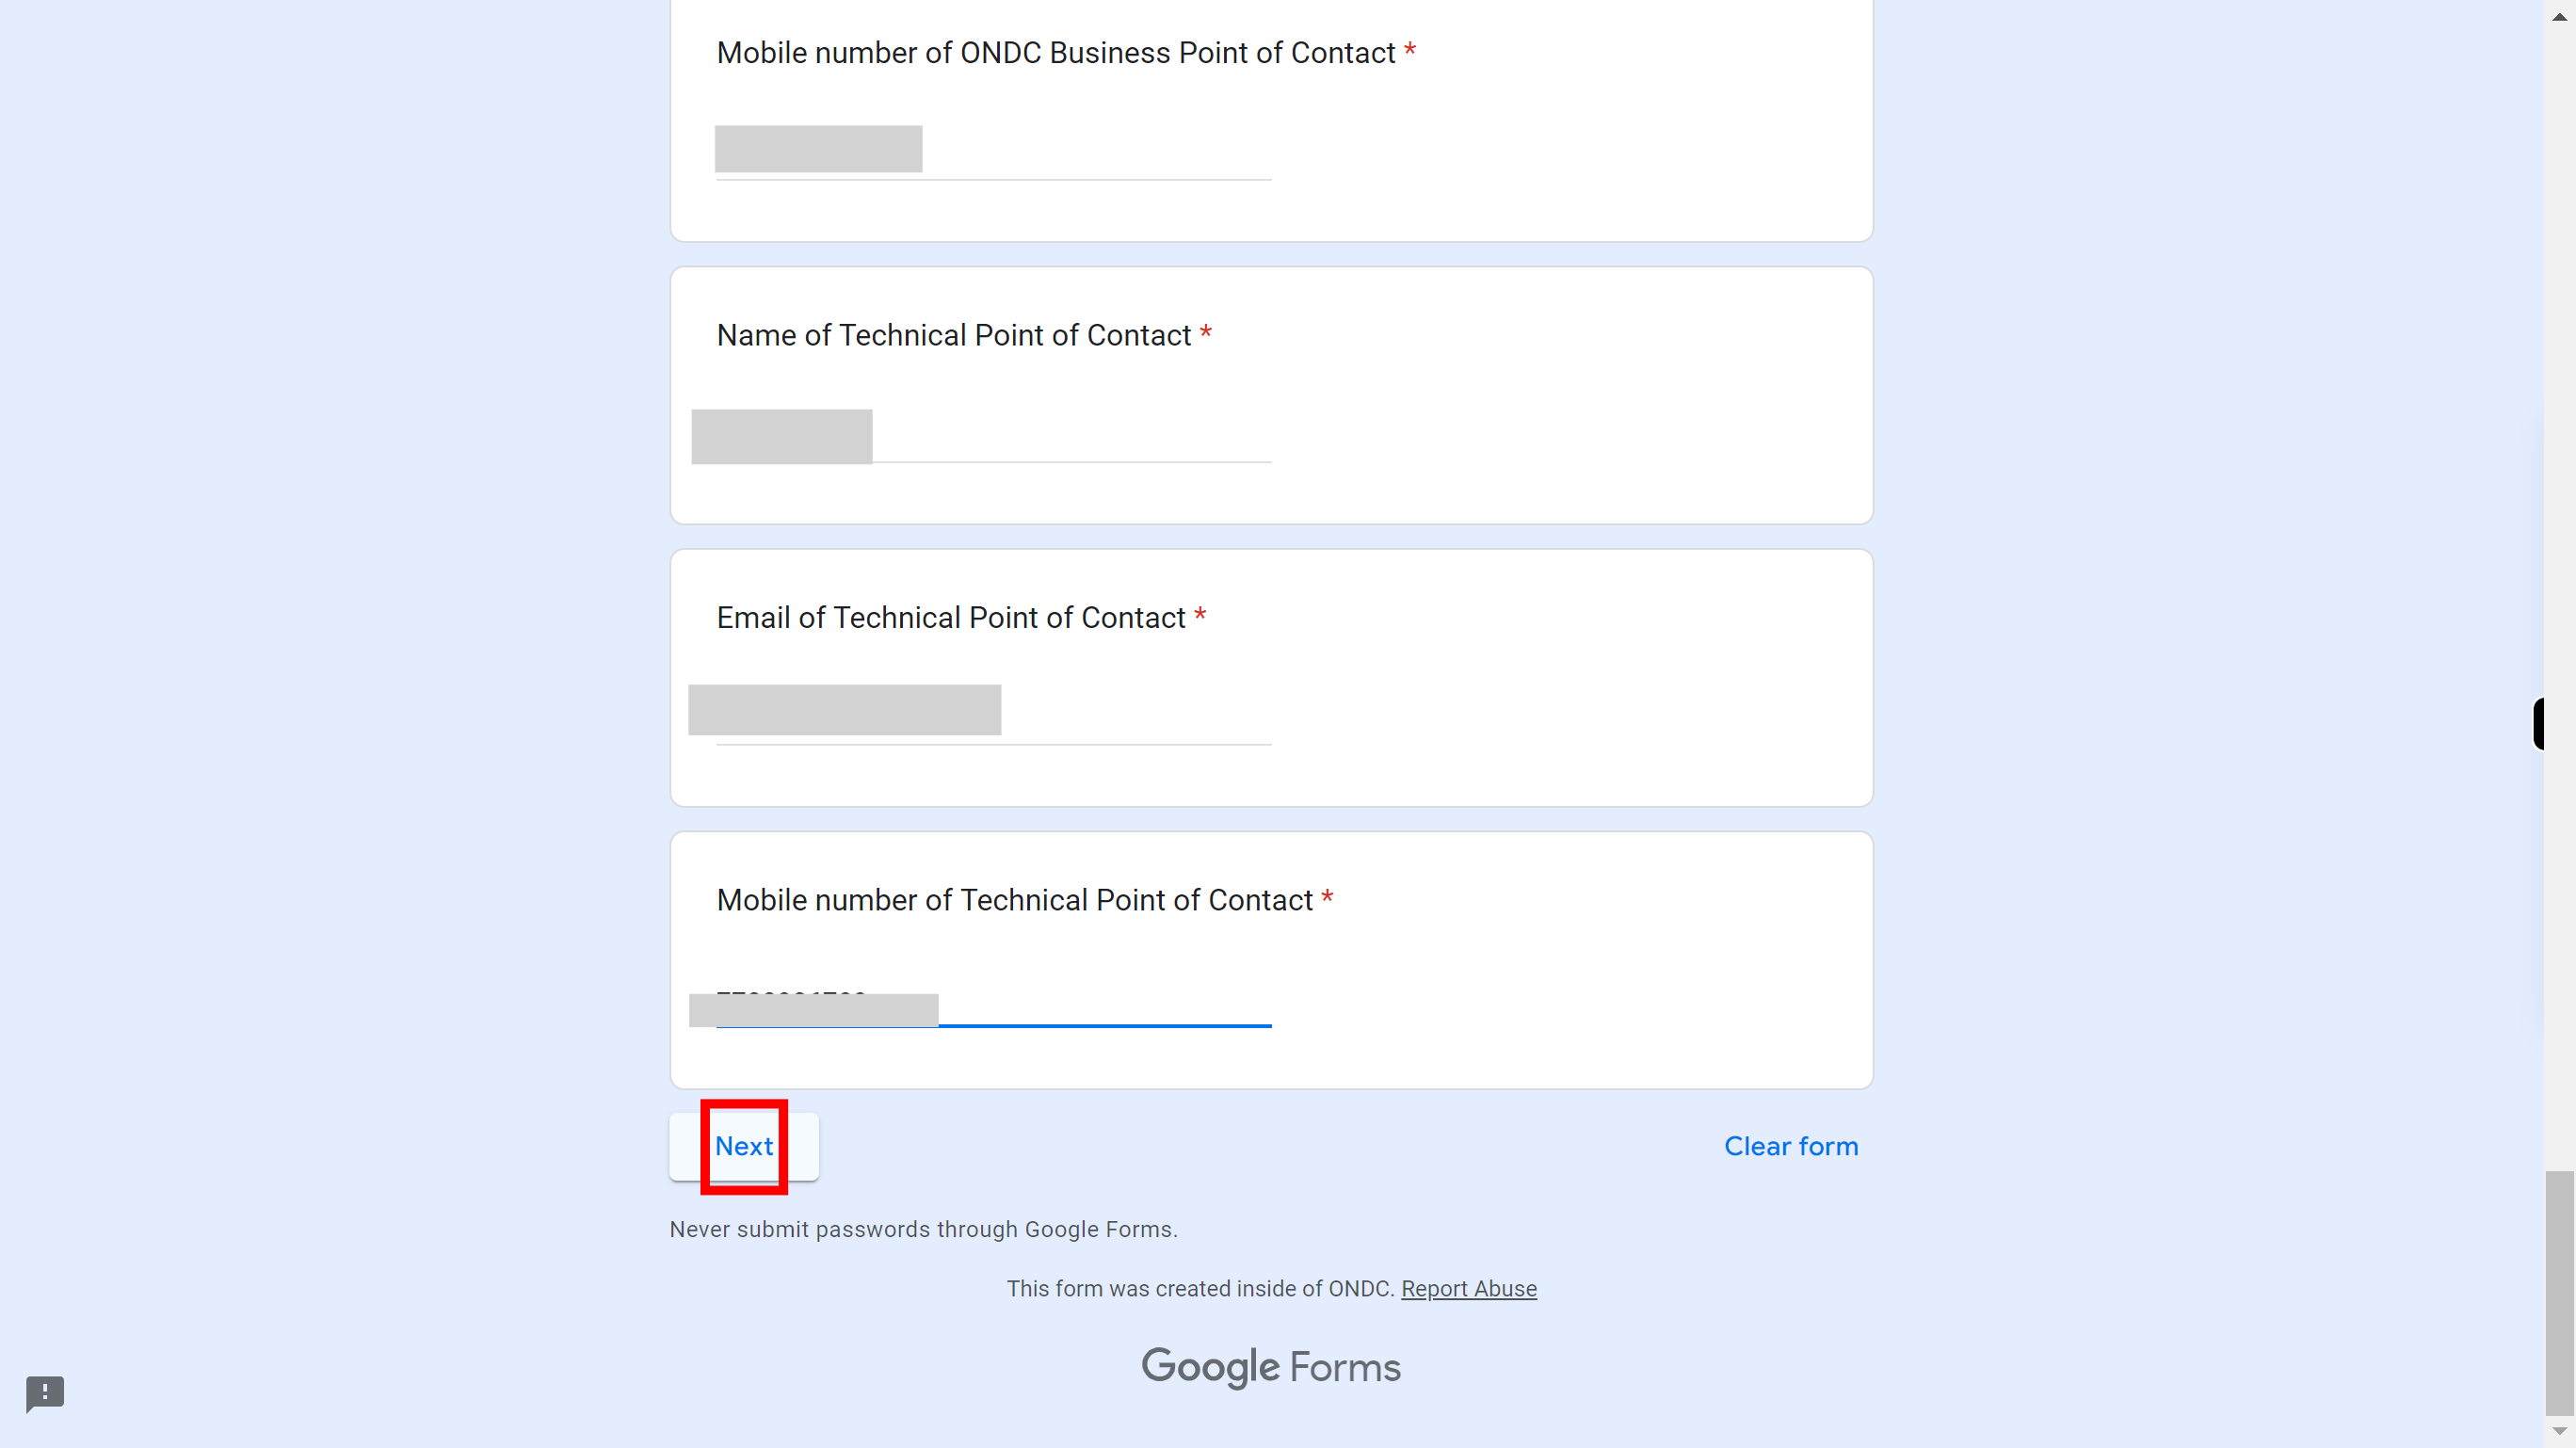
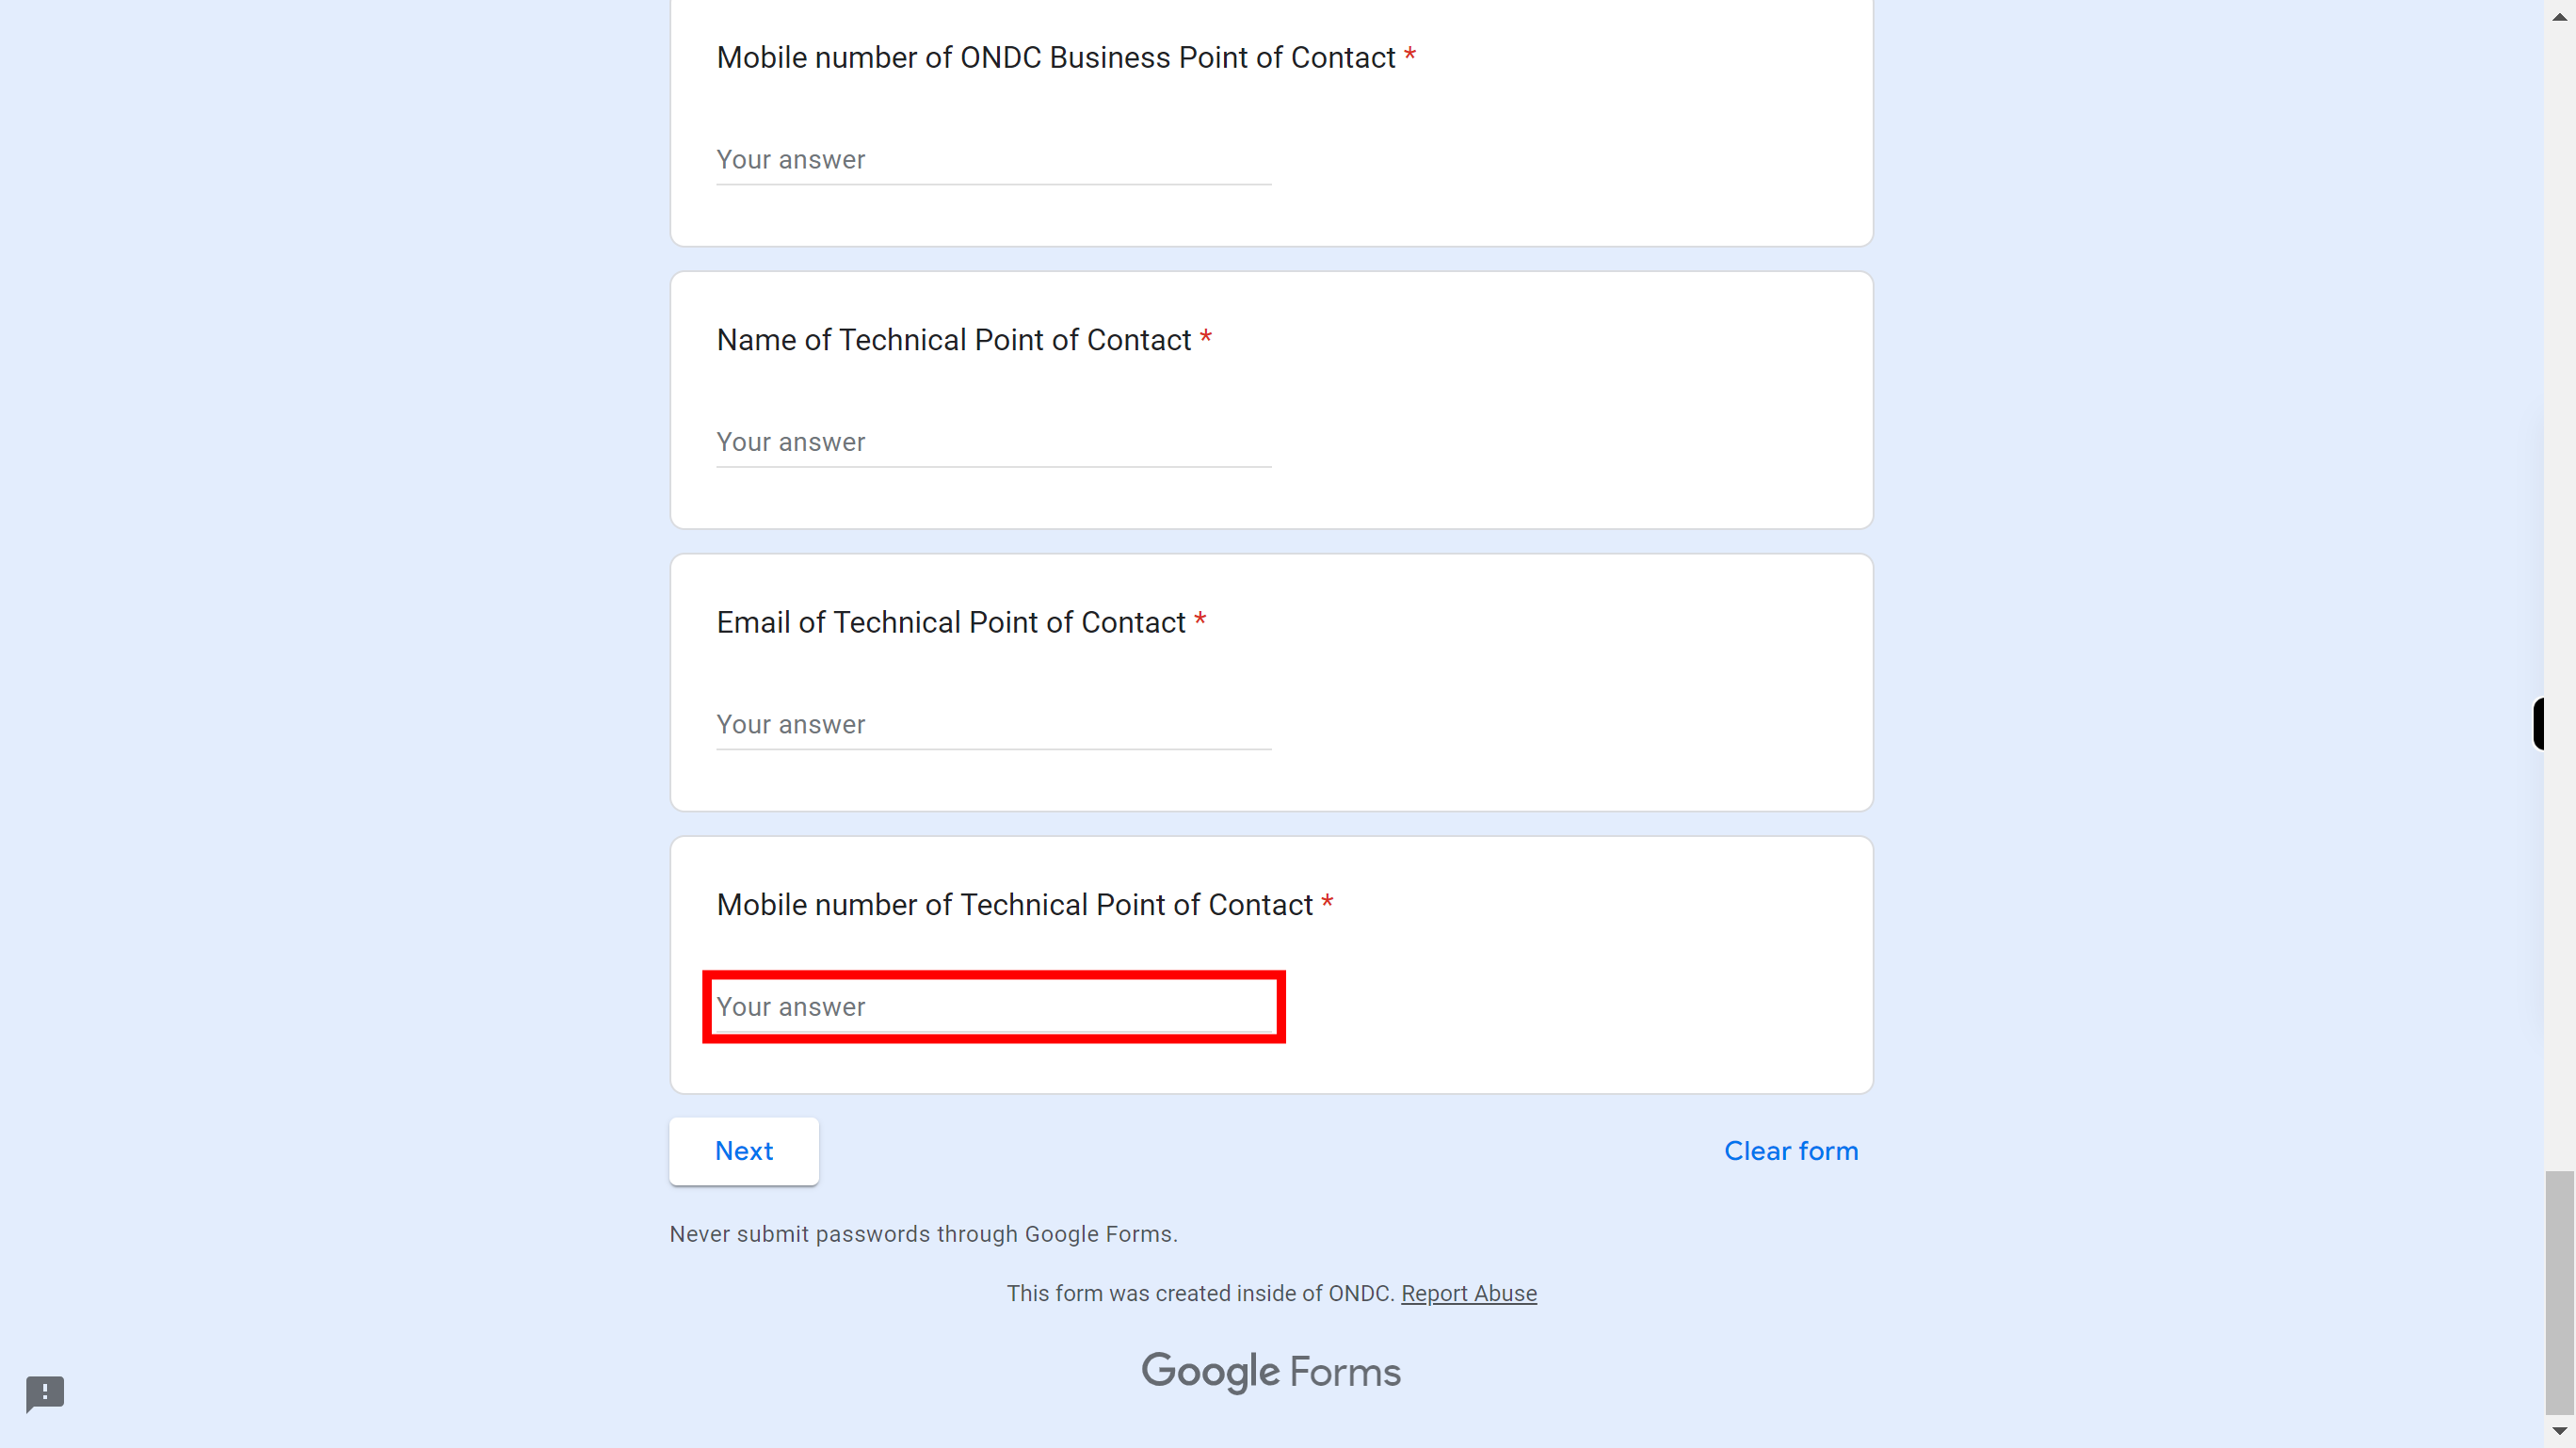
Click and enter the mobile number of the Technical point of contact. Once done, click on the 'Next' button in the Supervity instruction widget.
-
18.
Click on the 'Next' button to continue.
-
19.
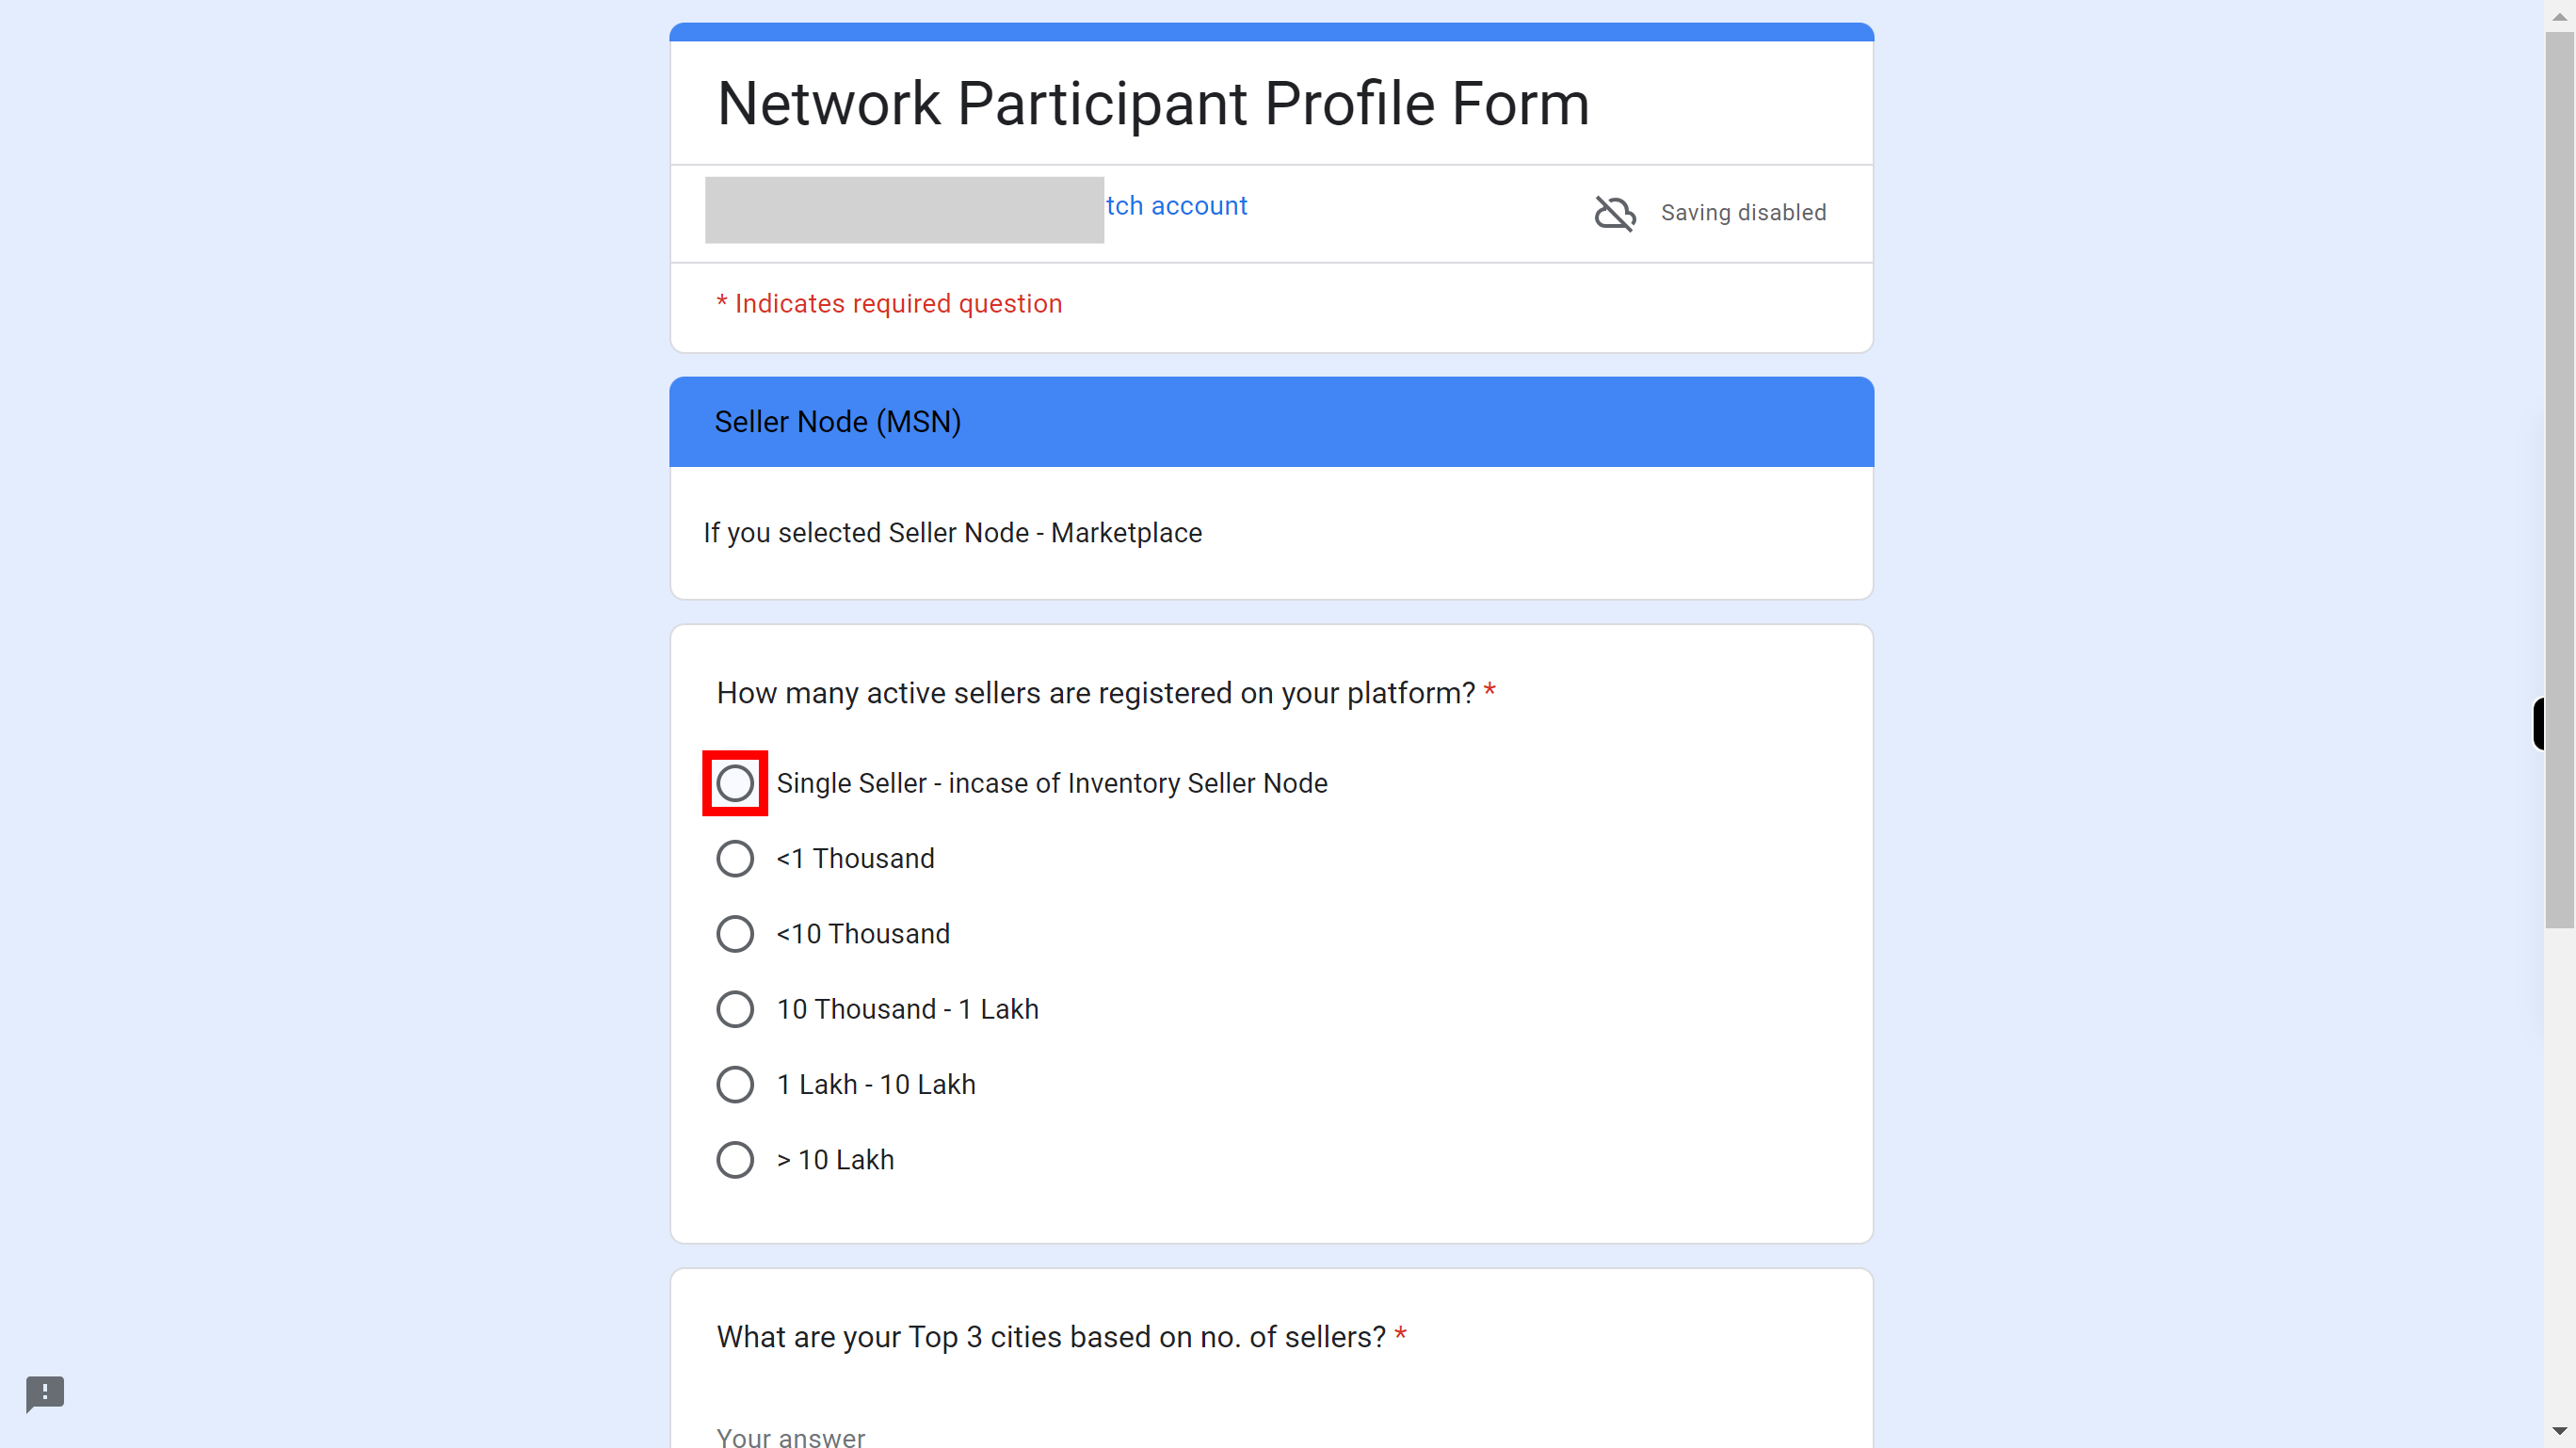
Check one of the checkbox, how many active sellers are registered on your platform. Once done, click on the 'Next' button in the Supervity instruction widget.
-
20.
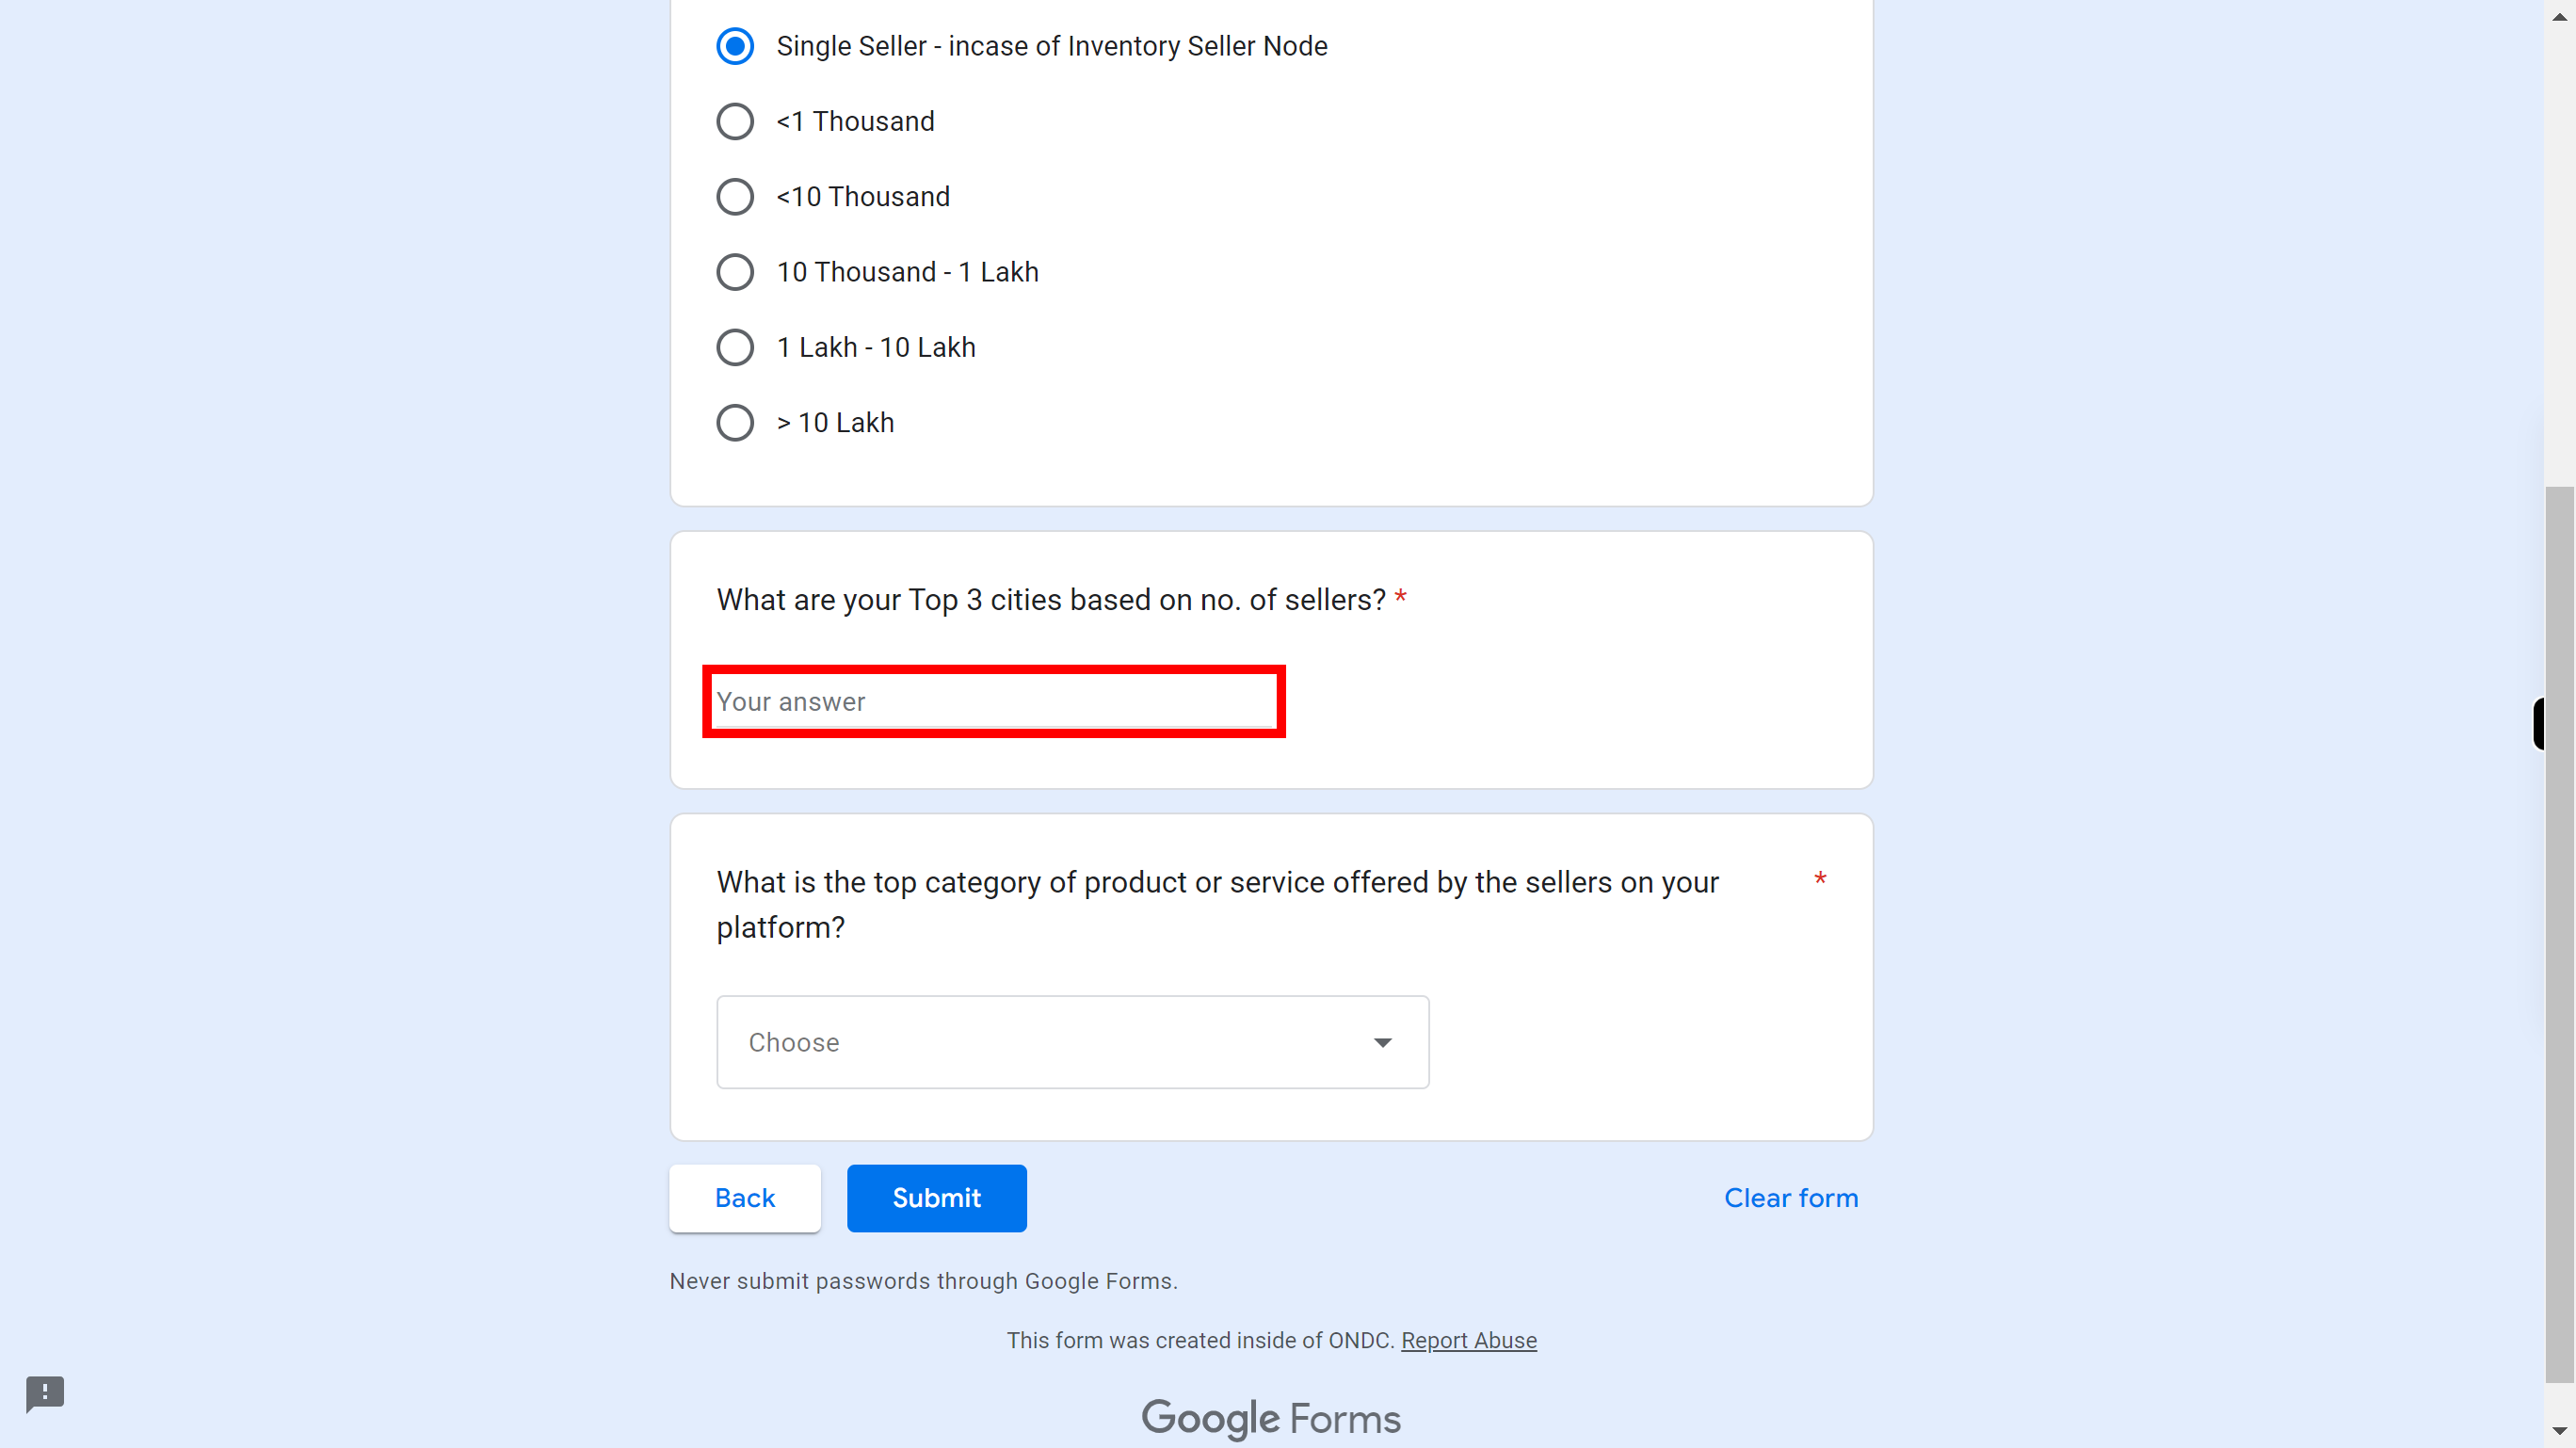
Click and enter your top 3 cities based on the number of sellers. Once done, click on the 'Next' button in the Supervity instruction widget.
-
21.
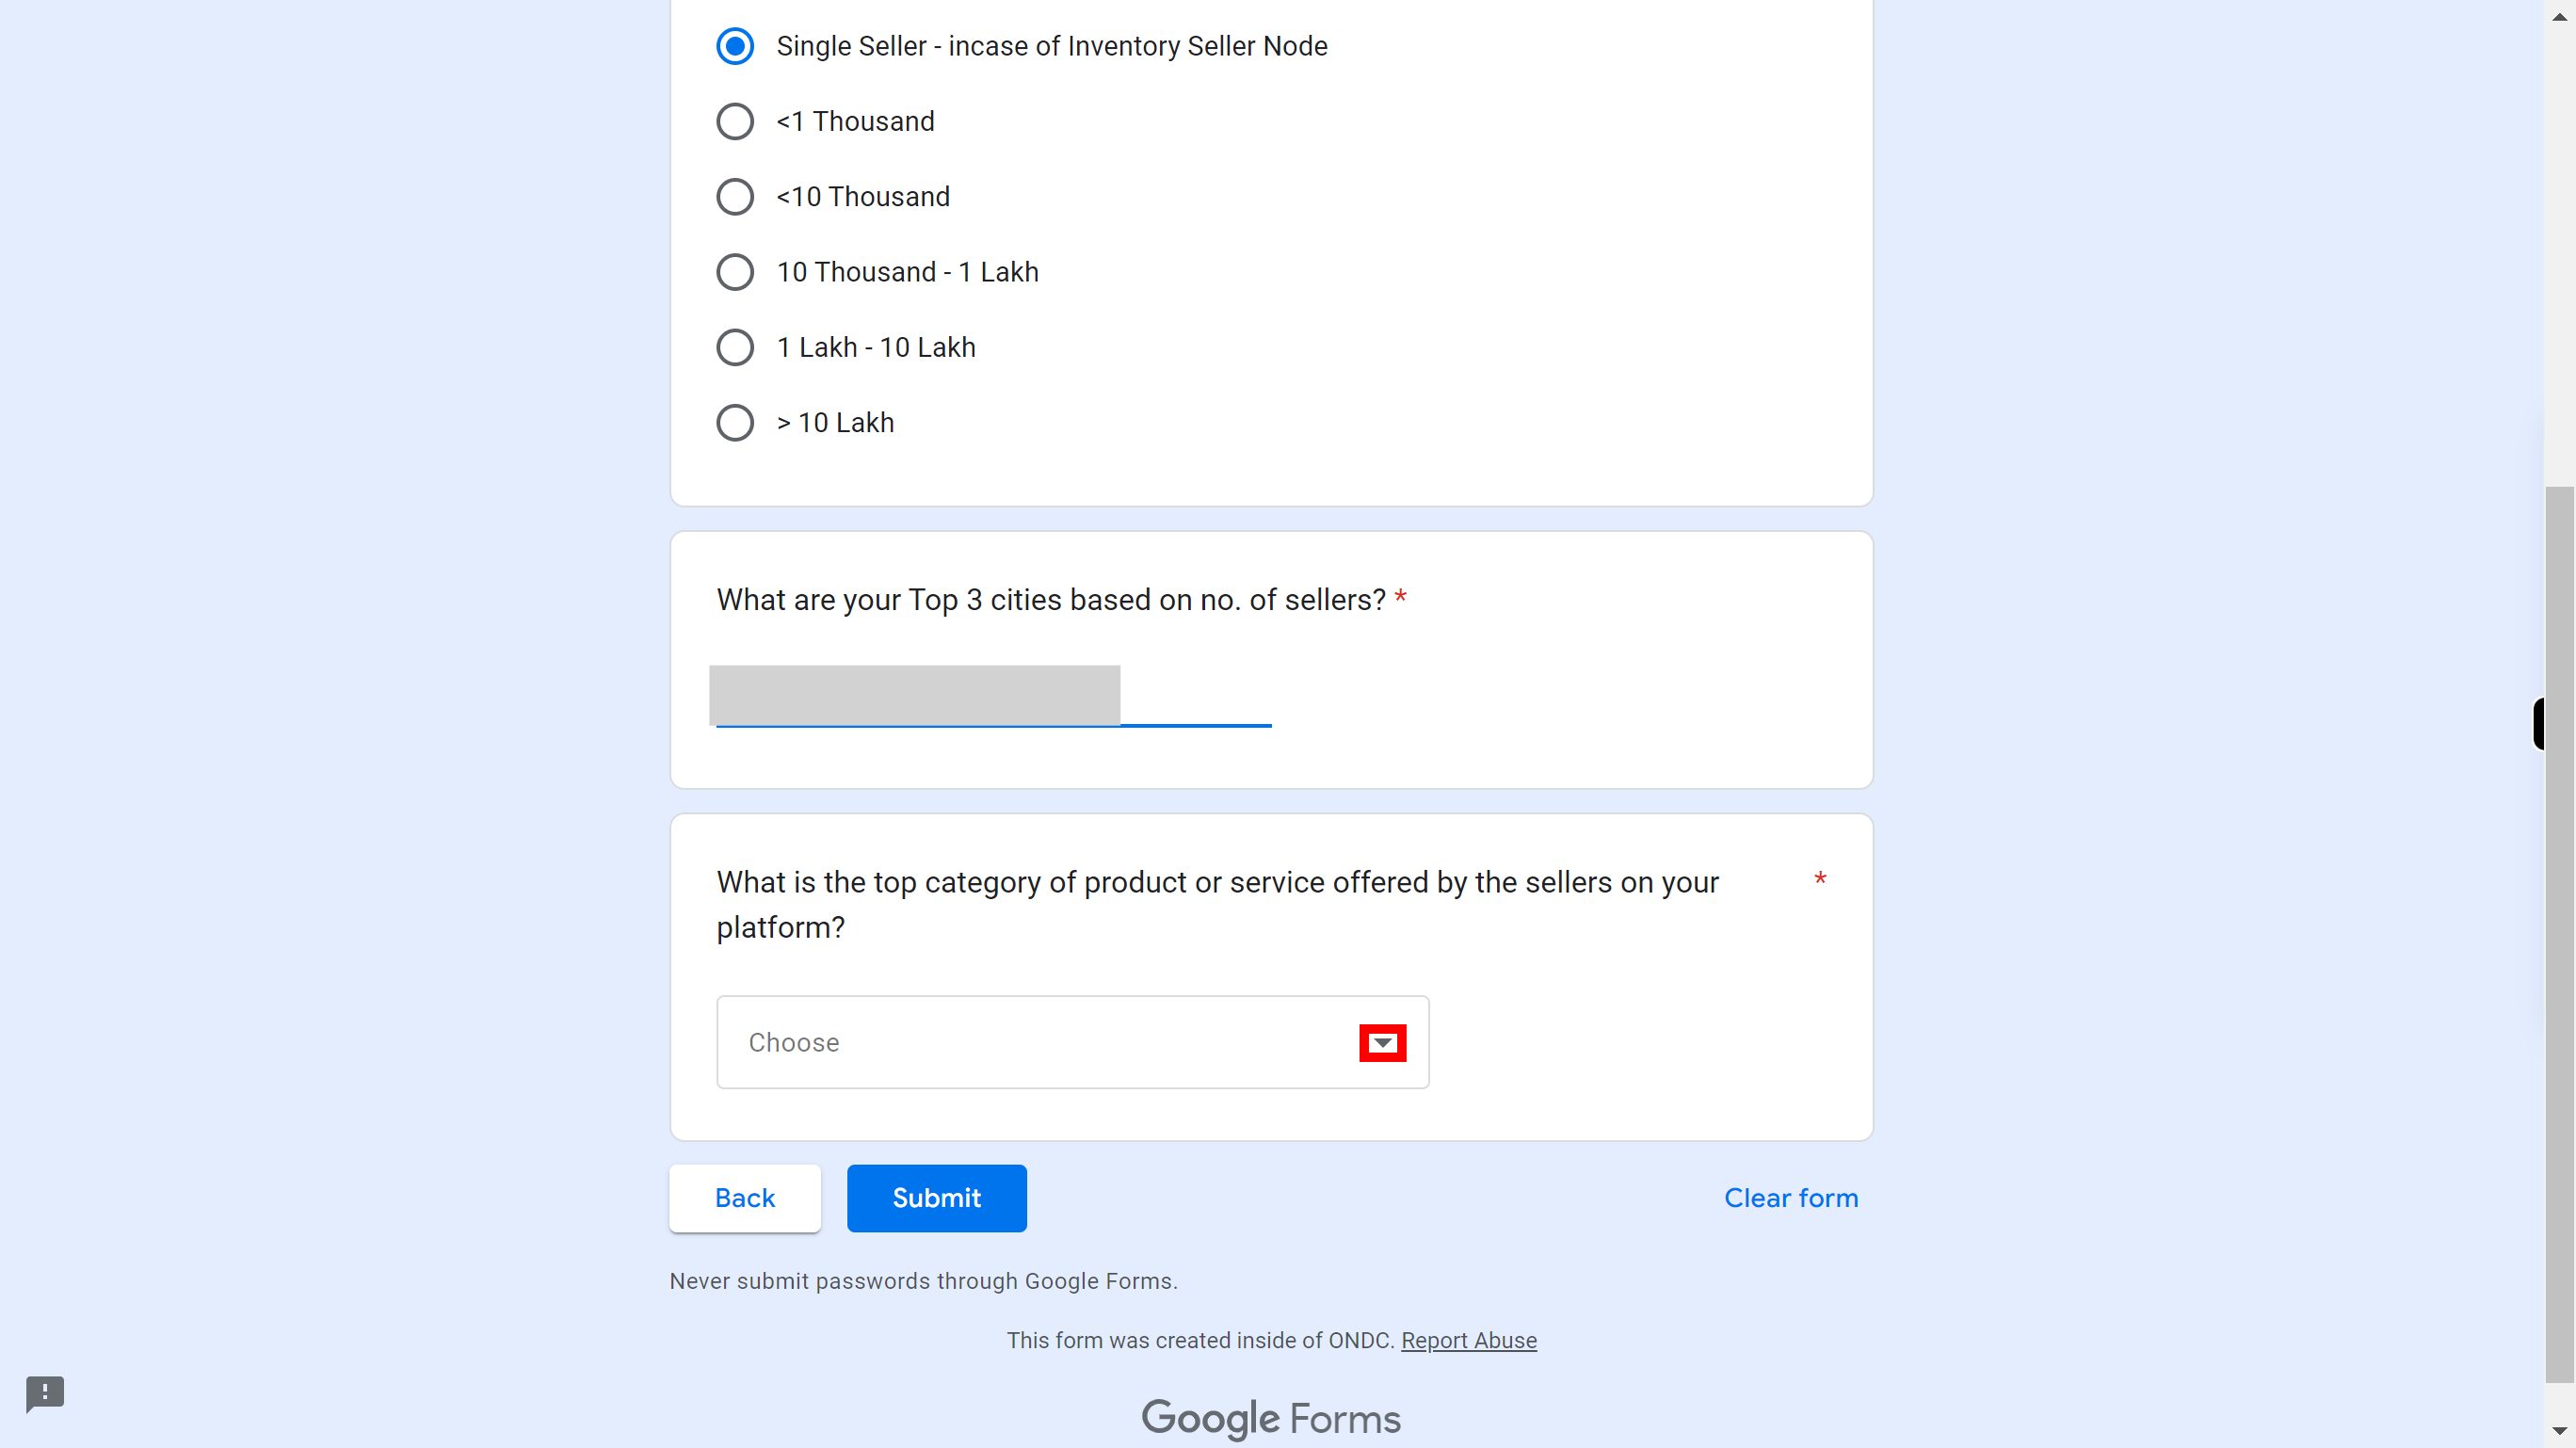
Click on the choose dropdown button and select the top category of product or services offered by sellers on your platform. Once done, click on the 'Next' button in the Supervity instruction widget.
-
22.
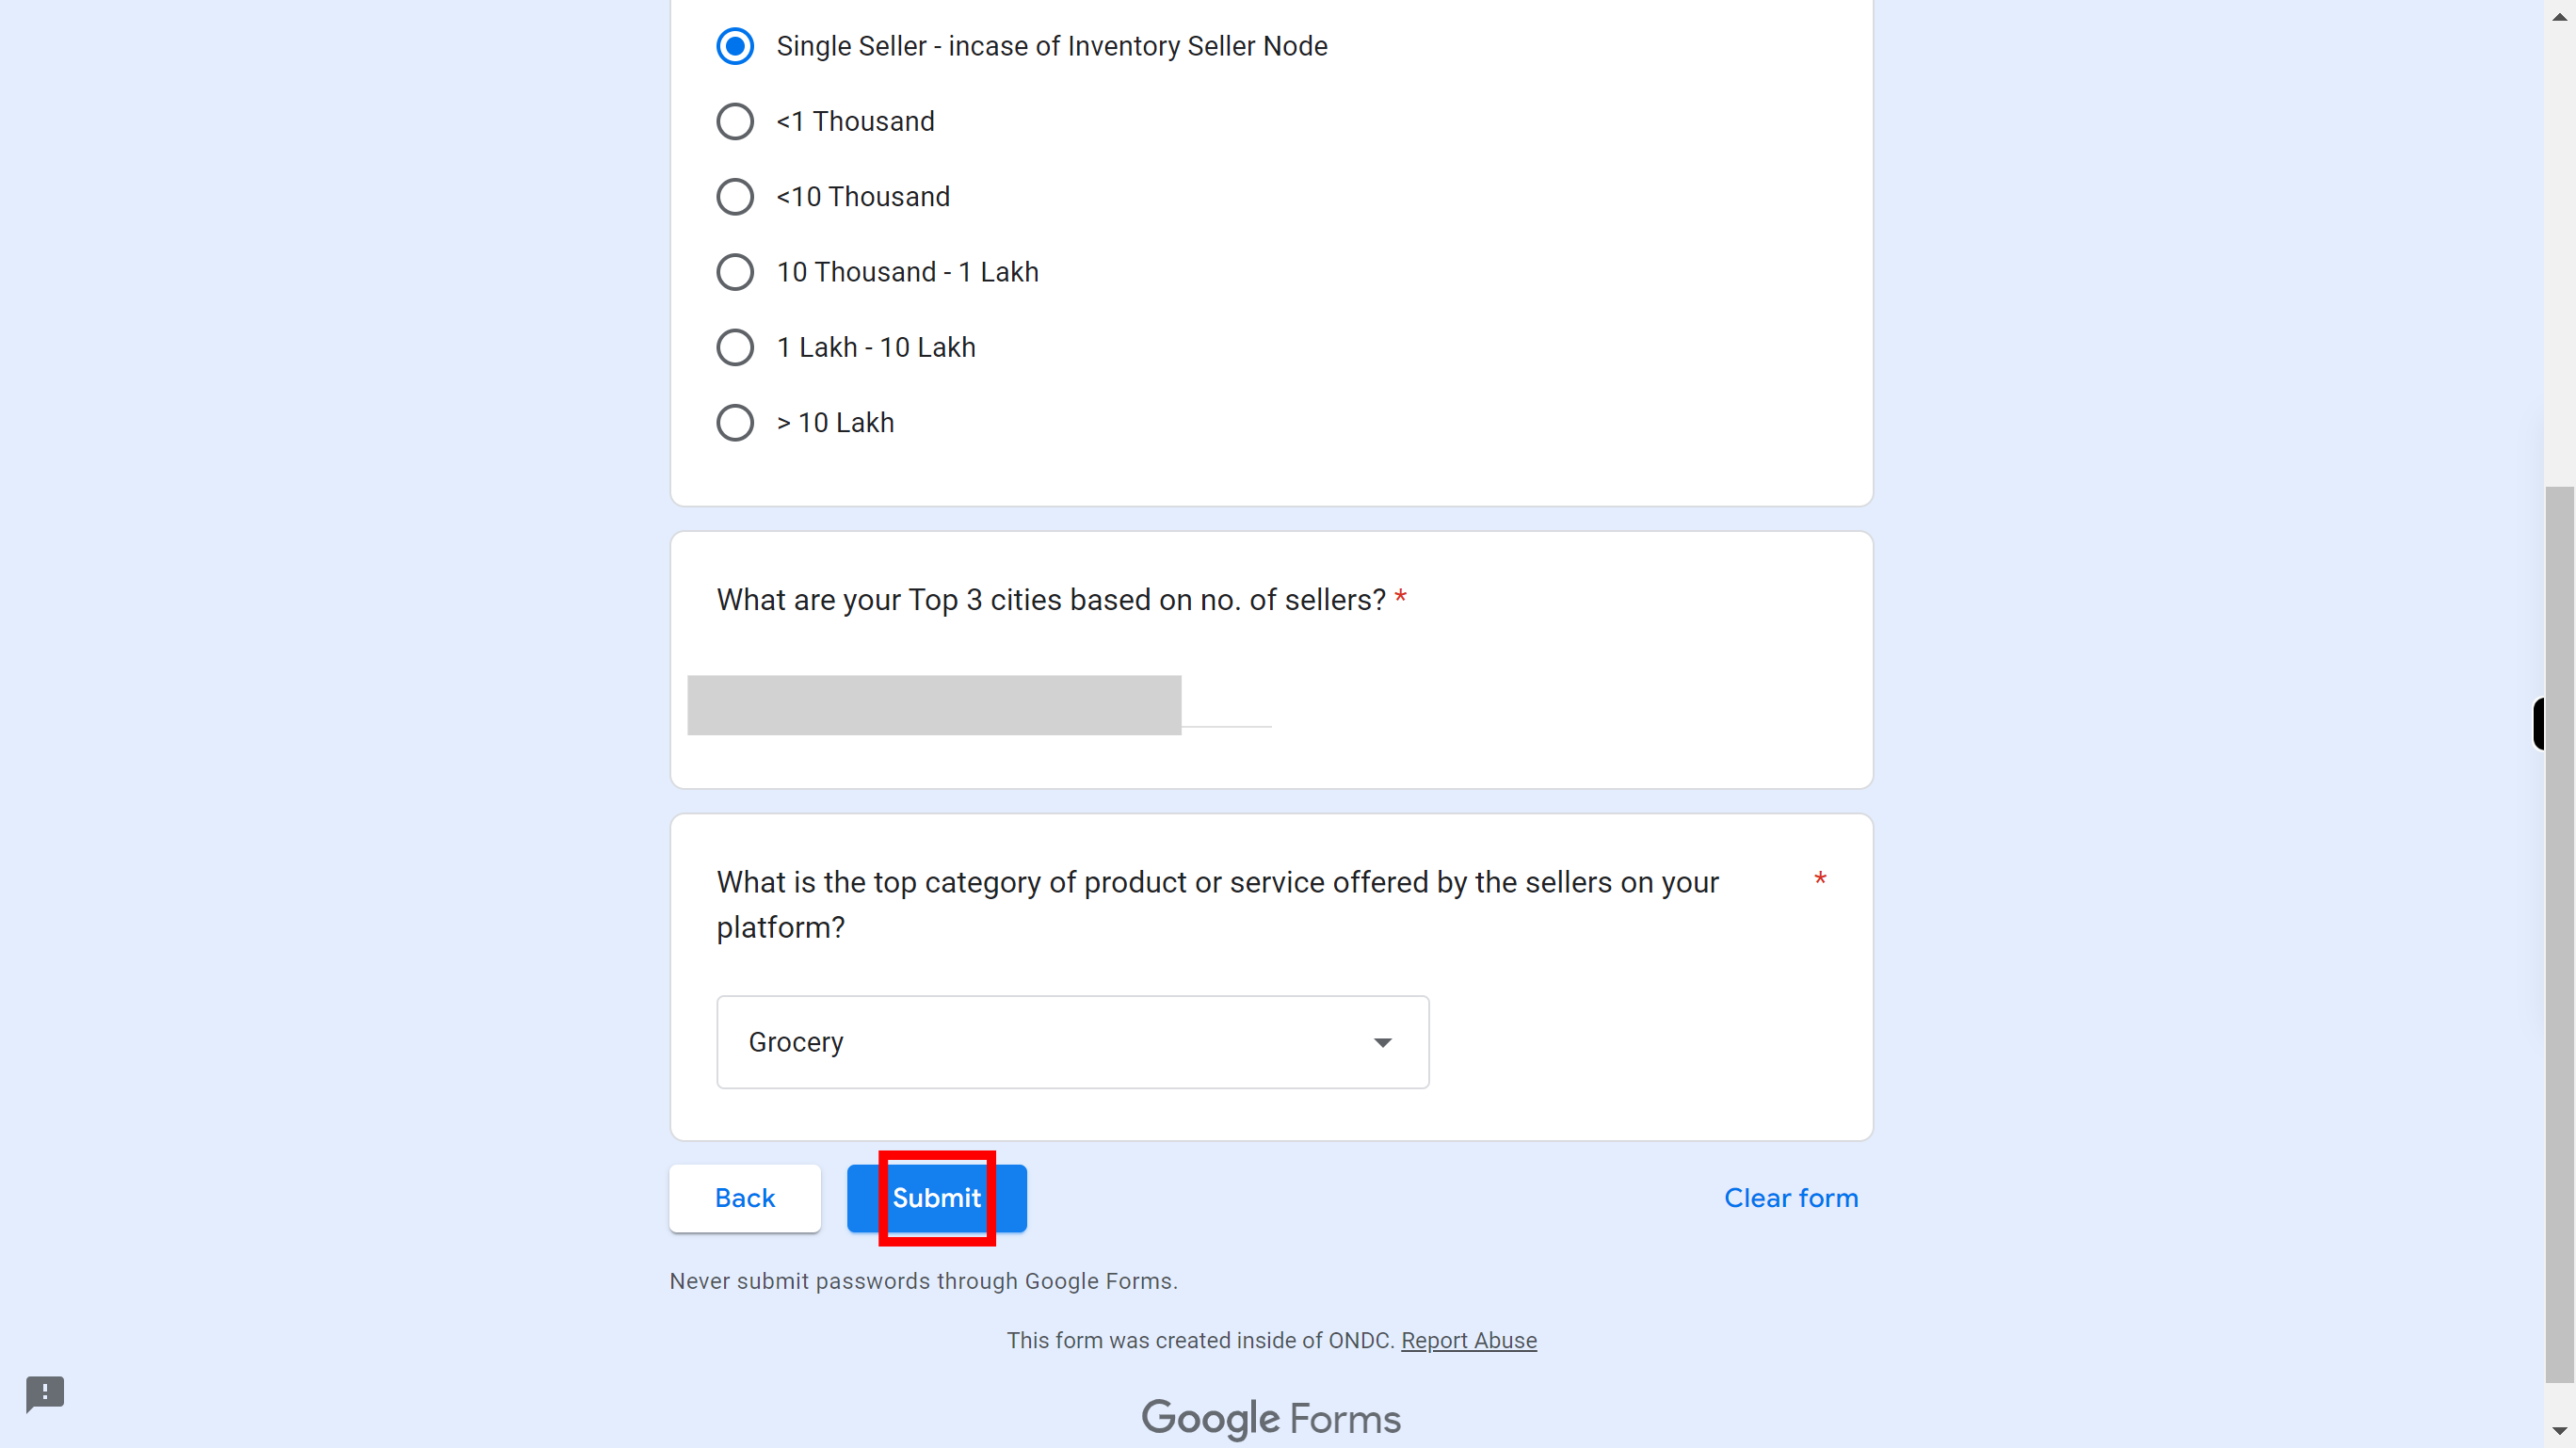
Click on the 'Submit' button.


