This skill helps you in creating an issue in the GitHub repository. Your issue will now be created as a card in the project board column you selected. You can move the card across different columns to reflect the progress of the issue (e.g., To Do, In Progress, Done). Other collaborators can also interact with the issue card and provide updates or comments. Pre-Requisites: Make sure you had an account in GitHub, and a repository and project under it. NOTE: Please login into your GitHub account and then execute this skill.
-
1.
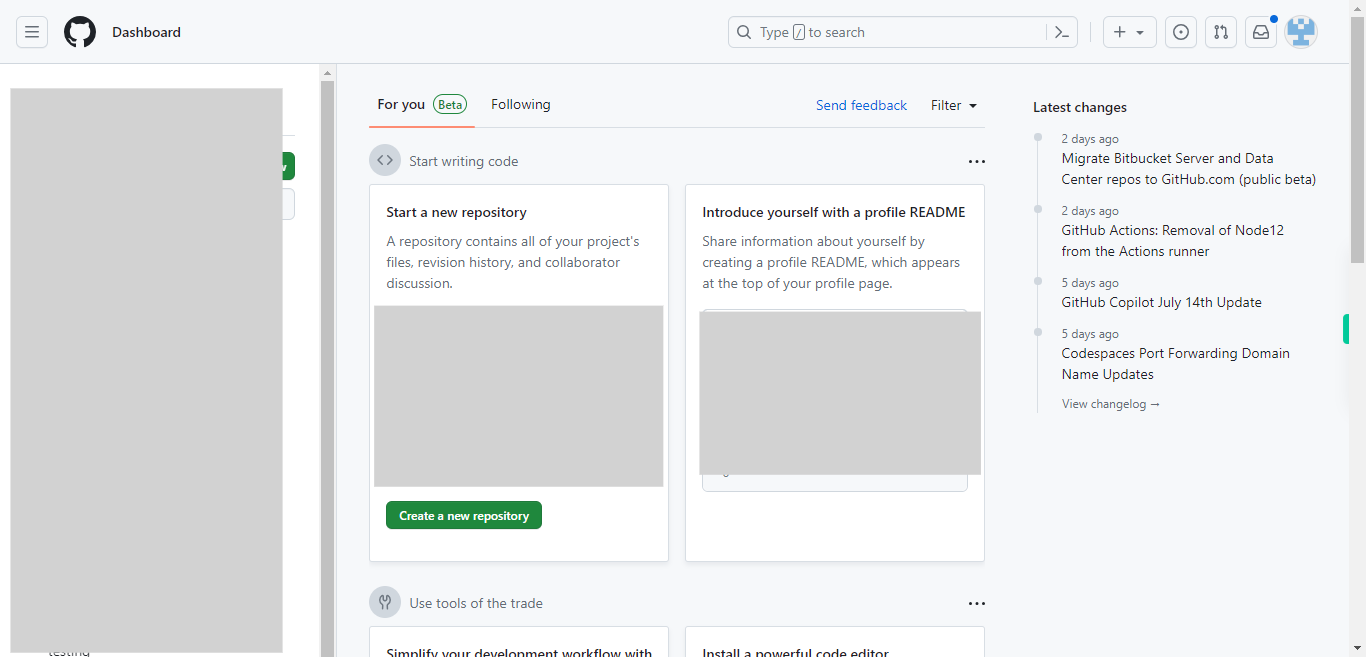
Open GitHub on the web.
-
2.
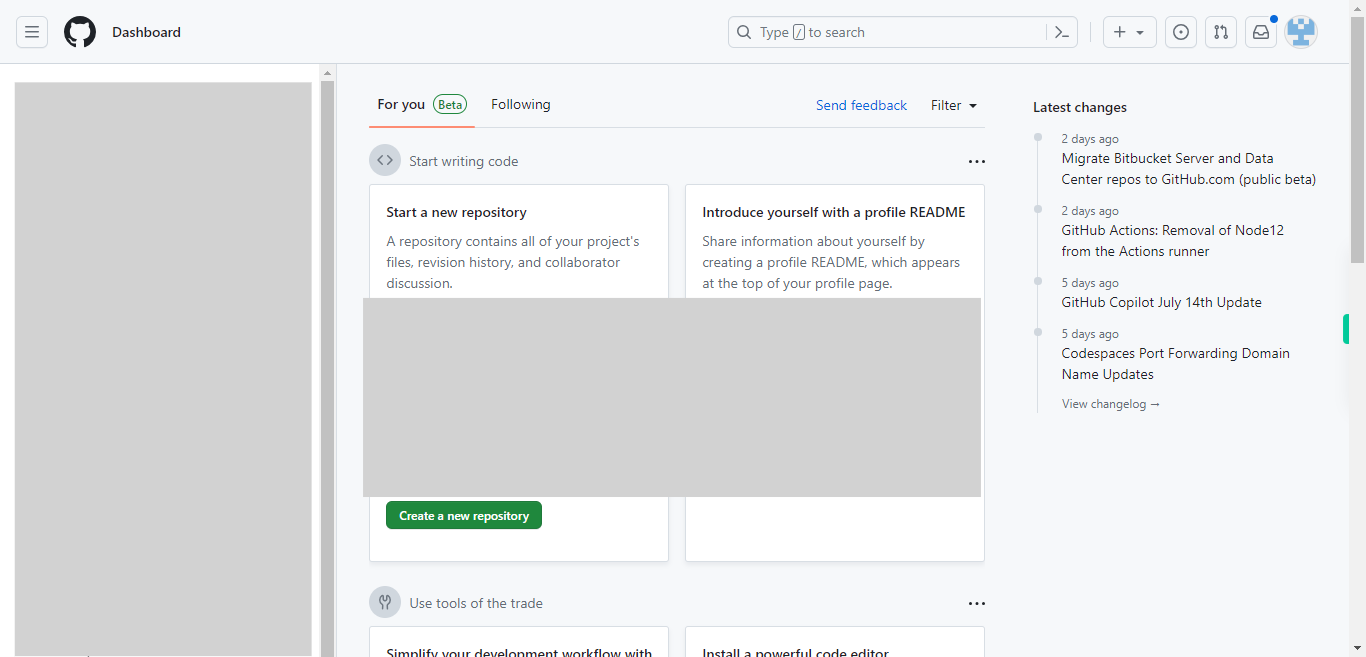
First, click on the "Next" button in the Supervity instruction widget. To navigate to the repository that contains the project board, type in the repository name in the search bar, and select the repository where you want to create an issue.
-
3.
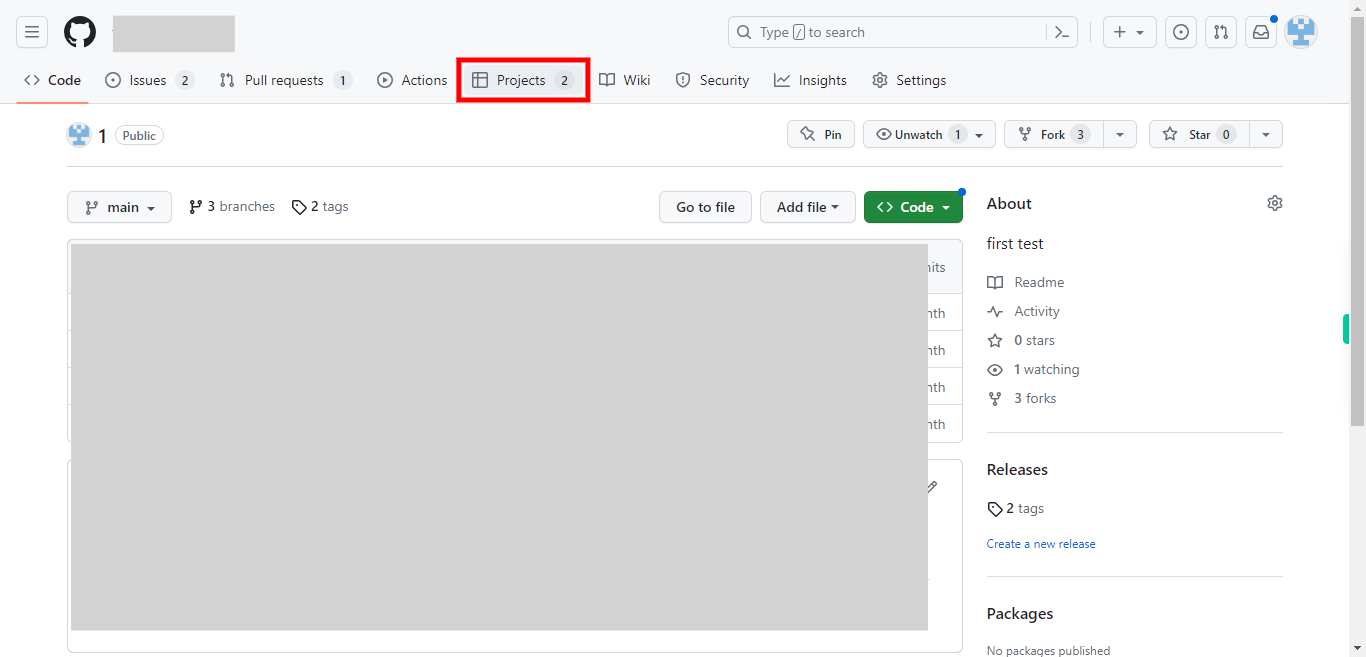
First, click on the "Next" button in the Supervity instruction widget. On the repository page, click on the "Projects" tab located towards the top of the page. A list of projects under this repository will be displayed, select the project of your choice.
-
4.
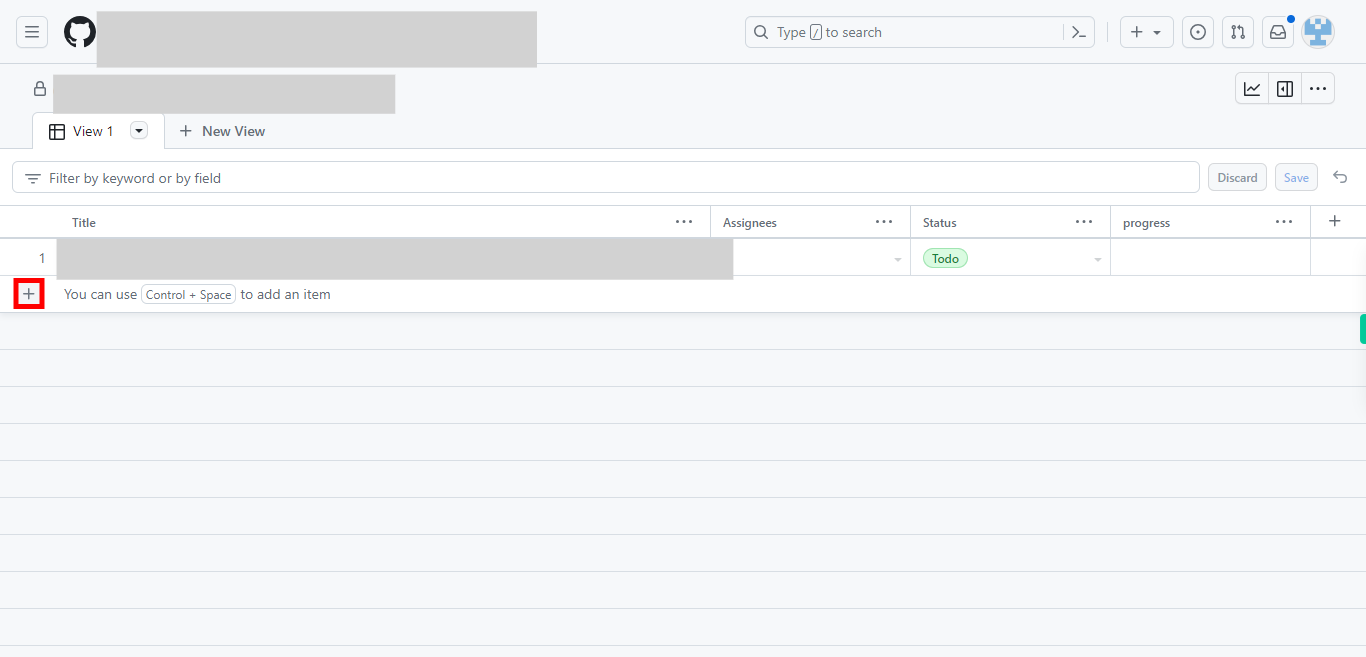
Once you are on the project board, click on the "+" icon located at the left corner of the page.
-
5.
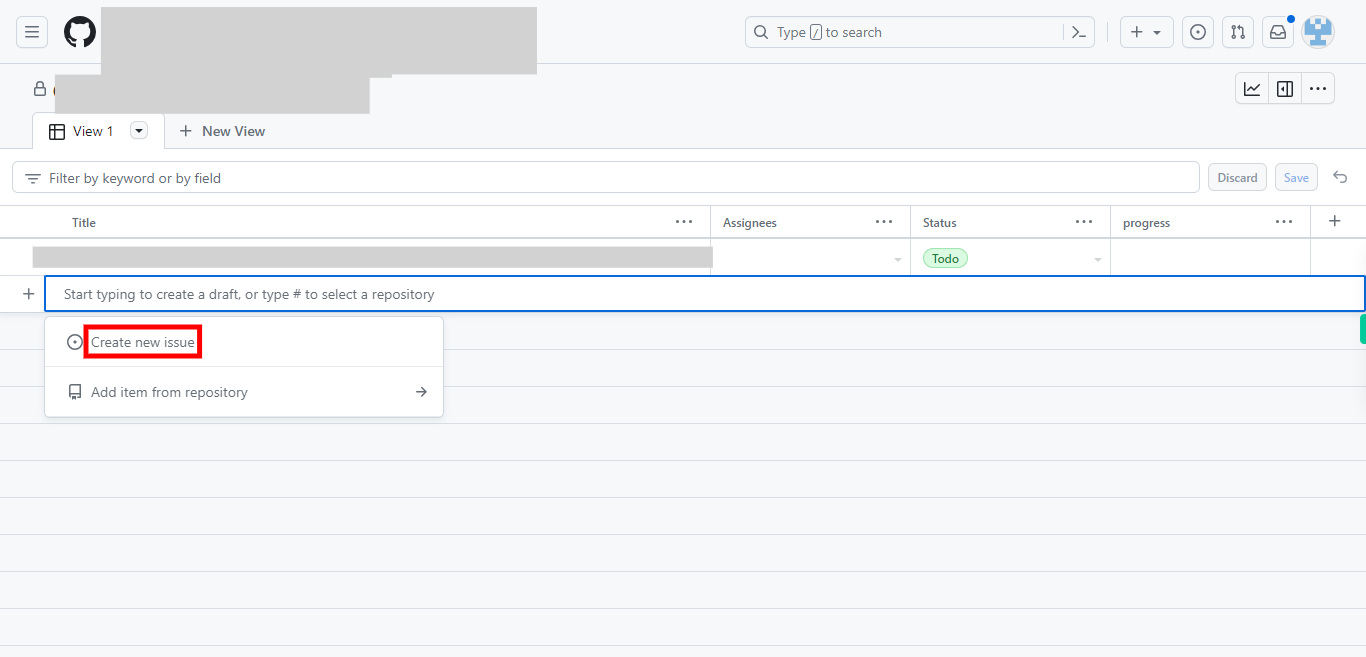
First, click on the "Next" button in the Supervity instruction widget. and then click on the "Create new issue" option listed down.
-
6.
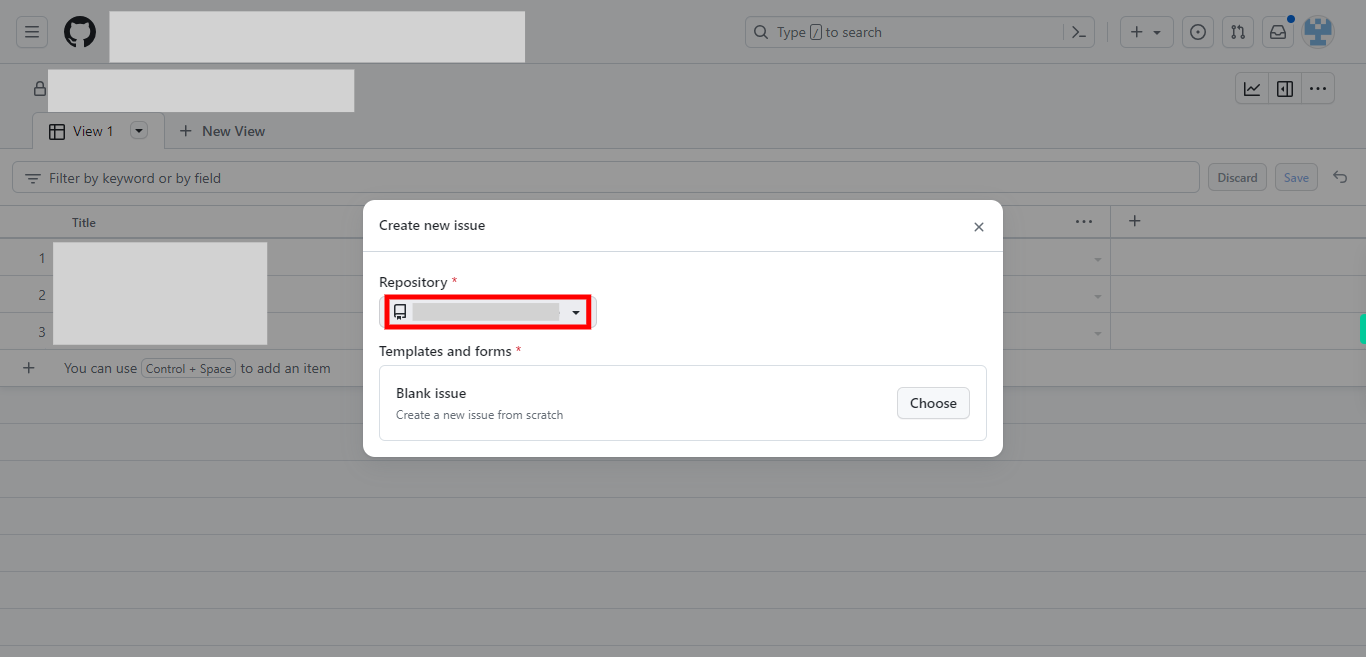
Select the repository in which you want to add an issue from the drop-down, and then click on the "Next" button in the Supervity instruction widget.
-
7.
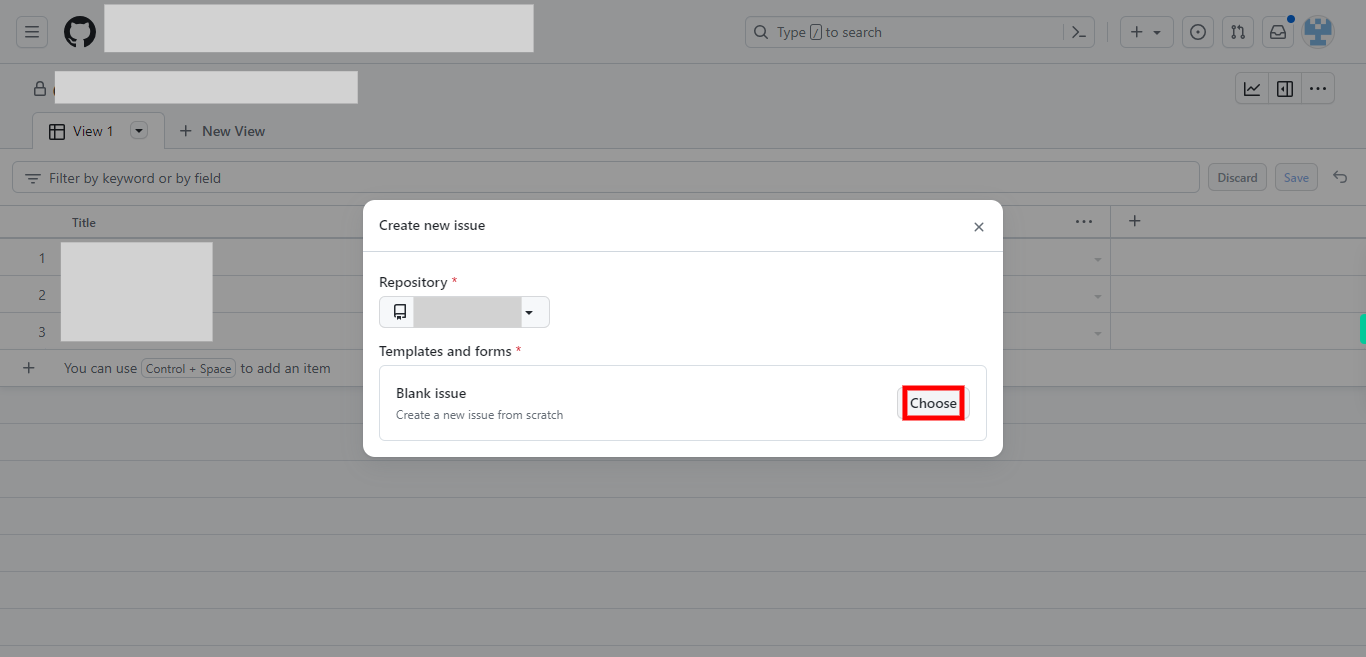
Click on the "Choose" button and an new issue card pop up will open.
-
8.
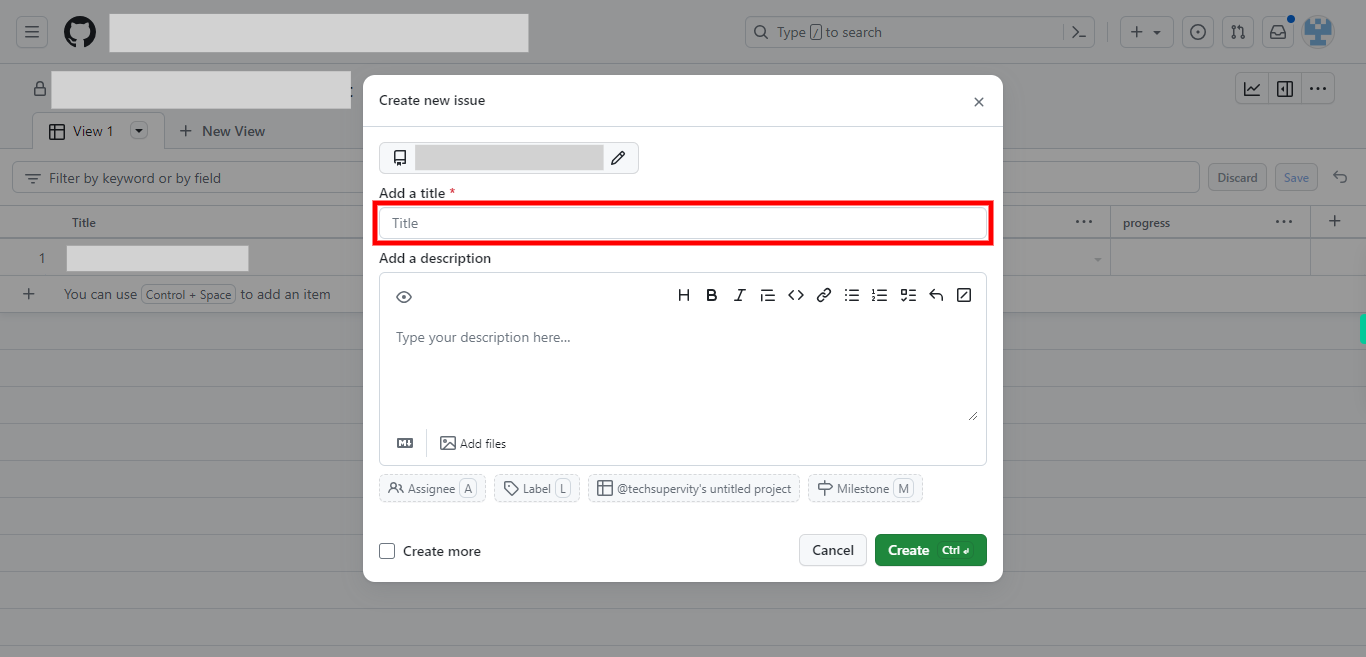
Enter a concise and descriptive title for the issue. Then click on the "Next" button in the Supervity instruction widget.
-
9.
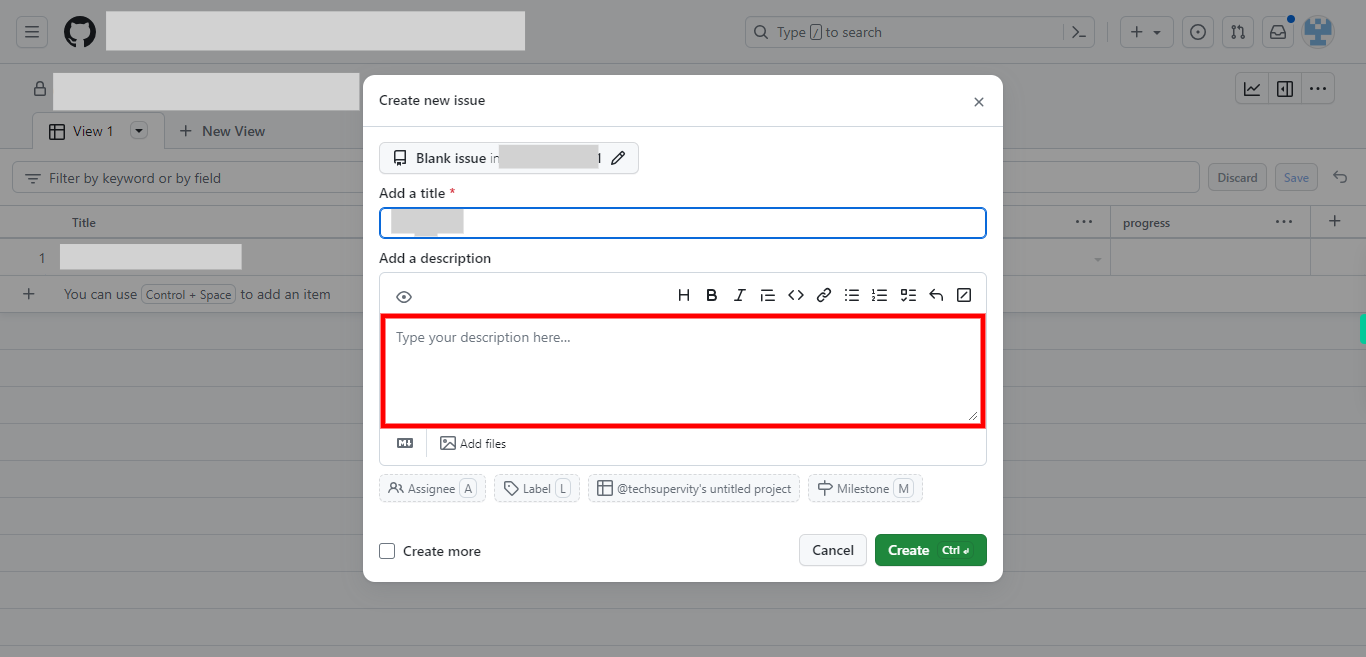
Add a detailed description of the issue. You can use Markdown formatting to format the text. Then click on the "Next" button in the Supervity instruction widget.
-
10.
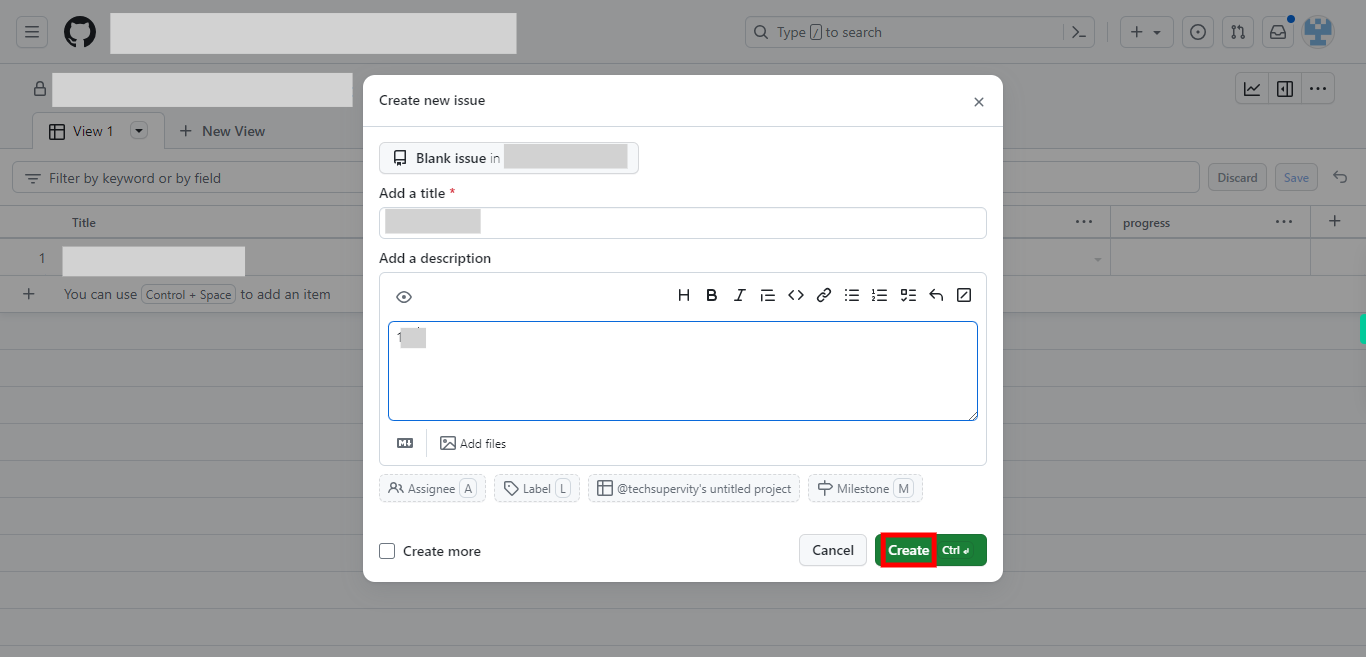
Click on the "Create" button. You can see an issue created.
-
11.
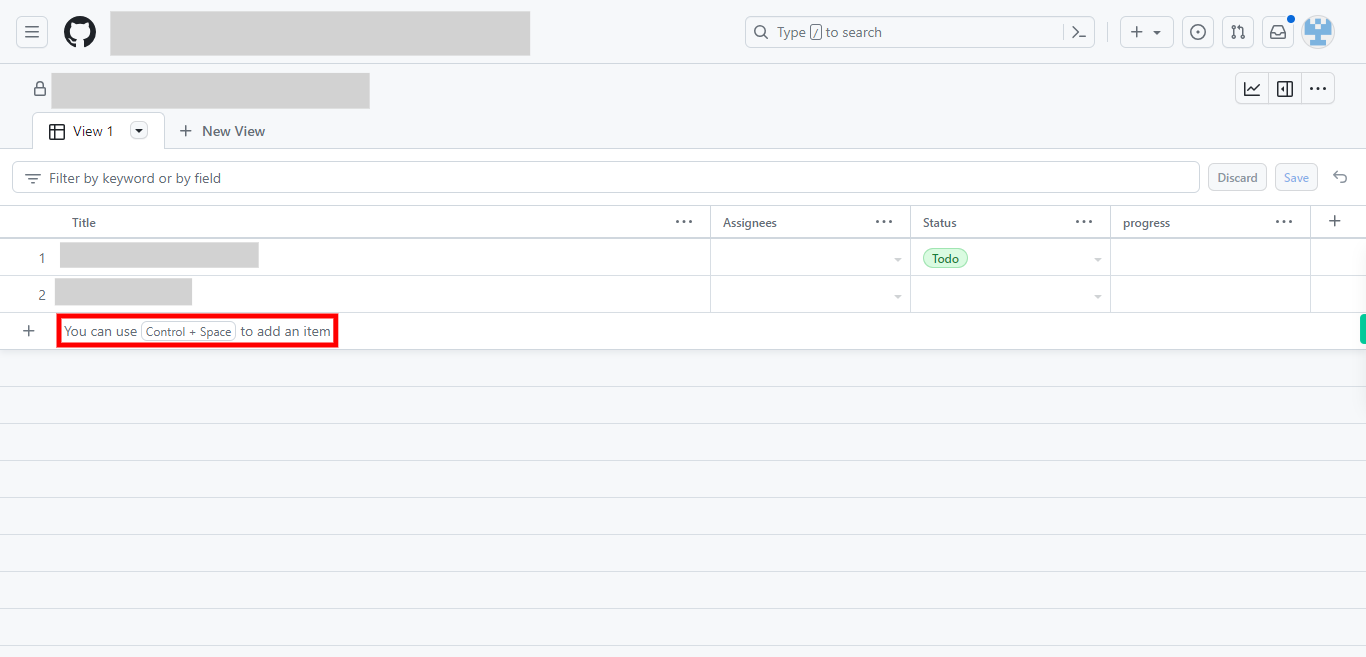
First, click on the "Next" button in the Supervity instruction widget. Type in the text or name of the issue, then press enter on the keyboard, in order to create a draft issue. Once done you can see a dotted circle and a link. Click on it. the draft issue card opens.
-
12.
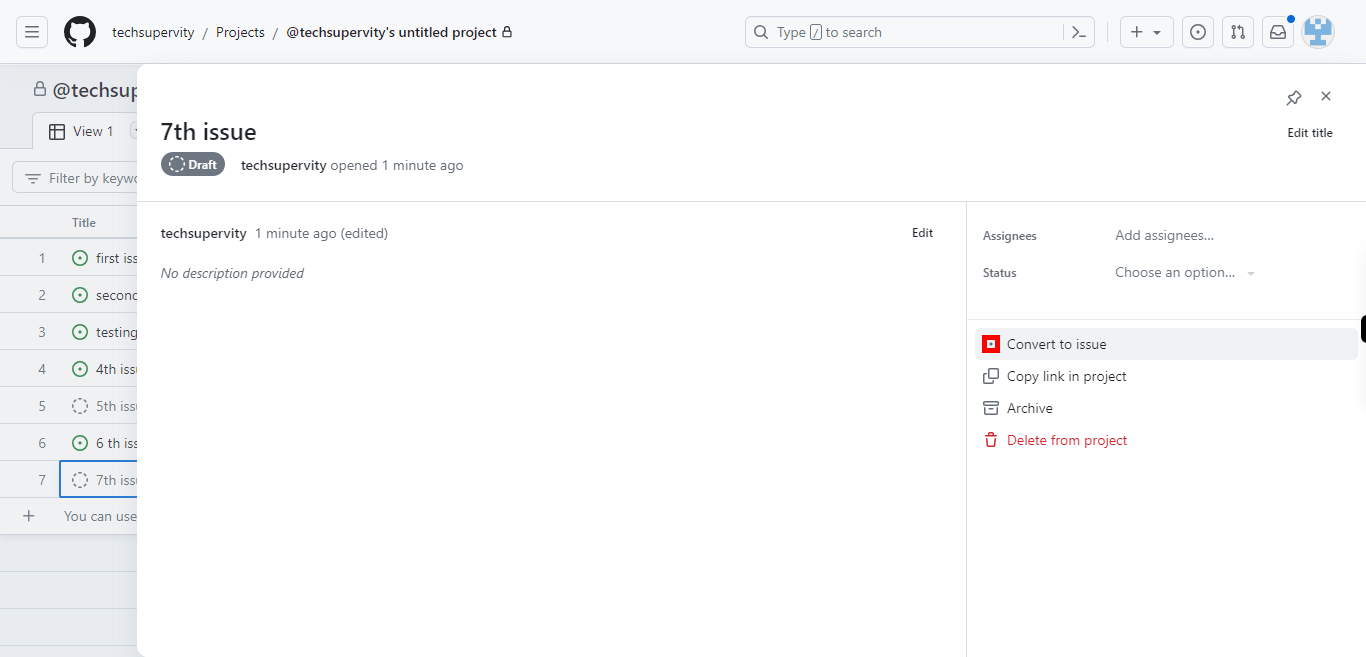
Click "Convert to issue" option to convert this into an issue. This is the other way of creating an issue.
-
13.
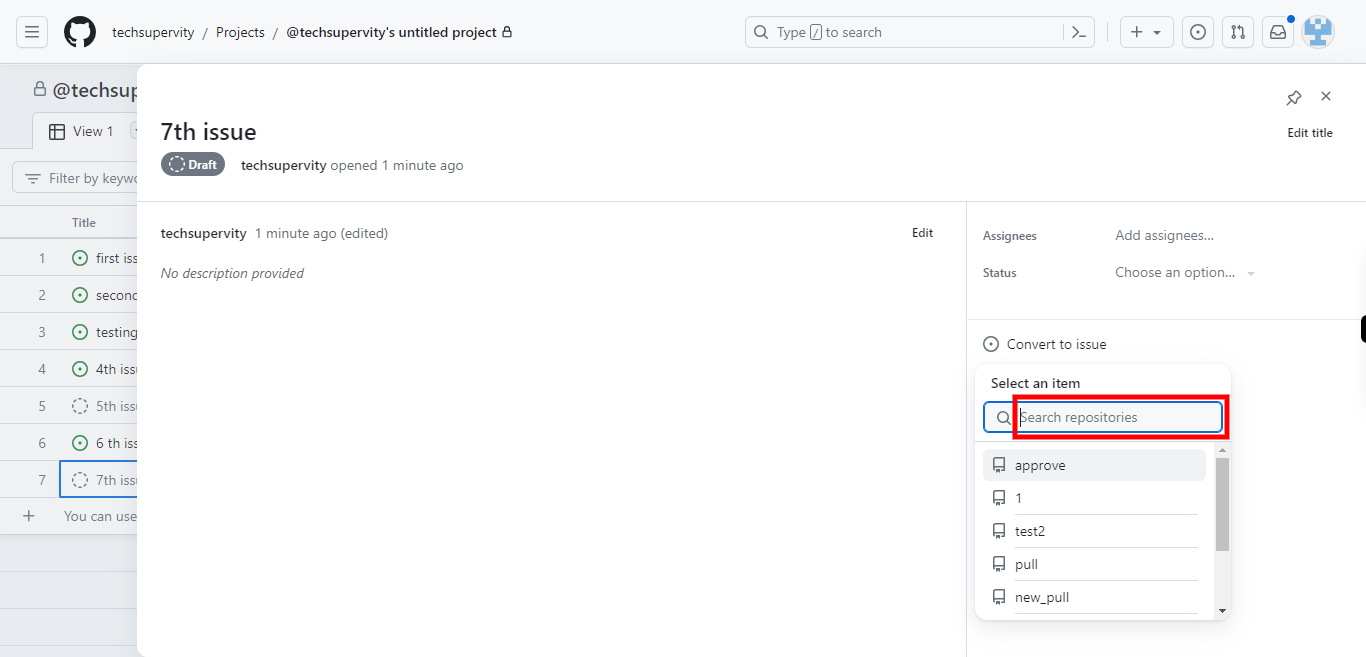
First, click on the "Next" button in the Supervity instruction widget, and then select the repository in which you want to add this issue.
-
14.
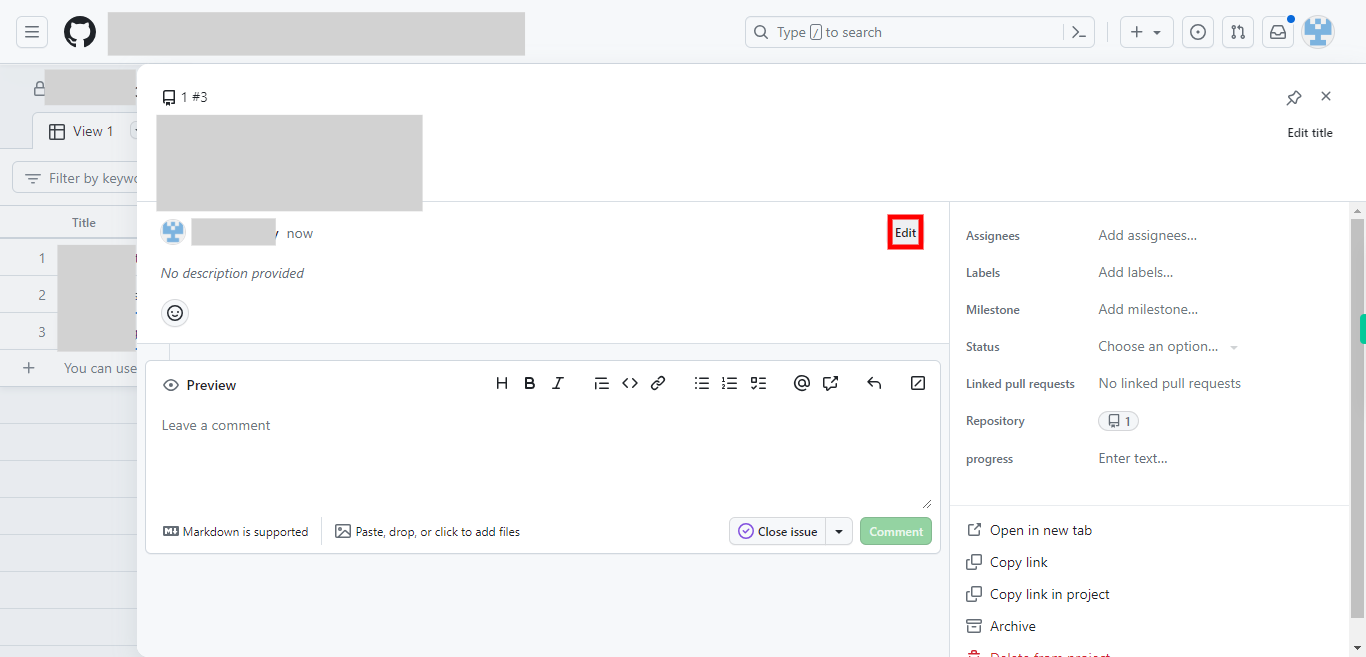
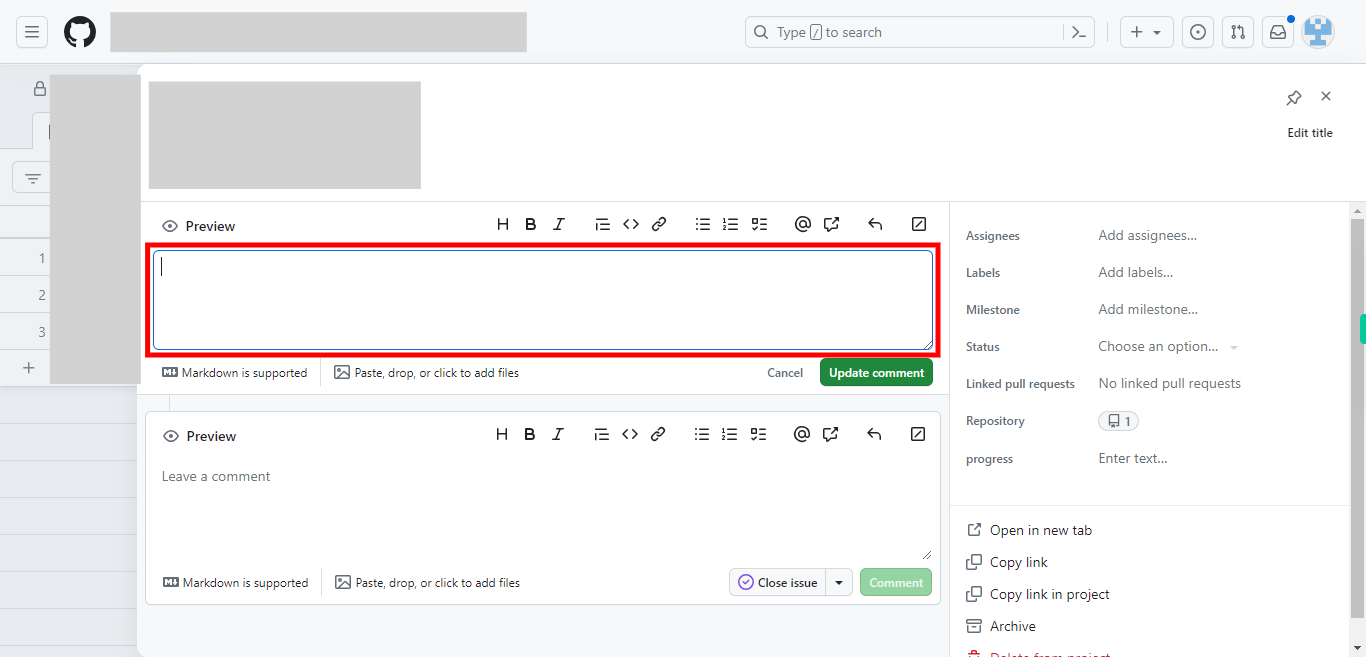
Click on the "Edit" or the pencil icon to add the comment or description to the issue.
-
15.
Add the comment and then click on the "Next" button in the Supervity instruction widget.
-
16.
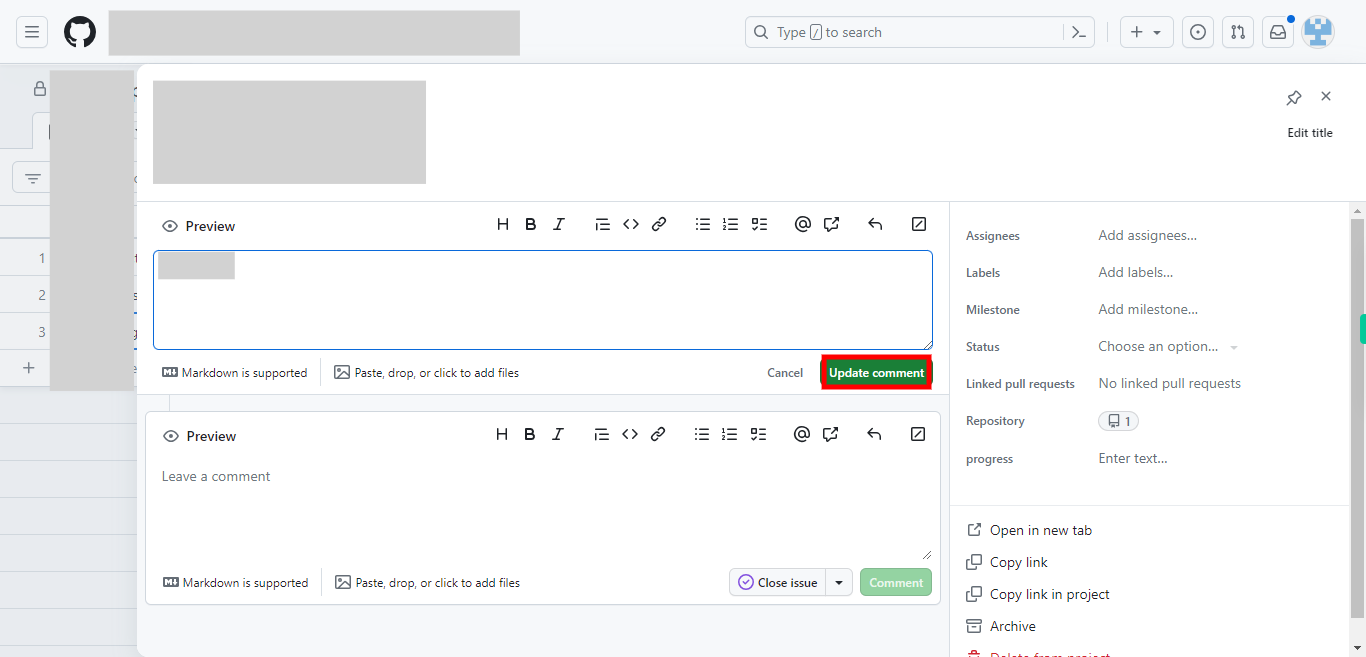
Click on the "Update comment" button and an issue will be added to the repository with the newly added comment.
-
17.
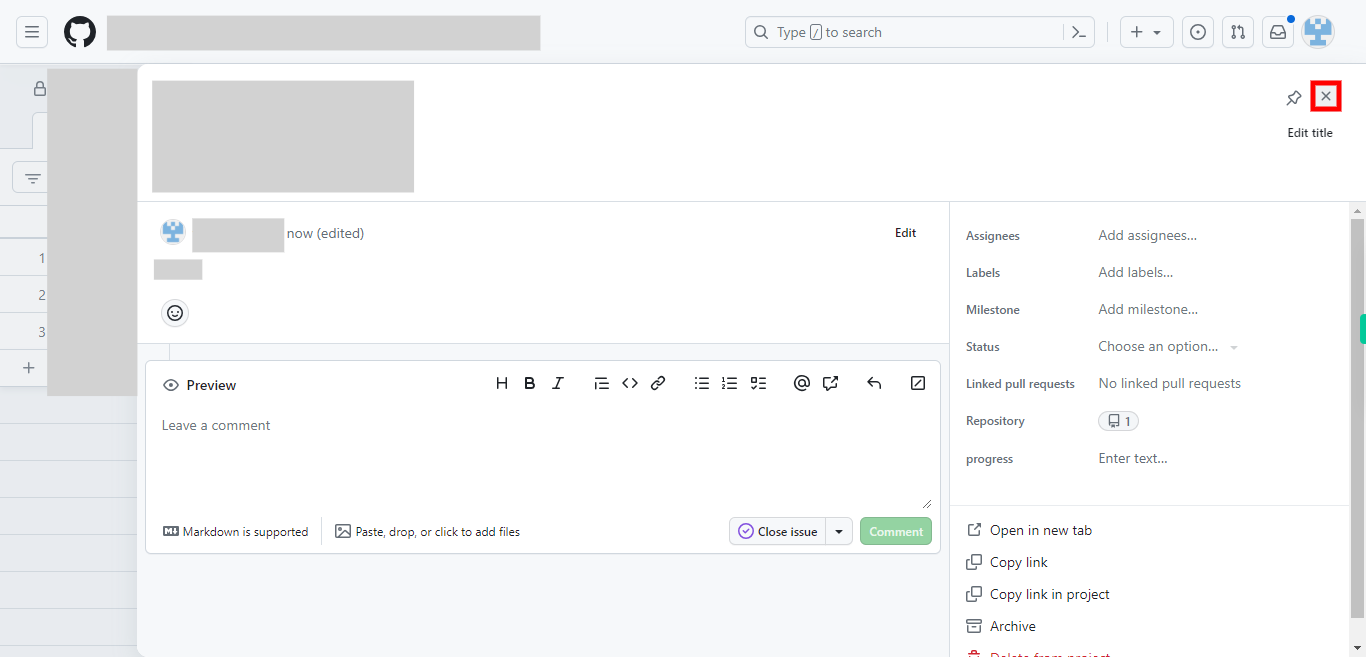
Click on the Cross X mark to close the issue board.


