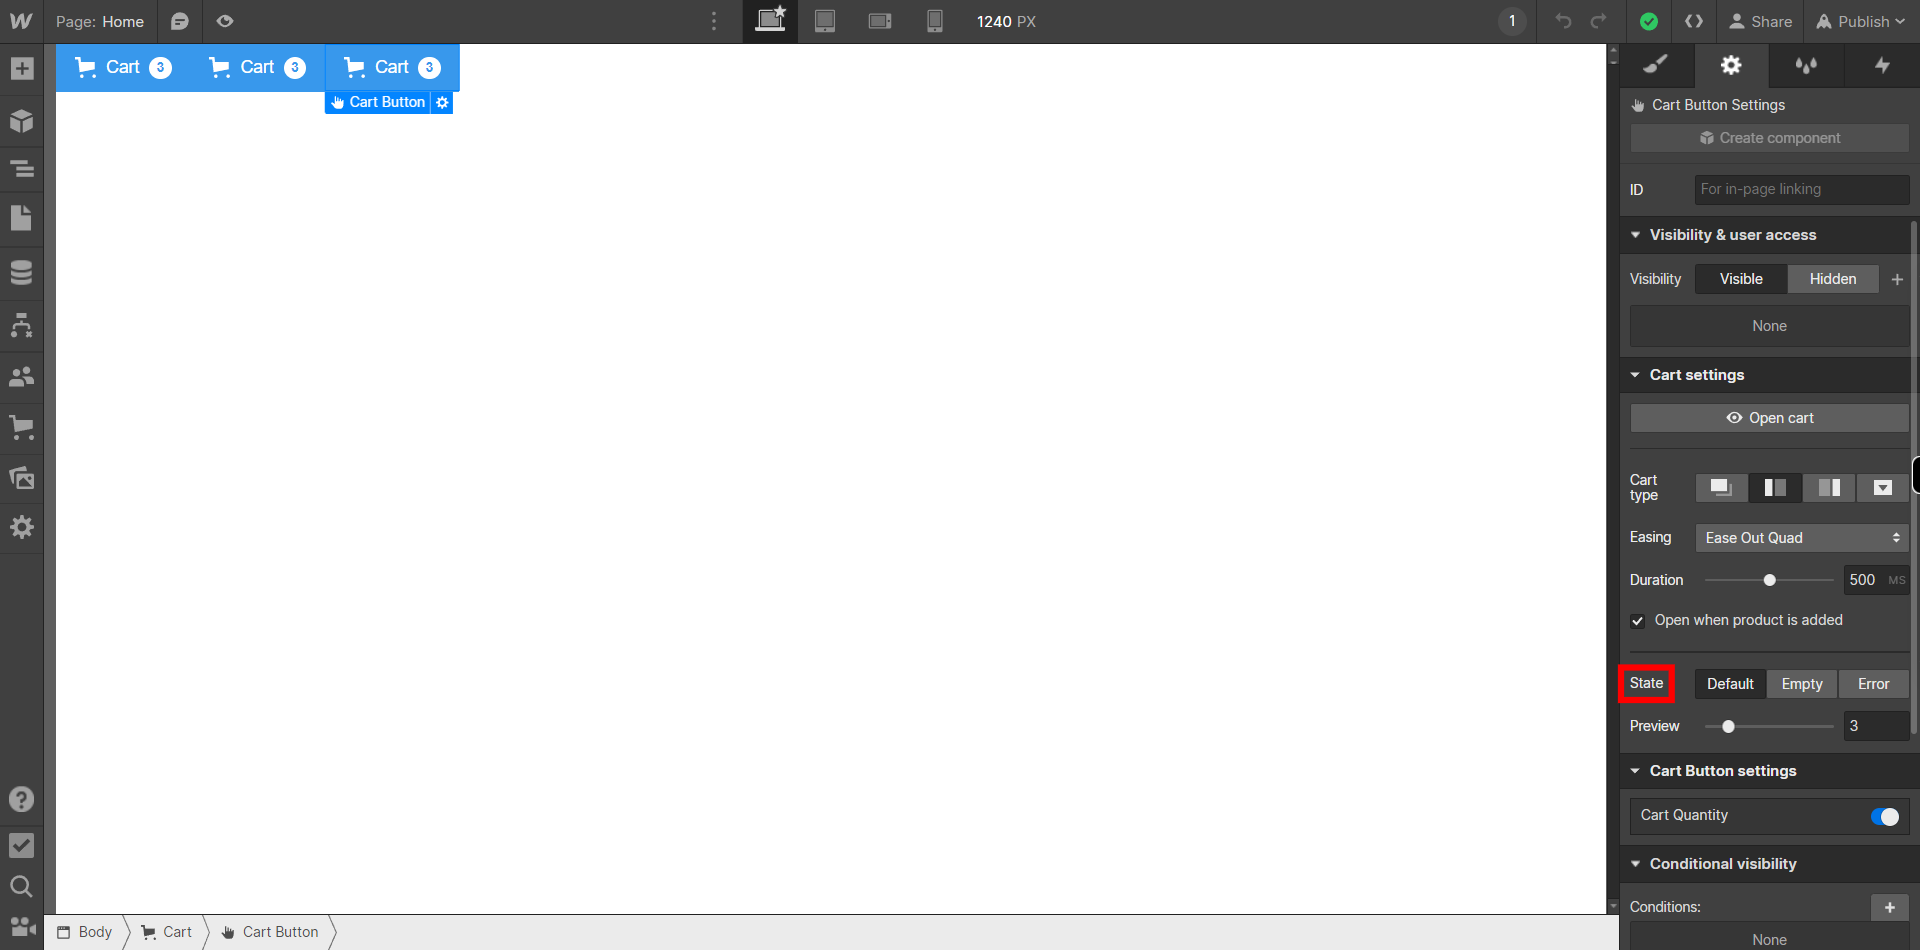
This skill shows the steps to be followed to customize cart settings on Webflow. Prerequisites: Ensurethe that you have at least one project available in the Webflow dashboard. [NOTE: Please make sure that log in to Webflow website before playing the skill and Cart option is available only for E-commerce site].
-
1.
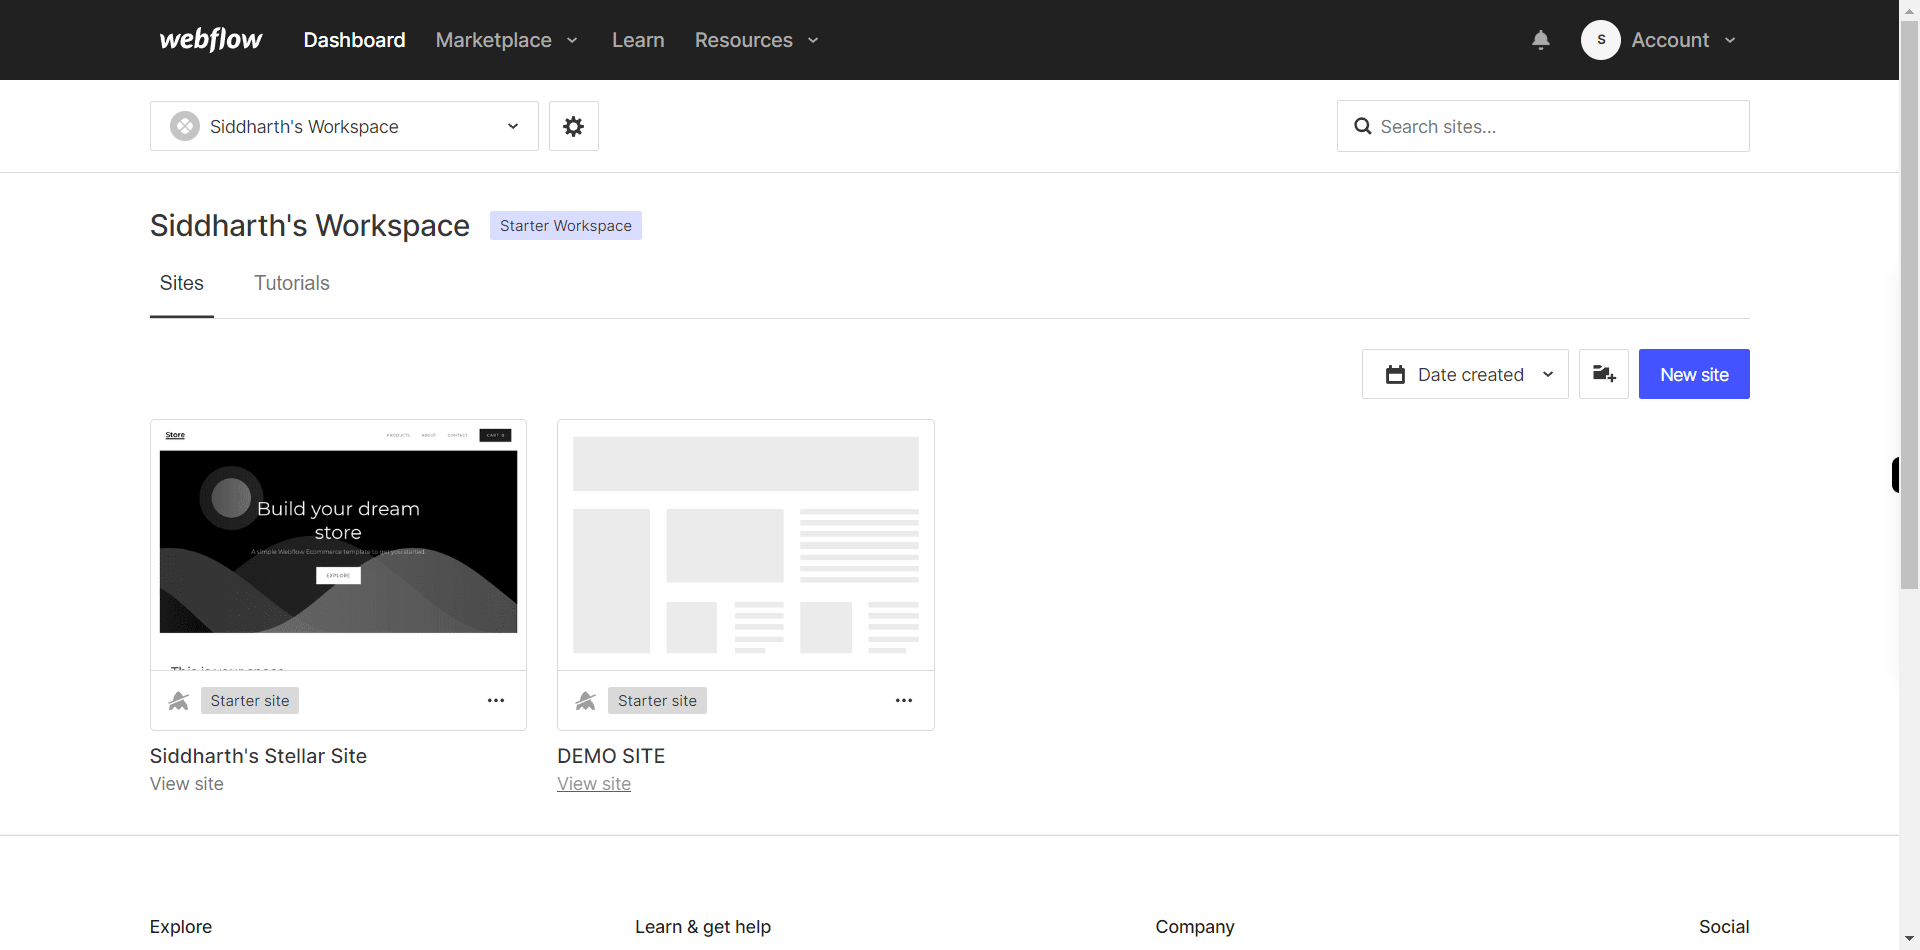
Open Webflow Dashboard.
-
2.
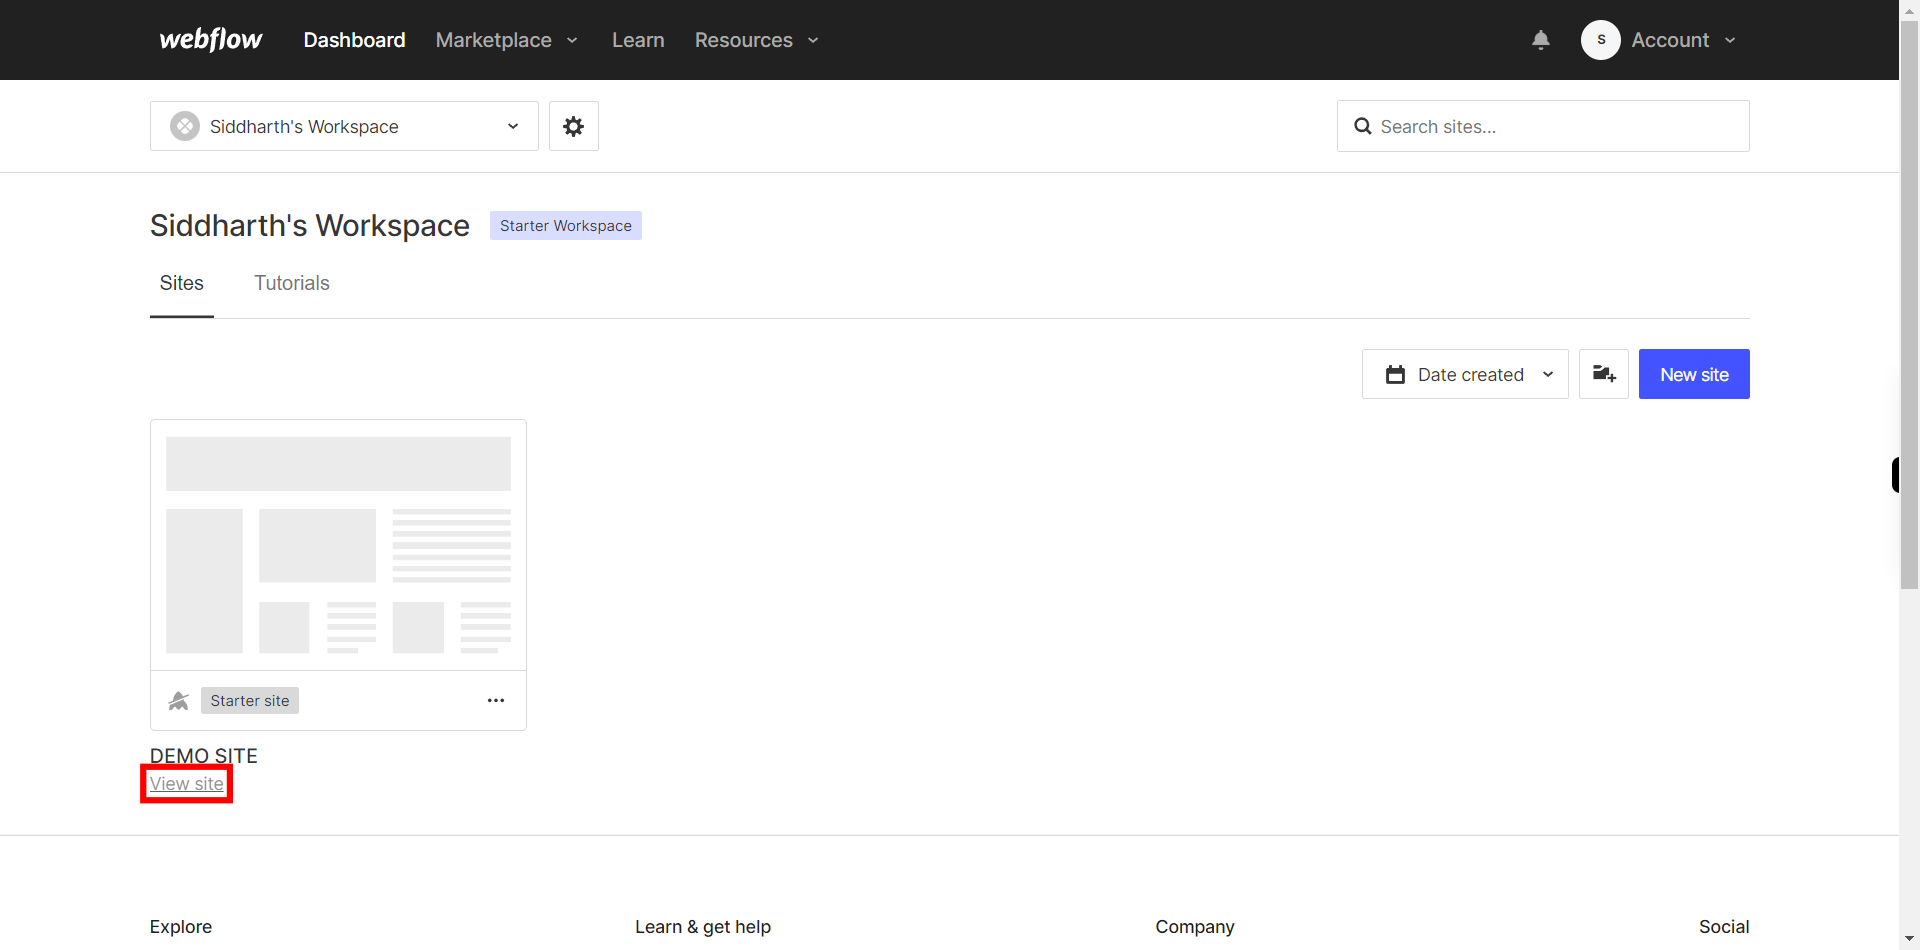
Click on the Next button in the Supervity instruction widget and then Open the Project or the Site you want to work on by clicking on "view site" option which is located under each website.
-
3.
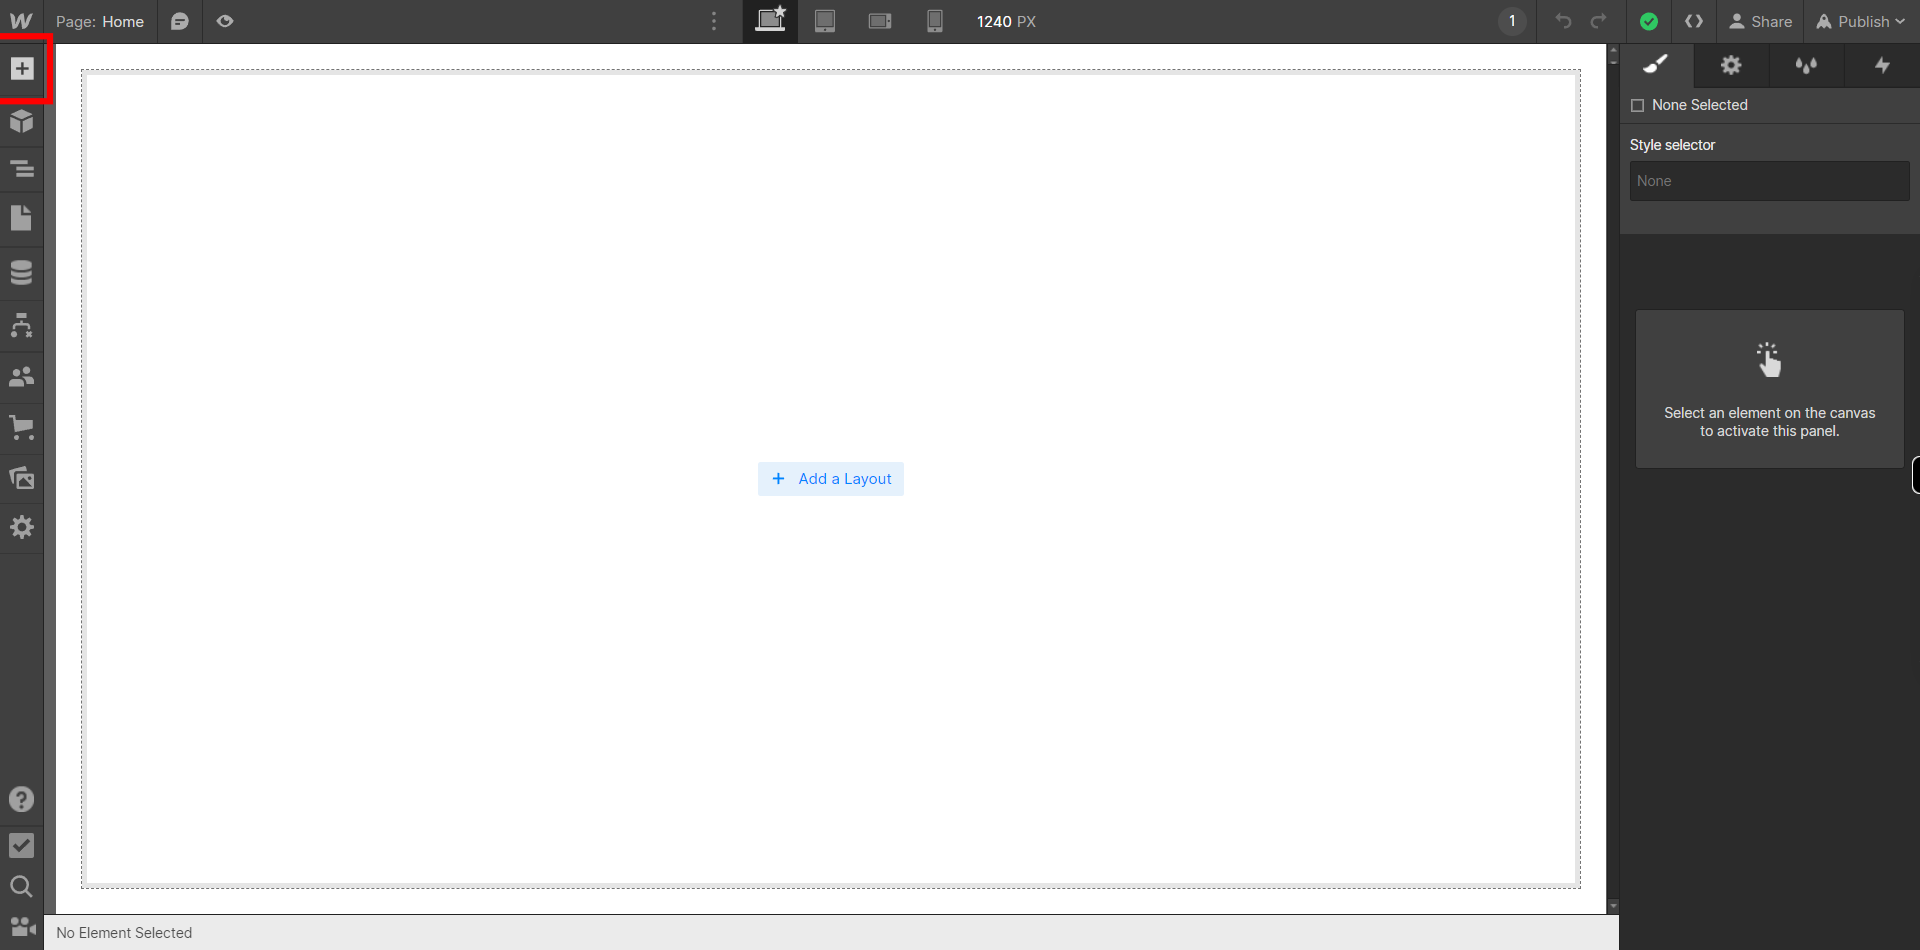
If you're unable to find the "+" icon to edit a web page in Webflow, there is an alternative method to access the design controls. First, click on the "Edit" button, usually located at the top right corner of the page or within the editor toolbar. This will open the editing options. Follow the below steps select design control->design here->OK. Click on the Next button in the Supervity instruction widget. To add elements to your project in Webflow, locate and click on the "+" icon or the "Add Elements" button. This action will open the elements panel, where you can find a variety of pre-built components and elements that you can add to your web page.
-
4.
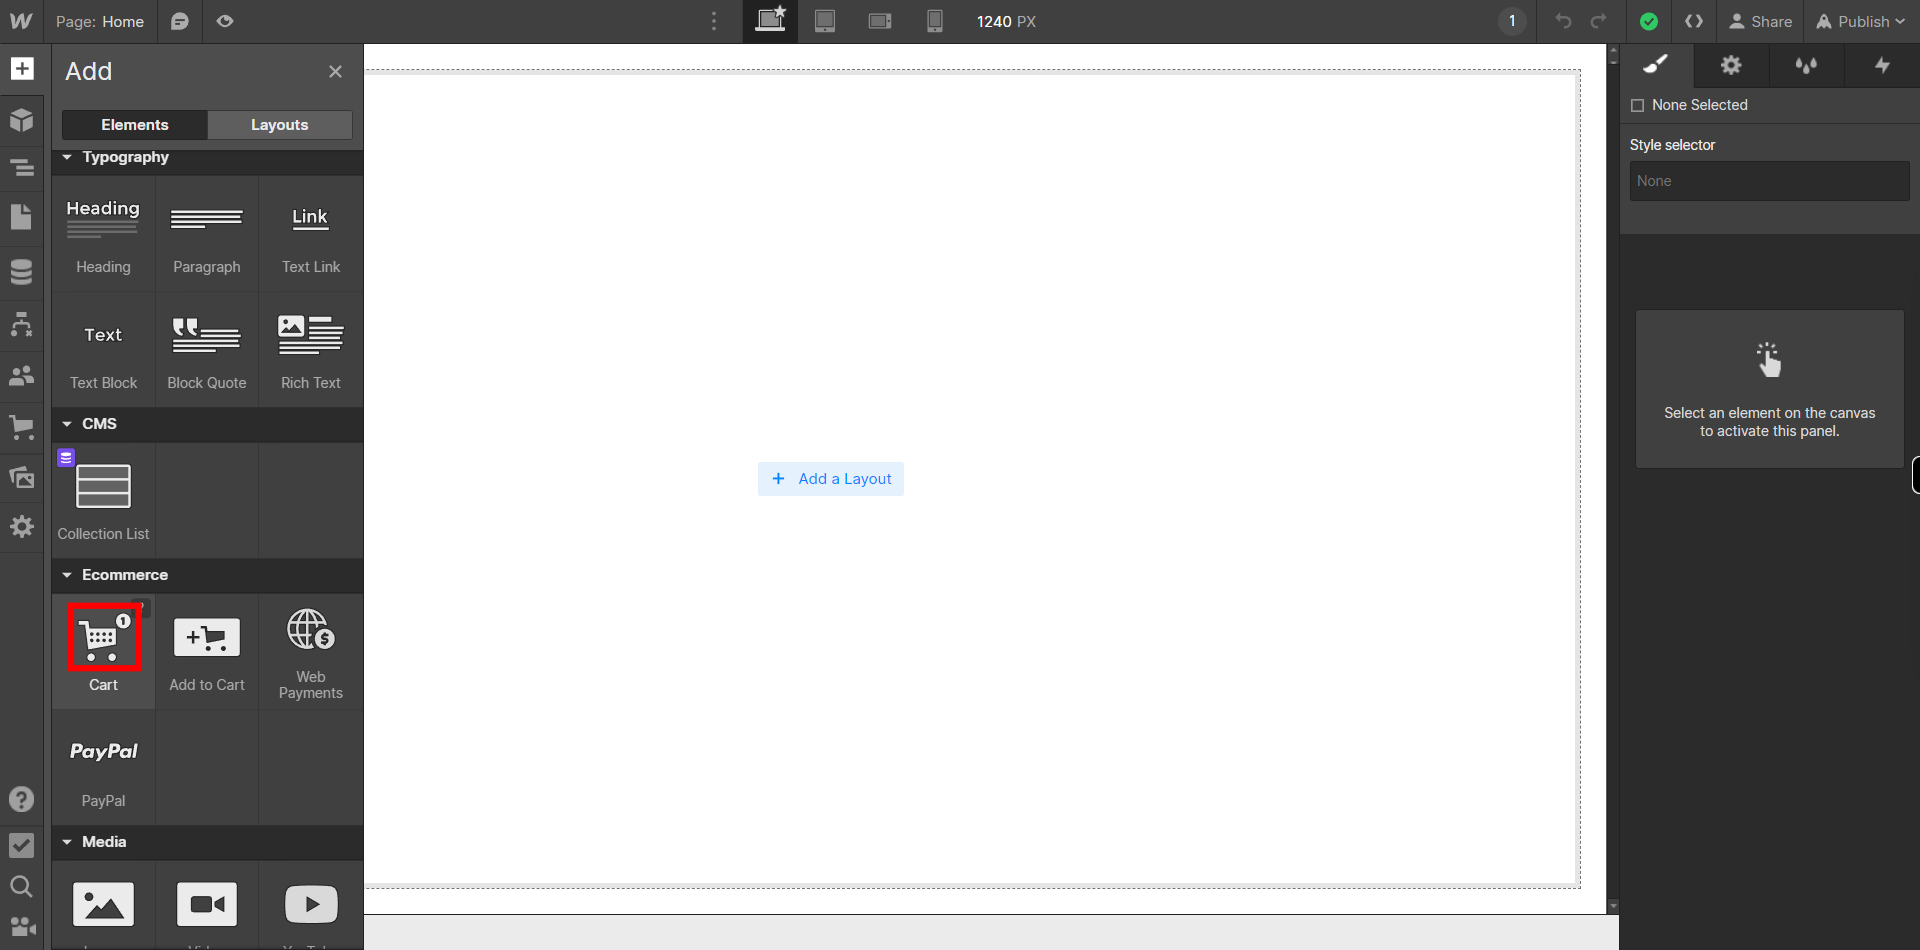
Click on "Next" button on the Supervity instruction widget and then from the Panel on the left side, Under "Ecommerce" menu Click on "Cart" icon to add Cart to your ecommerce site or You can also Drag the Cart option wherever you want on your Site.
-
5.
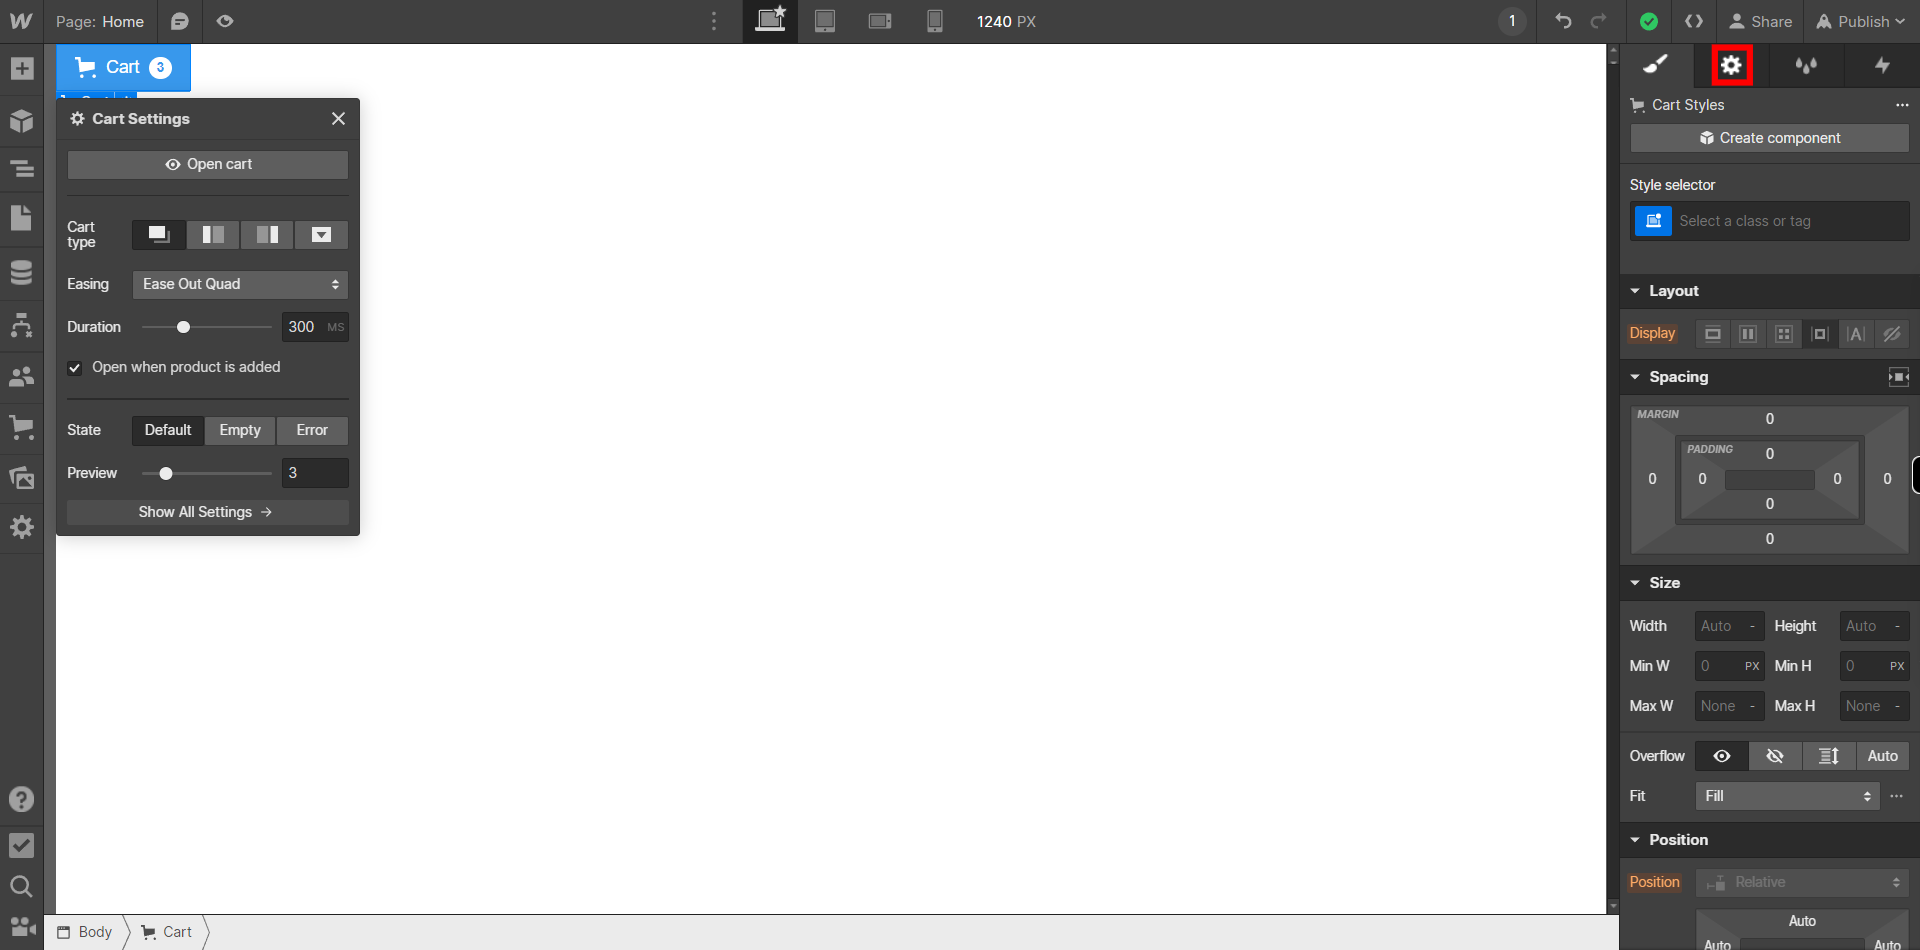
Click on "Element Settings" button on top on the Right side panel where you can do more settings to your Cart according to your site. You can also access it by pressing "D" key on your keyboard. Then click on "Next" button on the Supervity instruction widget.
-
6.
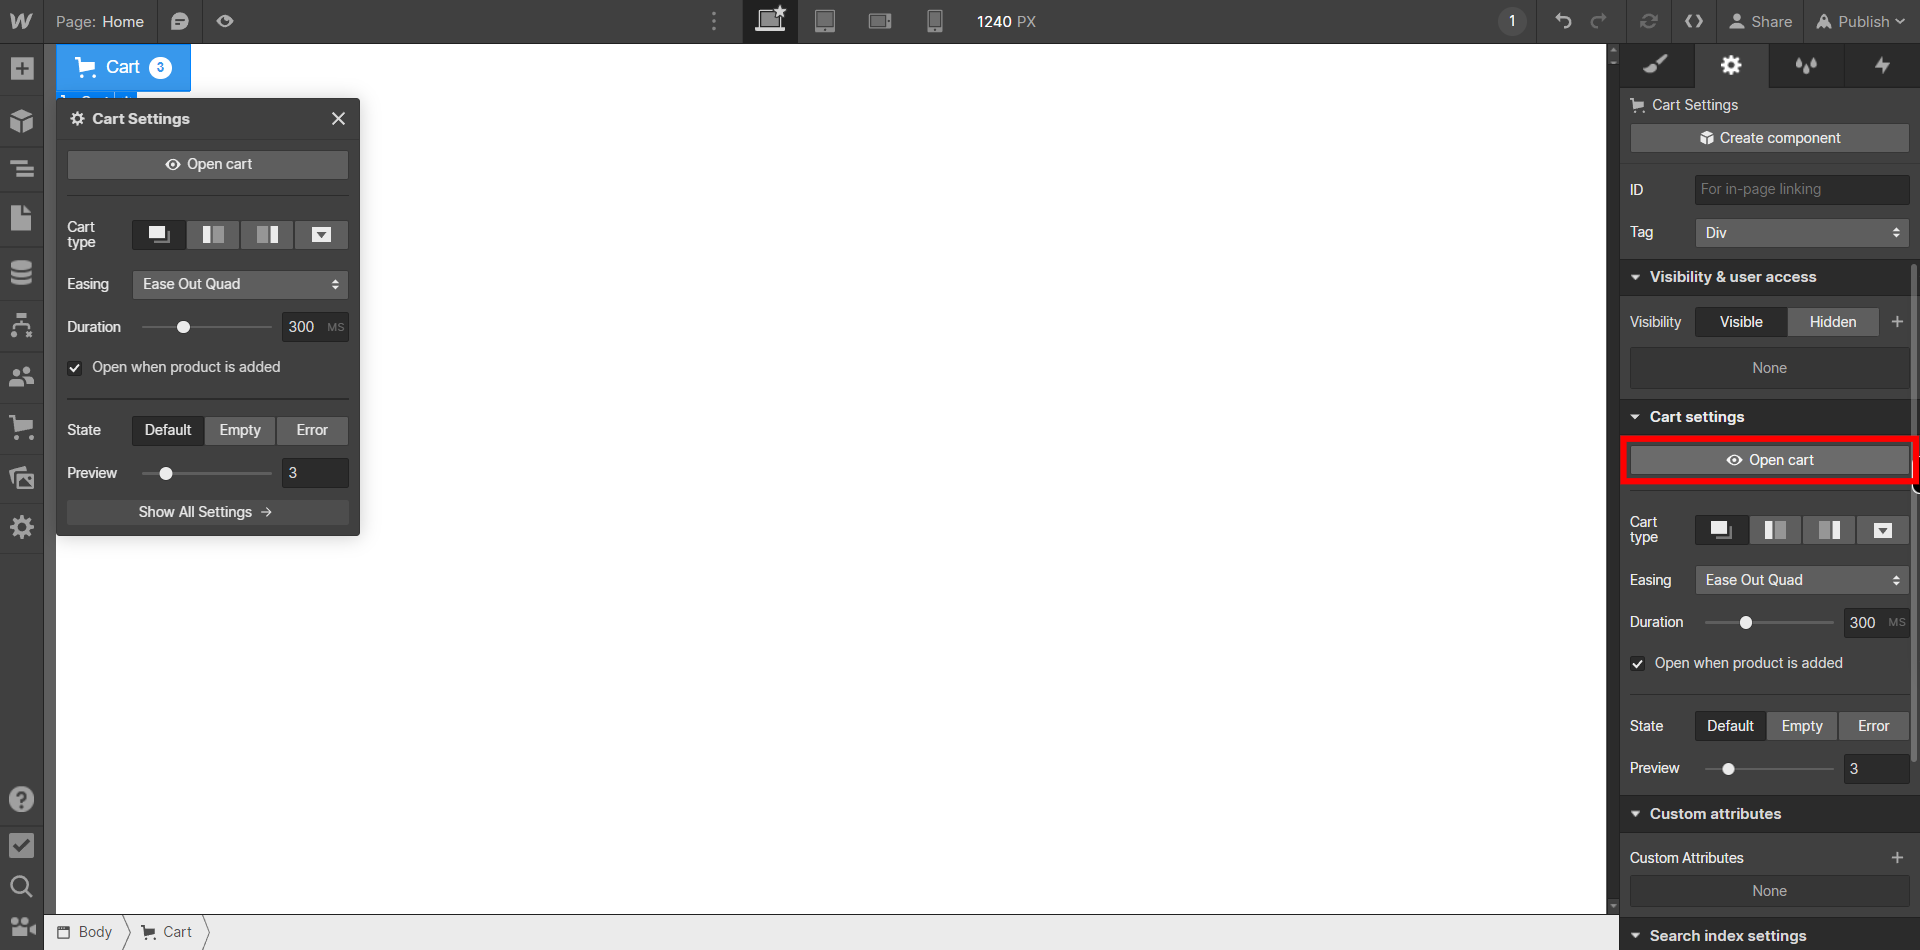
Click on "Open cart" to preview the Cart on your Screen. Here you can view how your cart will look upon clicking it.
-
7.
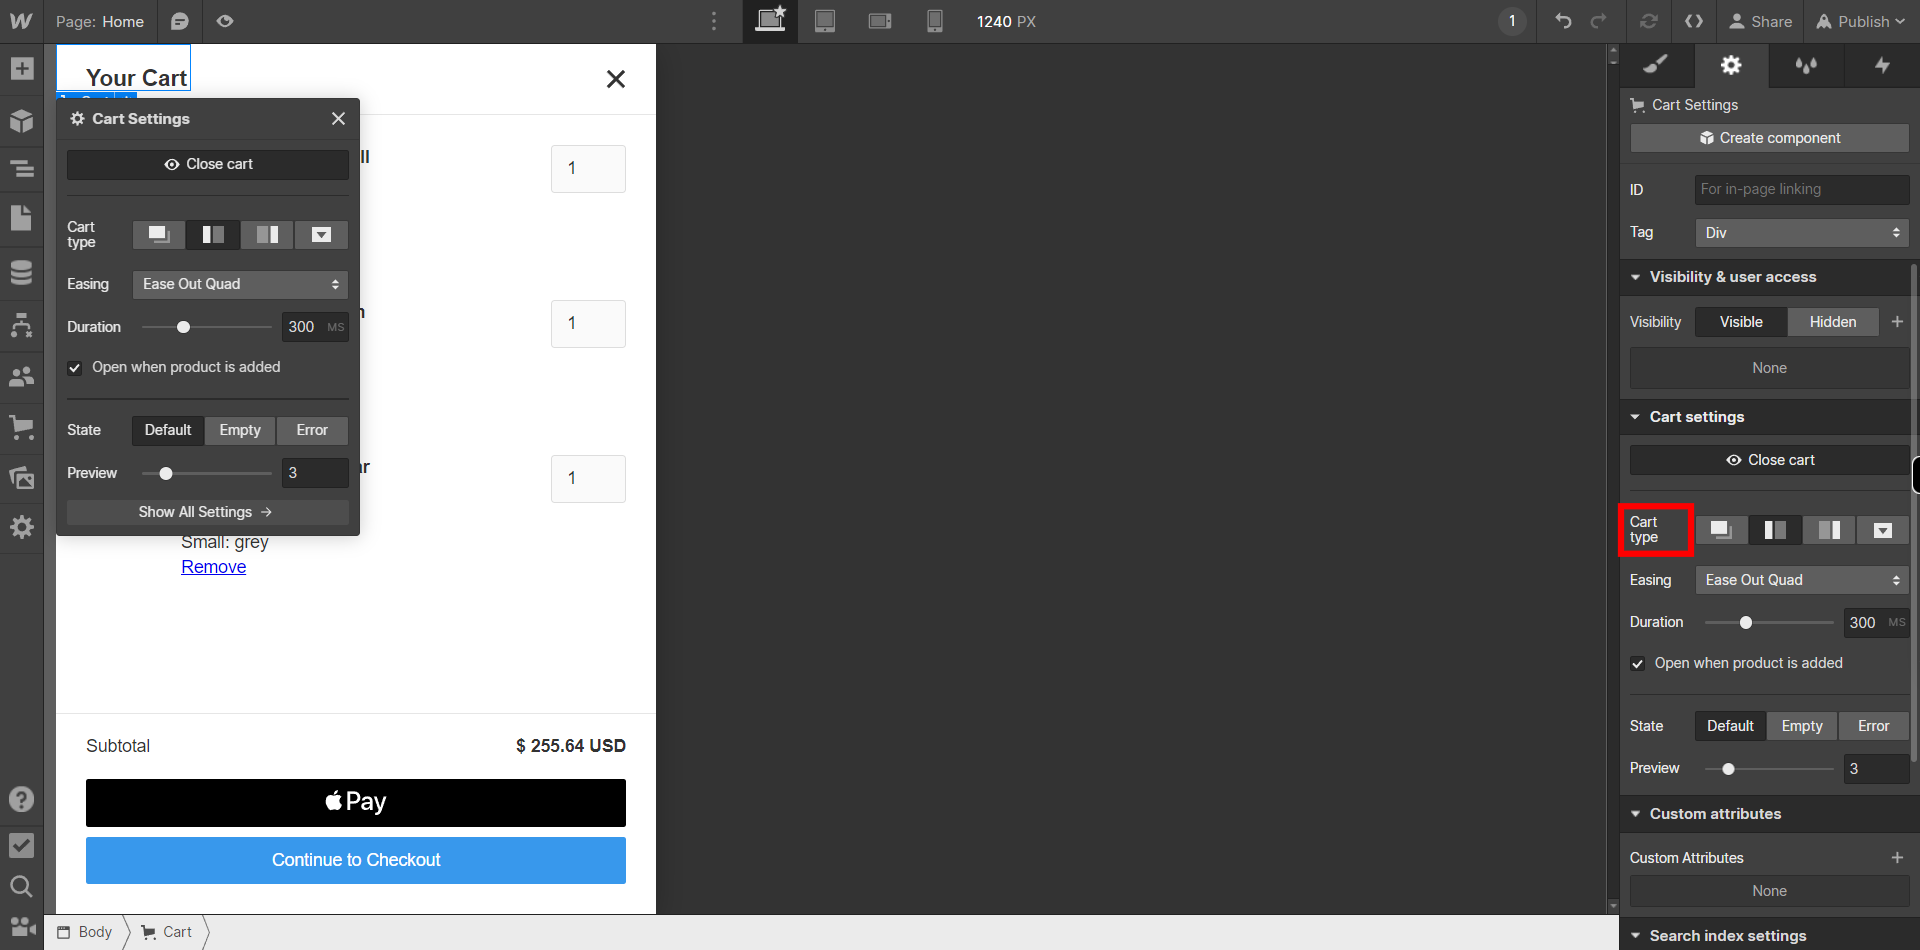
You can Choose the Type of cart you want from the "Cart Type" option under "Cart Settings" on the panel on the Right side of the Screen. You can choose from 4 options i.e. Modal, Sidebar-left, Sidebar-right and Dropdown. Then Click on Next button on the Supervity instruction widget.
-
8.
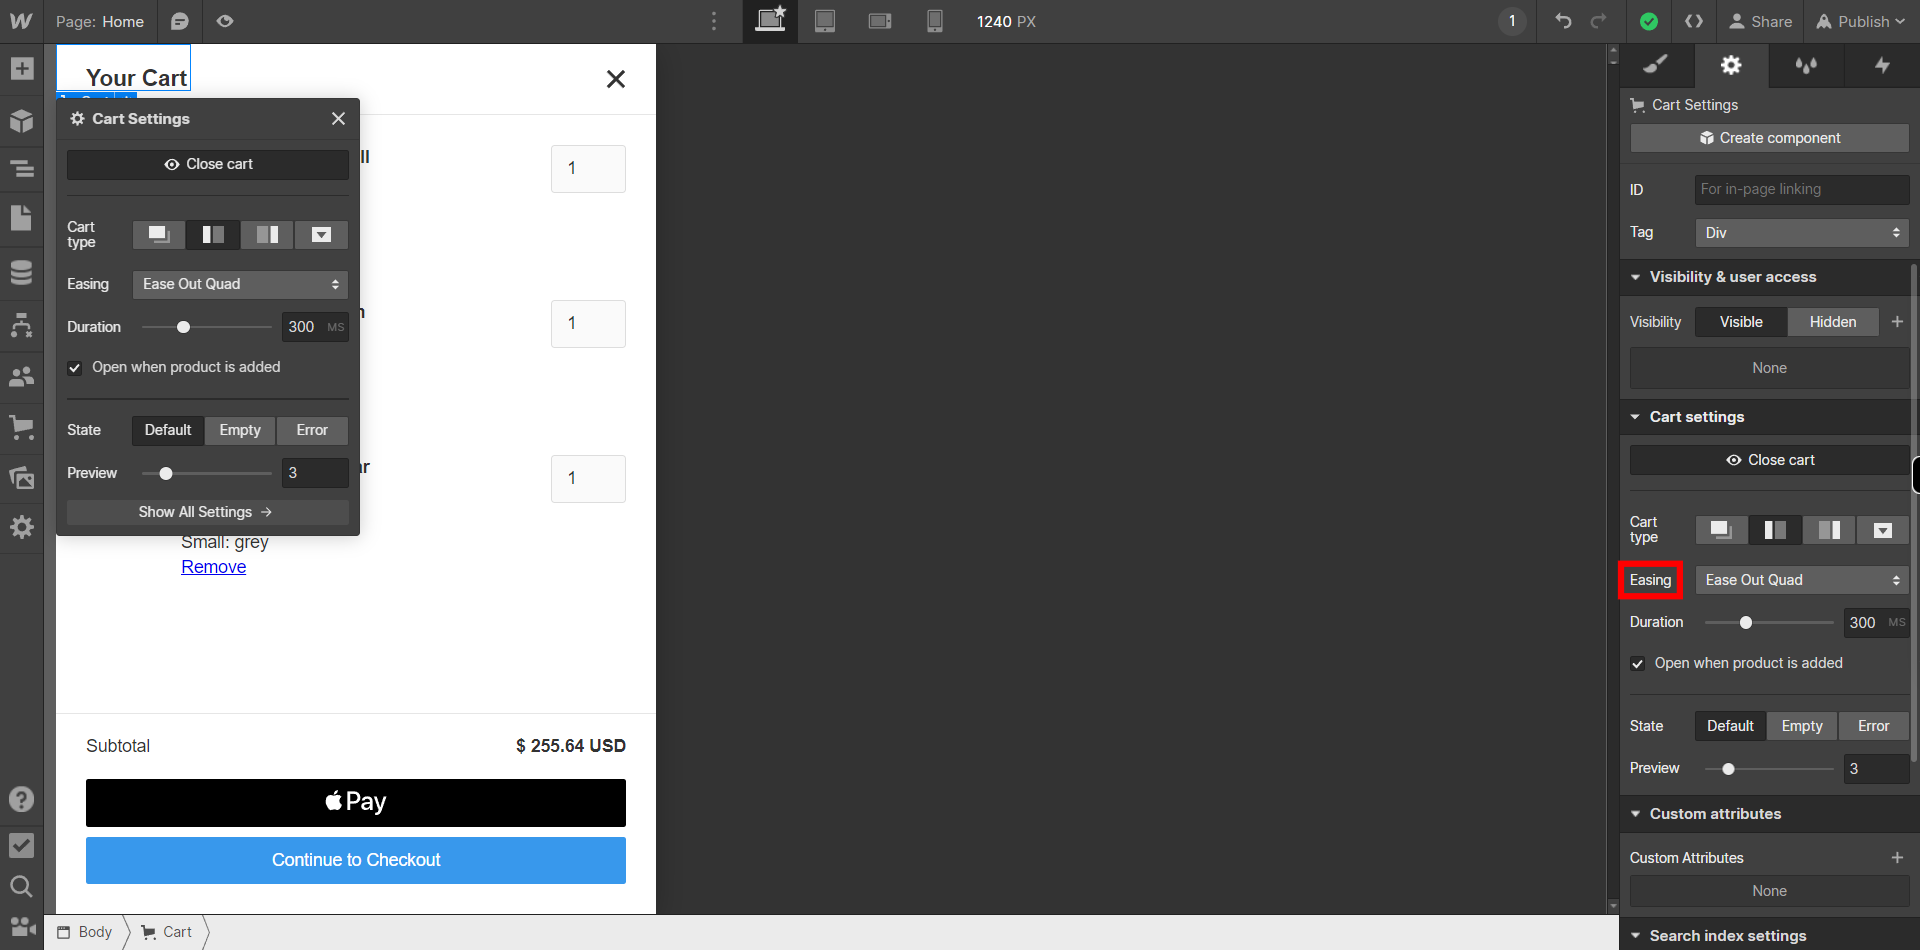
Click on the box beside "Easing" under "Cart Settings" to specify the Easing you want to apply to the Cart when the trigger event occurs. You can choose from various animation options Then click on "Next" button on the Supervity instruction widget.
-
9.
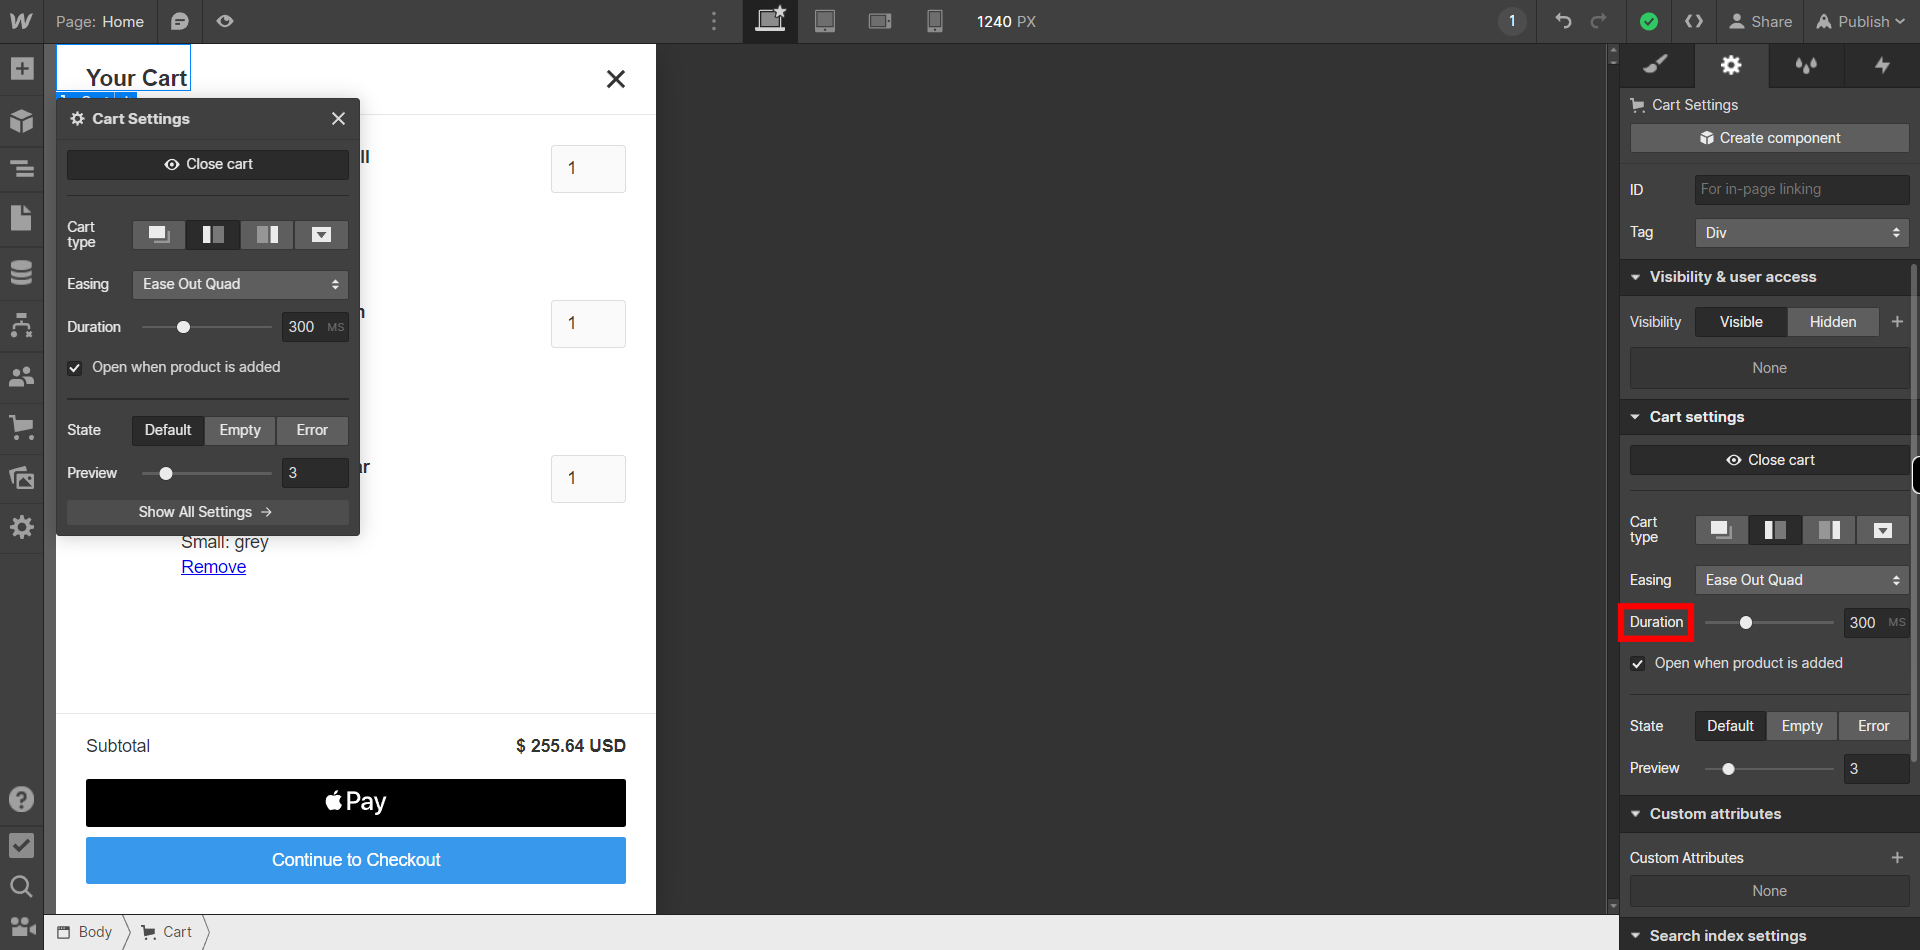
You can change the duration of the Cart by clicking on the box beside Duration option and typing the duration or you can even use the Slider to specify the required duration. Then click on the "Close" button on the supervity instruction widget.
-
10.
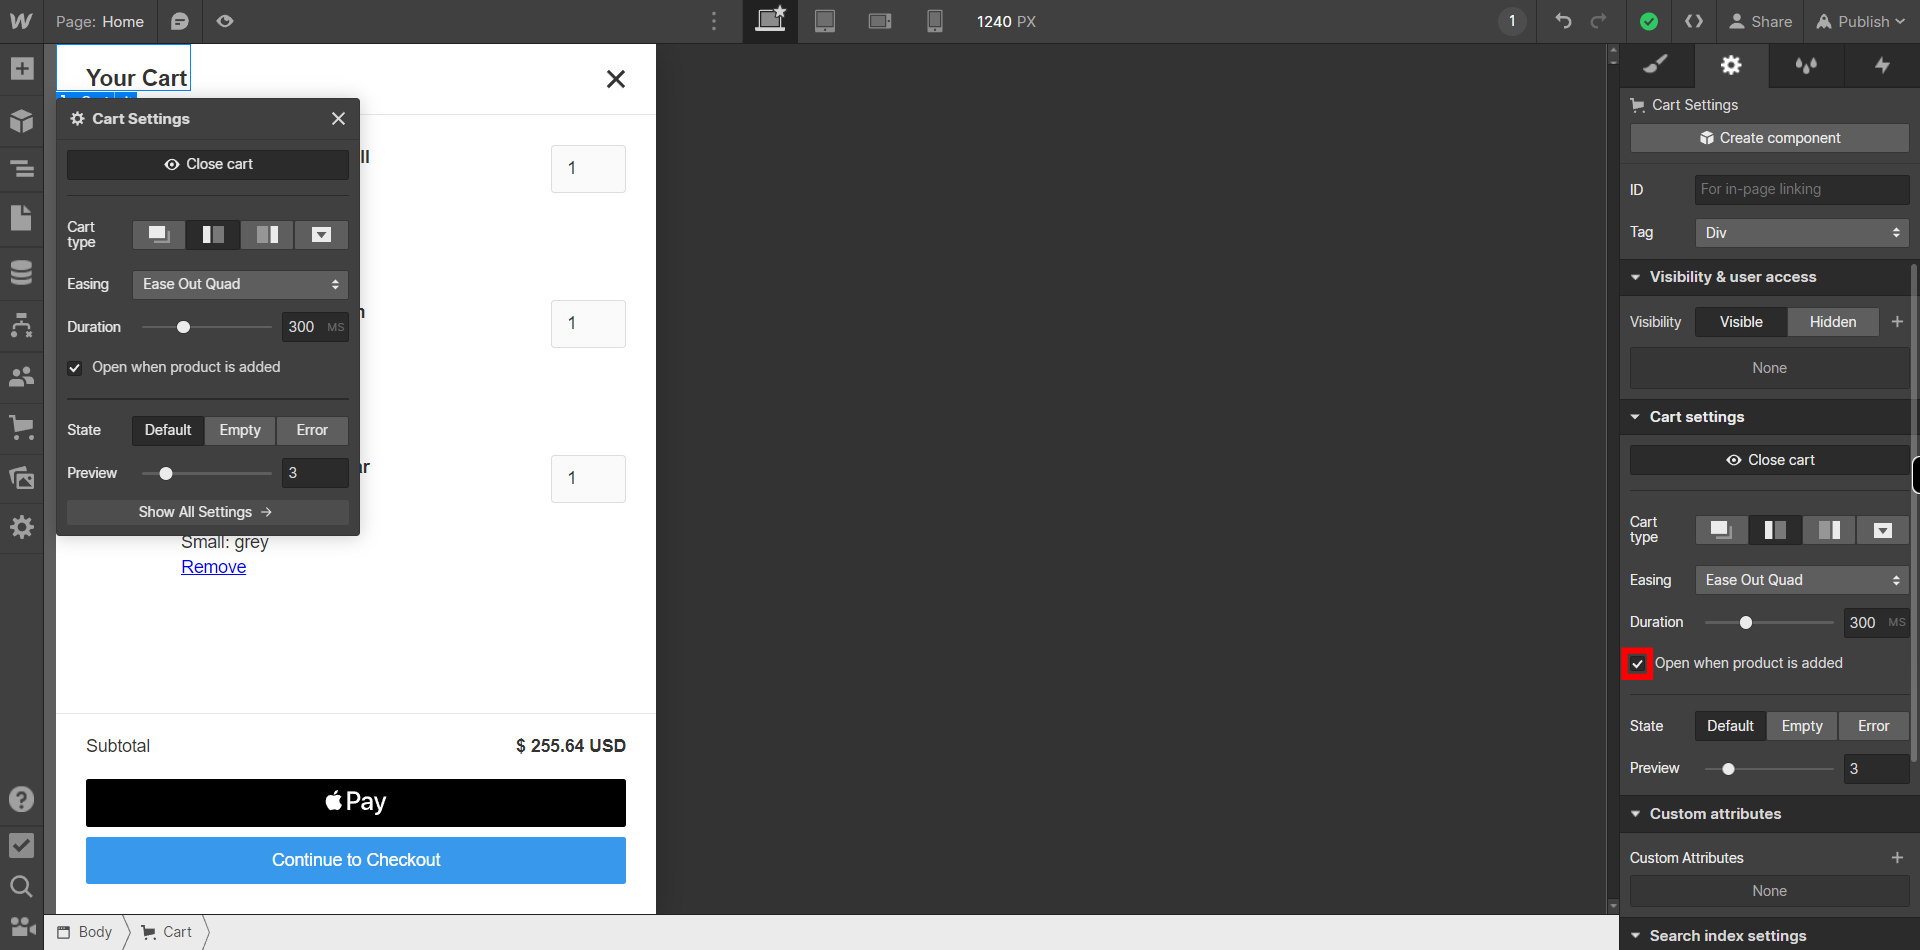
You can Choose to open your Cart every time a product is added by enabling the Checkbox before "Open when Product is added". Then click on Next button on the Supervity Instruction widget.
-
11.
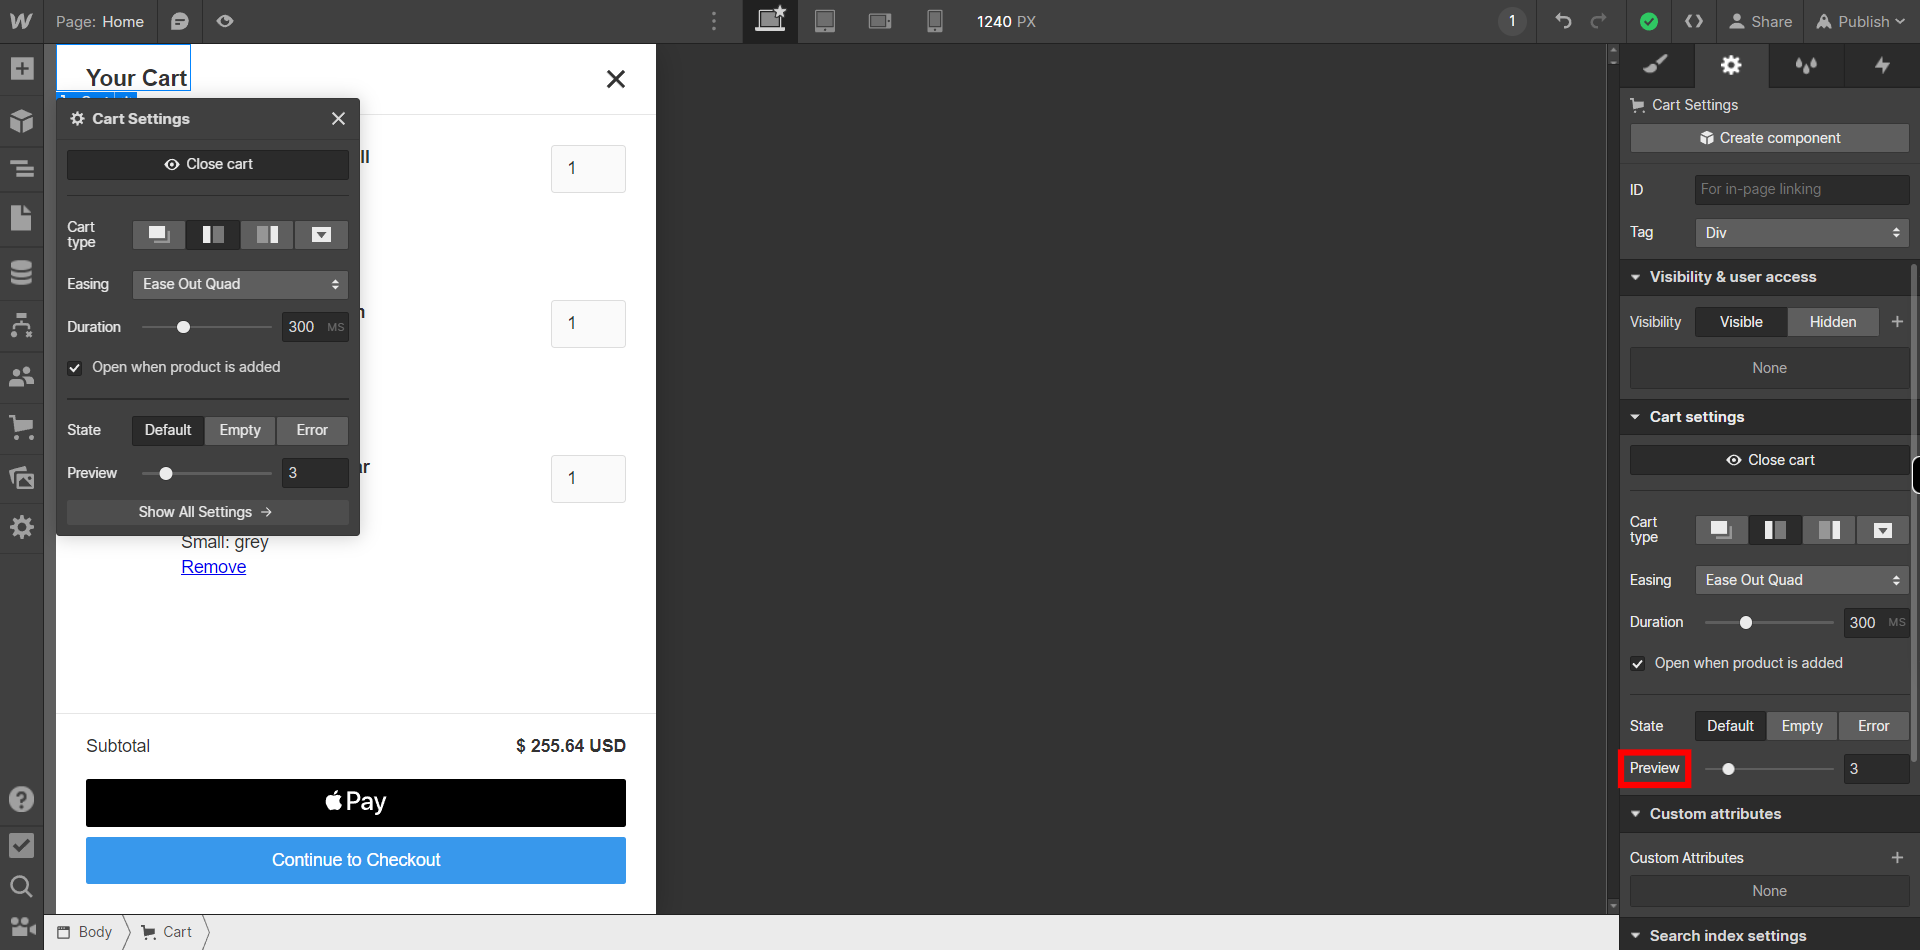
You Can choose how many Items you want to Preview in your Cart By using the slider beside "Preview" and that many items will be shown. Then Click on Next button on the supervity instruction widget.
-
12.
You can Select the State of your Cart by Choosing the desired state Under "Cart settings" on the Panel on the right side of the screen. There are 3 states i.e. Default, Error and Empty. Choose the desired state and you can make changes to them accordingly then click on the "Close" button on the Supervity instruction widget.
