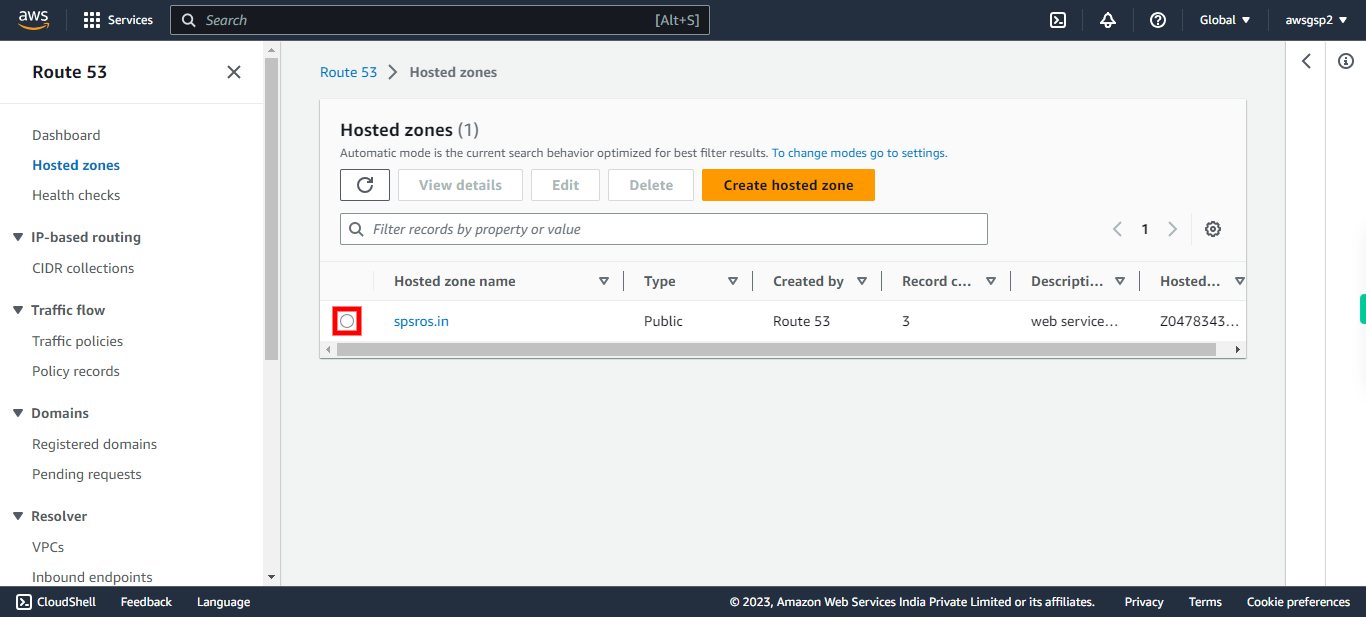
This skill helps to walk you through the Creation of Amazon Route 53 by step by step assistance. Amazon Route 53 is a highly available and scalable Domain Name System (DNS) web service. It is a scalable and highly available Domain Name System (DNS) service. Route 53 connects user requests to internet applications running on AWS or on-premises. It is basically designed for developers and corporate to route the end users to Internet applications by translating human-readable host names.
Prerequisites:
- An active AWS account
- Sufficient privileges to create and Route 53
Note:
Login to AWS Management Console beforehand.
-
1.
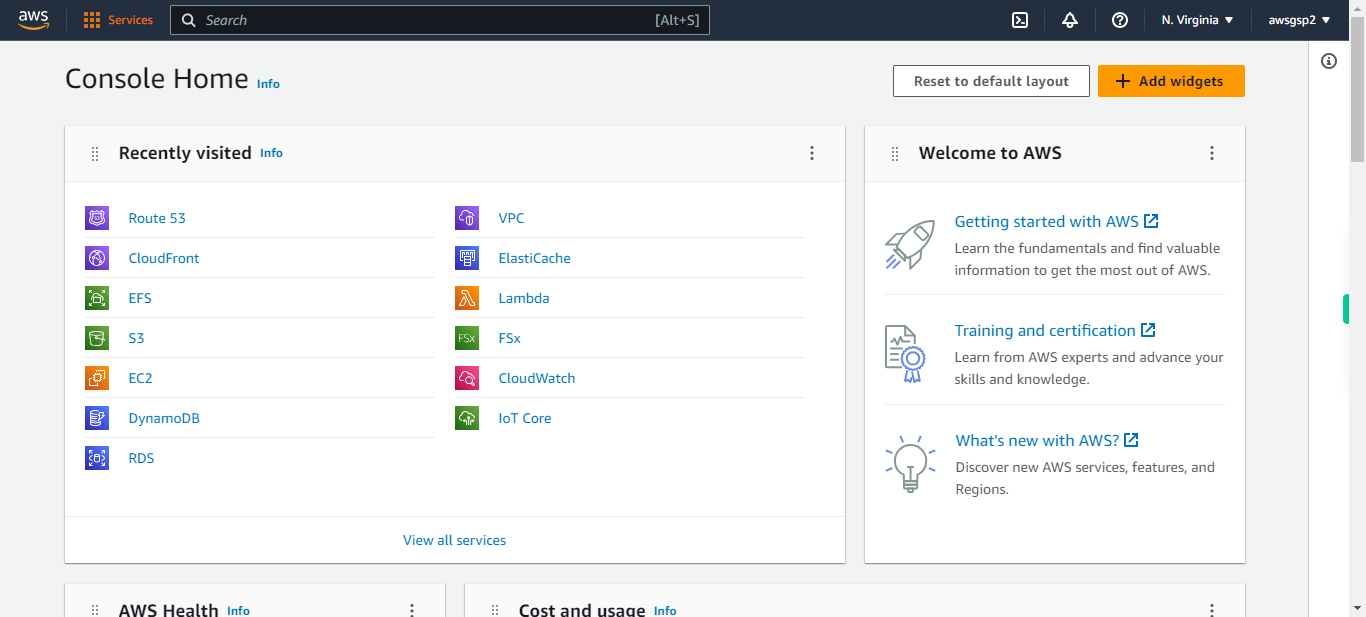
open AWS Management Console
-
2.
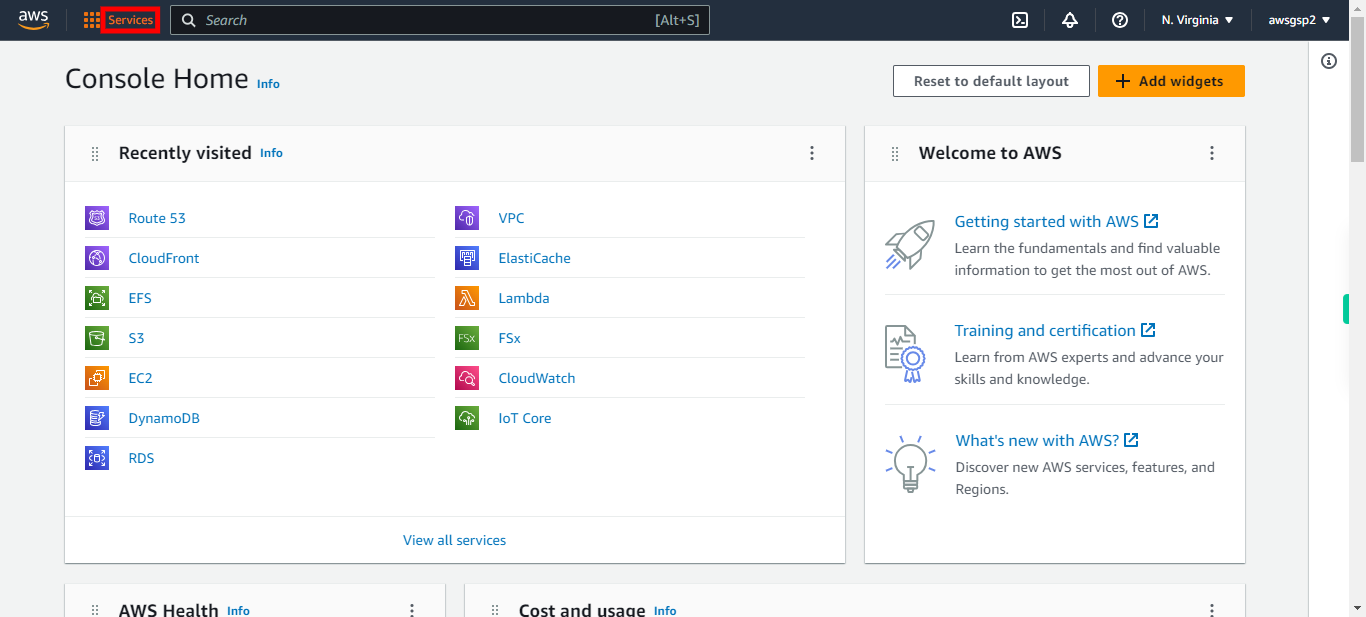
Click Services
-
3.
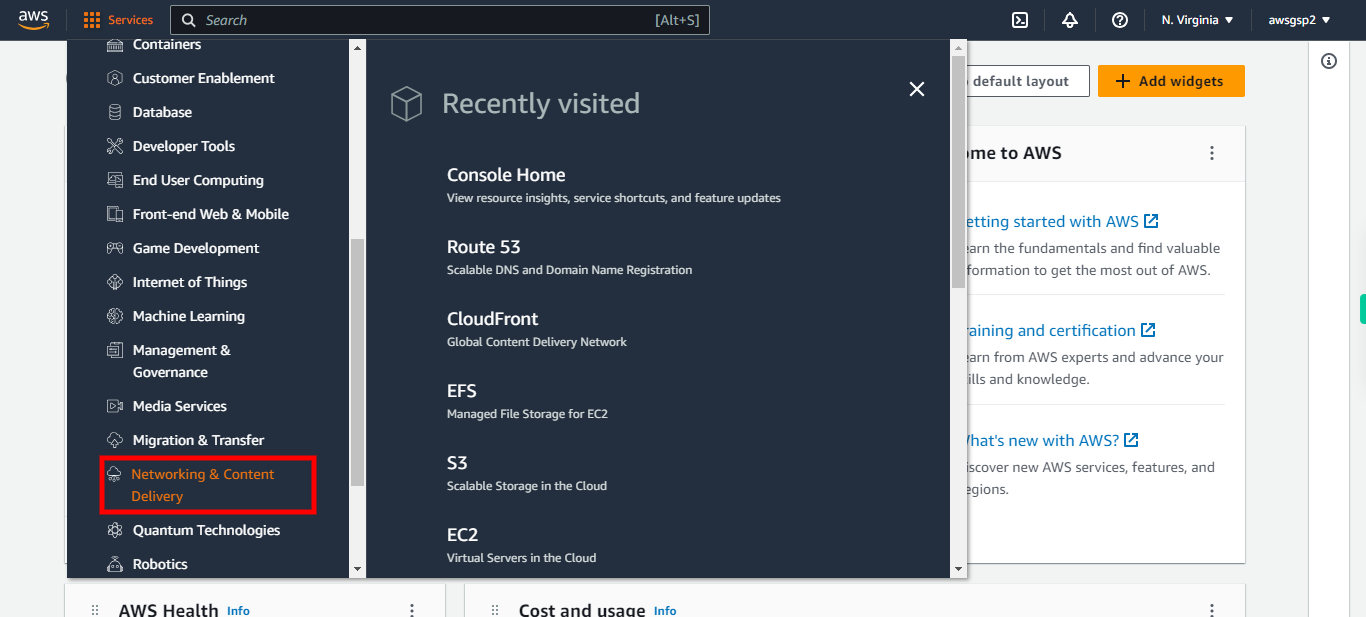
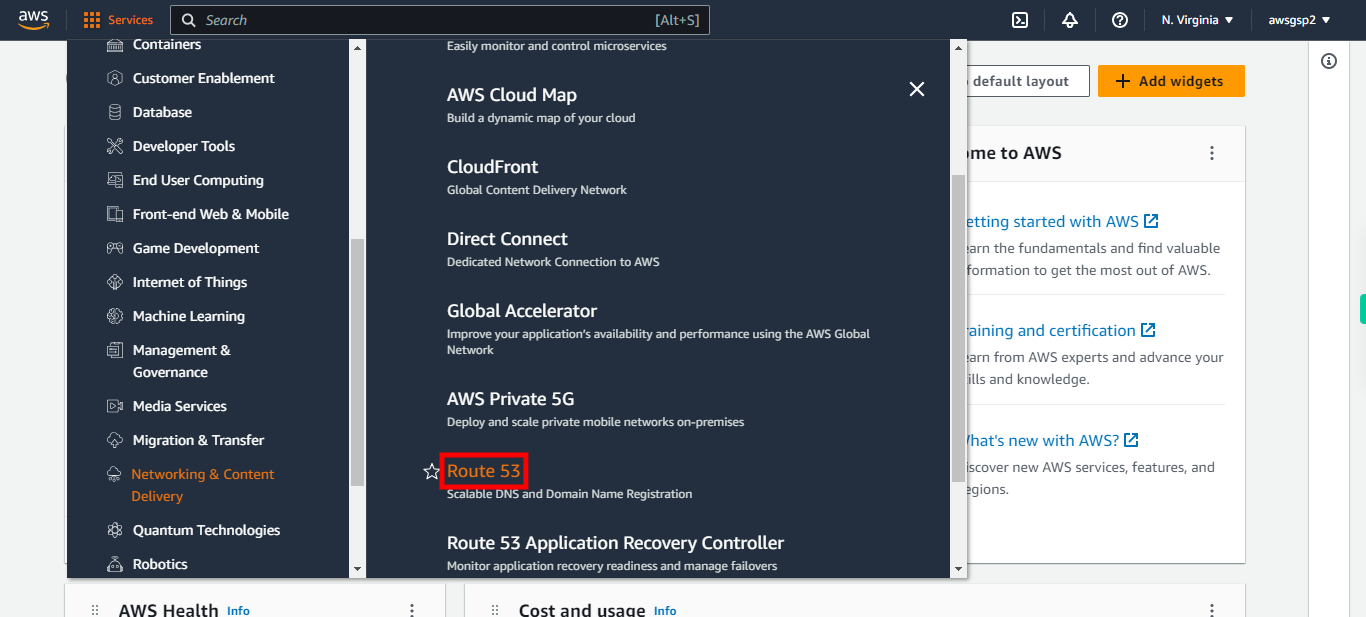
Click Networking & Content Delivery
-
4.
Click Route 53
-
5.
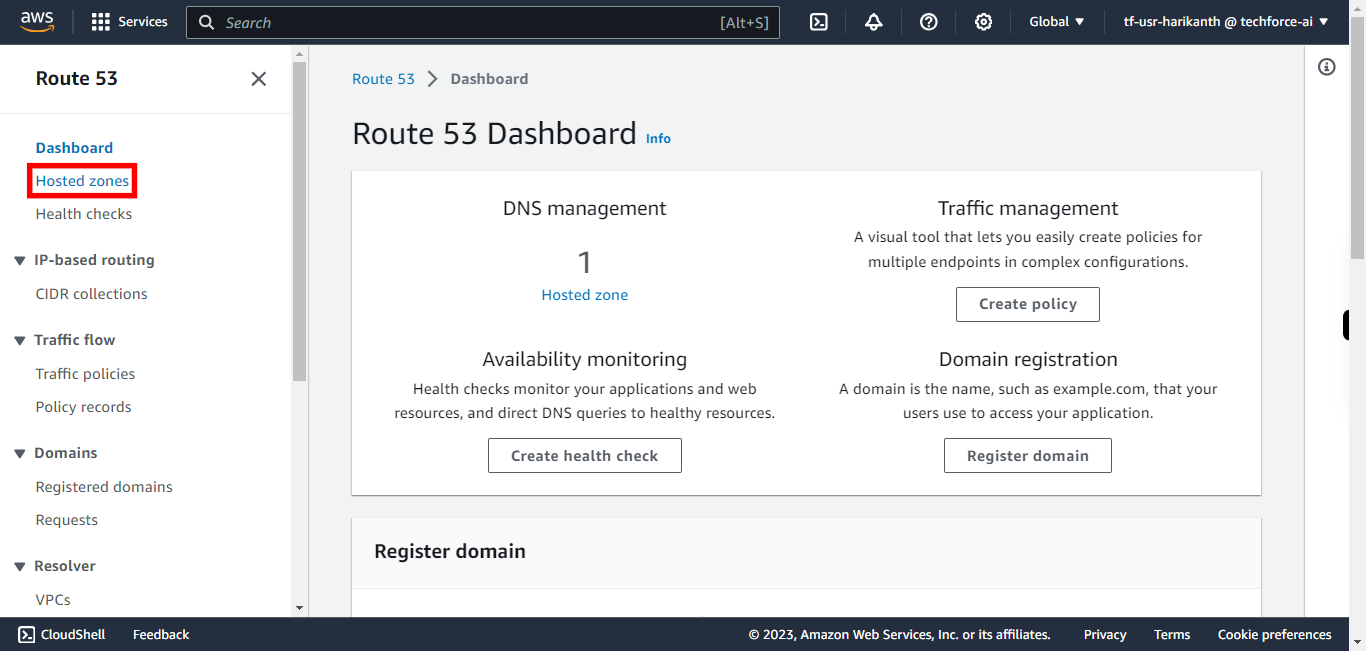
Click Hosted zones
-
6.
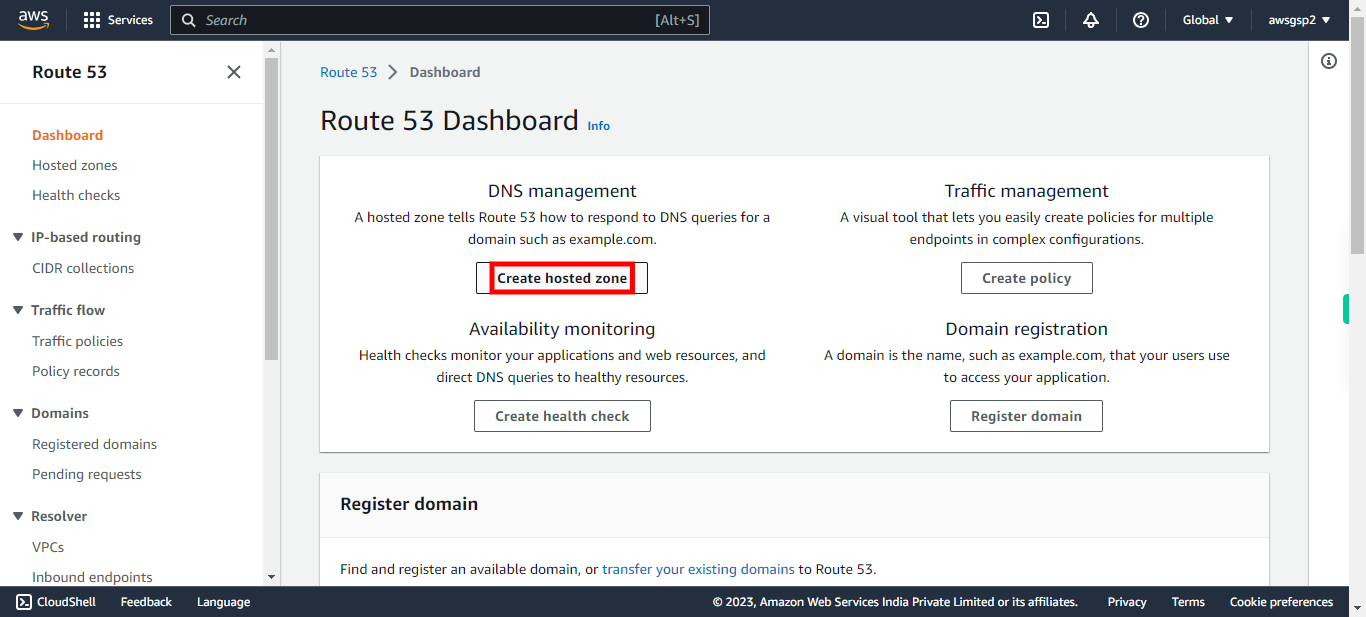
Click "Create hosted zone" # Hosted Zone A hosted zone tells Route 53 how to respond to DNS queries for a domain such as example.com. A hosted zone is analogous to a traditional DNS zone file; it represents a collection of records that can be managed together, belonging to a single parent domain name. All resource record sets within a hosted zone must have the hosted zone's domain name as a suffix.
-
7.
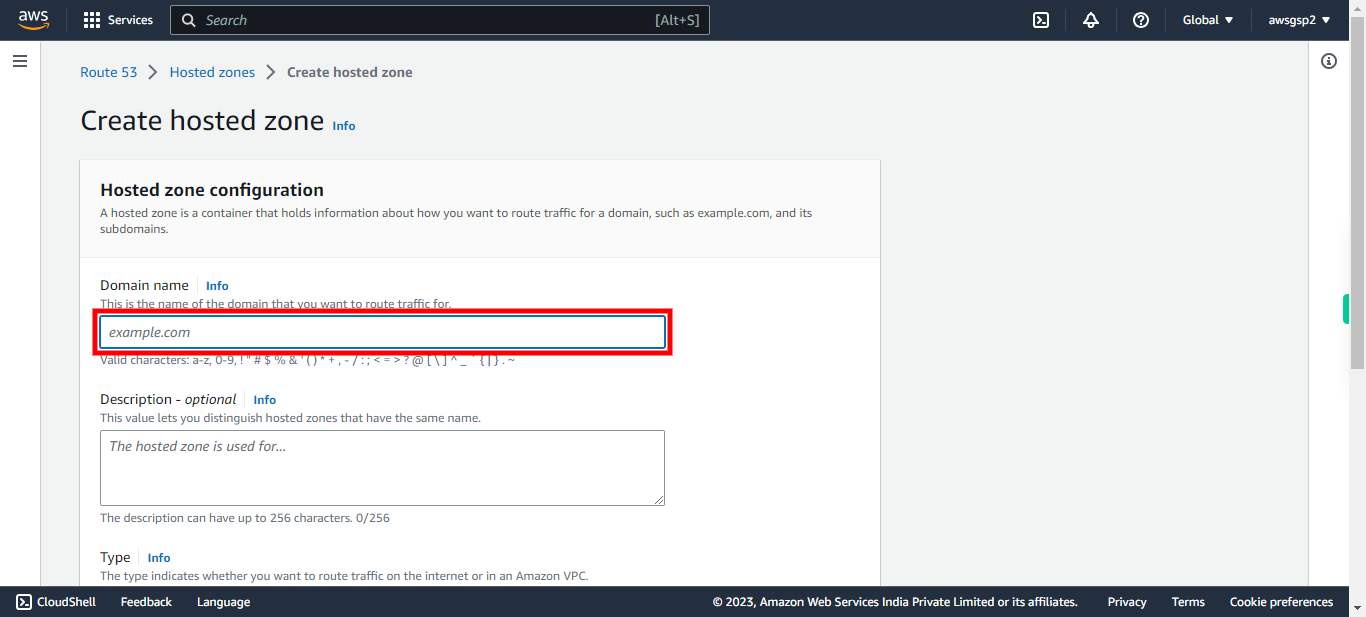
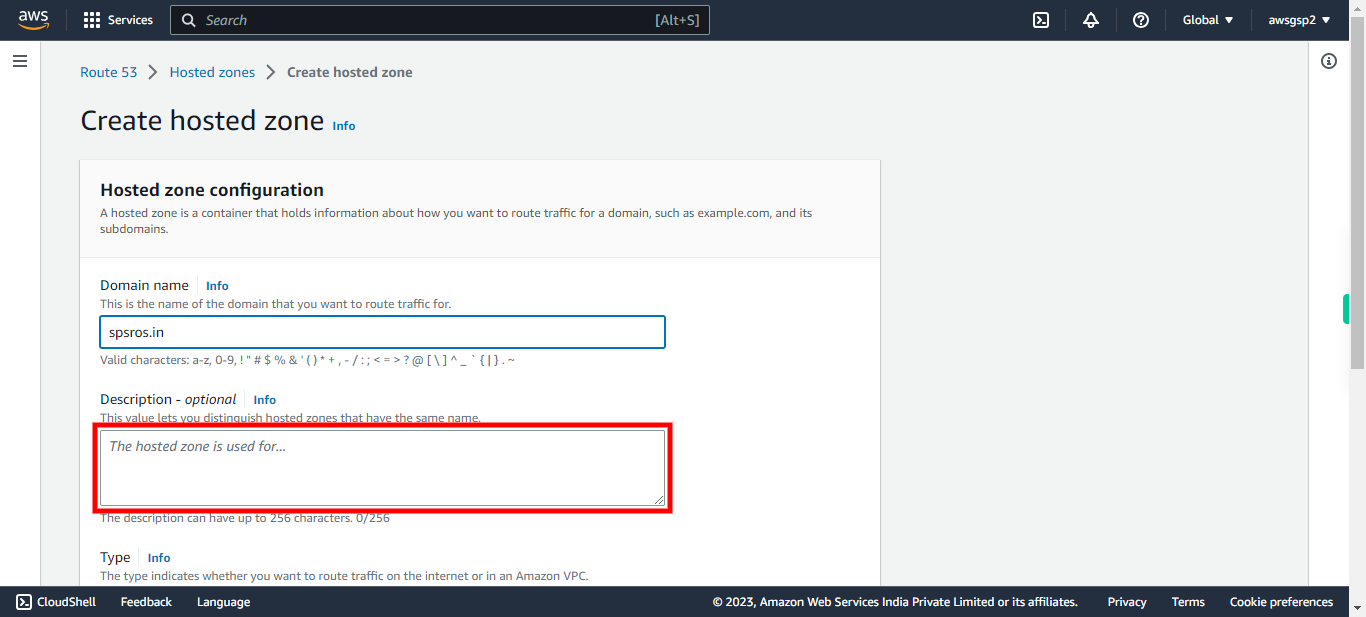
Type Your Domain name Registered (Eg., hostname.com). Click Next in the Supervity Instruction Widget. # Domain Name This is the name of the domain that you want to route traffic.
-
8.
Describe the purpose of Domain created (optional). Click Next in the Supervity Instruction Widget.
-
9.
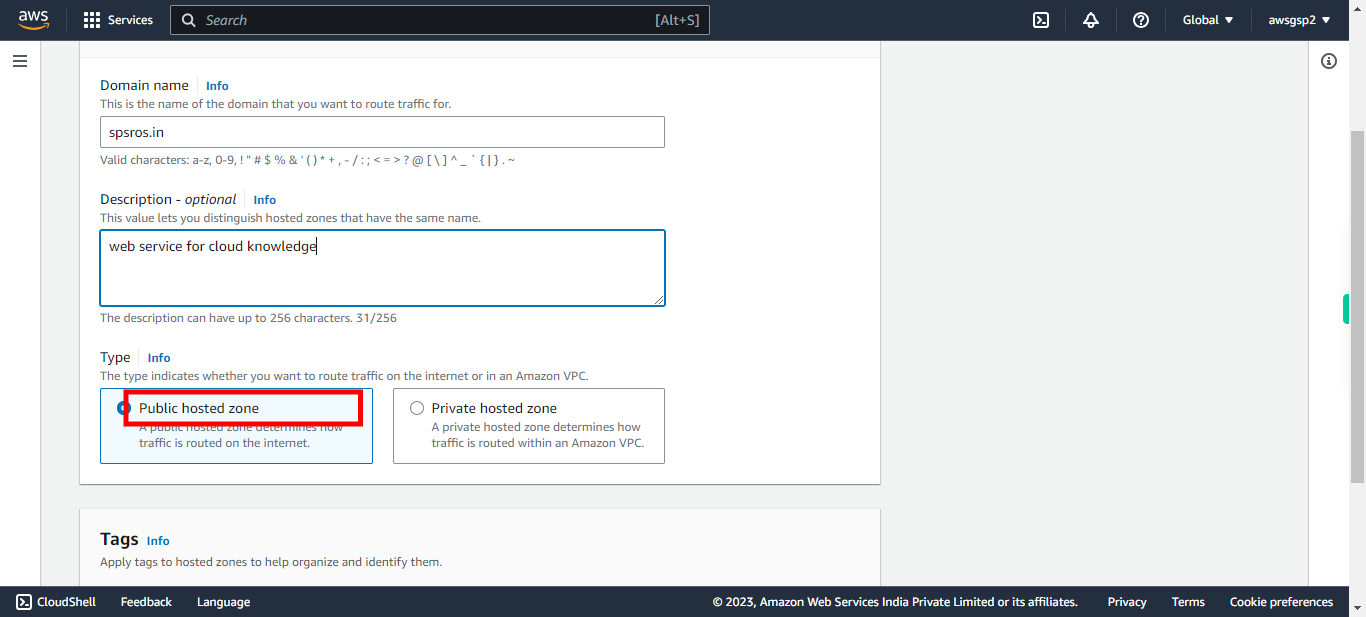
Click on Public hosted zone. Click Next in the Supervity Instruction Widget. # Type of zones The option that you choose depends on whether you want to route traffic on the internet or within your VPCs: Choose Public hosted zone if you want to route traffic on the internet for your domain name. Choose Private hosted zone if you want to route traffic within your VPCs for your domain name.
-
10.
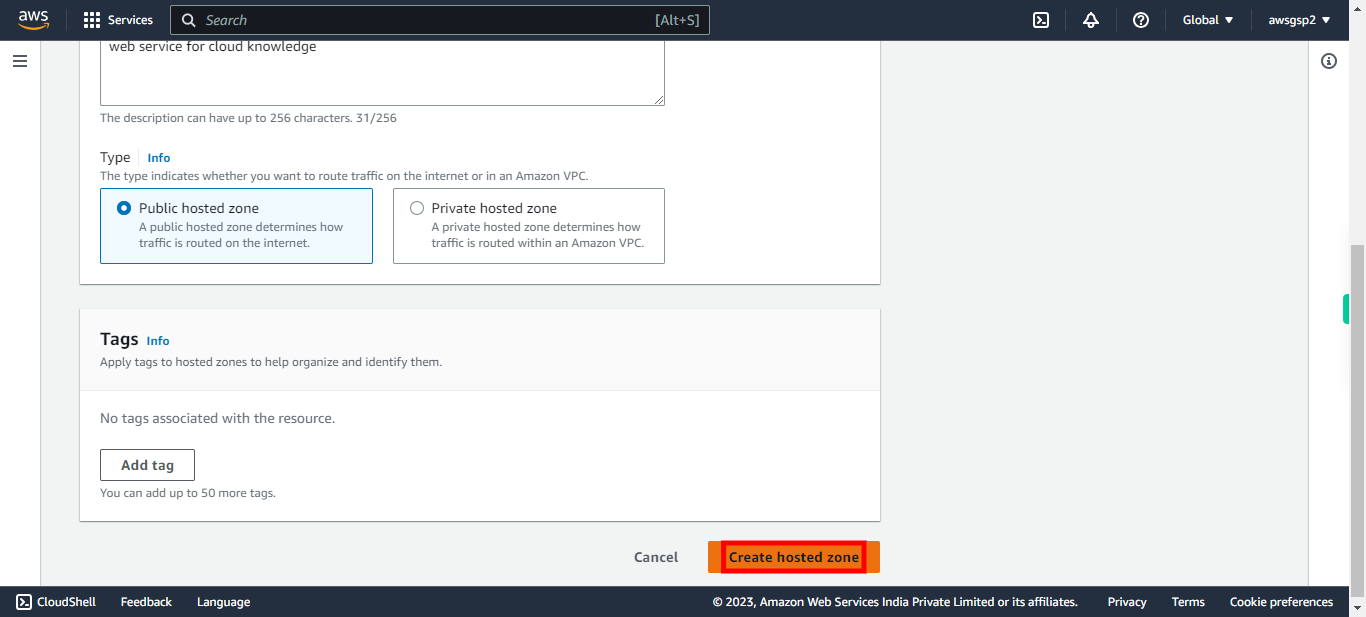
Click on "Create hosted zone".
-
11.
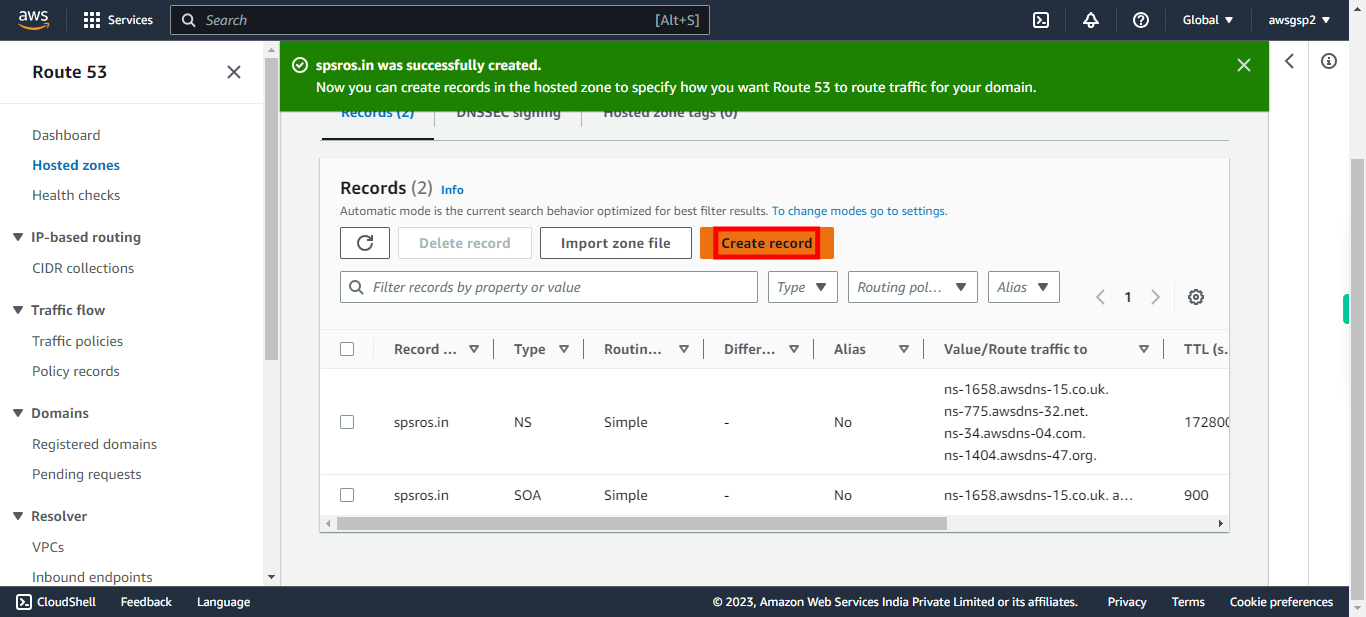
By default NS and SOA records are created, check for these records once. To create new DNS records, click "Create record"
-
12.
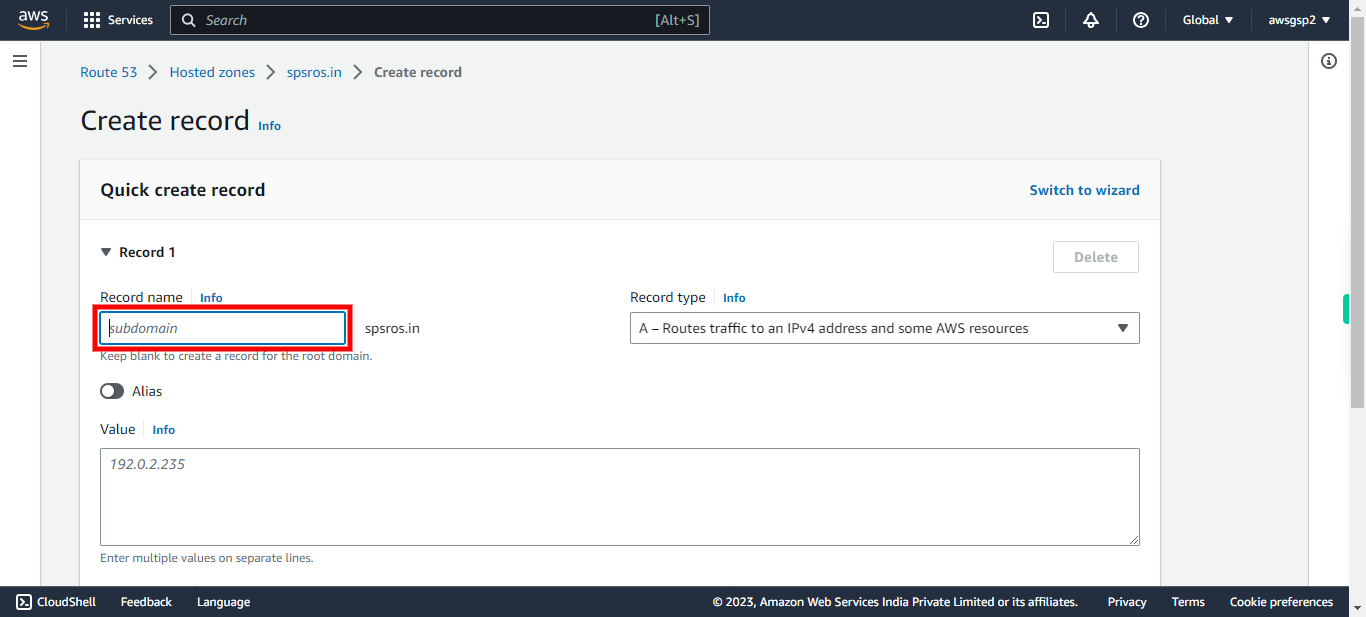
Add a subdomain name (Eg., www). Click Next in the Supervity Instruction Widget.
-
13.
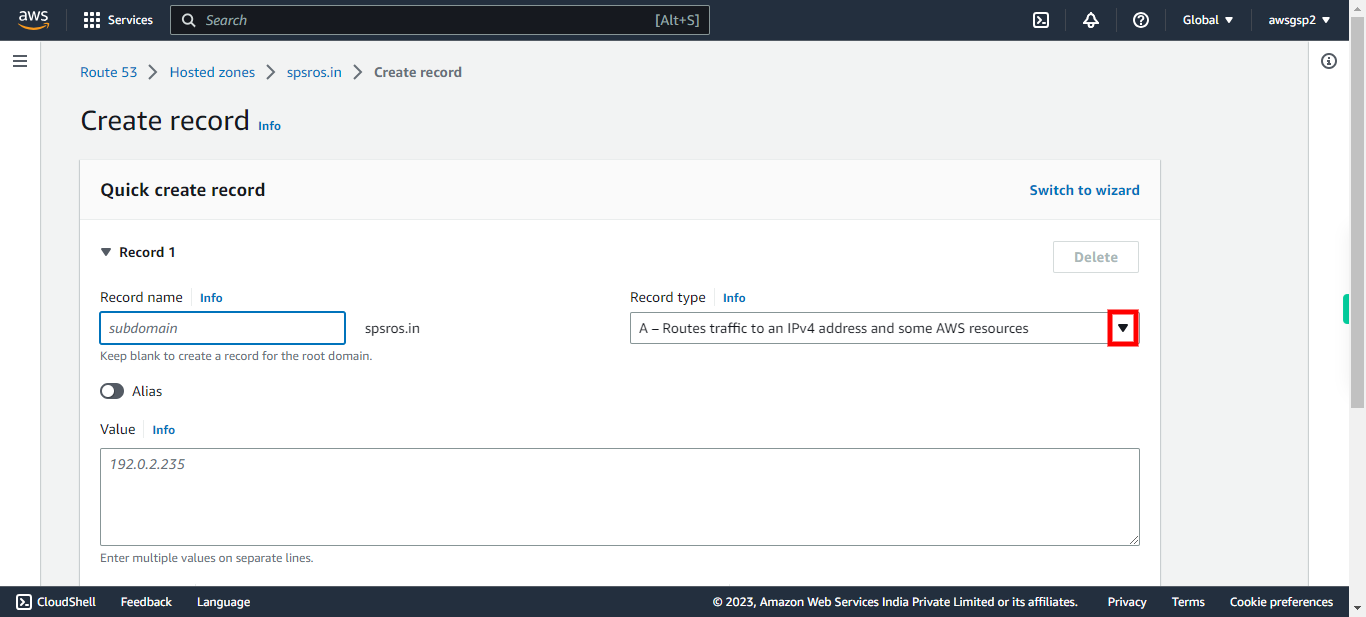
Click and select "A Record" for Domain public address. Click Next in the Supervity Instruction Widget. # Record DNS records are instructions that live in authoritative DNS servers and provide information about a domain including what IP address is associated with that domain and how to handle requests for that domain
-
14.
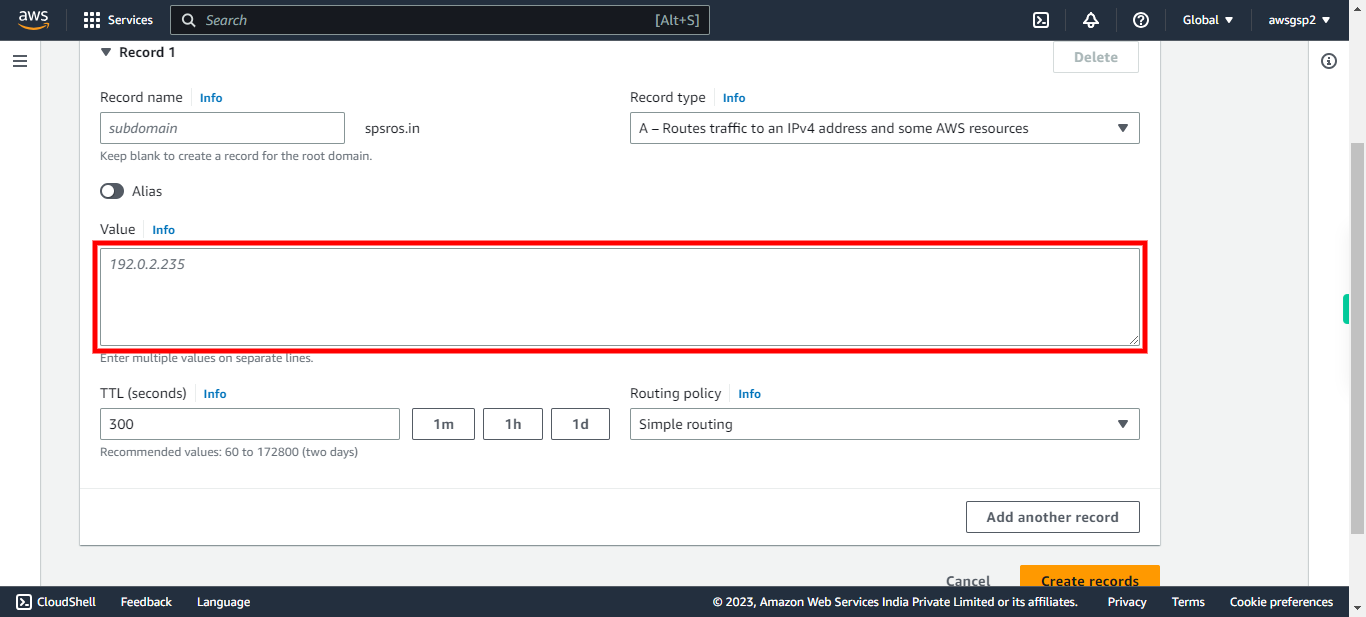
Type the Public IP address of Domain assigned. Click Next in the Supervity Instruction Widget.
-
15.
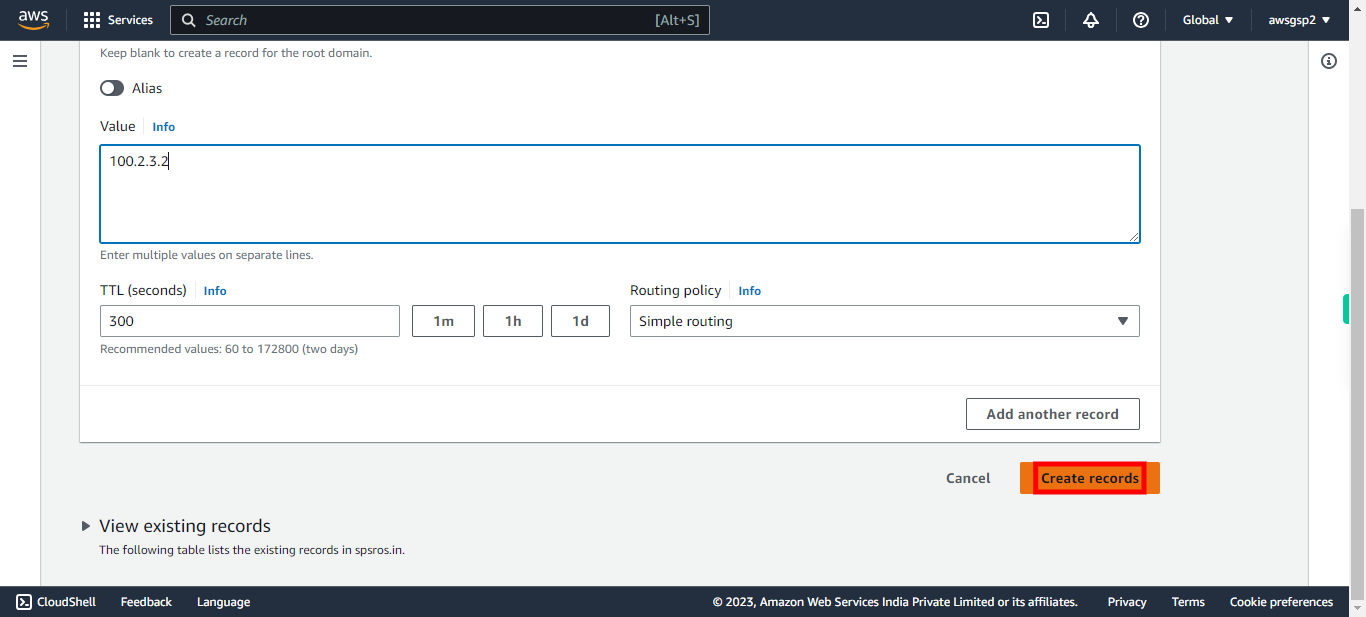
Click "Create records".
-
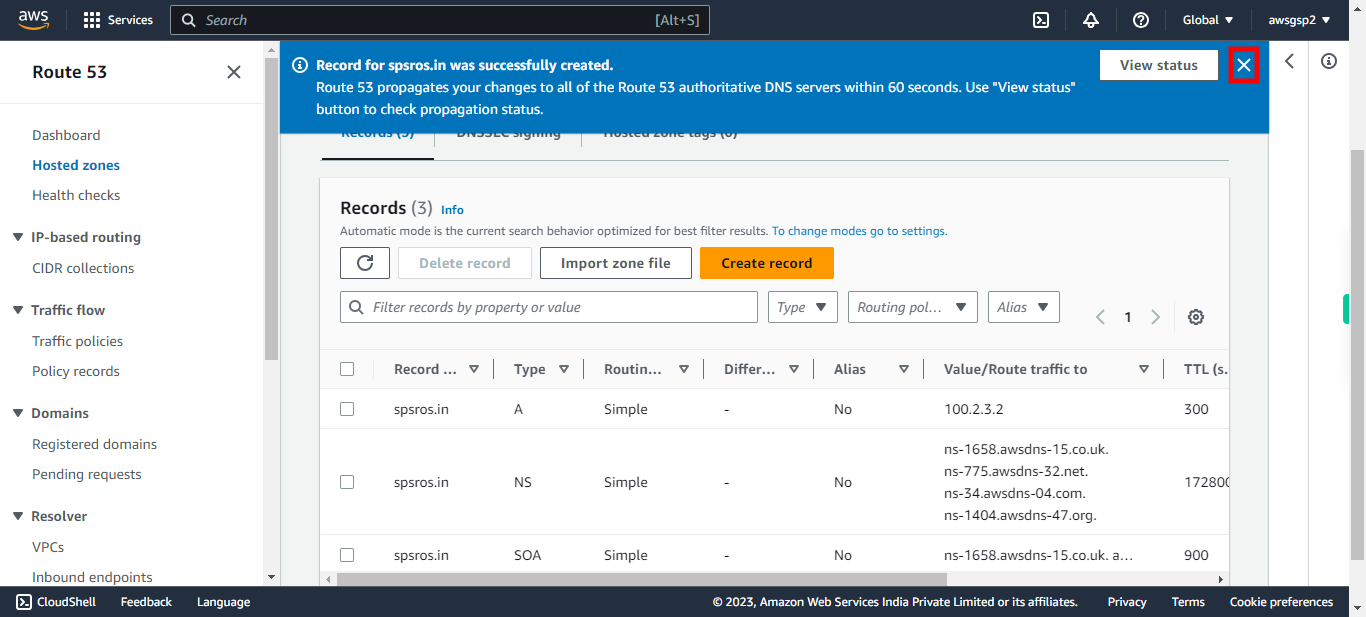
16.
Check whether "A" record is created or not. Click Next in the Supervity Instruction Widget.
-
17.
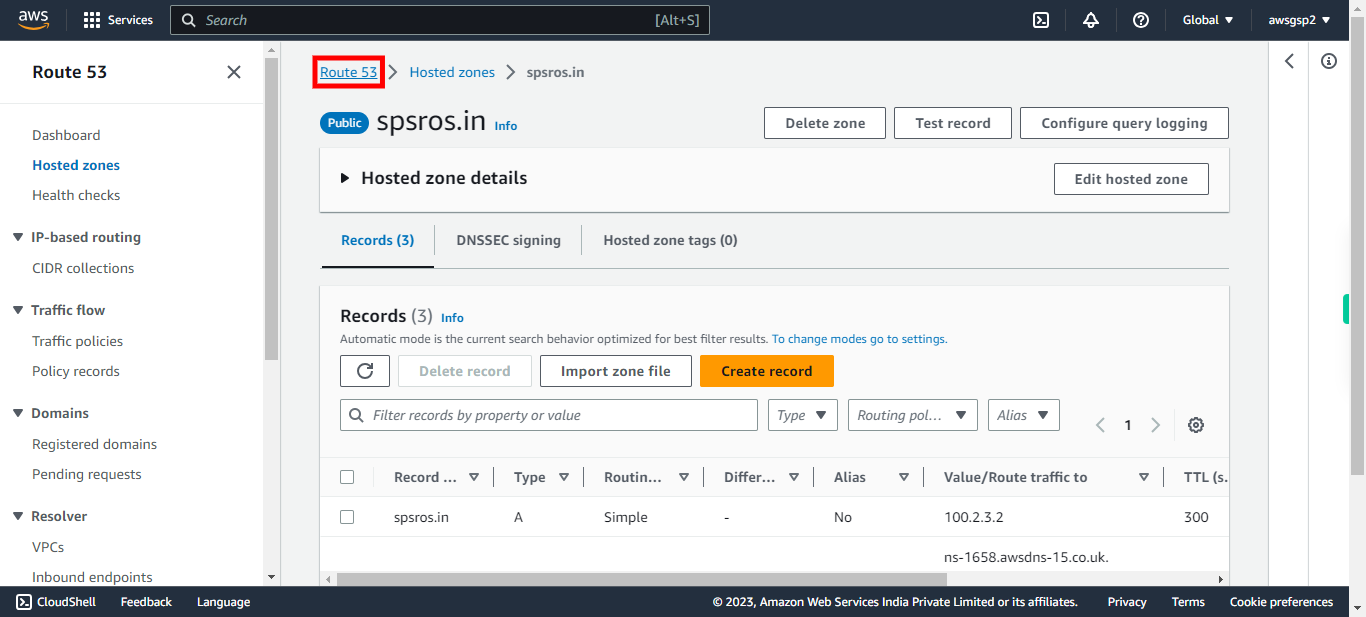
Click Route 53.
-
18.
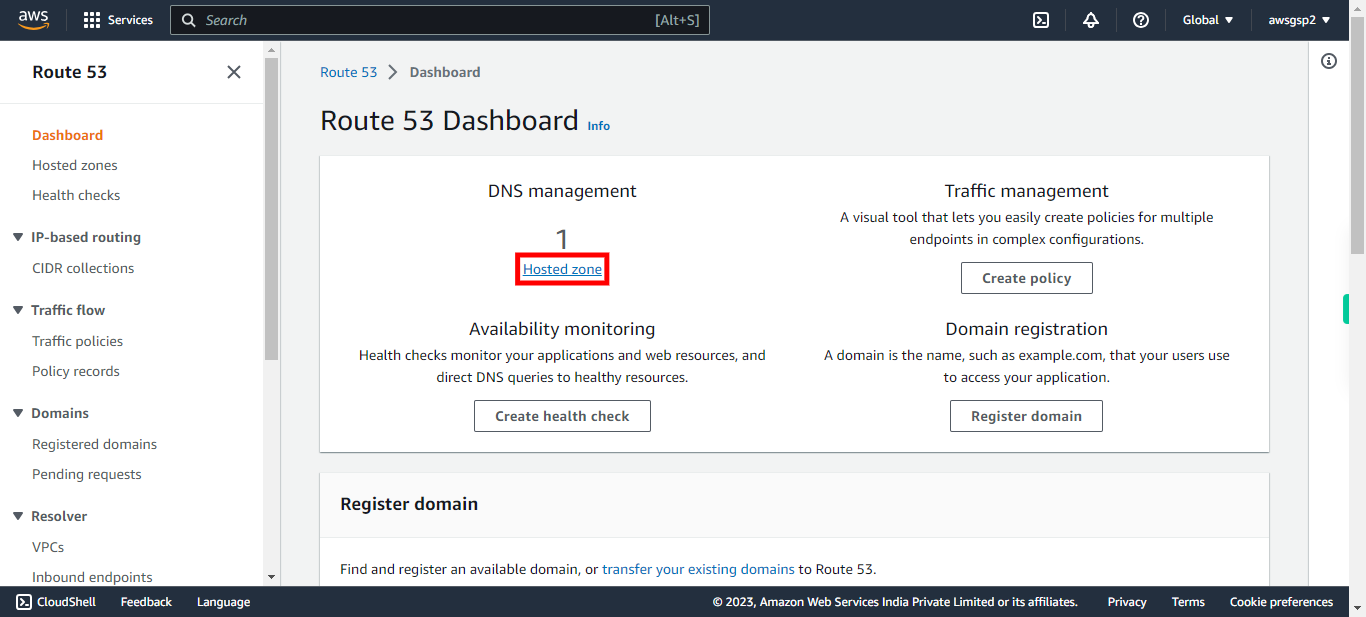
Click "Hosted zone" or "Hosted zones".
-
19.
Click on the "Hosted Zone Name" and check your DNS entries is created or not.
