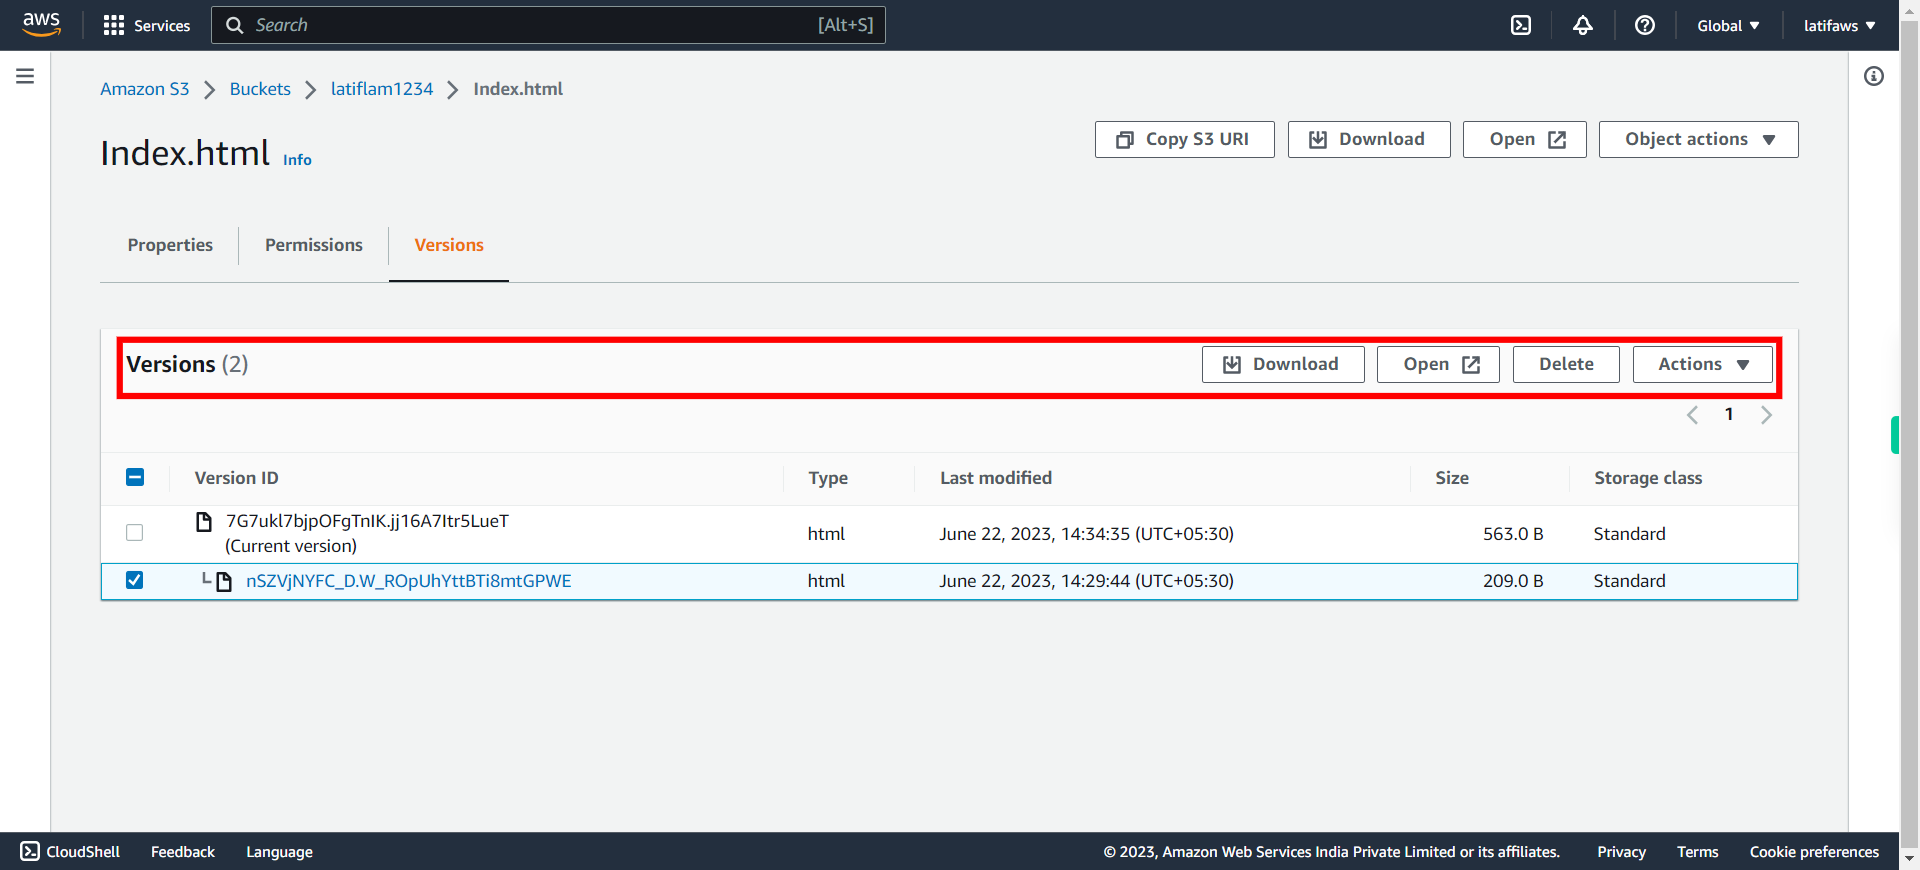
Enable Version Control: In this exercise, you will enable version control on your newly created bucket. Enabling versioning for an AWS S3 bucket allows you to keep multiple versions of an object in the bucket. This can be useful for maintaining a version history of your files, recovering from accidental deletions or modifications, and complying with data retention requirements.
-
1.
open S3 Management Console
-
2.
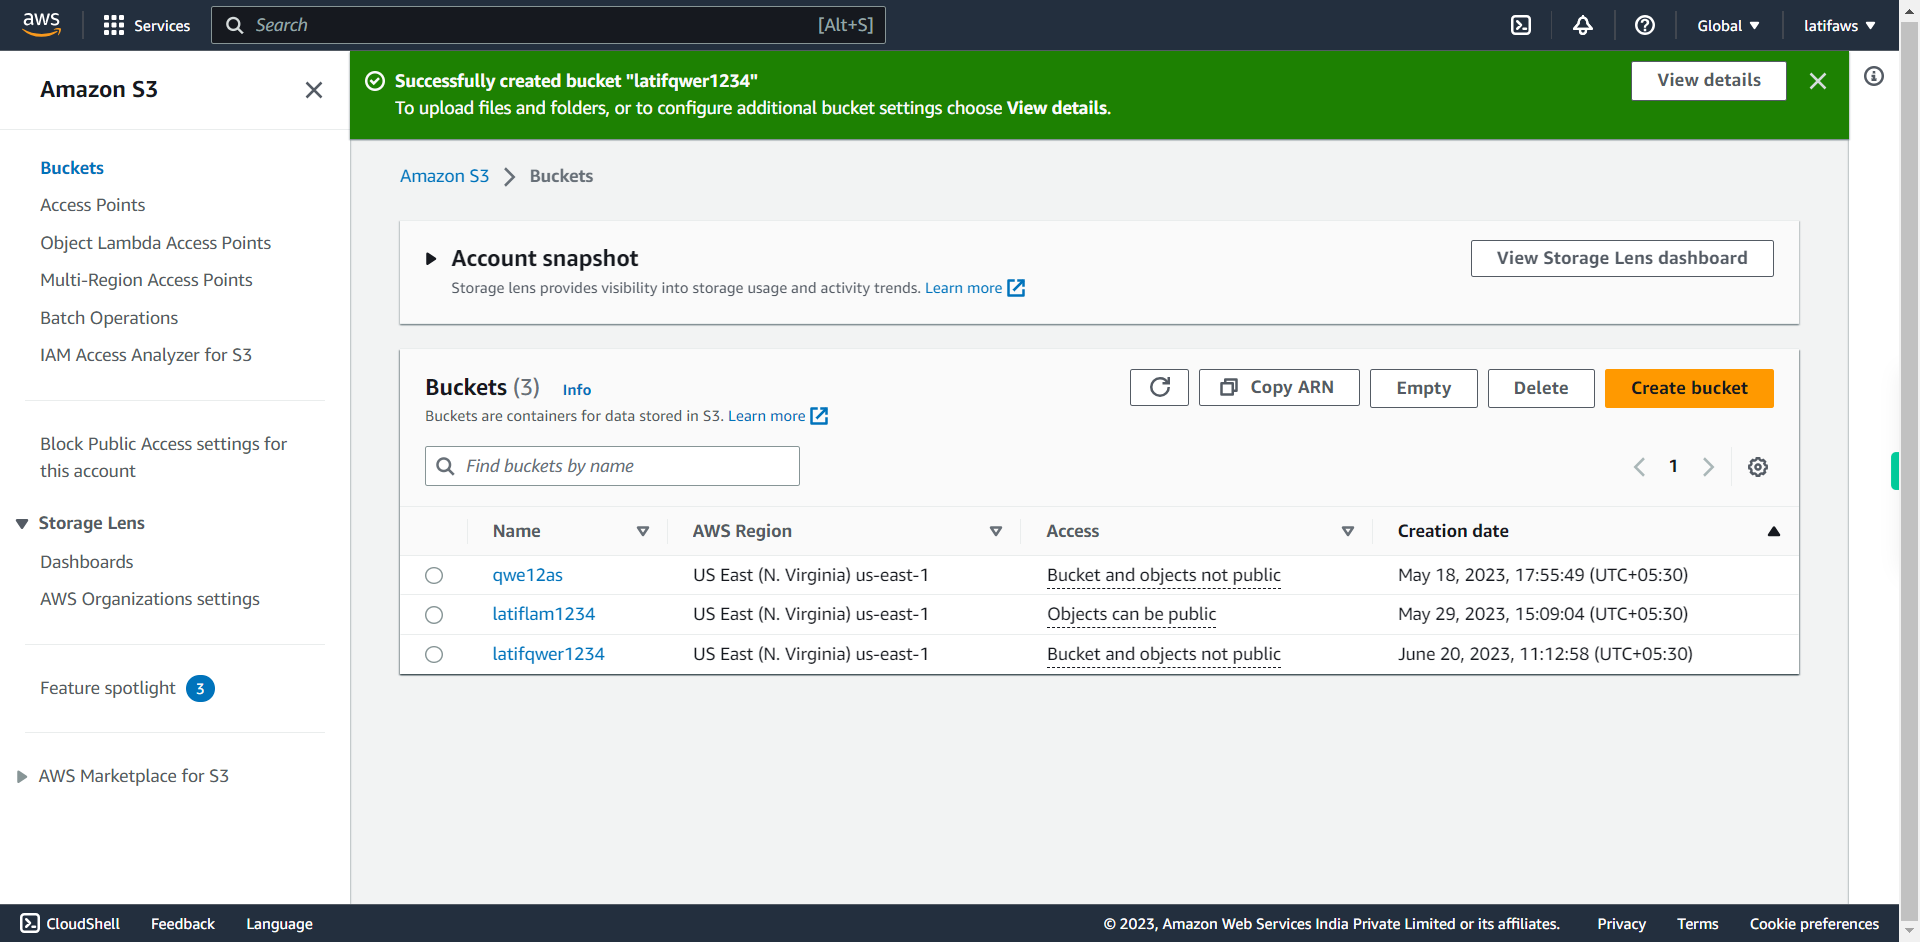
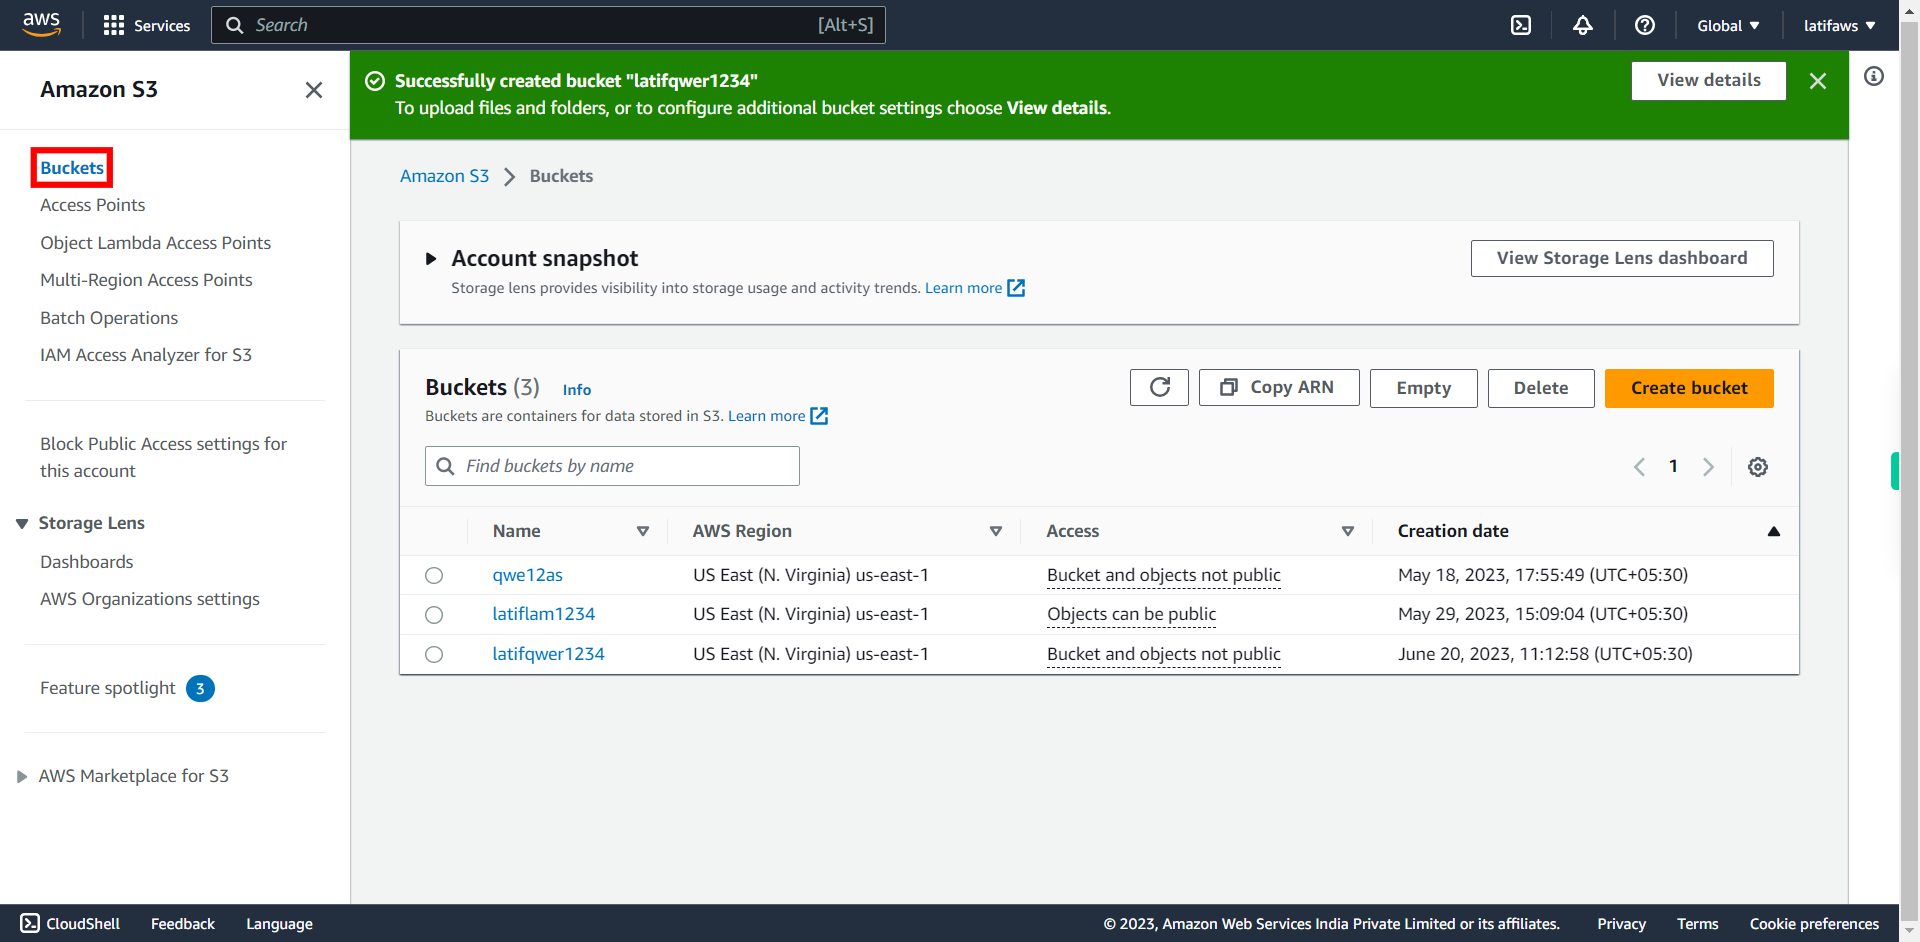
Click Buckets
-
3.
Make sure that you already created a new S3 Bucket If not, Create a new S3 Bucket by following the Create S3 Bucket Walkthrough. Once done, click Next on Supervity Instruction Widget.
-
4.
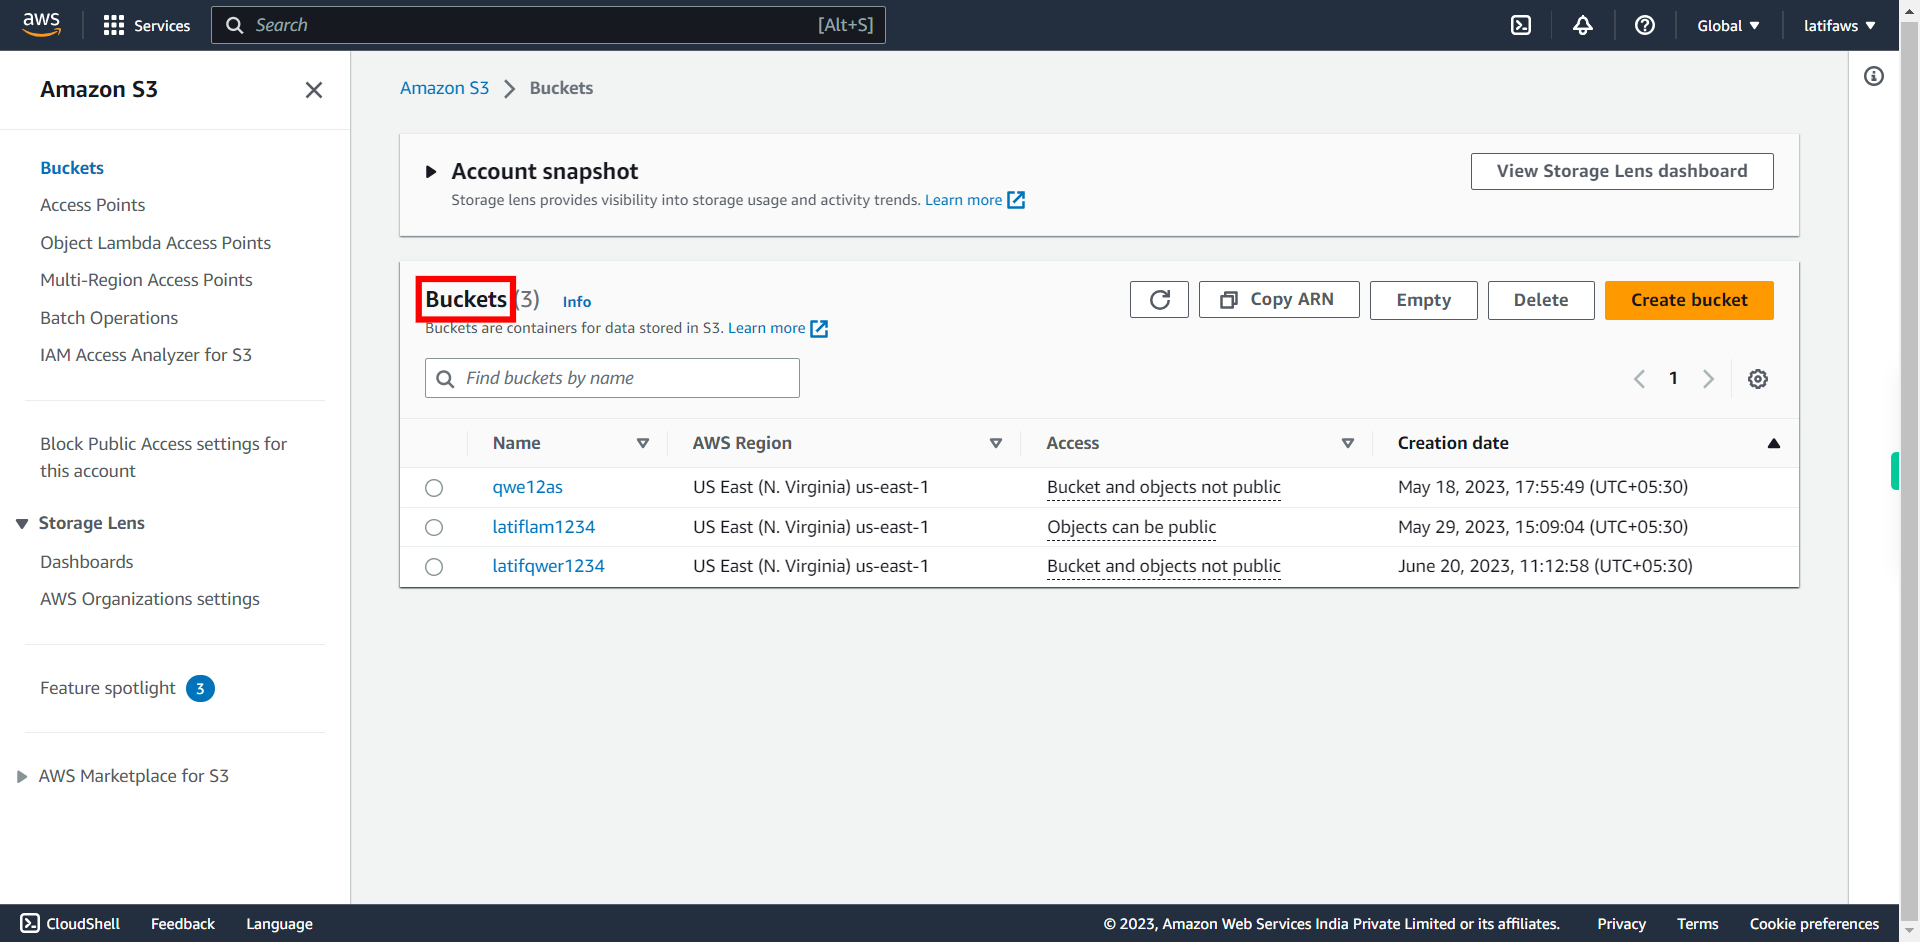
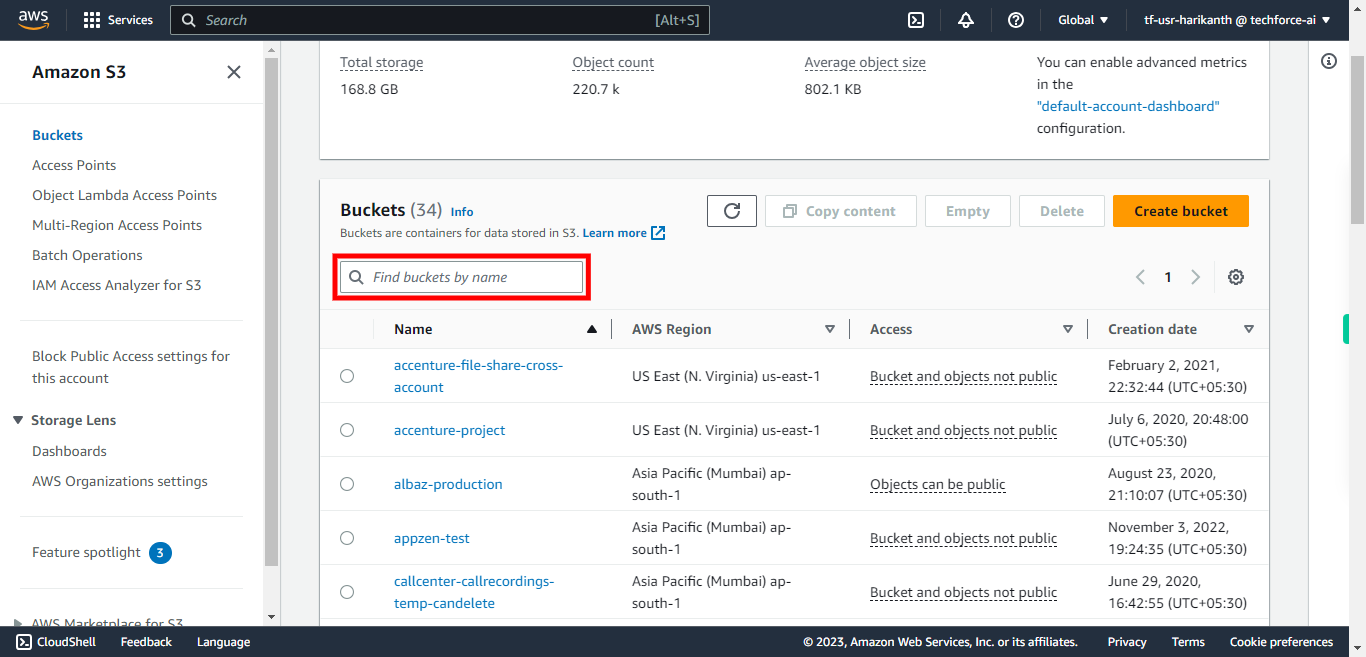
Click and search for your Bucket Name. Once done, click Next on Supervity Instruction Widget.
-
5.
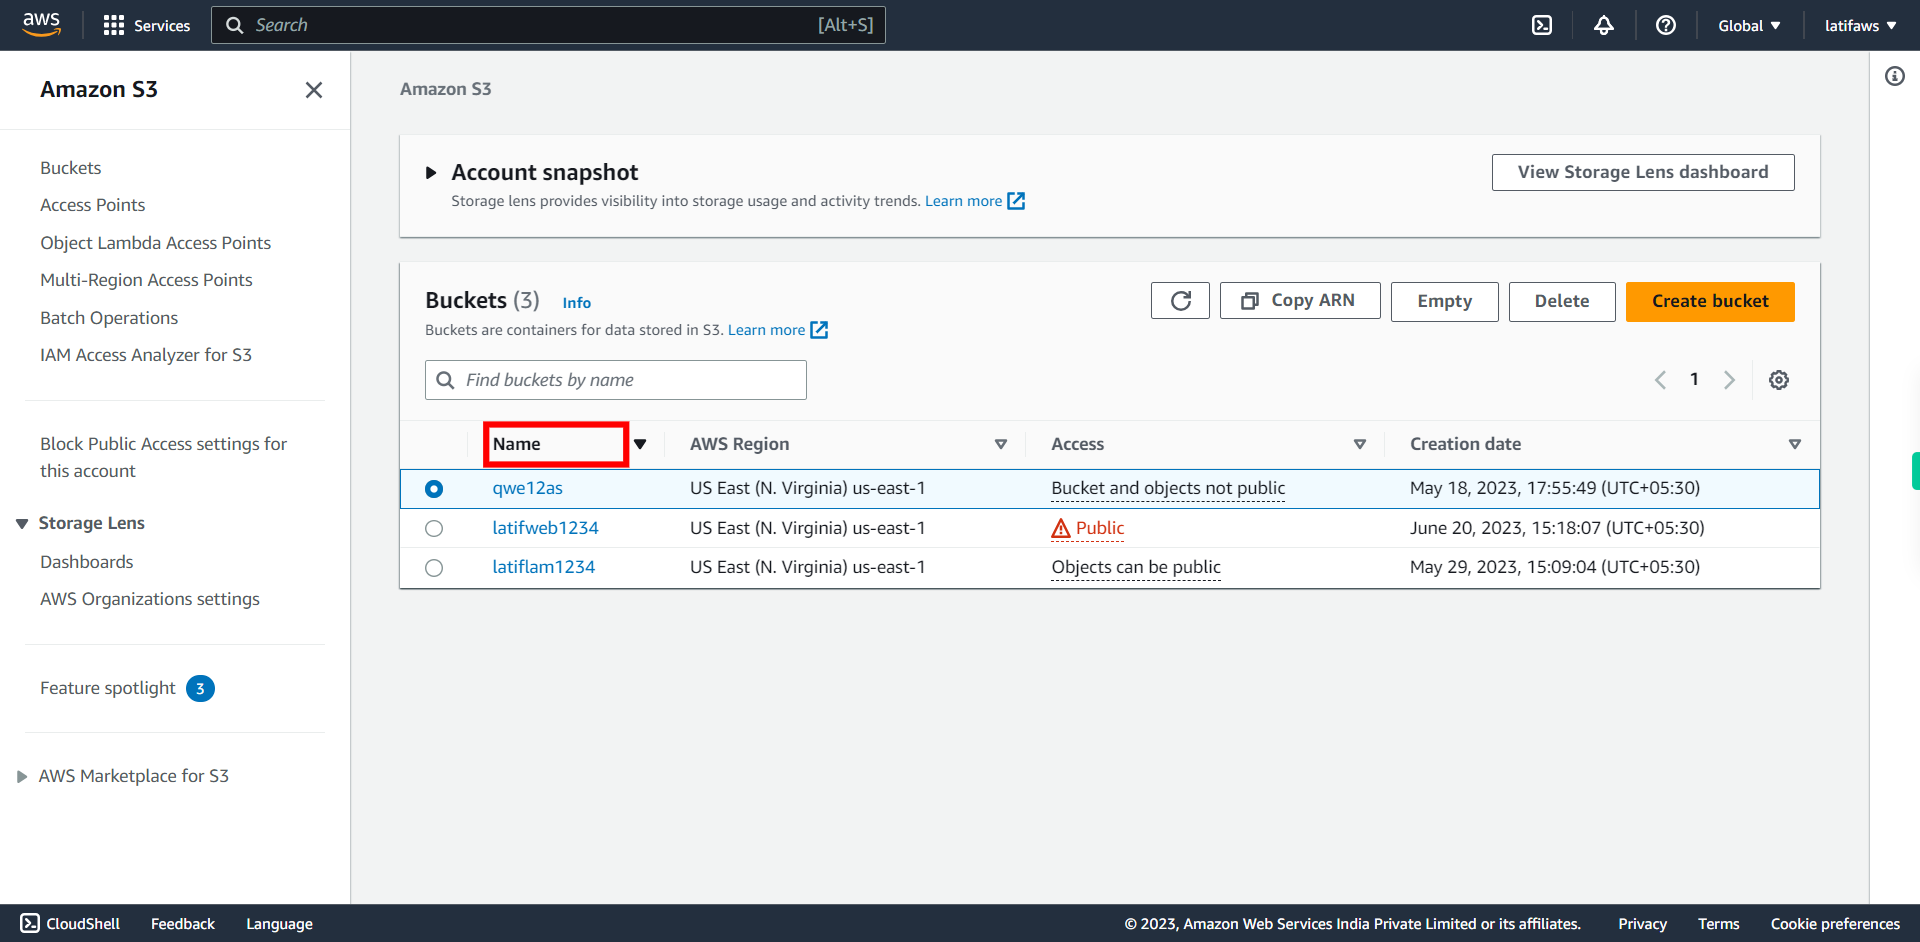
Select and Open Your Newly Created S3 Bucket under Name.
-
6.
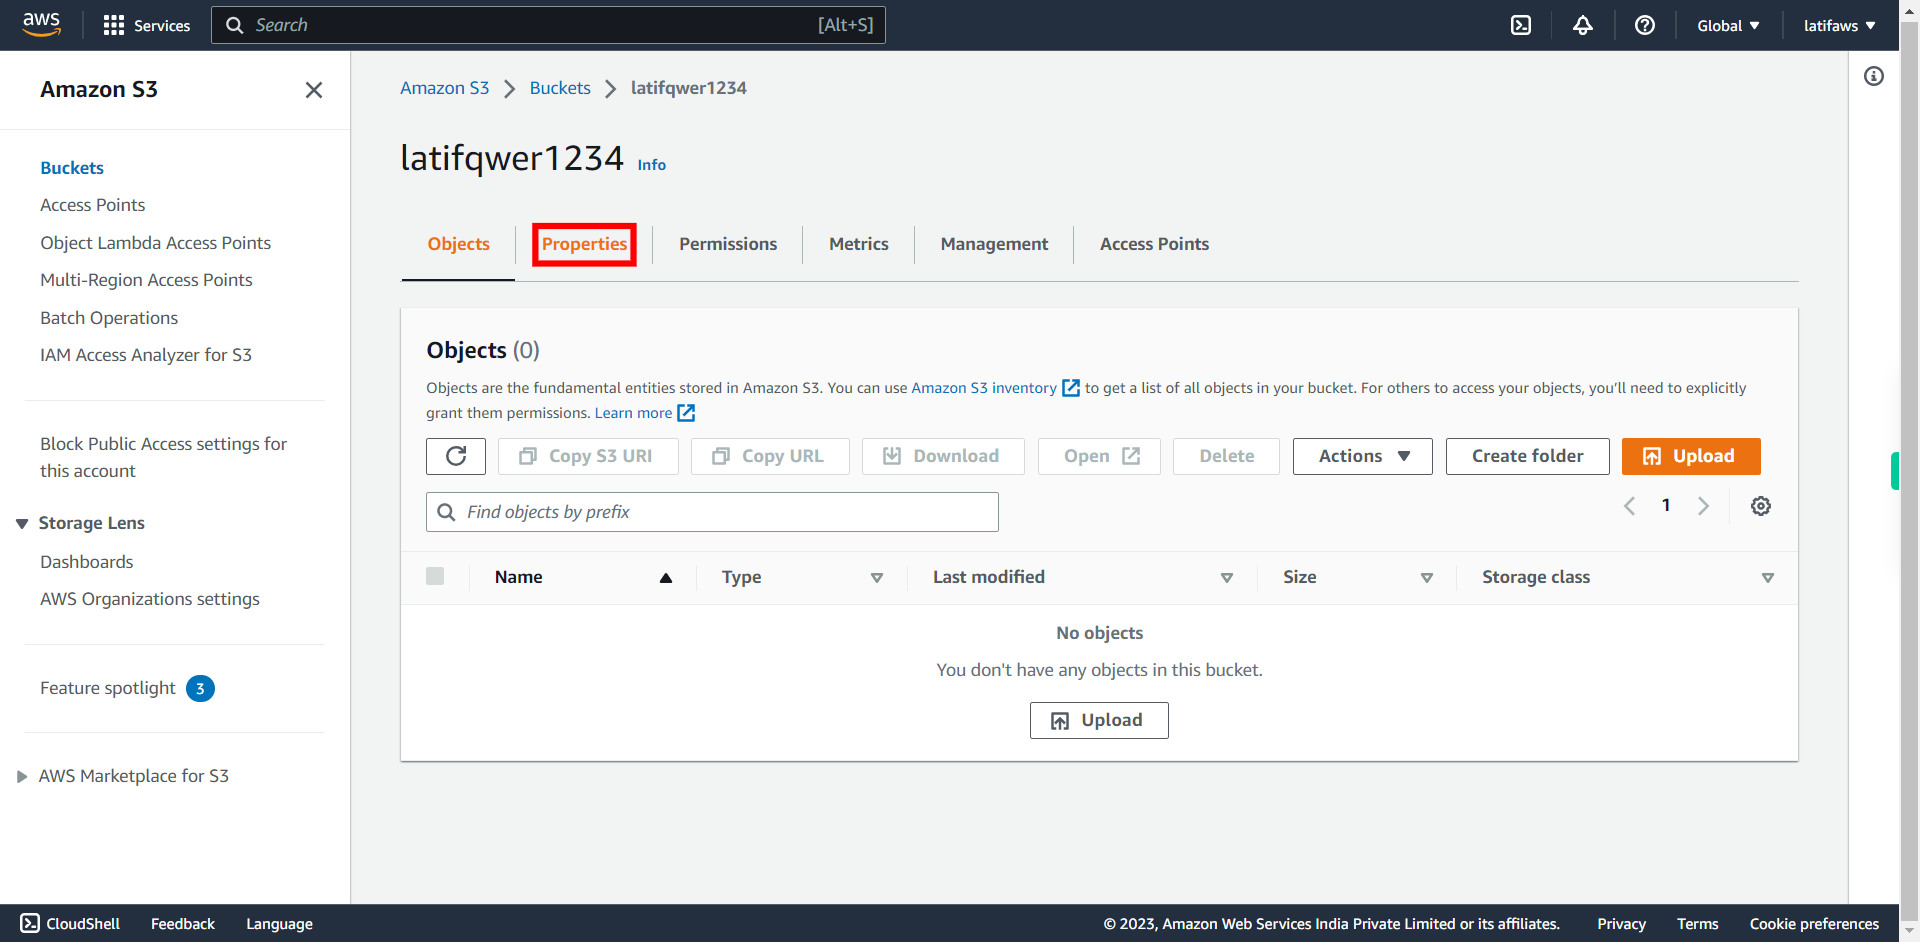
To Enable Versioning on this S3 Bucket, Click "Properties" # Enable Versioning Versioning is a means of keeping multiple variants of an object in the same bucket. You can use versioning to preserve, retrieve, and restore every version of every object stored in your Amazon S3 bucket. With versioning, you can easily recover from both unintended user actions and application failures.
-
7.
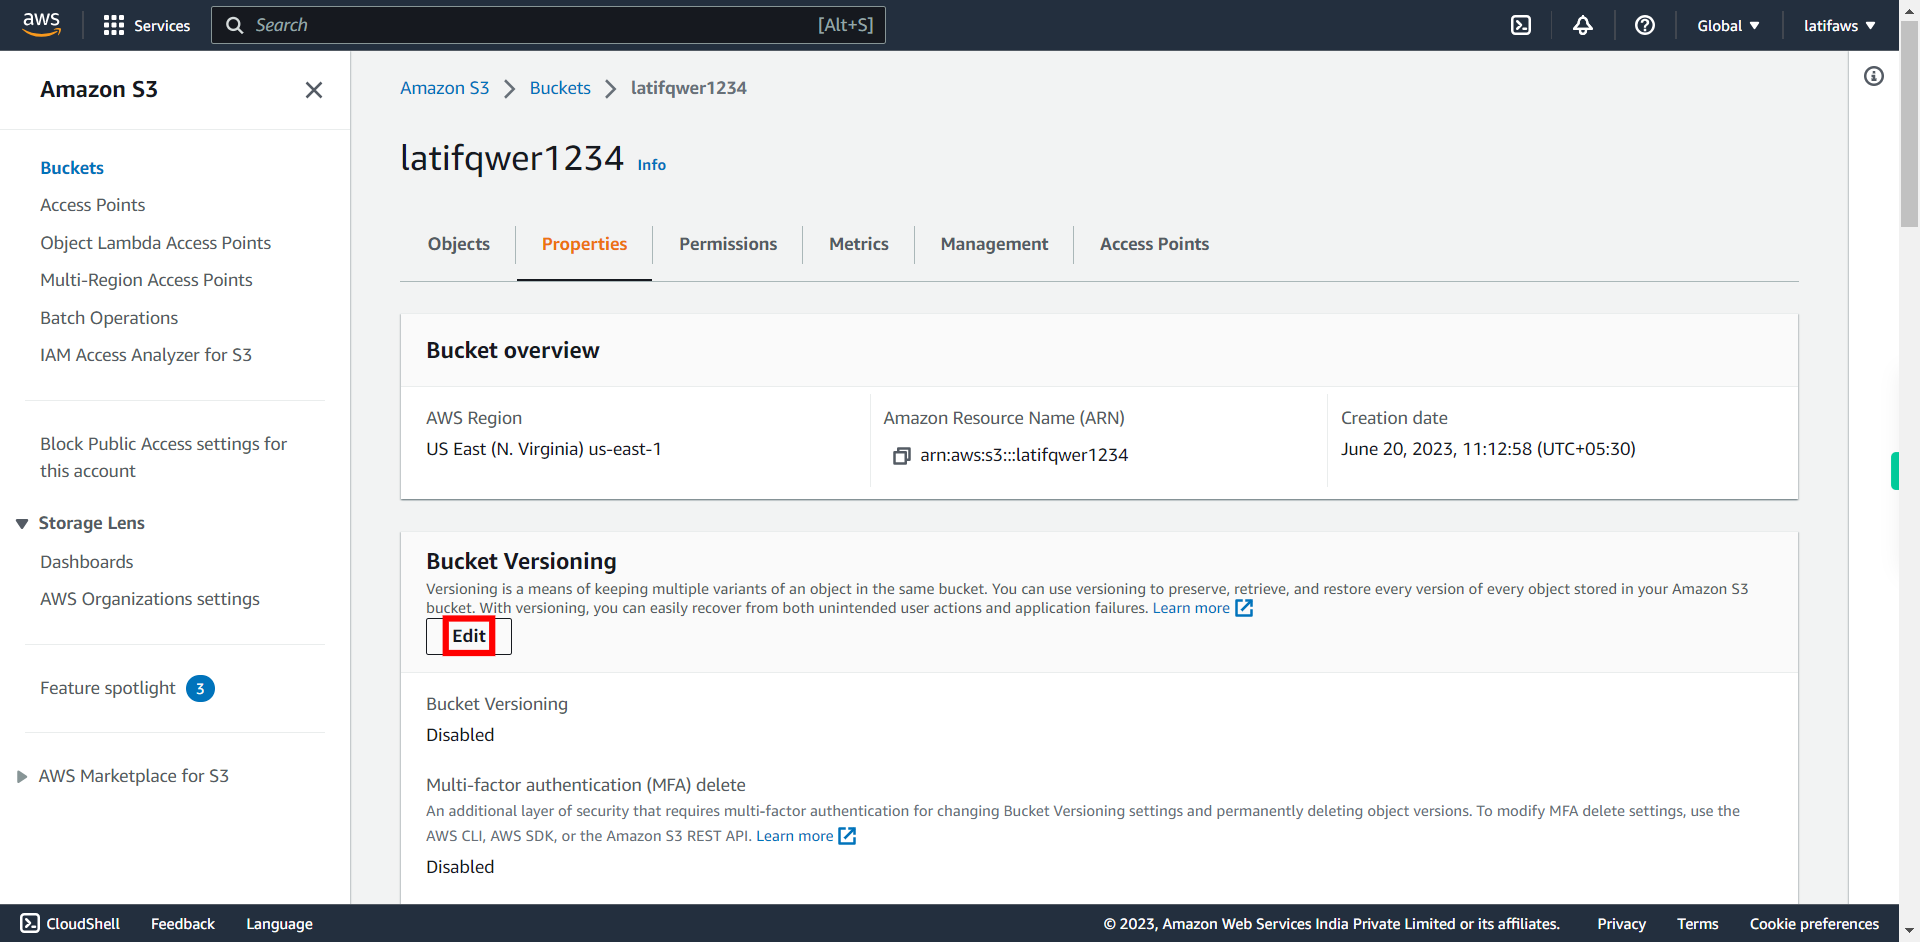
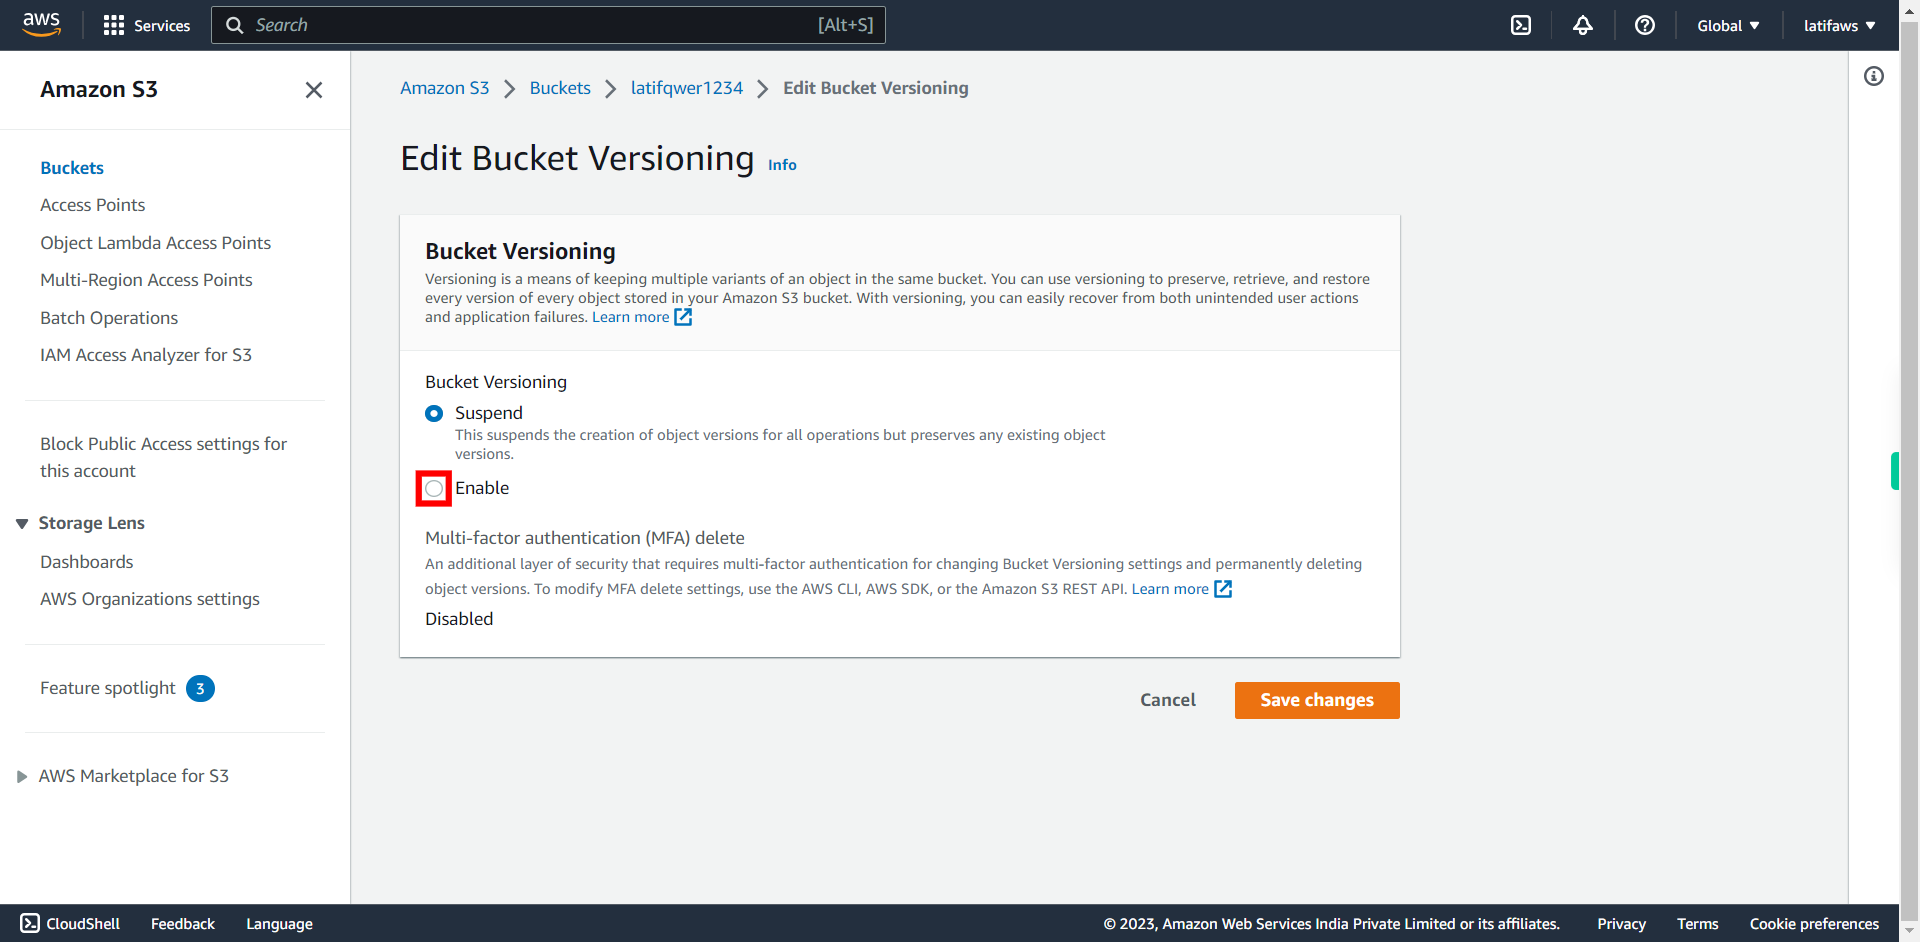
Click Edit
-
8.
Select Enable. Once done, click Next on Supervity Instruction Widget.
-
9.
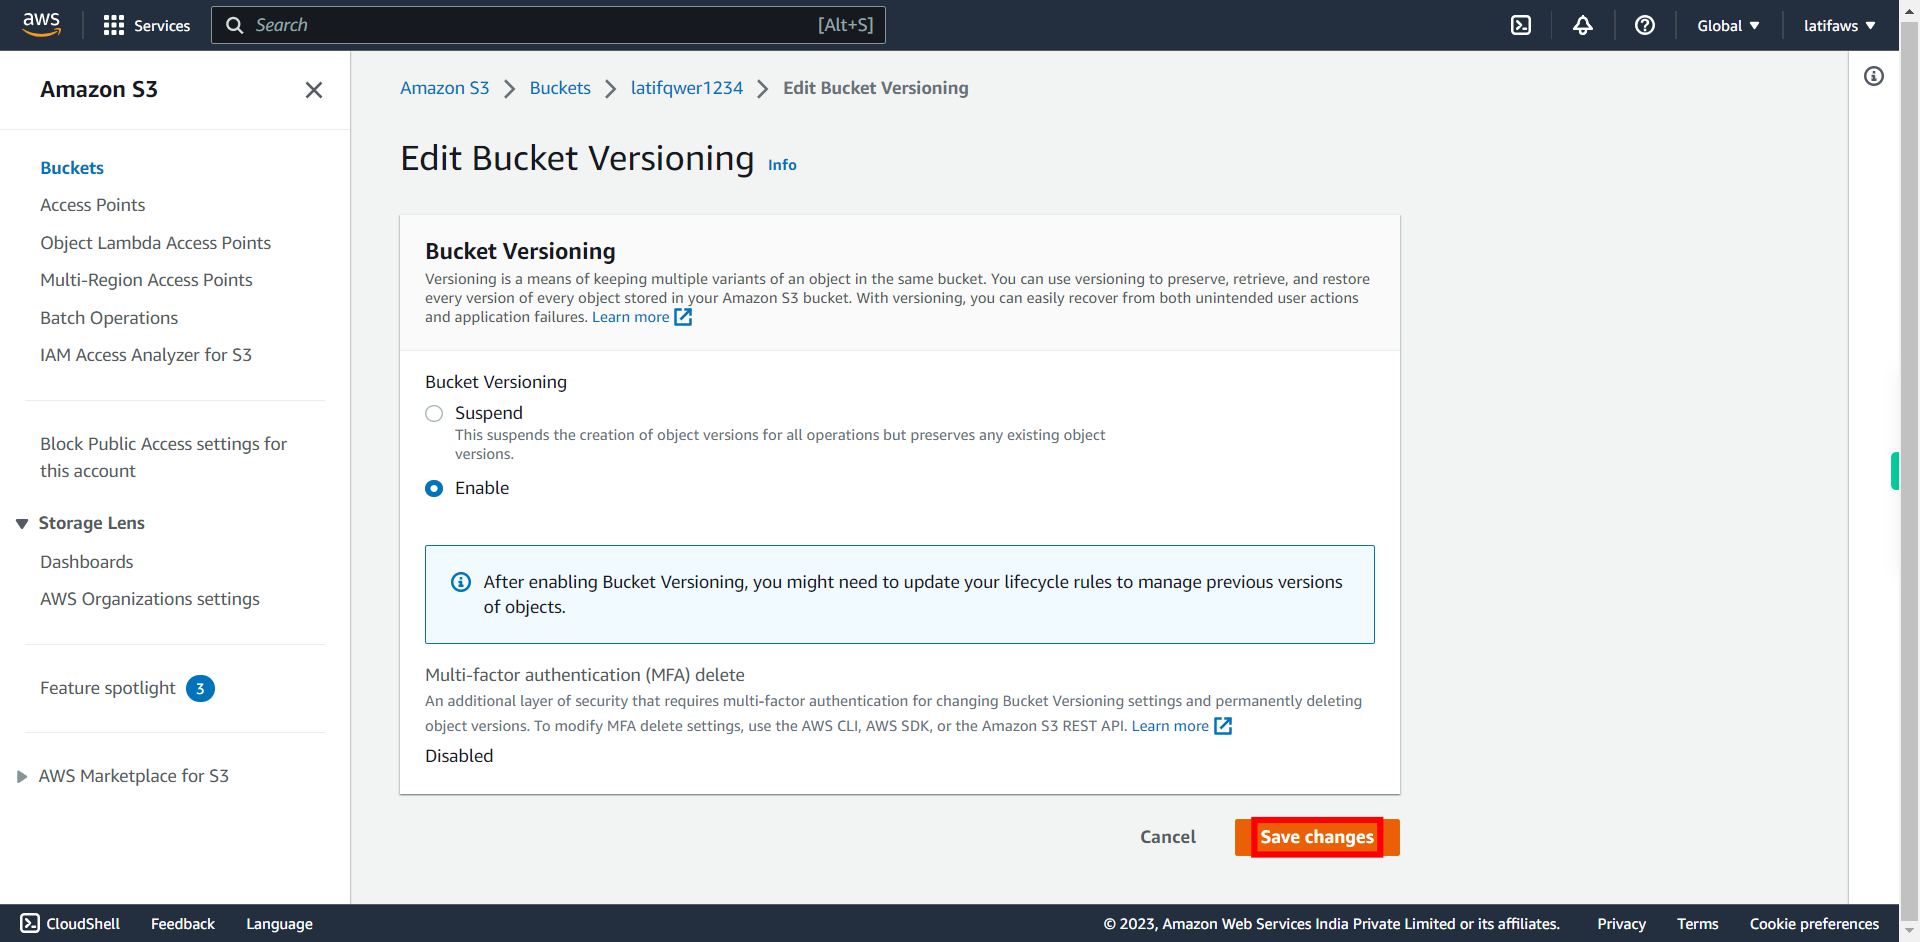
Your bucket now has versioning enabled. (Note that versioning can be suspended, but not turned off.) Click "Save changes"
-
10.
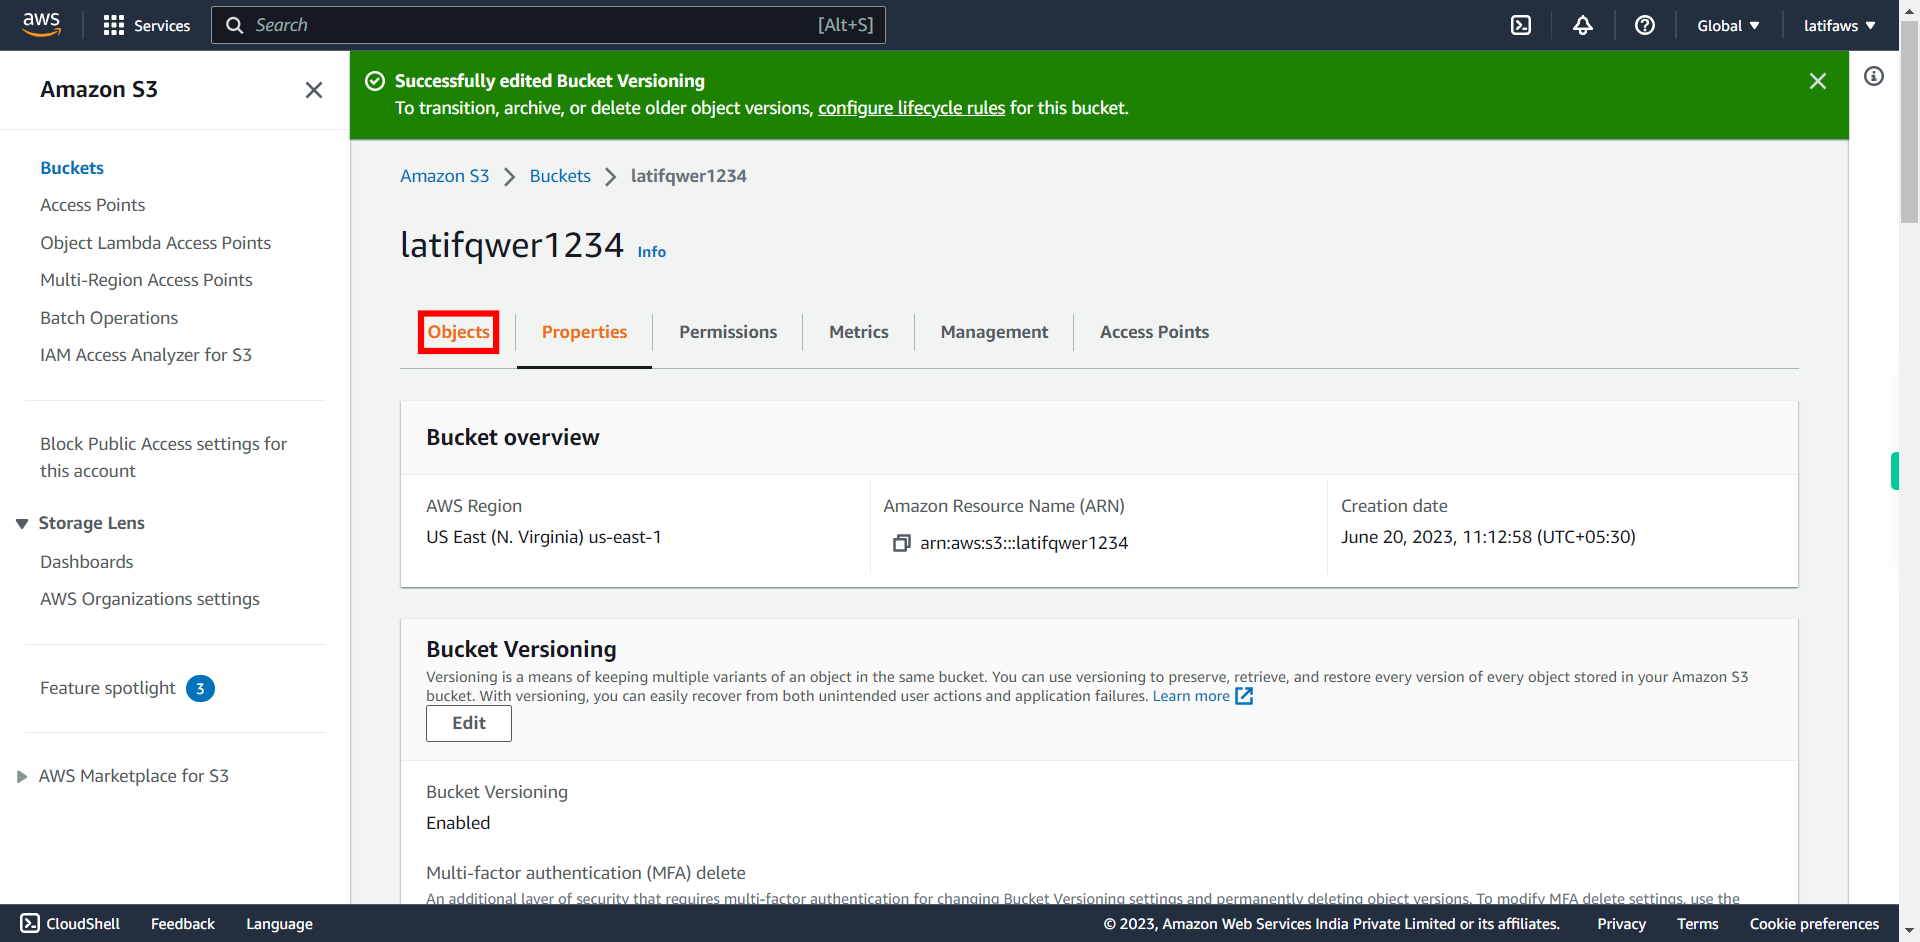
Click Objects.
-
11.
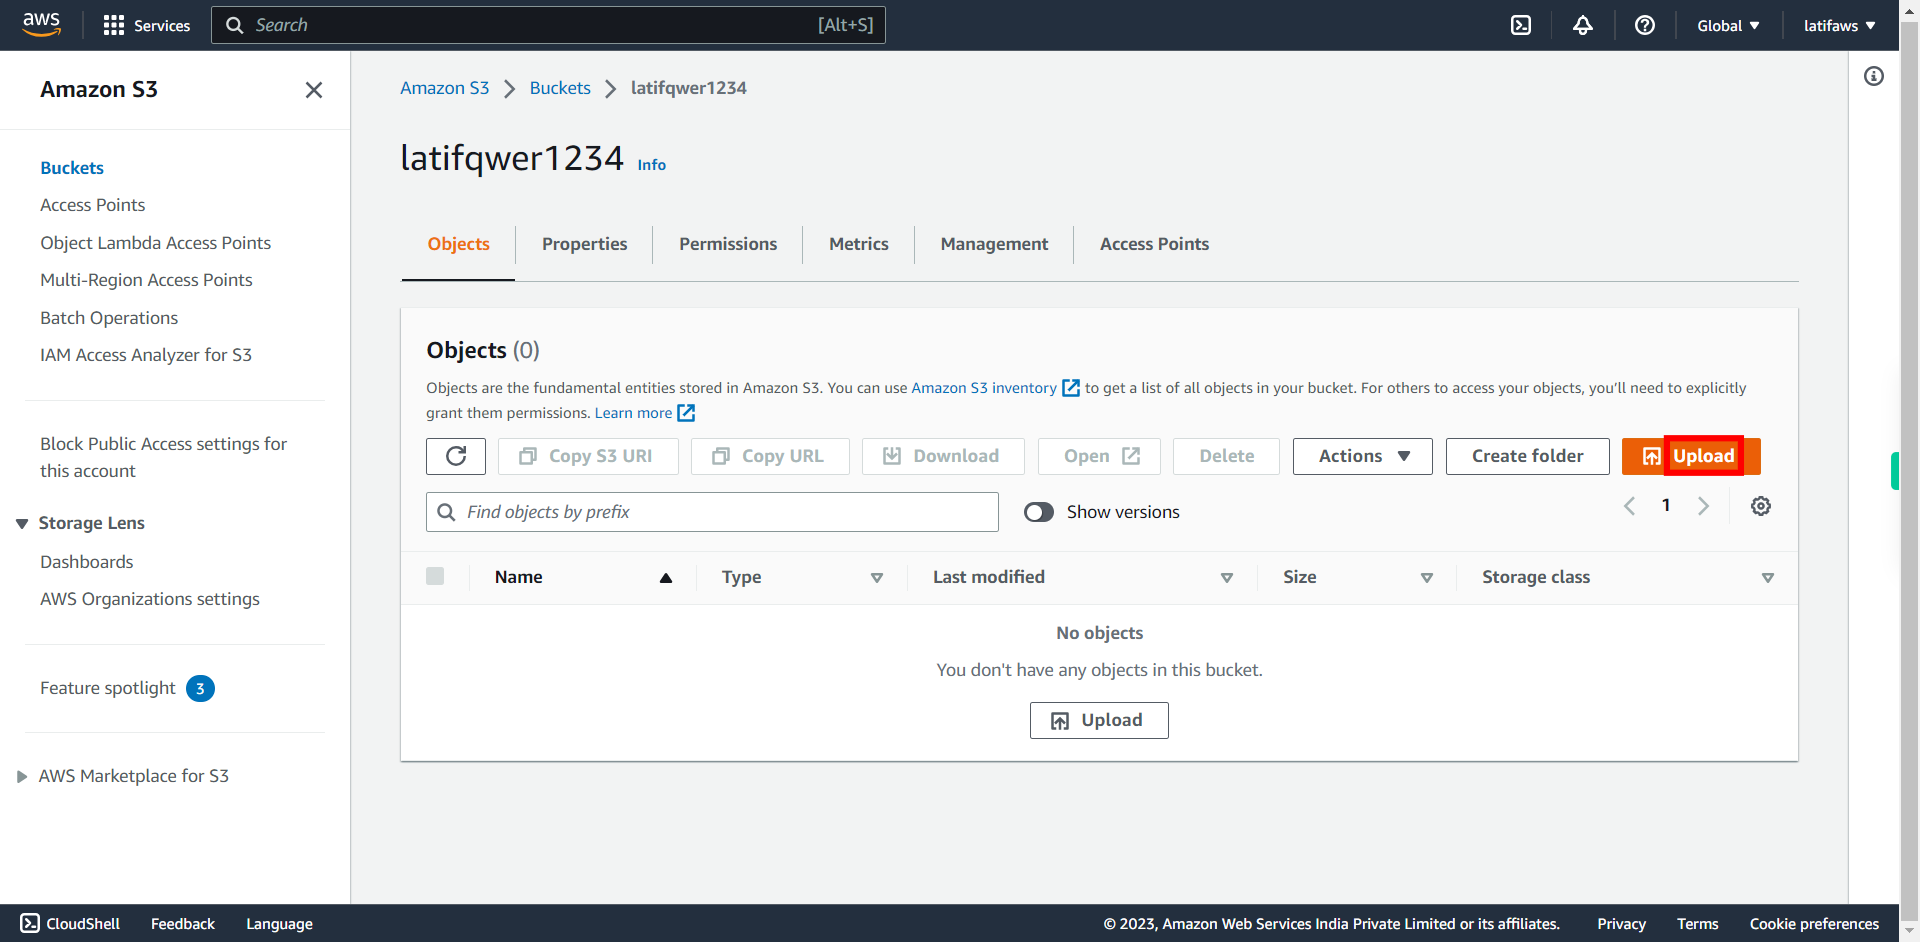
Click Upload # Note: Create a text file named foo.txt on your computer and write the word **blue** in the text file.
-
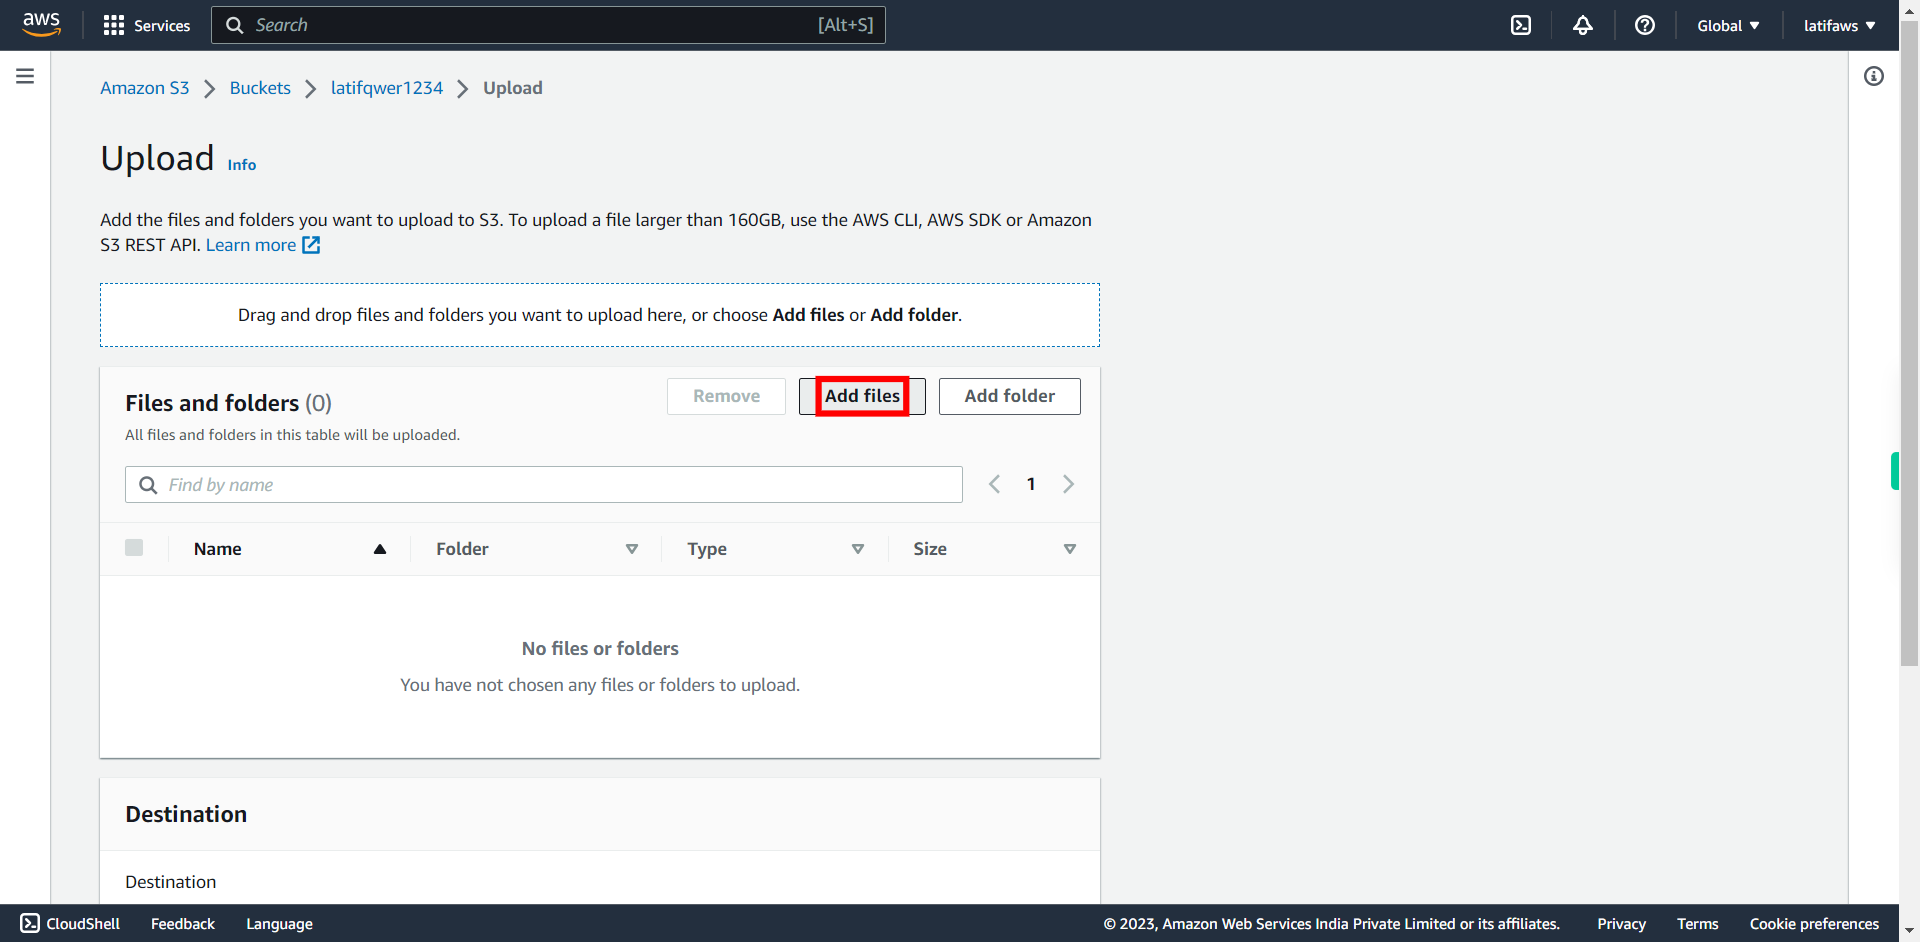
12.
Click Add files button. Select your file (Eg., foo.txt) and click Open. Once done, click Next on Supervity Instruction Widget.
-
13.
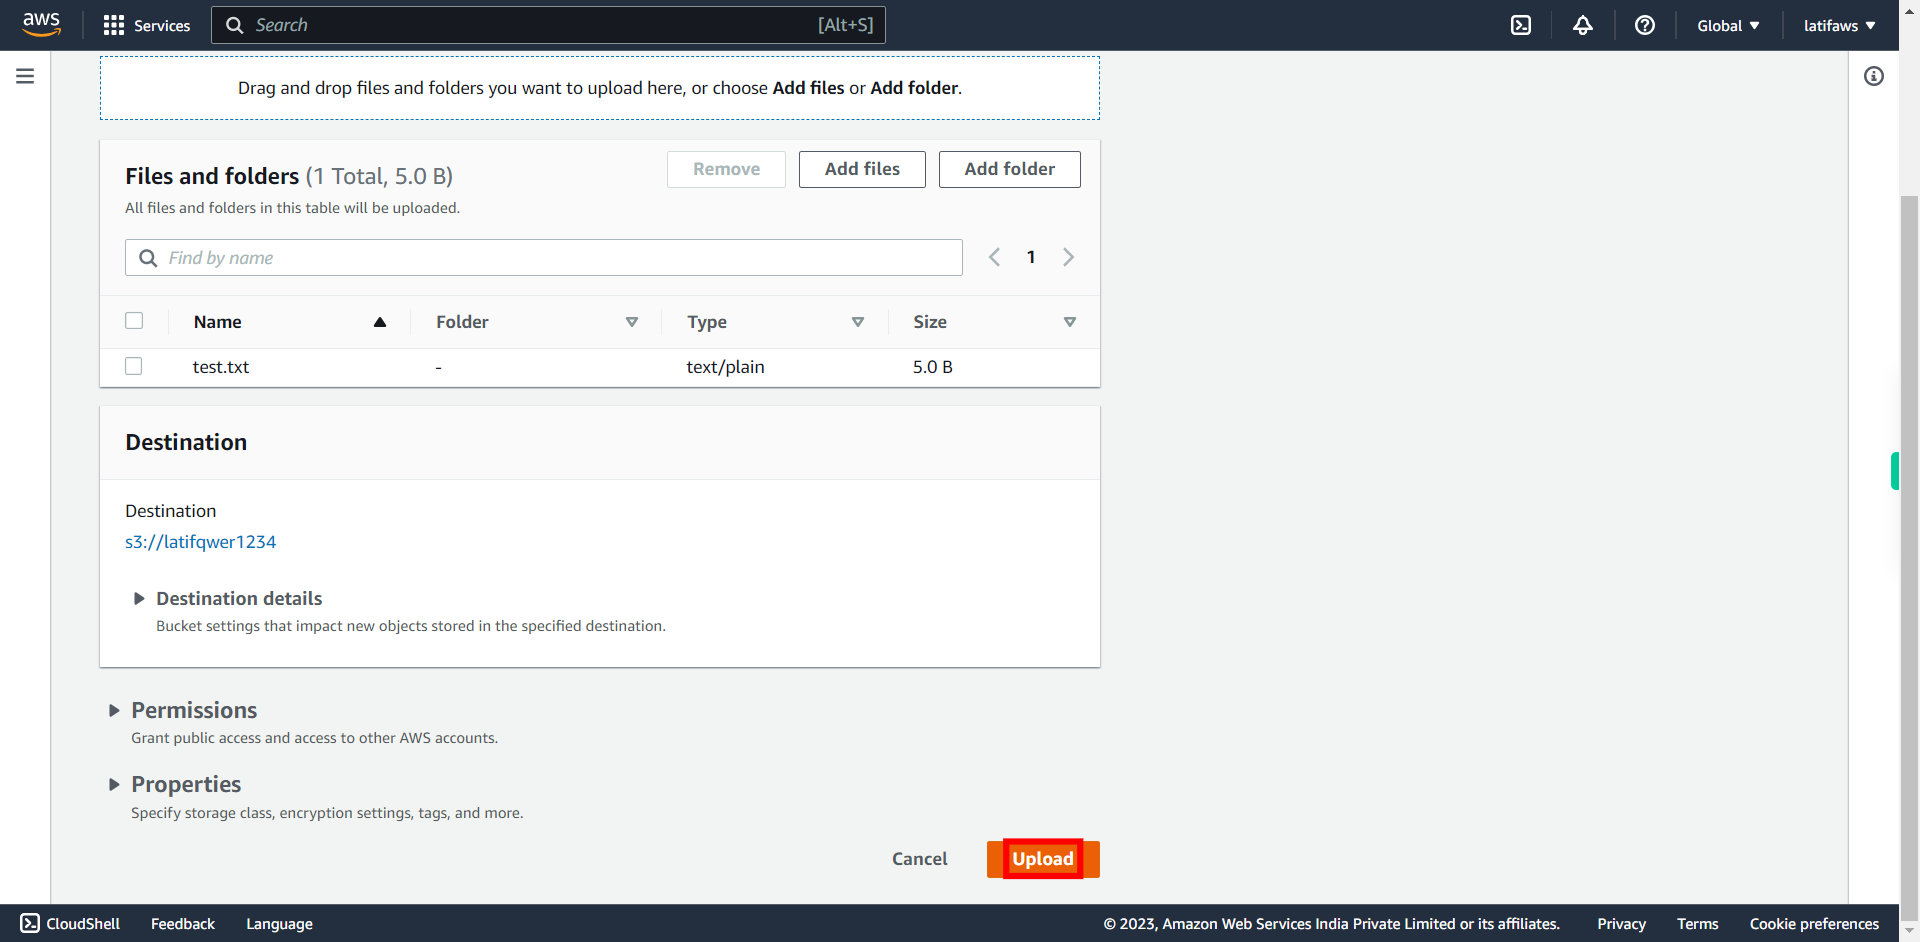
To Upload the text file to your bucket. Click "Upload"
-
14.
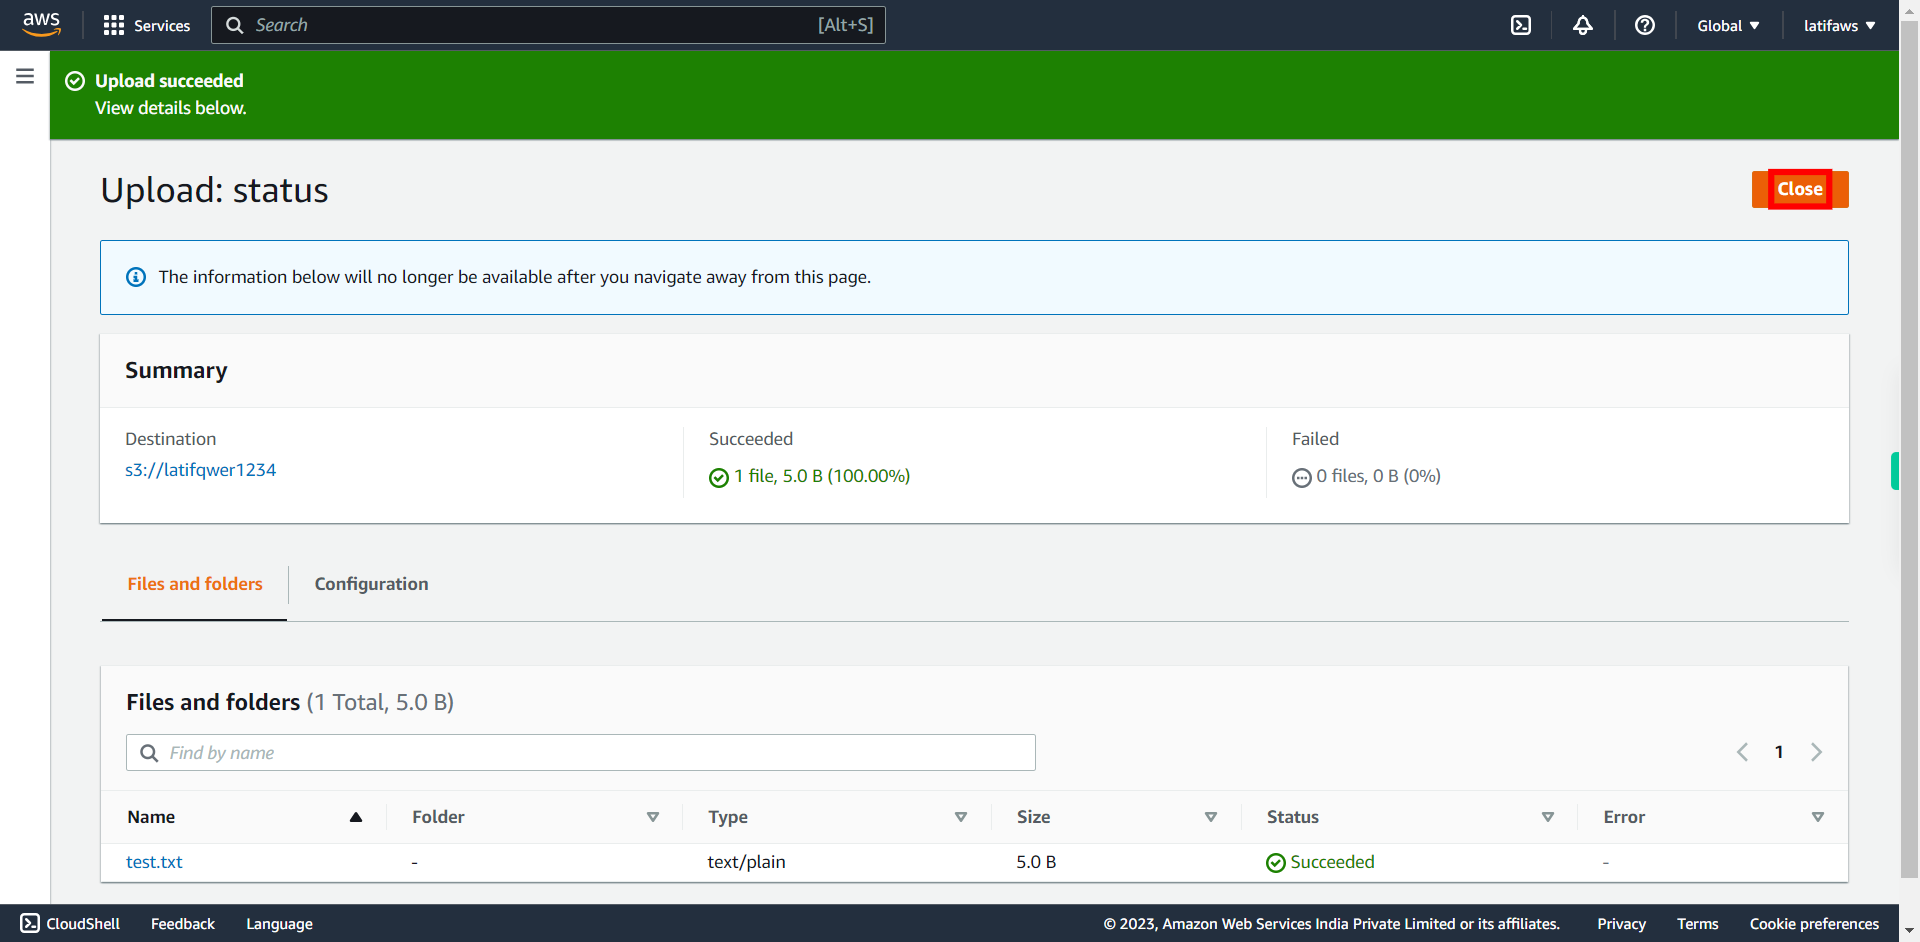
Wait till it shows Upload succeeded, then. Click Close.
-
15.
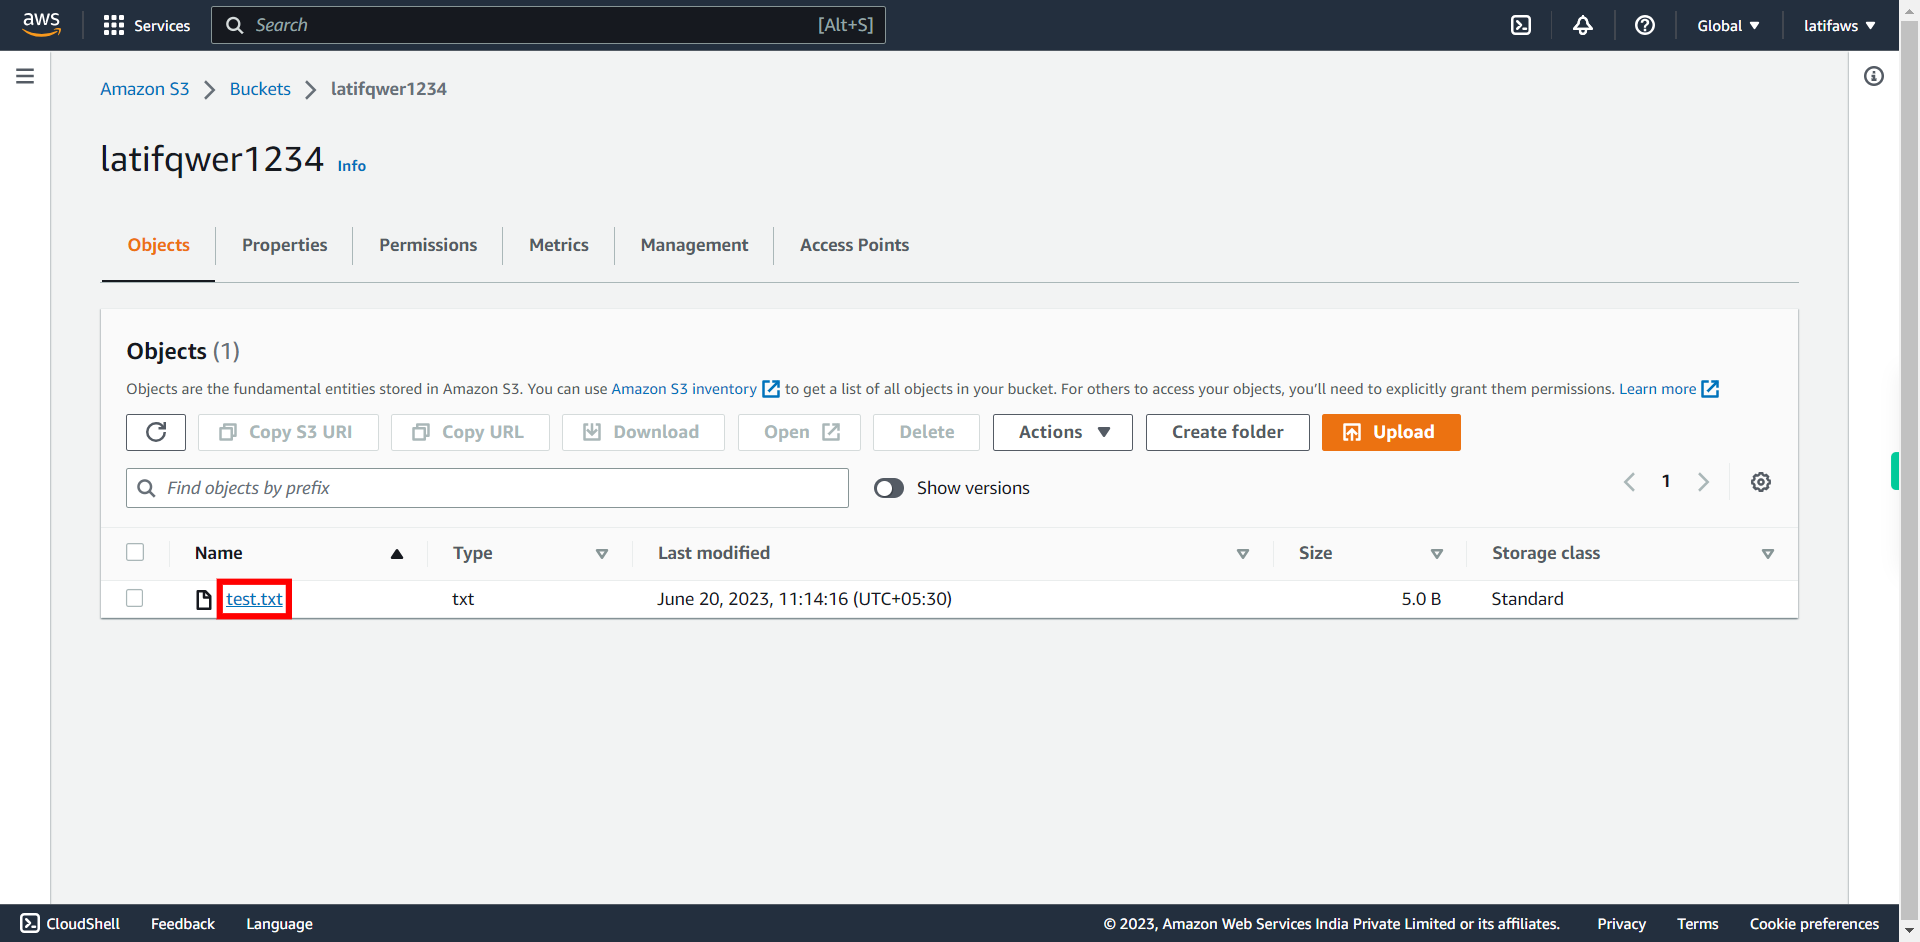
Open your file (foo.txt)
-
16.
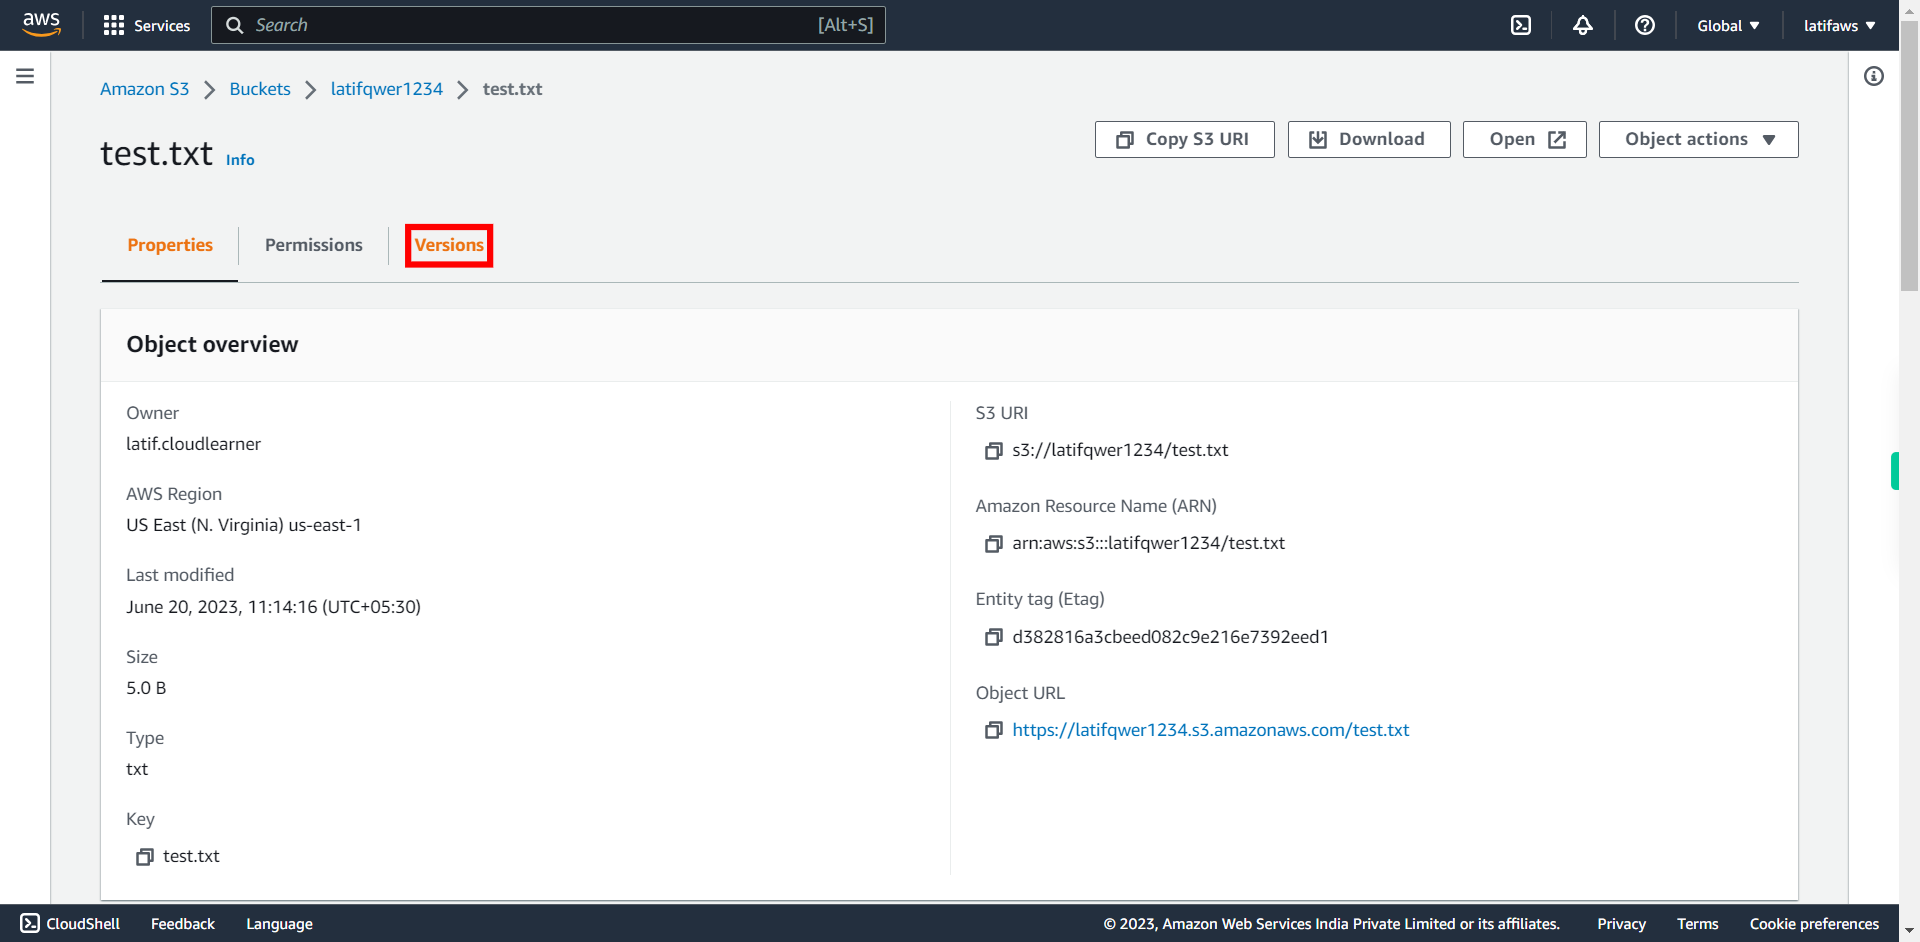
To check Version details. Click "Versions".
-
17.
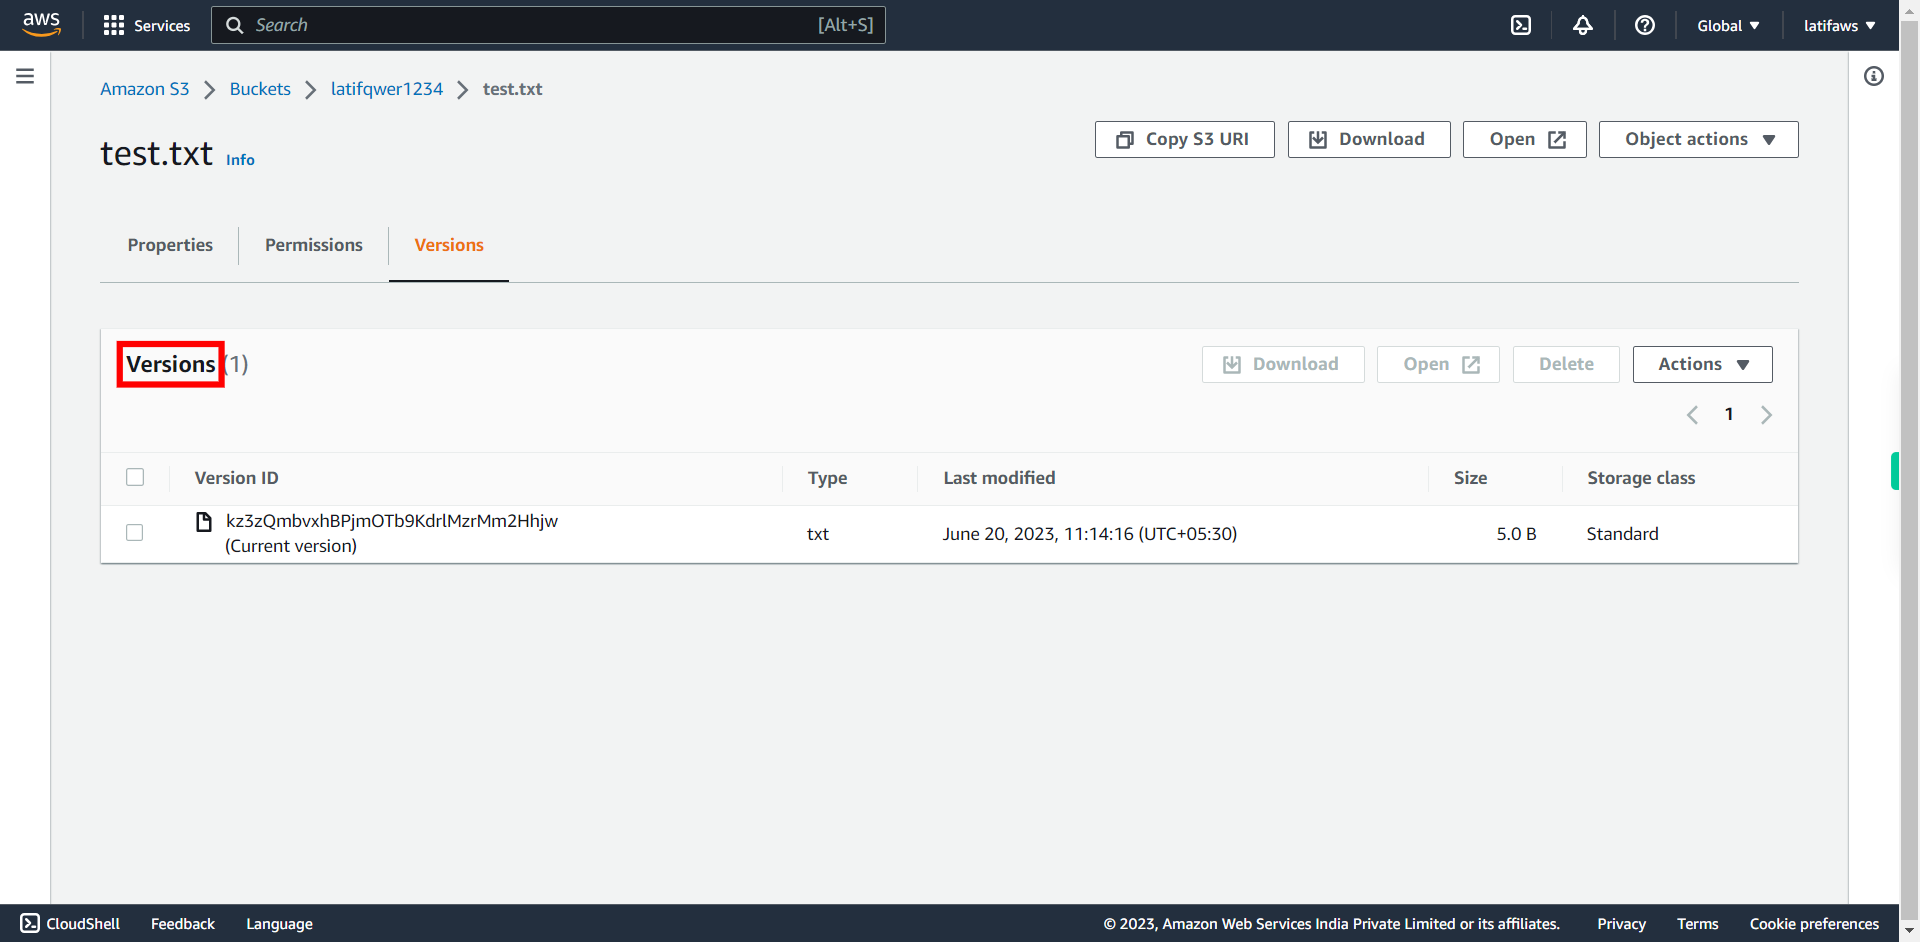
Under Versions tab verify "Versions(1)" is shown. It means there is only 1 version of file. Once done, click Next on Supervity Instruction Widget.
-
18.
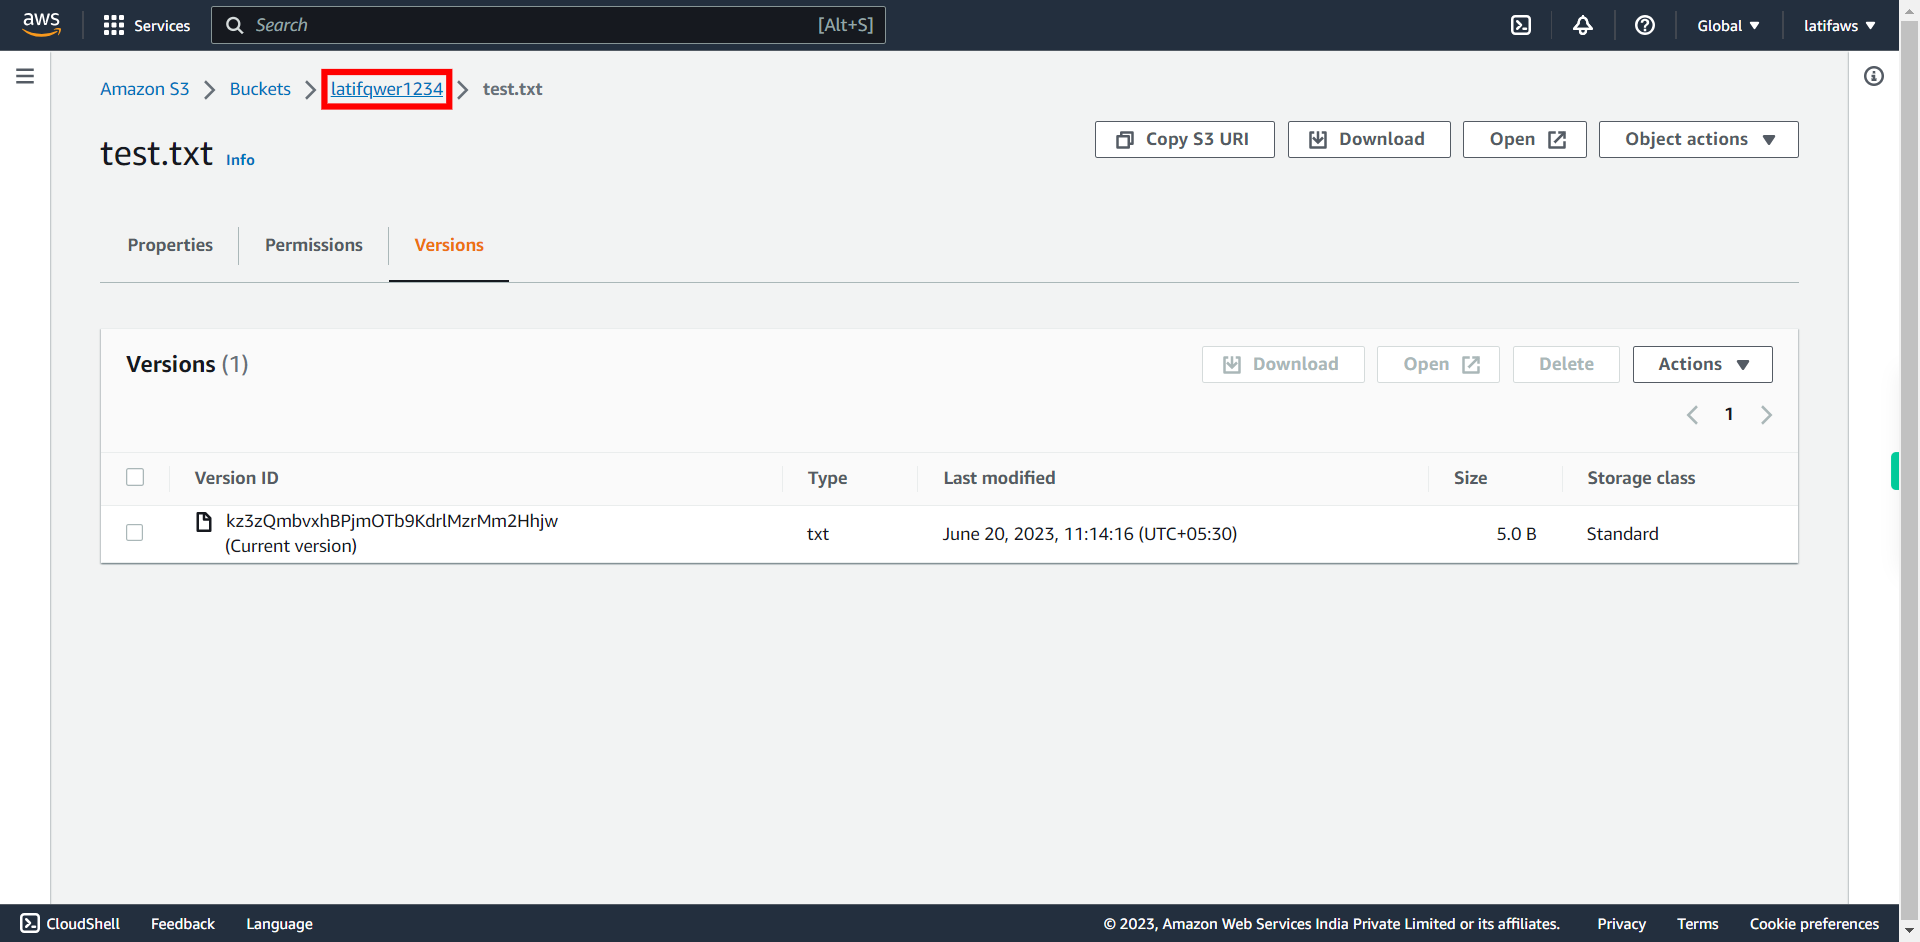
Click on your Bucket name to go back to the bucket.
-
19.
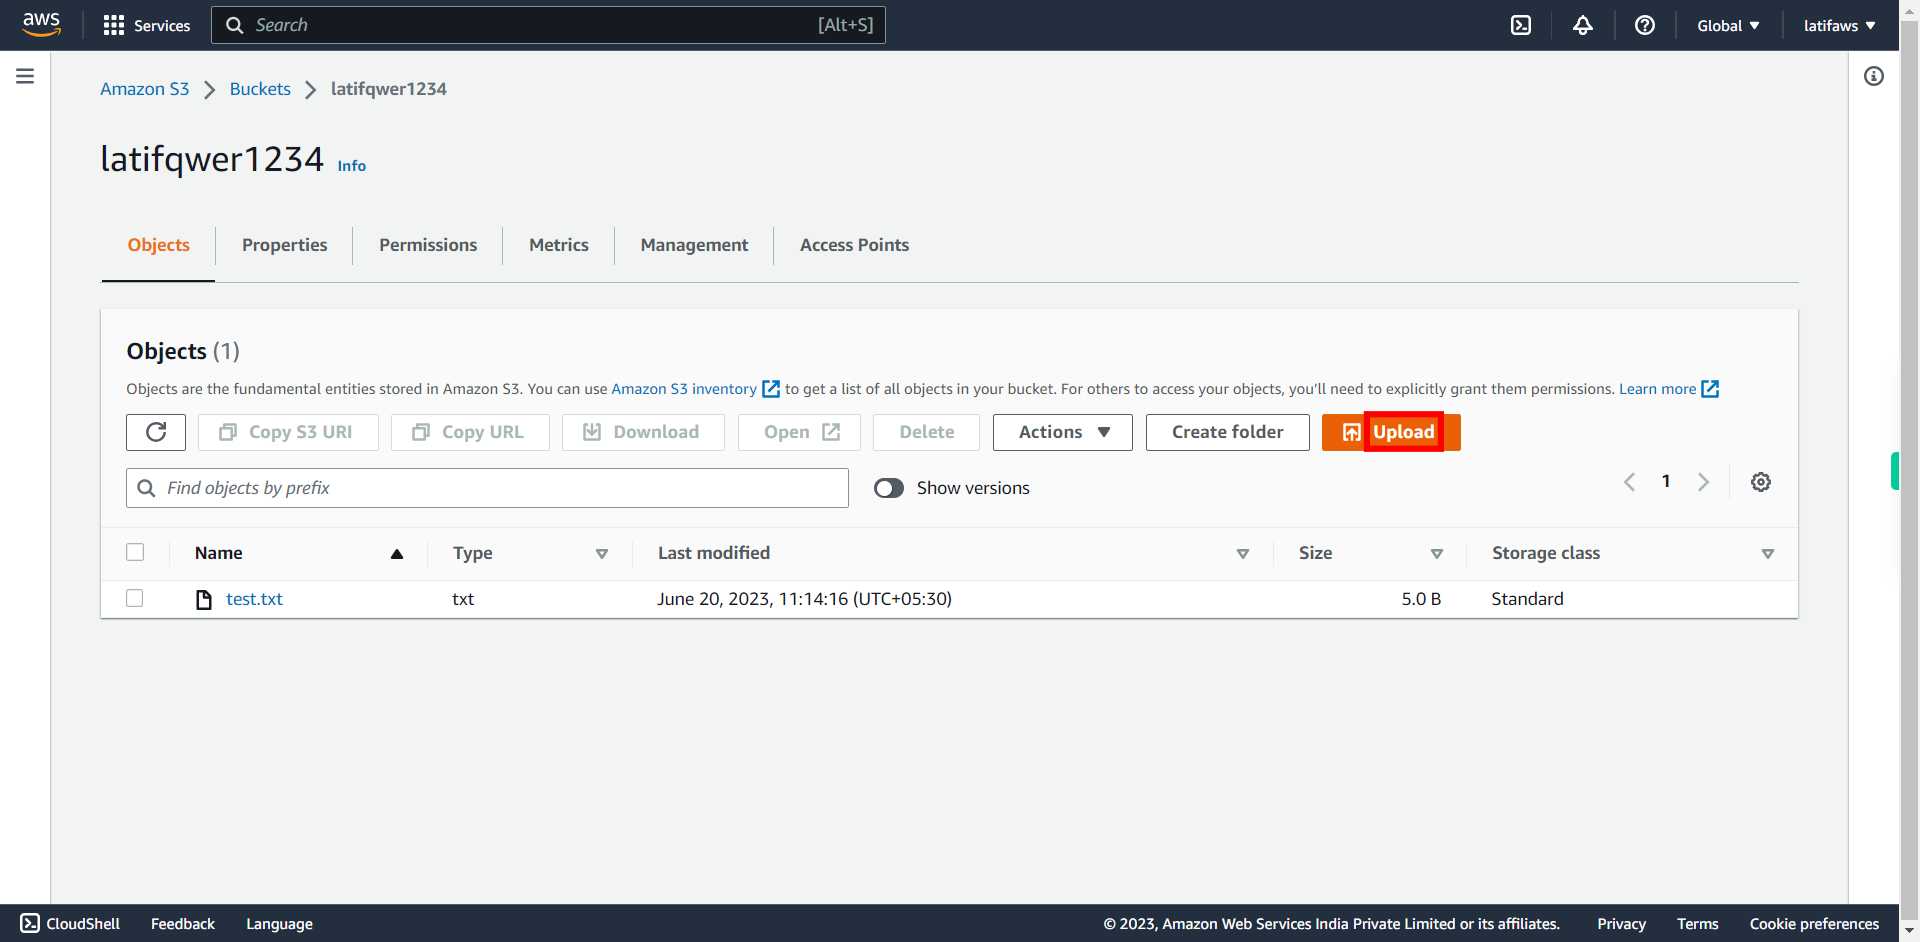
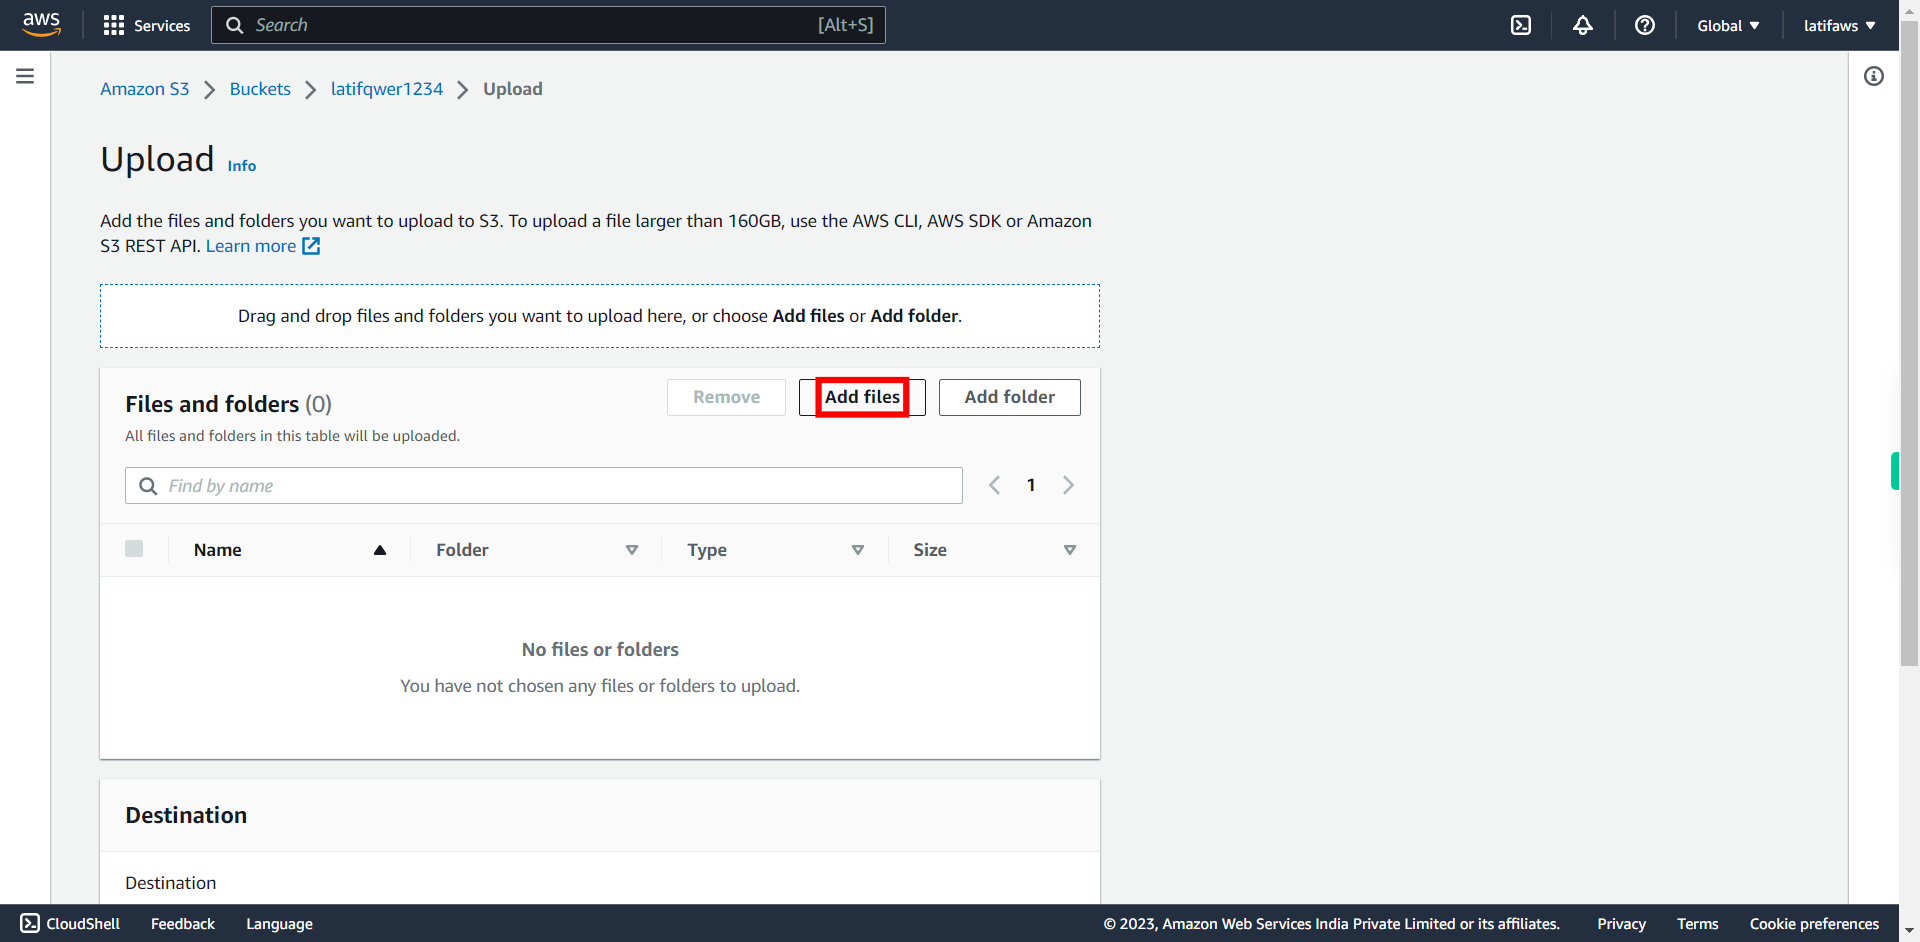
Open the file (foo.txt) on your local computer and change the word **blue to red**. Save the text file with the original filename and extension. To upload the file (foo.txt) again, click Upload.
-
20.
Click Add files. Select the file (foo.txt) and click Open to upload. Once done, click Next on Supervity Instruction Widget.
-
21.
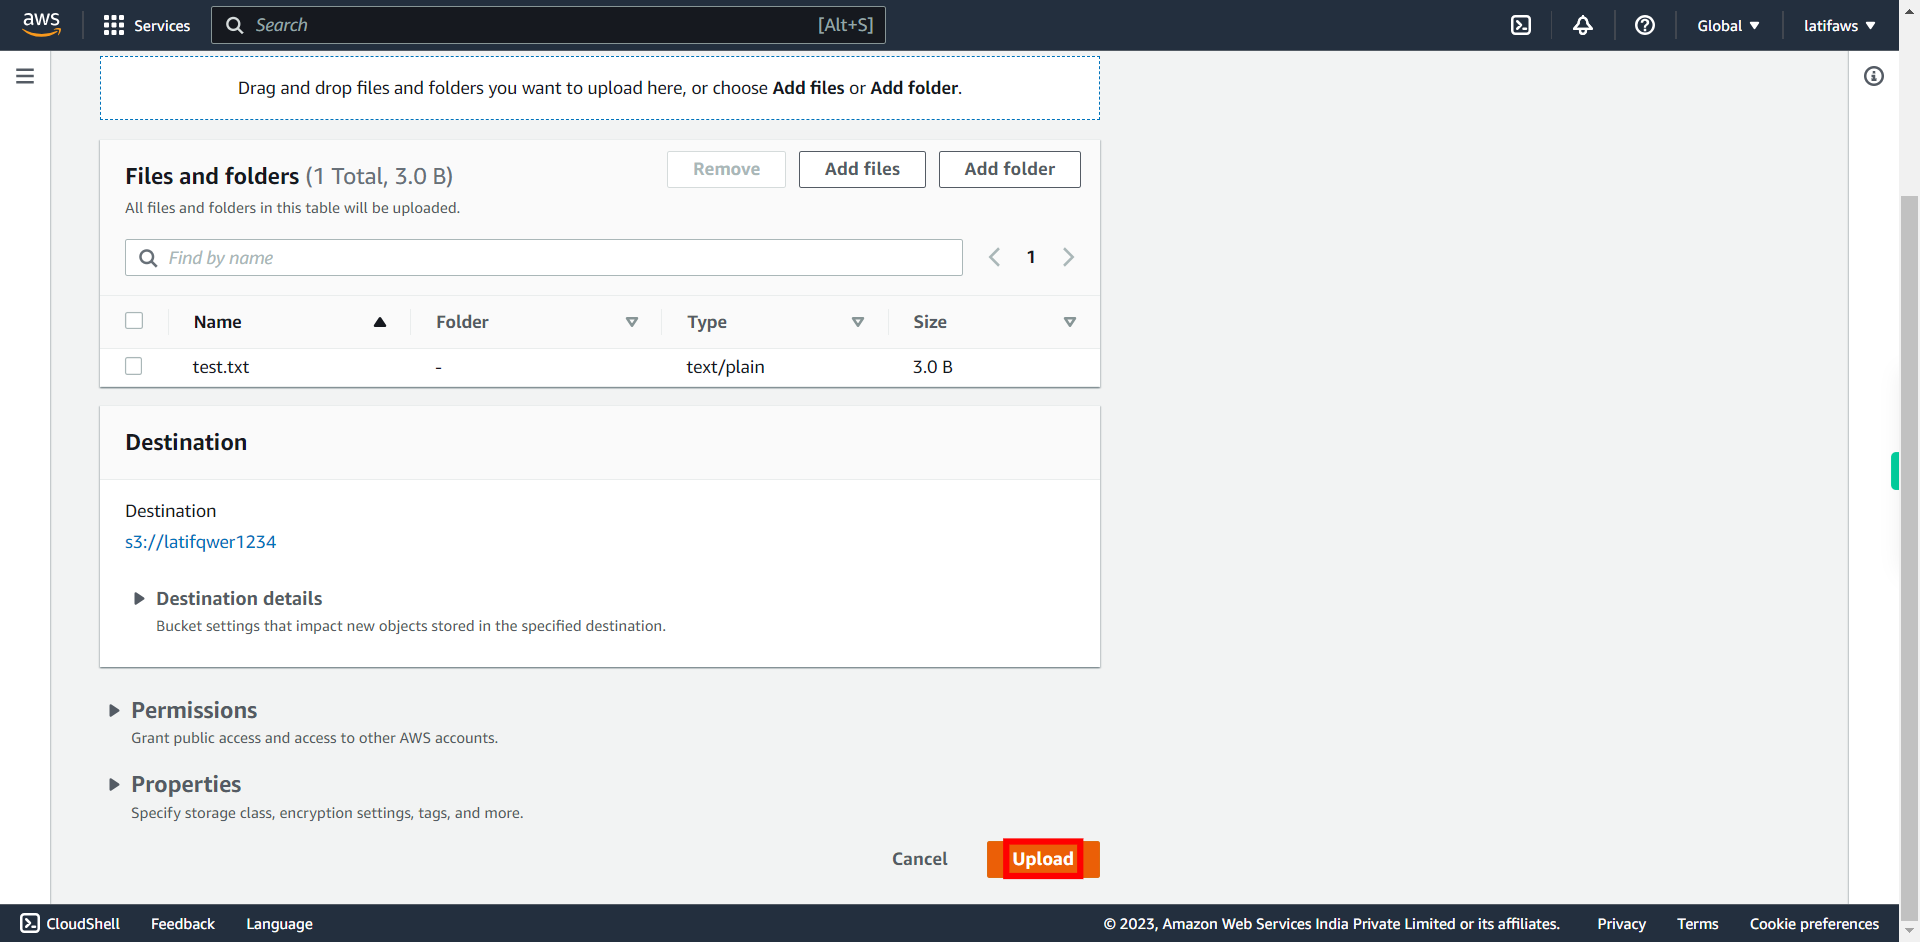
Click Upload
-
22.
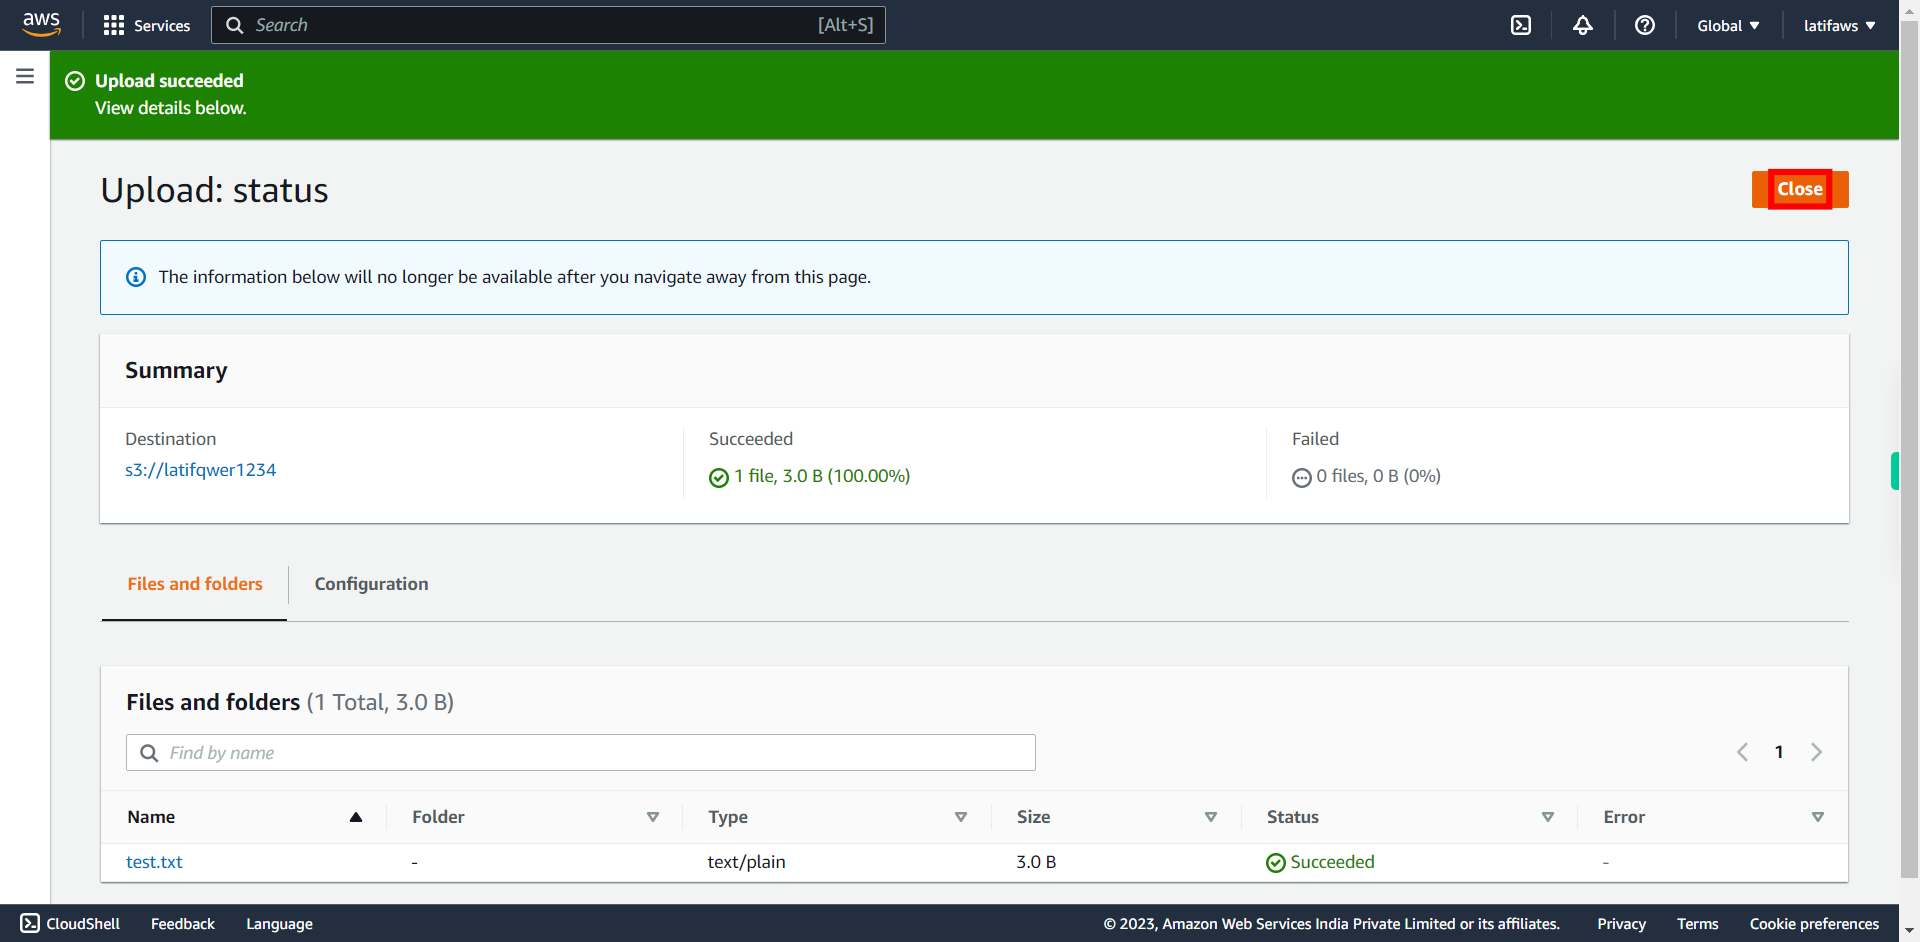
Wait till it shows 'Upload succeeded'. Click "Close".
-
23.
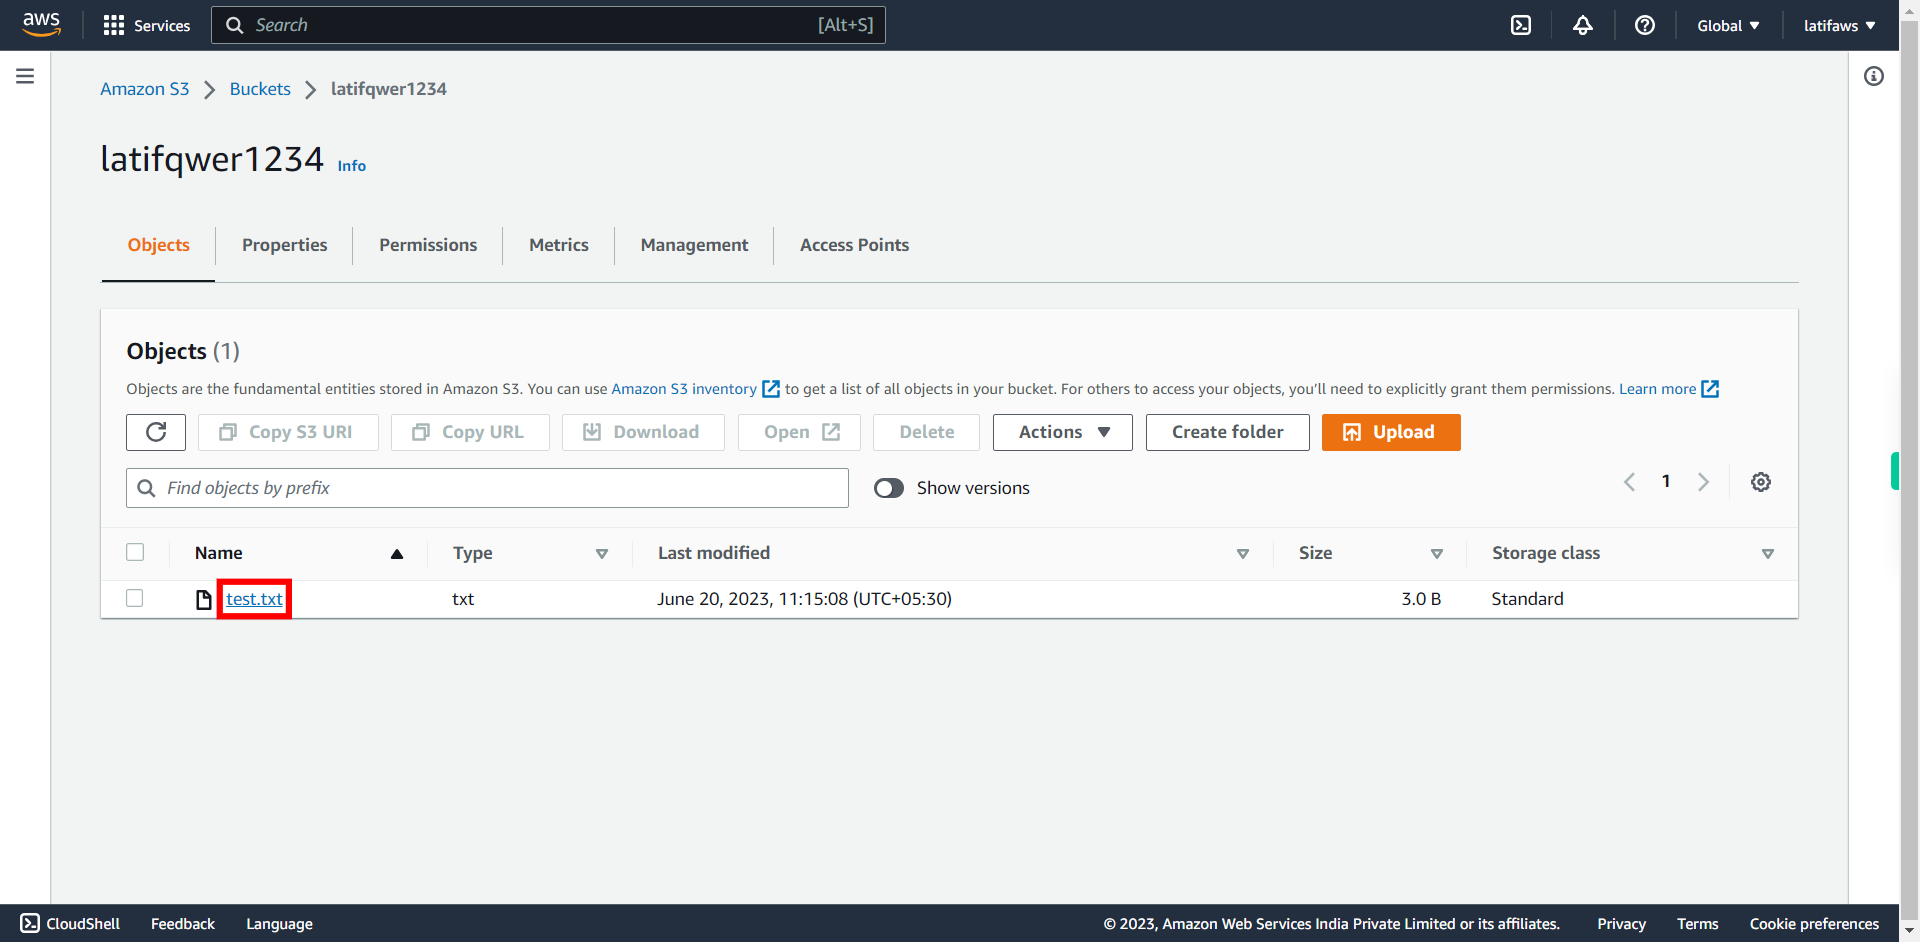
Click Next on Supervity Instruction Widget and then click on the file (foo.txt).
-
24.
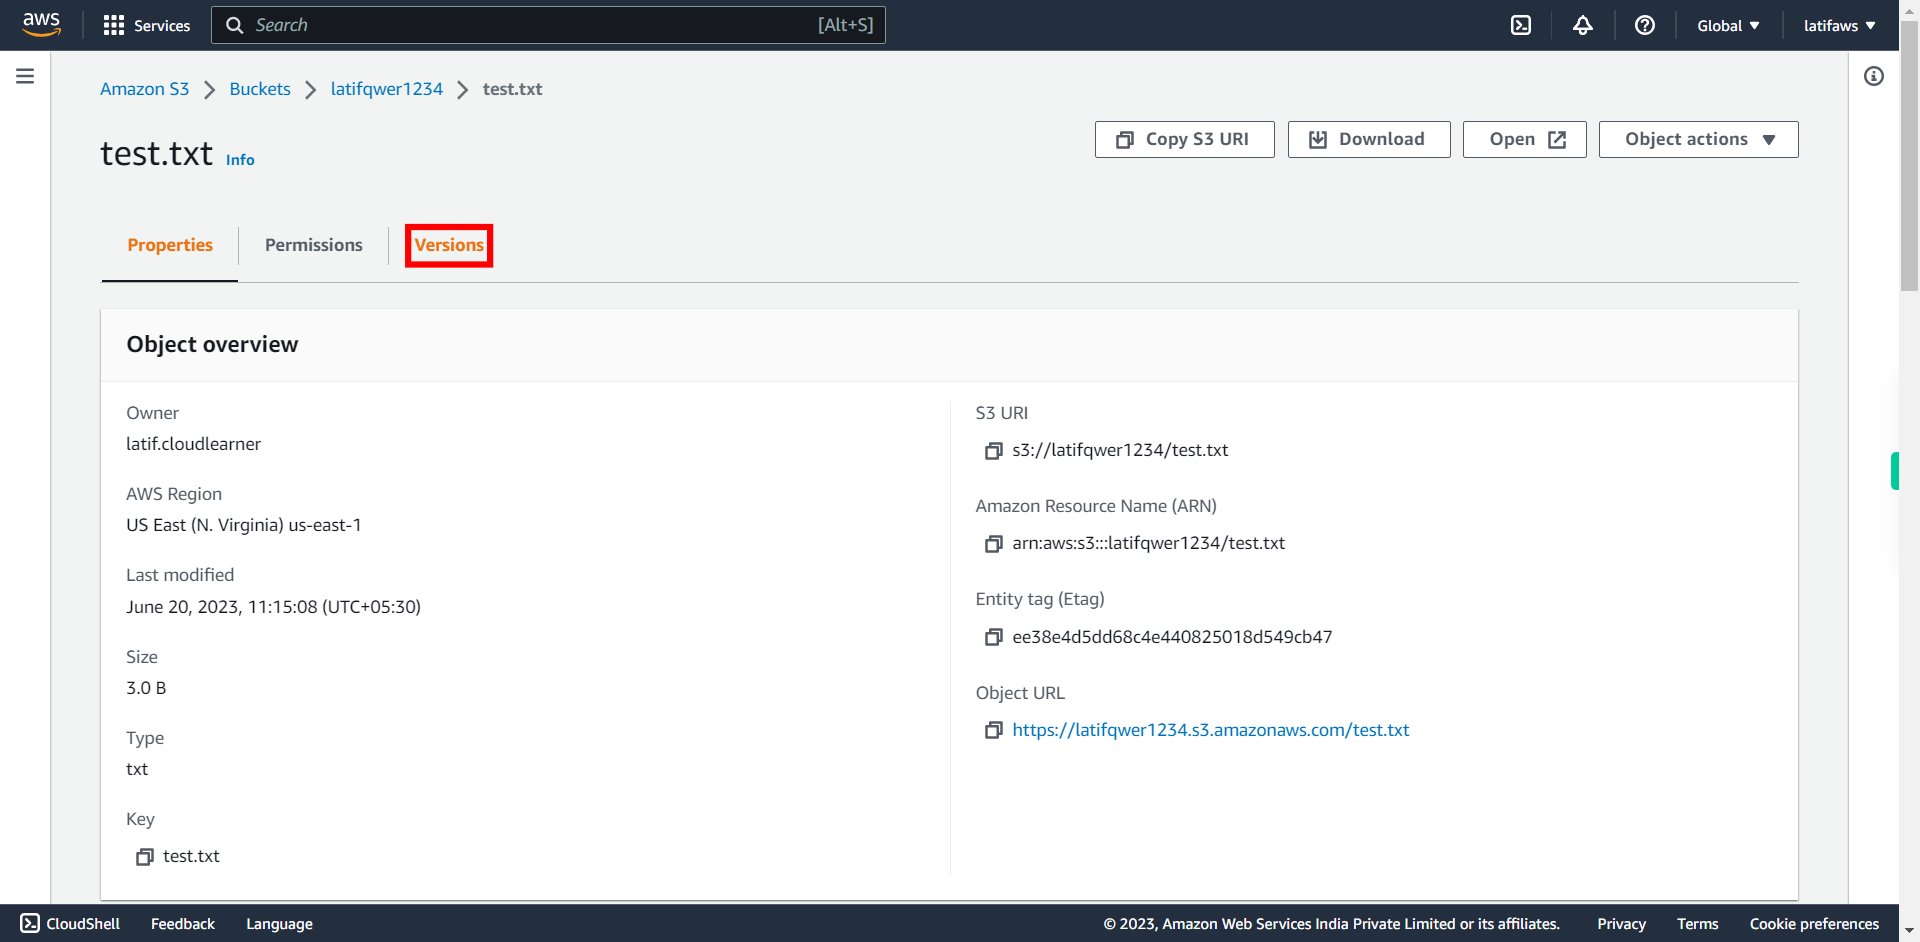
Click Versions
-
25.
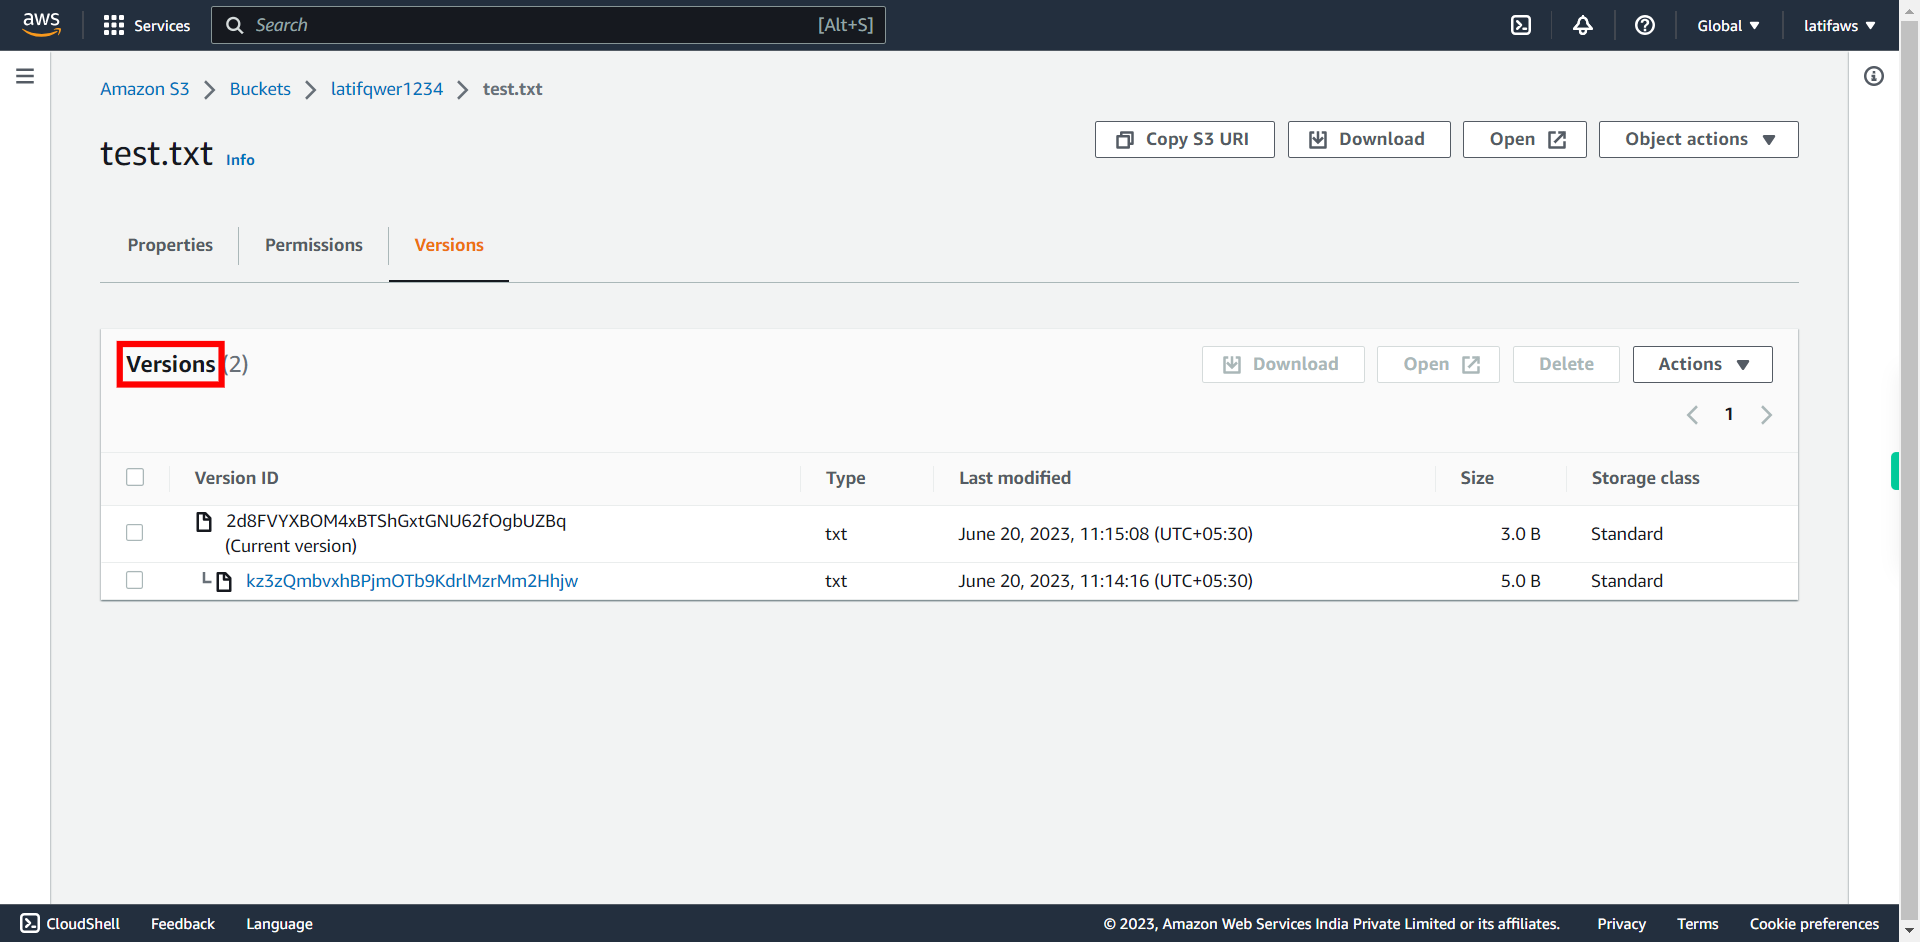
Check "Versions". Now it shows 'Versions(2)' , It means there are 2 versions of the file. Once done, click Next on Supervity Instruction Widget.
-
26.
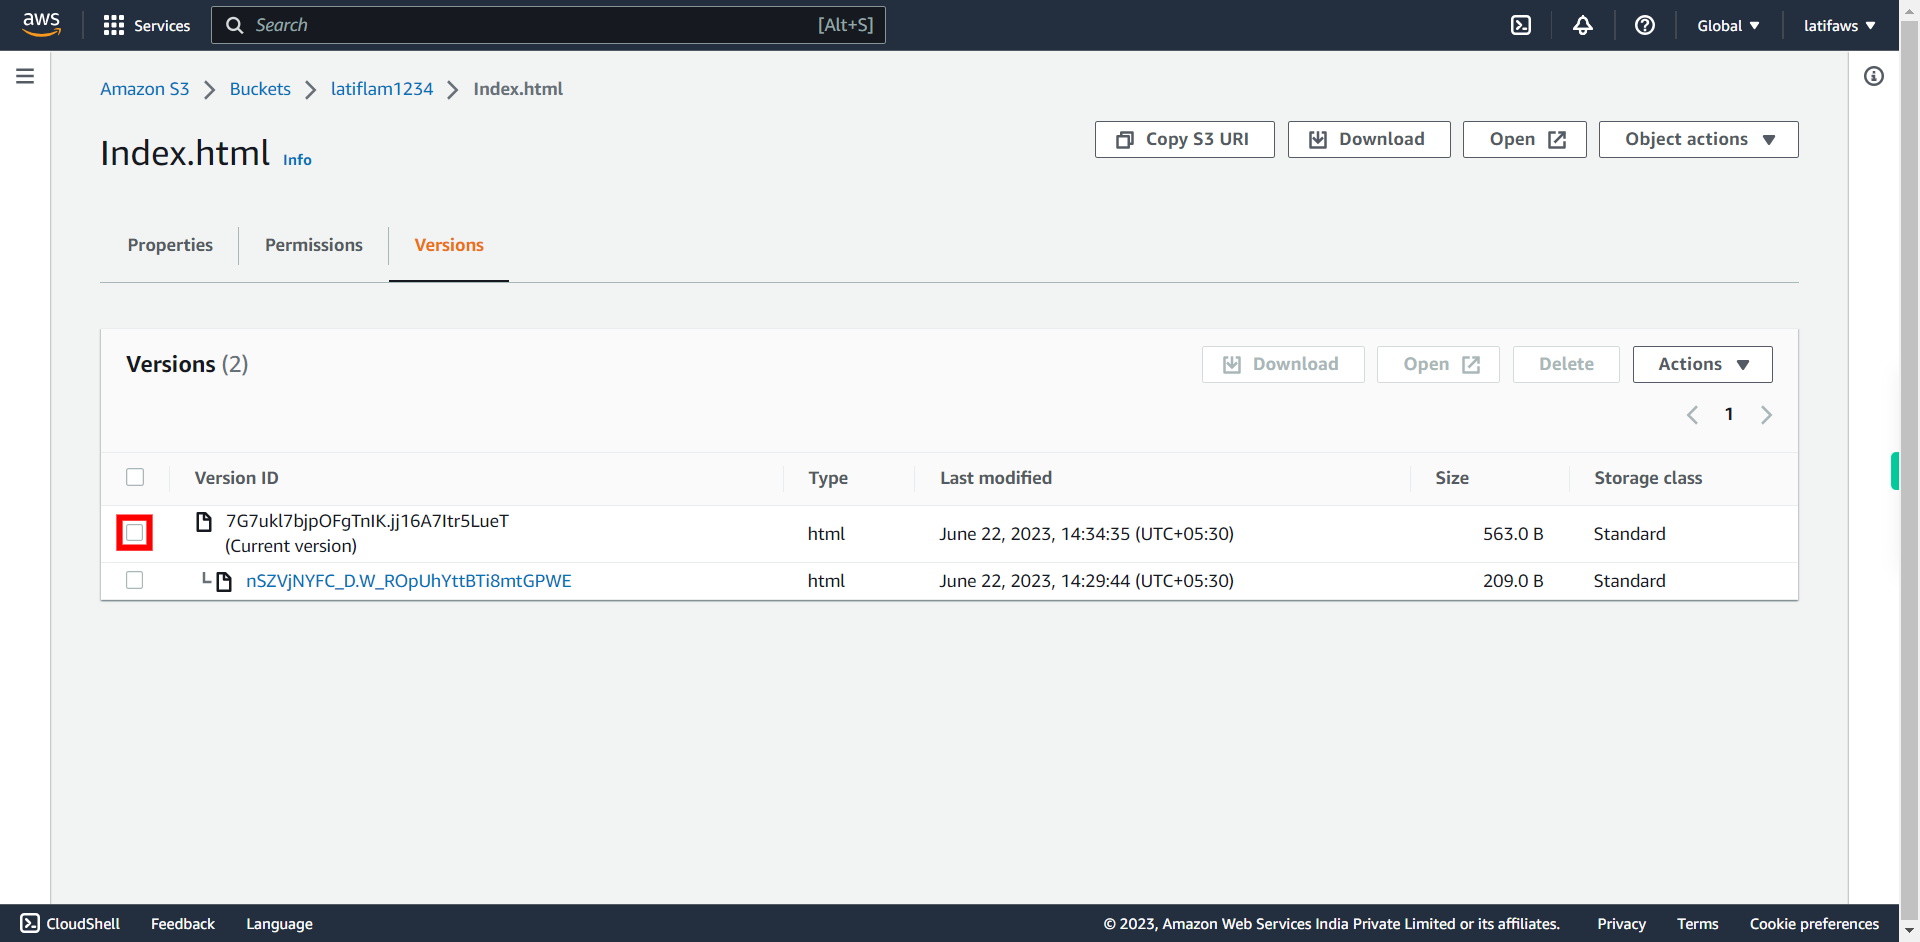
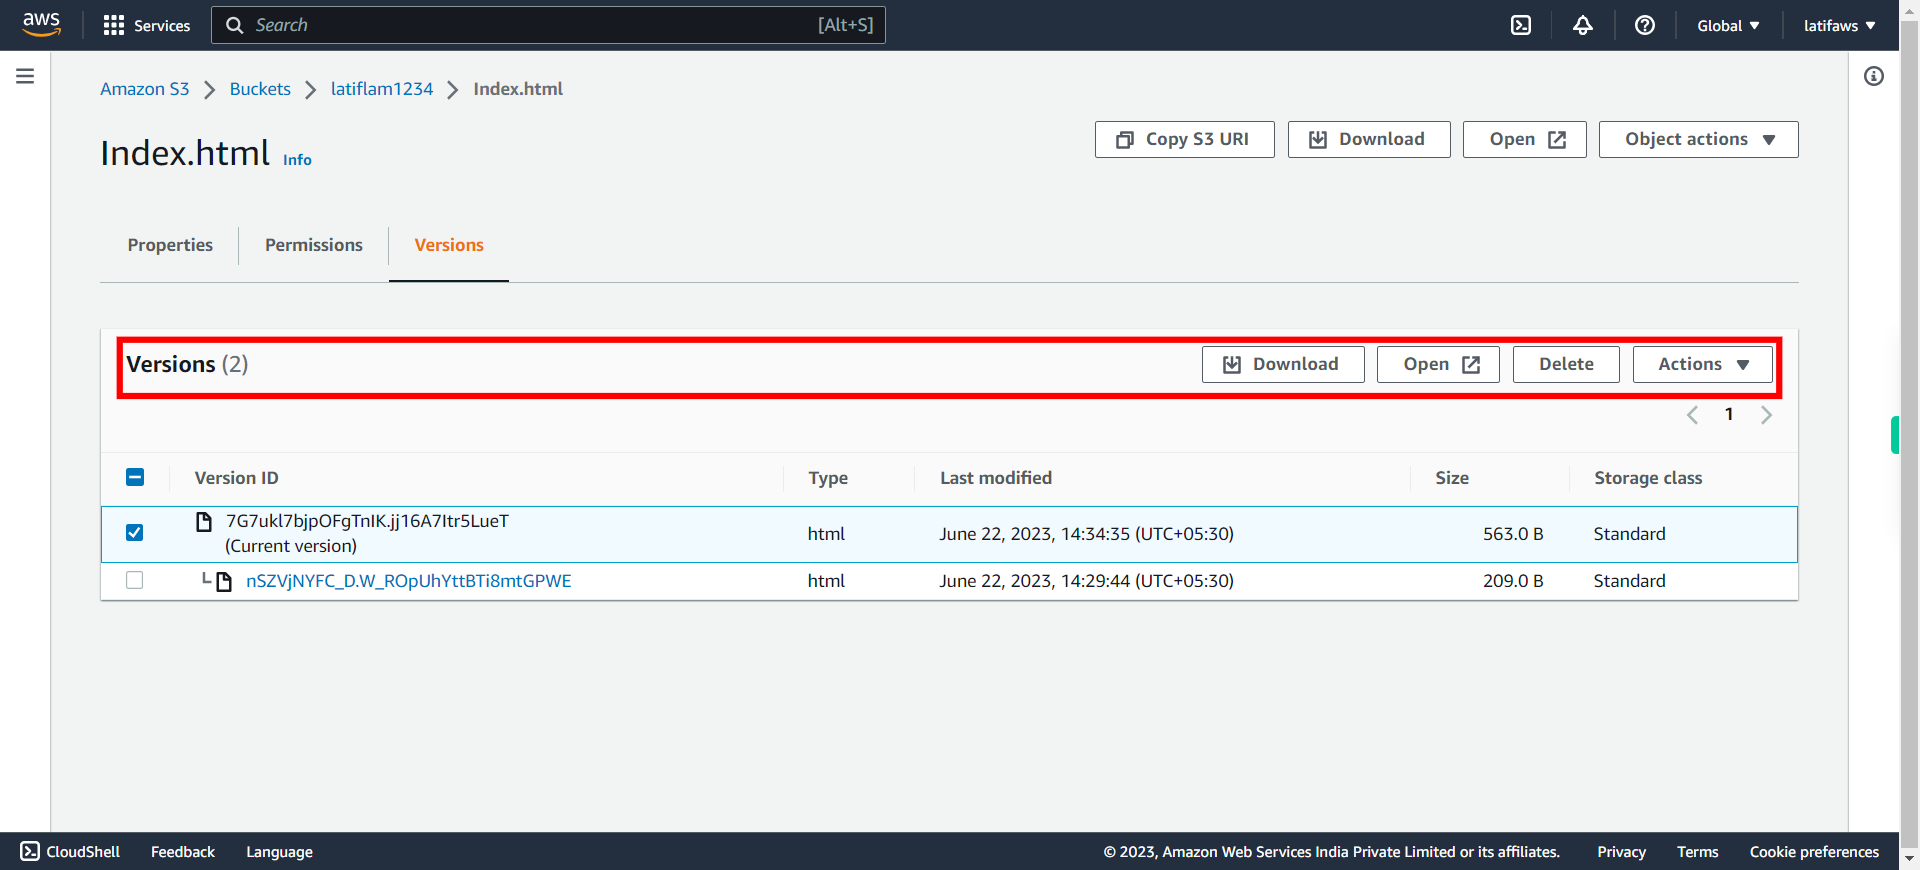
Let's test Versioning now and check the difference between the two versions. Select recent Version shown as '(Current Version)'. Once done, click Next on Supervity Instruction Widget.
-
27.
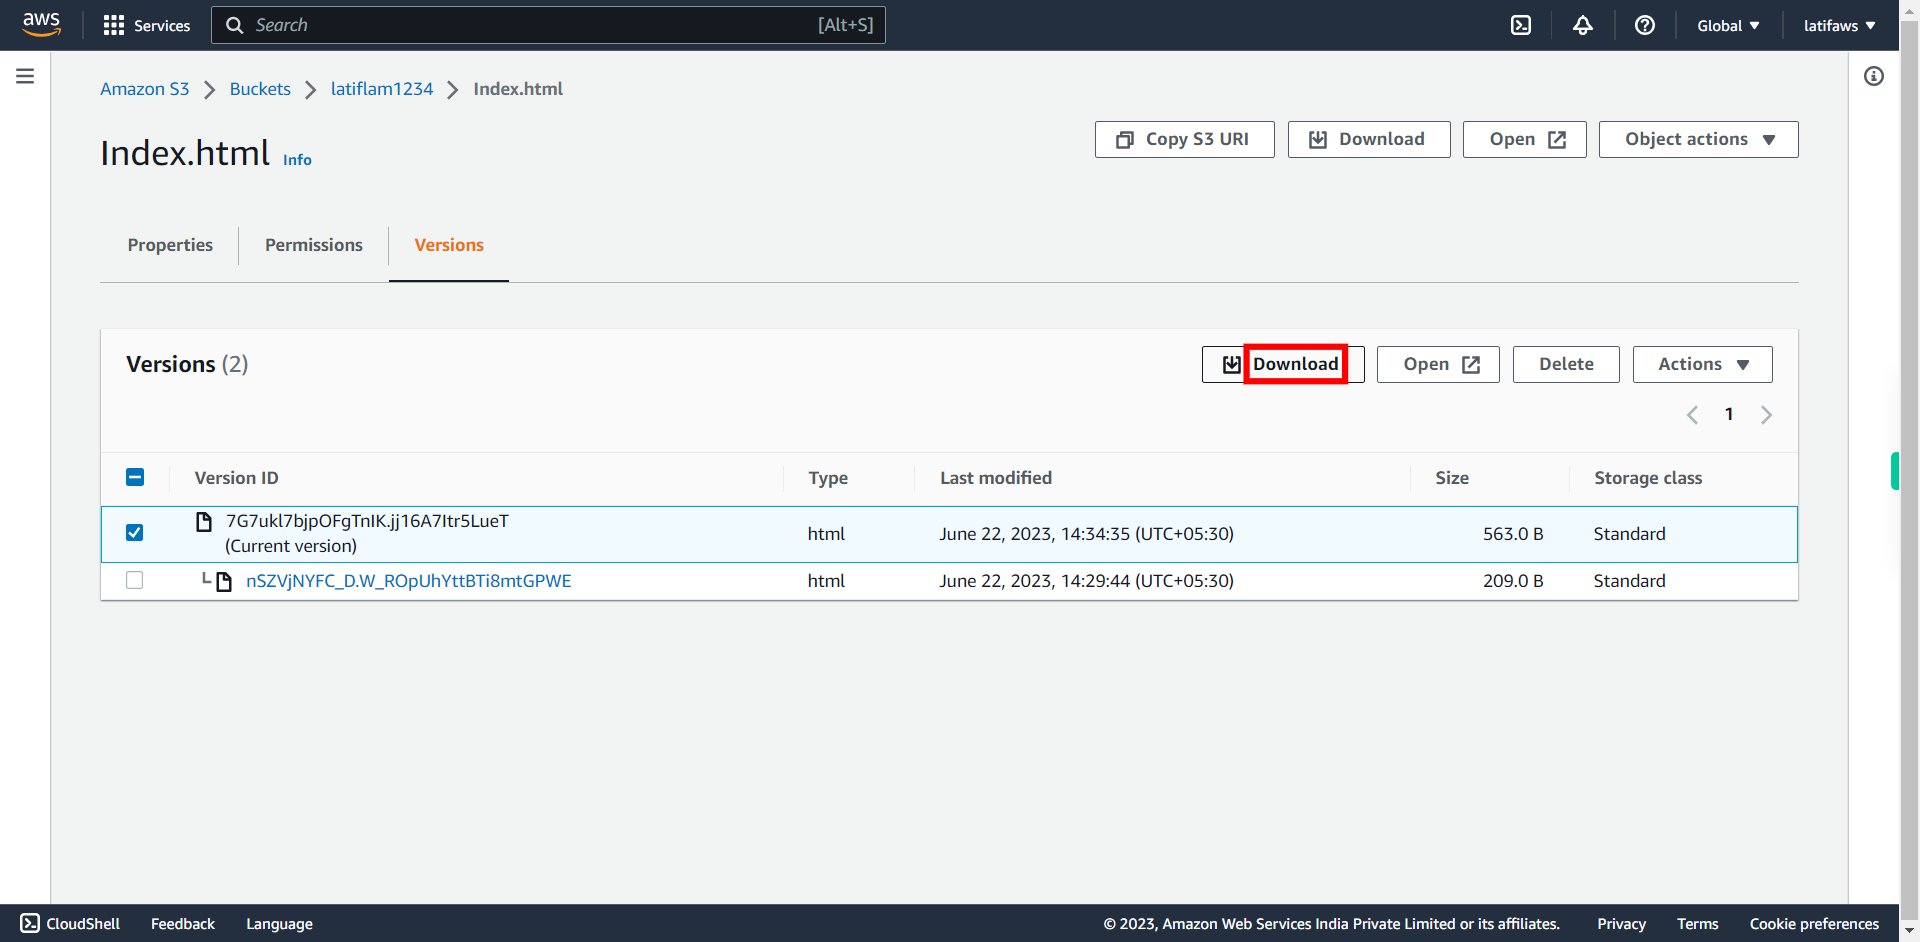
Click Download button.
-
28.
The file(foo.txt) will be downloaded onto your local machine. Open the file and check the content, it shows modified content in the current or latest version. Once done, click Next on Supervity Instruction Widget.
-
29.
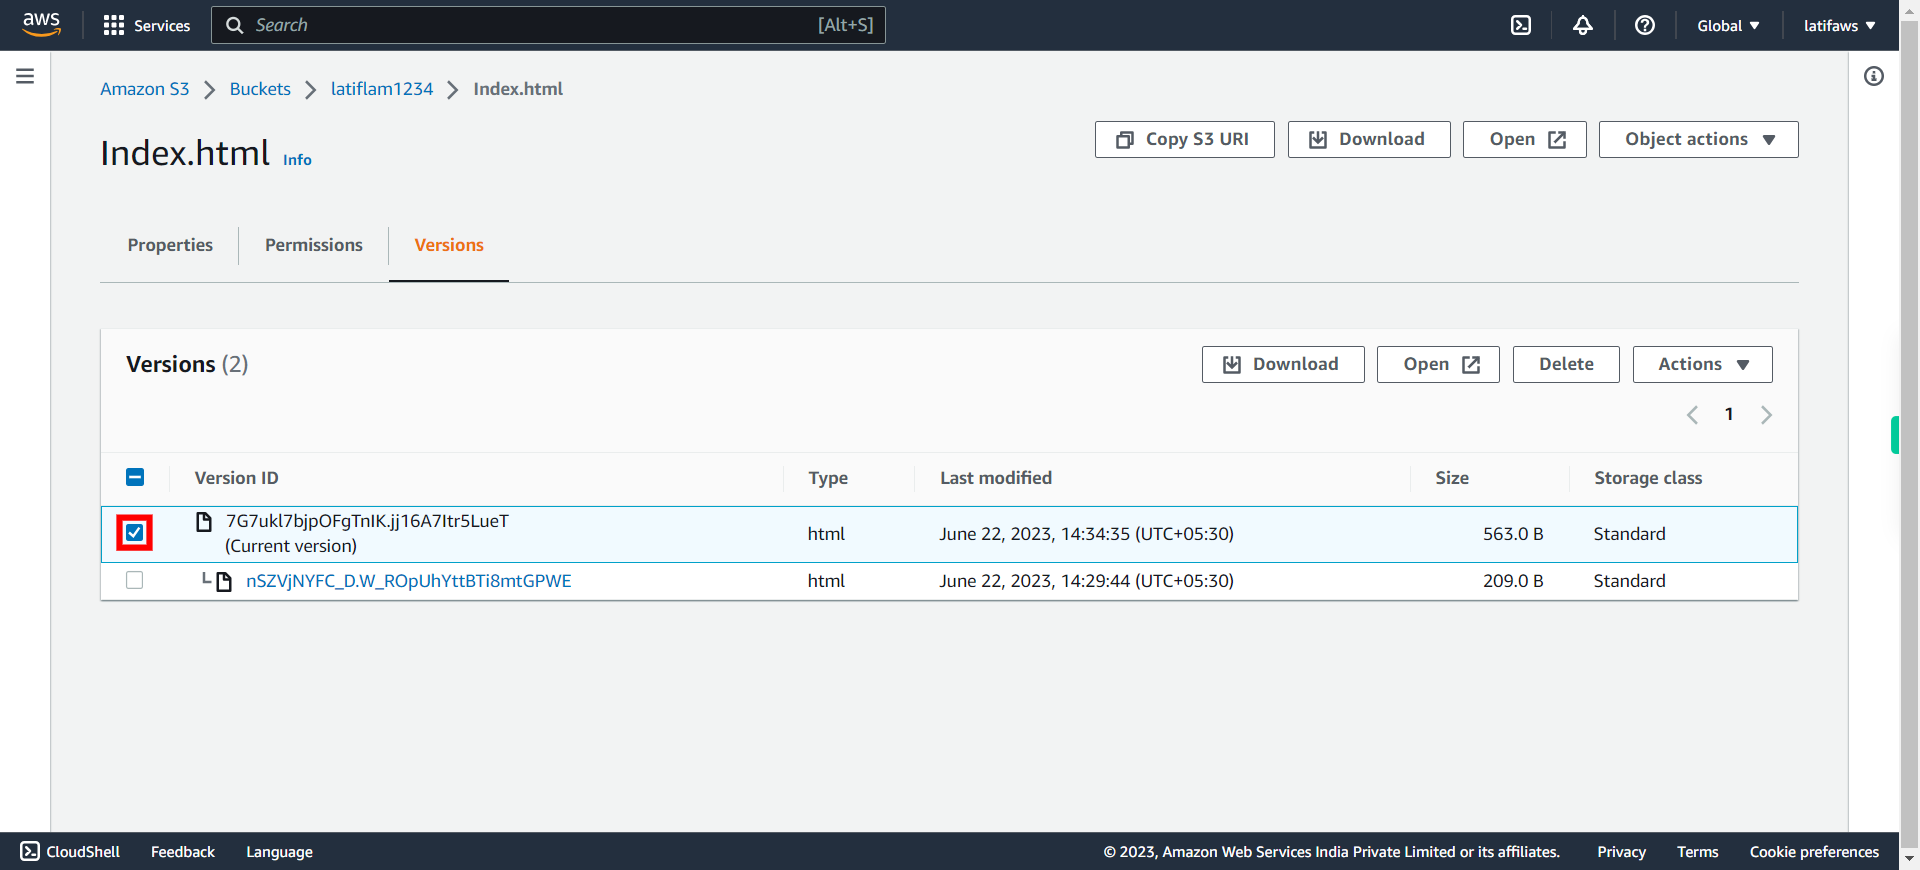
Click Next on Supervity Instruction Widget and proceed further. Uncheck the selection -- '(current version)'.
-
30.
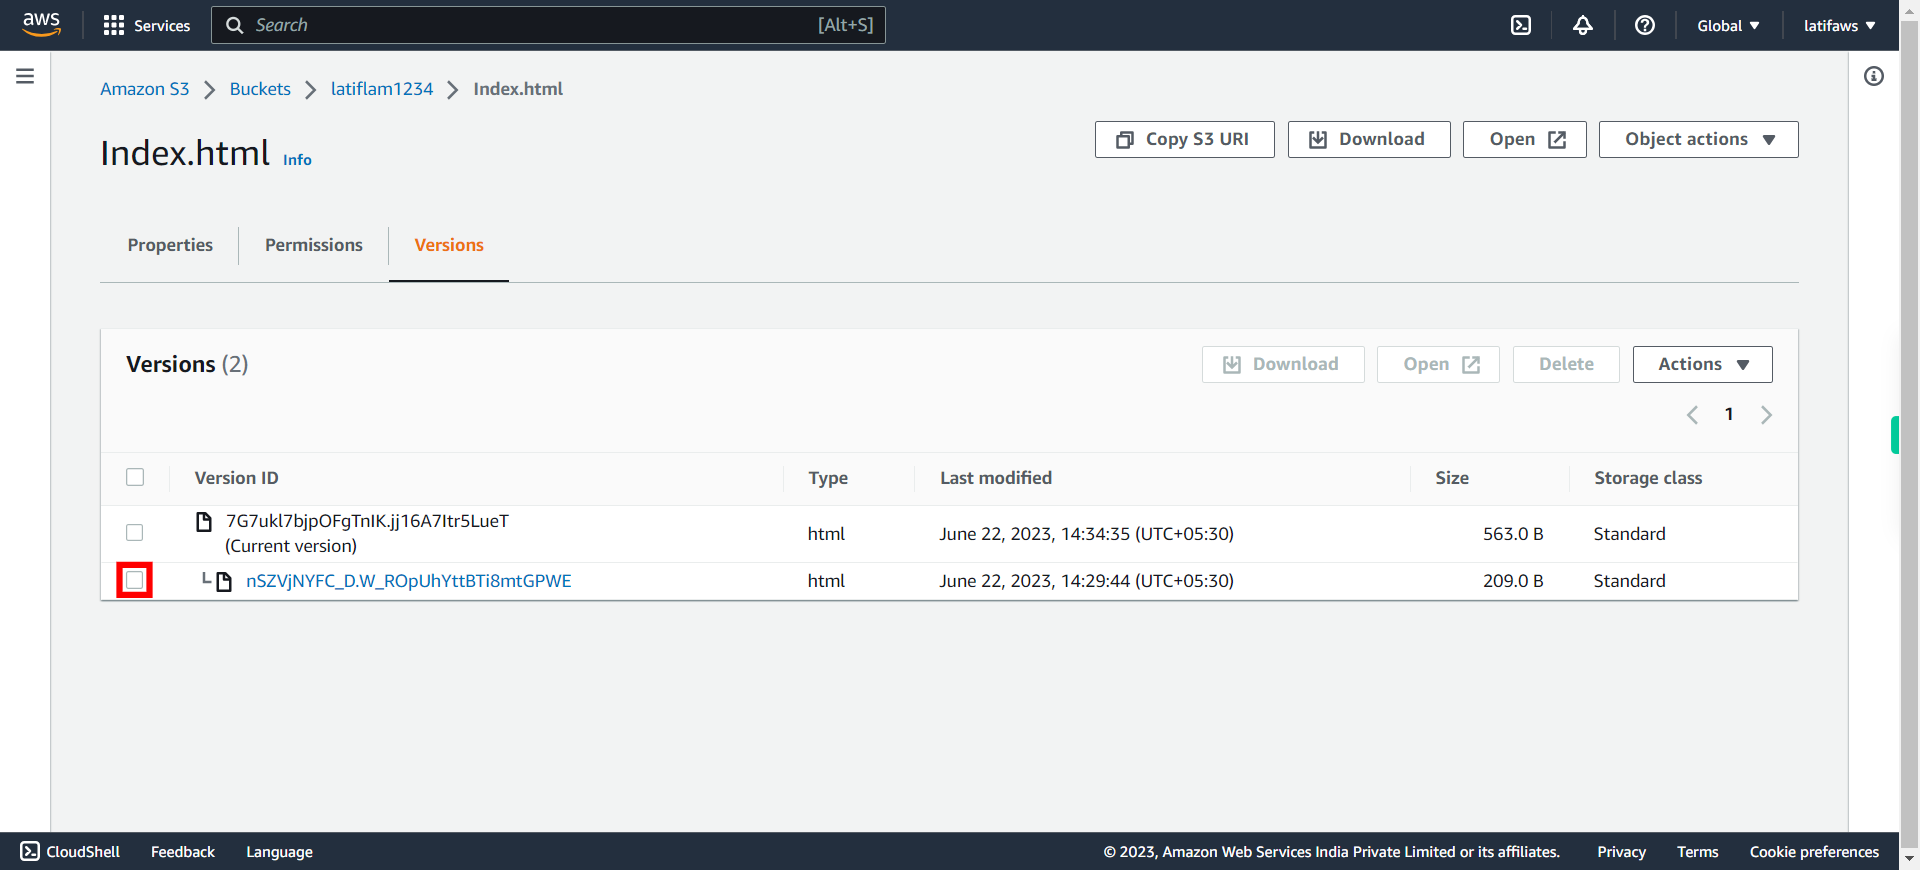
Select the old version or previous version which is below the '(current version)' --version 1. Once done, click Next on Supervity Instruction Widget.
-
31.
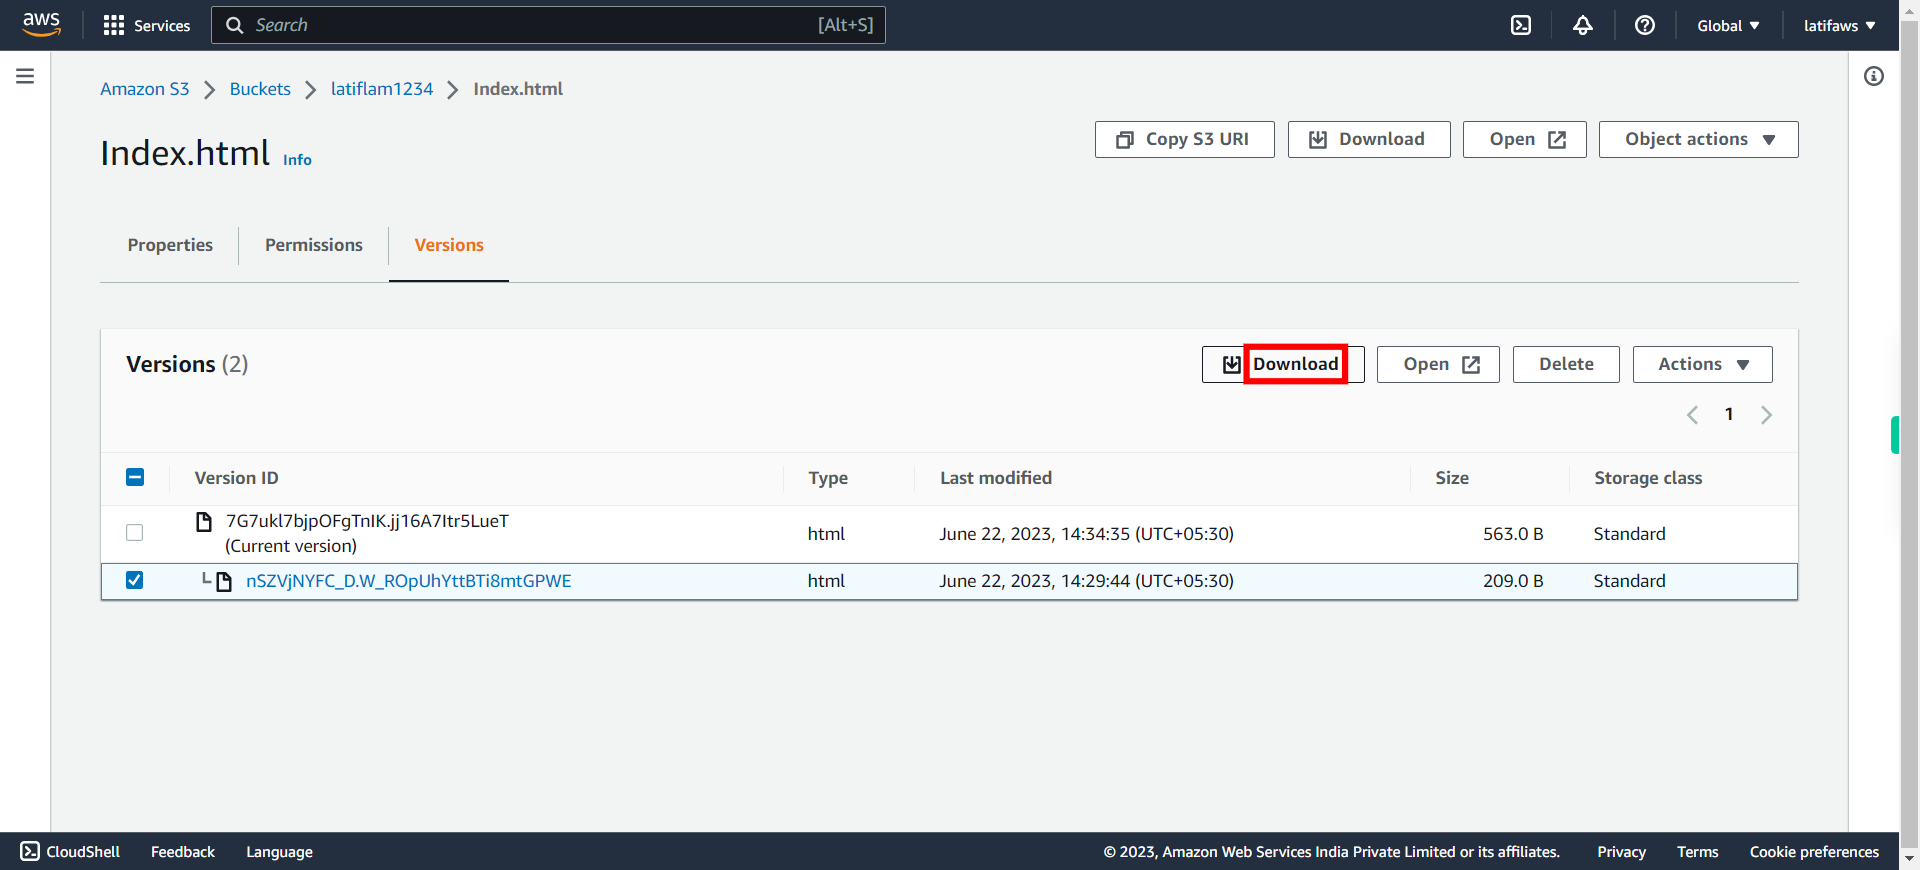
Click Download button.
-
32.
The file(foo.txt) will be downloaded onto your local machine. Open the file and verify the content, is shows the previous content[blue]. Hence, we have both versions of the file content in versioned form intact. Once done, click Next on Supervity Instruction Widget.
