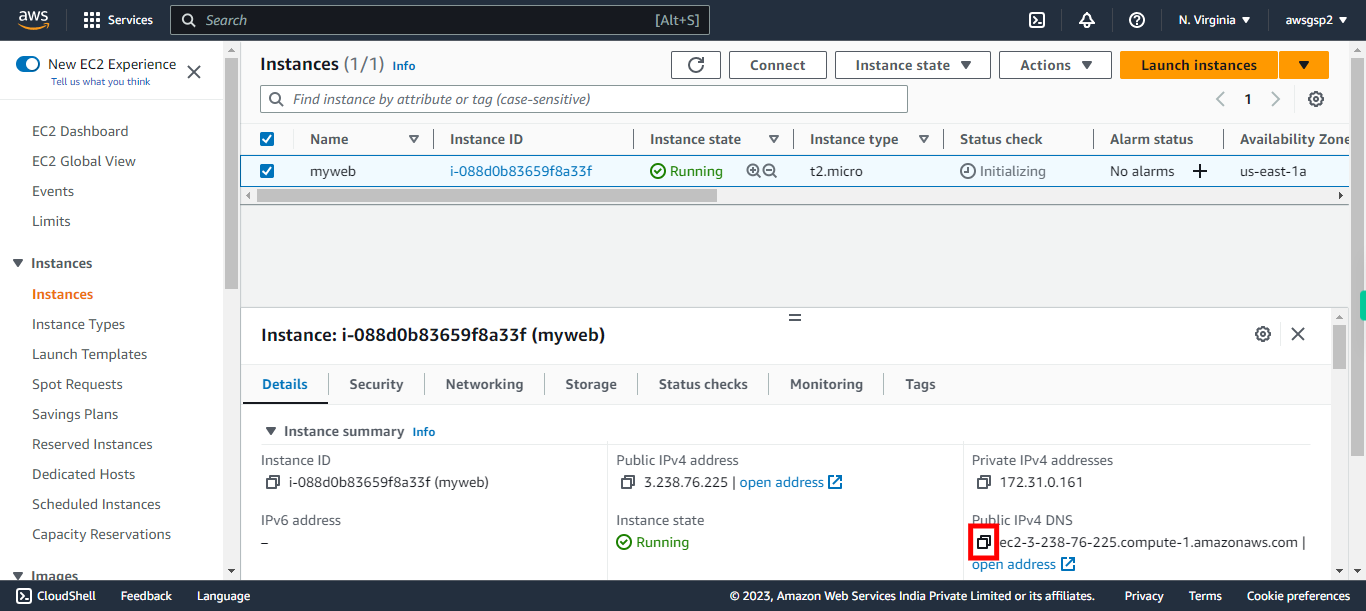
This skill helps to walk you through the Creation of AWS EC2 (Elastic Compute Cloud) instance(a web service that provides resizable compute capacity in the cloud. It is designed to make web-scale cloud computing easier for developers) by step by step assistance.
Prerequisites:
- An active AWS account
- A valid Key Pair
- A valid Security Group
- Sufficient privileges to create EC2 instance
Note:
Login to AWS Management Console beforehand. This walkthrough shows the steps to be followed to create an EC2 instance by using Amazon Linux free tier as the AMI.
-
1.
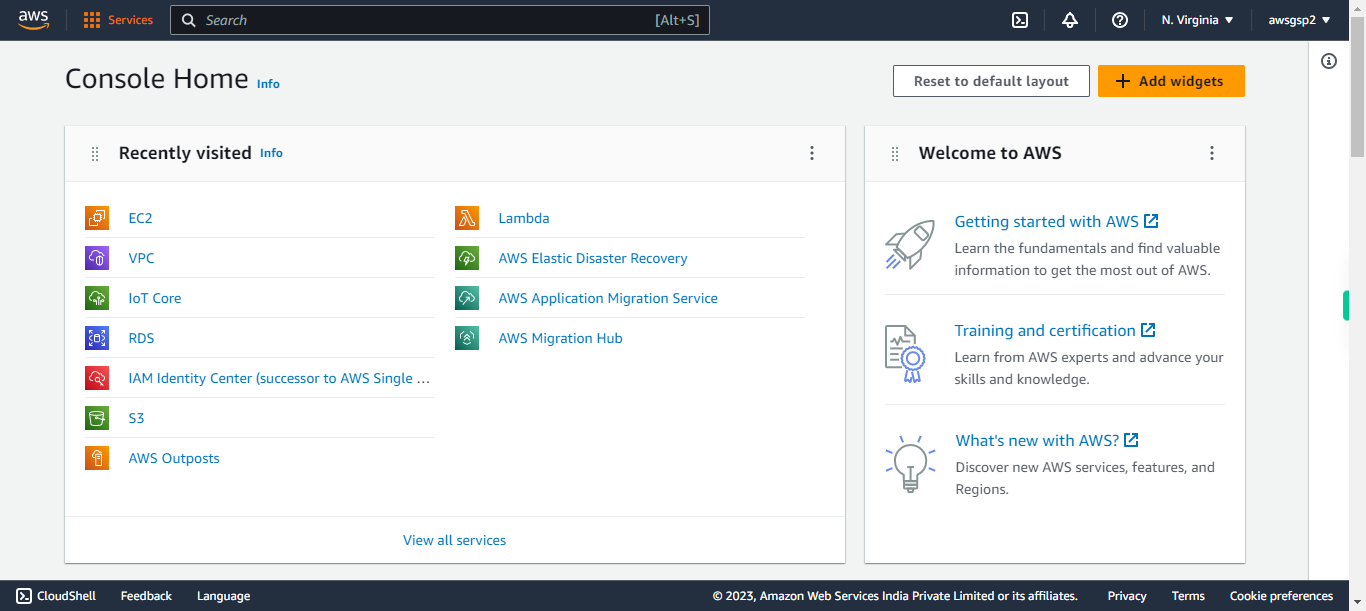
open AWS Management Console and follow the walkthrough steps
-
2.
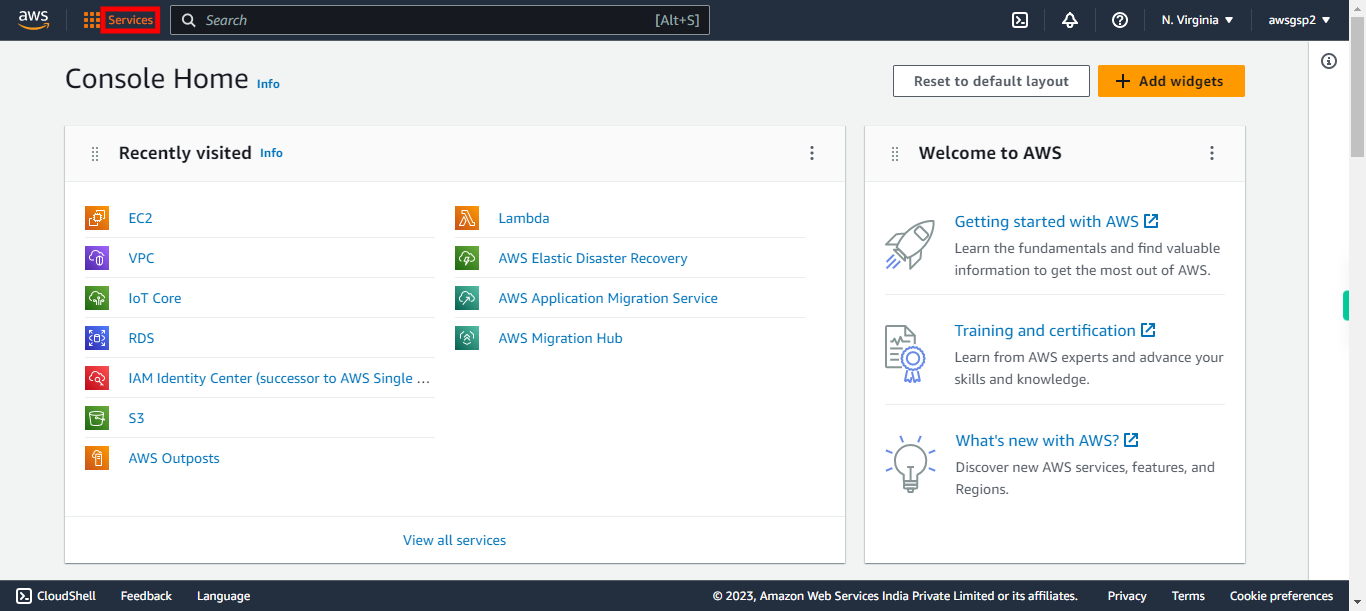
Click "Services"
-
3.
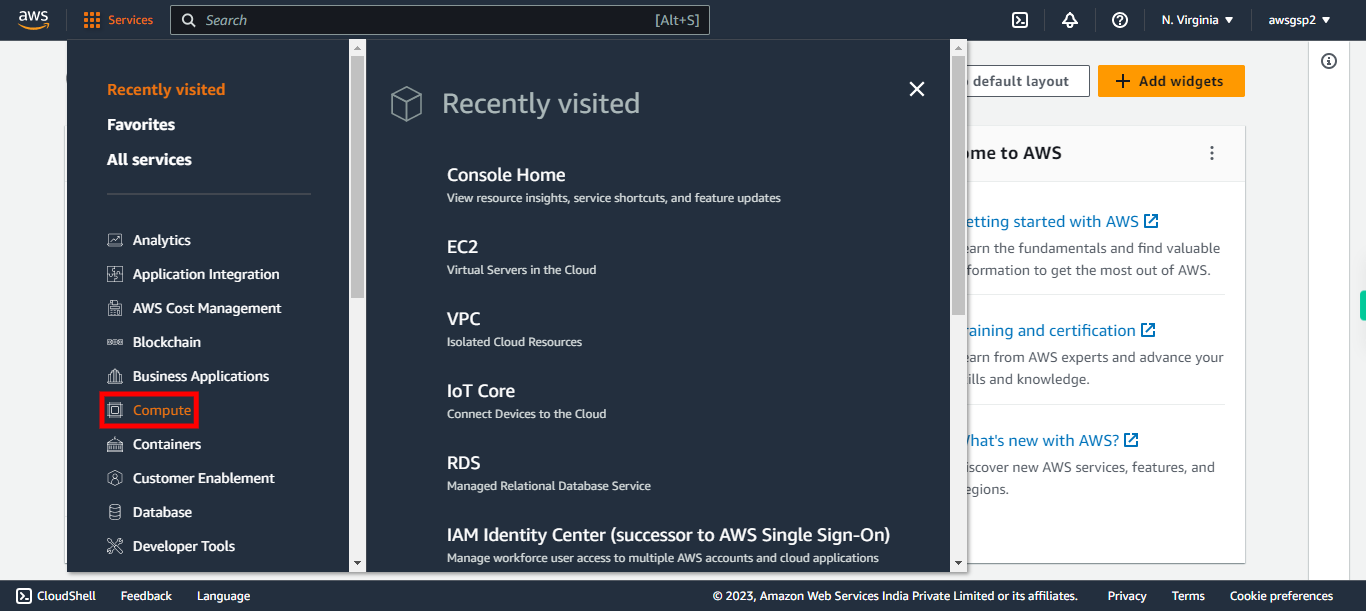
Click on "Compute"
-
4.
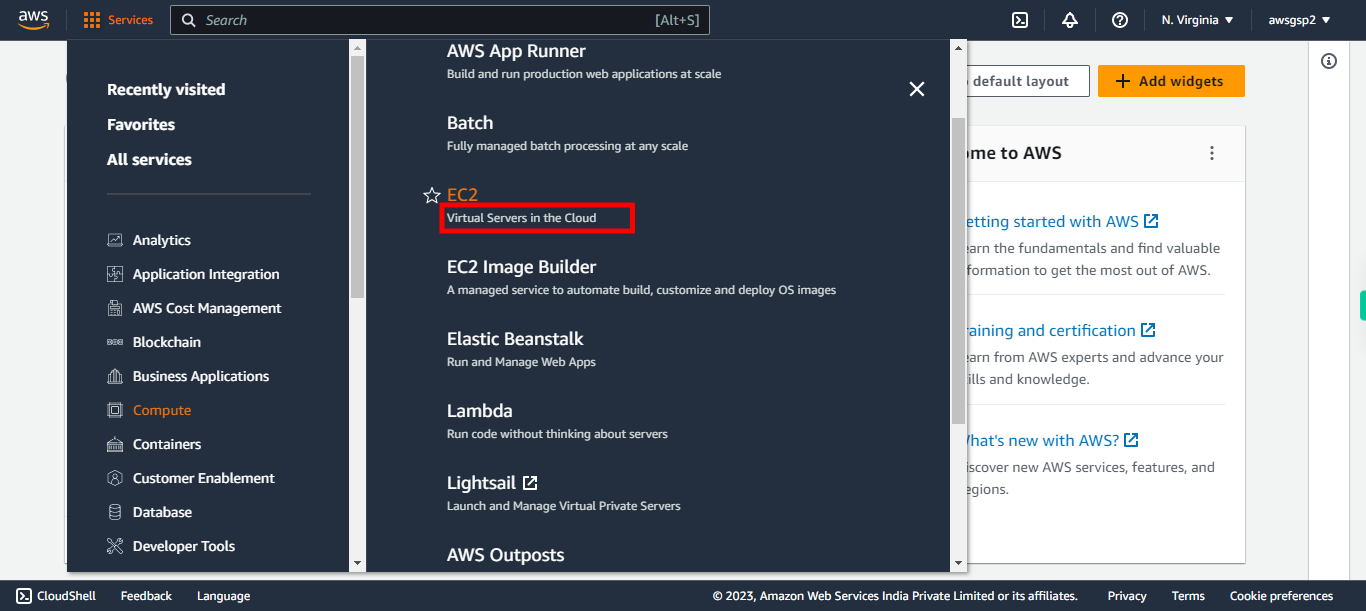
Click "EC2"
-
5.
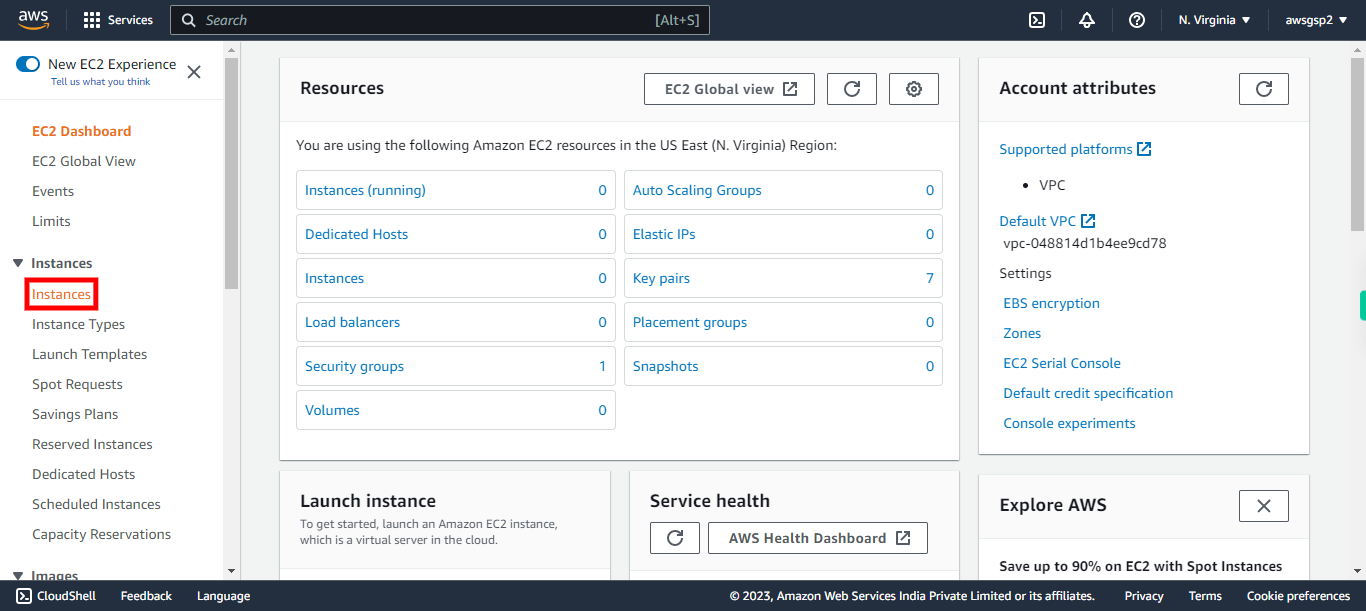
Click "Instances"
-
6.
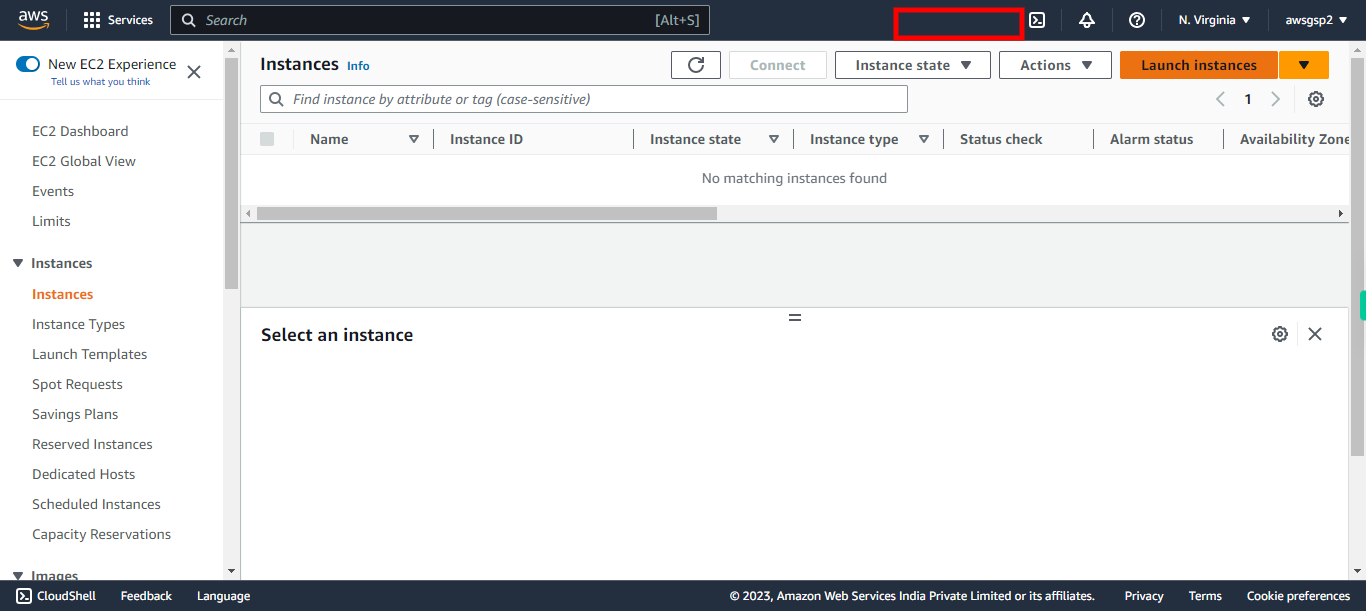
Click "Launch instances"
-
7.
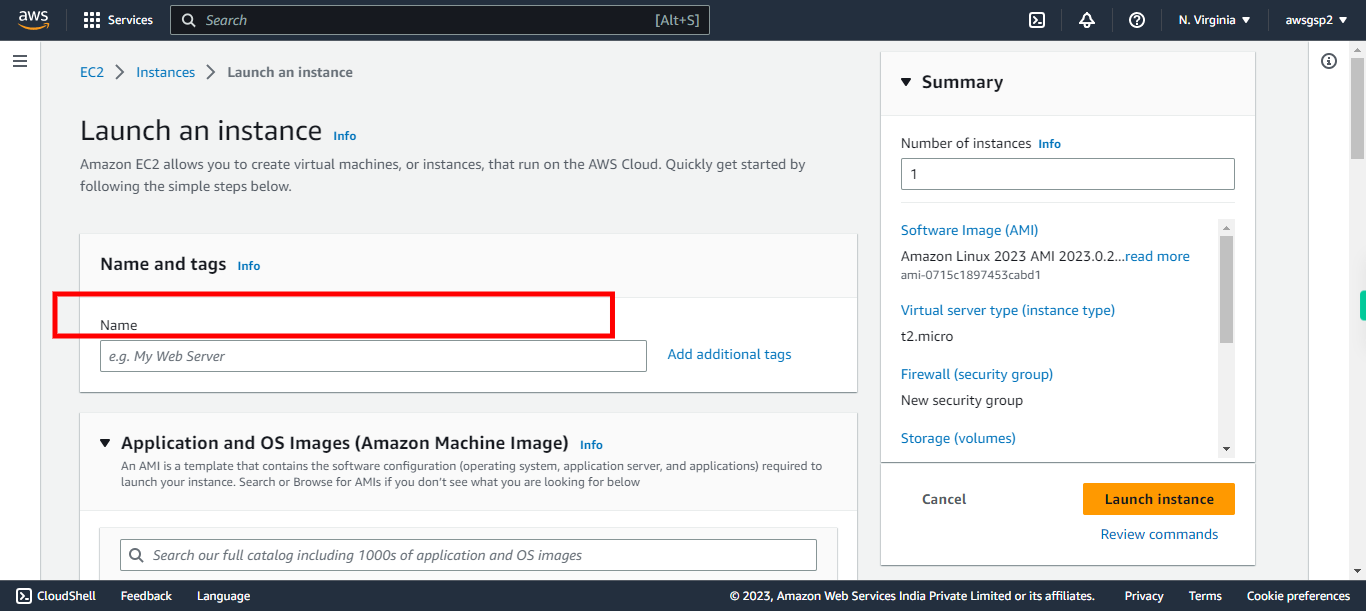
Give a name to the Instance here and click Next to continue. It should be unique from the other instances available in your subscription.
-
8.
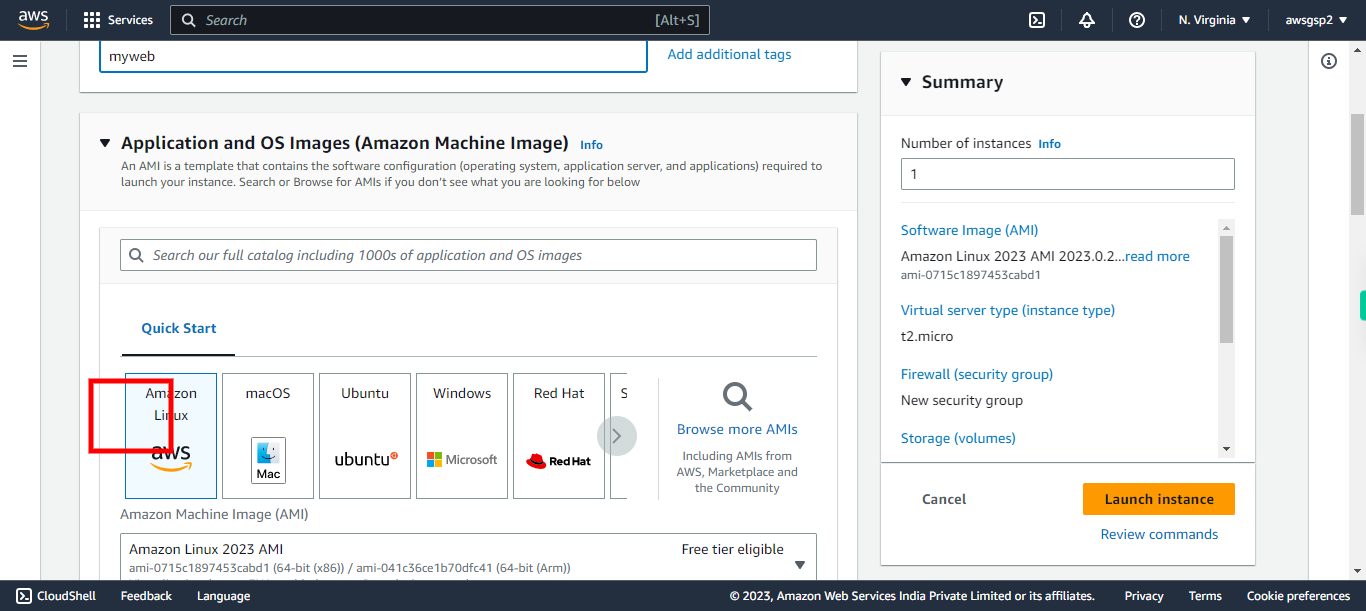
Choose Amazon Linux as Amazon Machine Image (AMI), which is a pre-configured virtual machine image and click Next to continue.
-
9.
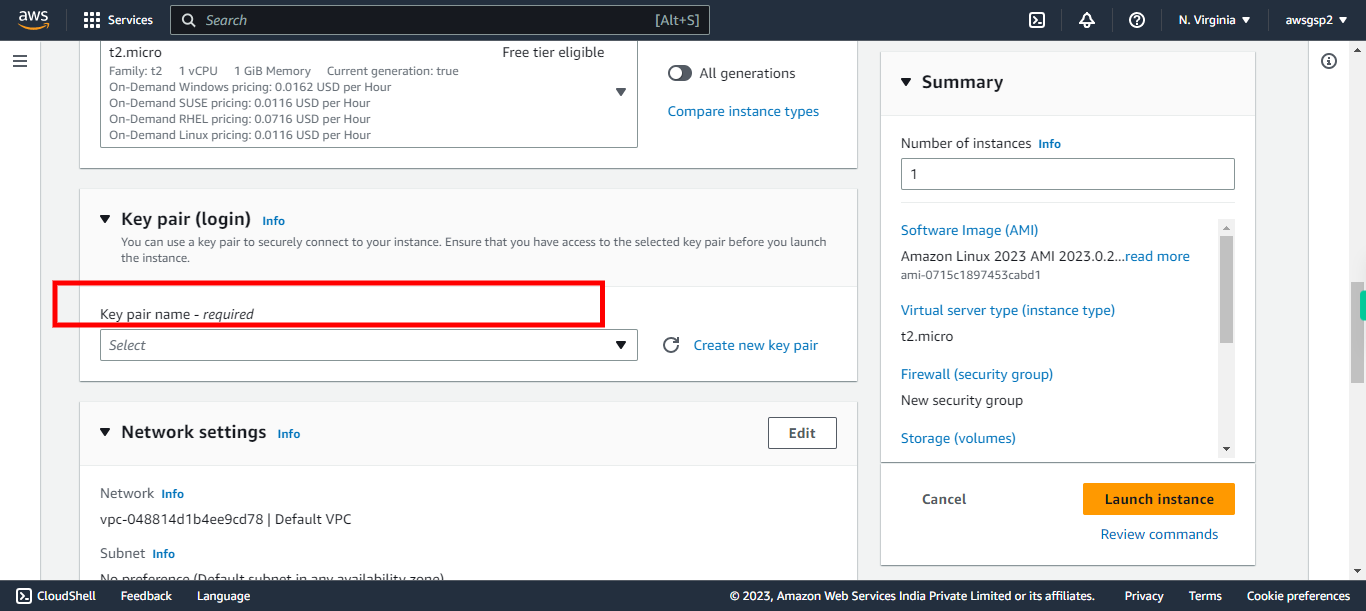
Select your existing key pair (if you have any) from the below dropdown or create a new key pair. [For creating a new Key Pair refer the Key Pair Walkthrough]. Click Next to continue
-
10.
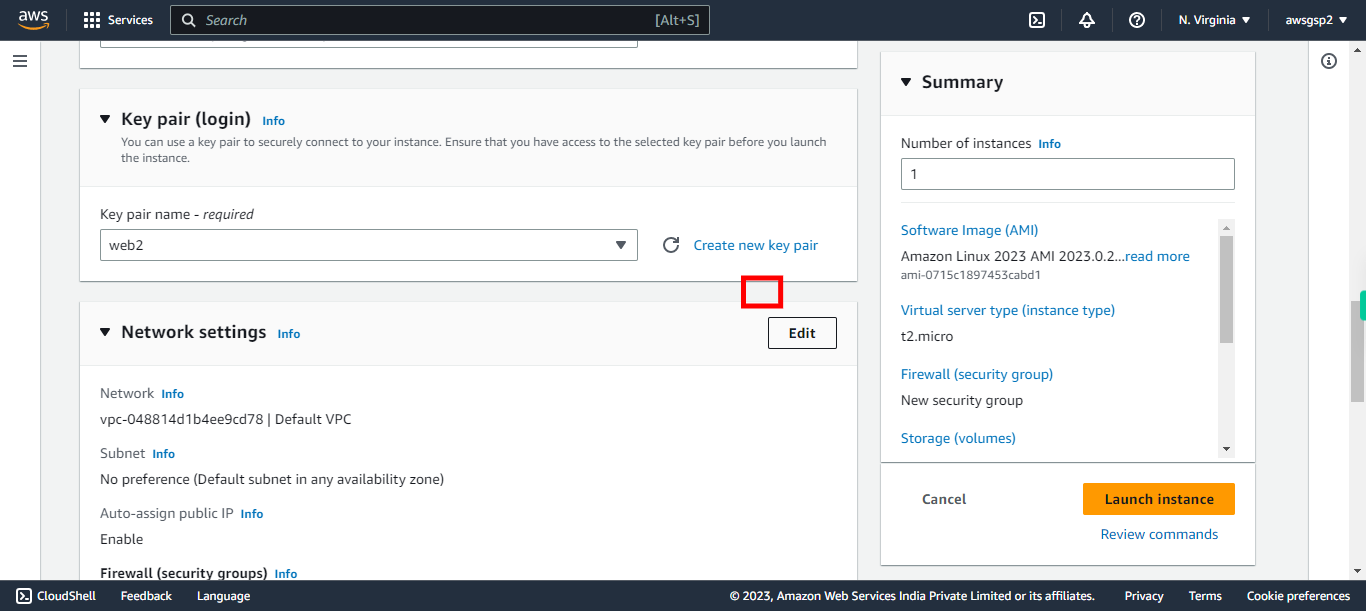
Click Edit to change Network Settings
-
11.
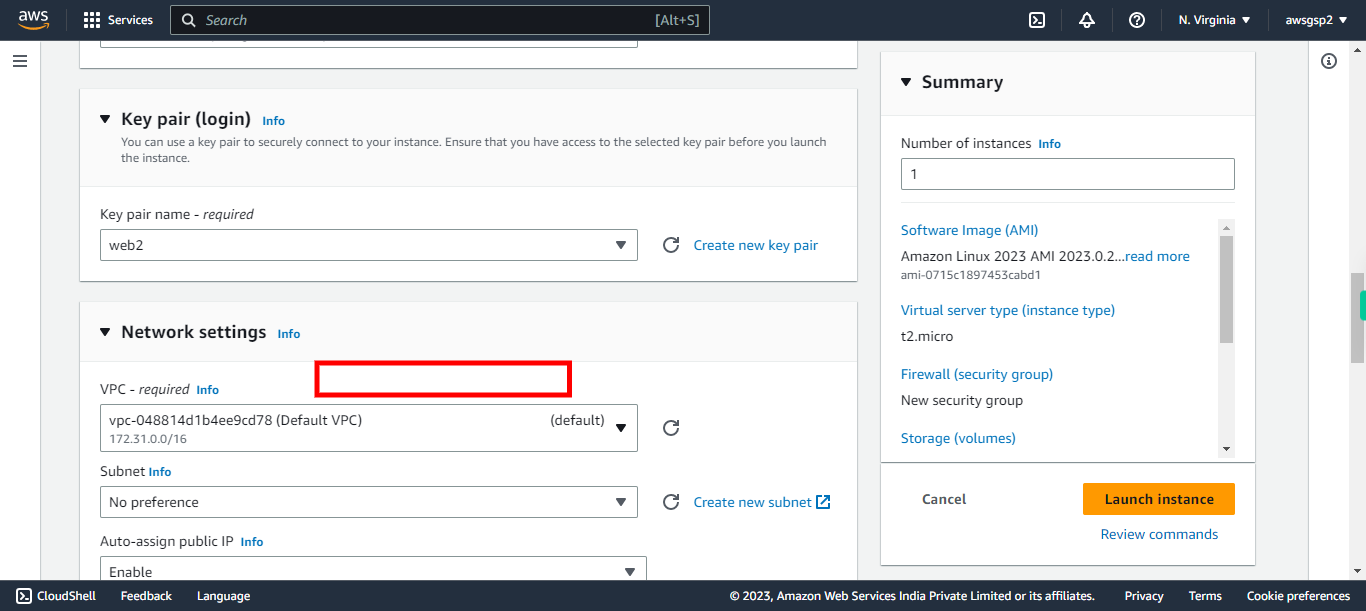
Select default VPC as there will be no other VPC available. (Default VPC is provided by AWS). Click Next to continue
-
12.
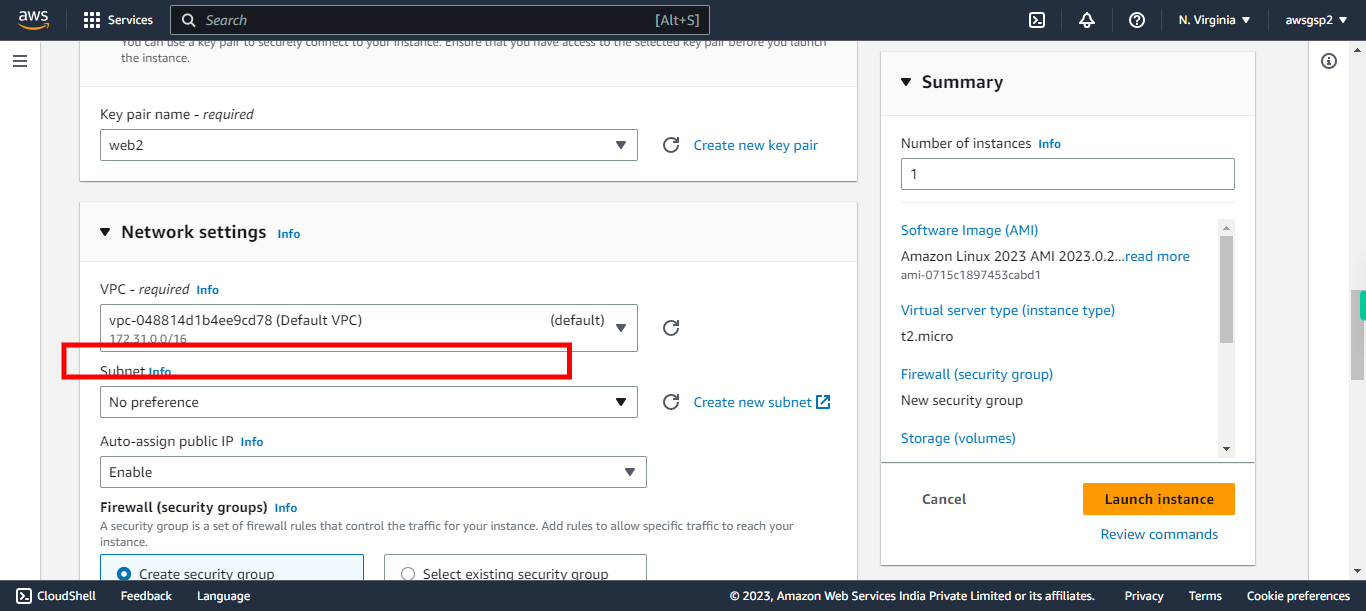
In Subnet, choose a default subnet in any Availability Zone and click Next to continue.
-
13.
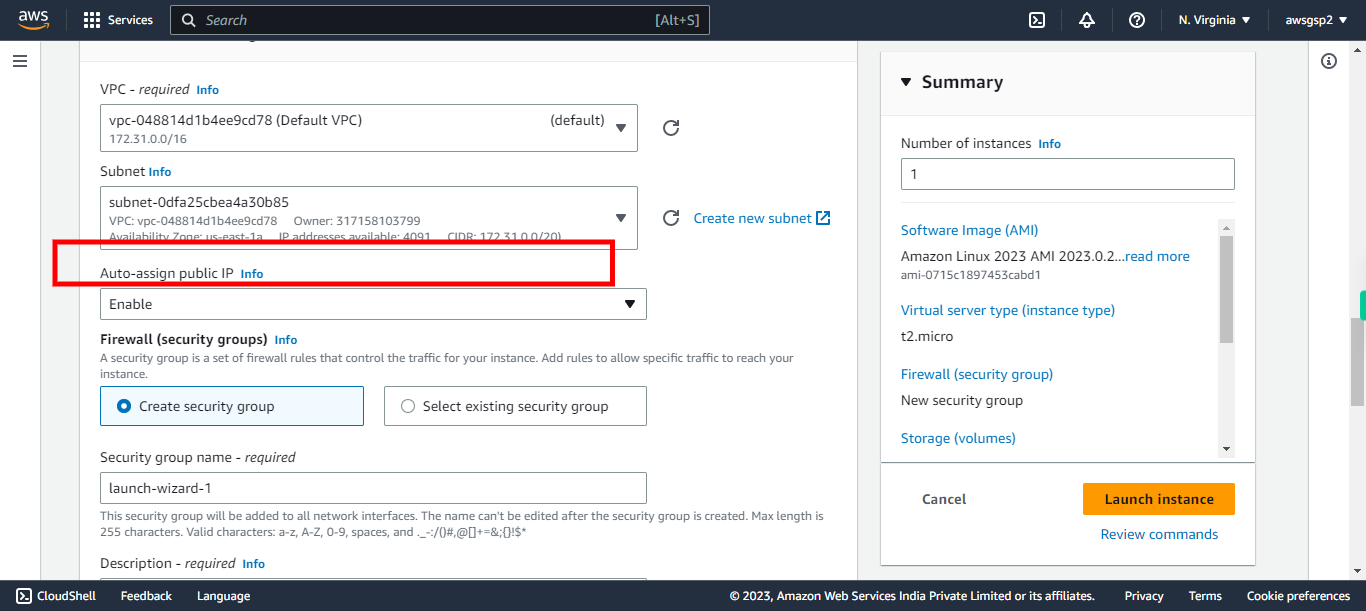
In "Auto-assign public IP", choose 'Enable' if instance to be accessed publicly [or choose 'Disable' for private access]. Note: If Enabled, we can access EC2 from anywhere. Click Next to continue.
-
14.
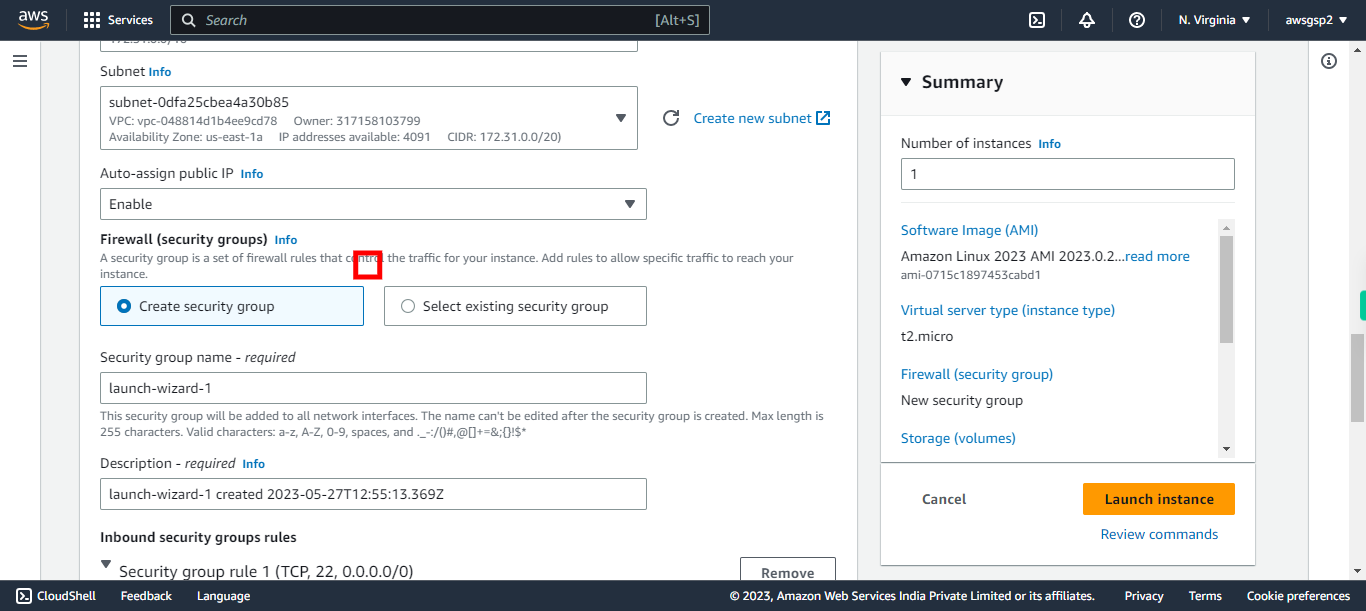
Select "existing security group" if you have any or create new security group. If you don’t have and want to create Security Group, follow the respective walkthrough available. Click Next to continue.
-
15.
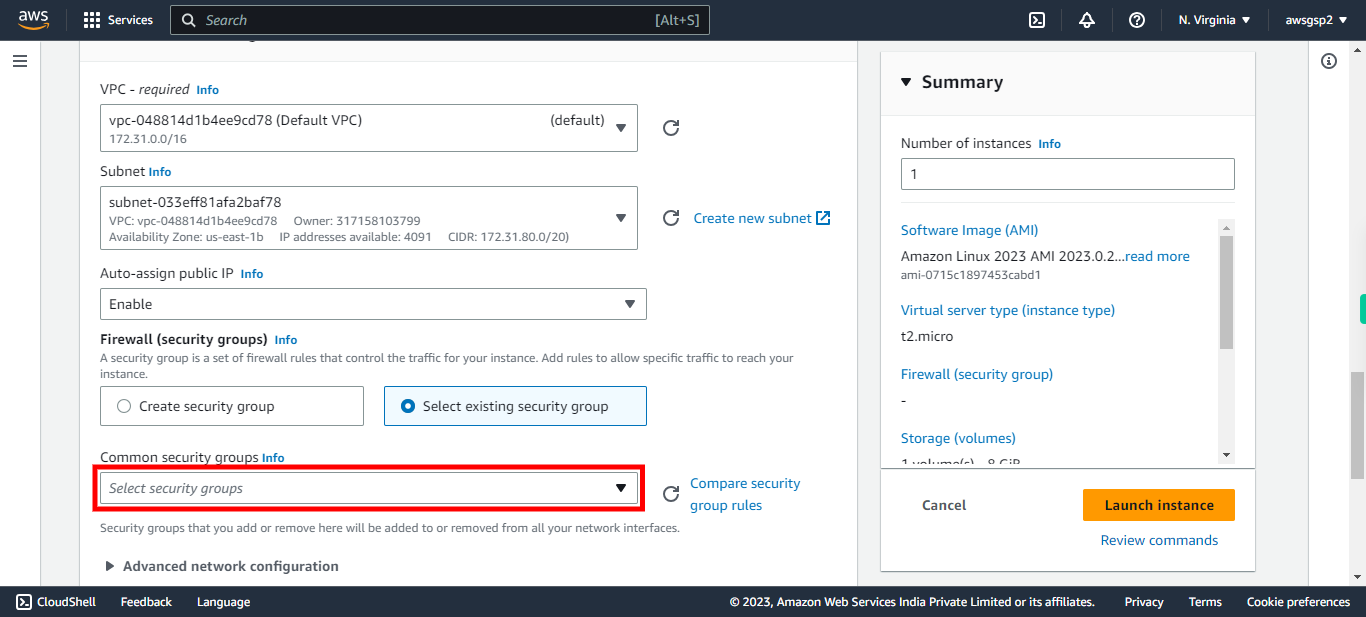
Choose the 'default security group' in the list if your previous choice is "existing security group". Click Next to continue.
-
16.
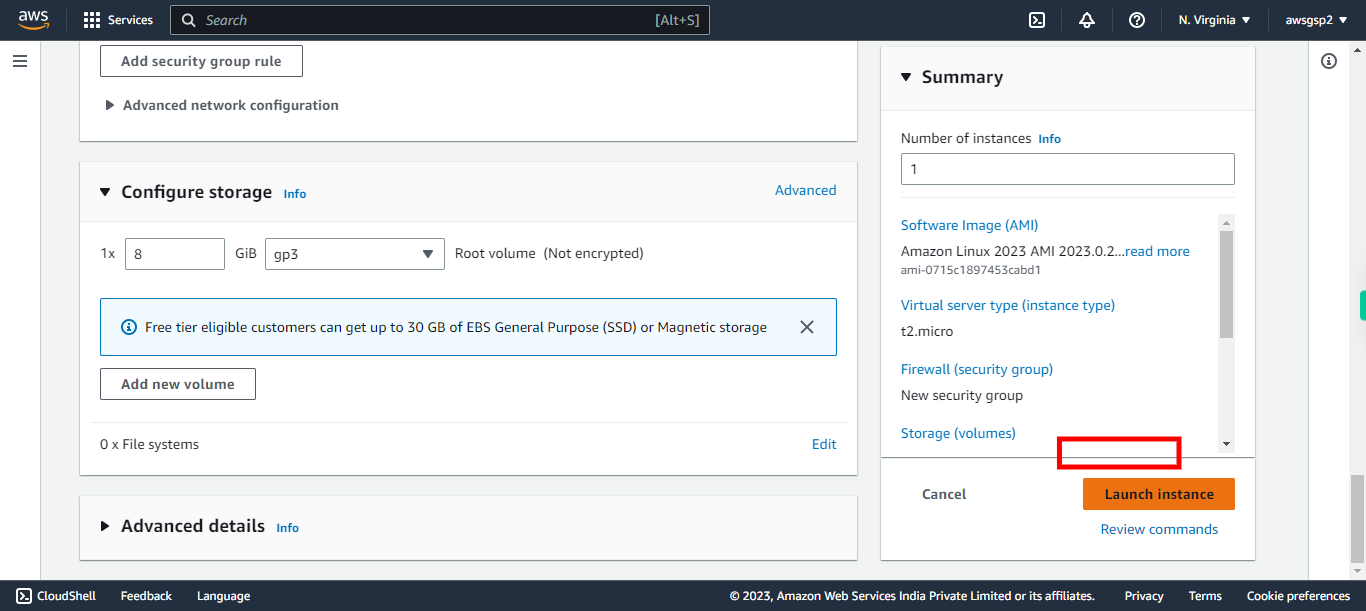
Everything is ready. Click on 'Launch instance' to create your EC2 Instance.
-
17.
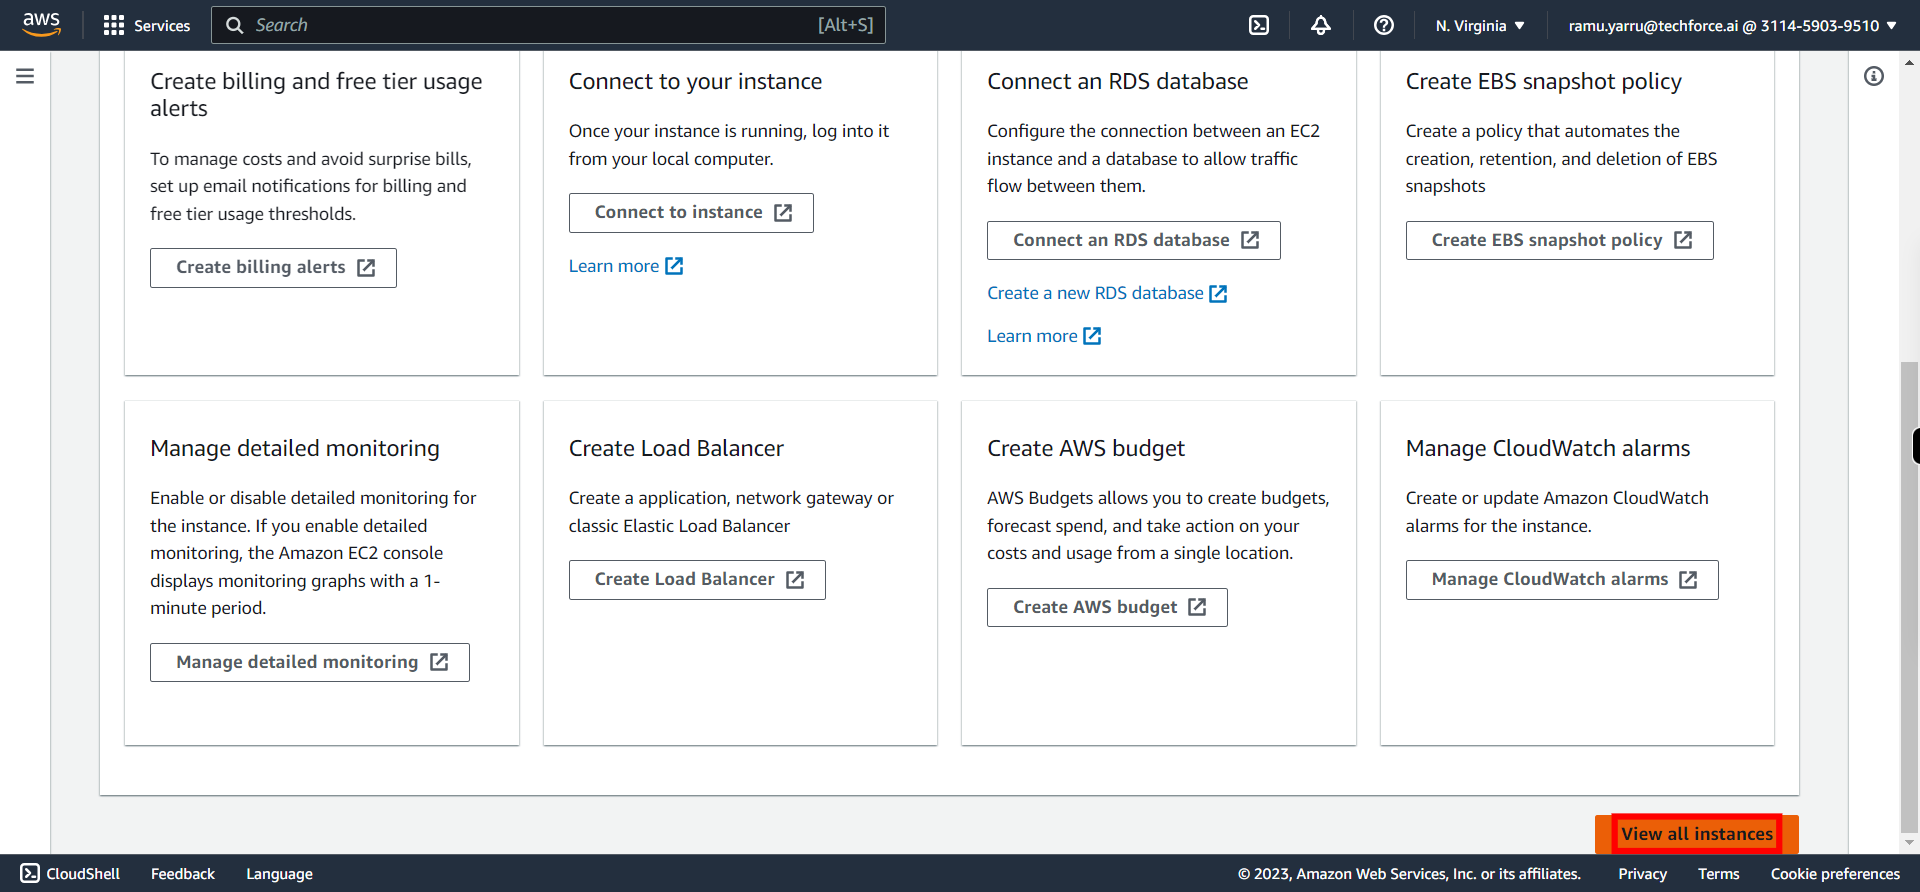
Click View all instances
-
18.
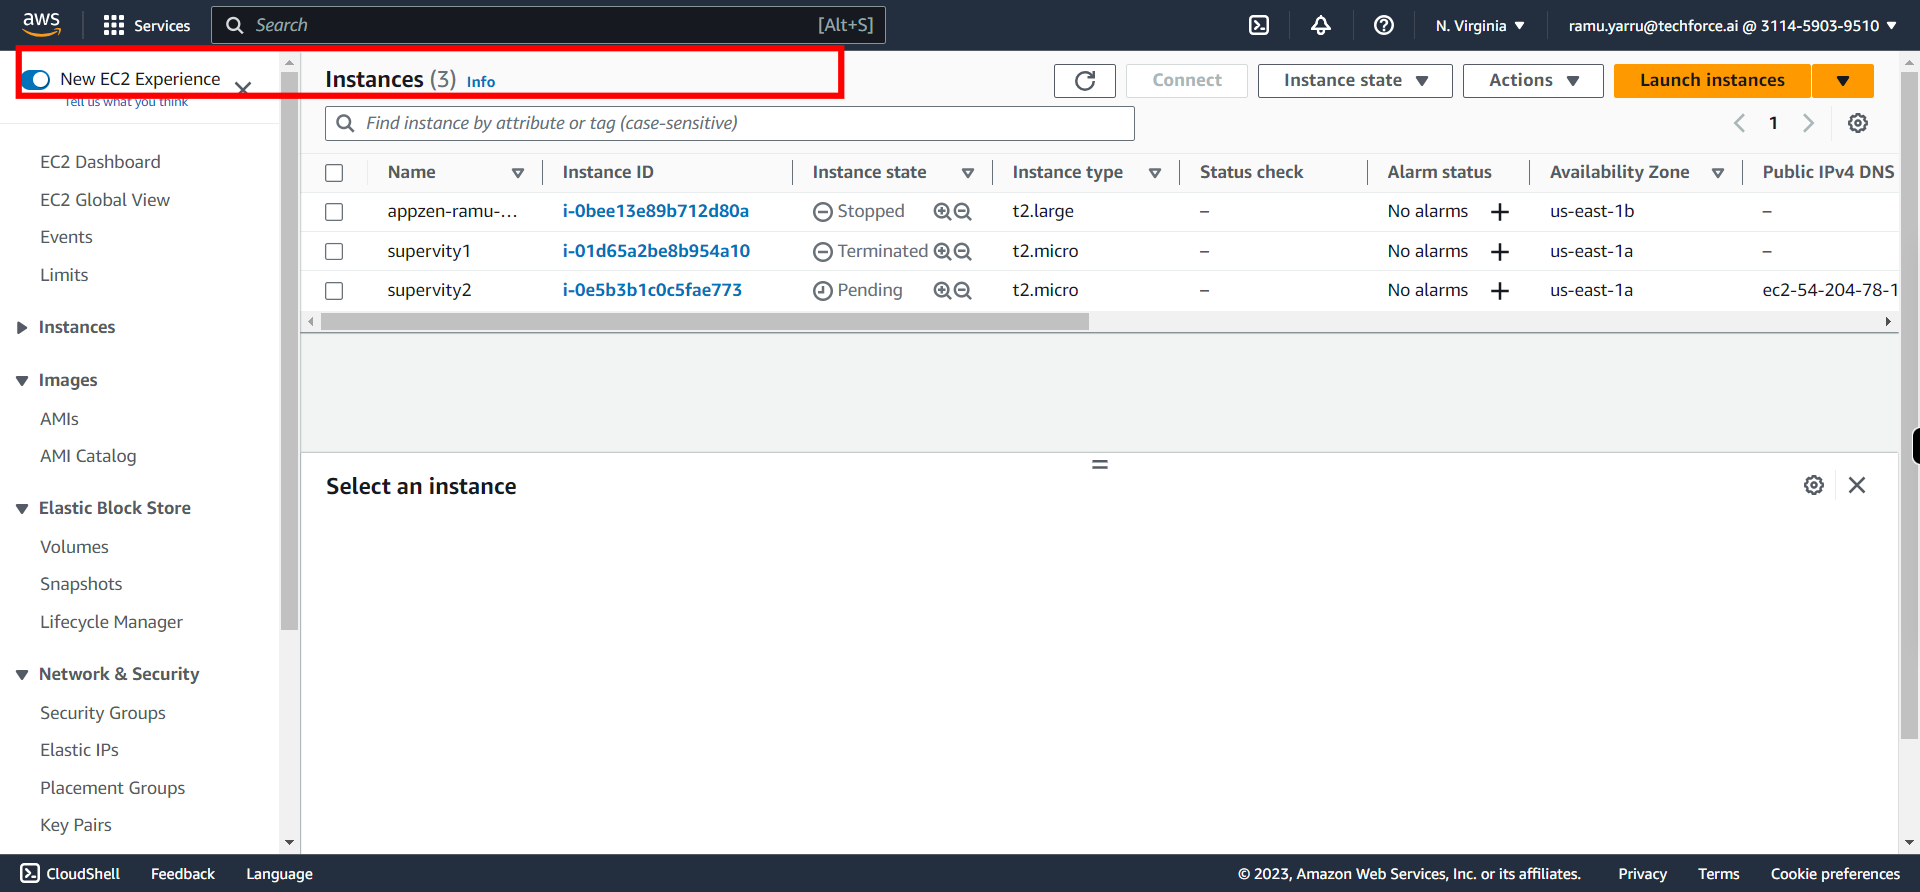
Search for your instance from the below list and wait till your Instance Status shows "Running" and status check is "2/2". Click Refresh to verify the status. **Once your Instance passed the status check, click on the checkbox against your newly created EC2 instance and Click Next to continue**
-
19.
Here if you can see public DNS address for your EC2 Instance, then EC2 creation is successful.
