This skill helps you to create a new release on GitHub. Creating a new release on GitHub allows you to provide a structured way of delivering updates and improvements to your project. Users can easily access and download specific versions of your software, contributing to a better collaborative experience. Pre-Requisites: Make sure you had an account in GitHub and a repository. NOTE: Please login into your GitHub account and then execute this skill.
-
1.
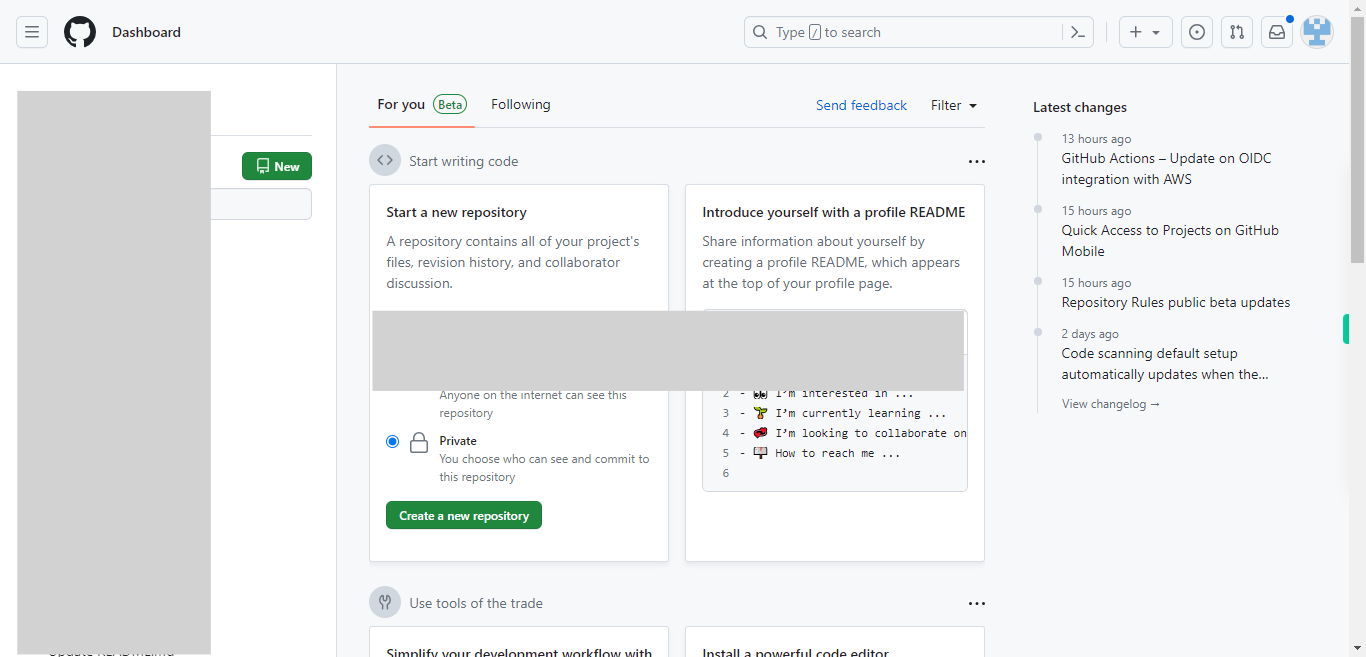
Open GitHub on the web.
-
2.
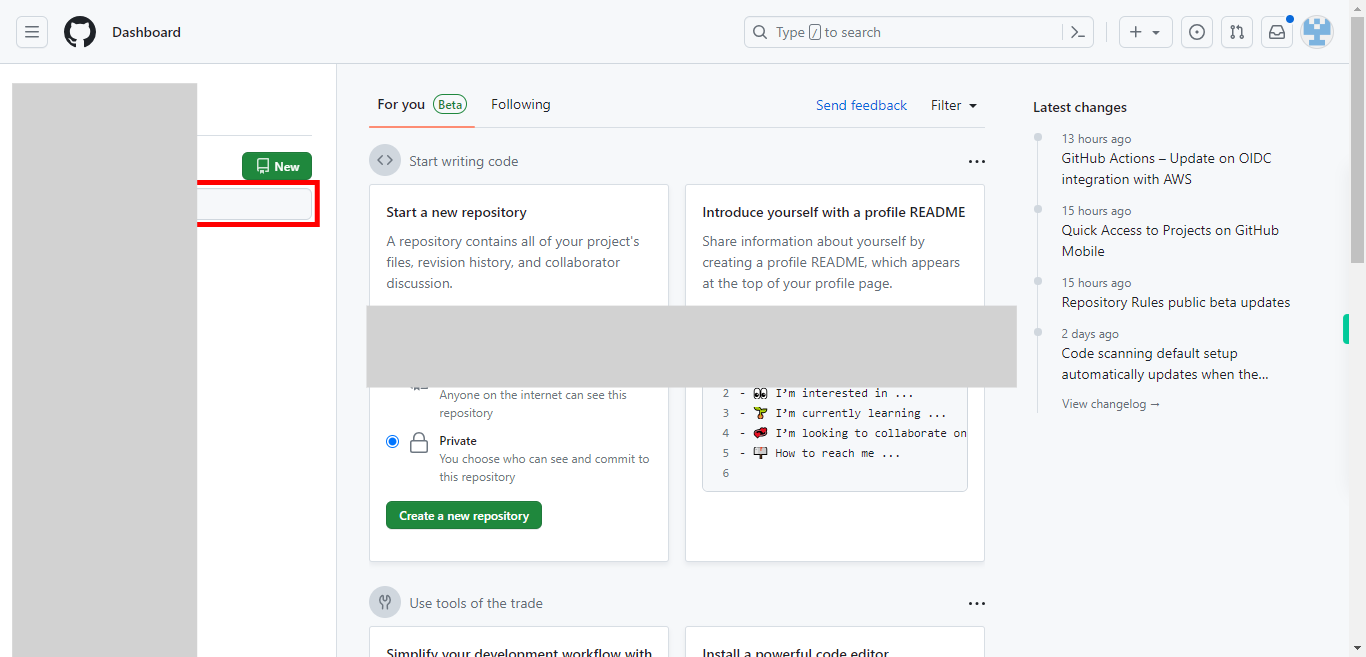
To navigate to the repository where you want to create the new release. Type in the repository name in the search bar. Then click on the "Next" button in the Supervity instruction widget. Select the repository.
-
3.
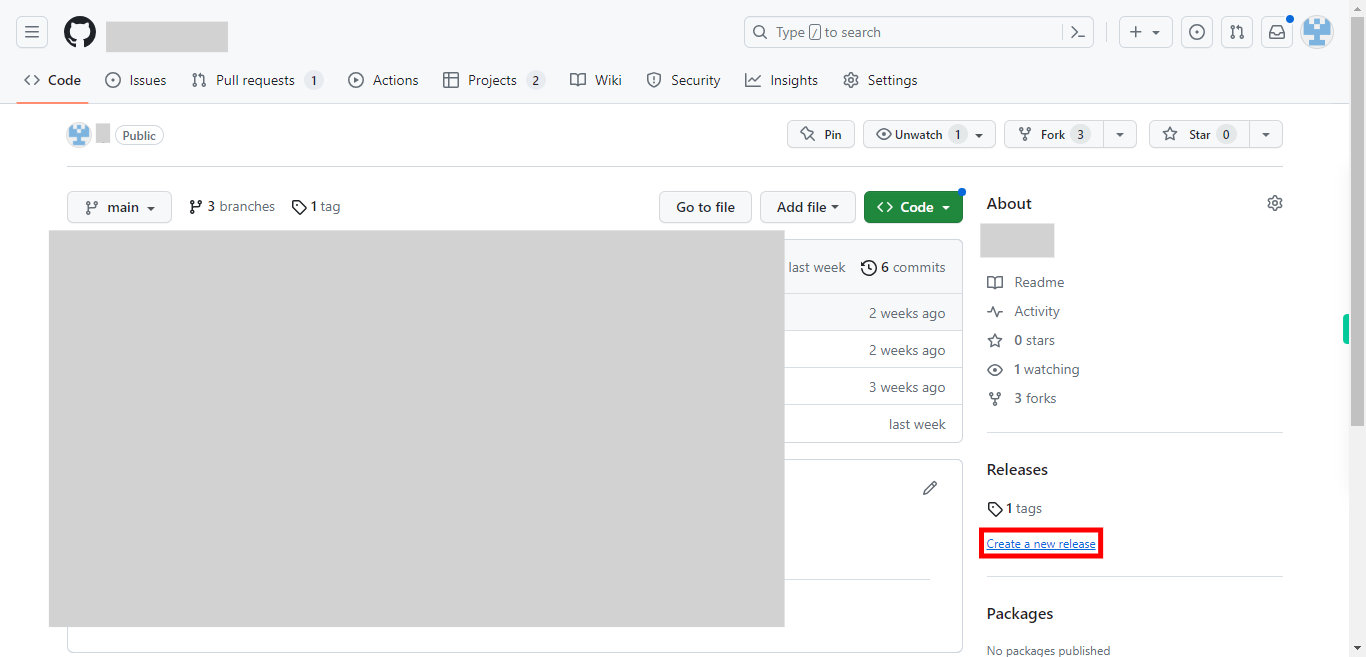
Once you are on the repository page search or locate the releases. Mostly it presents on the right side of the page above the packages. Click on the "Create a new release" link provided under the releases. This will take you to the release creation form.
-
4.
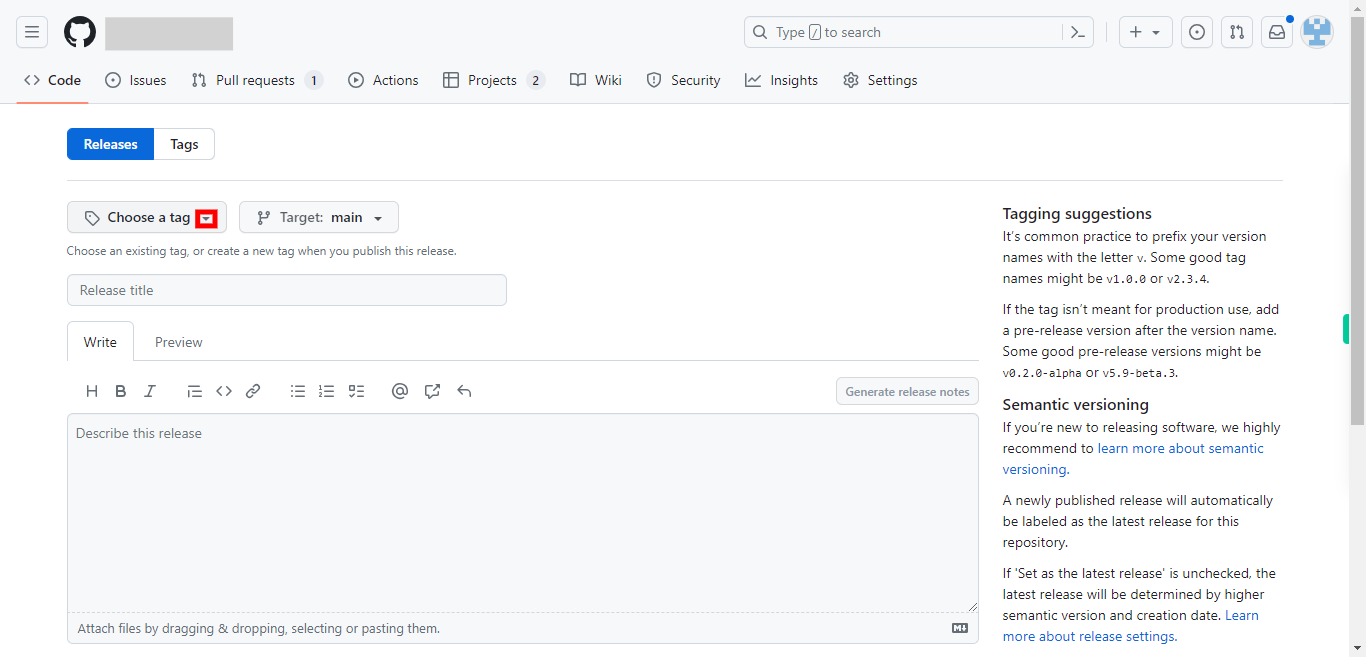
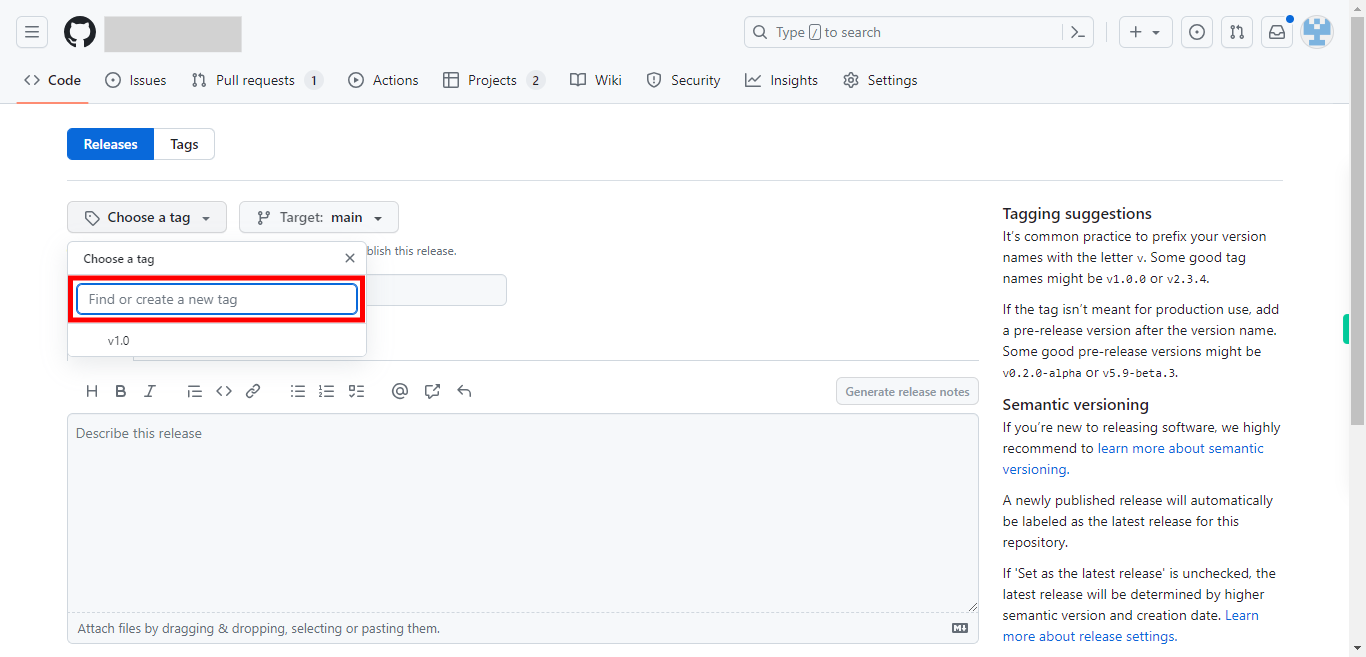
In the release creation form, you'll need to provide the information. Click on the "Choose a tag" drop-down.
-
5.
Specify a version number for your release. It's common to use semantic versioning (e.g., 1.0.0) to indicate the significance of the release. Provide the version number in the text box, to create that tag. Then click on the "Next" button in the Supervity instruction widget.
-
6.
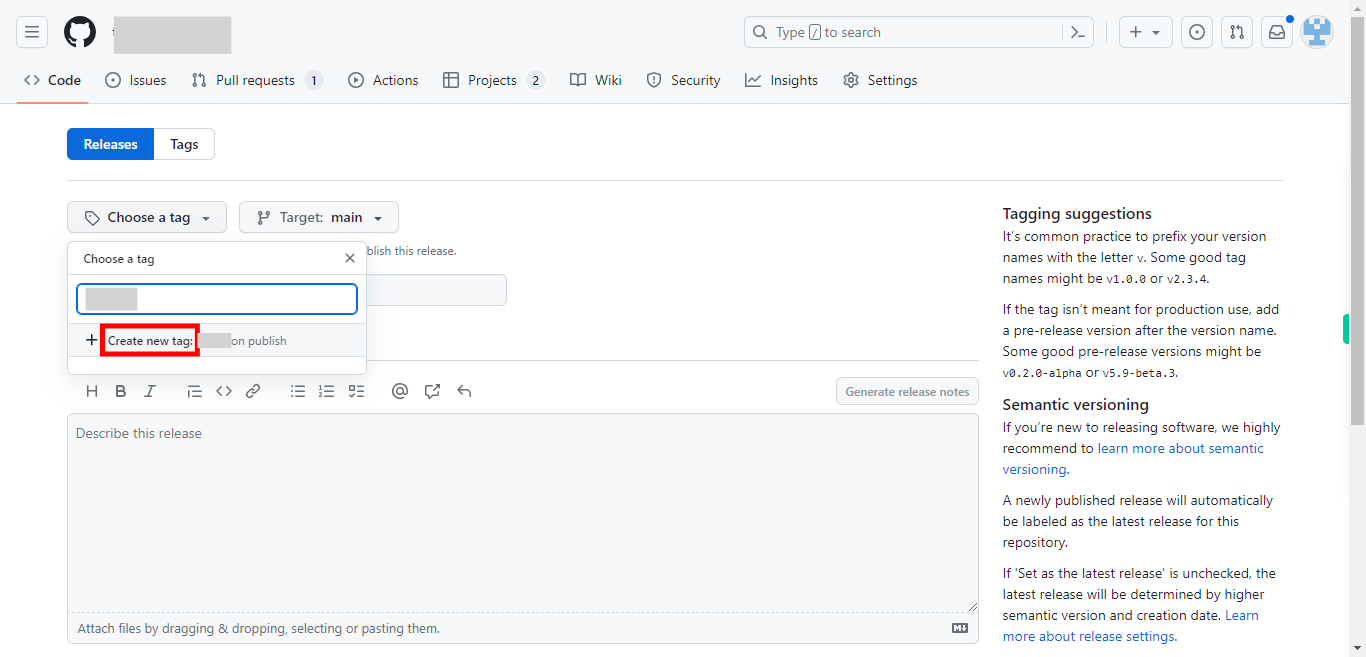
Once you enter the tag or the version number, click on the " + Create new tag" text highlighted below the provided version number.
-
7.
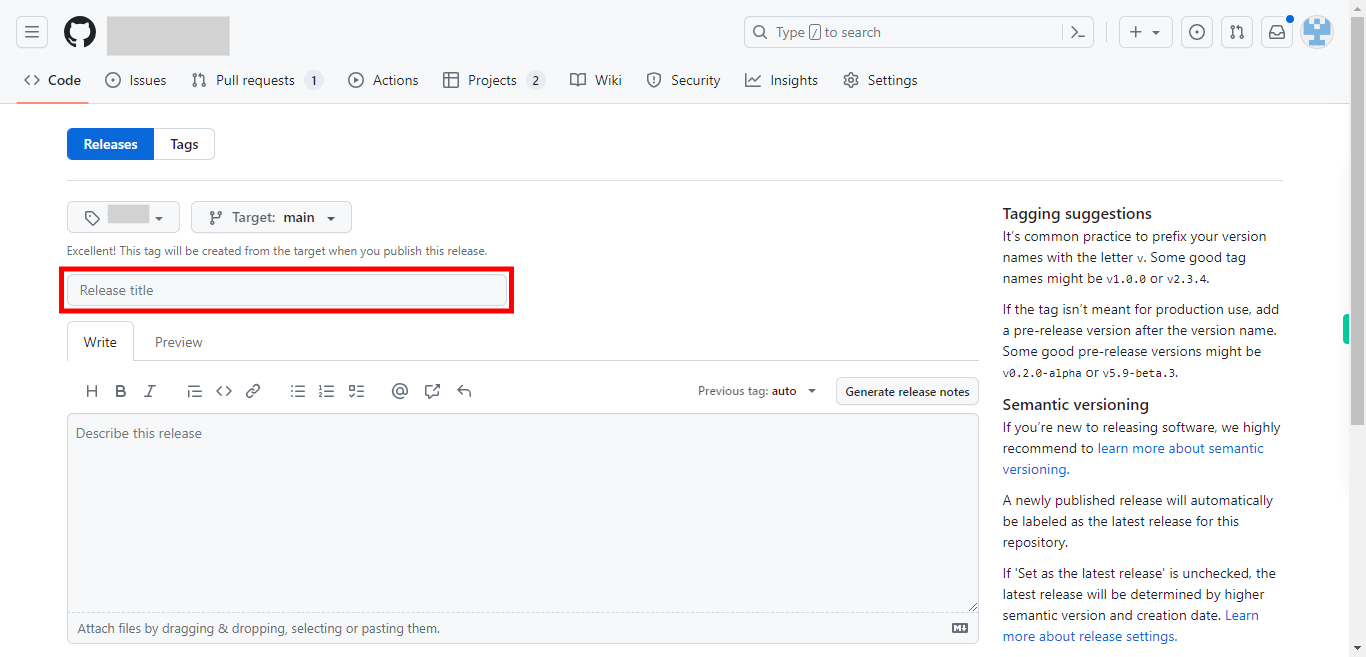
Enter a descriptive title for your release. This could include the version number or any other relevant information. Then click on the "Next" button in the Supervity instruction widget.
-
8.
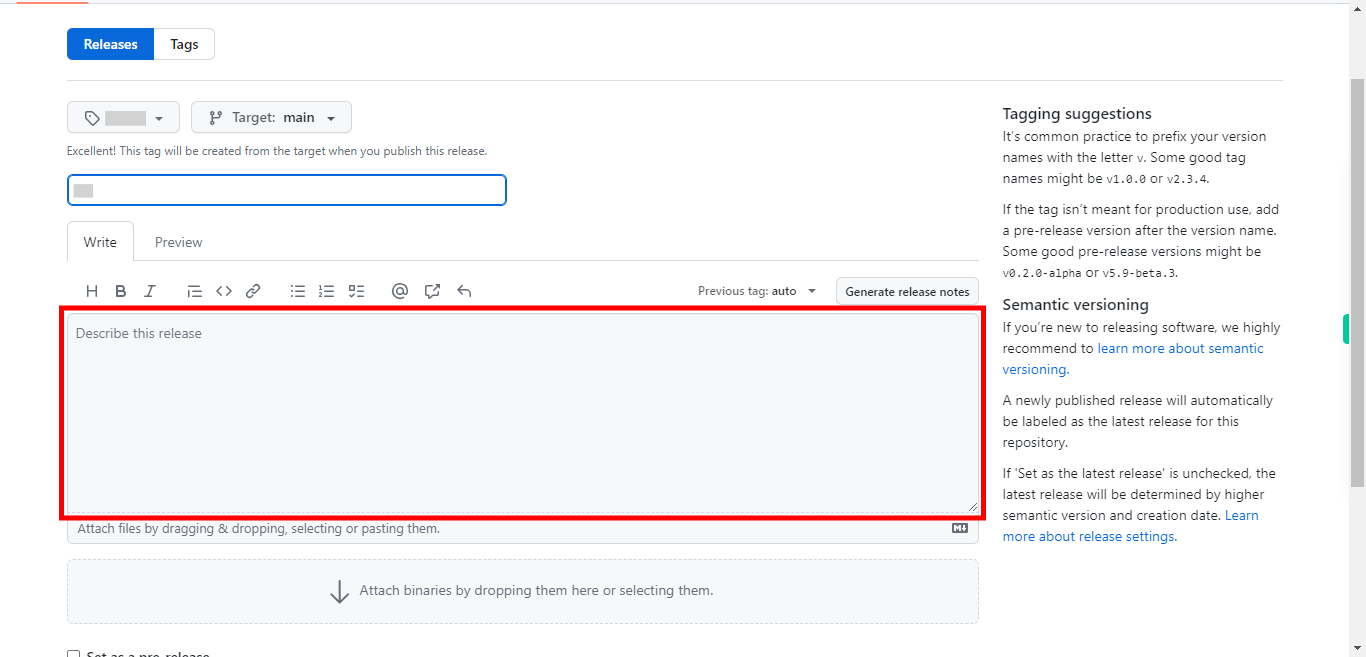
Write a detailed description of the release. You can include information such as new features, bug fixes, known issues, or any other relevant updates. Then click on the "Next" button in the Supervity instruction widget.
-
9.
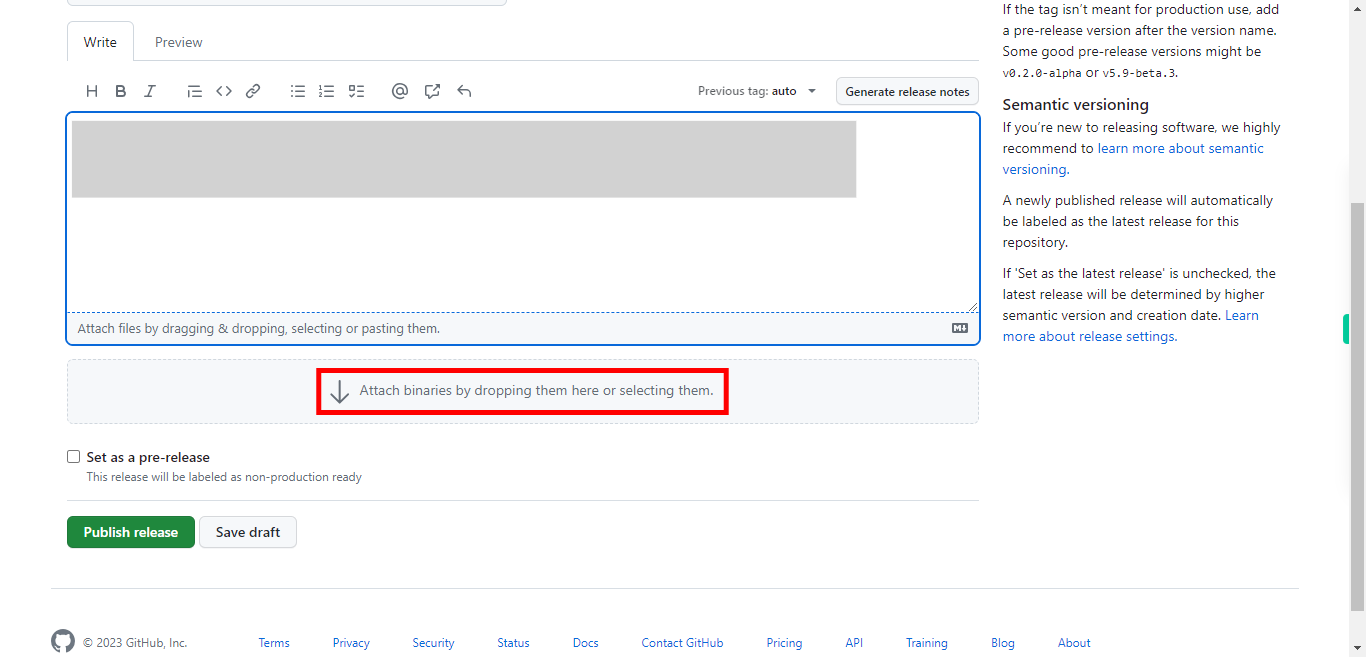
Optionally, you can attach files to your release. These could be compiled binaries, installation packages, documentation, or any other files that are relevant to the release. NOTE: If you had any code ensure to upload only the compressed folder. Then click on the "Next" button in the Supervity instruction widget. Else click on "Next" and skip this step.
-
10.
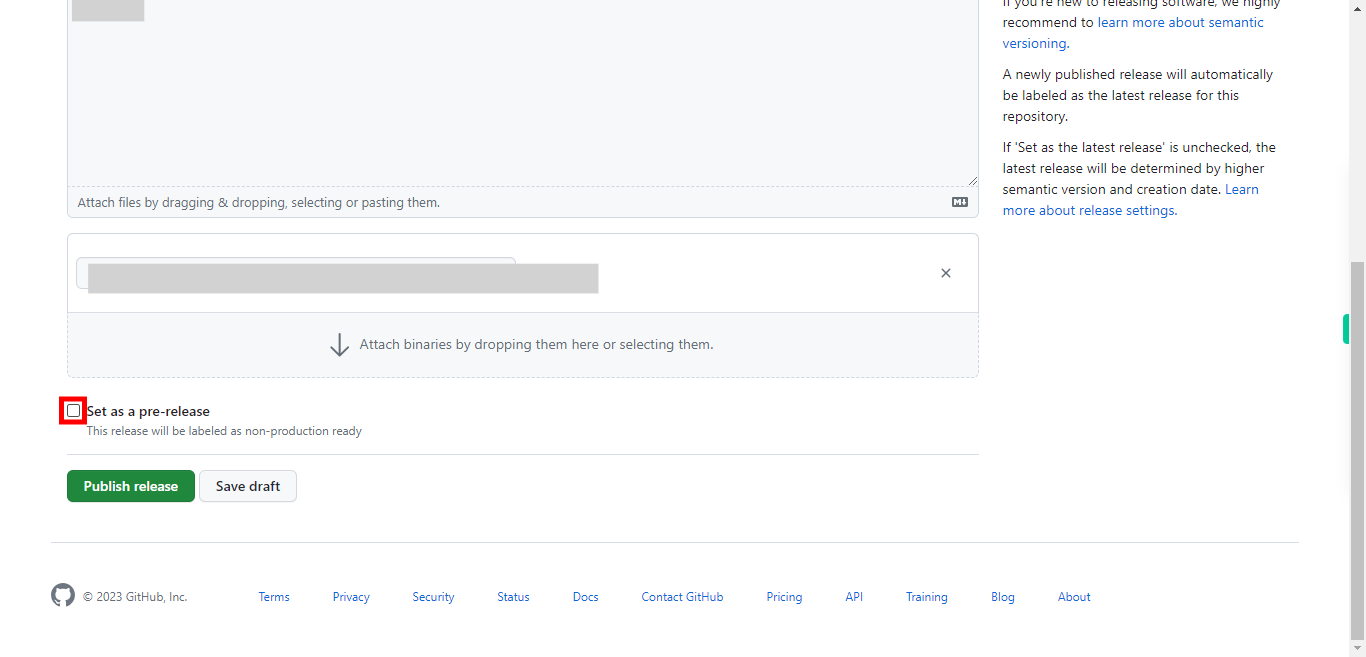
Check the "Set as a pre-release" checkbox. Then click on the "Next" button in the Supervity instruction widget.
-
11.
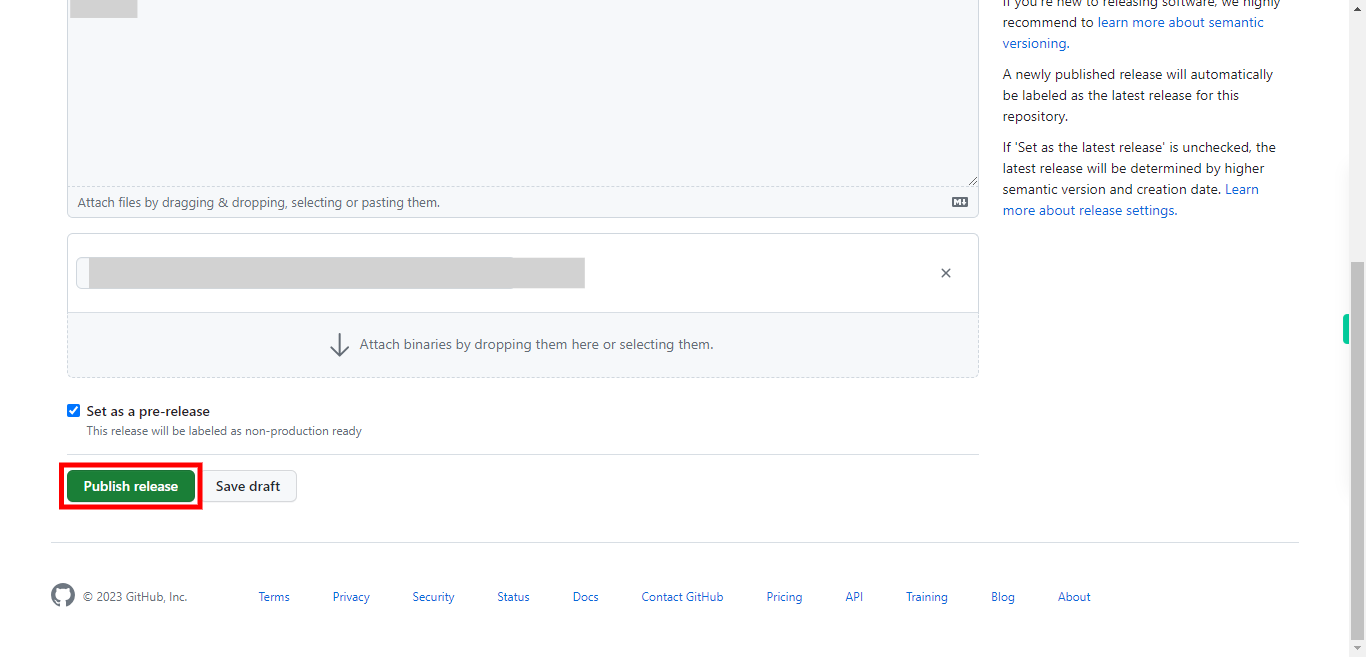
Once you have provided all the necessary information, click on the "Publish release" button at the bottom of the page. This will create the new release and make it available to users. After publishing the release, you'll be redirected to the Releases page. Verify that the release is listed correctly with the provided information and attachments.


