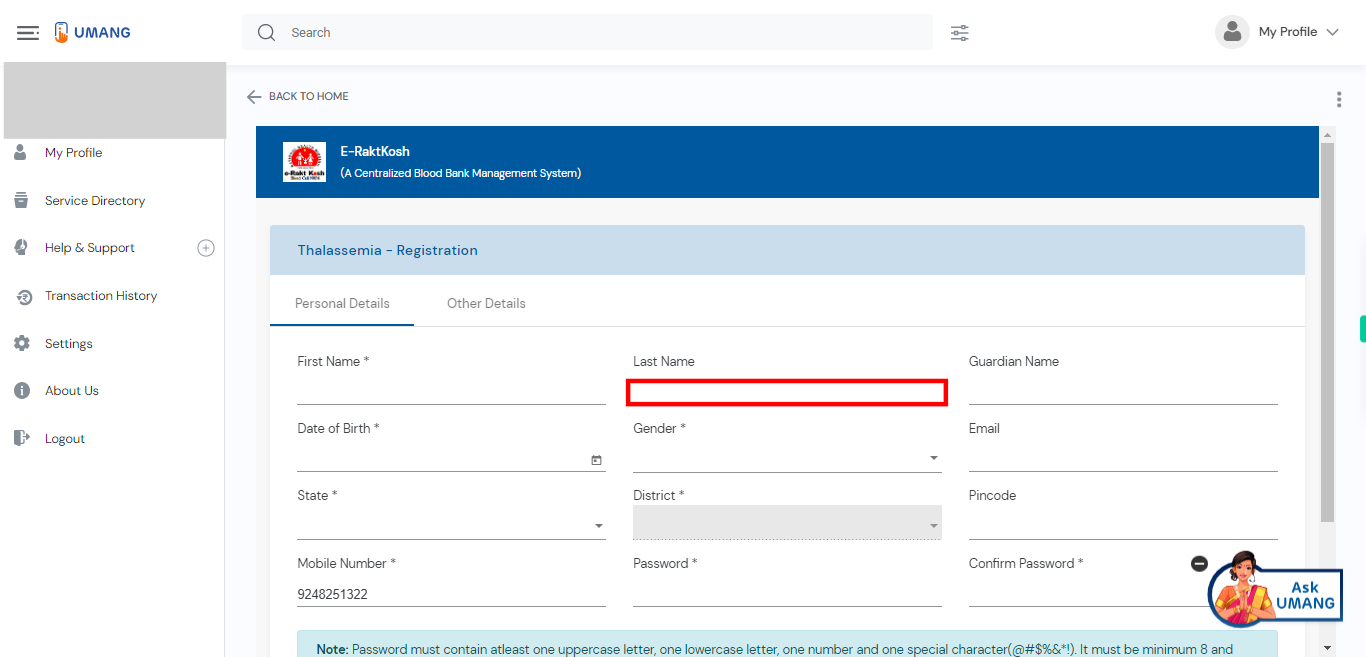
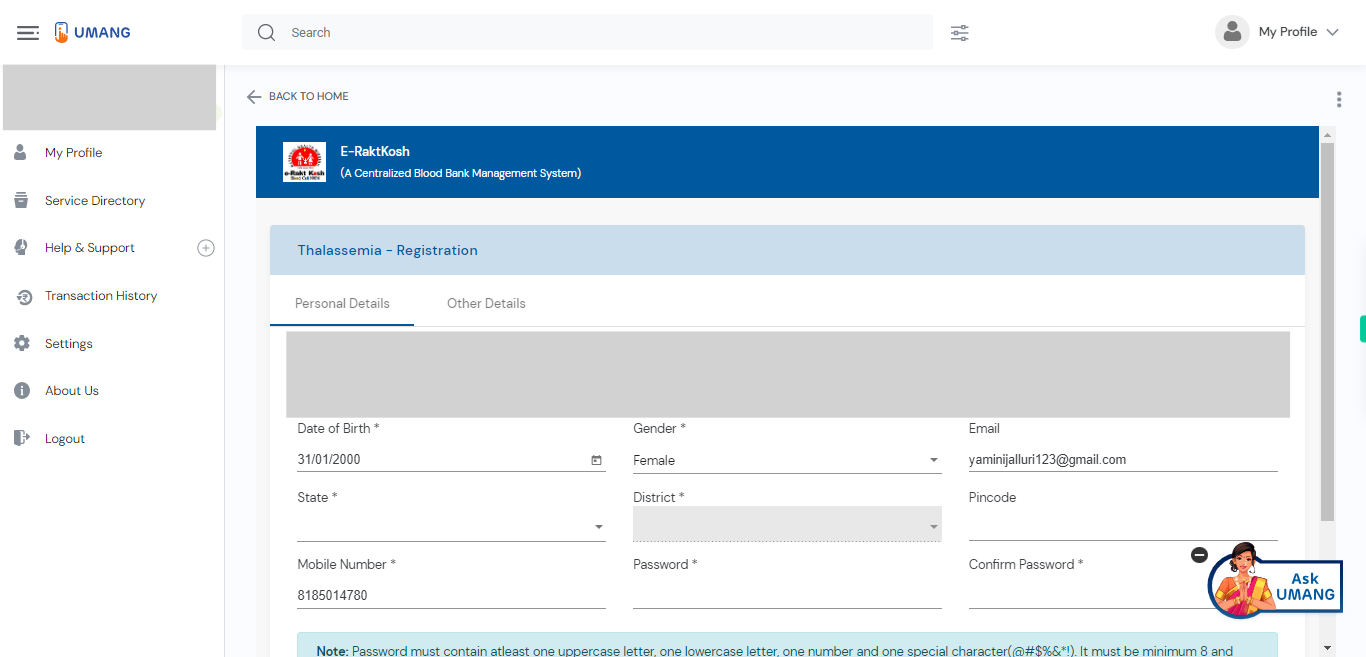
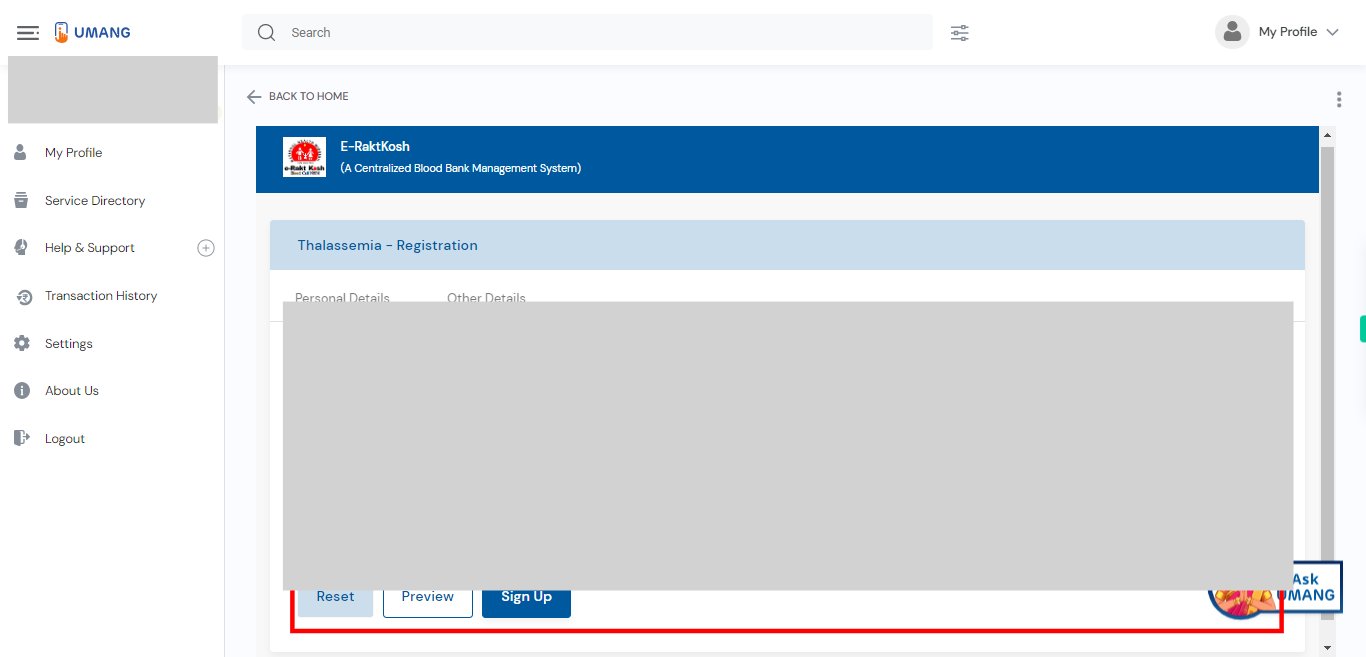
This skill shows the steps to be followed to create an account blood bank account in UMANG[NOTE: Please make sure that log in to the UMANG website before playing the skill].
-
1.
Open UMANG - One App, Many Government Services.
-
2.
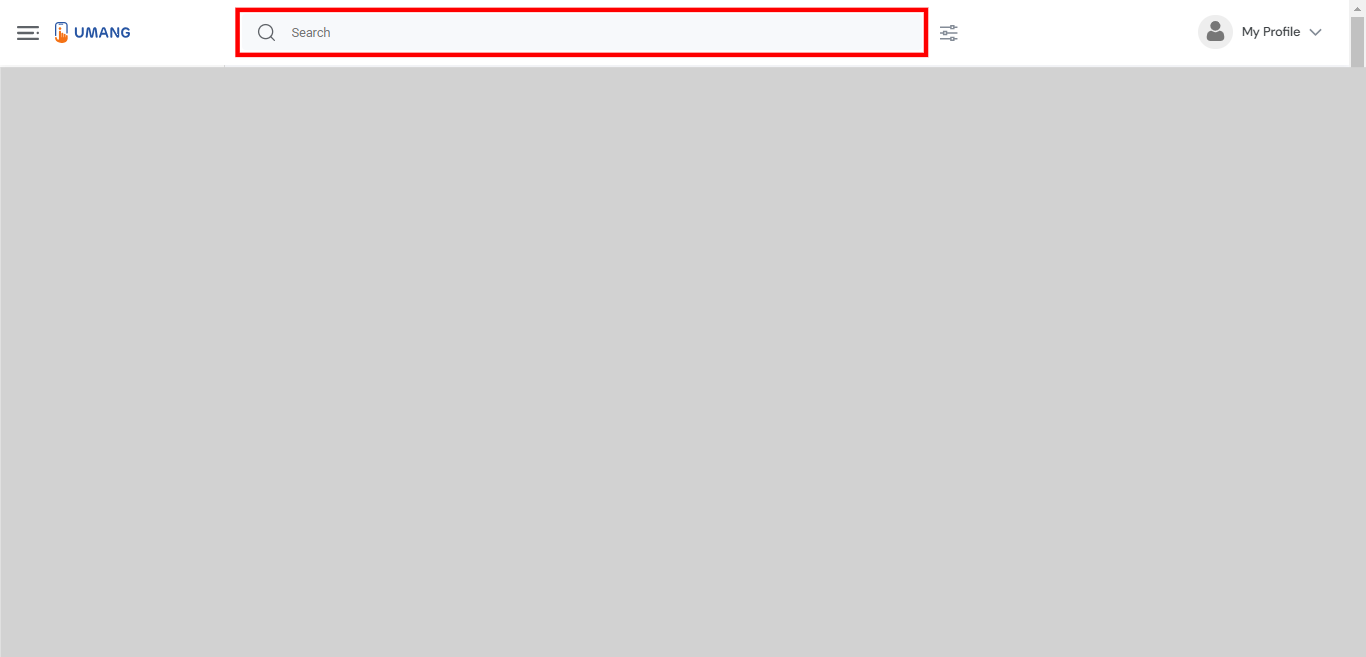
Tap on the search bar to activate it Type "e-RaktKosh" in the search bar. Once you have entered the search query, tap on the "Enter" key on the keyboard. Click on the "Next" button on the Supervity instruction widget.
-
3.
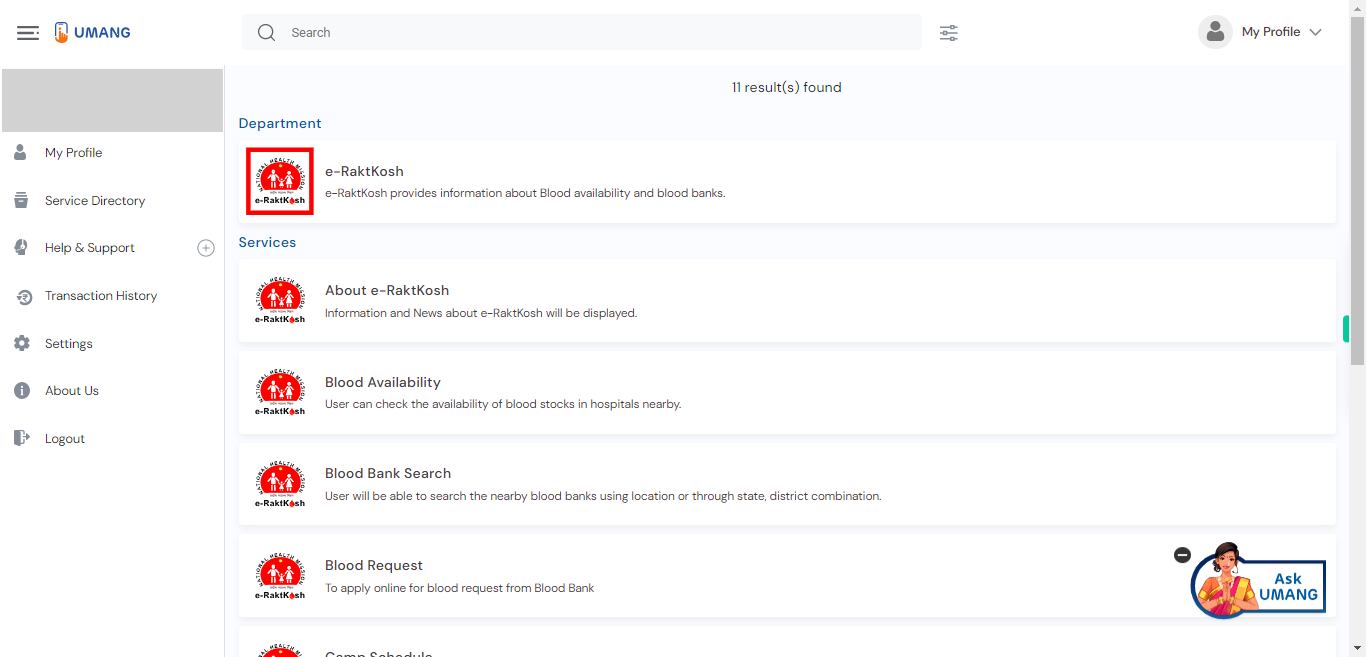
UMANG will process your search query and display the search results related to "e-RaktKosh" Select the top most search result.
-
4.
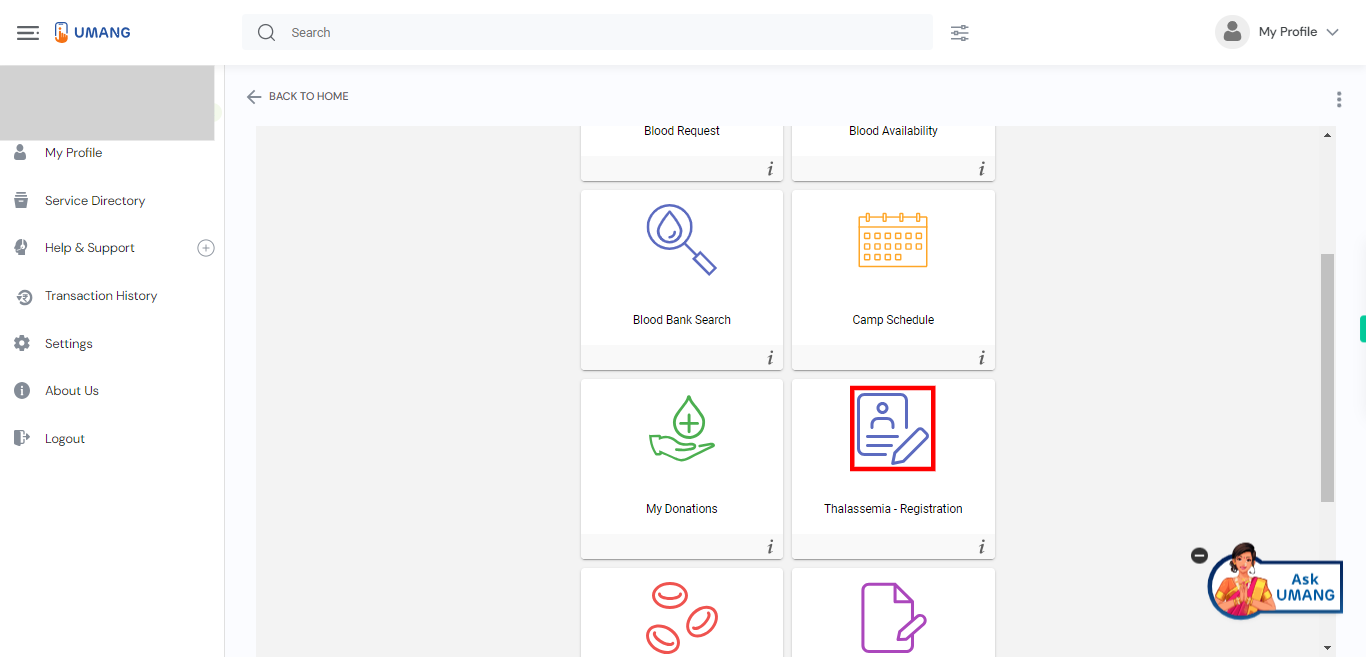
select the "registration" option from the list of services. This can be used to create a new user in the blood bank account.
-
5.
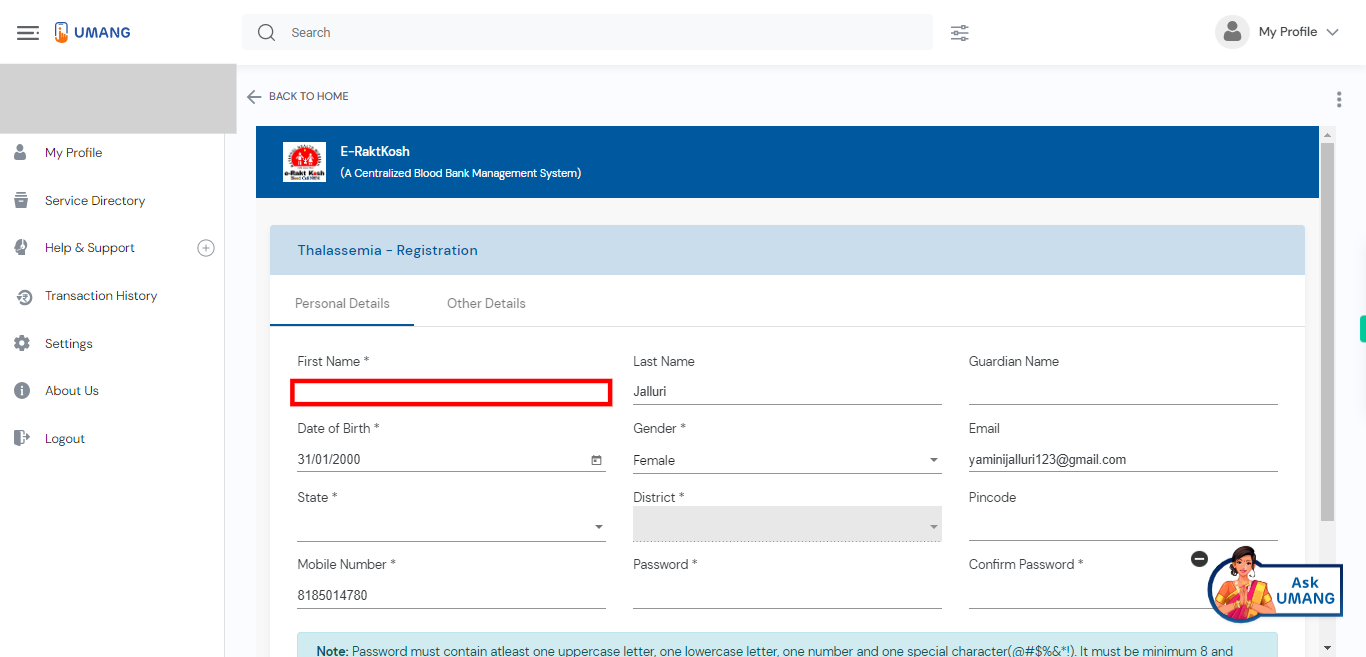
Enter your first name including (first name + middle name) Click on the "Next" button on the Supervity instruction widget.
-
6.
Enter your Last name means the surname. Click on the "Next" button on the Supervity instruction widget.
-
7.
Enter your guardian's name it helps to reach you in cases of any emergency. Click on the "Next" button on the Supervity instruction widget.
-
8.
Select your date of birth using the calendar widget. Click on the "Next" button on the Supervity instruction widget.
-
9.
Choose your gender from the options provided. Click on the "Next" button on the Supervity instruction widget.
-
10.
Enter your email address. Click on the "Next" button on the Supervity instruction widget.
-
11.
Please choose your state from the provided list of options. Click on the "Next" button on the Supervity instruction widget.
-
12.
Please select your district from the available options. Click on the "Next" button on the Supervity instruction widget.
-
13.
Enter the pin code specific to your location. Click on the "Next" button on the Supervity instruction widget.
-
14.
Enter your mobile number in the provided field. The mobile number is a unique numerical identifier associated with your mobile device. Click on the "Next" button on the Supervity instruction widget.
-
15.
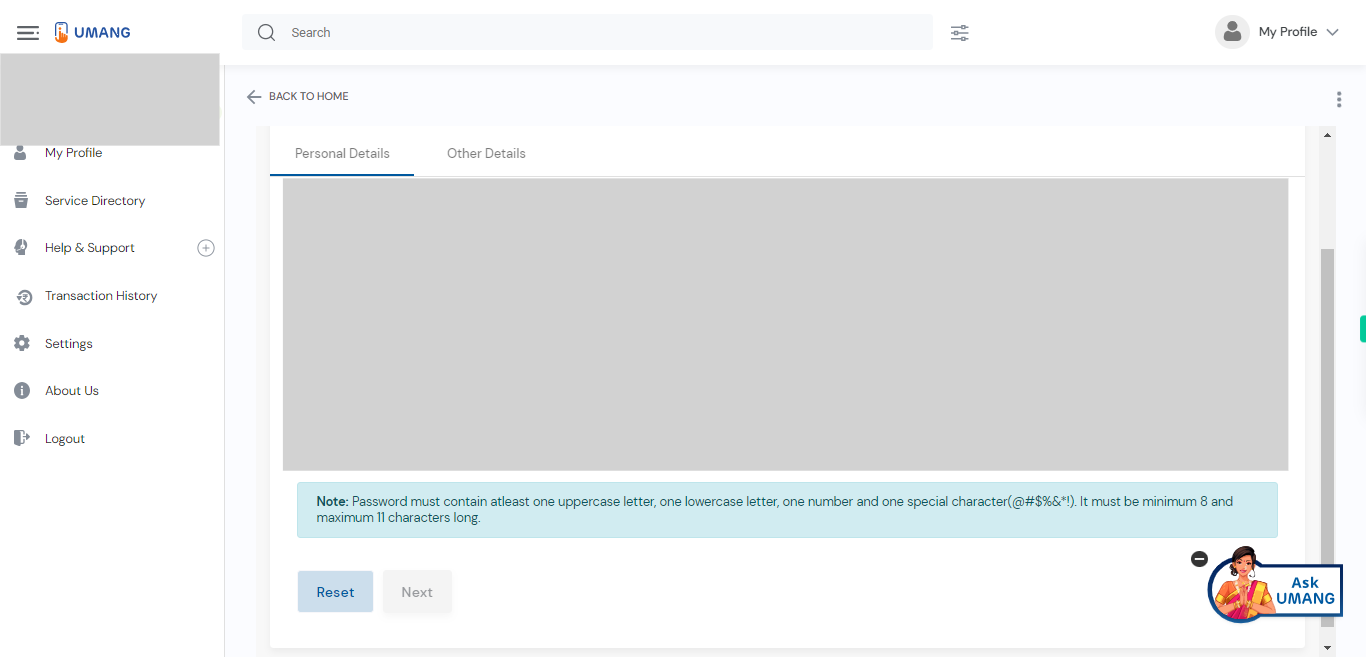
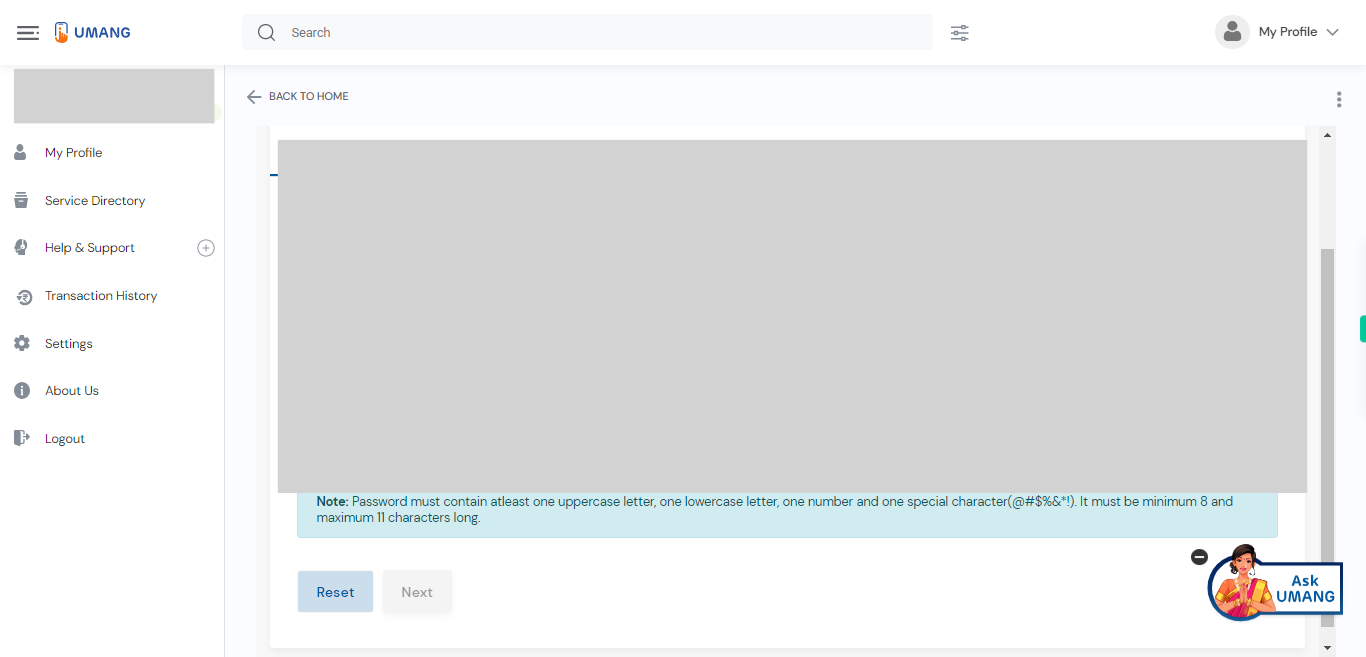
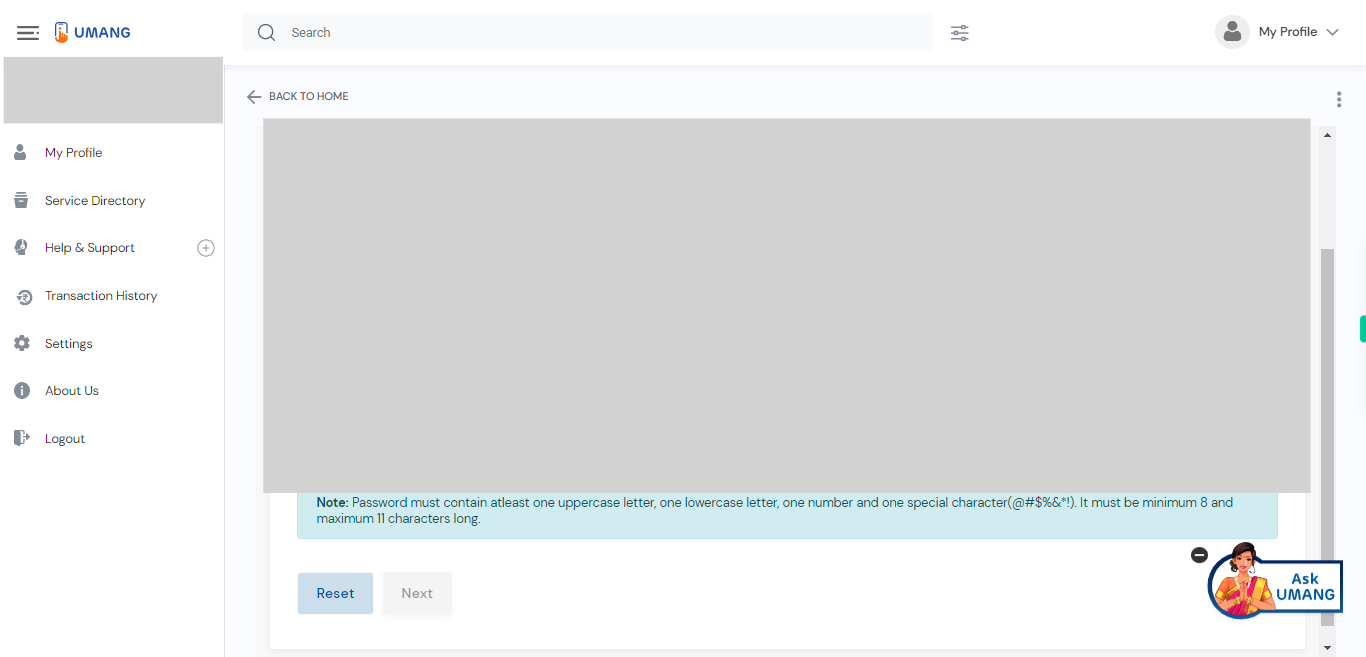
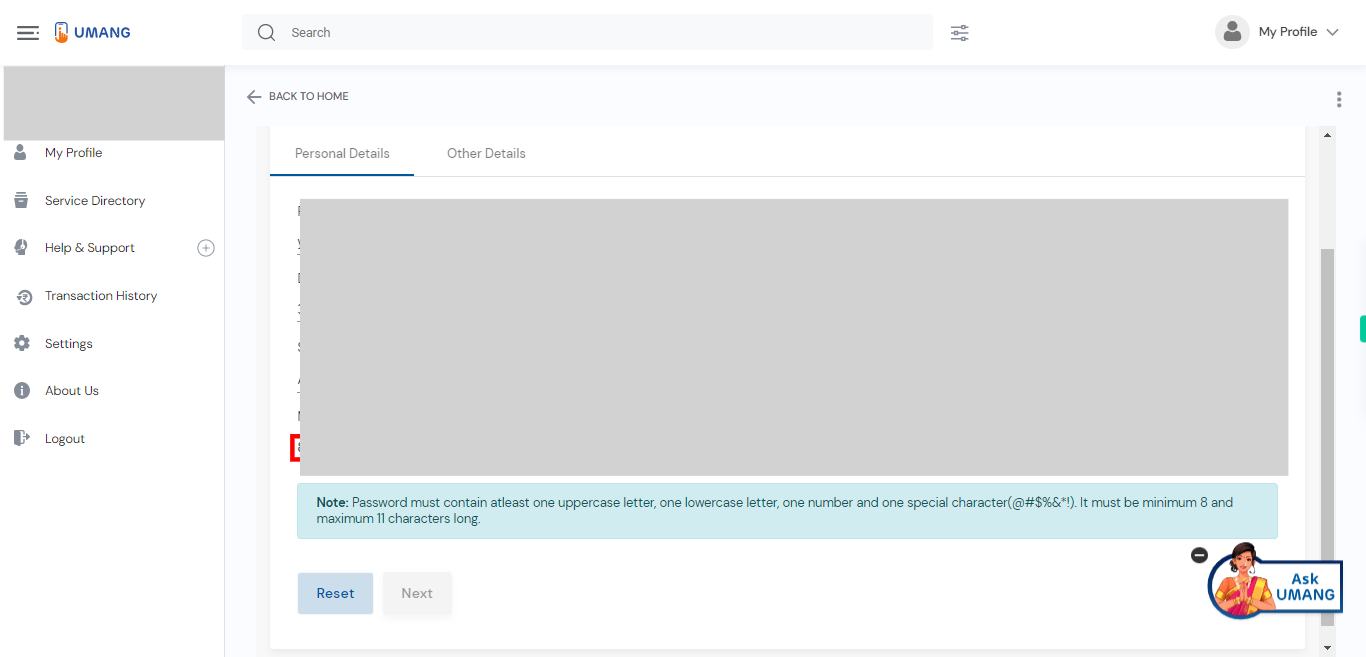
Create a password for the blood bank account that contains at least one special character and Make sure your password is at least 8 -11 characters long. Click on the "Next" button on the Supervity instruction widget.
-
16.
Type your password again in the provided field to confirm it. Click on the "Next" button on the Supervity instruction widget.
-
17.
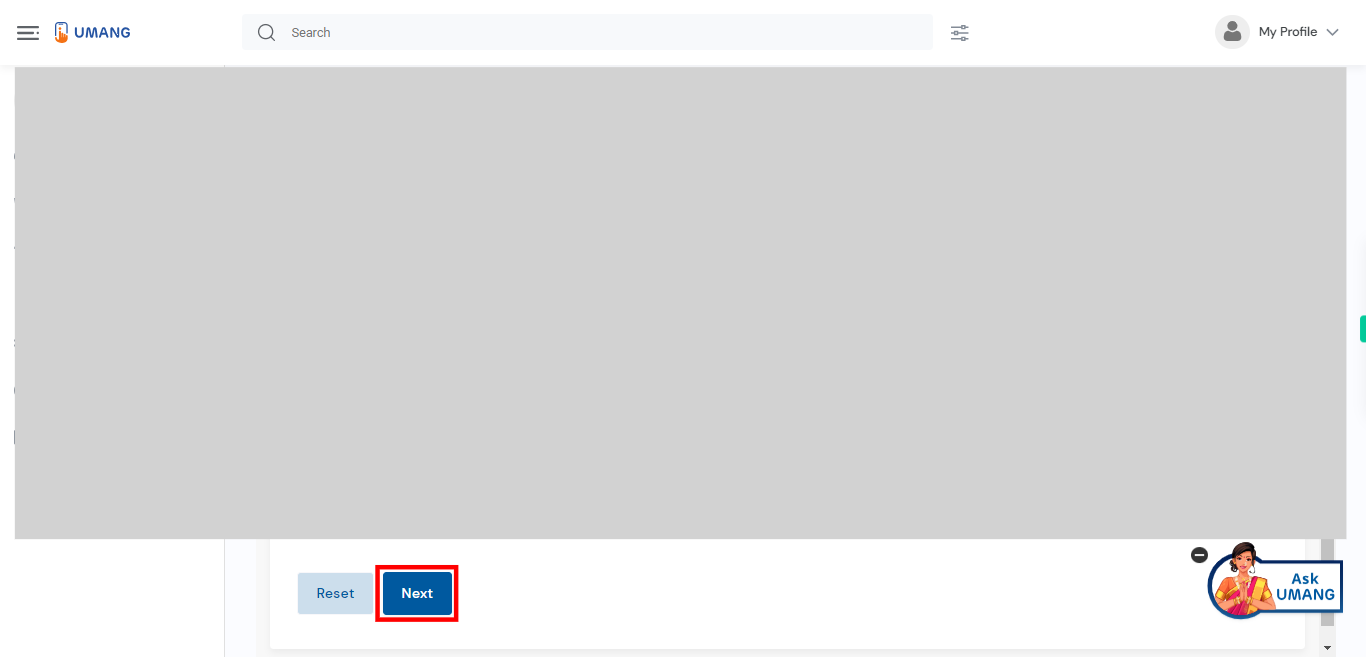
To proceed further, please click on the "Next" button. This button typically allows you to move forward to the next step or page in the process you are currently engaged in.
-
18.
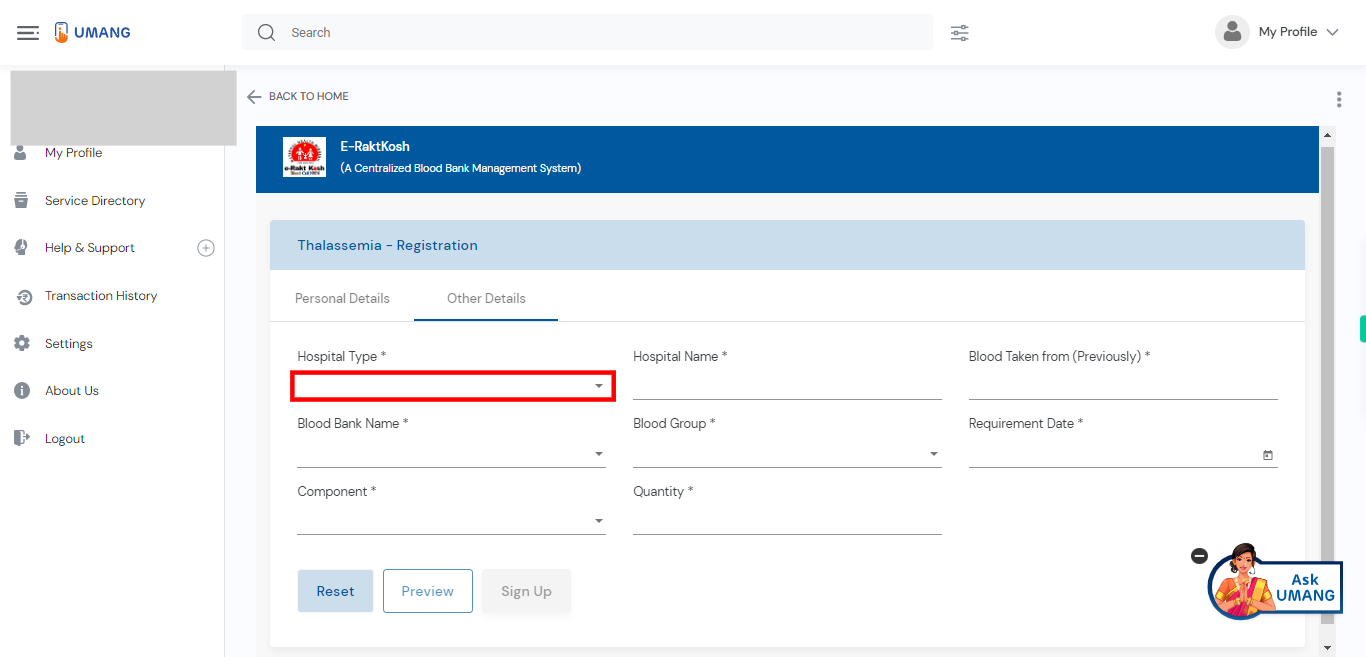
Select the type of hospital from the available options. Click on the "Next" button on the Supervity instruction widget.
-
19.
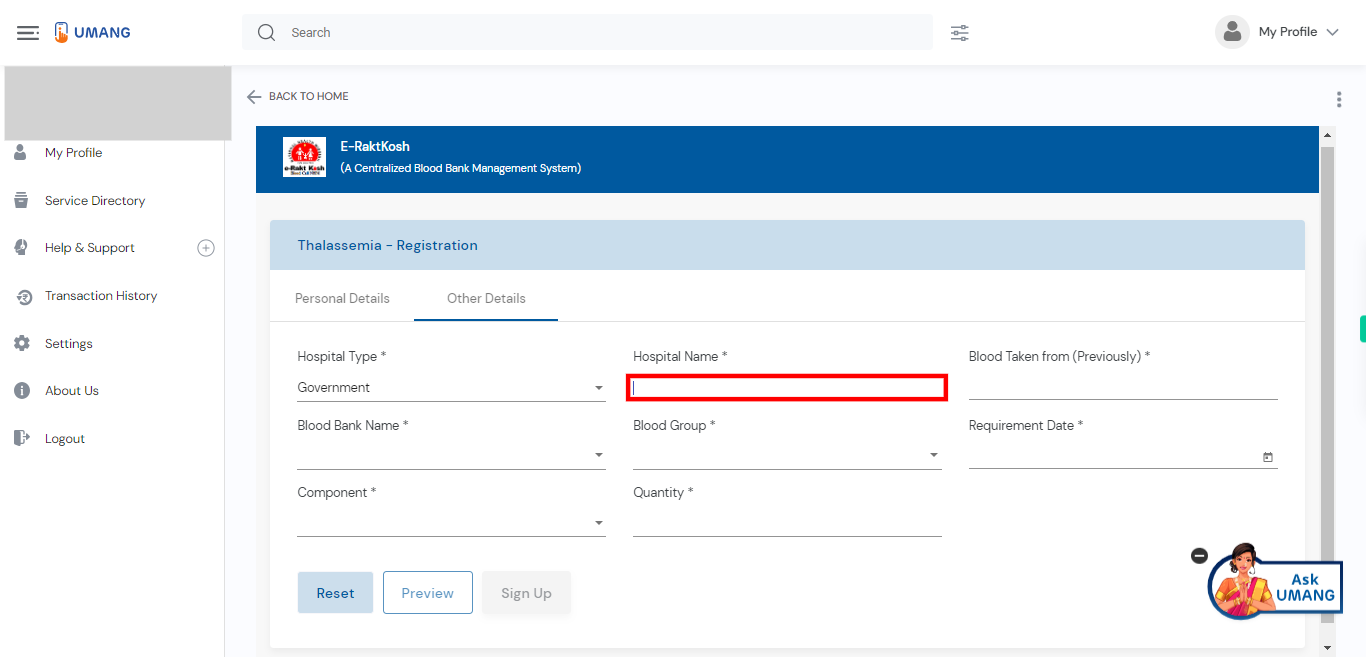
Please enter the name of the hospital in the provided field. The hospital name is the specific name or title given to a healthcare facility. Click on the "Next" button on the Supervity instruction widget.
-
20.
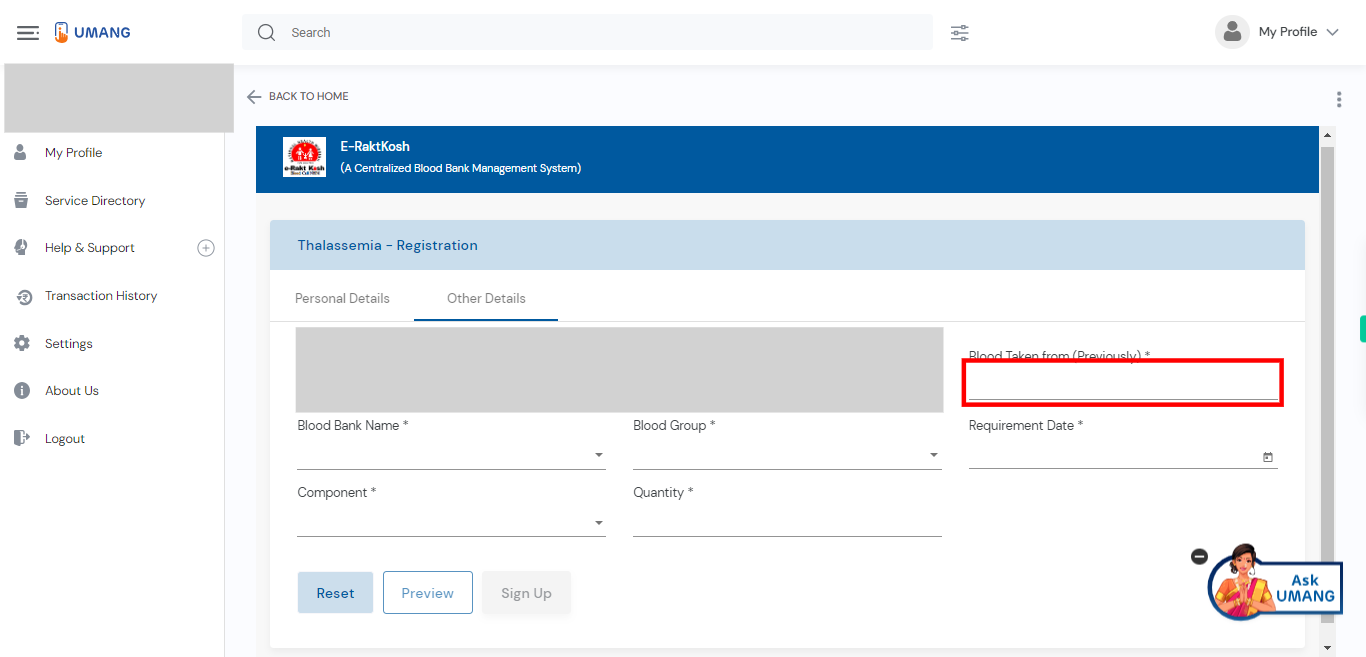
Where your Blood has been previously taken. Click on the "Next" button on the Supervity instruction widget.
-
21.
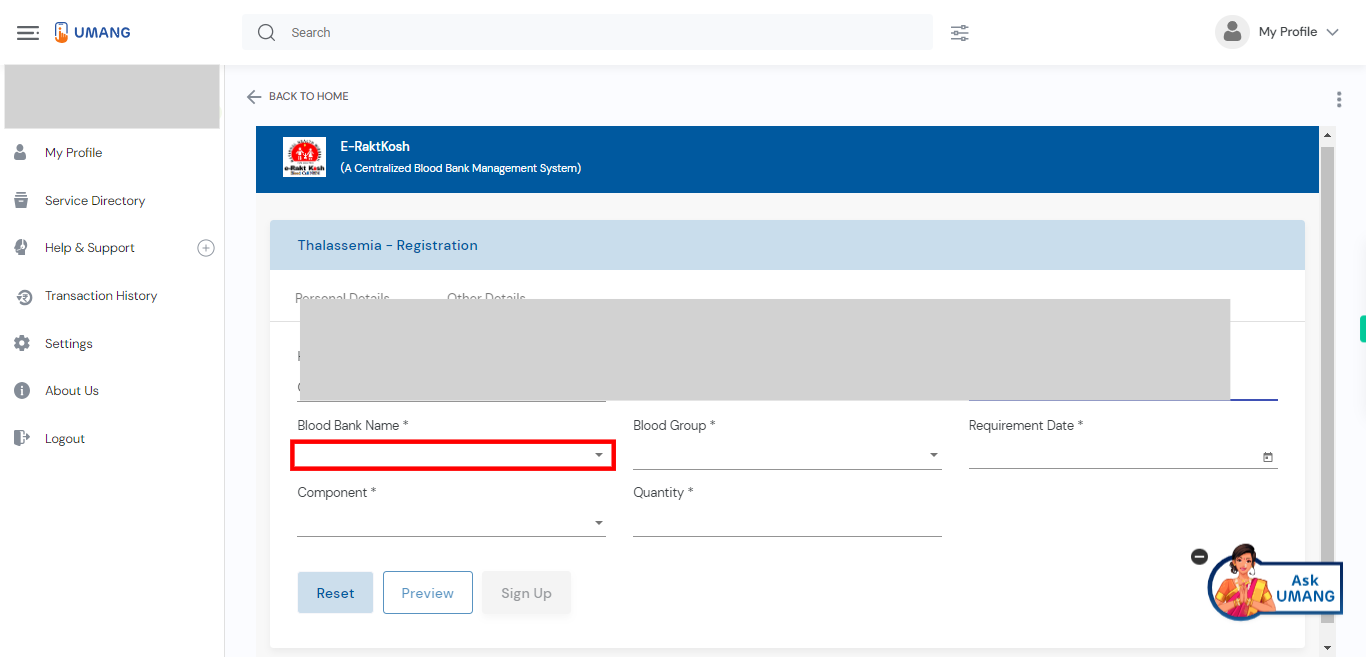
Please select the name of the blood bank from the available list. The list may include different blood banks with their respective names. Click on the "Next" button on the Supervity instruction widget.
-
22.
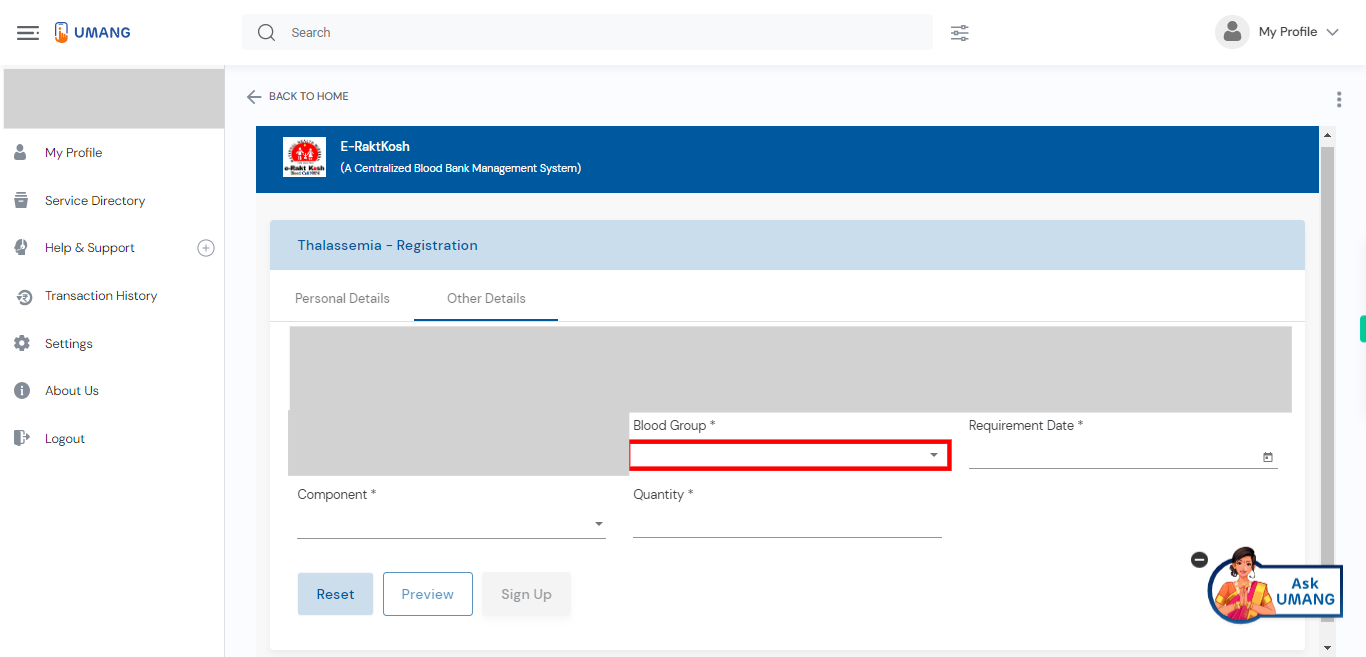
Please select the blood group of the patient from the available options. The options typically include blood groups such as A, B, AB, or O, along with their respective Rh factors (+ or -). Click on the "Next" button on the Supervity instruction widget.
-
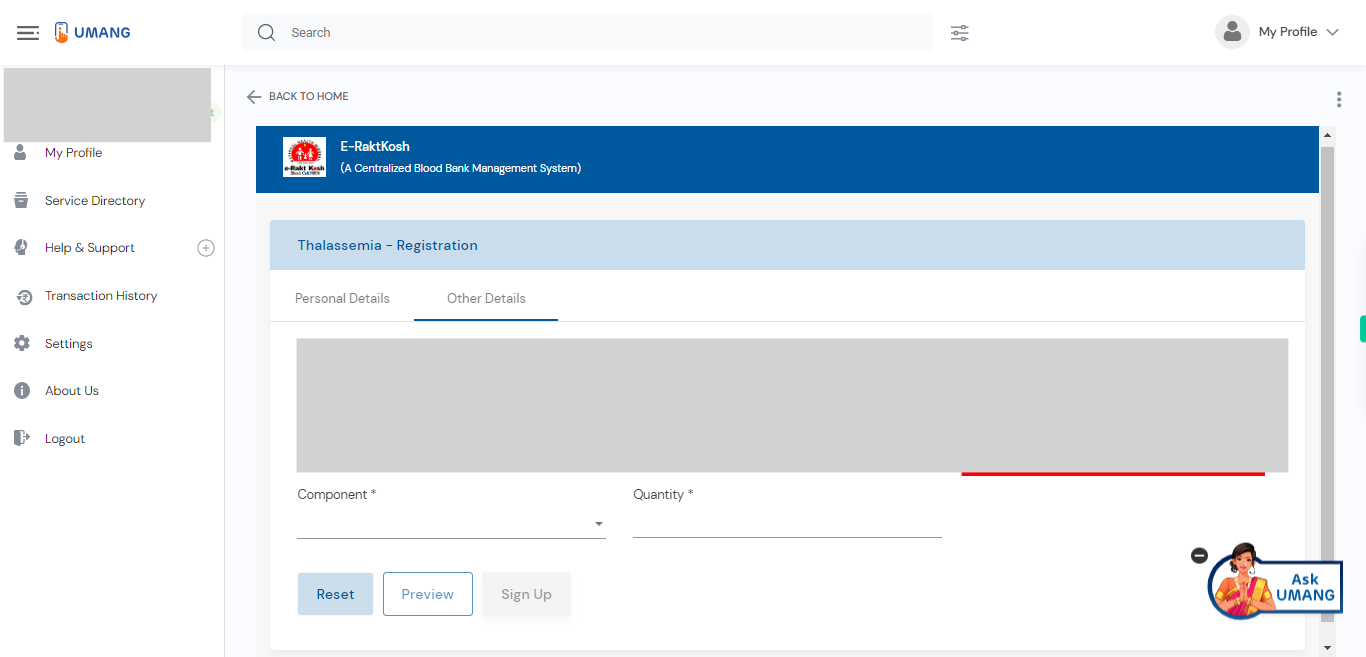
23.
Select the date for the blood requirement. Choose the appropriate date when the blood is needed for the patient. Click on the "Next" button on the Supervity instruction widget.
-
24.
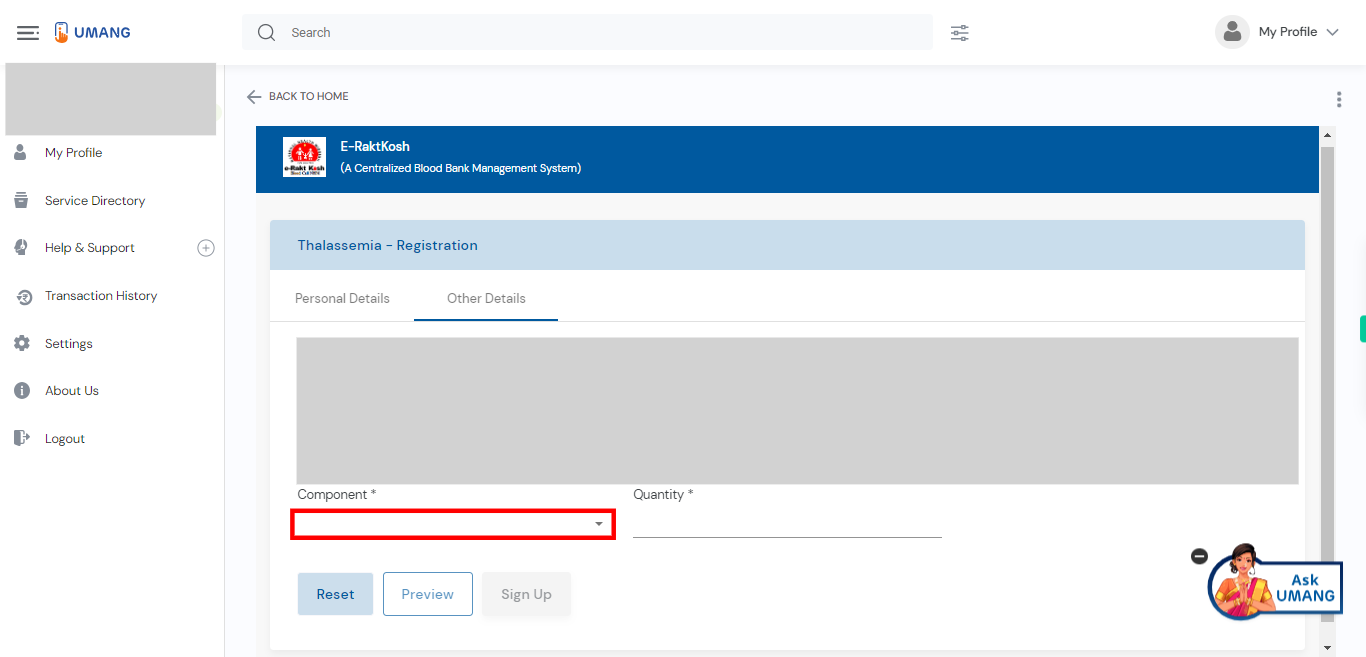
Select the desired component from the available list. The list may include various blood components such as whole blood, red blood cells (RBCs), platelets, plasma, or specific blood products. Click on the "Next" button on the Supervity instruction widget.
-
25.
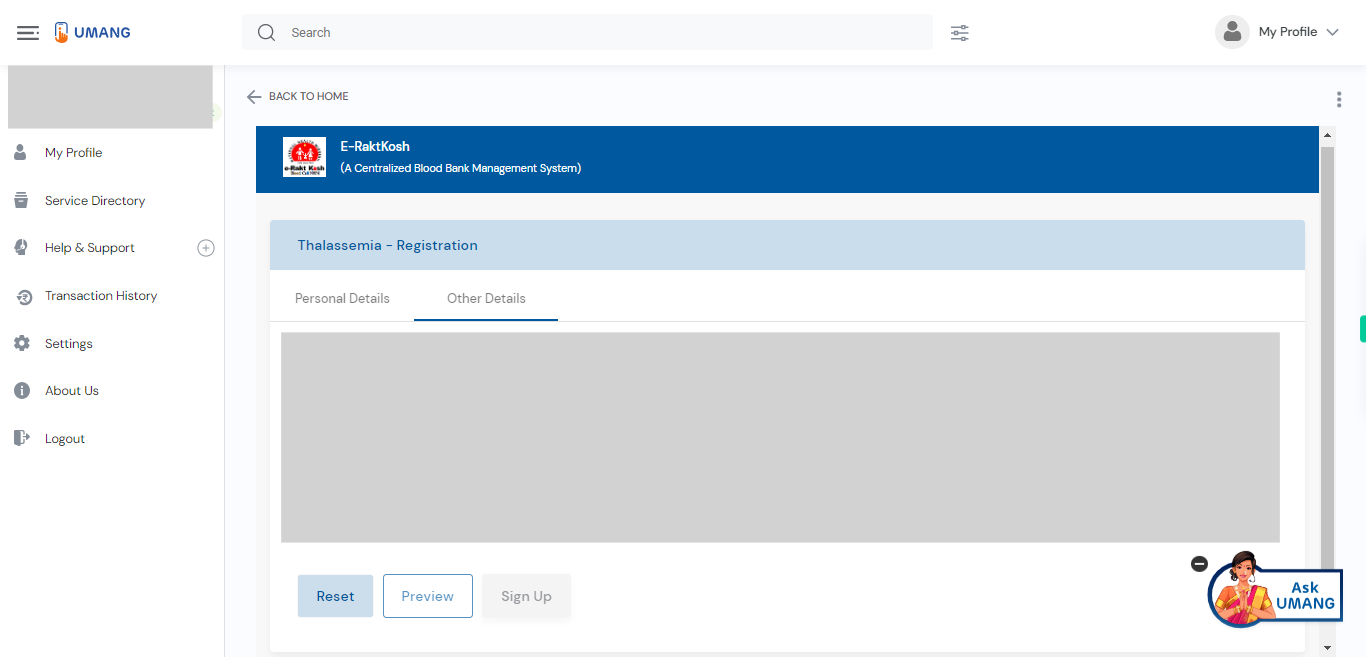
Please enter the quantity of the selected blood component in the provided field. Specify the numerical value representing the required quantity of the blood component. Click on the "Next" button on the Supervity instruction widget.
-
26.
To proceed with creating your account, click on the "Sign Up" button. By clicking this button, you will initiate the process of registering for a new account on the platform or website you are using.


