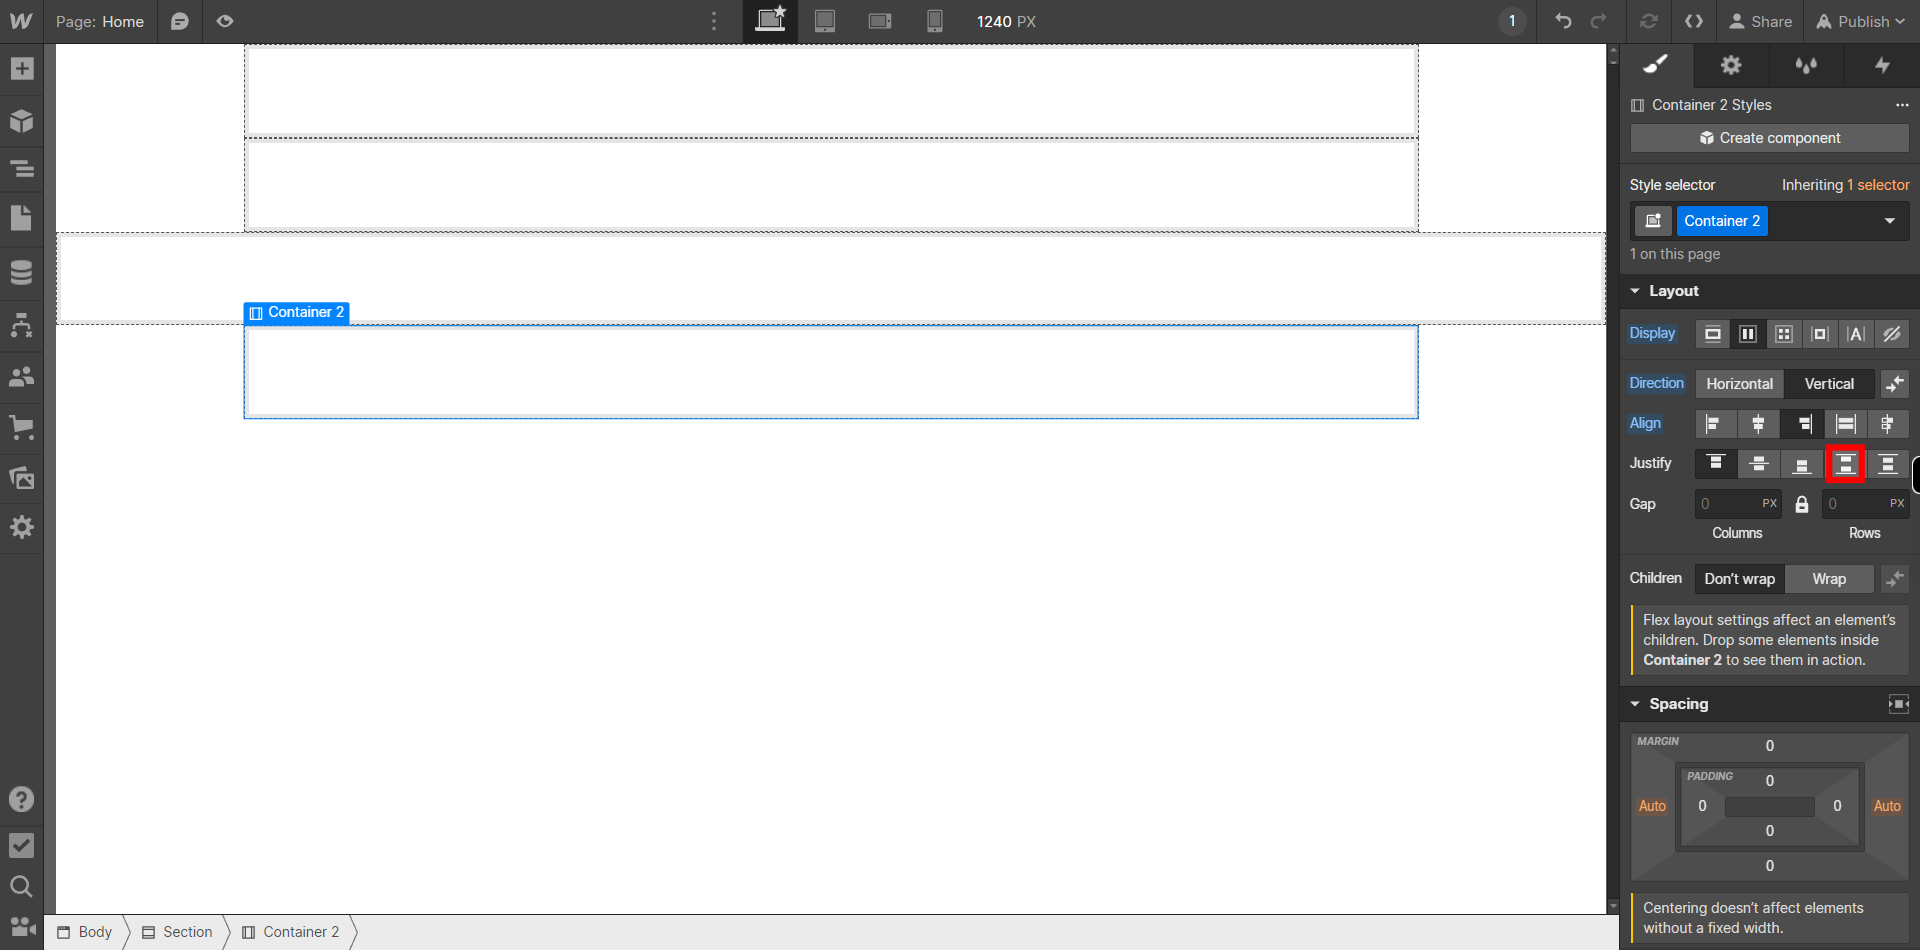
This skill shows the steps to be followed to create Flexbox layouts on Webflow. Prerequisites:To ensure that you have at least one project available in the Webflow dashboard. [NOTE: Please make sure that log in to Webflow website before playing the skill]
-
1.
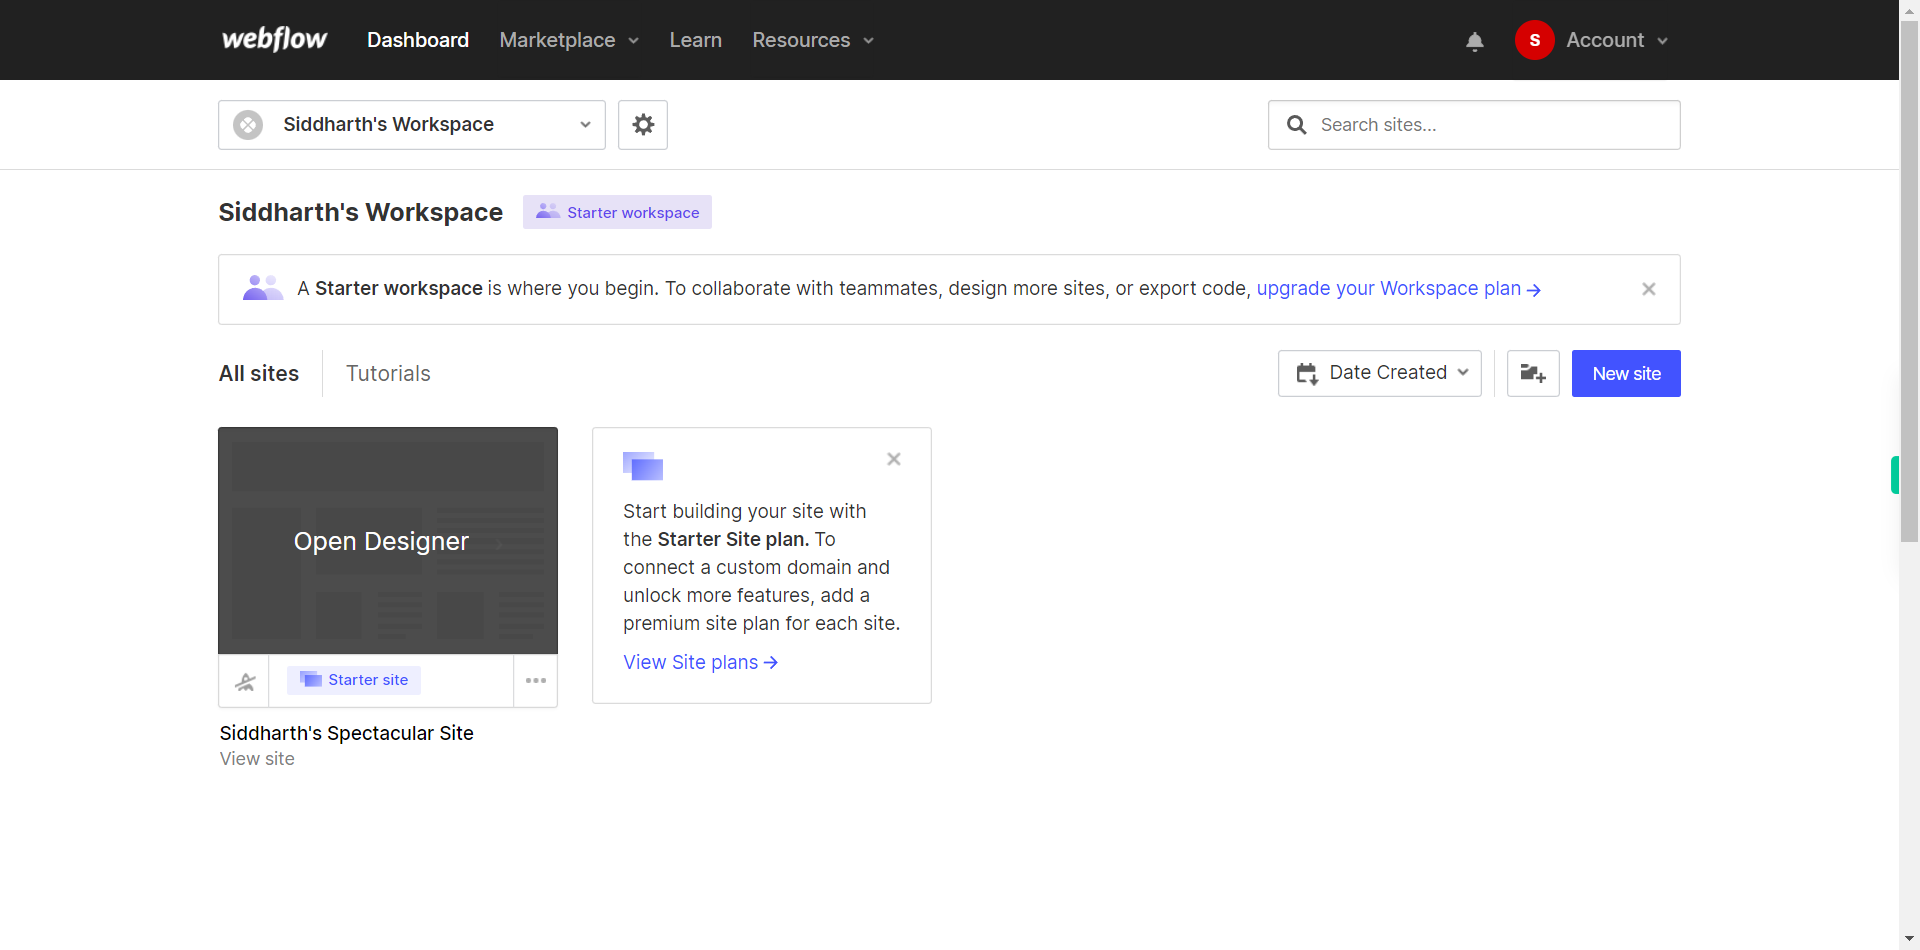
Open Webflow Dashboard.
-
2.
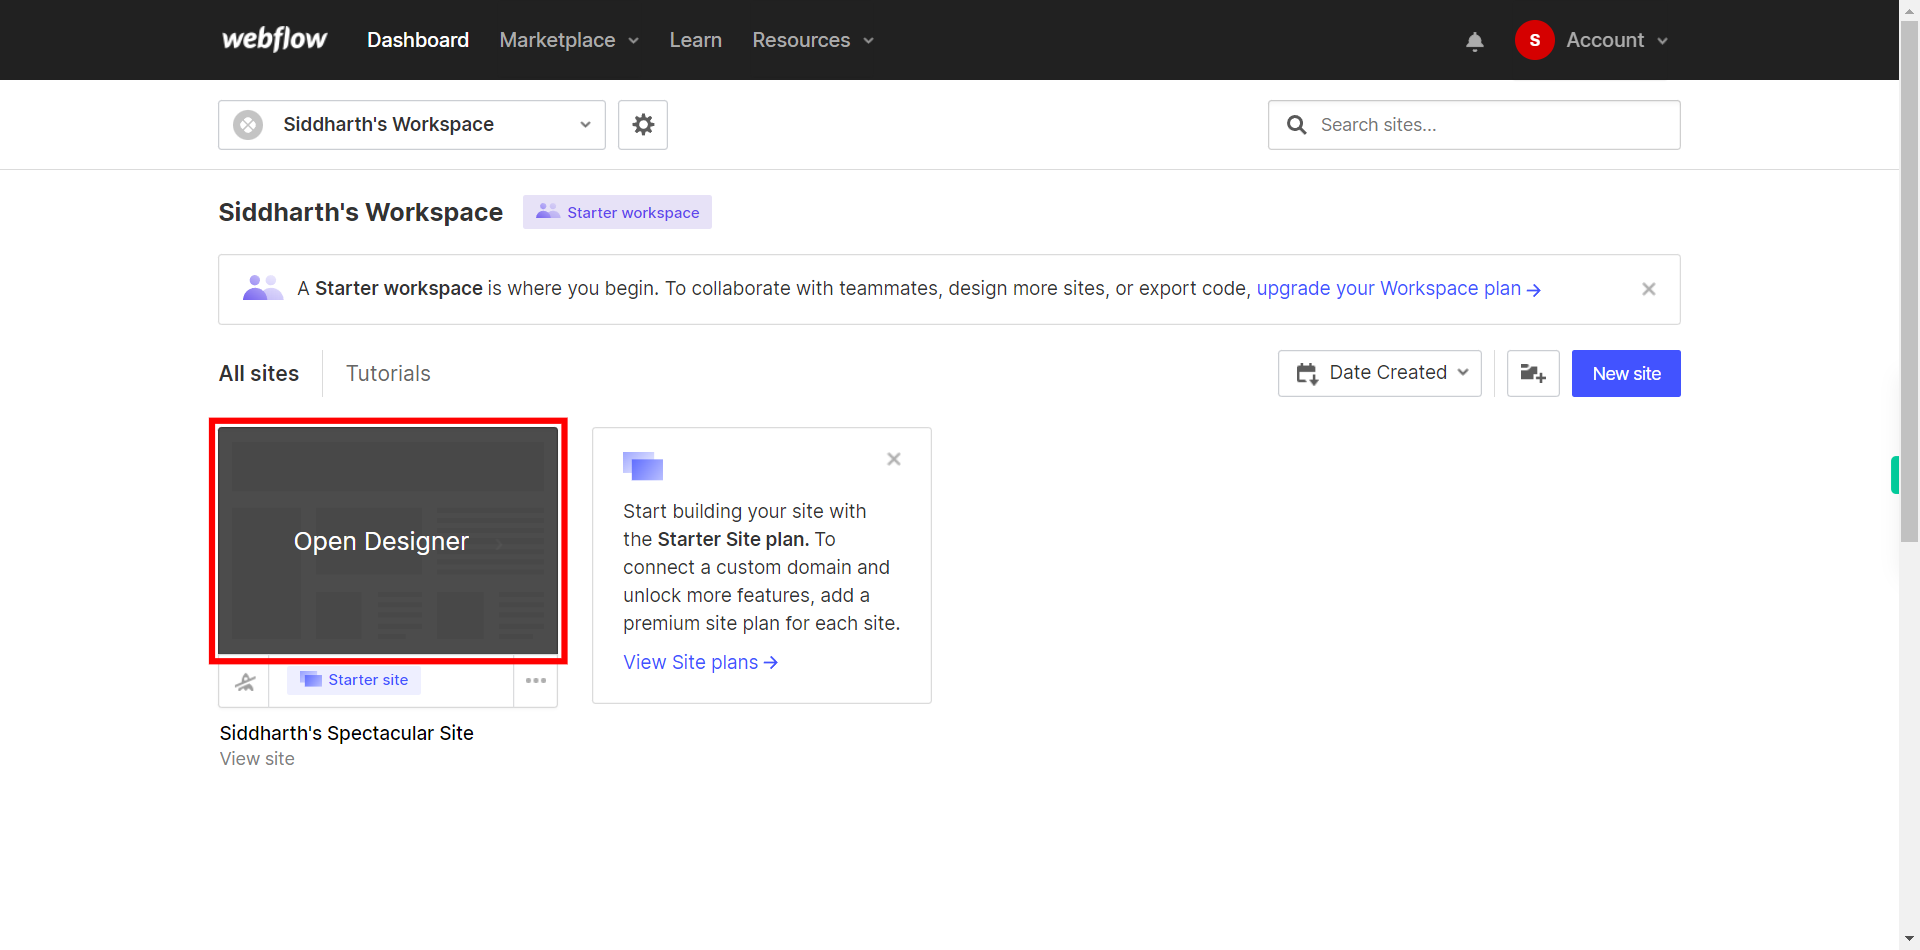
Click on the Next button in the Supervity instruction widget and then Open the Project or the Site you want to work on by clicking on "Open Designer" option which is on each website.
-
3.
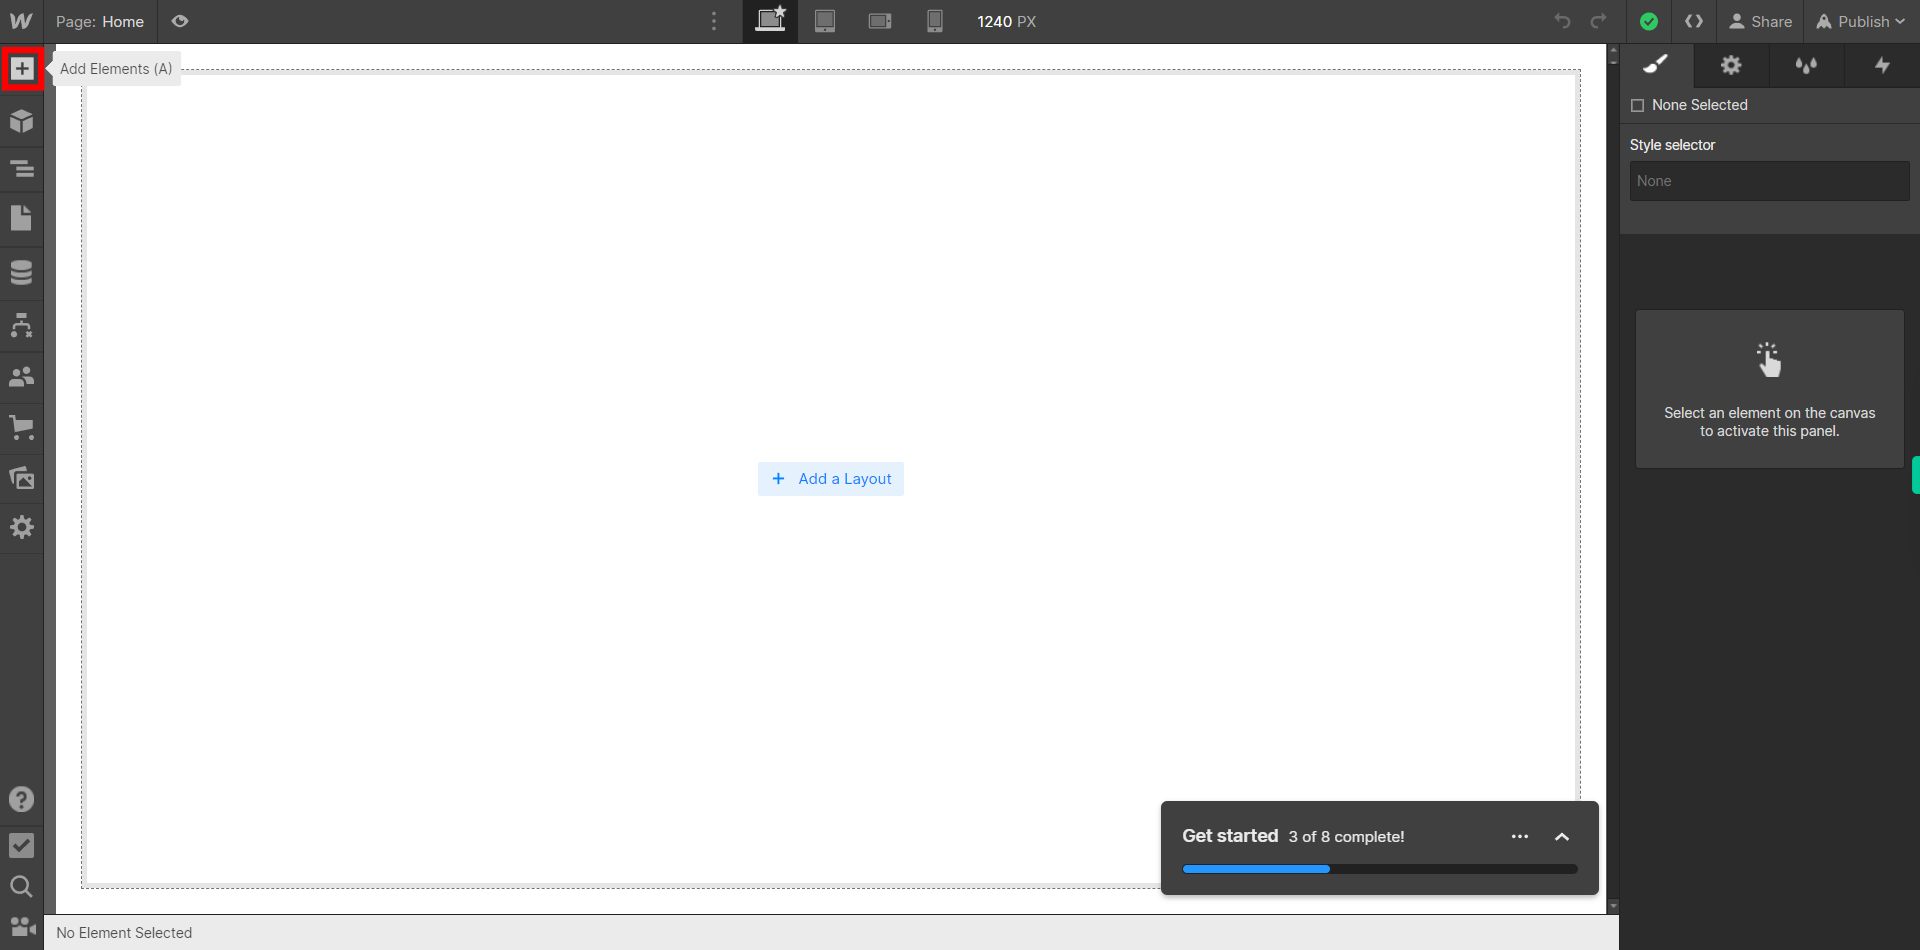
If you're unable to find the "+" icon to edit a web page in Webflow, there is an alternative method to access the design controls. First, click on the "Edit" button, usually located at the top right corner of the page or within the editor toolbar. This will open the editing options. Follow the below steps select design control->design here->OK. Click on the Next button in the Supervity instruction widget. To add elements to your project in Webflow, locate and click on the "+" icon or the "Add Elements" button. This action will open the elements panel, where you can find a variety of pre-built components and elements that you can add to your web page.
-
4.
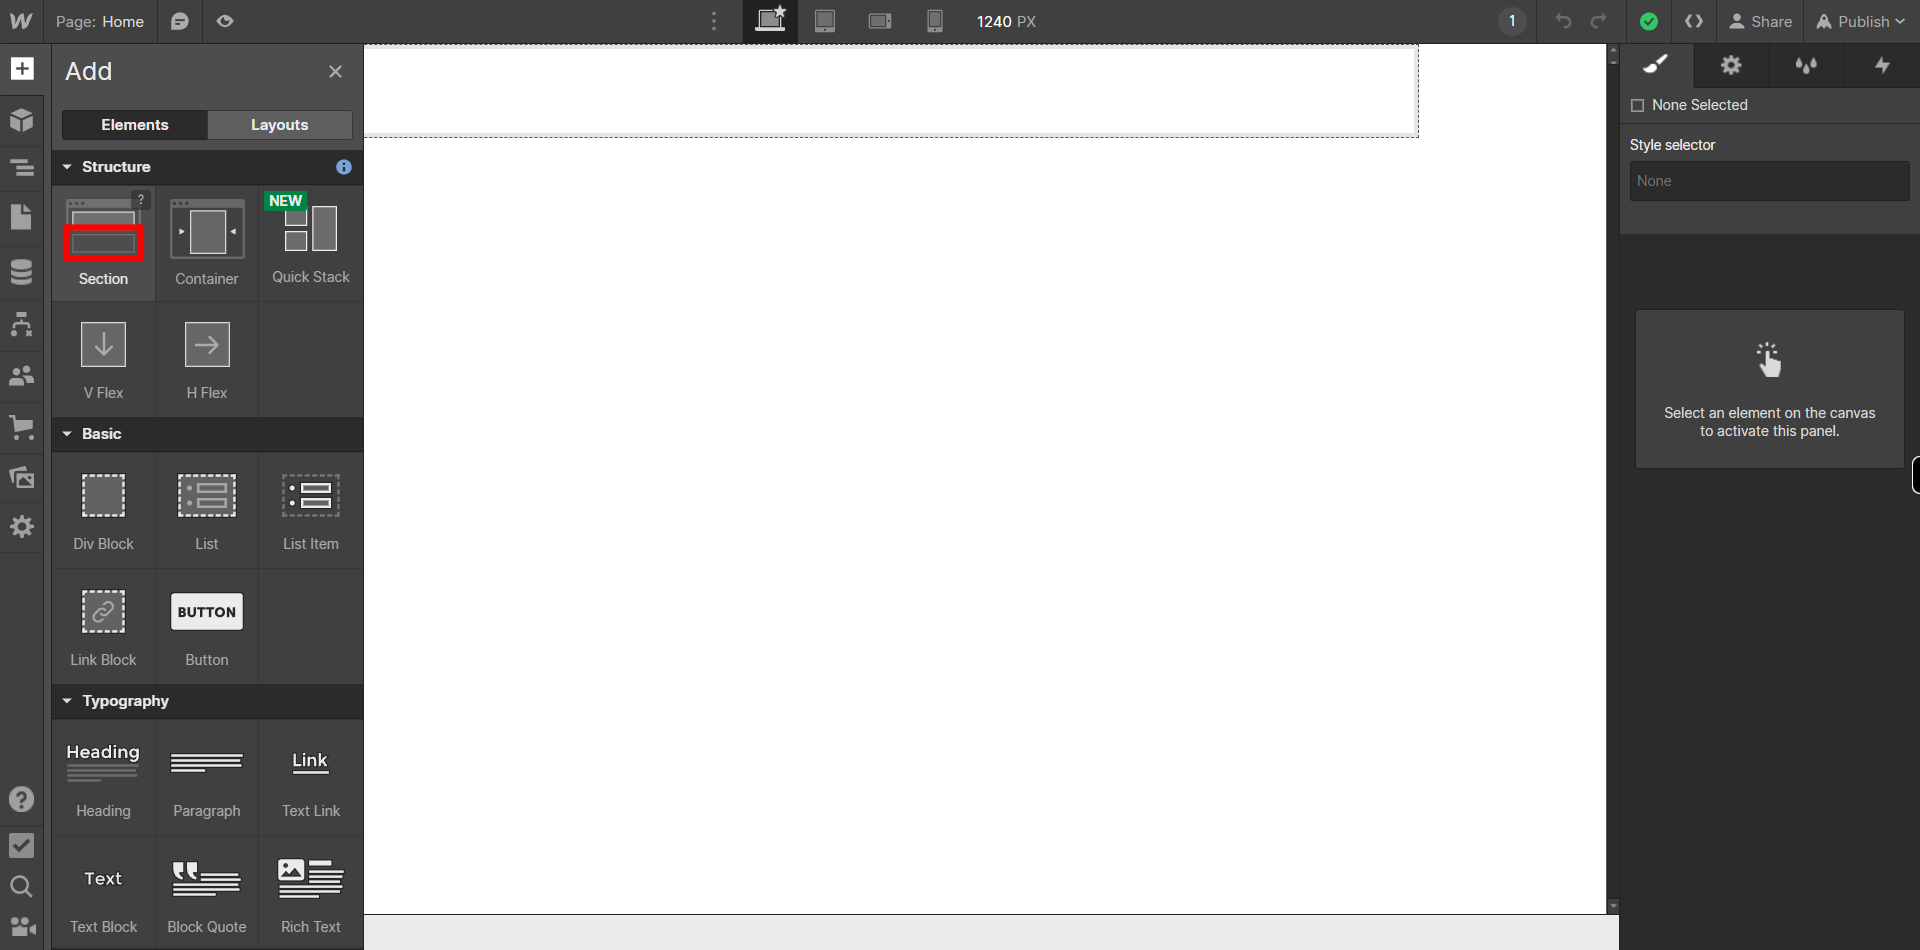
Click on the Next button in the Supervity instruction widget and then from the Panel on the left side, Under "Structure" menu Click on "Section" to add a section to your site or You can also Drag the section wherever you want on your Site.
-
5.
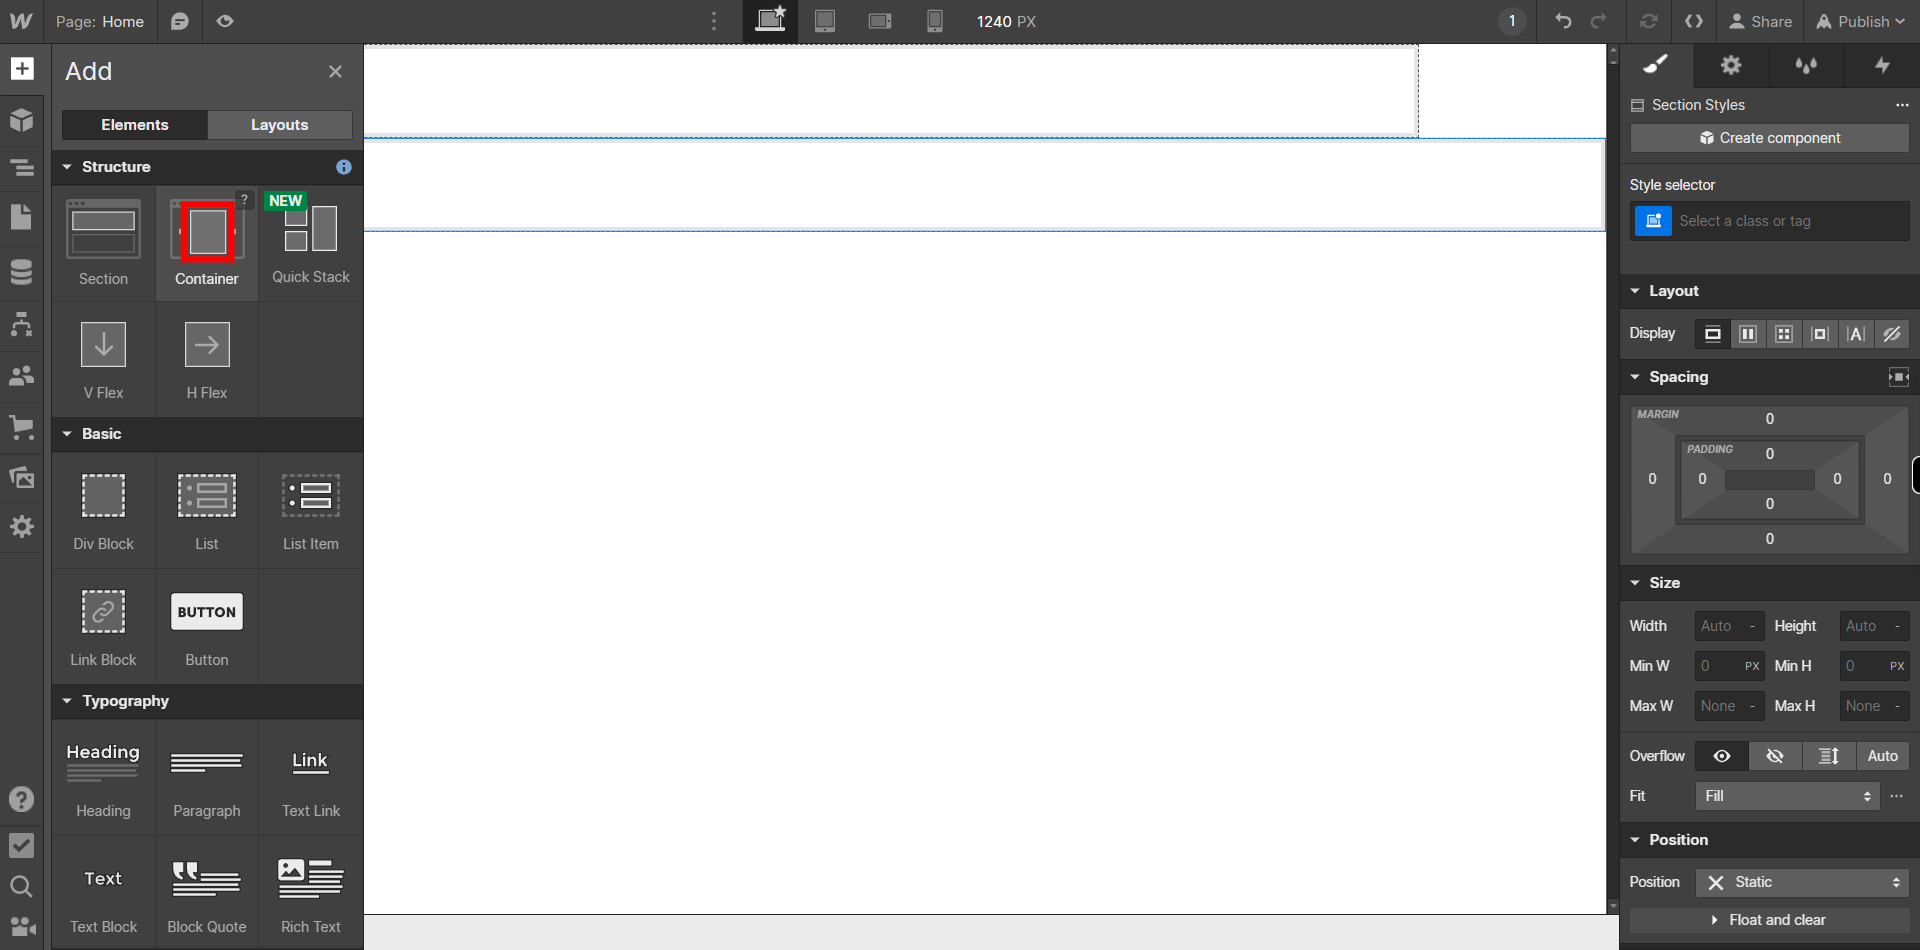
Click on the Next button in the Supervity instruction widget and then from the Panel on the left side, Under "Structure" menu Click on "Container" to add a Container in the Section you previously created on your site or You can also Drag the Container to the desired Section.
-
6.
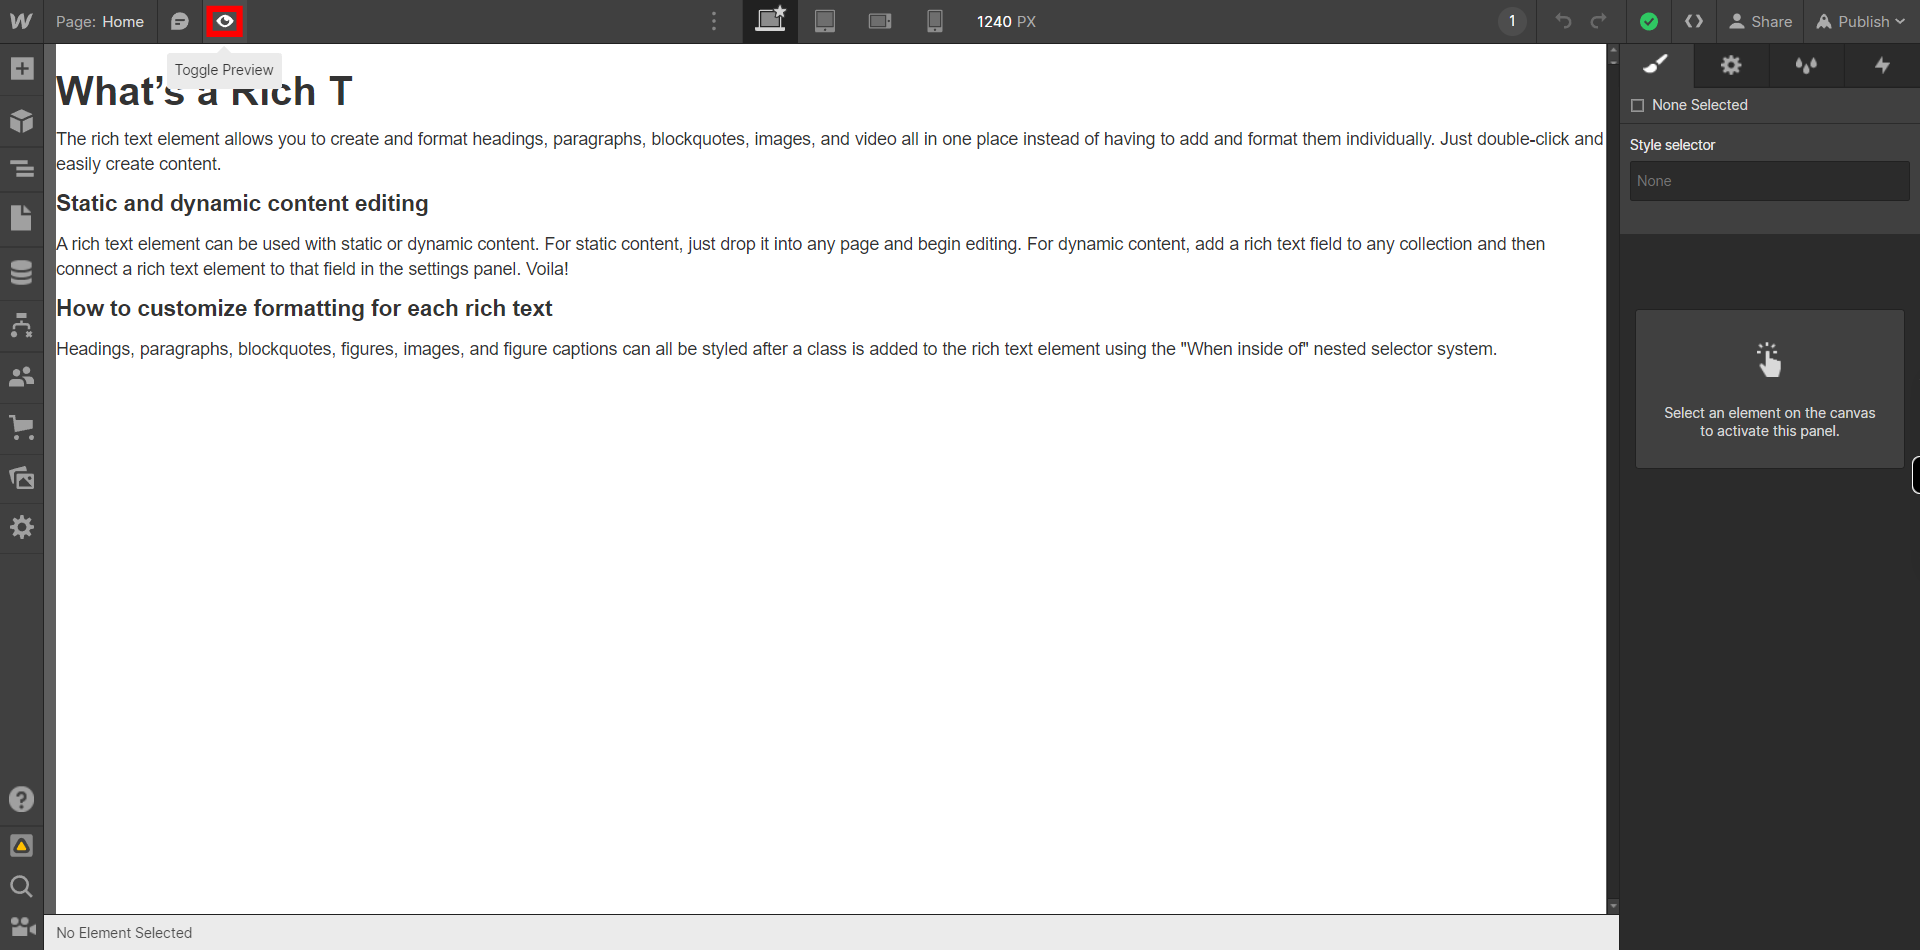
Tip: You can add any elements you want to the container by dragging it in to see the functionality of the Flexbox better. Click on Next button on the Supervity Instruction widget.
-
7.
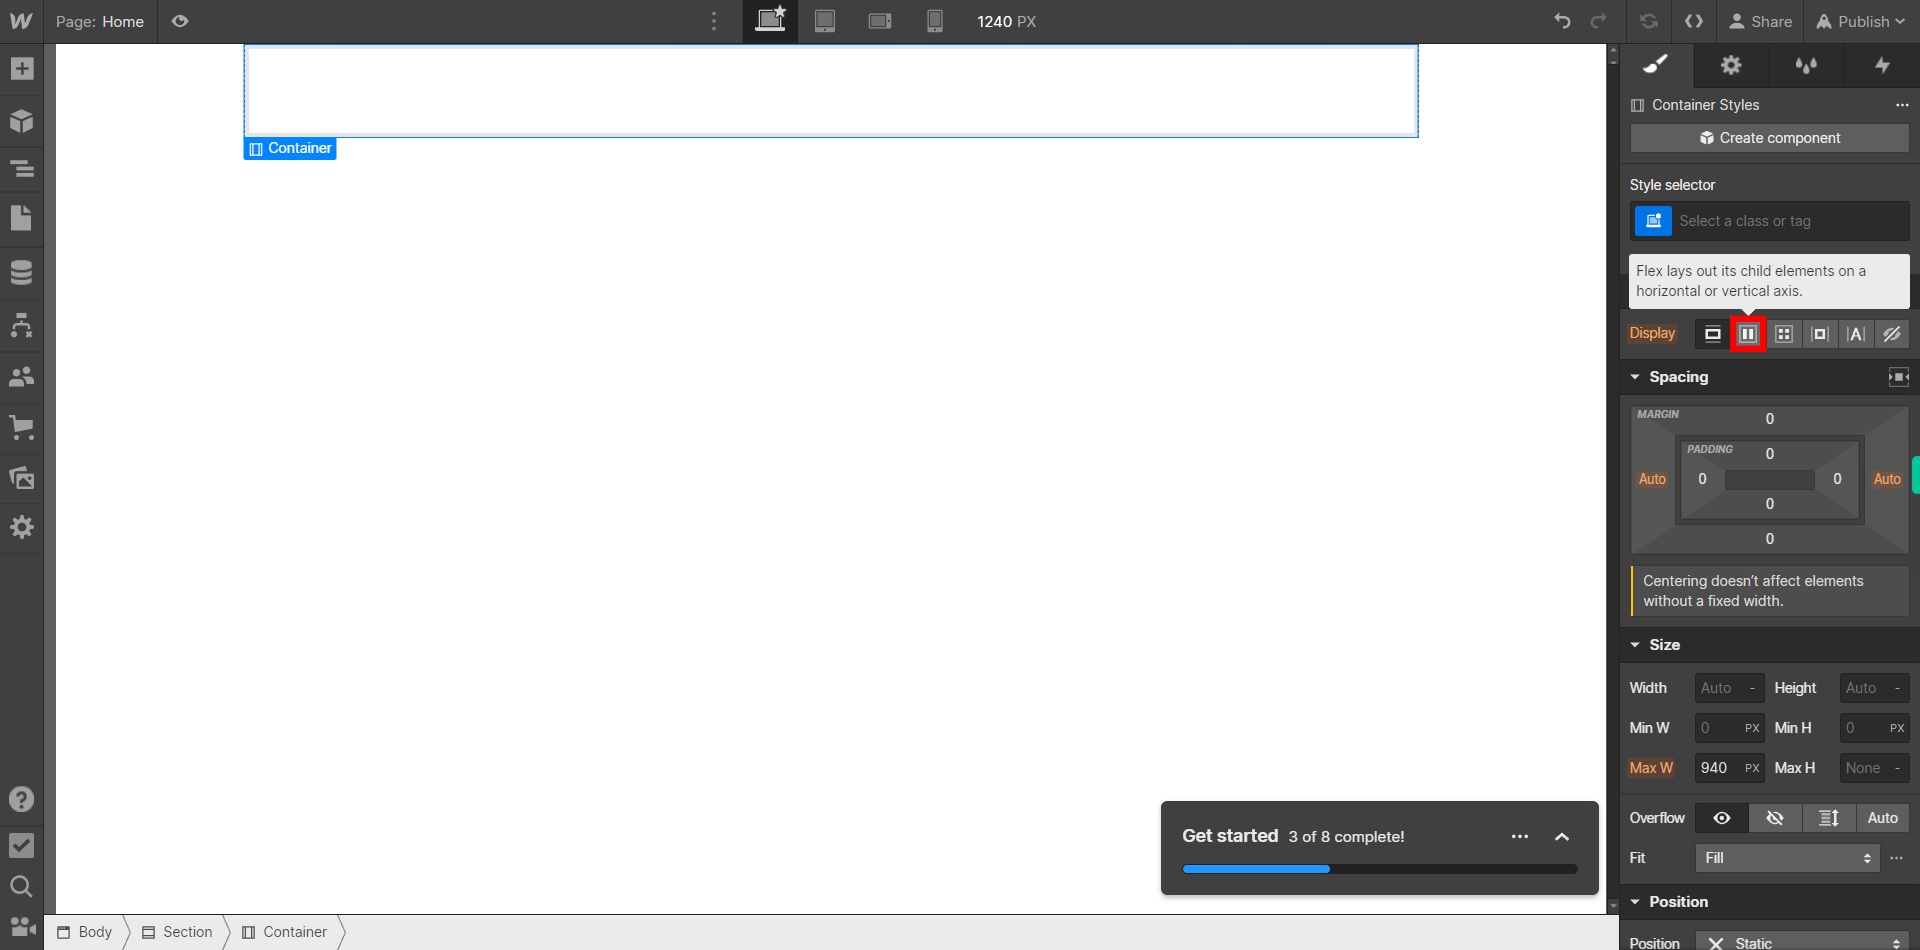
Select the container element, and in the Styles panel on the right side, On the "Display" menu choose "Flex." This will activate the flexbox layout for the container.
-
8.
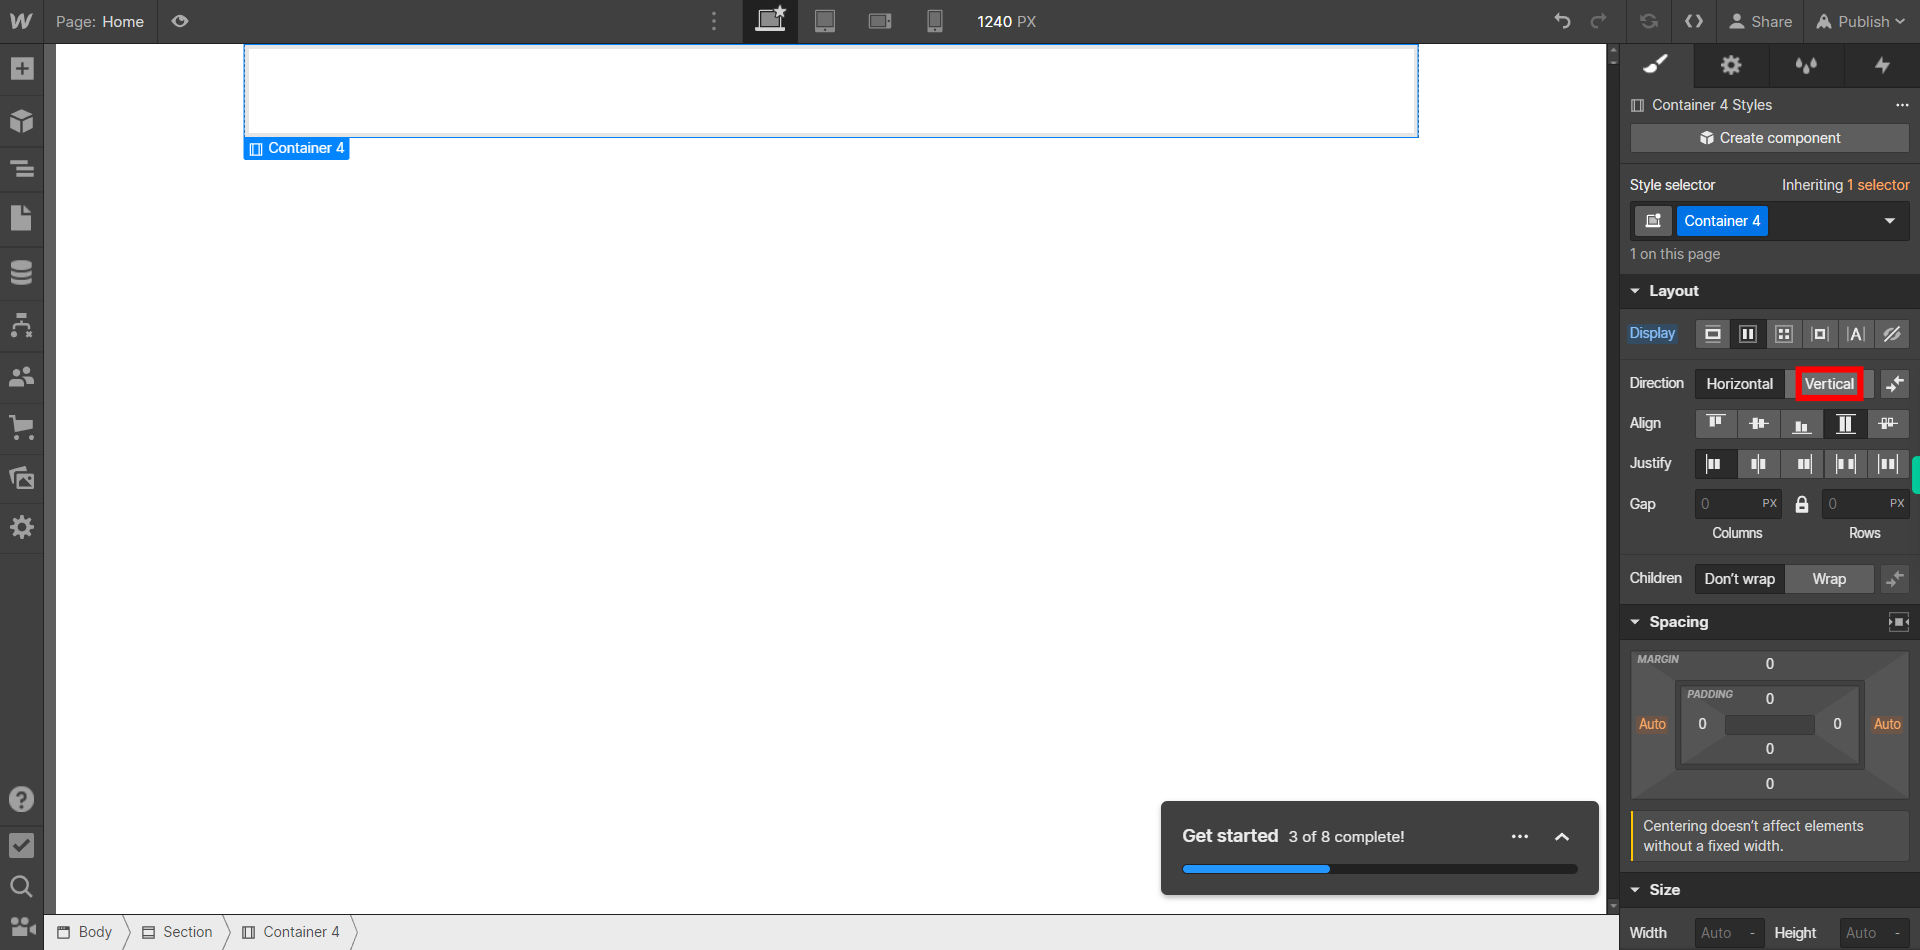
With the container still selected, you can configure flex direction. Choose the desired direction for your flex layout, such as row, column, row-reverse, or column-reverse. Then click on the "Next" button in the Supervity widget.
-
9.
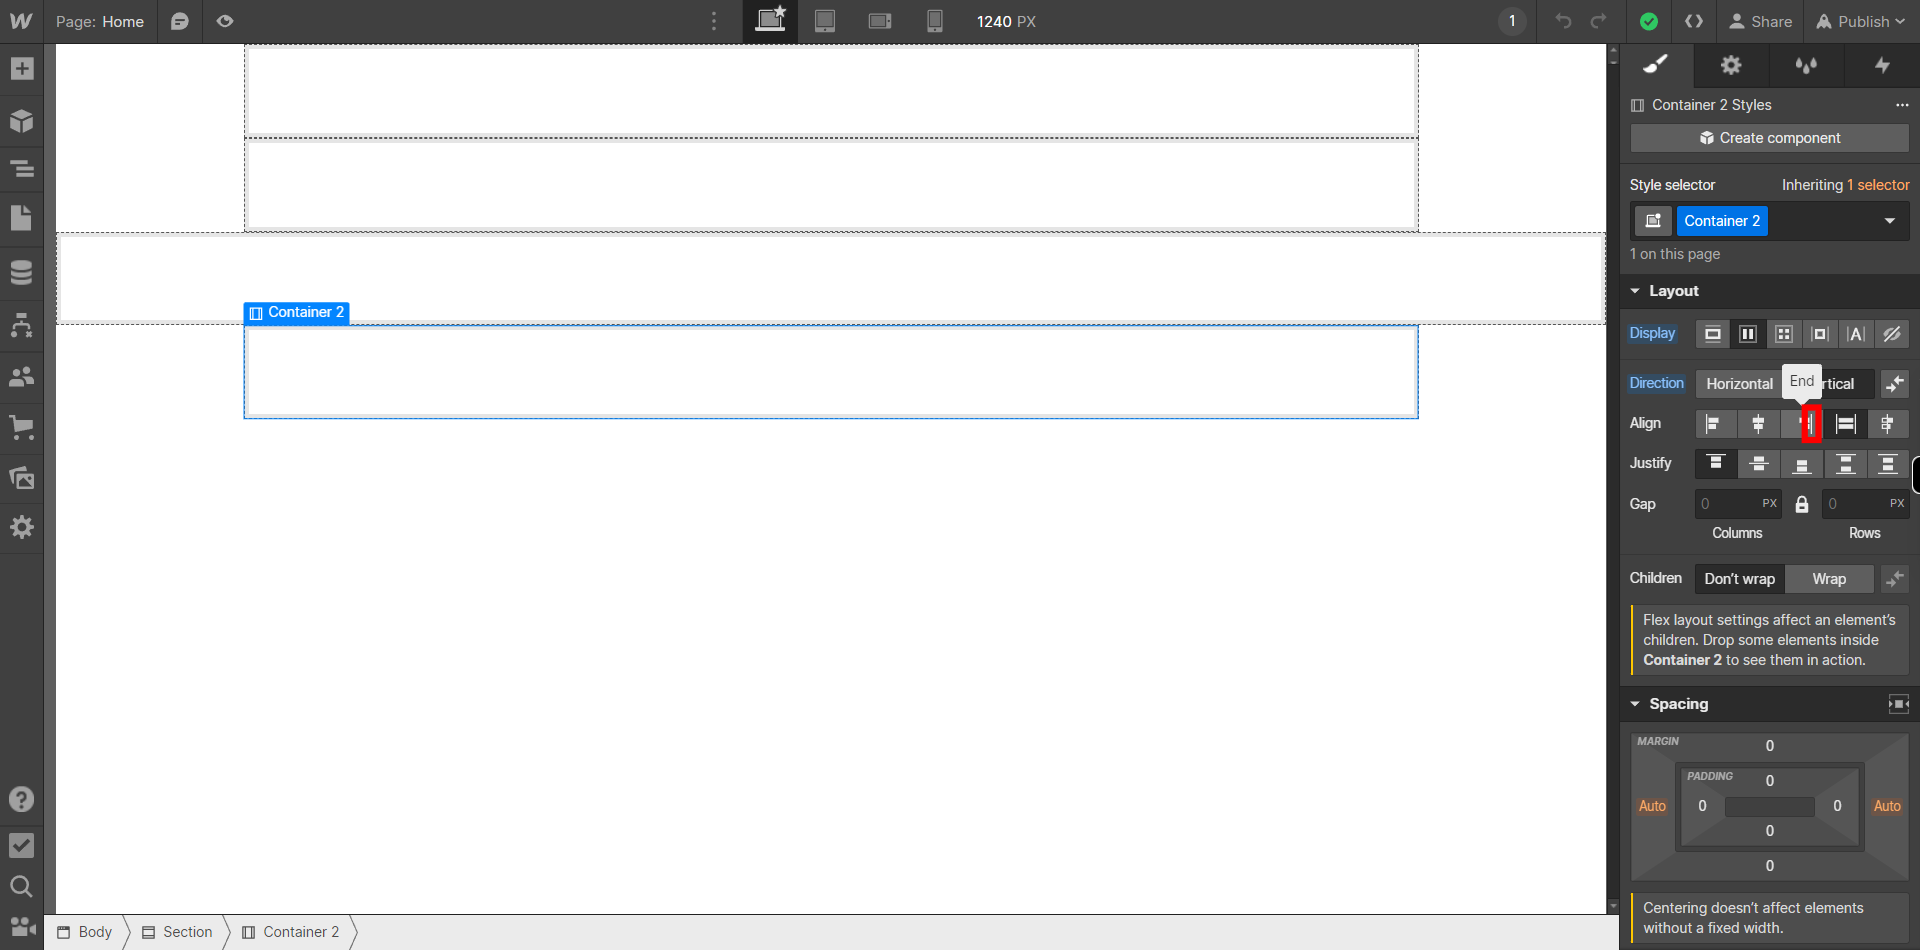
With the container still selected, you can Align items in the container by specifying how the items should be aligned vertically within the container. Select the desired alignment by choosing the desired alignment beside "Align" and then Click on the "Next" button on the Supervity widget.
-
10.
With the container still selected, you can configure various flexbox settings like Justify content. Set how the items should be aligned horizontally within the container by Clicking on the desired option beside "Justify" and click on the "Close" button on the supervity widget.
