Here are the step-by-step instructions to fork a repository on the GitHub website. From this point, you can work with the forked repository, make changes, create branches, and collaborate with others. You can clone the forked repository to your local machine if you wish to make changes locally, or you can directly collaborate on the GitHub website by creating pull requests, reviewing code, and engaging in discussions. Pre-Requisites: Ensure that you had a valid GitHub account and at least one repository. NOTE: Please sign in to your GitHub account and then execute this skill.
-
1.
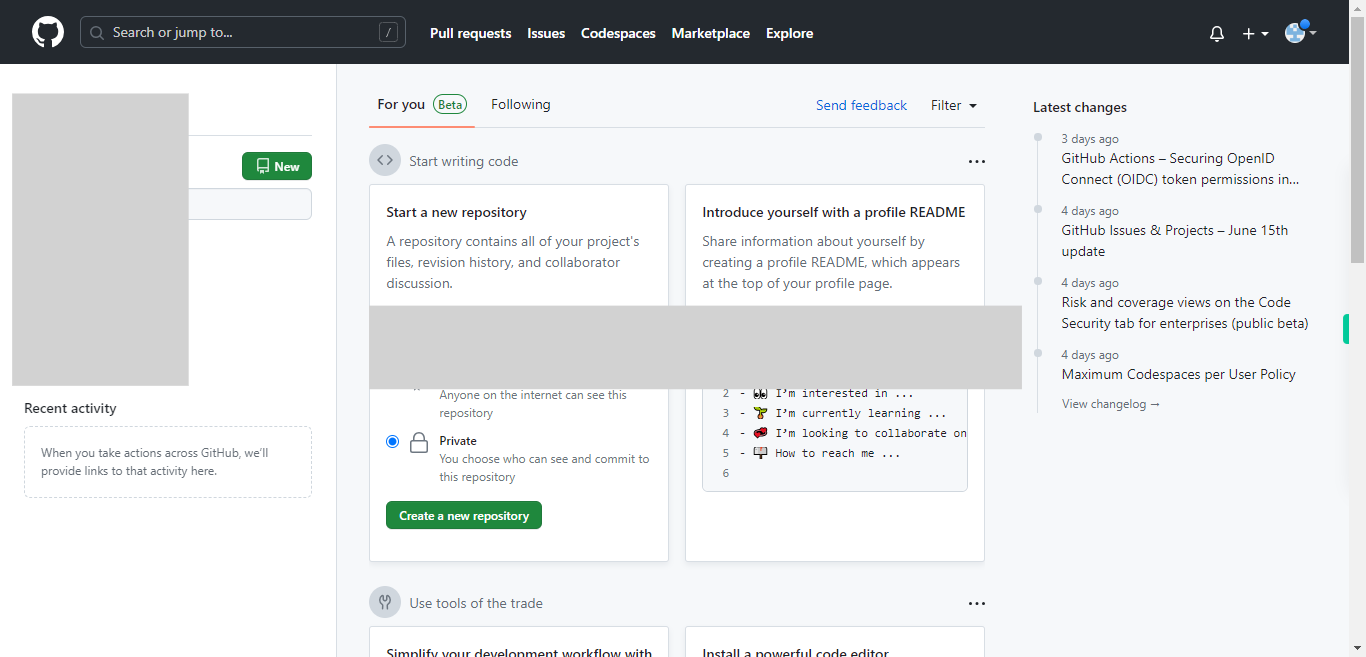
Open GitHub on the web.
-
2.
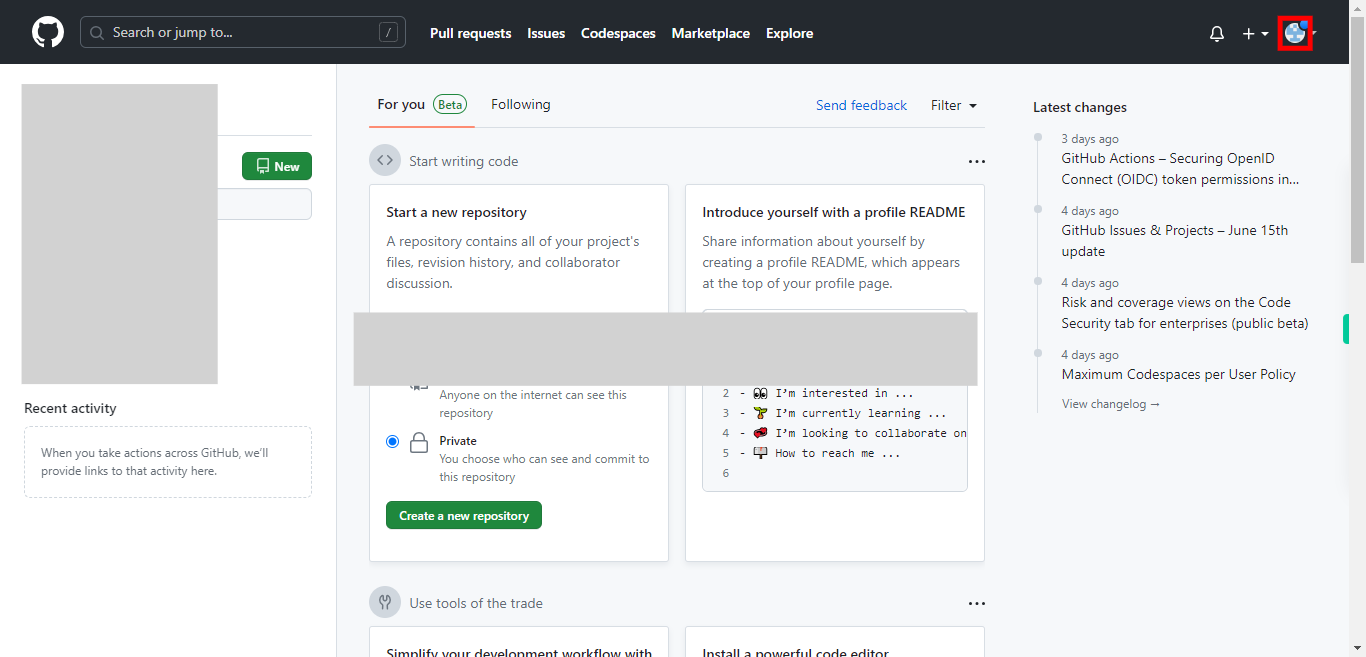
On the GitHub dashboard, click on your "profile picture" located at the top right corner of the page. A drop-down will appear.
-
3.
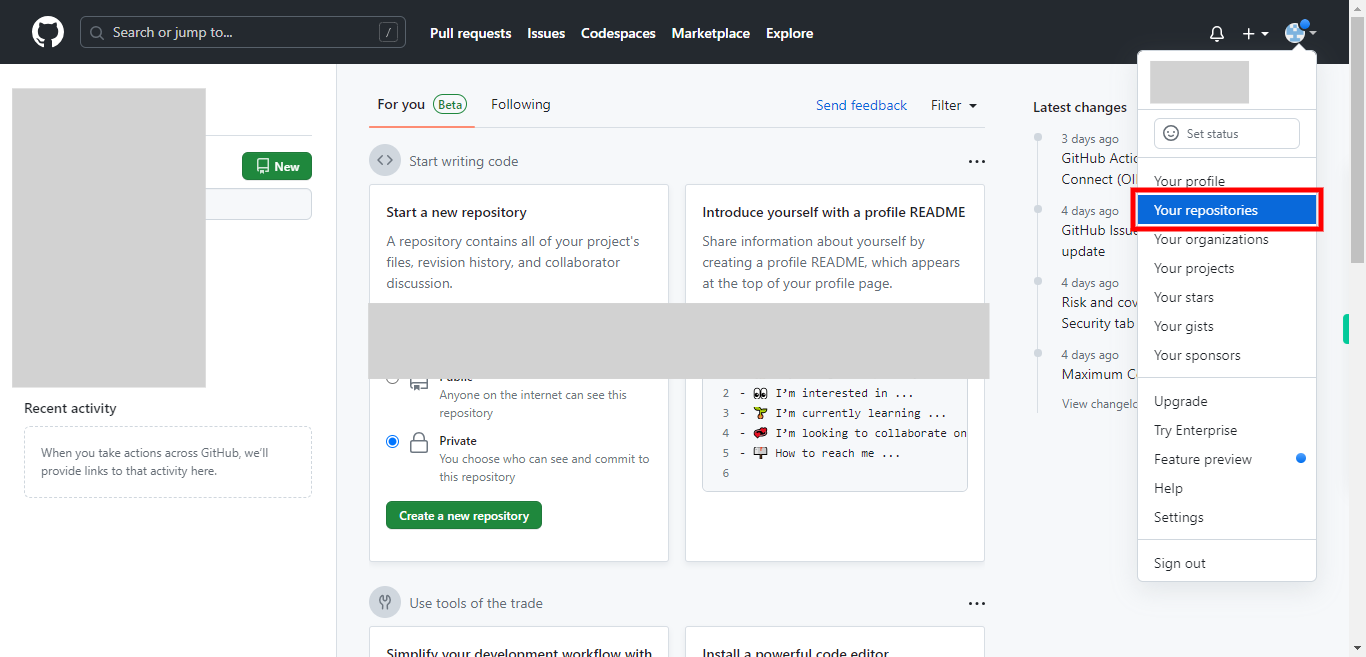
Select "Your repositories" from the drop-down list. You will be directed to a page where all your repositories will be displayed. To navigate to the repository, select the repository which you want to fork.
-
4.
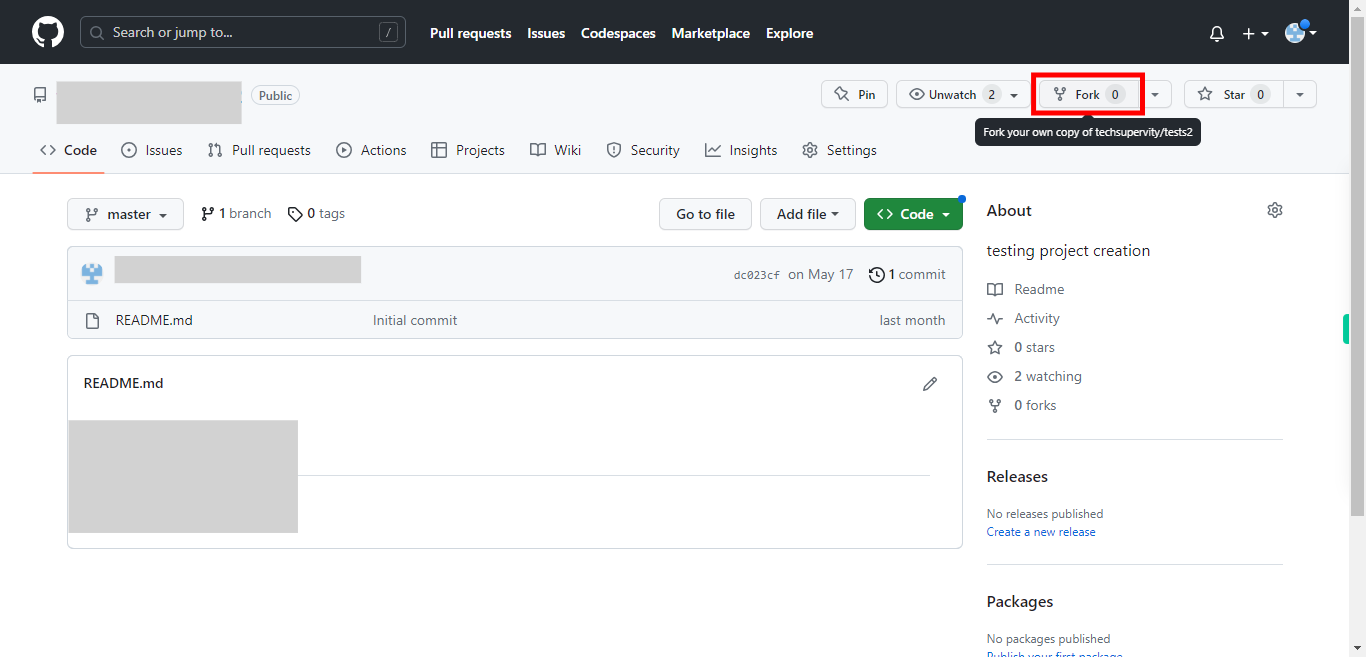
Once you are inside the repository, click on the "Fork" located at the top right side of the page.
-
5.
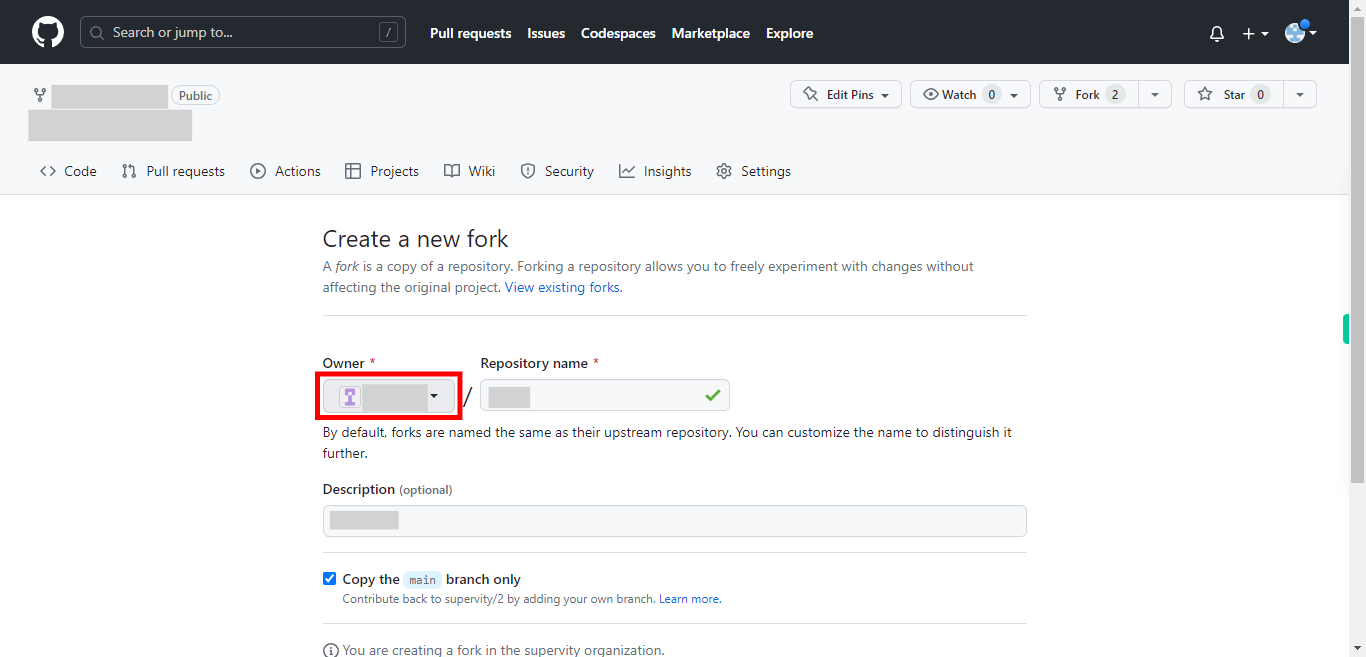
By default, forks are named the same as their upstream repository. You can customize the name to distinguish it further. You can choose where to fork the repository. You can select your user account or any organization you belong to from the dropdown menu. Click on the account or organization name to proceed with forking. Then click on the "Next" button in the Supervity instruction widget.
-
6.
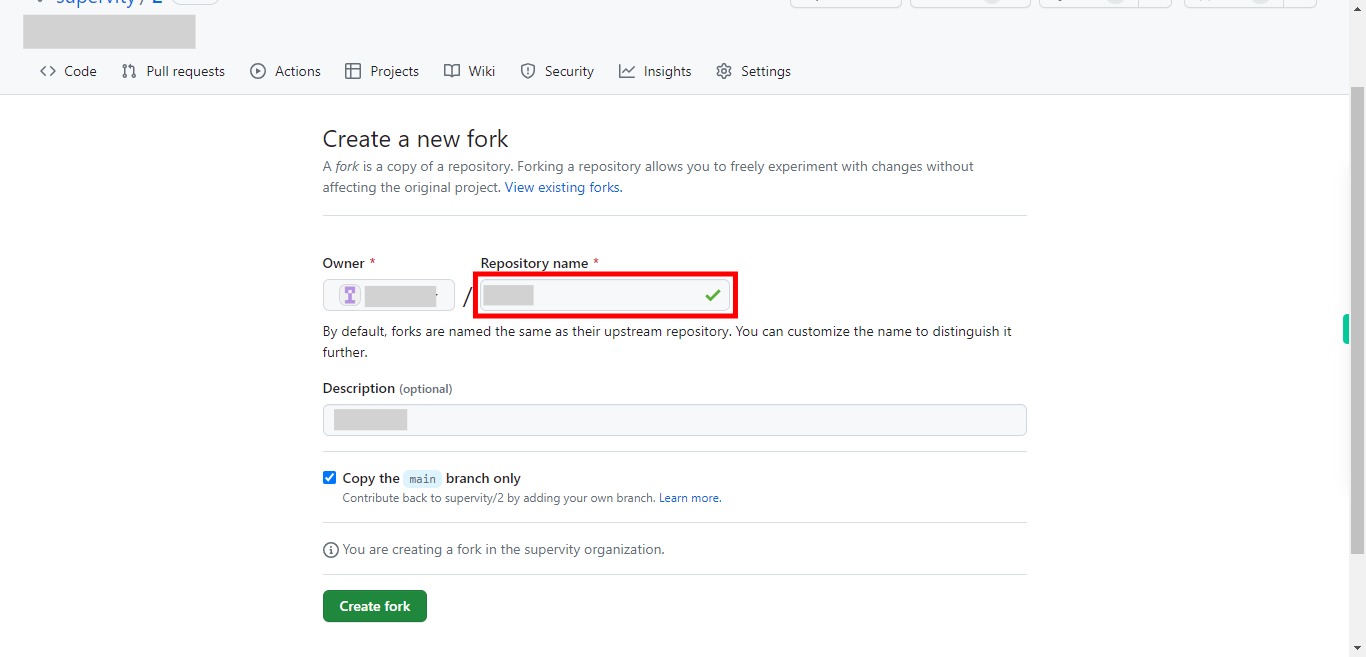
Here you can provide a name for the repository. Then click on the "Next" button in the Supervity instruction widget.
-
7.
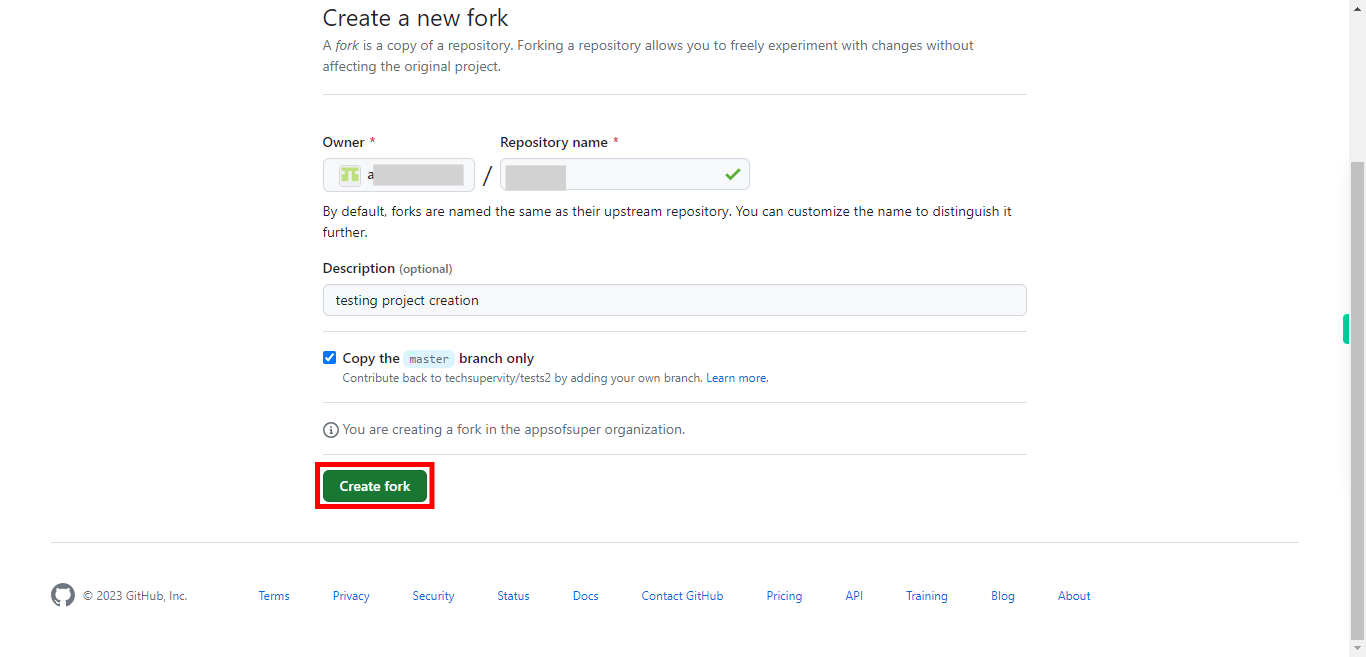
Click on the "Create fork" button at the bottom of the page. You will see a progress indicator or a loading screen while the repository is being forked. Once the forking process completes, you will be redirected to your forked repository's page. You have successfully forked the repository. The repository page you are now on represents your forked copy, which exists under your GitHub account.


