This skill shows the steps to be followed to add links to your web page that links will be used to move the other website before executing you must have a website URL.Prerequisites:To ensure that you have at least one project available in the Webflow dashboard.[NOTE: Please make sure that log in to Webflow website before playing the skill]
-
1.
Open Webflow.
-
2.
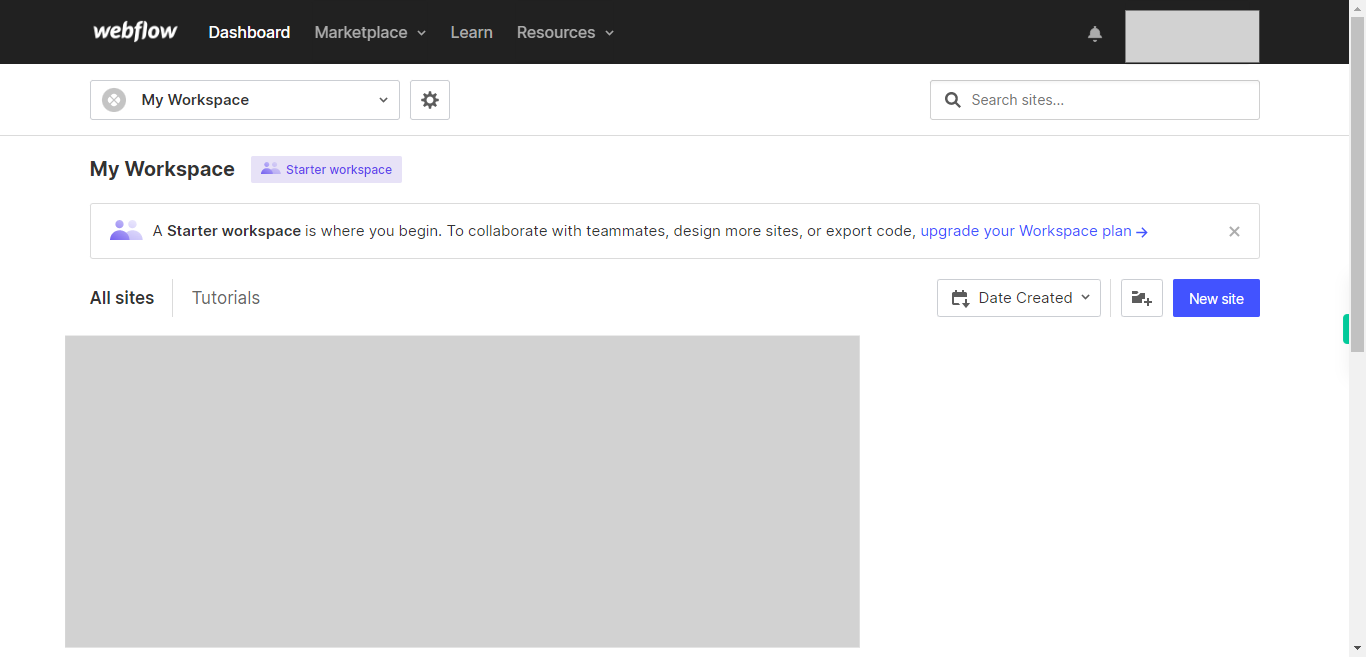
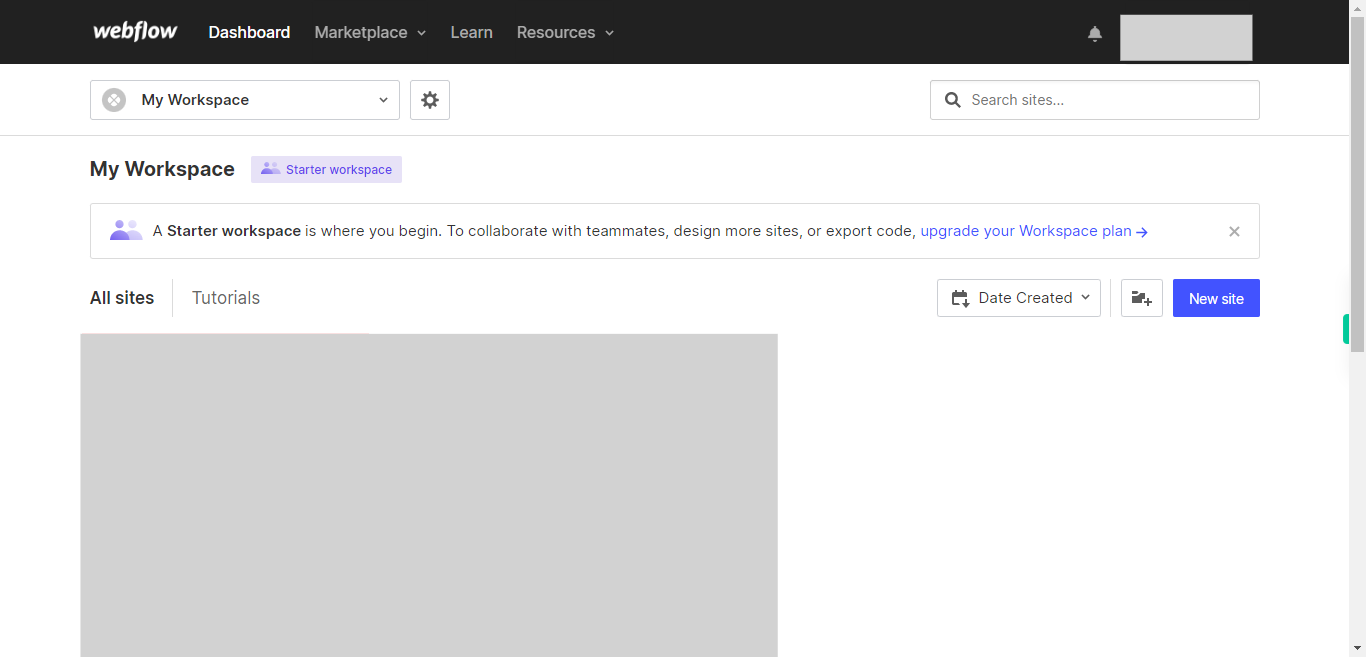
Click on the Next button on the Supervity instruction widget. you will see a list of your projects. By selecting the specific project you want to work on, you can access its editing interface.
-
3.
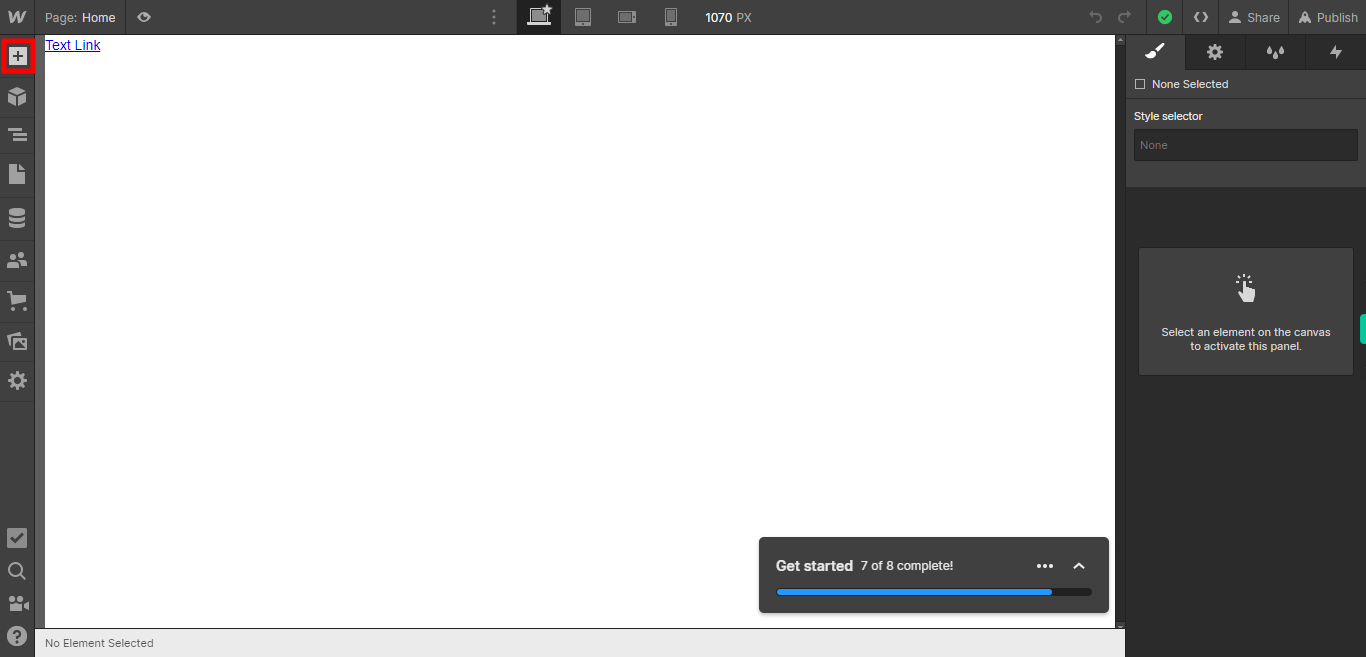
If you're unable to find the "+" icon to edit a web page in Webflow, there is an alternative method to access the design controls. First, click on the "Edit" button, usually located at the top right corner of the page or within the editor toolbar. This will open the editing options. Follow the below steps select design control->design here->OK. Click on the Next button on the Supervity instruction widget. To add elements to your project in Webflow, locate and click on the "+" icon or the "Add Elements" button. This action will open the elements panel, where you can find a variety of pre-built components and elements that you can add to your web page.
-
4.
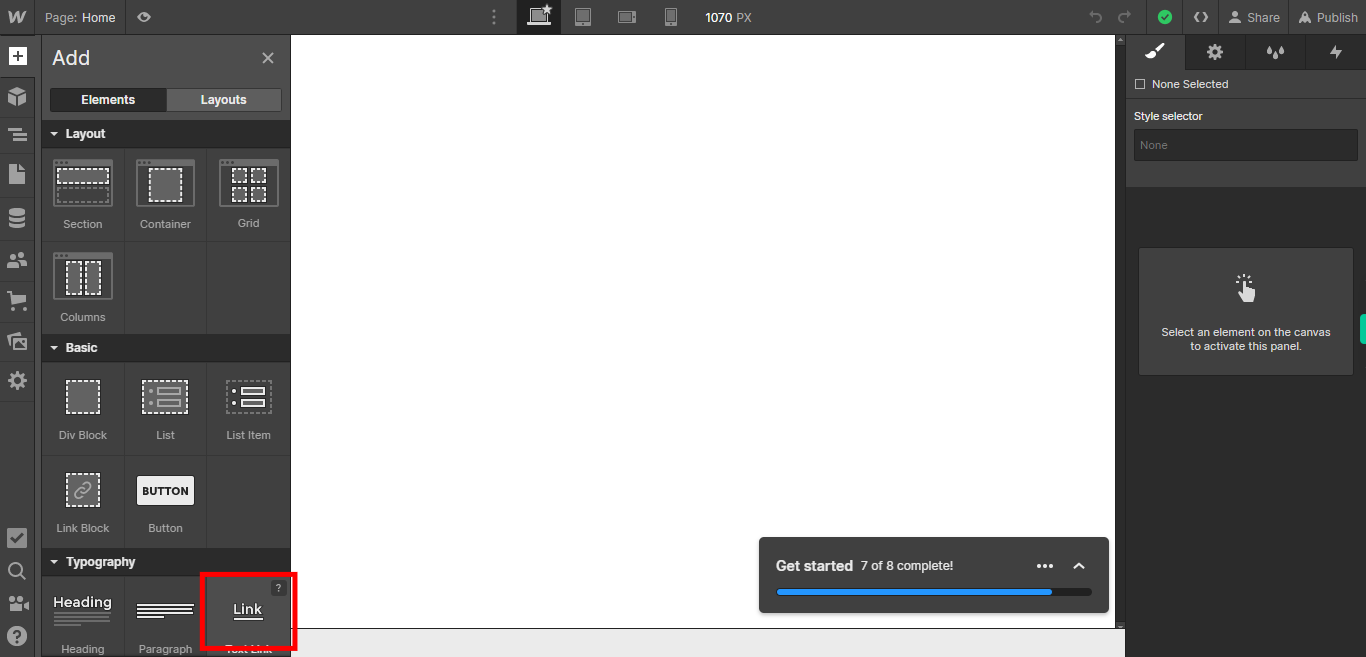
Click on the Next button on the Supervity instruction widget. Click on the "Link" option, which represents a link within the text element.
-
5.
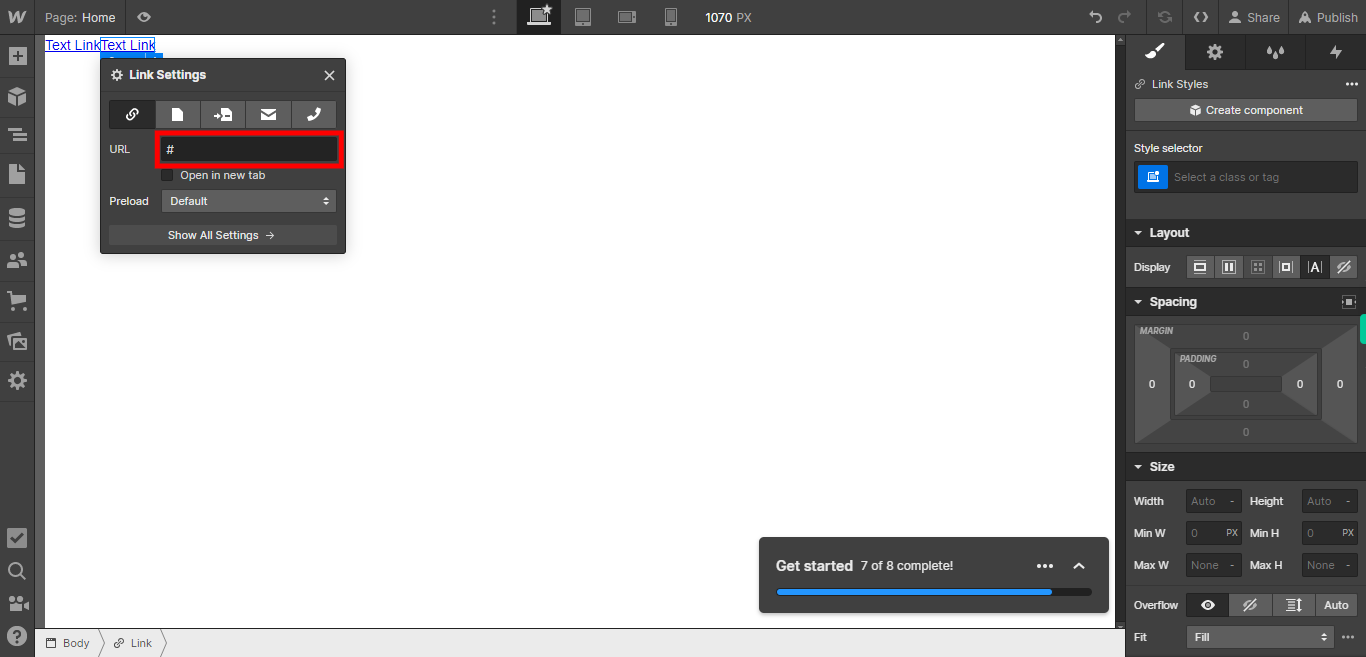
Type or paste the desired URL or web address into the "URL" field. Click on the Next button on the Supervity instruction widget.
-
6.
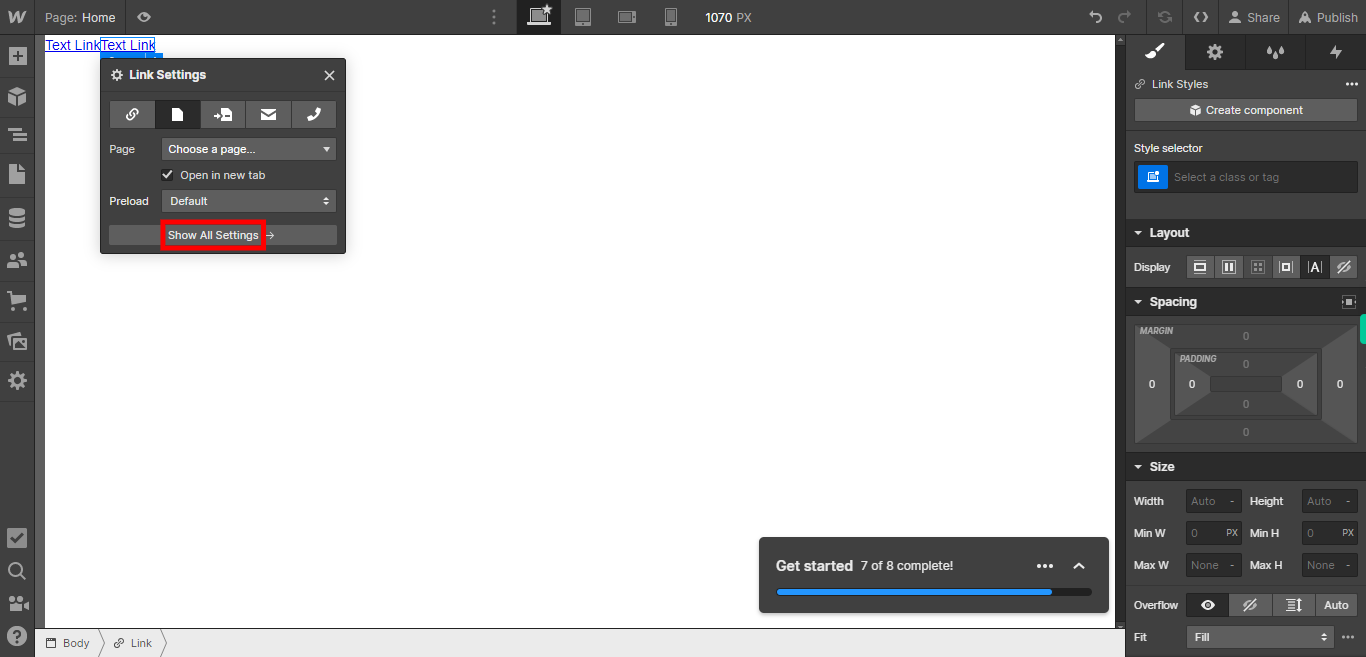
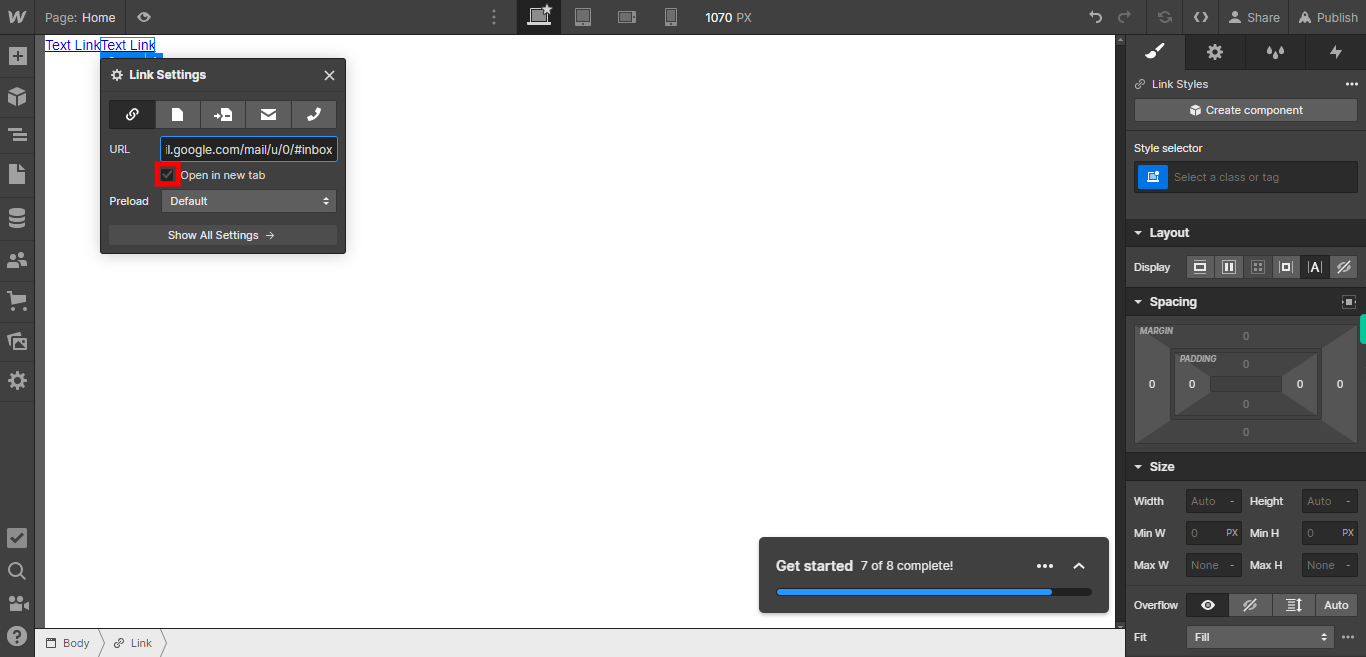
If you want the link to open in a new tab, click on the checkbox to enable it. If you prefer the link to open in the same tab, simply leave the checkbox unchecked. Click on the Next button on the Supervity instruction widget.
-
7.
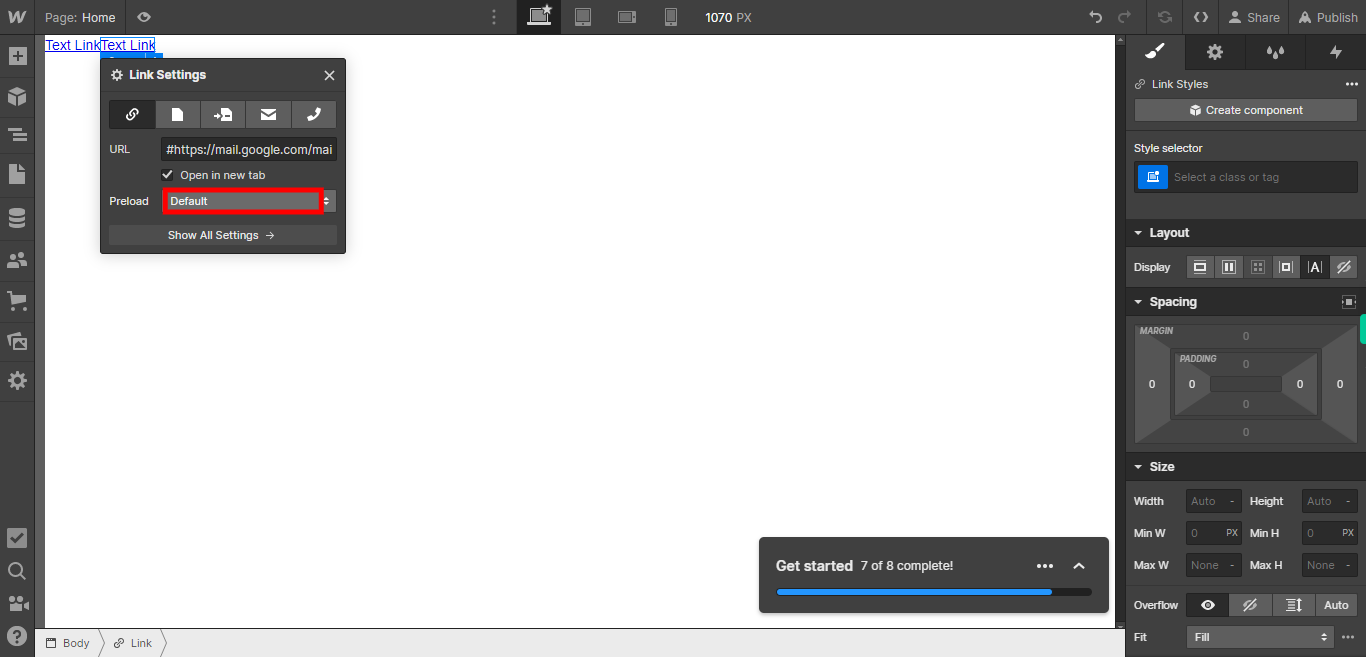
Once enabled, the preload option allows the specified element or asset to load in advance, improving the overall loading performance of your website. Click on the Next button on the Supervity instruction widget.
-
8.
To access additional settings or handle advanced options, simply click on "Show all settings," and the settings panel will appear on the right side of the interface.
