This skill shows the steps to be followed to create a website using template based on the user needs.[NOTE: 1: Please make sure that log in to Webflow website before playing the skill 2: Please make sure that only one project present in your dashboard for free user]
-
1.
Open Webflow.
-
2.
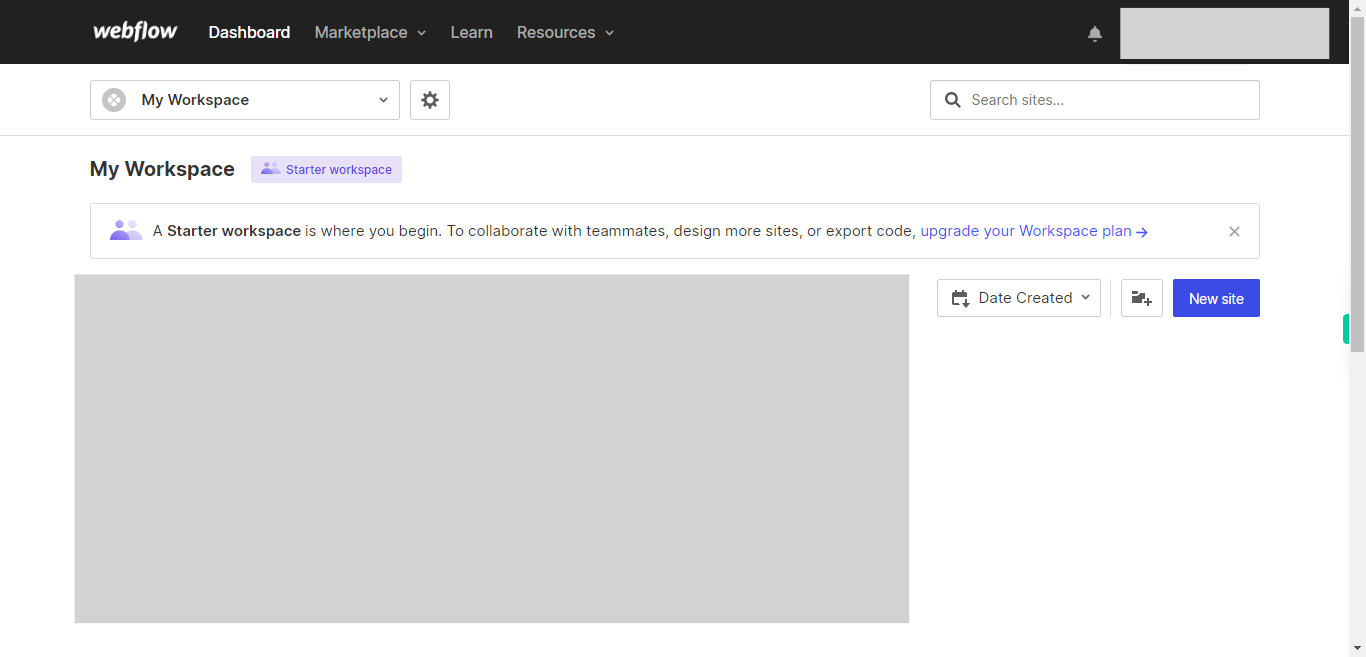
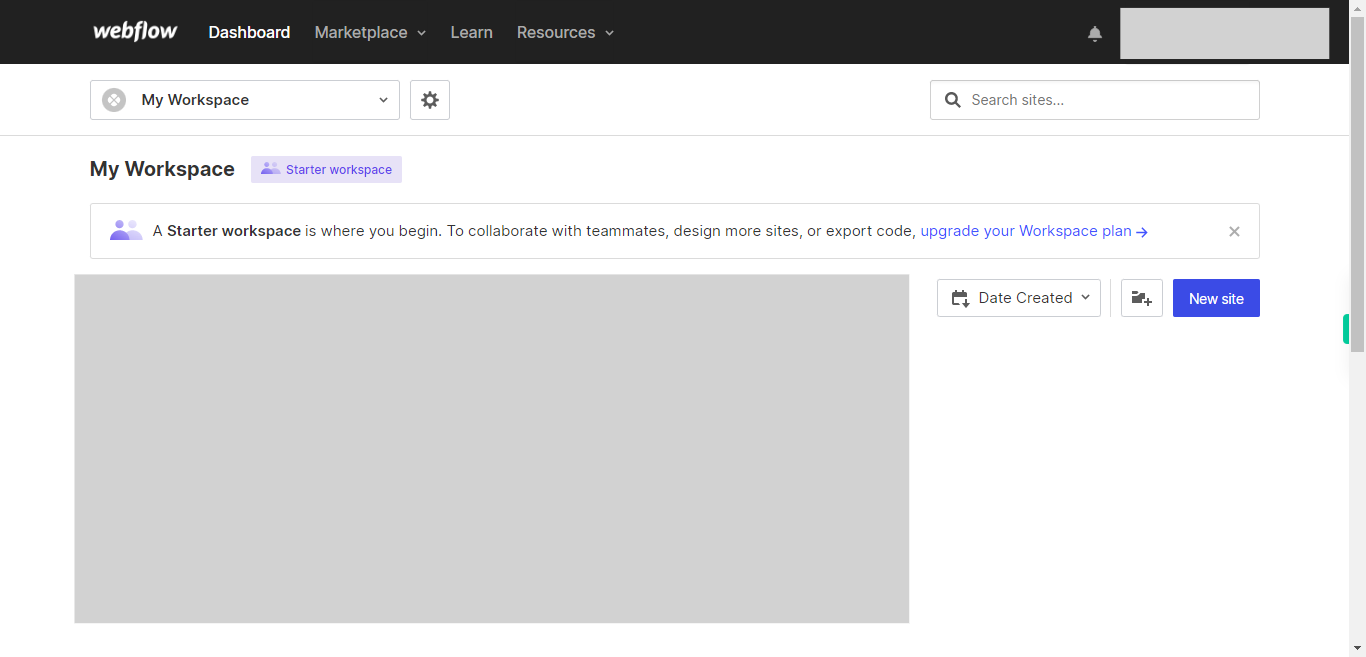
Click on the "Next" button on the Supervity instruction widget. To create a new site in Webflow, locate and click on the "New Site" button. This button is typically located on the Webflow dashboard, and it serves as the starting point for setting up a fresh website. By clicking on this button, you initiate the process of creating a new site.
-
3.
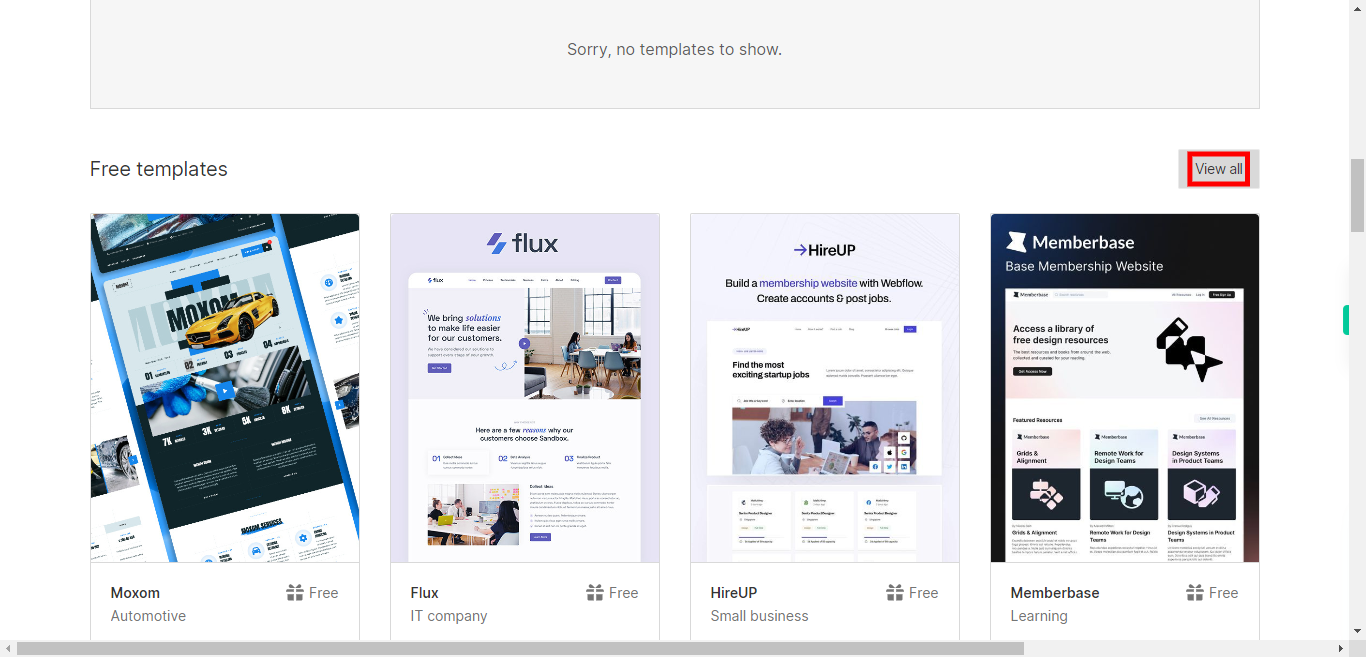
Click on the "Next" button on the Supervity instruction widget. To explore all the available options and resources, you can click on "View all." This action will provide you with a comprehensive overview of the various features, templates, and tools that Webflow has to offer.
-
4.
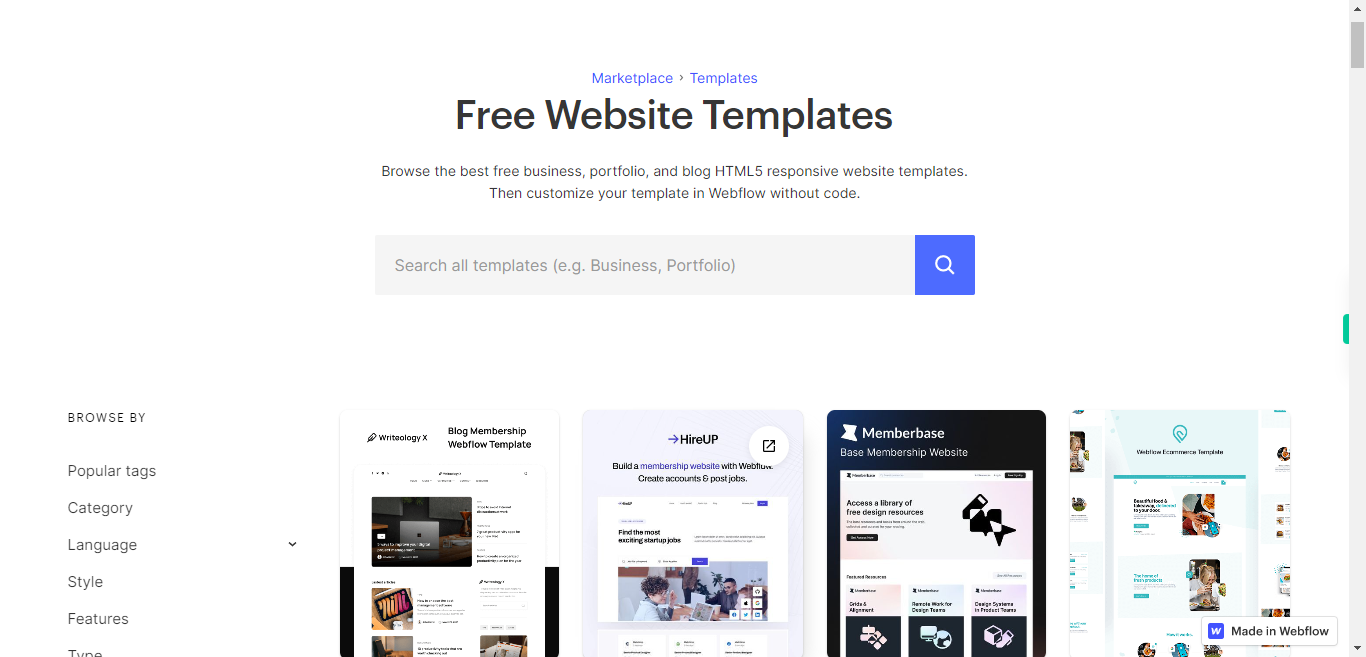
Click on the Next button in the Supervity instruction widget. To choose a template for your website, you can select one from the list of available templates. This list provides you with a variety of pre-designed layouts and designs that you can use as a starting point for your project. By selecting a template, you can benefit from professionally designed sections, styles, and elements that are already set up and ready to use. This saves you time and effort in creating your website from scratch and allows you to focus on customizing and personalizing the chosen template to align with your brand and content.
-
5.
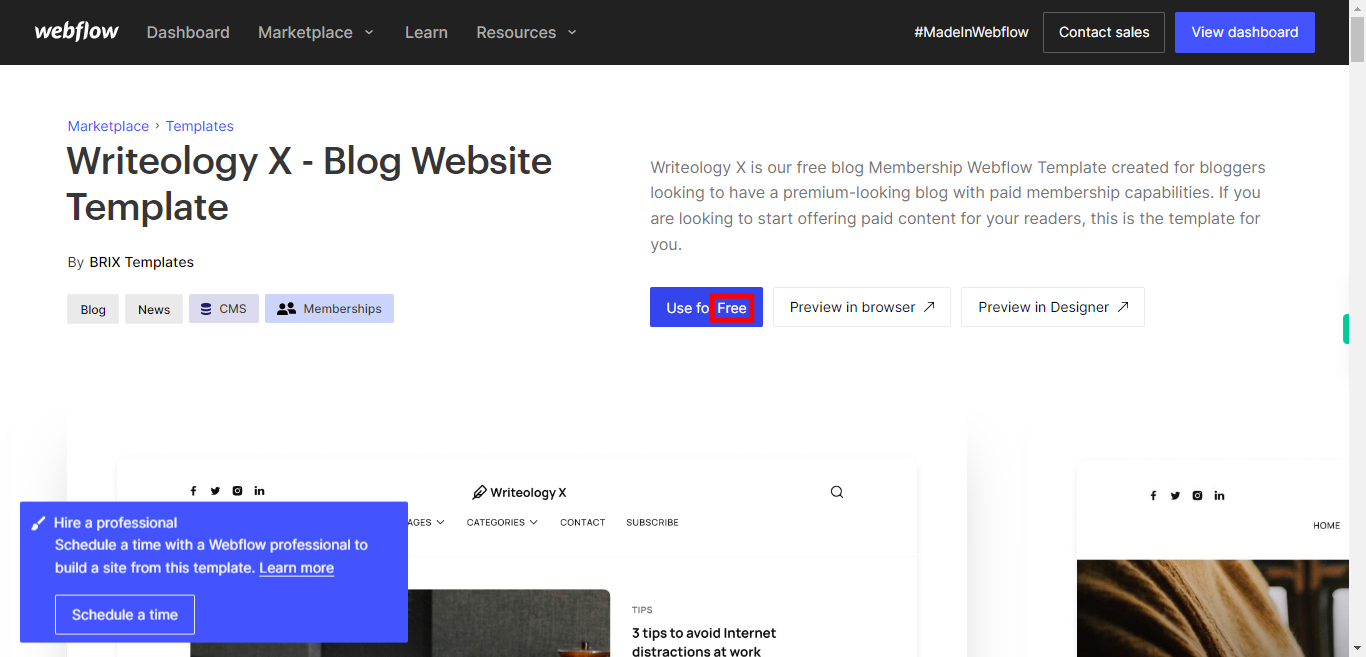
Click on the Next button in the Supervity instruction widget. By clicking on "Use for Free," you can access the option to use the selected template without any cost. After choosing this option, you will be prompted to enter your desired website name. This allows you to give a unique and relevant name to your website, reflecting its purpose and content. Providing a website name is essential as it helps in identifying and distinguishing your website from others.
-
6.
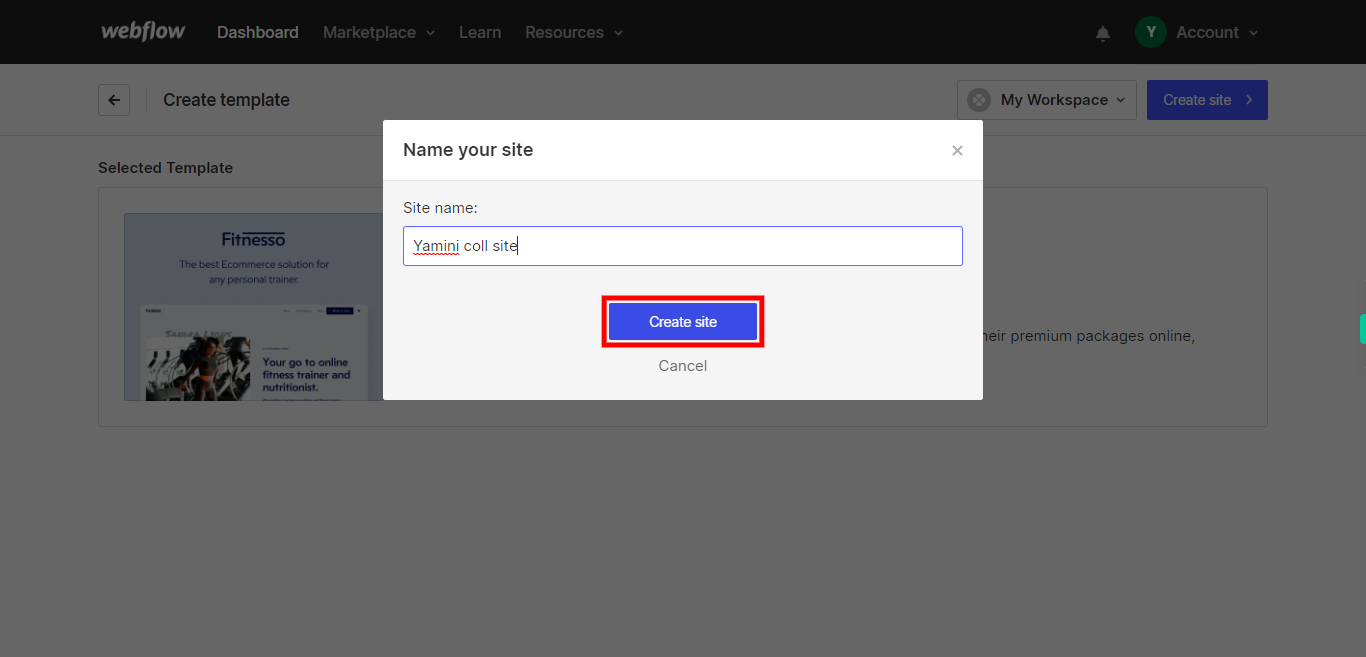
By clicking on "Create site," you initiate the process of creating your website using the selected template and your entered website name. This action triggers the backend processes that set up the necessary infrastructure and resources for your website. It creates a unique instance of your site, configuring it based on the chosen template and the provided website name.
