Step by step process of How to Share the Already Created Files in Outlook Word, With the Specific Access to a Specific User NOTE: To run this skill User need to Login in Microsoft Applications
-
1.
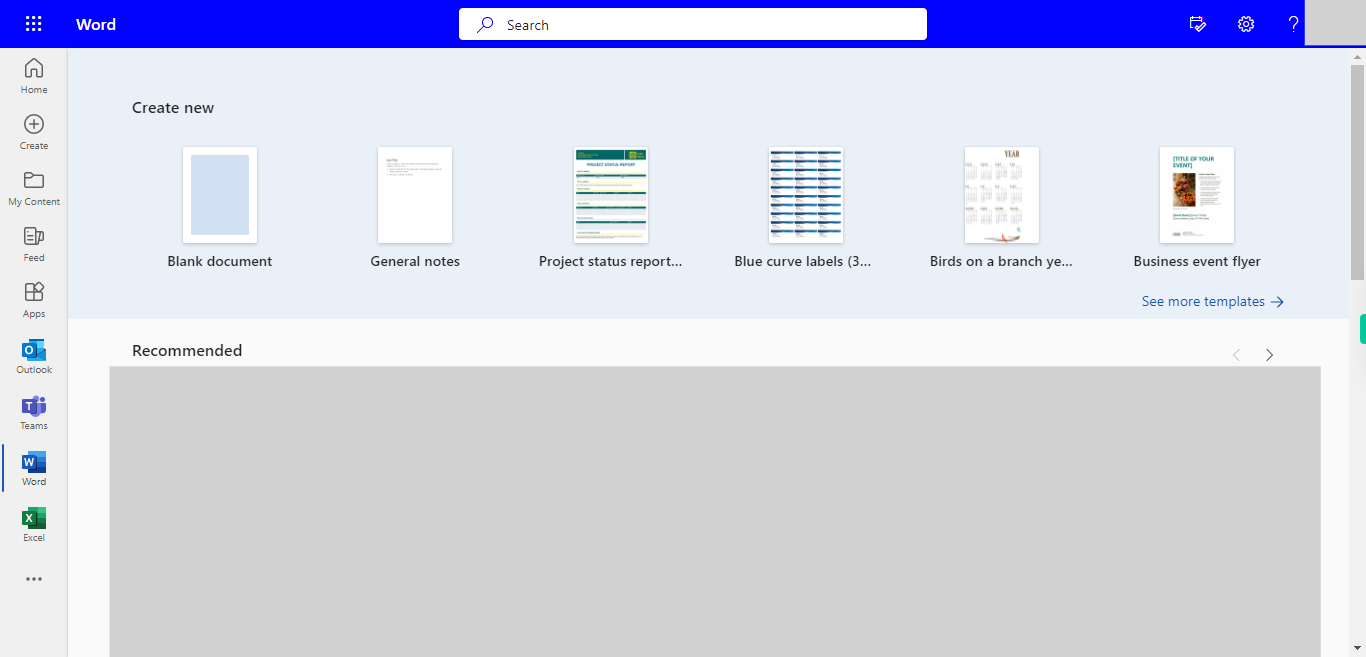
Open Microsoft Word Web Application in the Browser.
-
2.
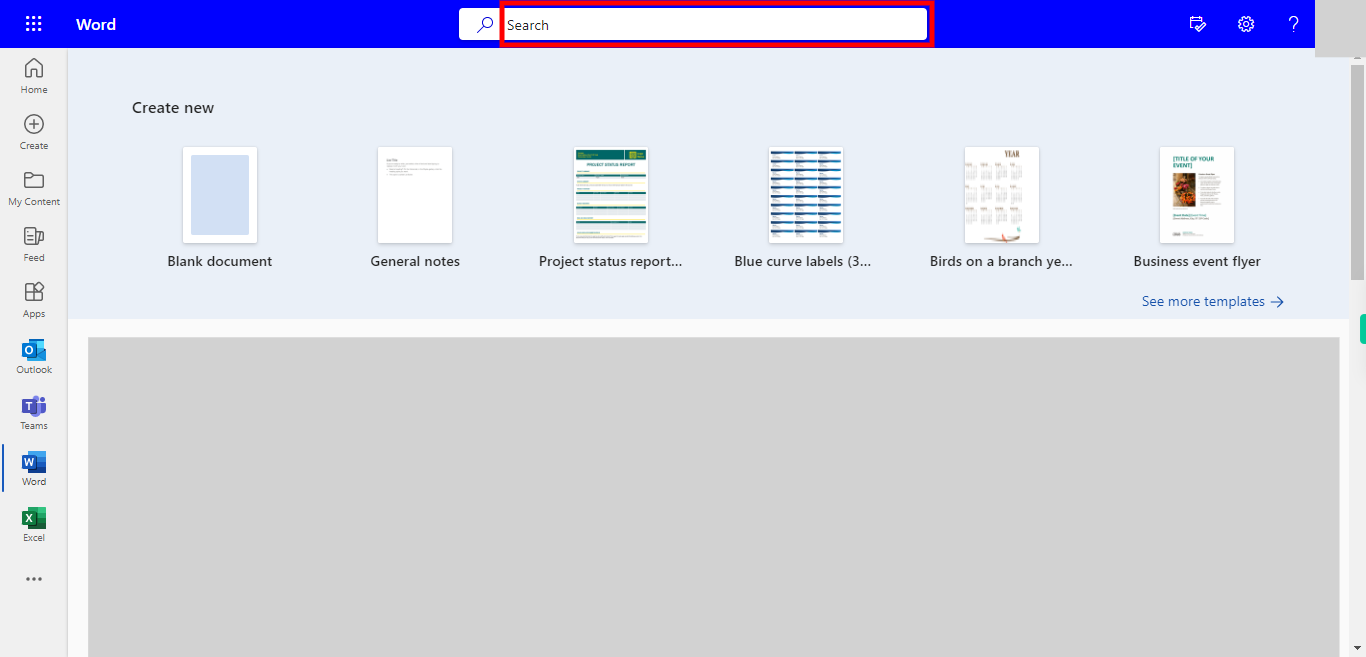
The search button in Outlook Word allows users to quickly locate specific content within their Word Files. The user needs to type the Name of the file, After typing the File name in the Seach Bar Suggested and Recently Used files will appear under the Search bar, Once done, click on the "Next" button on the Supervity instruction widget. After the user can able to see the Target file and Open the File from Search.
-
3.
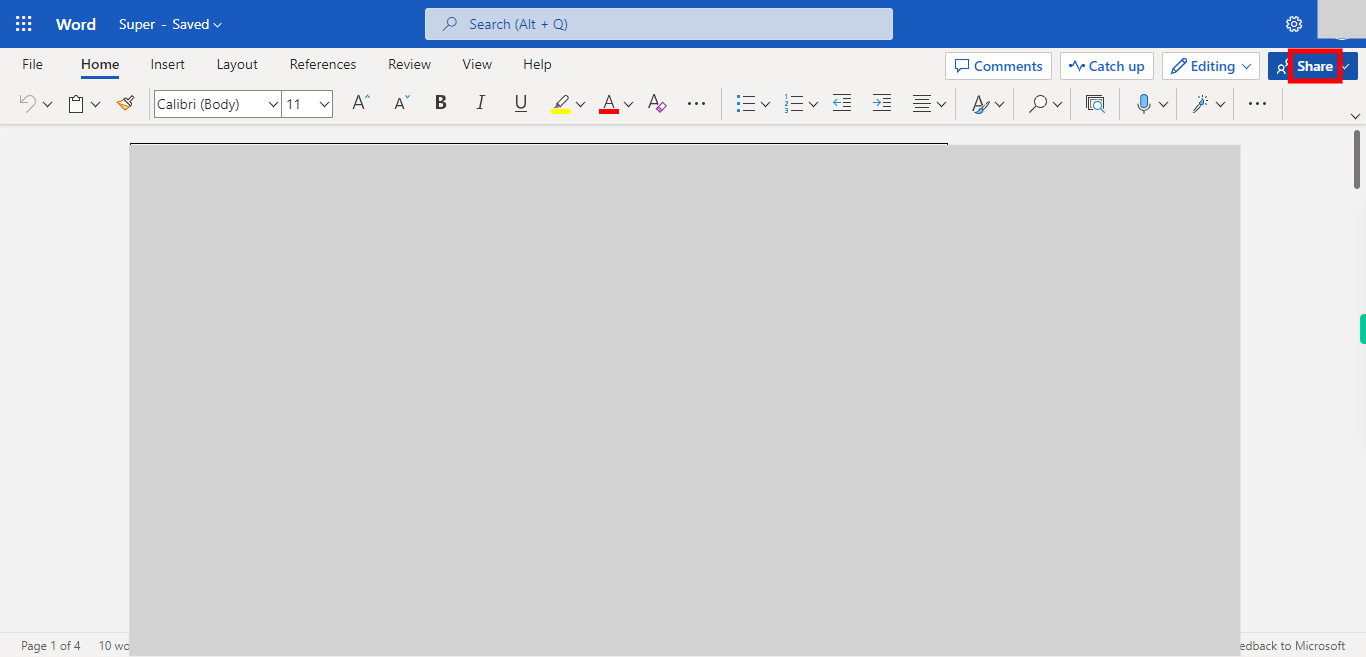
By clicking on the Share button, users can initiate the sharing process, enabling them to seamlessly collaborate, gather feedback, and work together on documents within the Outlook platform, The share button is Usually Located on the Top Right of Outlook Web Pages, However, We can also find the option of Sharing by clicking on File >> Share, As we have a Direct Button on the Screen we can Share the File by Clicking on Share Button.
-
4.
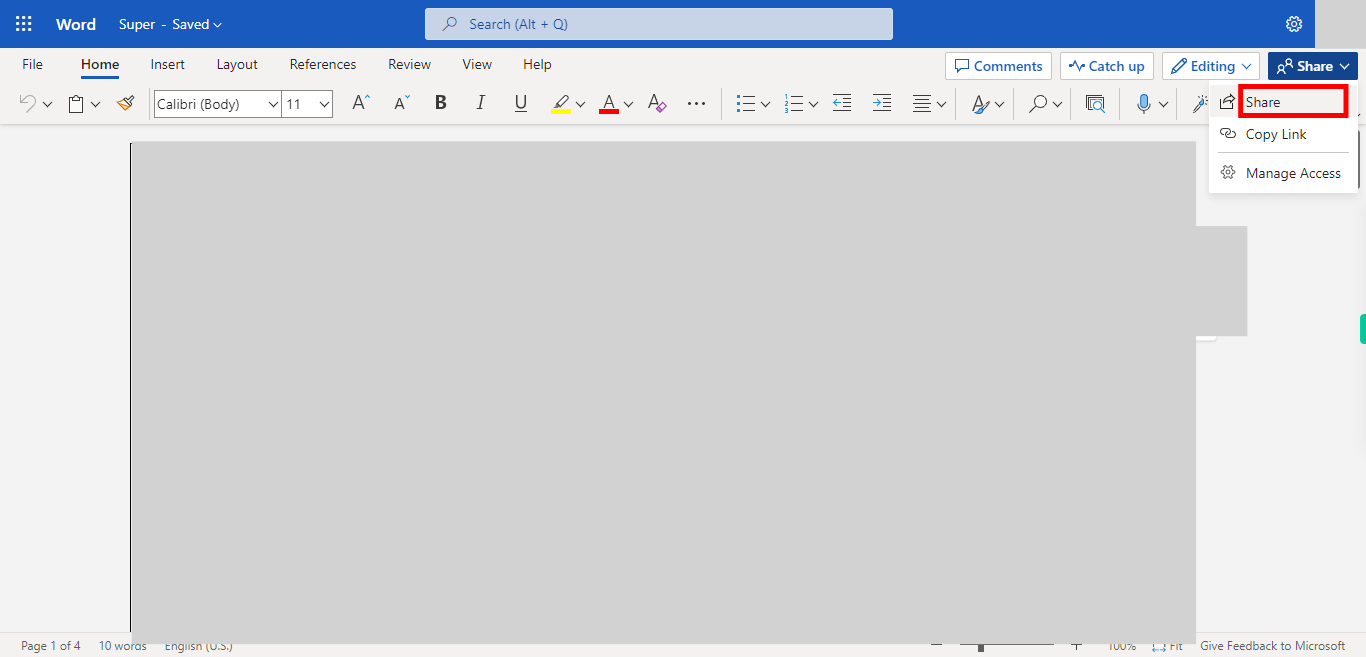
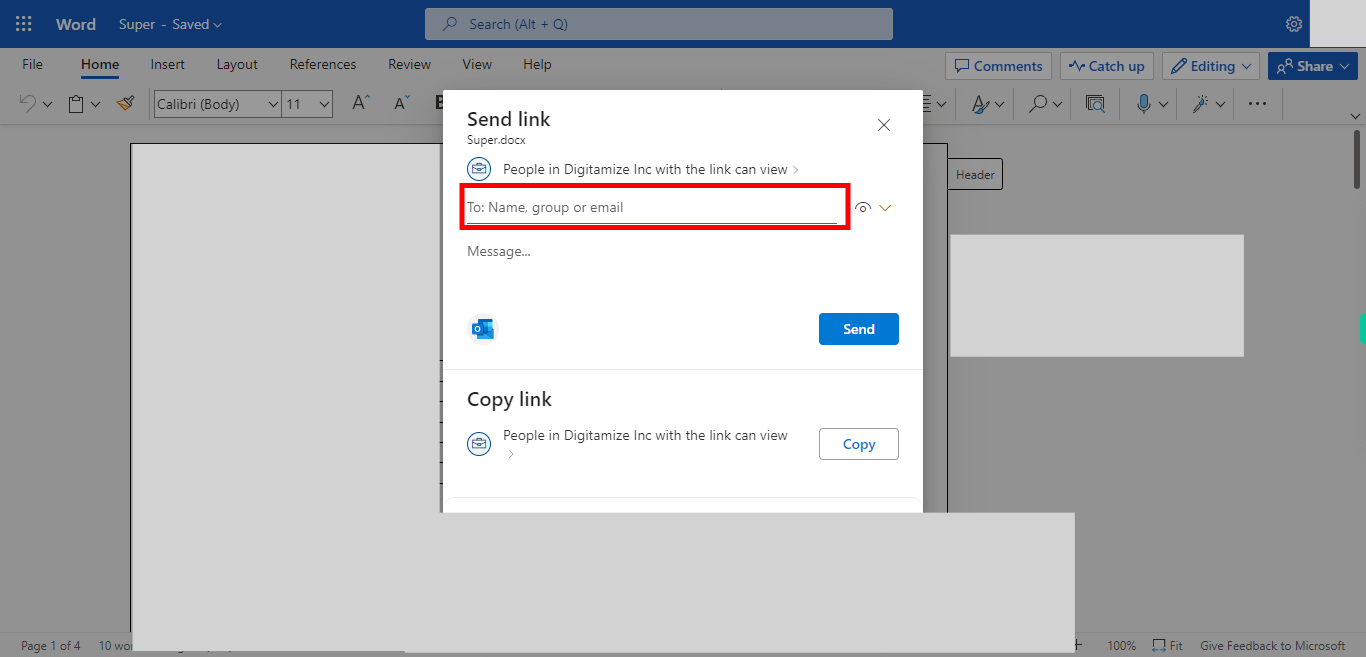
Share Provides an Option for the User to share via Email, Copying the Link of the file which is Sharable inside the Organisation, and also Manage Access for already Shared Access. Here We will Go with the Share Option by clicking on the Share button, which will give the user to share access to the Email and Define Access for the Other user and A Message for Giving Instructions to the Users.
-
5.
Click on Send to / Share in which You need to mention the Email ID / IDs( For multiple Access), When you type the Full email ID of a User Outlook will Show the Email Id's registered over the Web and You need to Select from the Suggested Email Shown Below. After Filling all the User emails in the Send Textbox, Once done, click on the "Next" button on the Supervity instruction widget.
-
6.
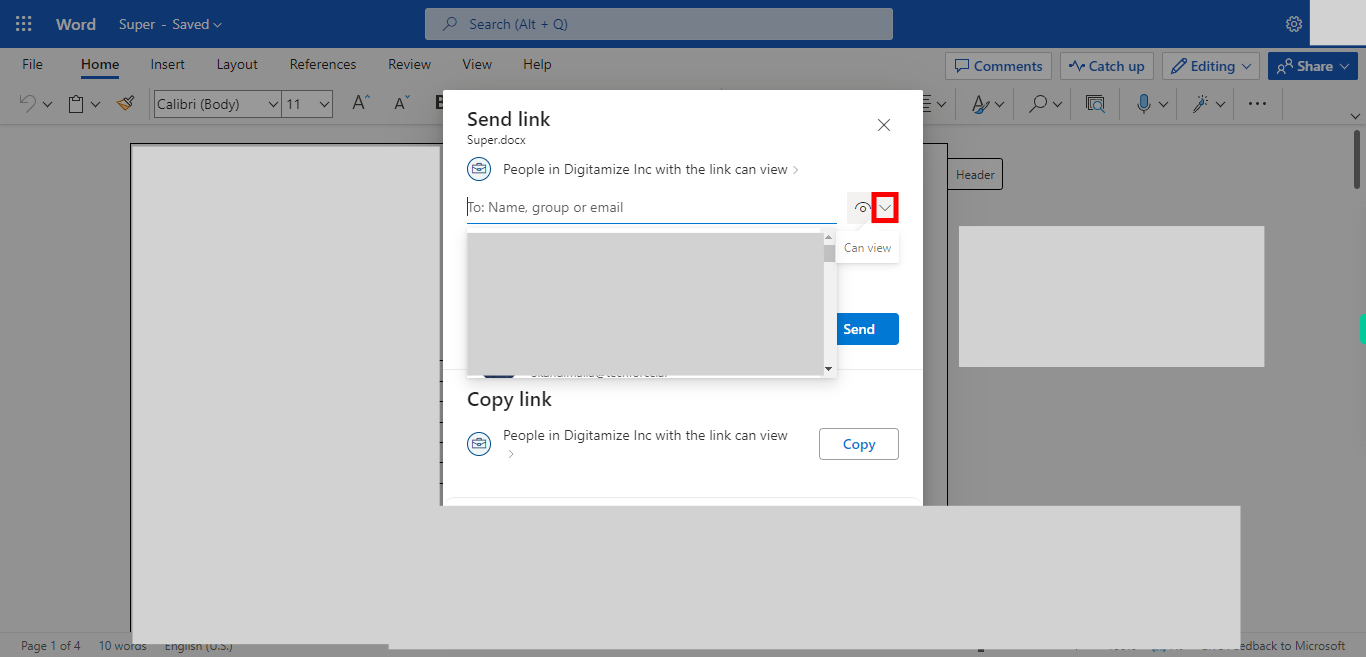
When sharing a file in Outlook Word, The following roles are commonly used when sharing files in Outlook Word: Editor / can Edit: Editors have the ability to make changes to the shared file. They can edit the content, format the document, and add comments. However, they do not have permission to modify sharing settings or remove others from the collaboration. Reviewer / can Review: Reviewers can view and provide feedback on the shared file. They can read the content, add comments or suggestions, and track changes if enabled. However, reviewers cannot make direct edits to the file or change its formatting. Viewer / can View: Viewers have read-only access to the shared file. They can open and view the document but do not have the ability to make any changes or add comments. Viewers can benefit from the content but cannot actively participate in the collaboration process. Please Select the Role for mentioned User and Once done, click on the "Next" button on the Supervity instruction widget.
-
7.
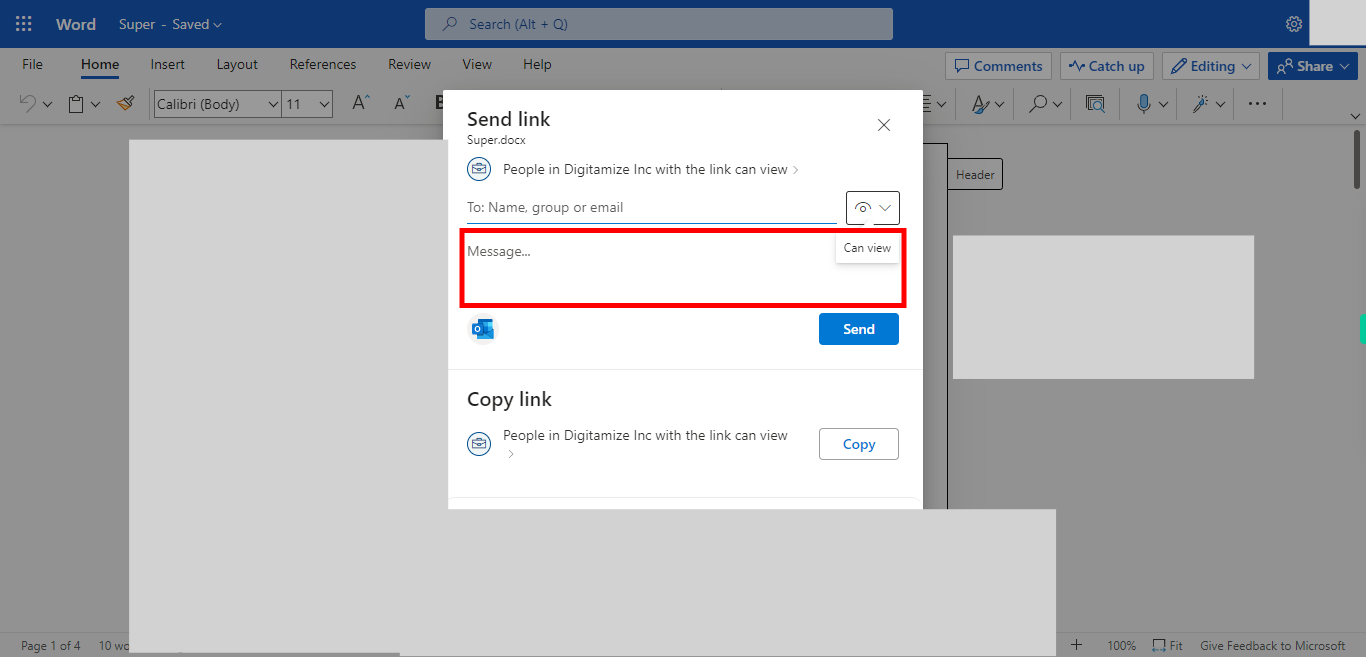
The message box is Usually for the People with Whom we are sharing the file. This might include the description of the file or details inside the file or instructions for using the file. After filling the above-mentioned things, Once done, click on the "Next" button on the Supervity instruction widget.
-
8.
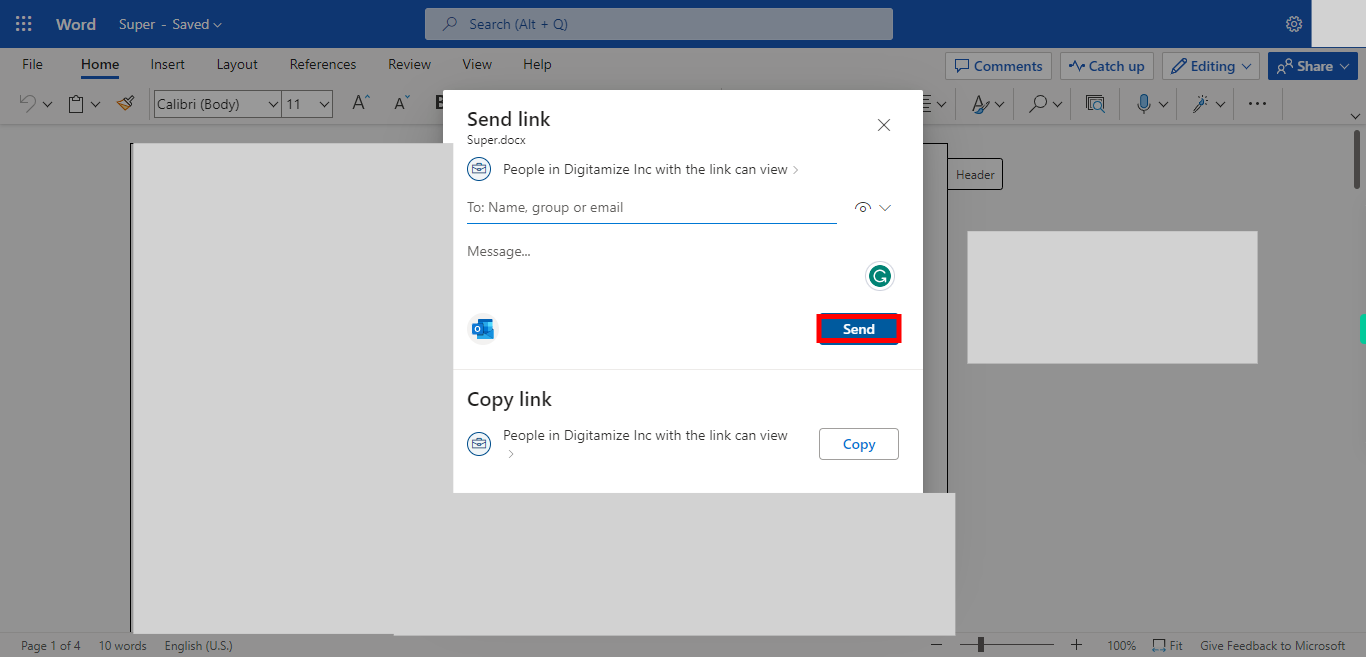
After filling the All the required details in above sections we are ready to send the mail to the mentioned email via Outlook, By clicking on Send, A mail will be sent to the mentioned Users with the Message. You can find the Details of the Mail in the Sent mail in the Outlook email.


