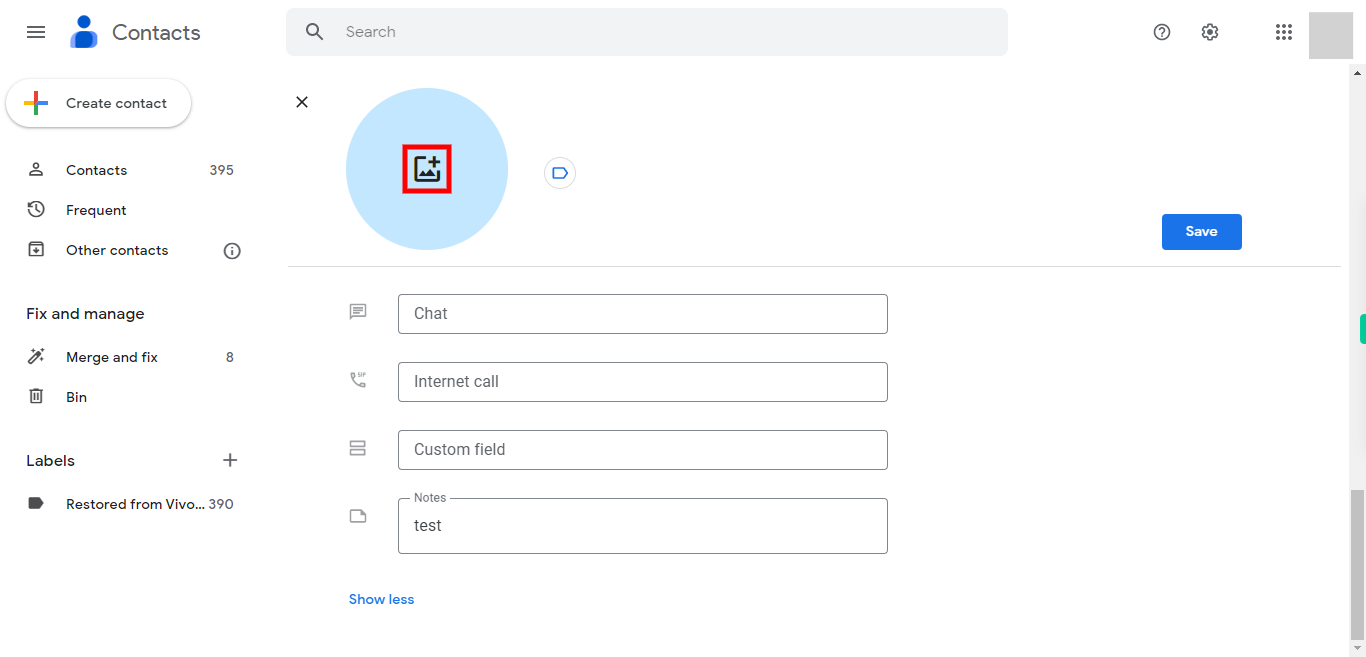
Step by step process of creating a Contact in Google Contacts. NOTE: Make sure you are already logged into your Google contacts application on web before playing this skill.
-
1.
Open Google Contacts web application.
-
2.
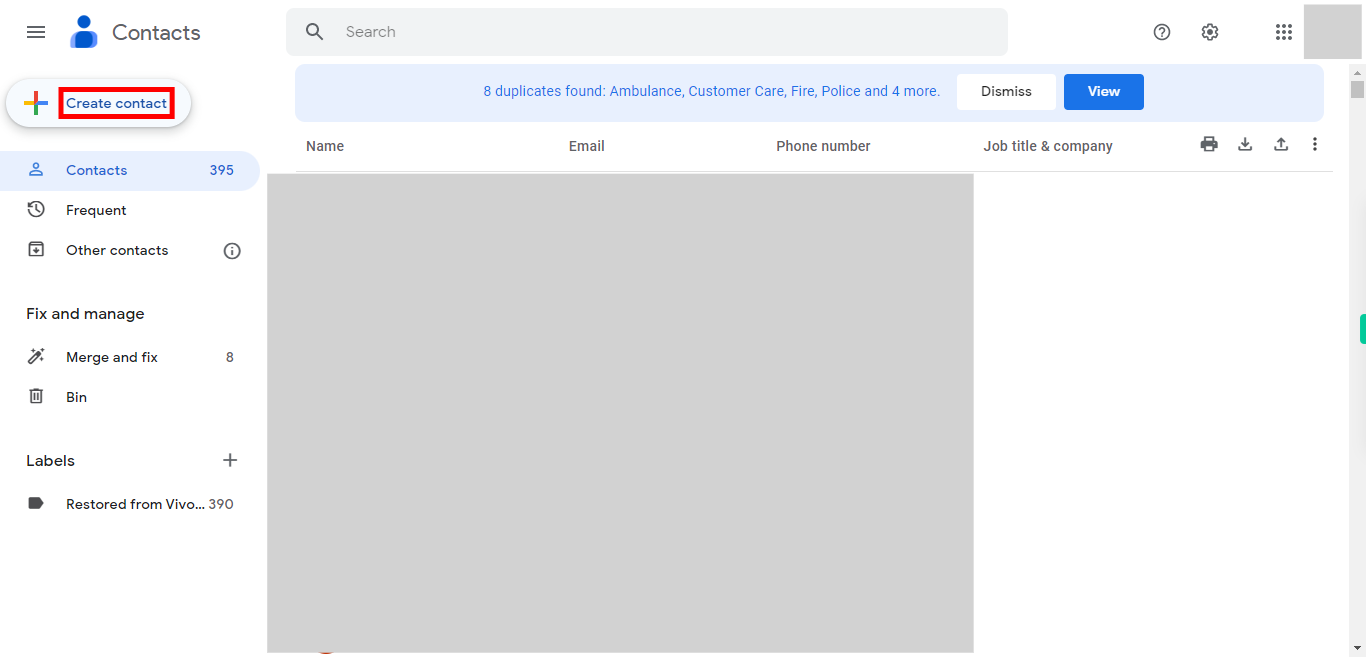
Click on the "Create contact" icon, typically represented by a plus sign (+) or a "New Contact" button, which is preset in the top-left corner of the web page, allows you to add a new contact to your Google Contacts list.
-
3.
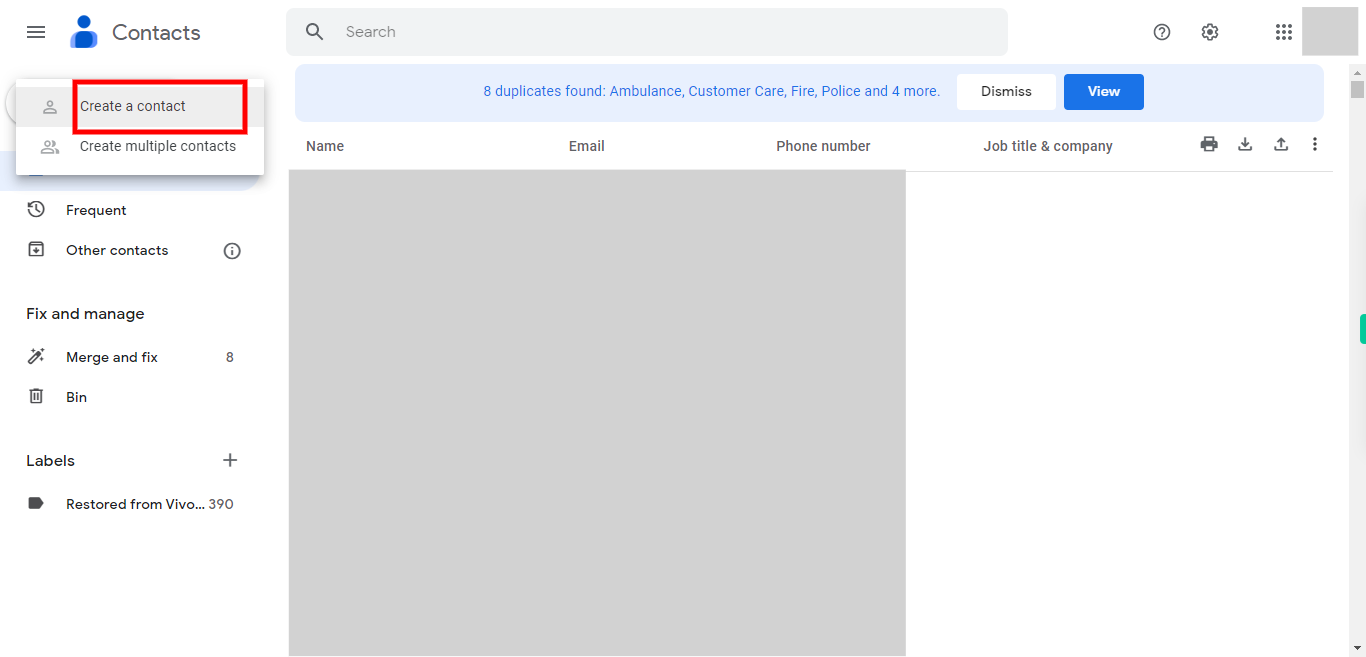
In the drop-down menu of "Create contact," click on the "Create a contact" icon. This option allows you to add a single contact at a time. When you choose "Create a contact," you are prompted to enter the details of one specific contact, such as their name, phone number, email address, and any other relevant information. This option is useful when you want to add individual contacts one by one.
-
4.
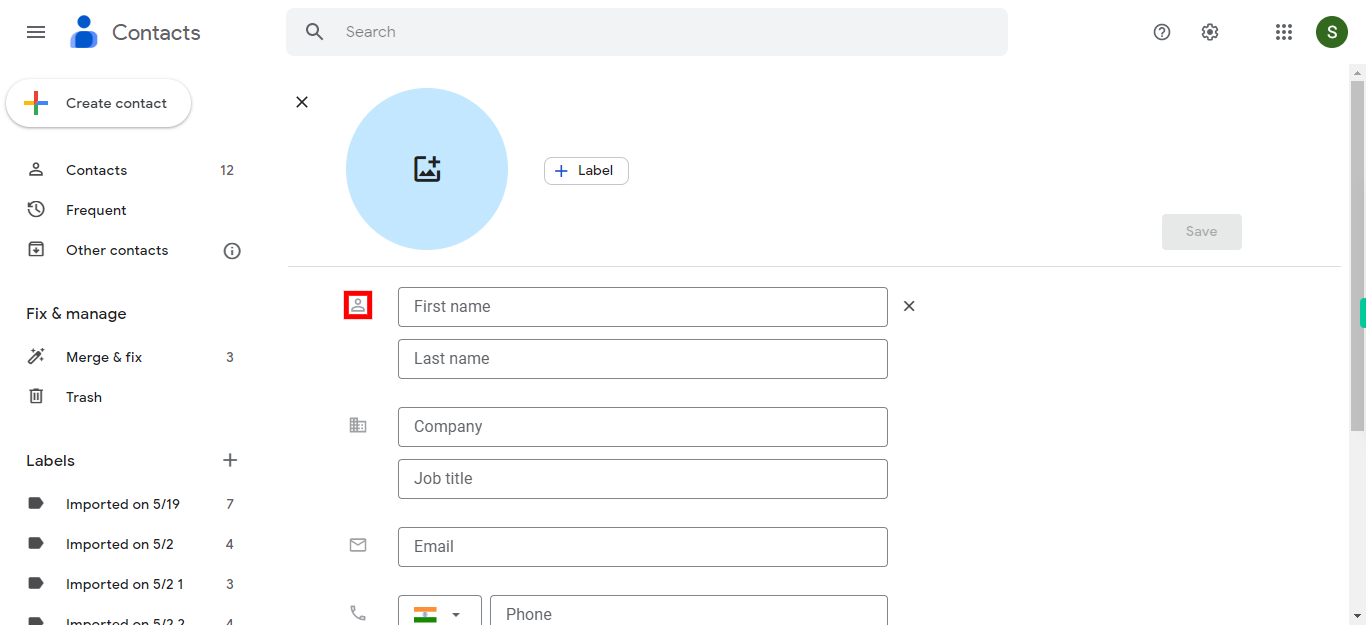
Enter the "First Name" and "Last Name". For example, in John Smith, "John" is the first name. "Last name" (or "surname") is the family name, coming after the first name. In the example, "Smith" is the last name. Once done, click on the "Next" button on the Supervity instruction widget.
-
5.
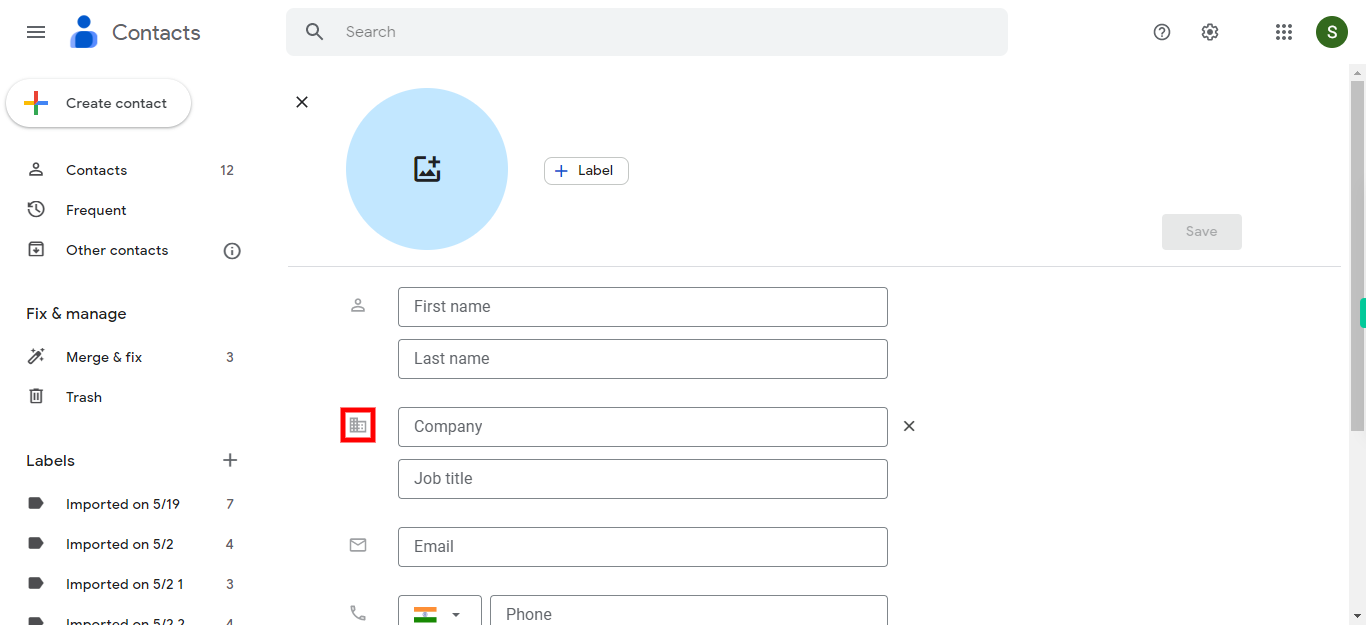
Enter the "Company" and "Job Title". "Company" refers to the name of the organization or company that the contact is associated with. "Job title" refers to the specific role or position that the contact holds within their company or organization. Once done, click on the "Next" button on the Supervity instruction widget.
-
6.
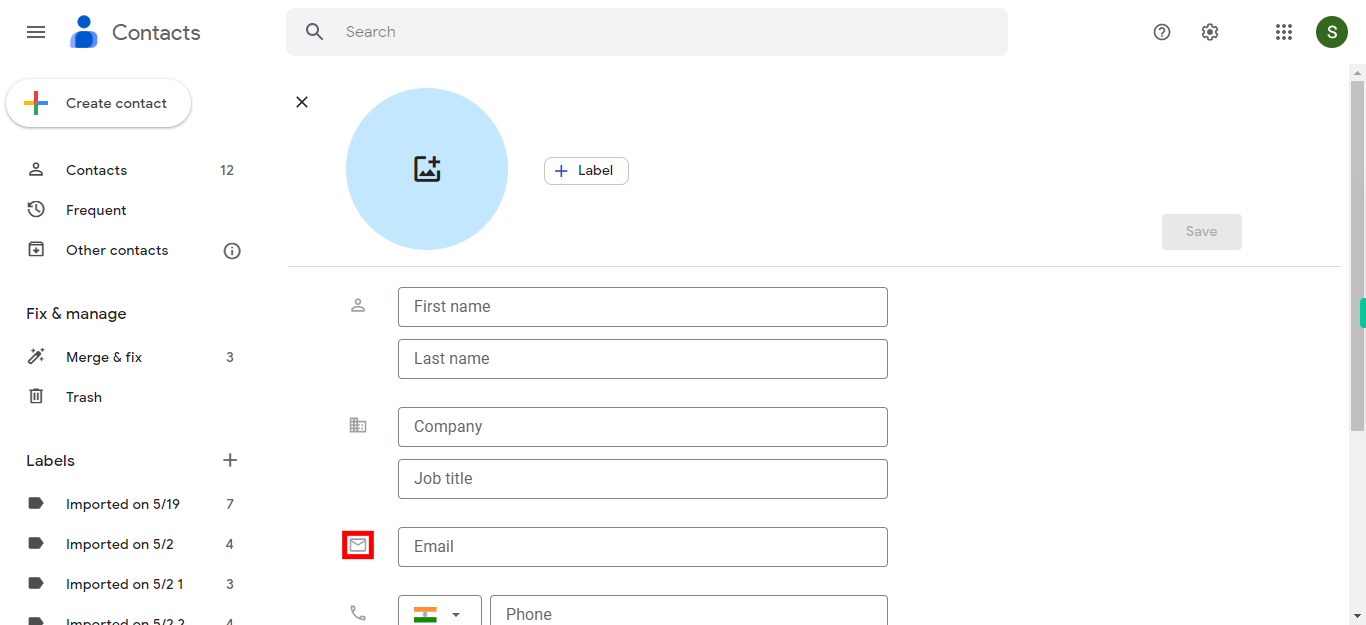
Enter the "Email" address associated with the contact. Once done, click on the "Next" button on the Supervity instruction widget.
-
7.
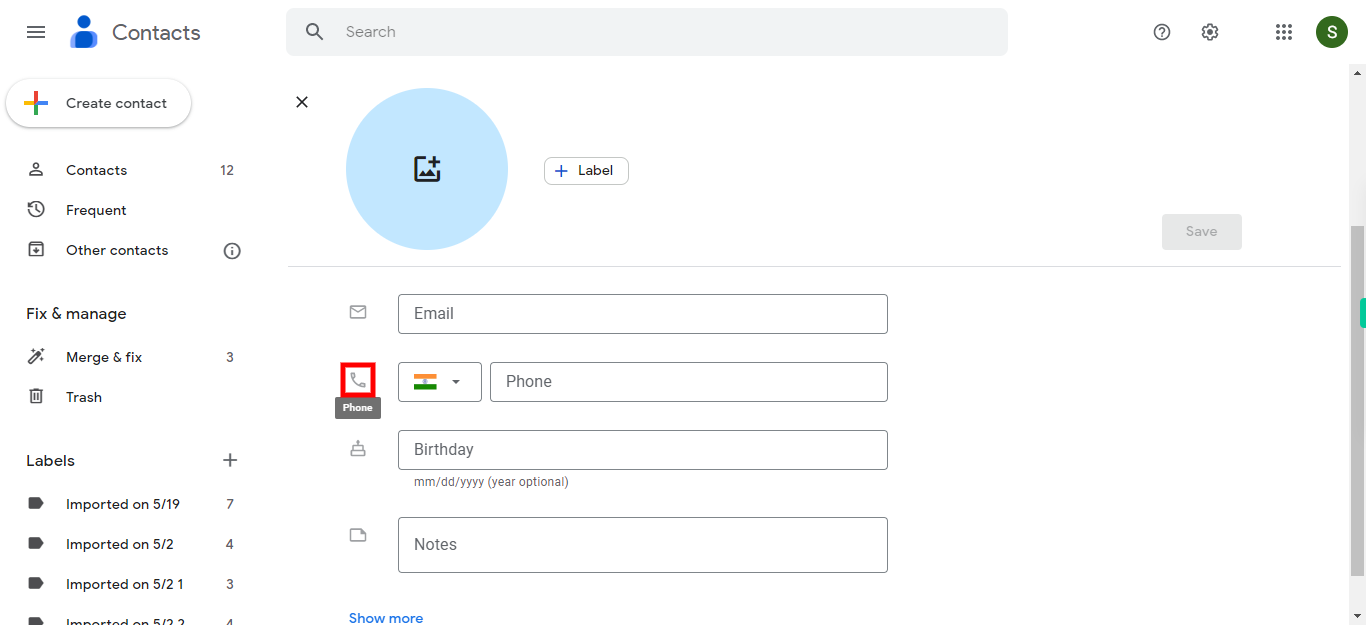
Choose the "Country" from the drop-down menu and enter the "Phone" number associated with the contact. Once done, click on the "Next" button on the Supervity instruction widget.
-
8.
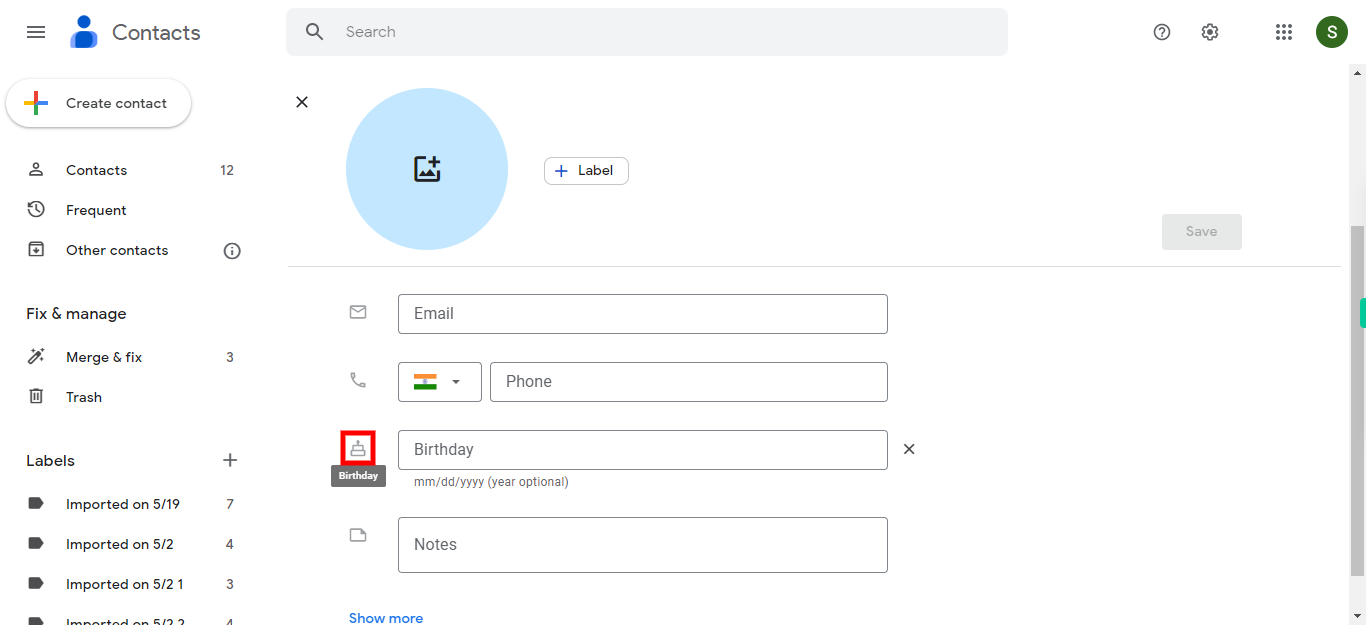
Click on "Birthday icon and select the required birthday month,Year and Date .Once Done Click on the "Next step button on Supervity instruction wodget.
-
9.
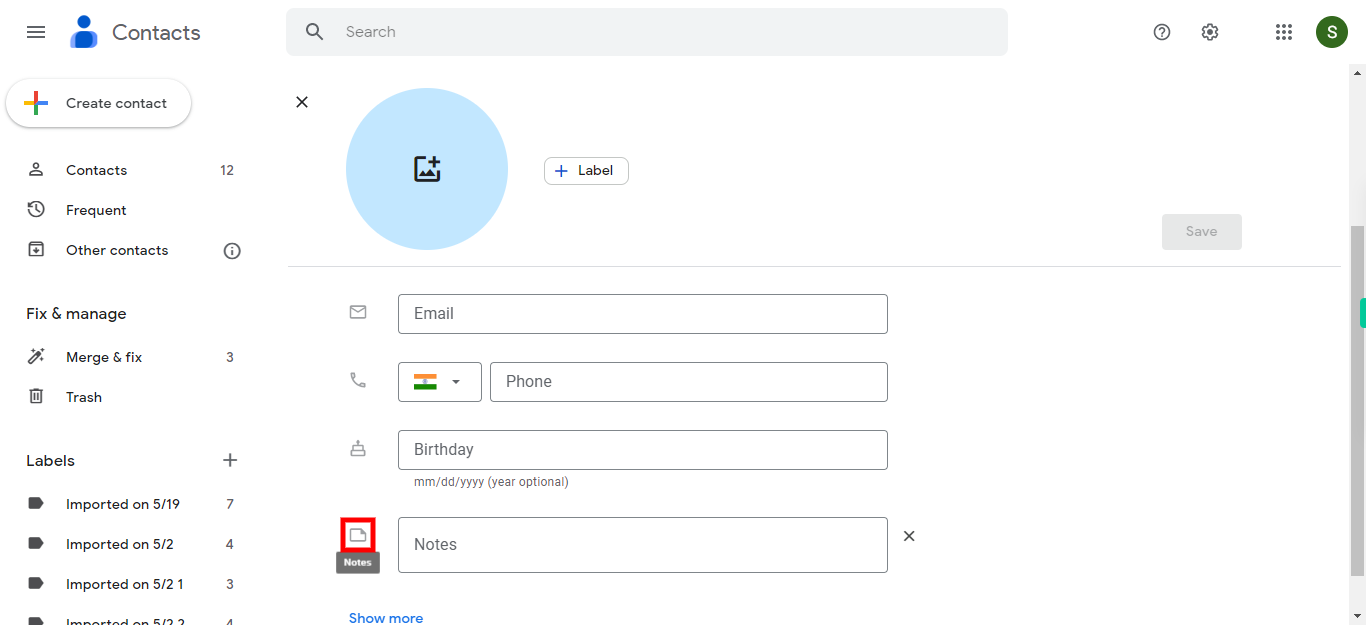
Click on "Notes" and type required note.Once done Click on the "Next step" button on Supervity instruction widget.
-
10.
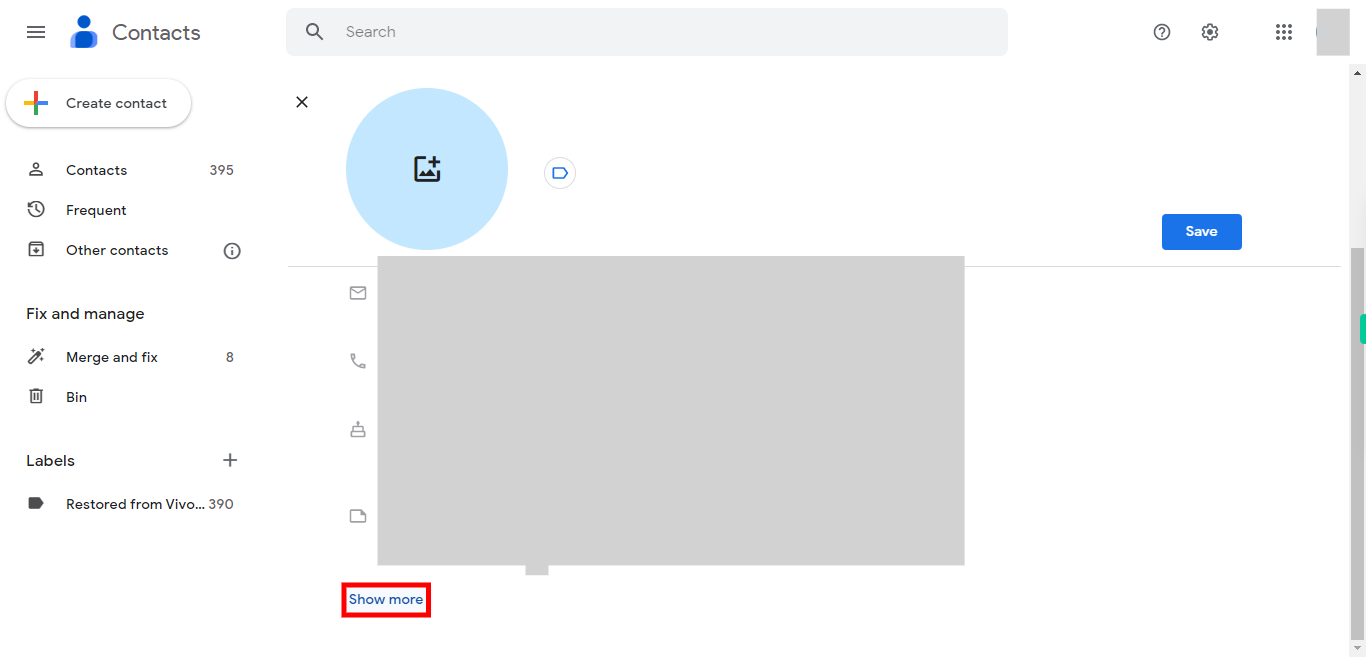
Click on Next button, then click on show more icon and enter the fields if you want.
-
11.
Click on close button, then upload a contact photo if you want then click on Save Icon.


