Step by step process of Inserting image from Local or web and modifying size and shape of the inserted Image NOTE: to use the Skill User need to Login into Outlook APplications
-
1.
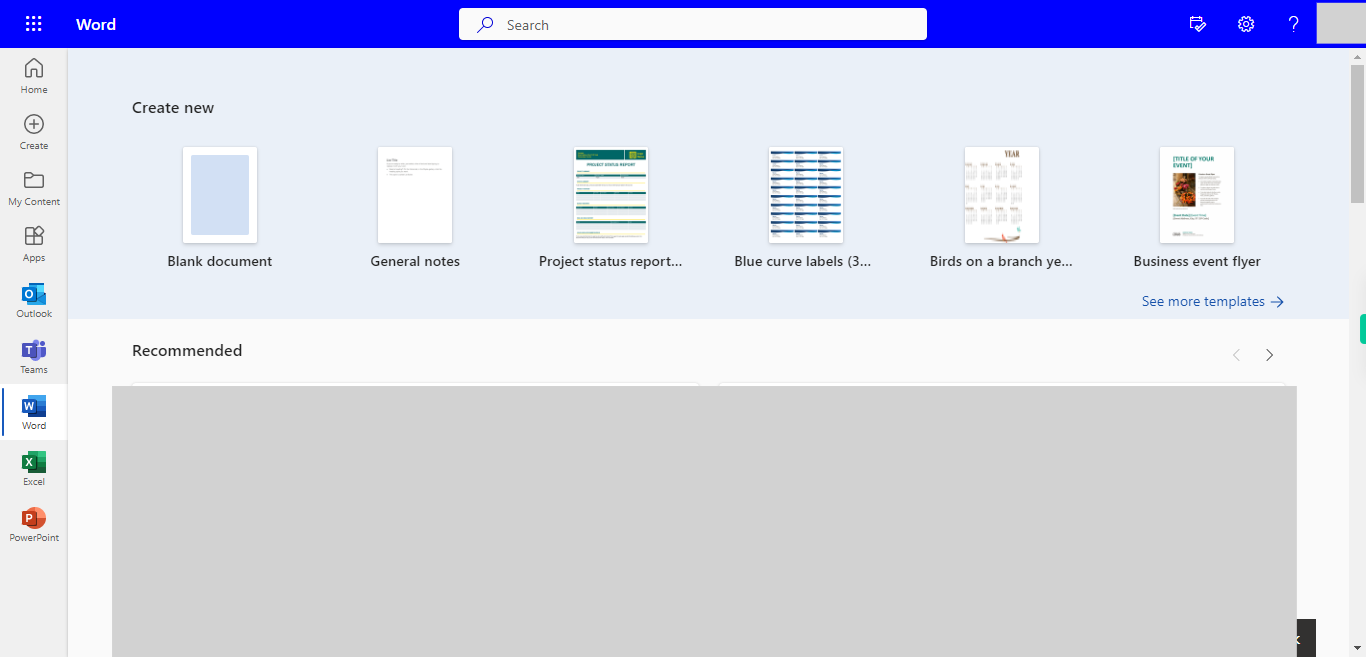
Open Microsoft Word on the Web.
-
2.
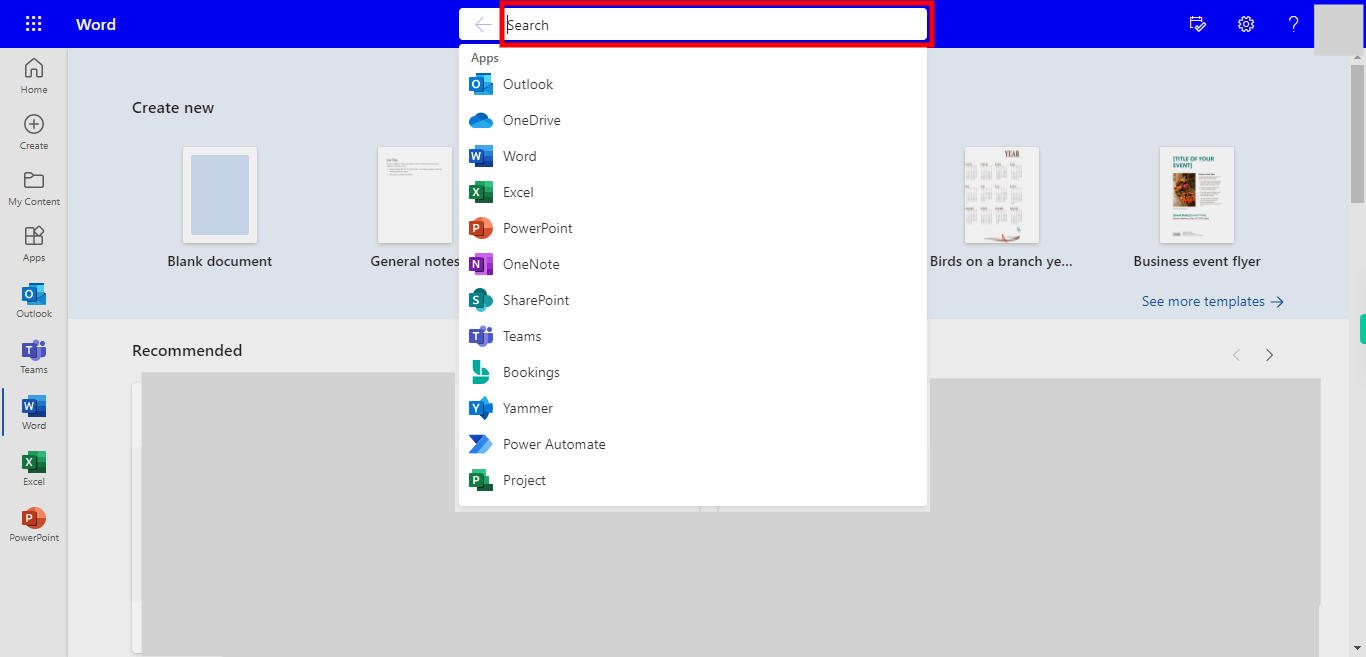
Click on Search Bar, Which enables the User to find the files from Outlook Word. Type the File name in the Search bar, which will show the User's Recently used files. Once done, click on the "Next" button on the Supervity instruction widget. Open the file under Search bar.
-
3.
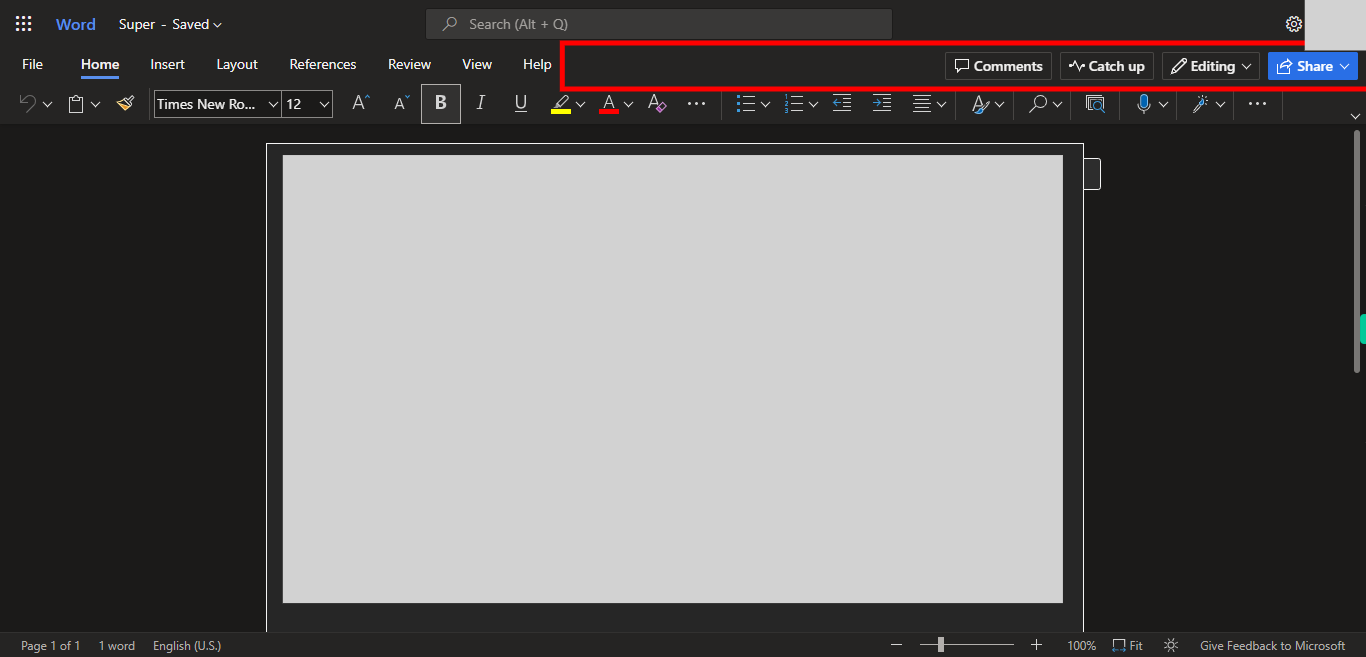
Move the Cursor to the Place where you want to Add the Image. Once done, click on the "Next" button on the Supervity instruction widget.
-
4.
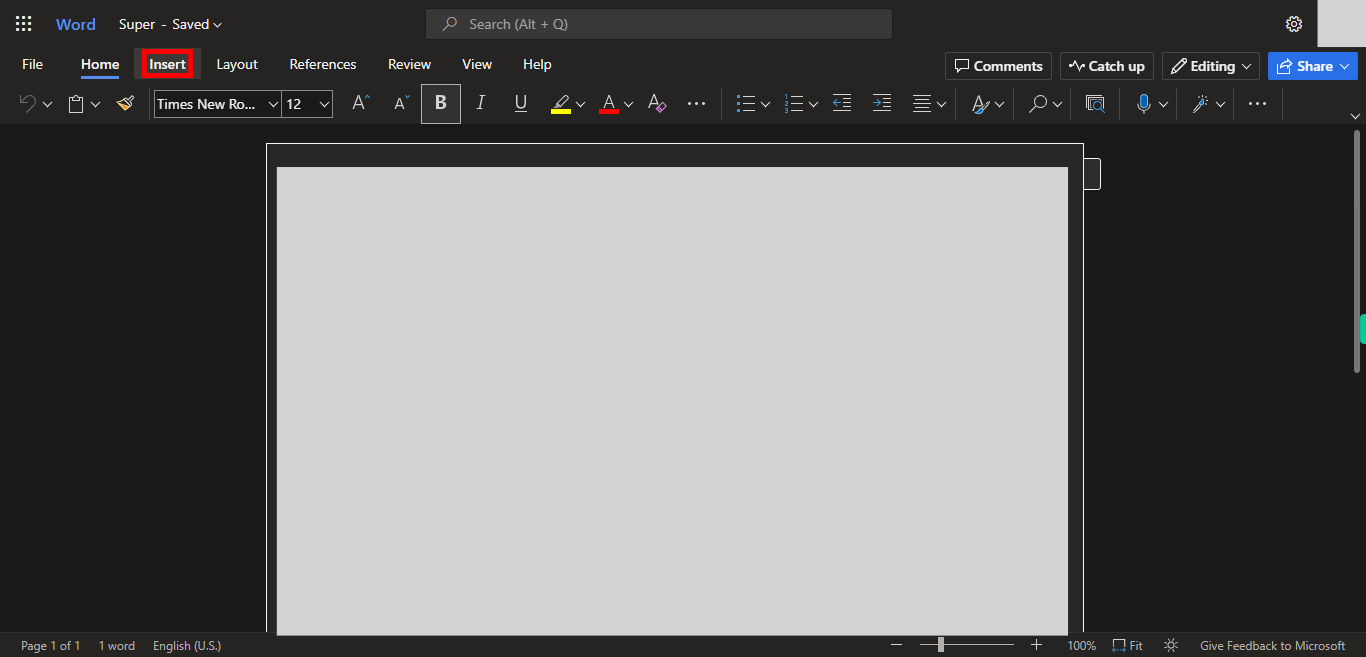
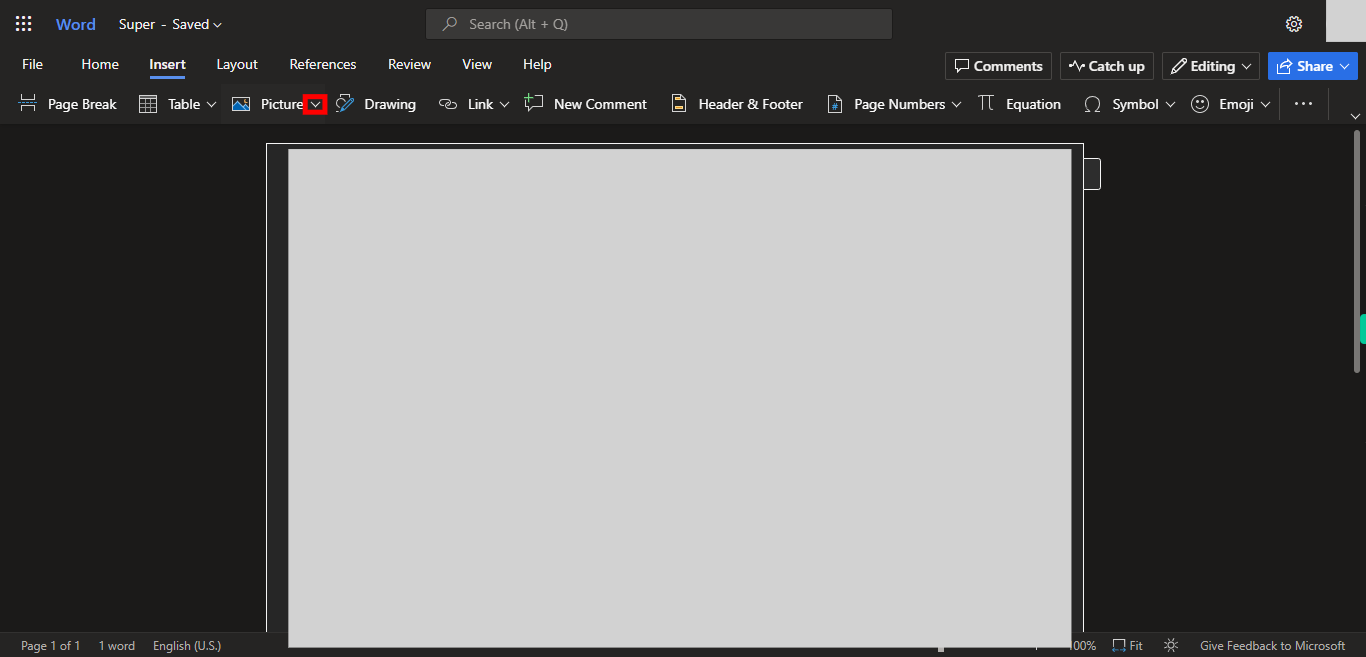
Click on Insert Button.
-
5.
Click on Picture Drop-down to Add the Image to the file. Select the Source like This Device / Onedrive / Stock Images / Search on Web. Select the Image and Insert it into the Document. Once done, click on the "Next" button on the Supervity instruction widget.
-
6.
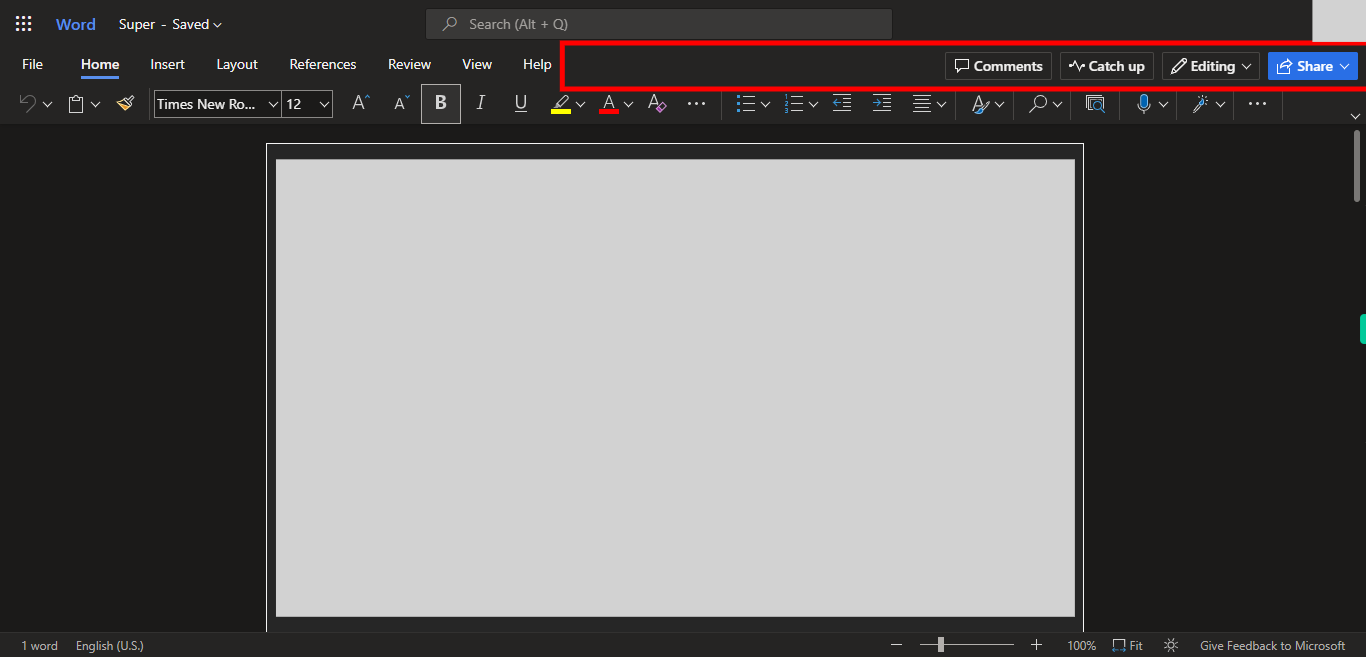
Click on the Image that you have uploaded to Modify the Image Once done, click on the "Next" button on the Supervity instruction widget.
-
7.
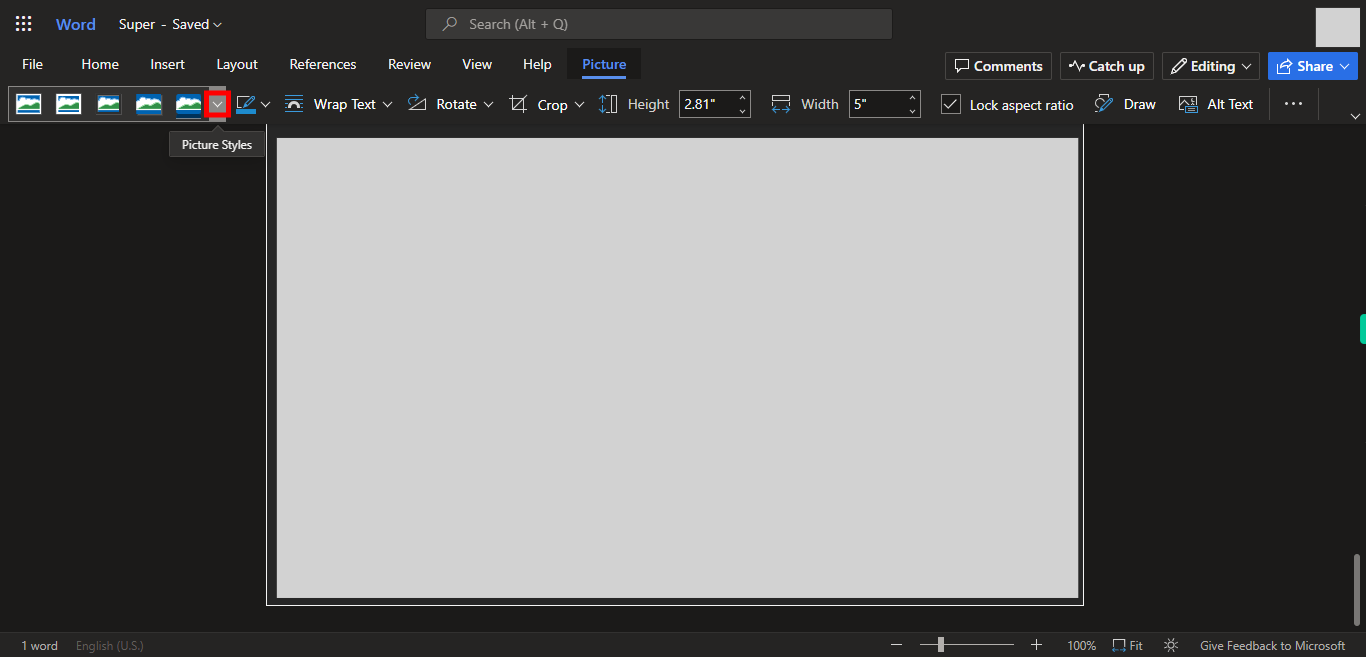
Click on the Picture Style Drop-down, and Select the style for the Picture. Once done, click on the "Next" button on the Supervity instruction widget.
-
8.
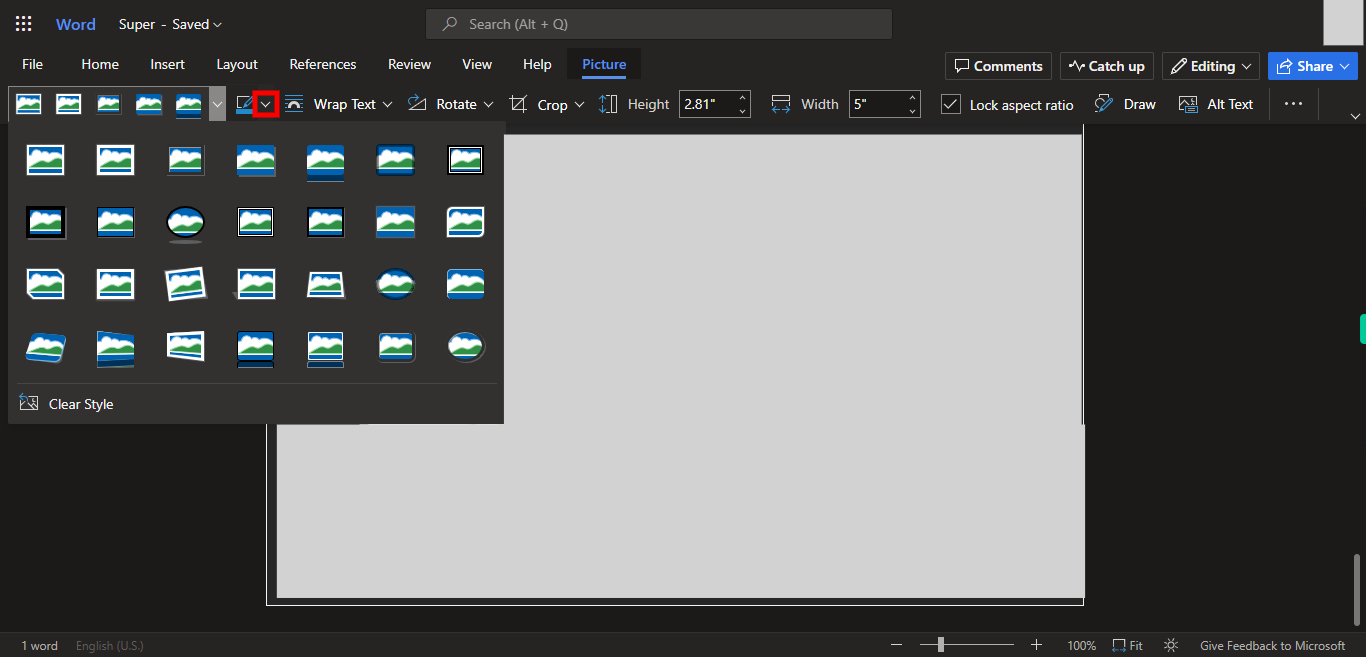
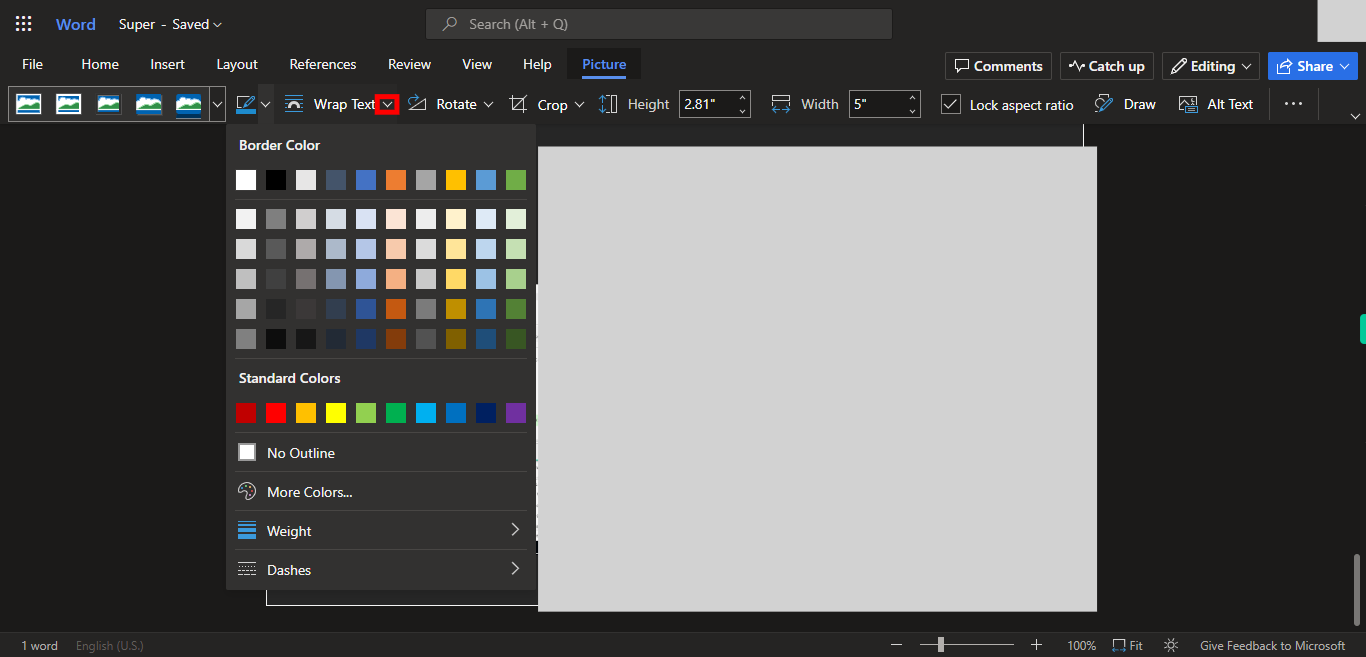
Click on the Border drop-down, and select the border for the picture. Once done, click on the "Next" button on the Supervity instruction widget.
-
9.
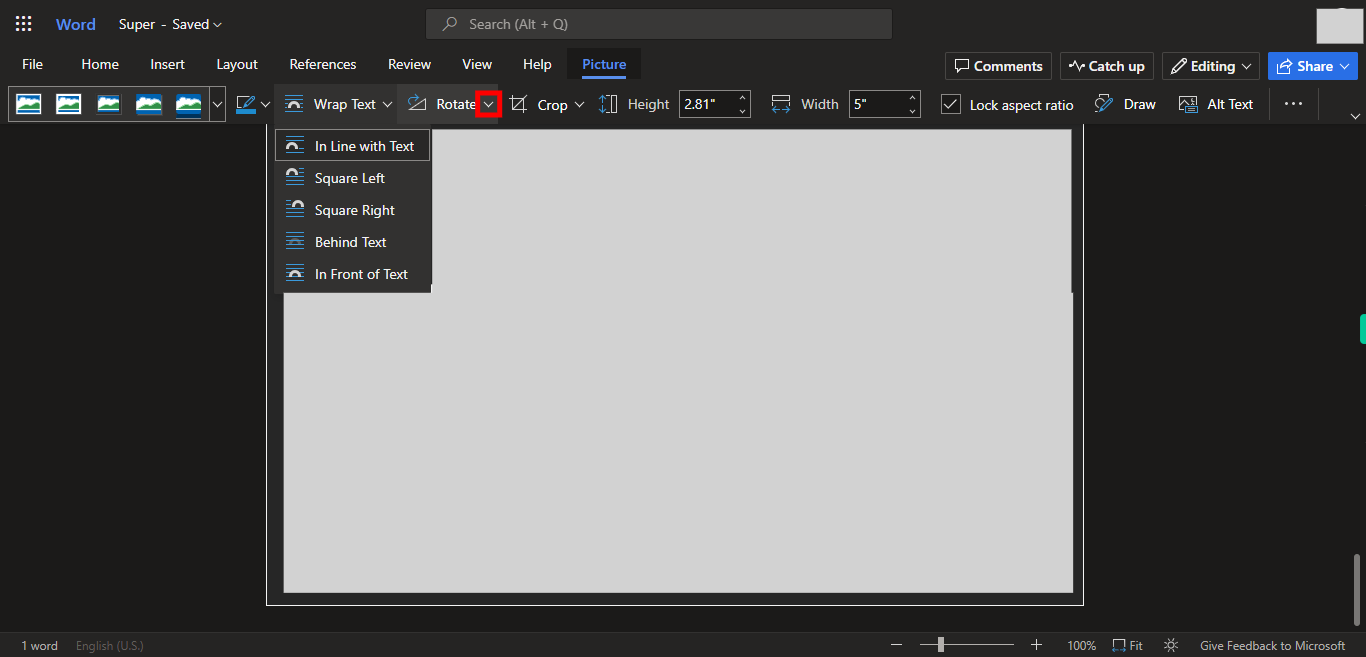
Click on Wrap Text Drop-down, select the Suitable option for Wrap text, Once done, click on the "Next" button on the Supervity instruction widget. .
-
10.
Click on rotation, and Select the Orientation of the Image. Once done, click on the "Close" button on the Supervity instruction widget. To Adjust the Size, Hover to the Borders of the Image and drag the Square Boxes to Increase/Decrease the Height and Width of the Image


