Step-by-step process to organize notes into notebooks in the Evernote web application. Note: Make sure you are already logged into the Evernote web application.
-
1.
Open Evernote web Application
-
2.
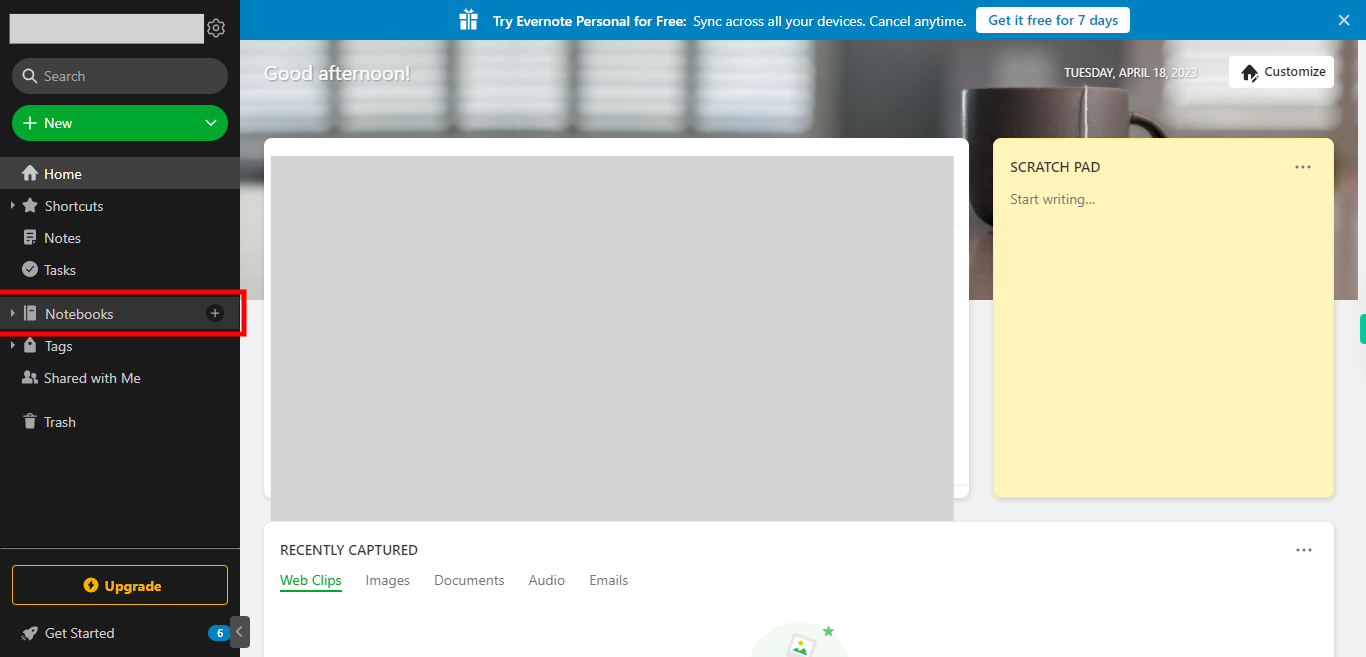
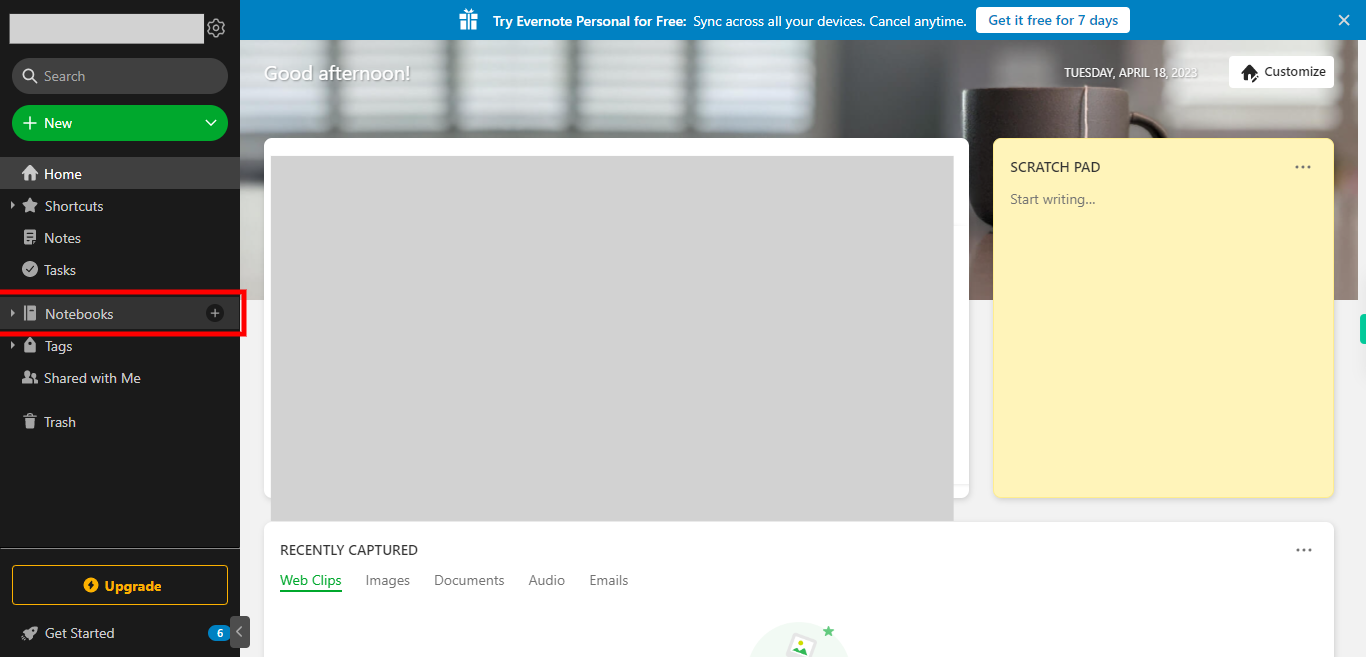
1. On the home screen, a list of options will appear in the left-side menu. Locate and click on the "Notebooks" option.
-
3.
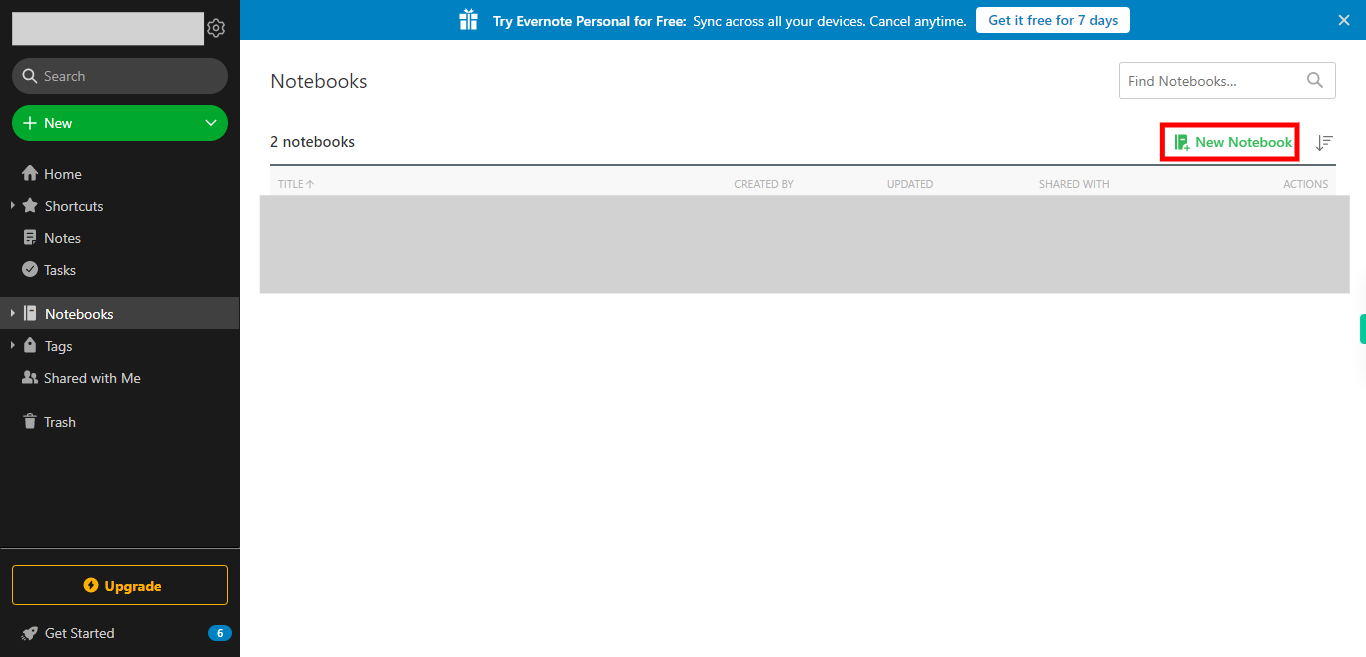
2. At the right-side of the screen click on a New Notebook.
-
4.
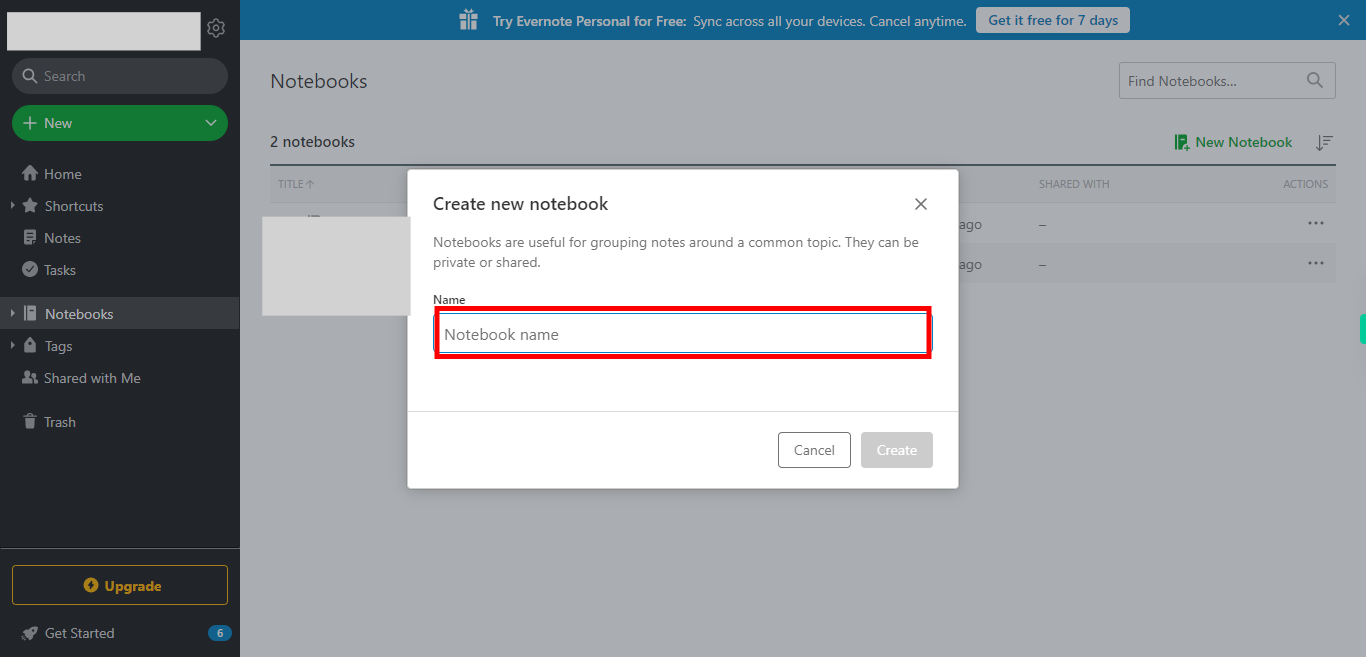
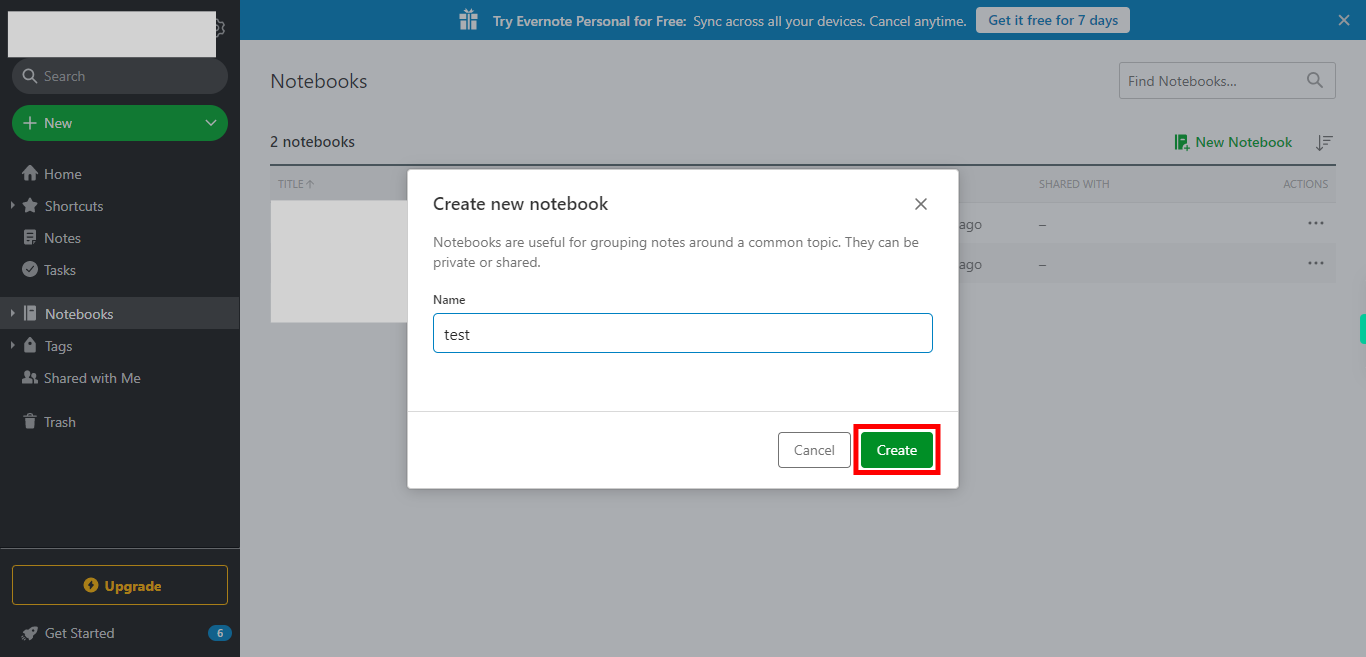
3. Popup page to create a new notebook, Click on the notebook name and enter the required name and click on the Next button in the Supervity instruction widget.
-
5.
4. After entering the notebook name, click on Create.
-
6.
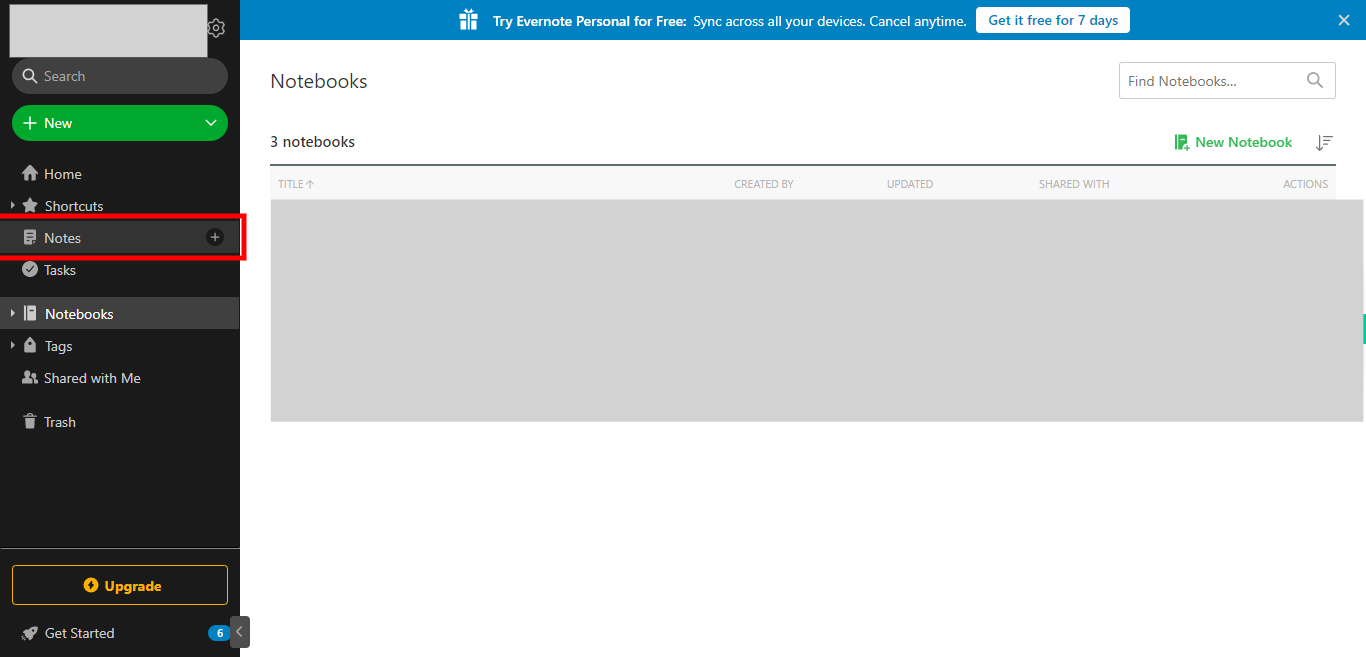
5. A list of options will appear in the left-side menu. Locate and click on the "Notes" option.
-
7.
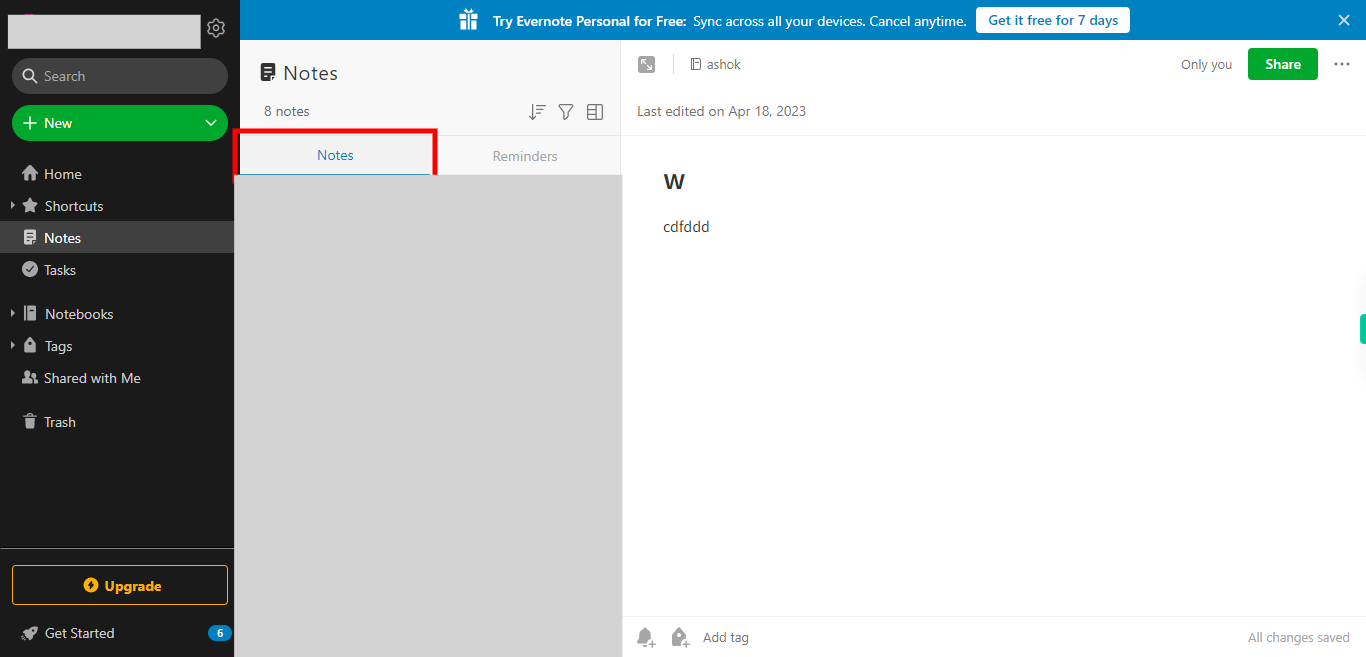
6. Click on the required note and click on the Next button in the Supervity instruction widget.
-
8.
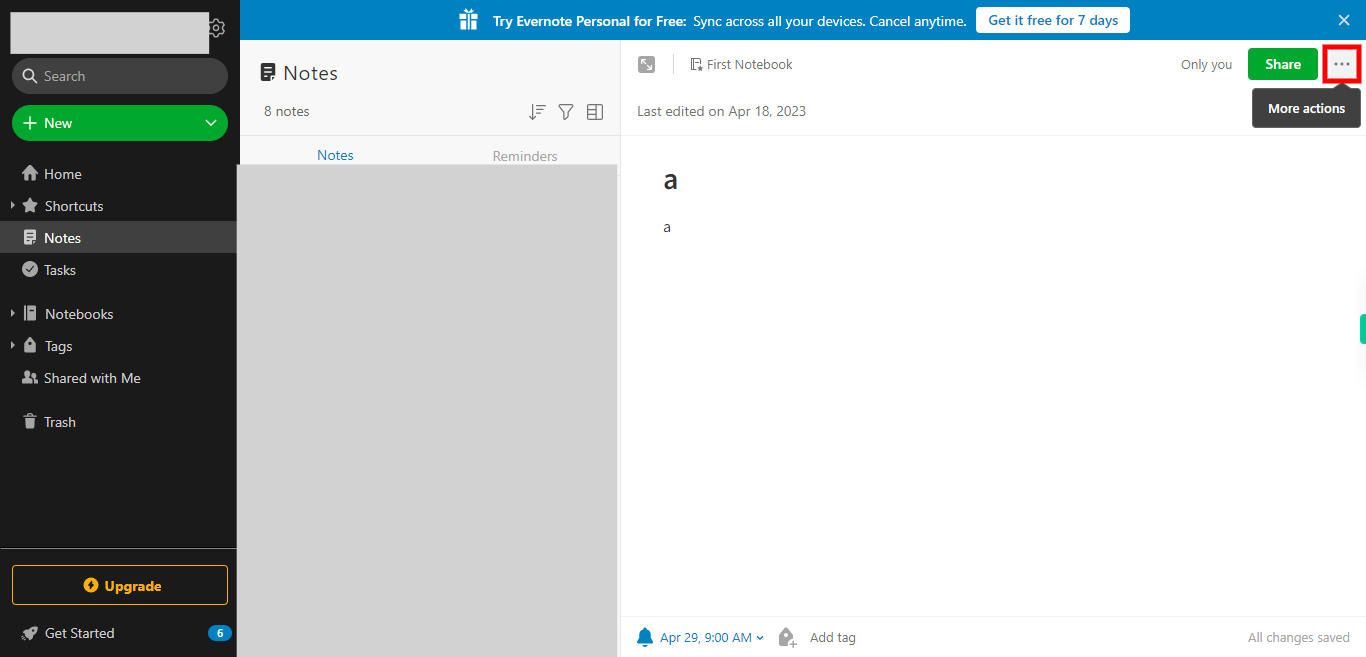
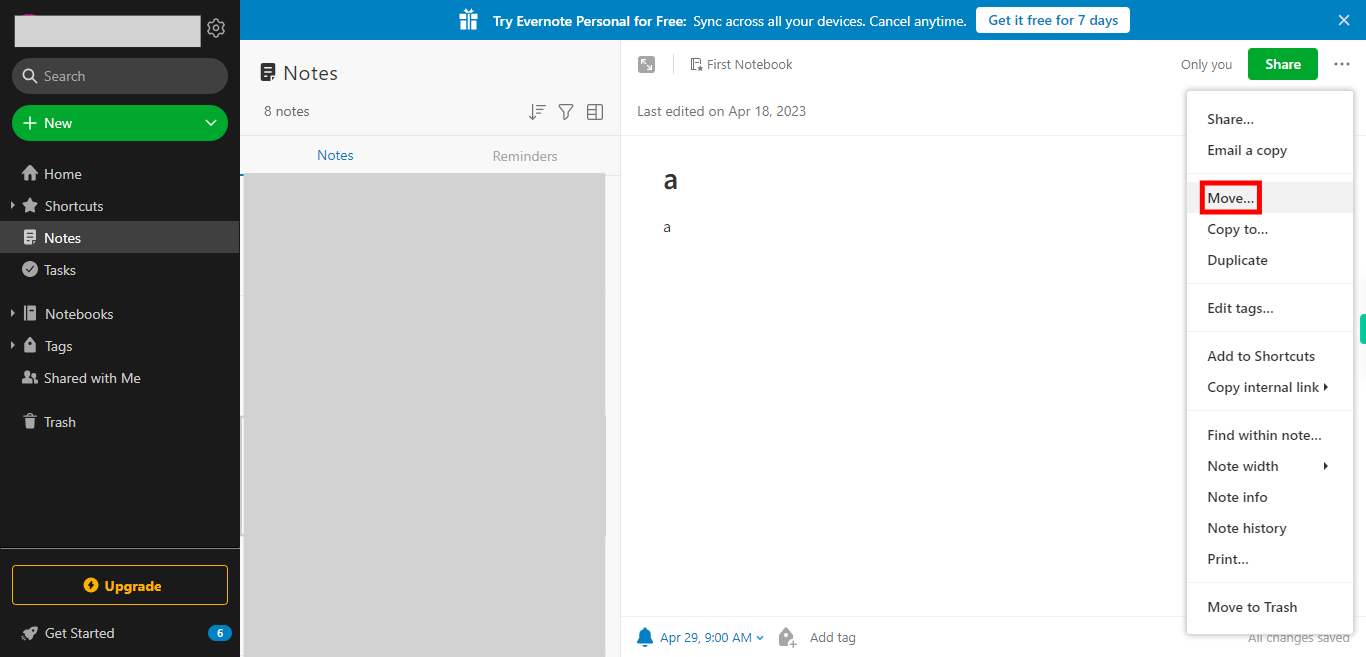
7. Click on the More actions (eclipse icon) at the right side of the screen.
-
9.
8. List of actions will appear, locate and click on move.
-
10.
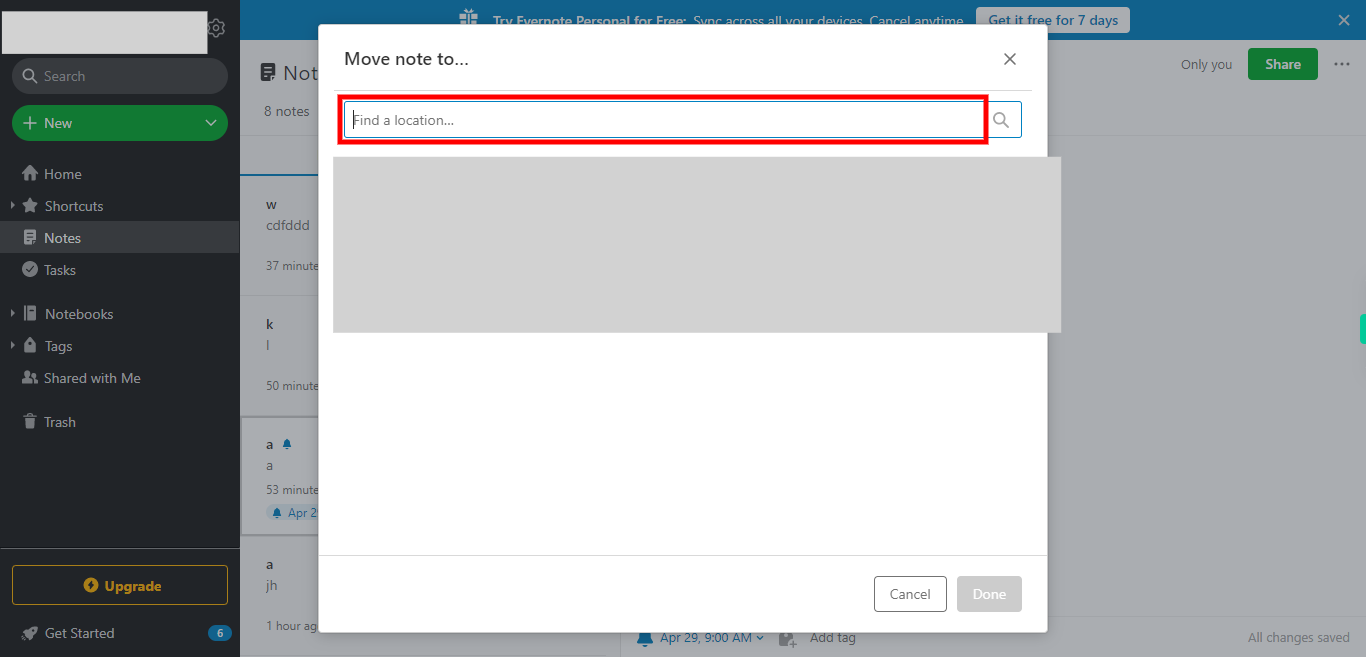
9. Click on Find a location and search for the required notebook and select the notebook and click on the Next button in the Supervity instruction widget.
-
11.
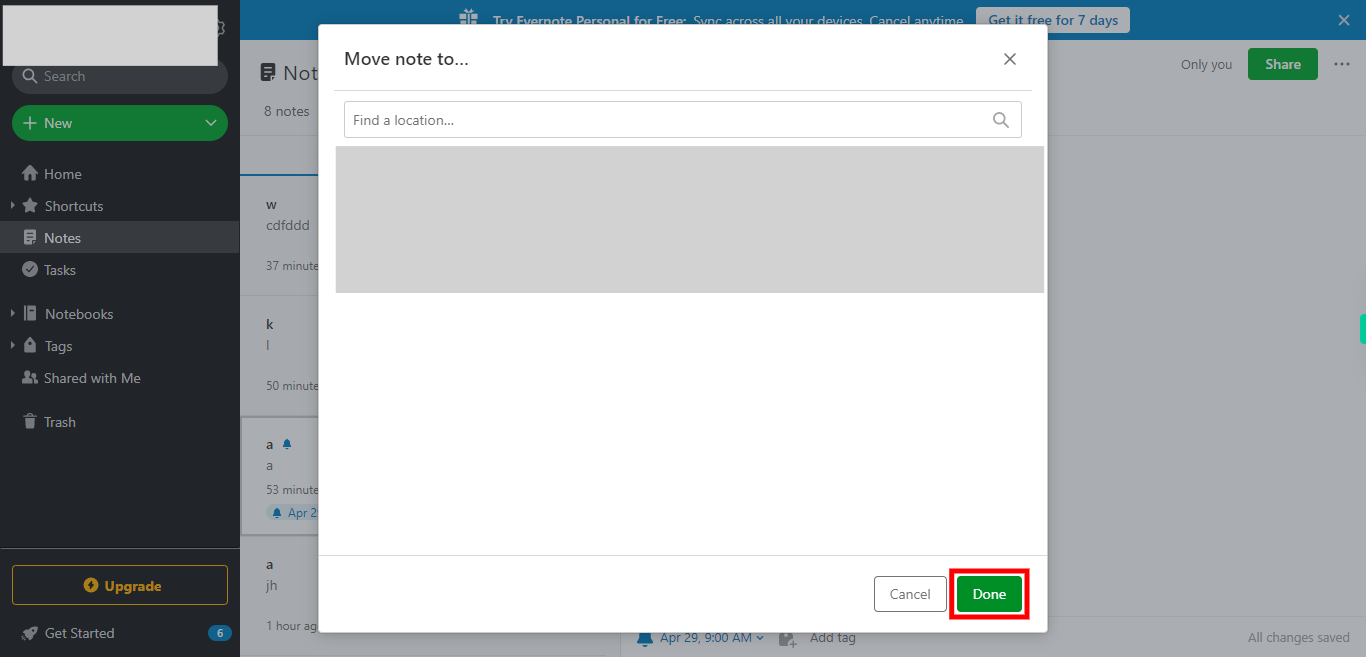
10. Click on done.


