This skill provides step-by-step instructions and visual cues within greytHR, making it easier for users to understand and navigate the attendance regularization process. In this eight-step process, Supervity helps users to understand and utilize this feature in minutes. Note: Make sure you are already logged into your GreytHr account. Version: v6.3.0-prod-455
-
1.
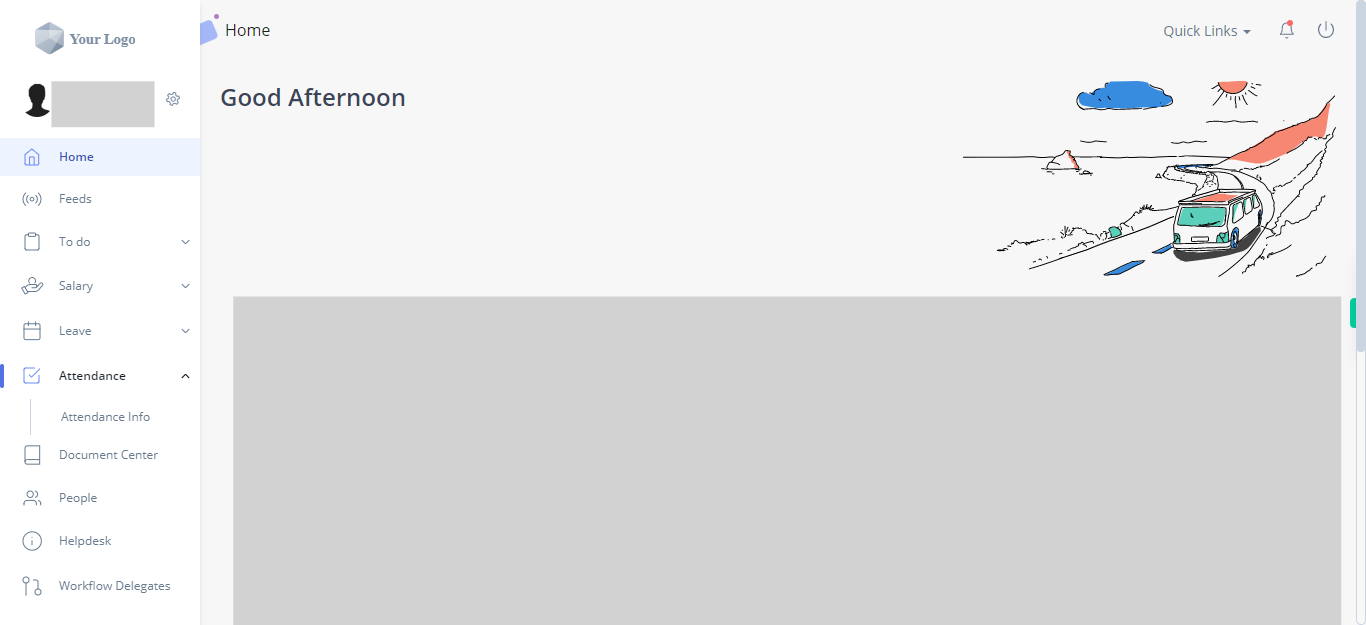
Open the greytHR web application.
-
2.
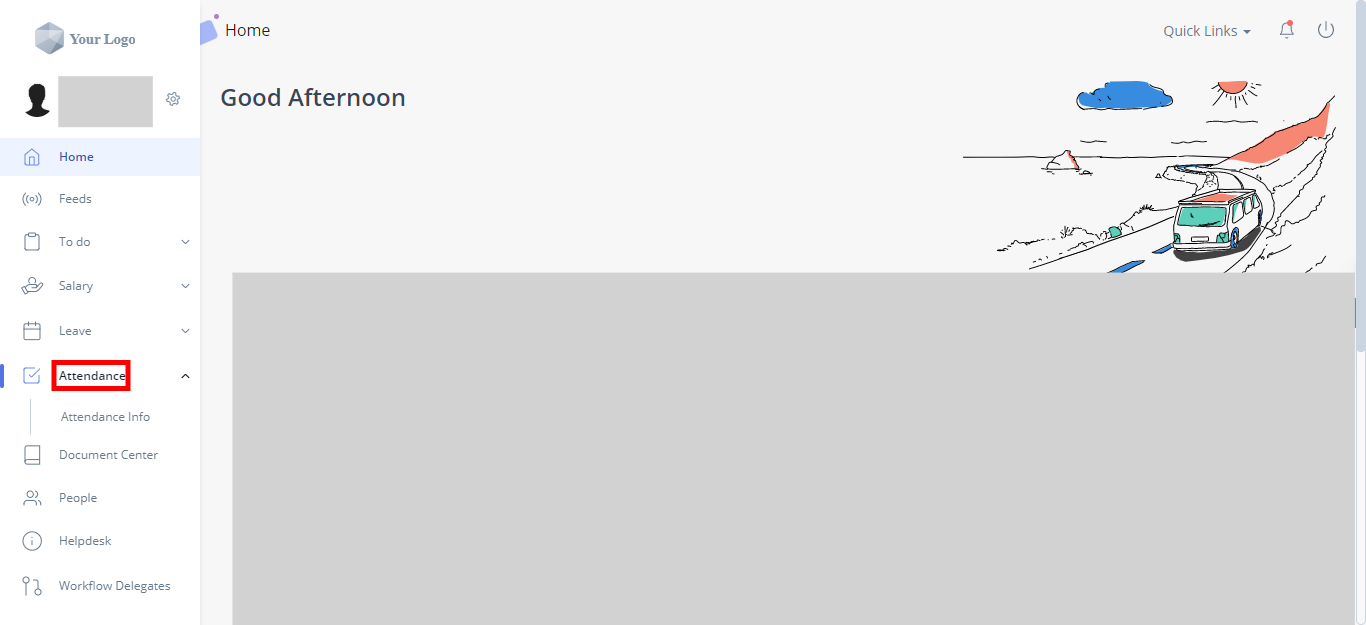
After logging into your greytHR account, look for the navigation menu or sidebar on the left-hand side of the screen. Click on the "Attendance" option in the menu. It may be represented by an icon or labeled as "Attendance." Clicking on "Attendance", you will get a list of submenu options.
-
3.
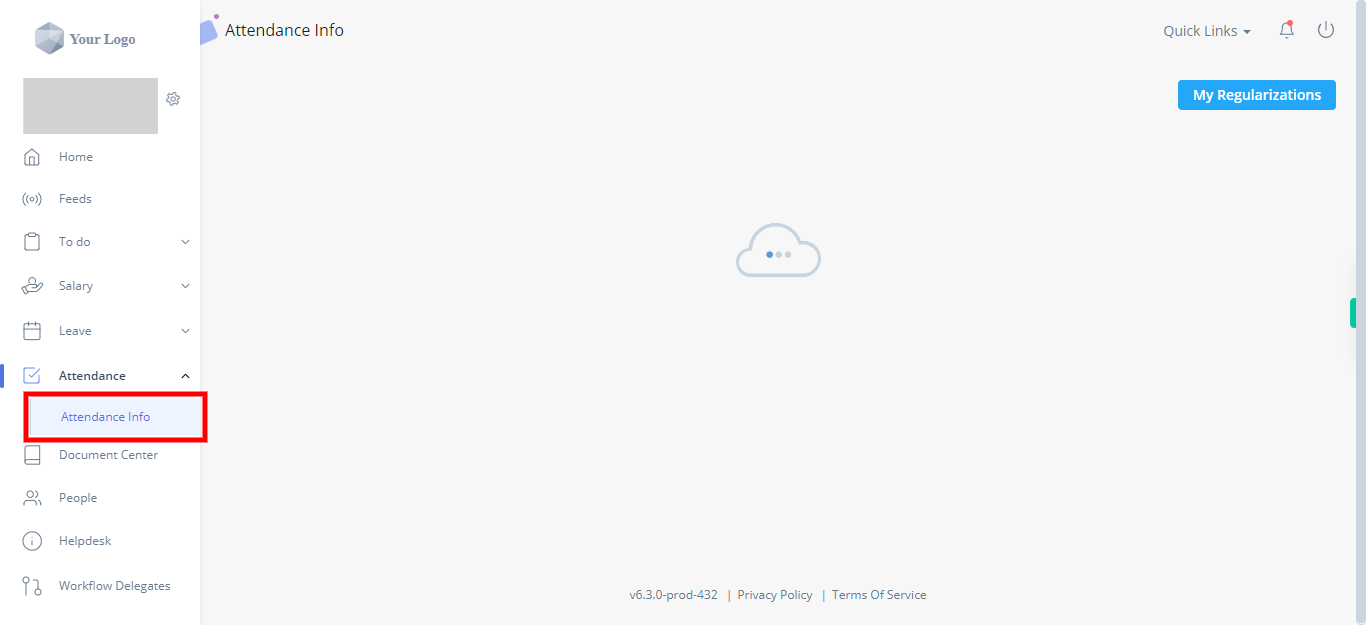
You will find a submenu related to different attendance functions. Clicking on the "Attendance Info" option will take you to a page or section where you can view and access detailed attendance-related information.
-
4.
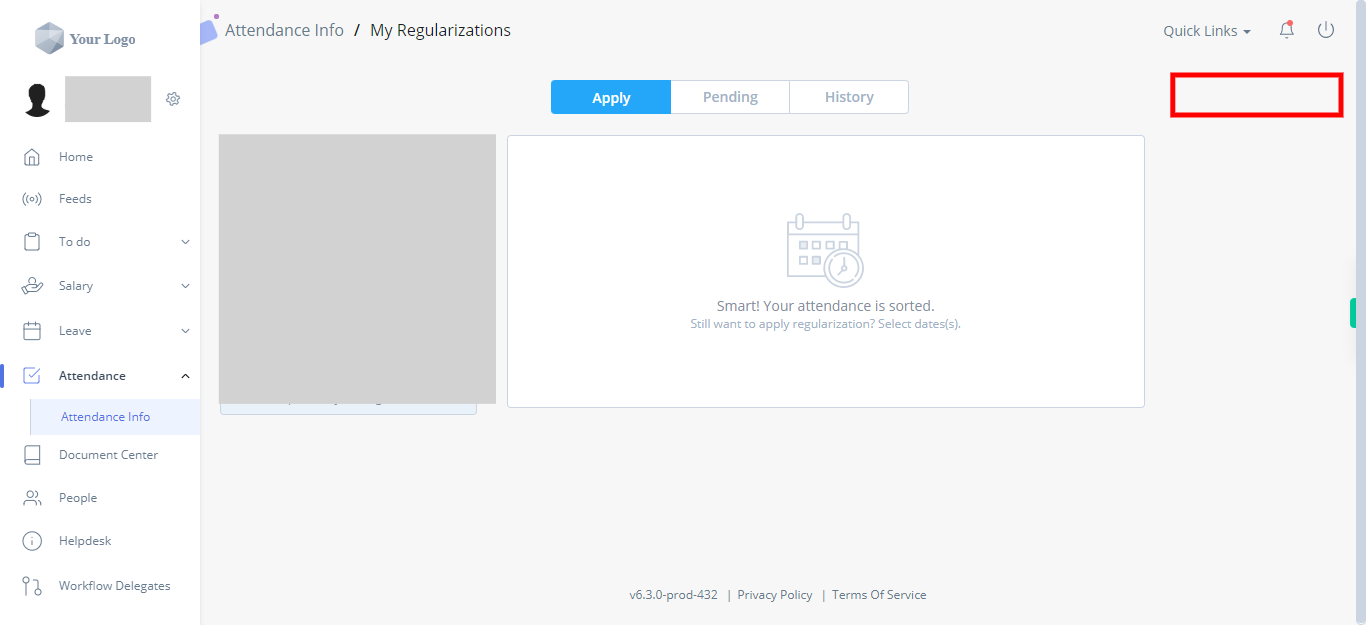
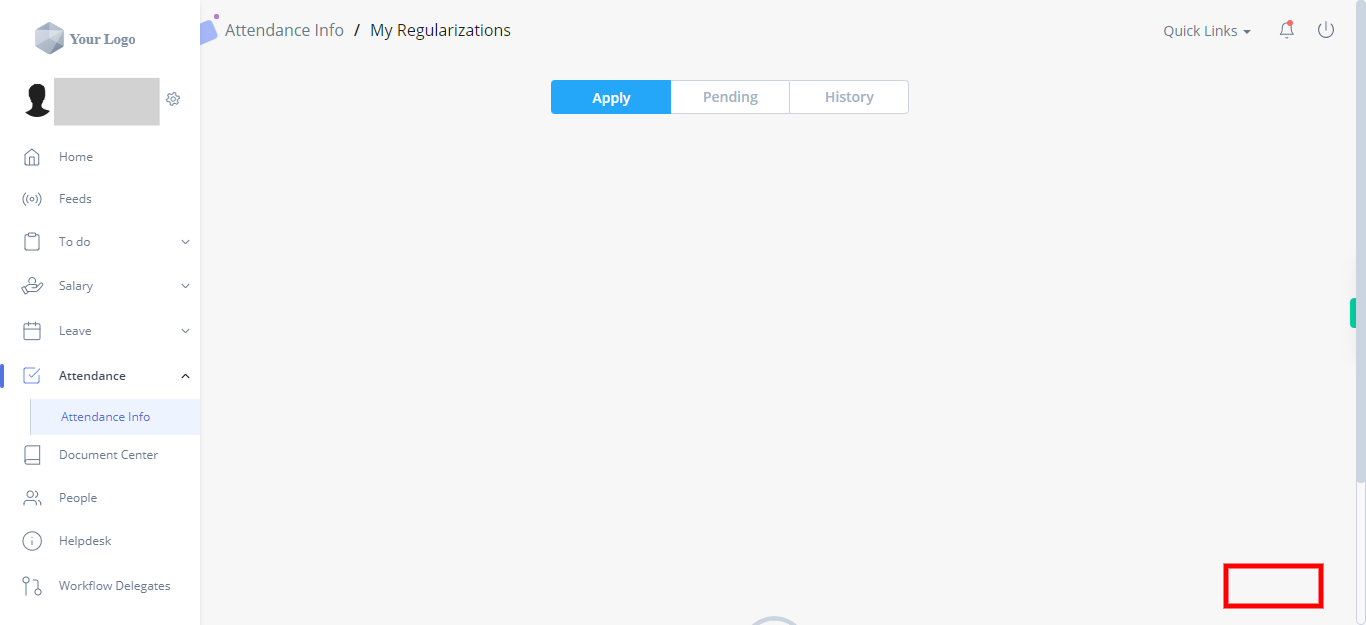
Click on the "My Regularizations" button available in the top right corner. It will direct you to a page where you can view and manage your own Attendance Regularizations.
-
5.
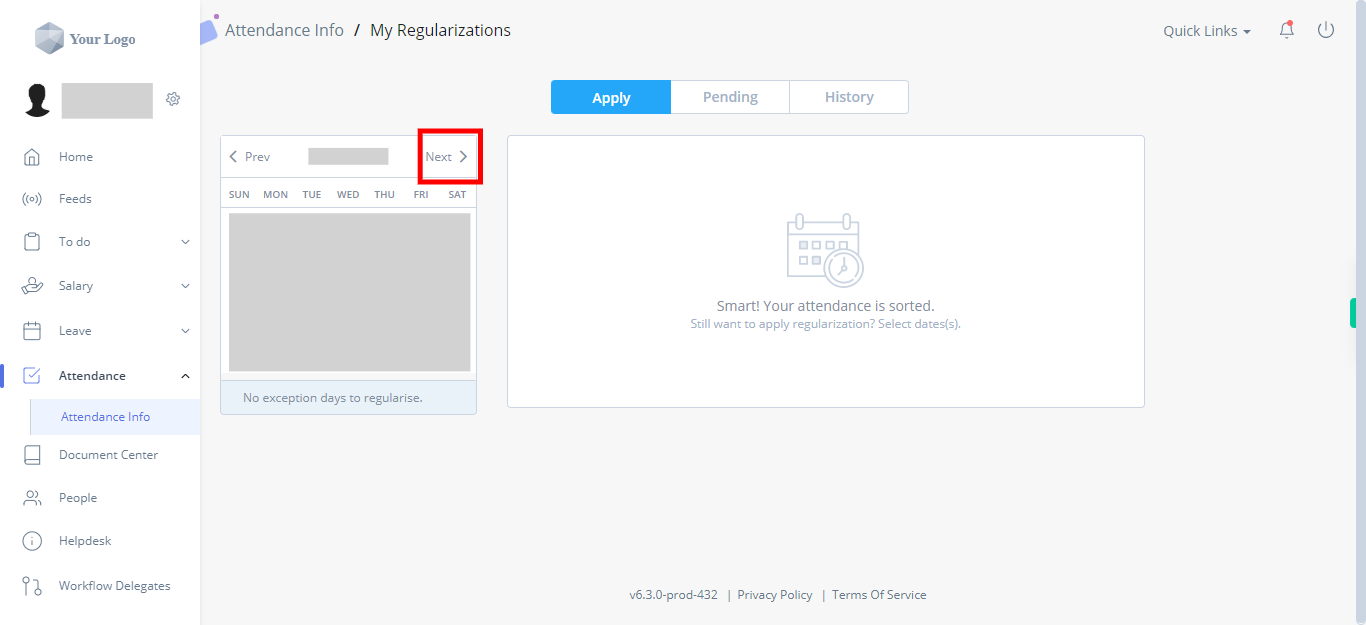
On the left side of the page, you would find a date picker or calendar. Select all the required dates for which you have to apply for regularization. Once done, selecting the dates click on the next button on the Supervity instruction widget. Note: Make sure to select the date prior to today's date.
-
6.
Click on the field "From" to activate it for input. Enter the desired start time using the provided format or controls. Depending on the system, you need to input the time using a 24-hour format (e.g., 09:00 for 9:00 AM or 14:30 for 2:30 PM). Once done, add the start time for all the selected dates and click on the "Next" button on the Supervity instruction widget.
-
7.
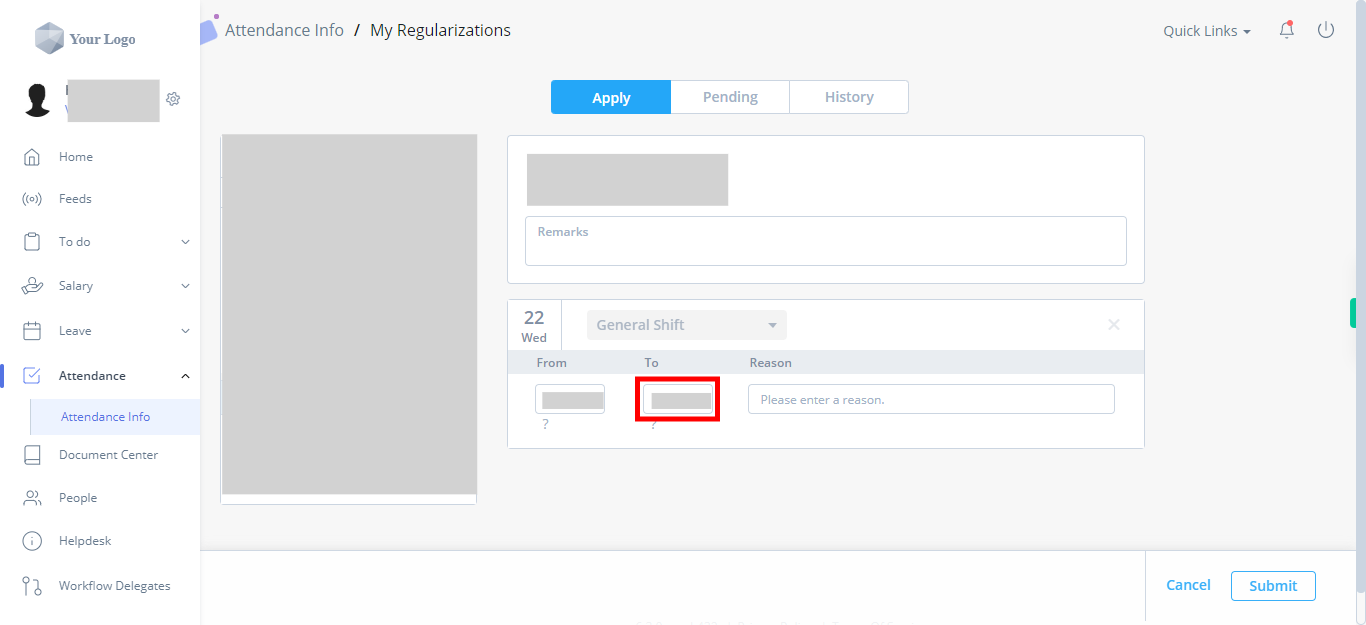
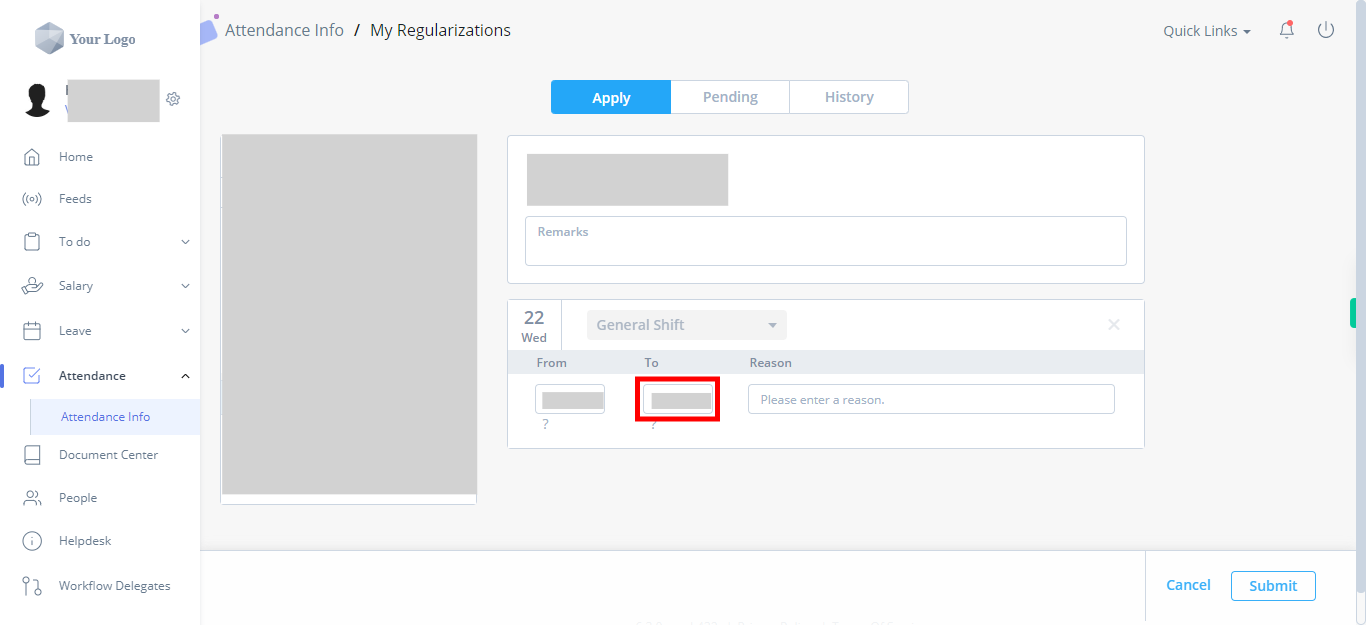
Click on the field "To" to activate it for input. Enter the desired end time using the provided format or controls. Depending on the system, you need to input the time using a 24-hour format (e.g., 09:00 for 9:00 AM or 14:30 for 2:30 PM). Once done, add the end time for all the selected dates and click on the "Next" button on the Supervity instruction widget.
-
8.
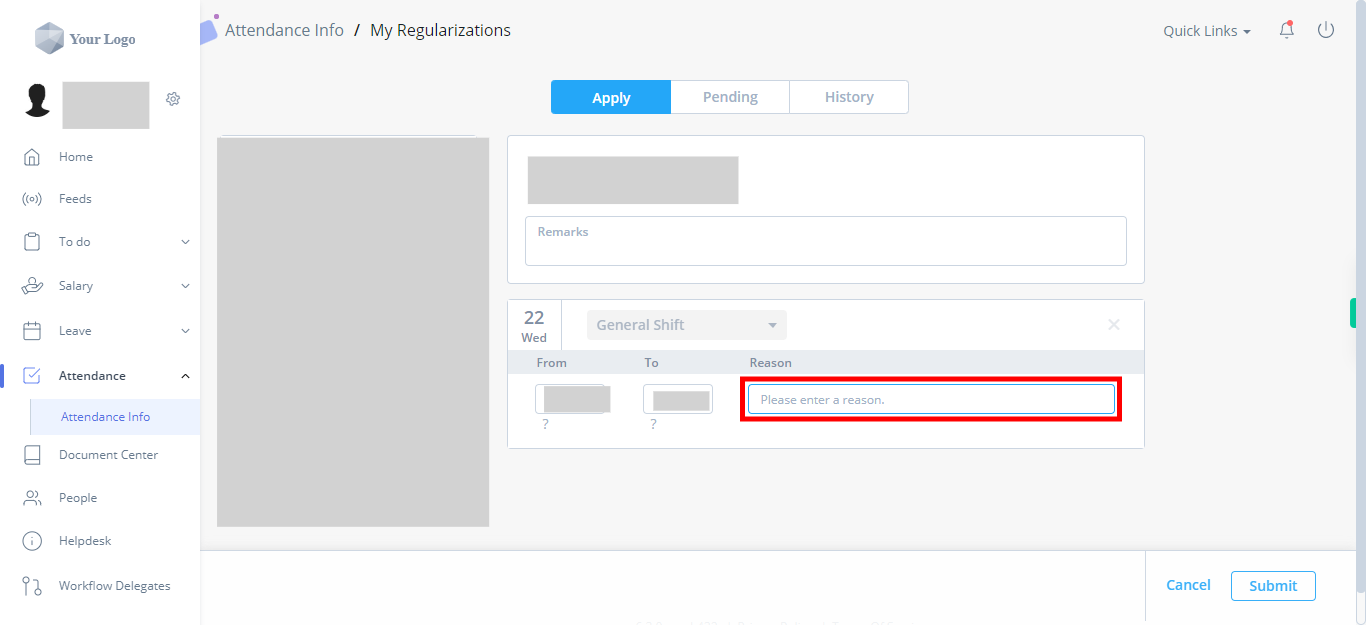
In the designated field or text box, you can enter the reason for your Attendance Regularization request. Click on the field to activate it for input. Type in the reason for your Attendance Regularization. Provide a clear and concise explanation for why you need the regularization, such as WFH or any other valid justification as per the attendance policy. Once you have entered the reason, click on the "Next" button on the Supervity instruction widget.
-
9.
Click on the "Submit" button to submit your Attendance Regularization request. After clicking the "Submit" button, the system may display a confirmation message indicating that your request has been successfully submitted. Make sure to take note of any reference number or confirmation details provided. It's recommended to wait for the system to process your request. The system may send you a confirmation email or notification regarding the submission.


