A step-by-step procedure that enables us to use Gmail to send a scheduled email. Note: Make sure you are already logged into your Gmail account.
-
1.
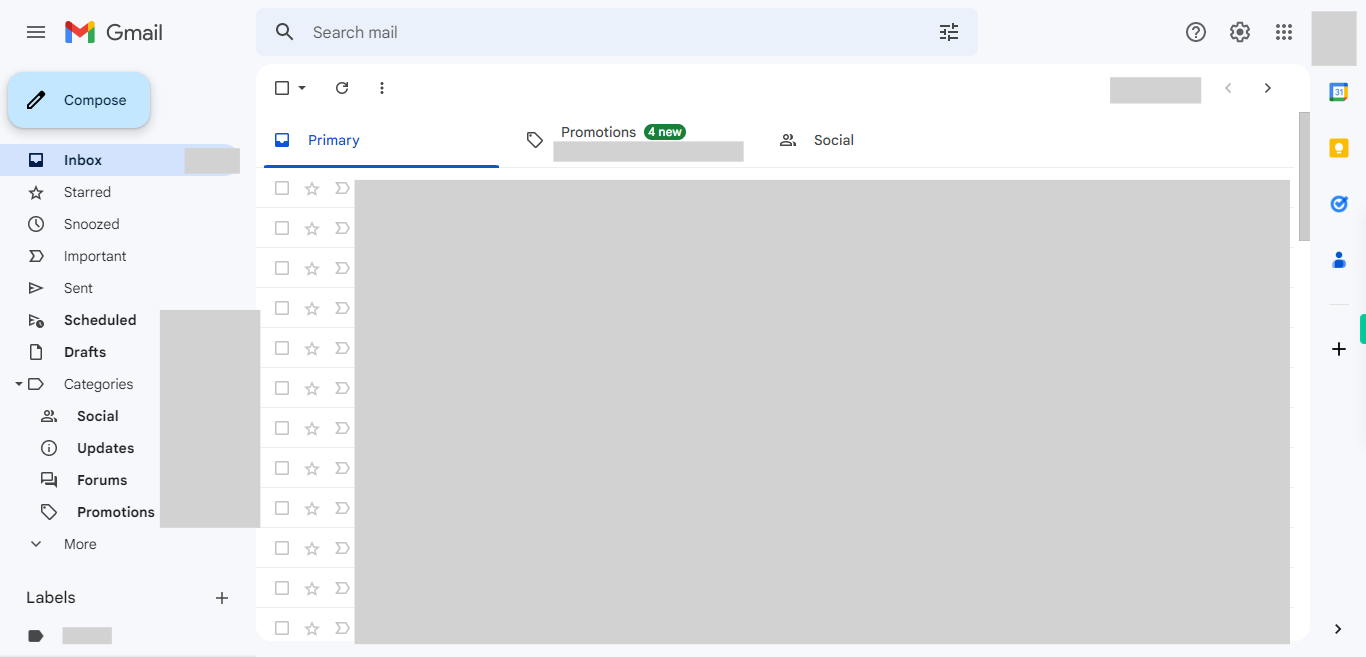
Open Gmail.
-
2.
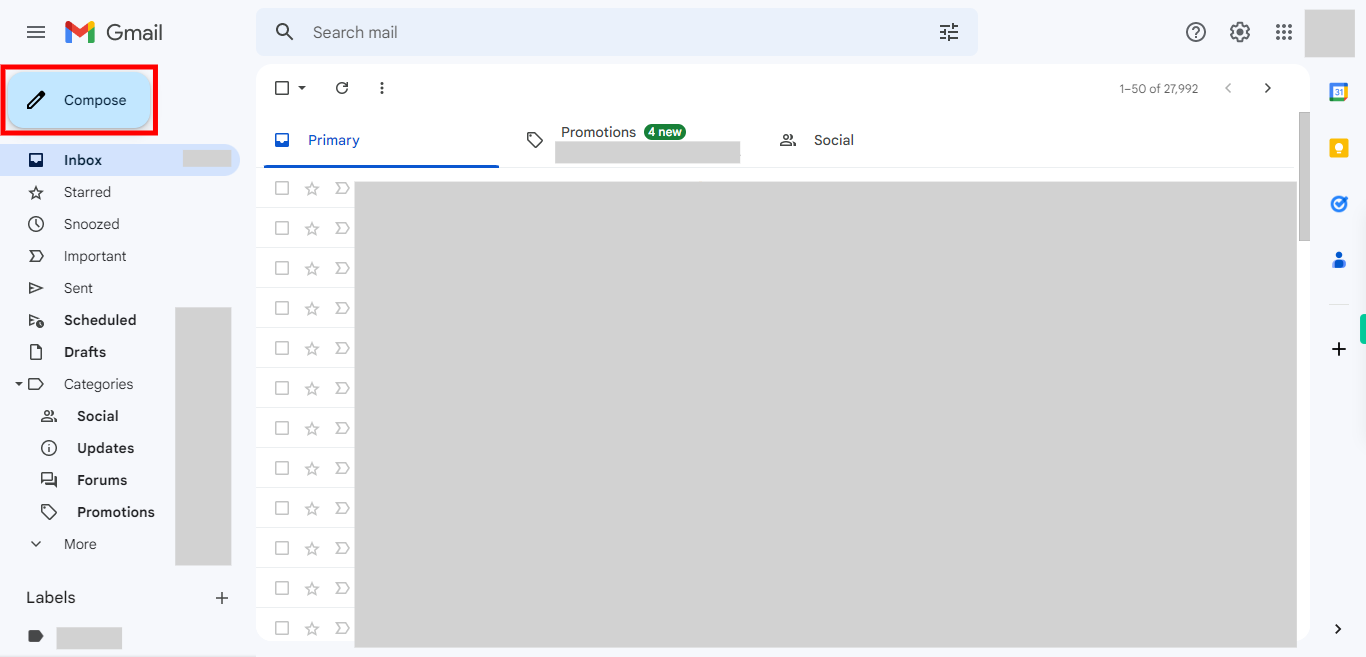
1. To send a Scheduled email in Gmail, start by clicking on the "Compose" button in the top left corner of the Gmail interface.
-
3.
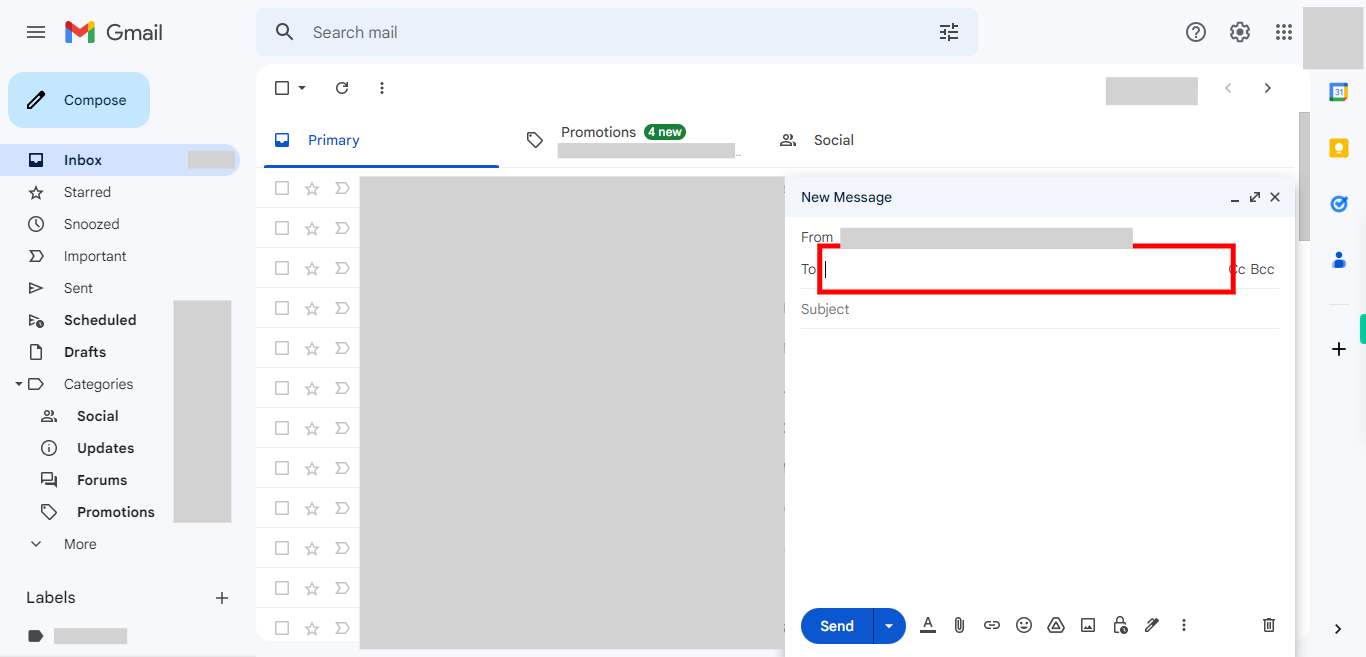
2. In the new email composition window, click on the "To" field to enter the recipient's email address. After entering the email address, click on the "Next" button to proceed to the next step.
-
4.
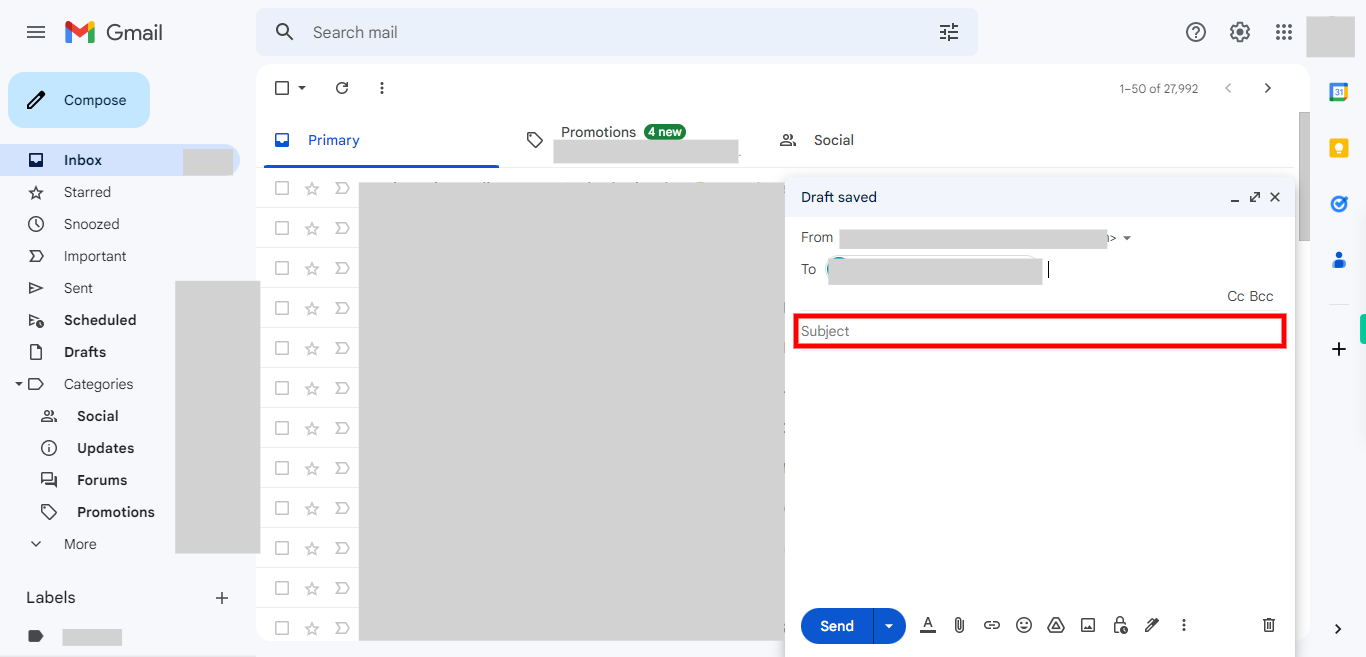
3. Click on the "Subject" field to enter a subject for your email. Once you have typed in the subject, click on the "Next" button to continue to the next step of composing your email.
-
5.
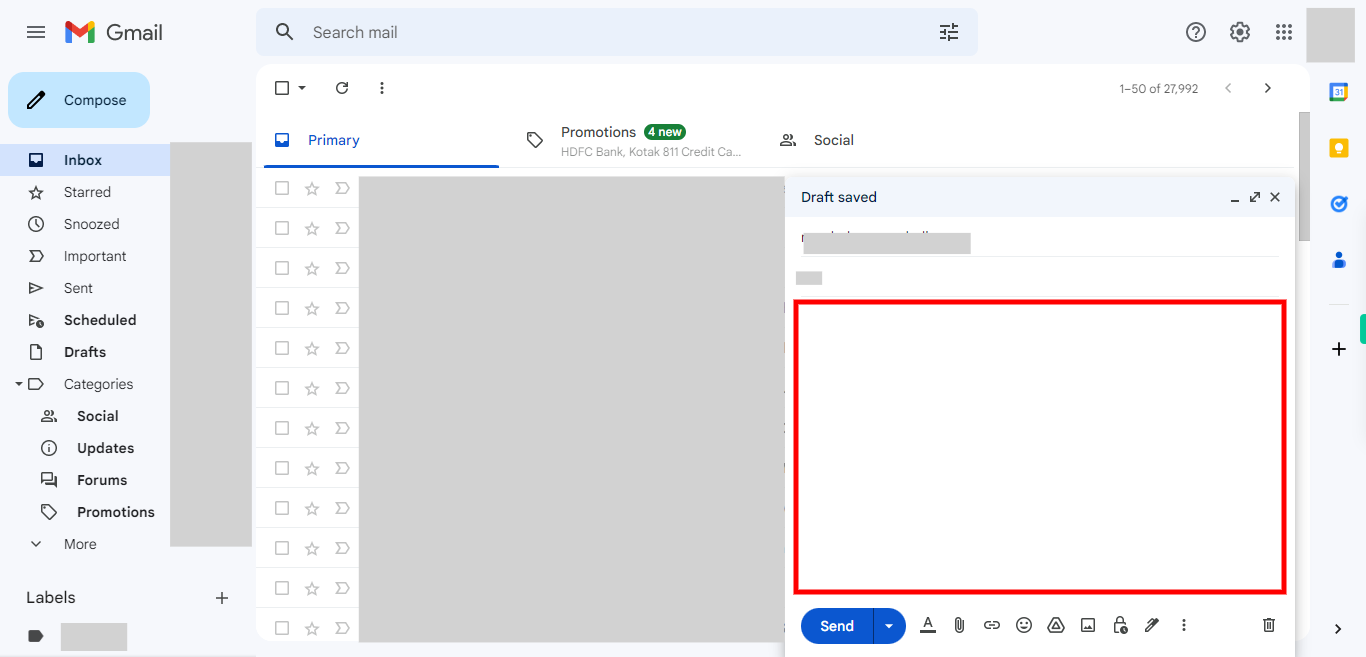
4. Click on the message body area to enter your message. Type in the content you want to include in your email. Once you have finished composing your message, click on the "Next" button to proceed to the next step.
-
6.
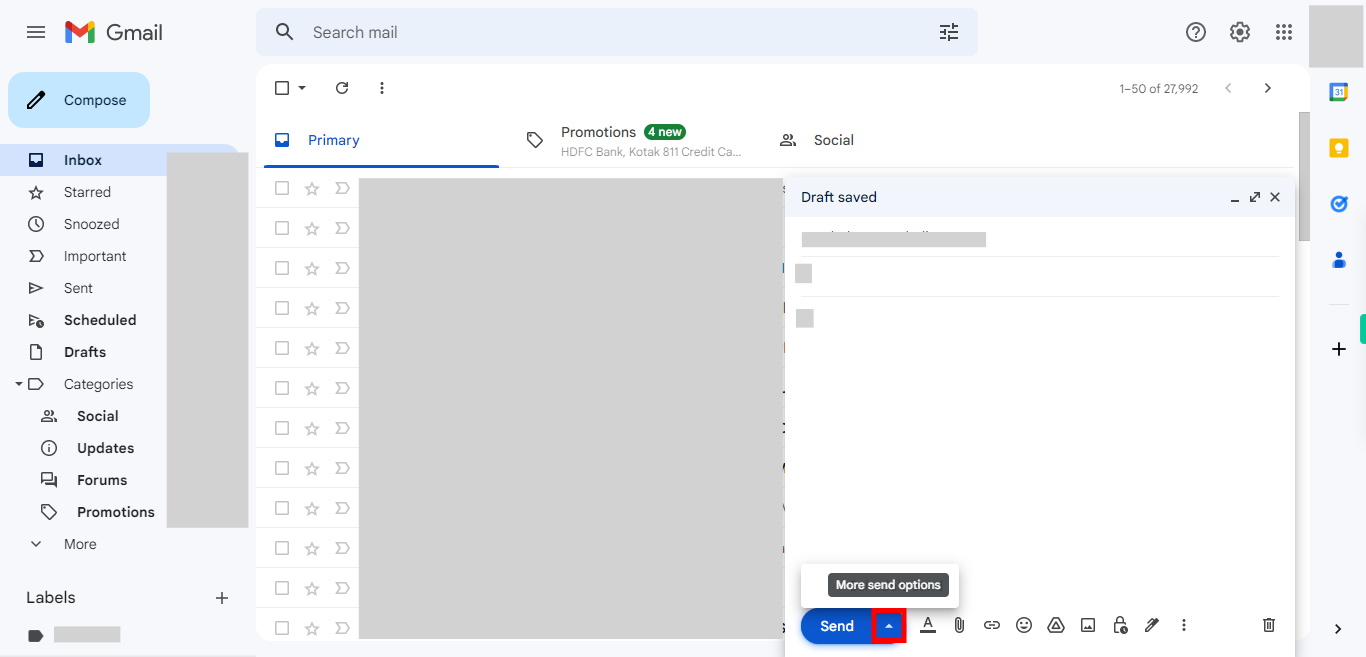
5. In the Gmail compose window, look for the down arrow icon located next to the send button. Click on this down arrow icon to access additional options and features related to sending emails.
-
7.
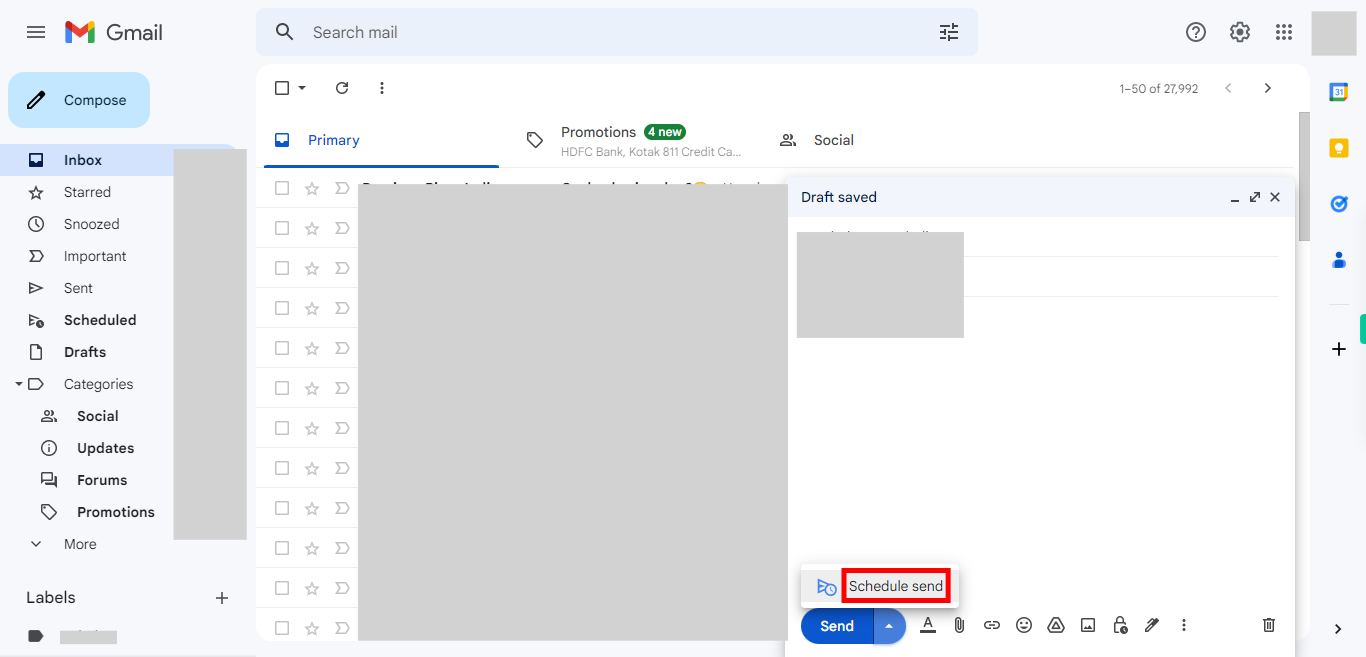
6. After clicking on the down arrow icon, a dropdown menu will appear. From the dropdown menu, select the "Schedule send" option. Clicking on "Schedule send" will open a scheduling window.
-
8.
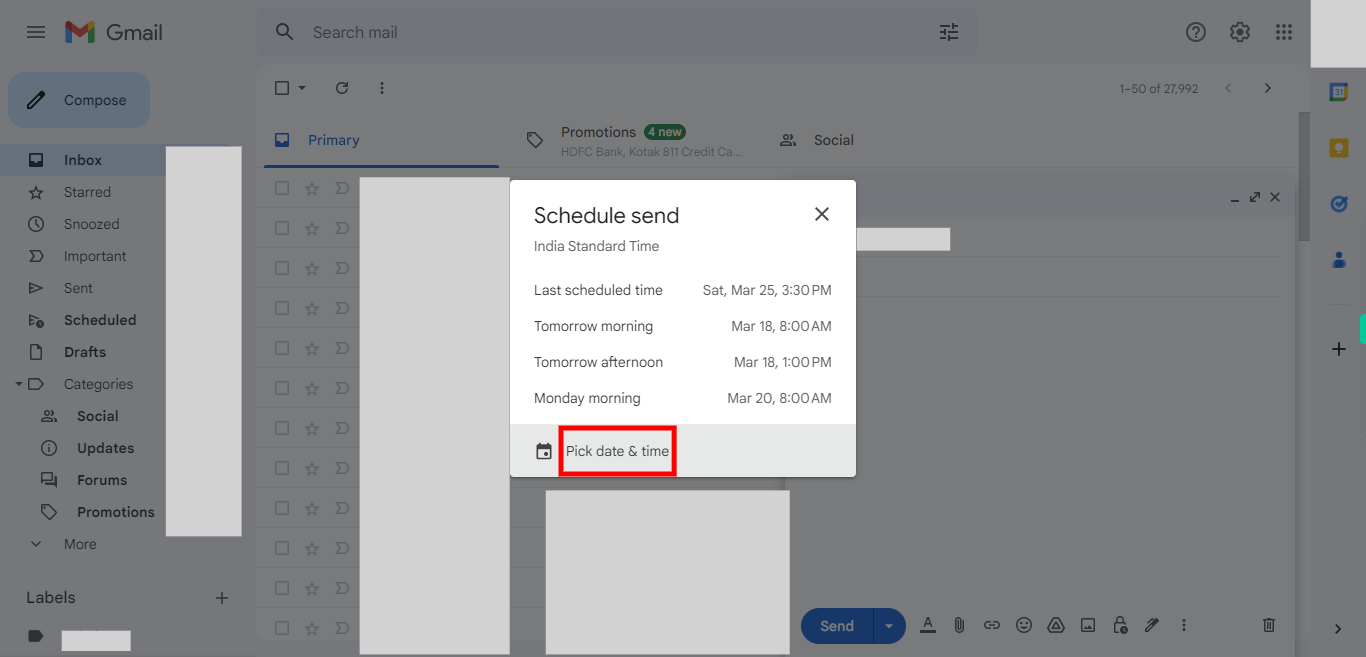
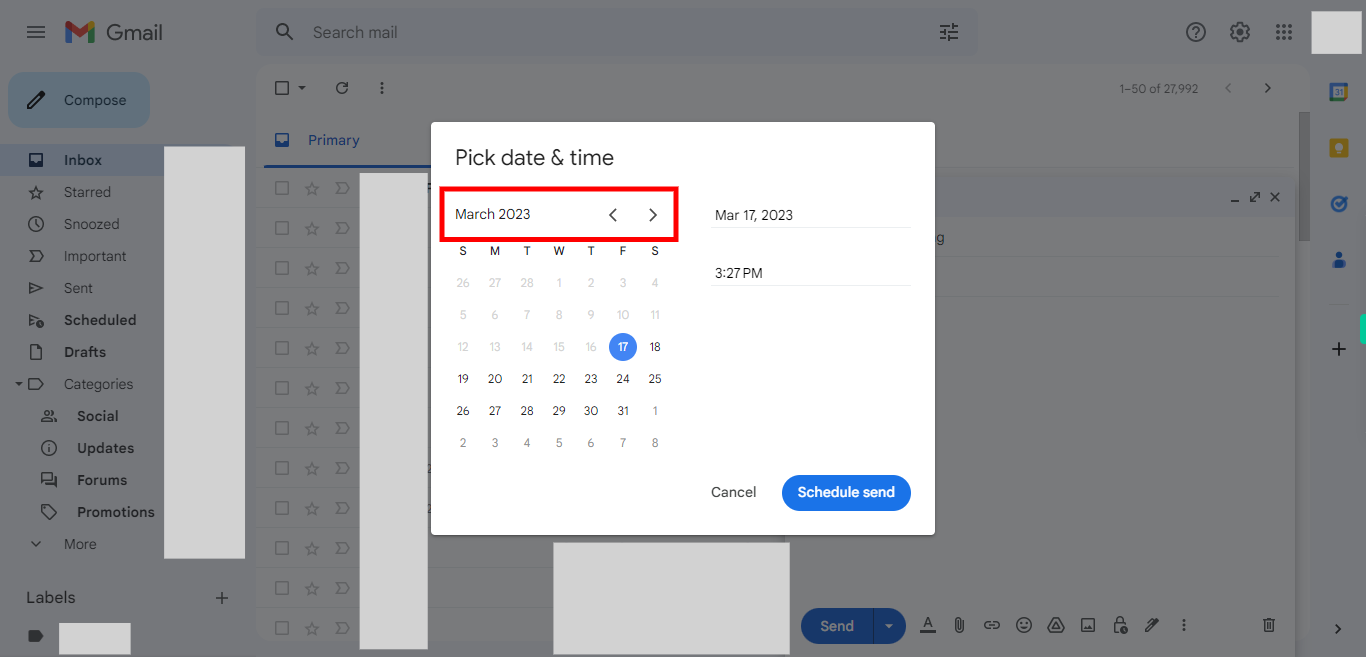
7. In the scheduling window, click on the "Pick date & time" button. This will allow you to choose the specific date and time when you want your email to be sent.
-
9.
8. A calendar and time picker interface will appear, allowing you to select the desired date for sending the email. Once you have selected the date, click on the "Next" button. This will proceed to the next step in the scheduling process.
-
10.
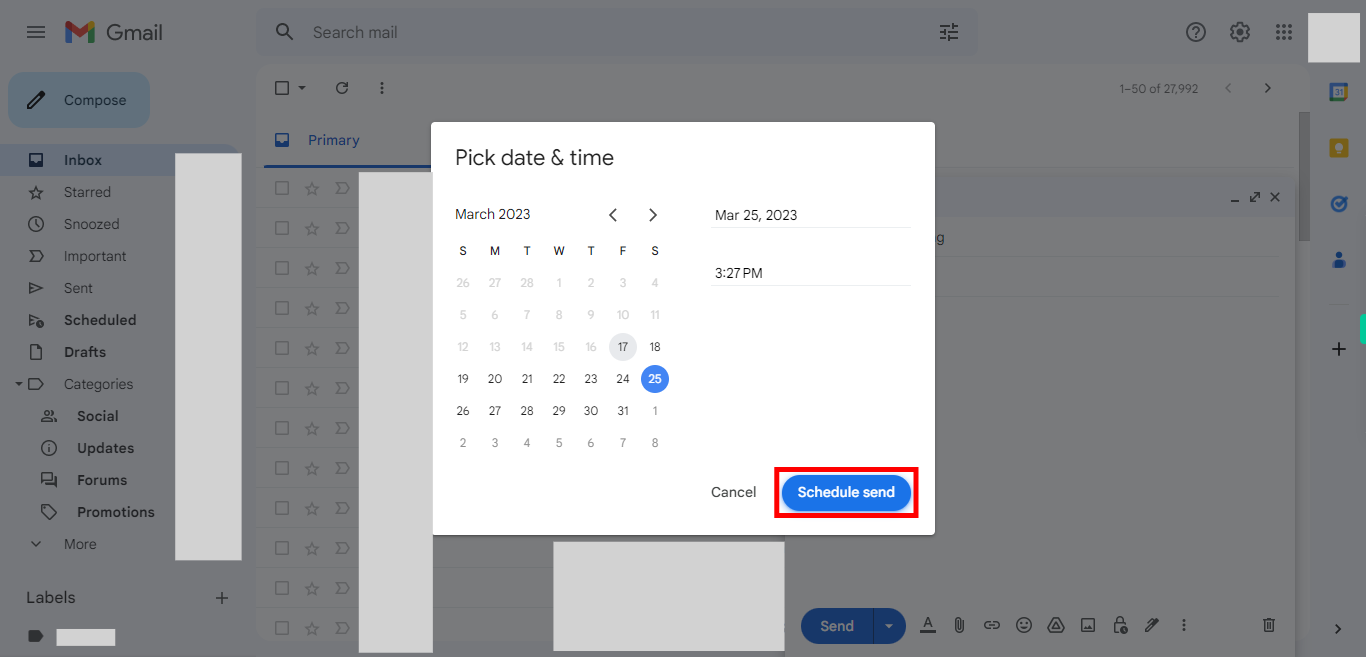
9. Choose the specific time for sending the email by selecting the desired hour and minute. Once you have selected the desired time, click on the "Schedule send" or "Confirm" button to finalize the scheduling of the email. The email will be automatically sent at the chosen date and time.


