This skill helps to walk you through in Deletion of the Azure - Resource Group step by step assistance.
Note: Ensure you have access to a subscription in the Azure Portal with sufficient privileges to perform skill successfully.
Prerequisites: Login to portal.azure.com beforeand.
Tags: Azure, Cloud
-
1.
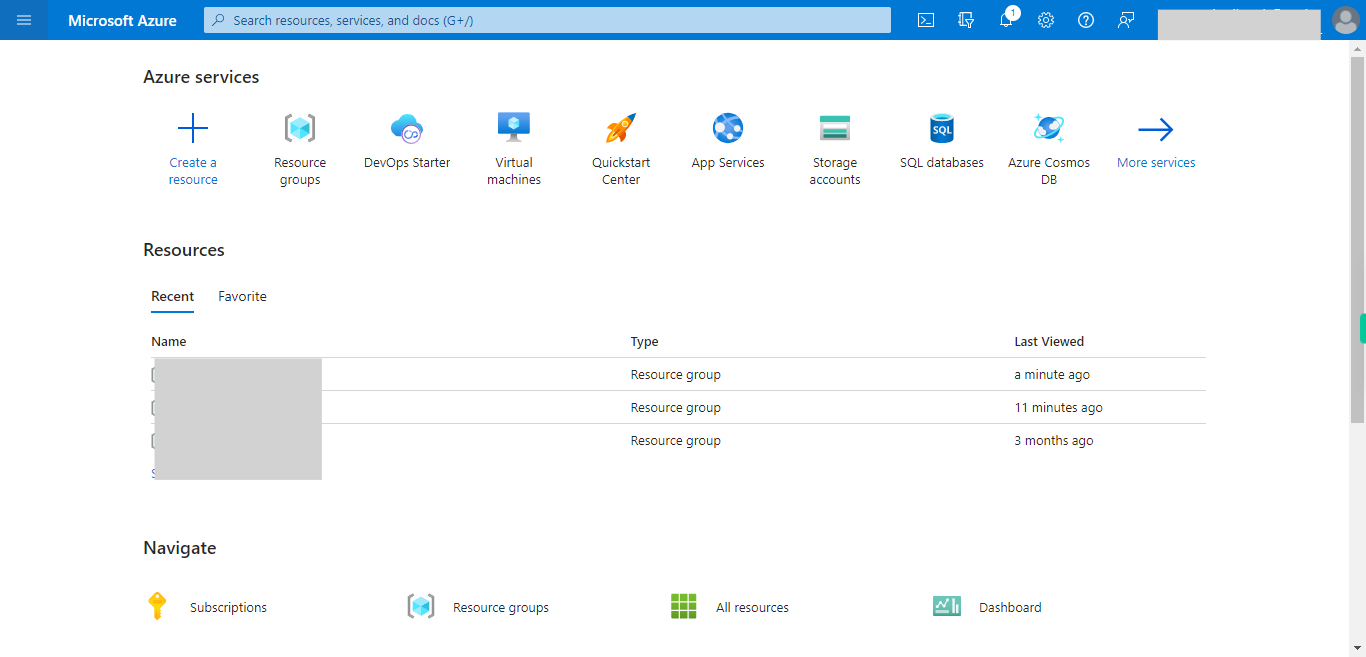
open Home - Microsoft Azure
-
2.
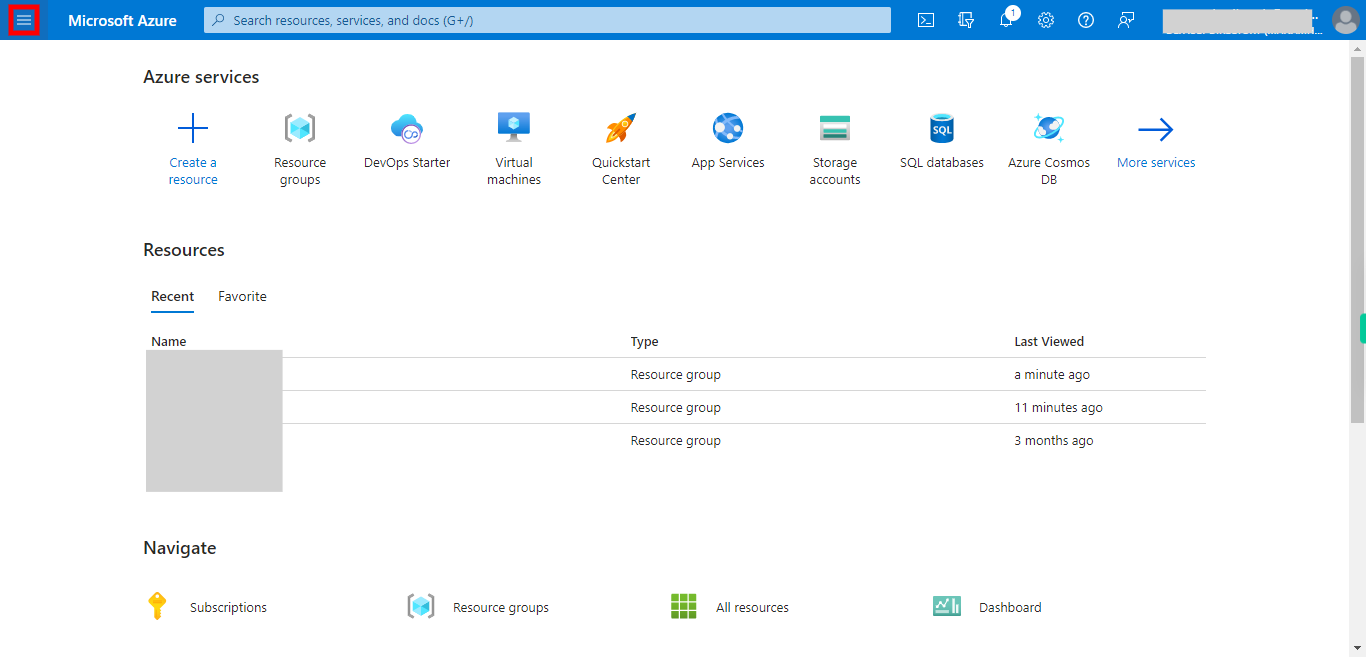
1. Click on the ≡ icon to see all the services
-
3.
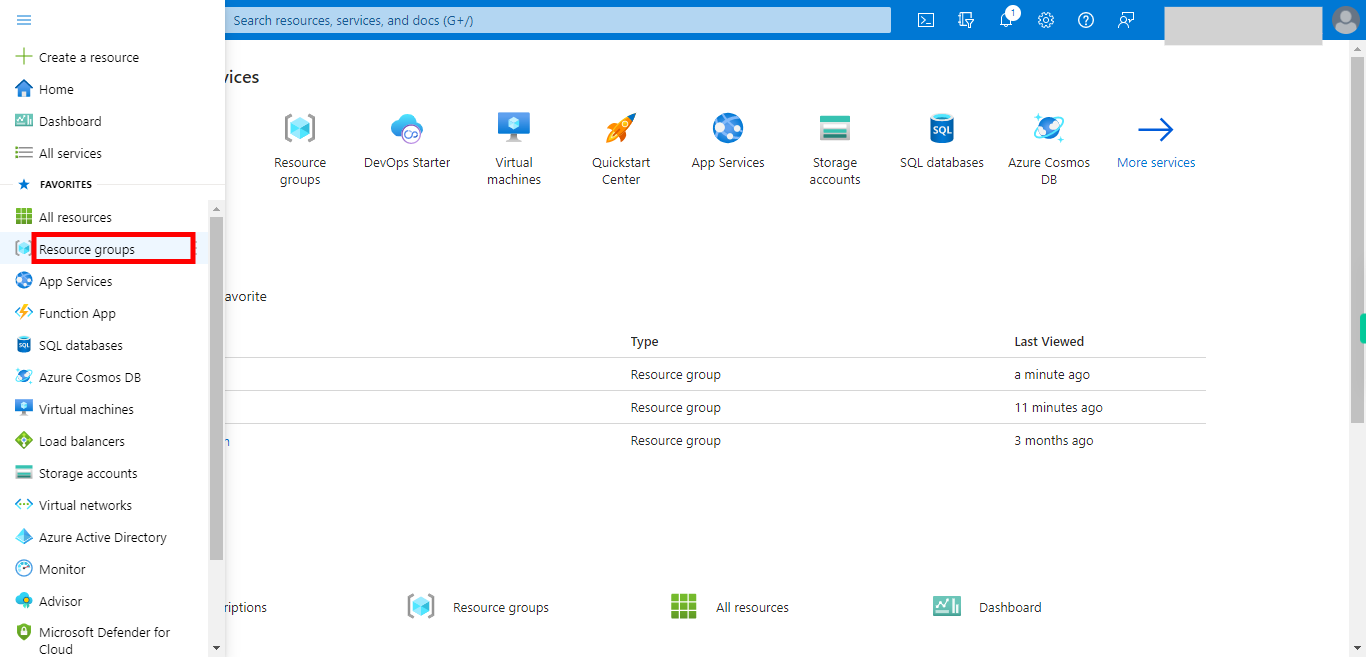
2. Select __Resource groups__ to see available Resource groups.
-
4.
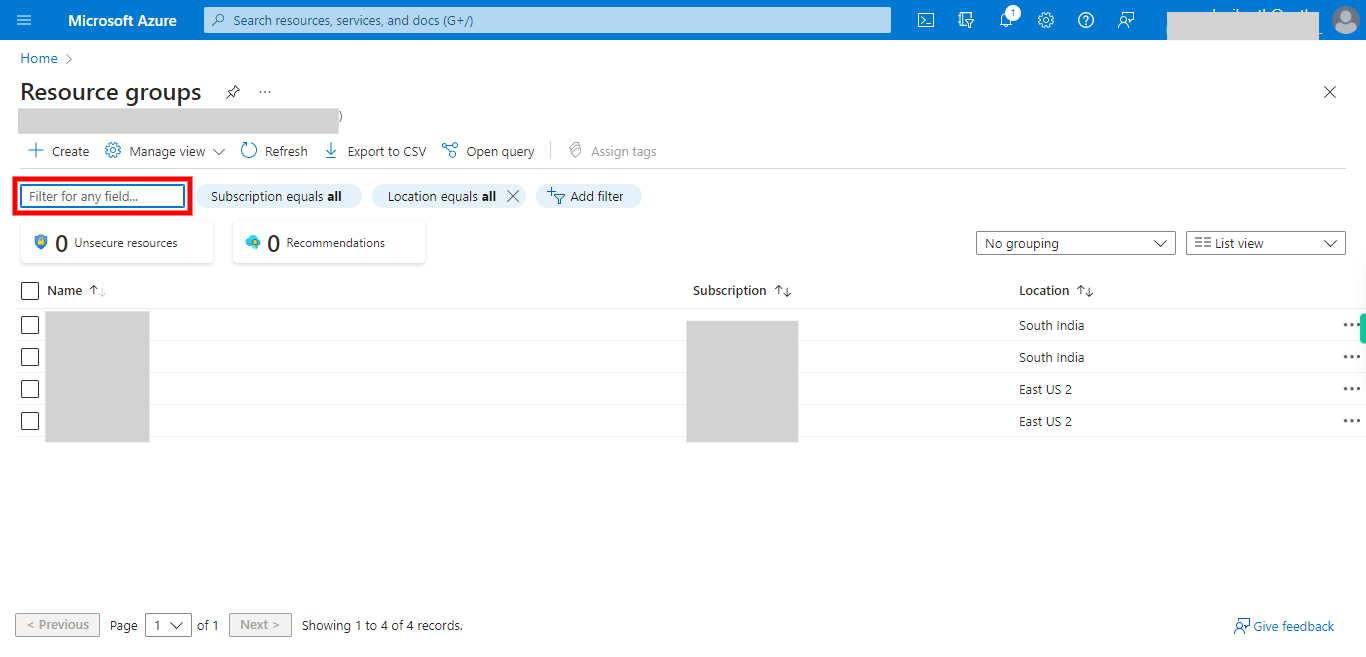
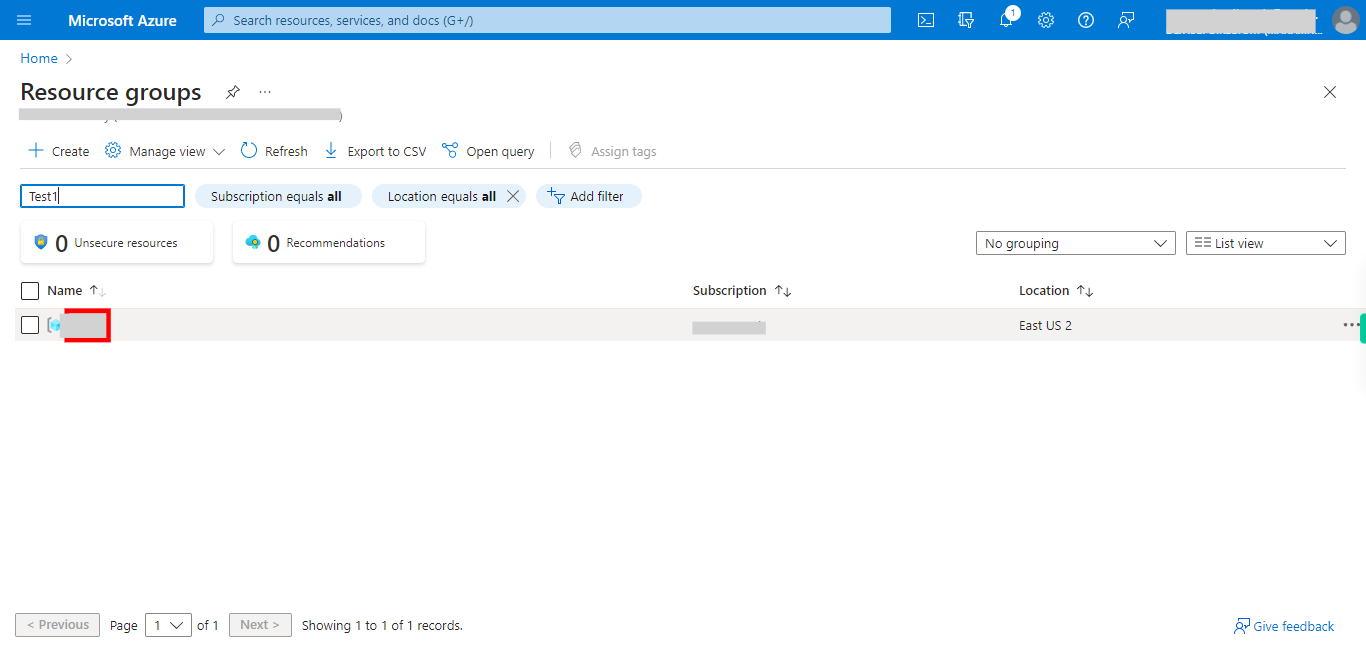
3. Click at __Search__ area and type the name of Resource group you want to select from list. Once done, click on the Next button on the Supervity instruction widget.
-
5.
4. Click on the __Resource Group item__ you chose to delete. This opens a new layout for the chosen item.
-
6.
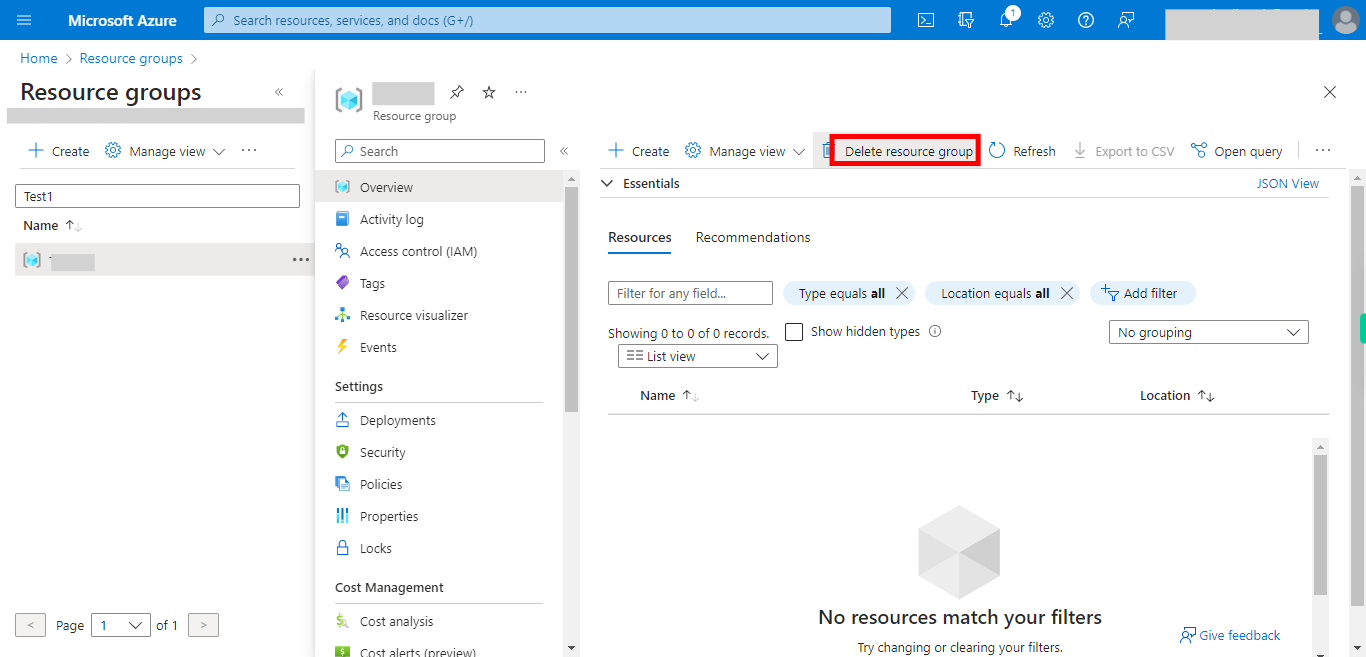
5. Click on __Delete resource group__ to continue deletion.
-
7.
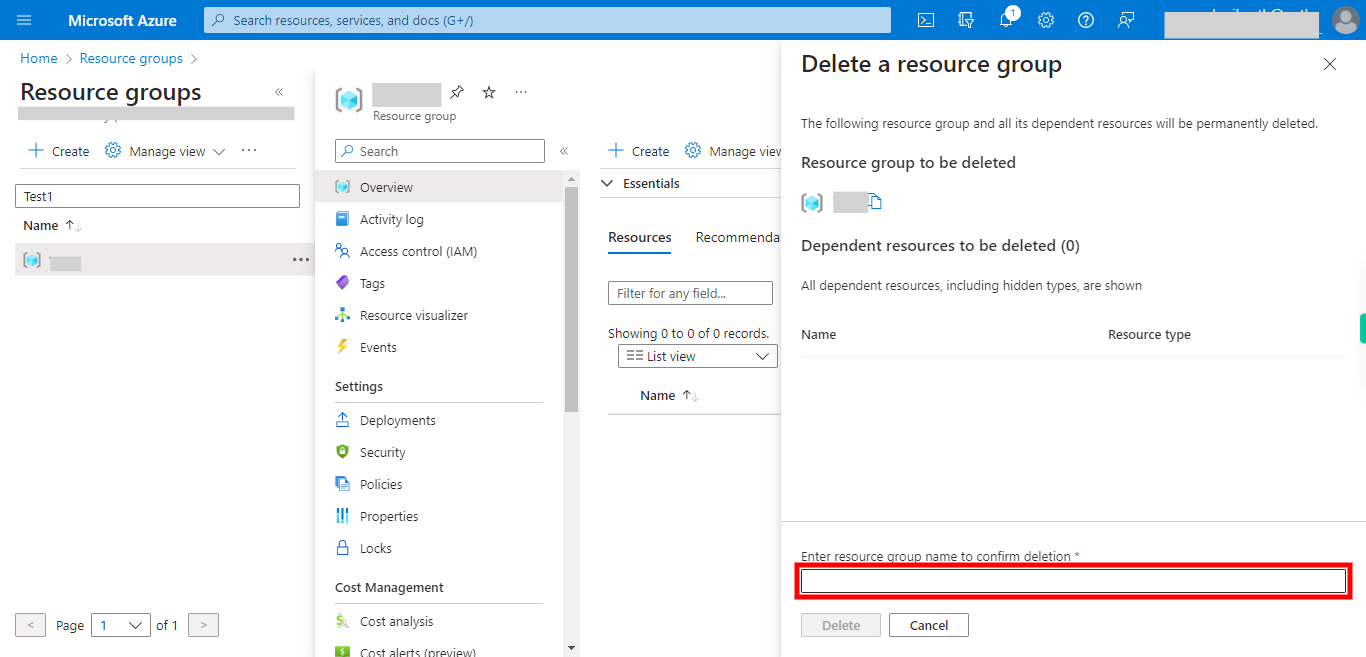
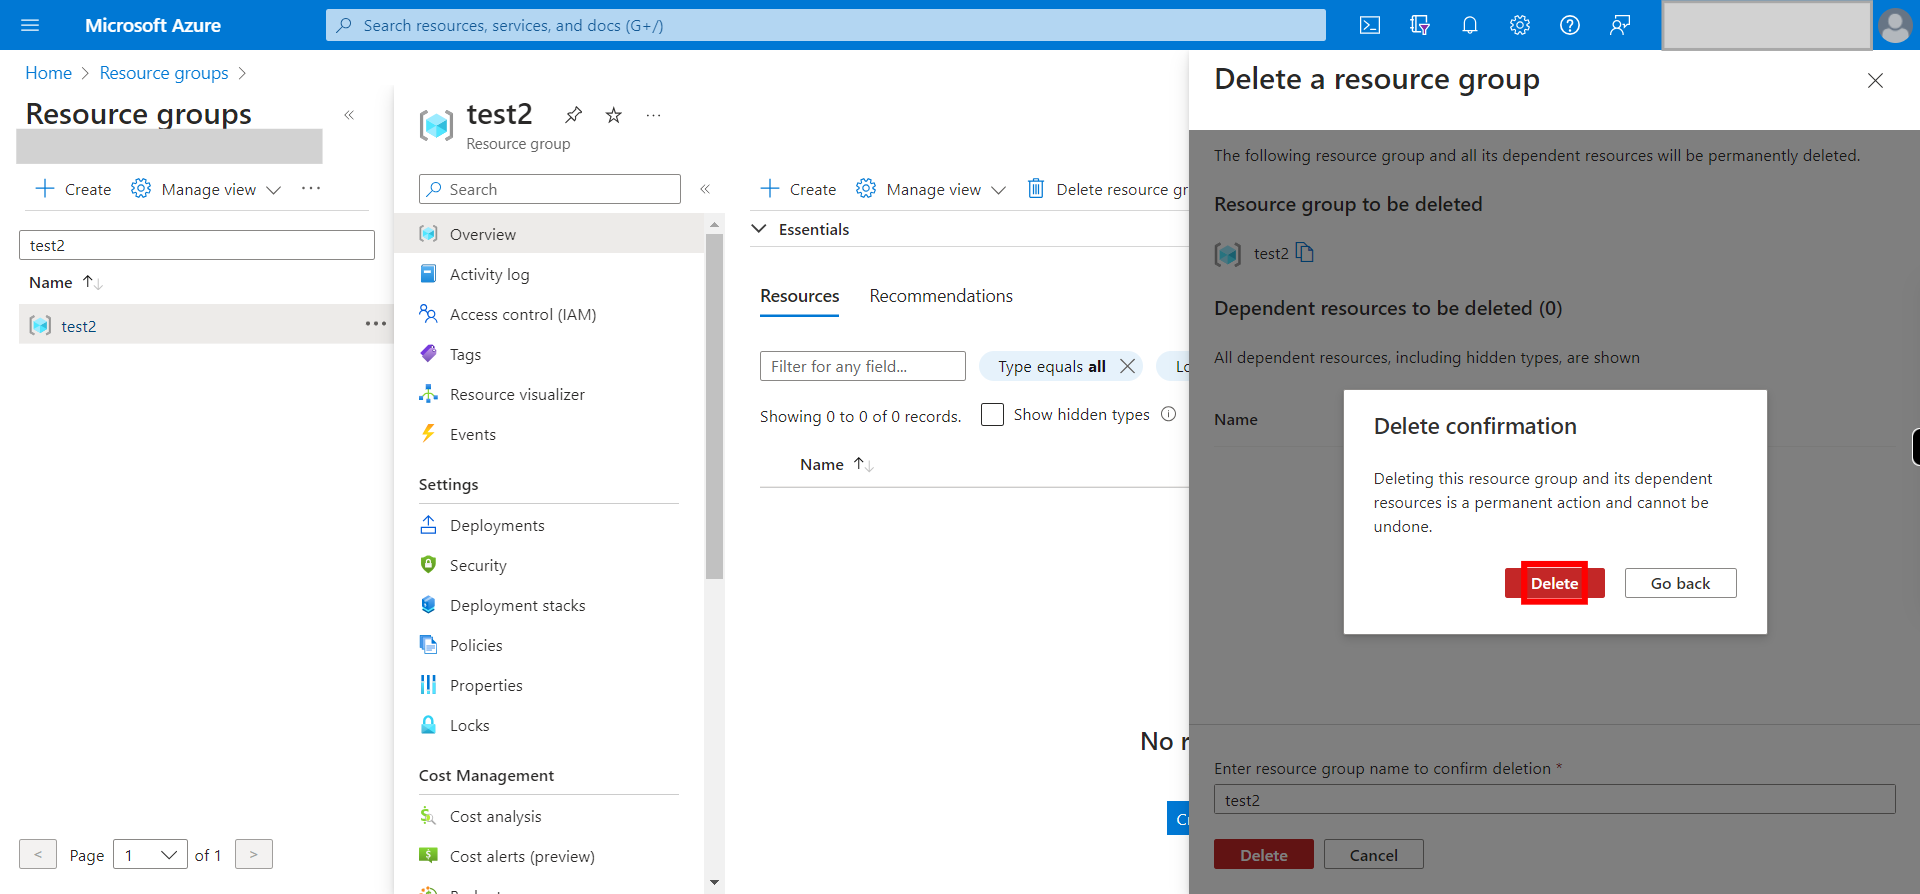
6. Click __Enter resource group name__ to confirm deletion. Once done, click on the Next button on the Supervity instruction widget._Note:_ At the top of the layout a copy from clipboard option is available for ease of use.
-
8.
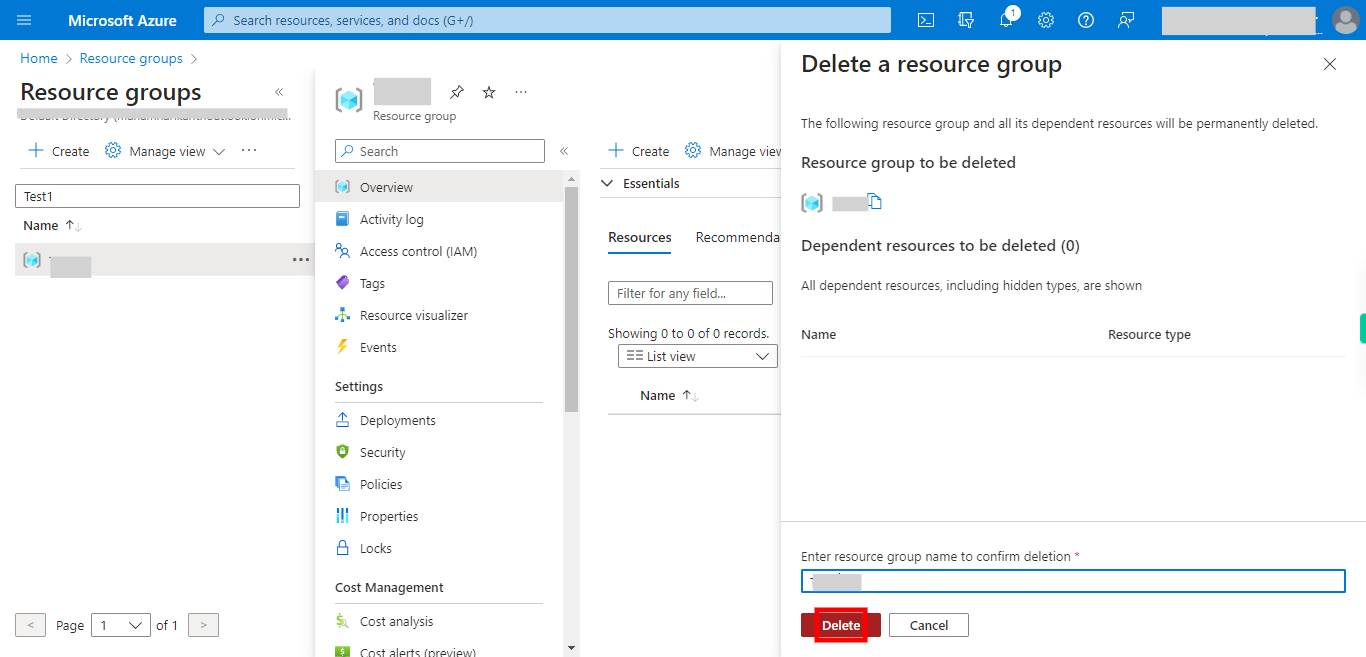
7. Click __Delete__ to proceed. Once done, click on the Next button on the Supervity instruction widget.
-
9.
8. Click __Delete__ to confirm deletion finally. ⚠ This action cannot be undone.
-
10.
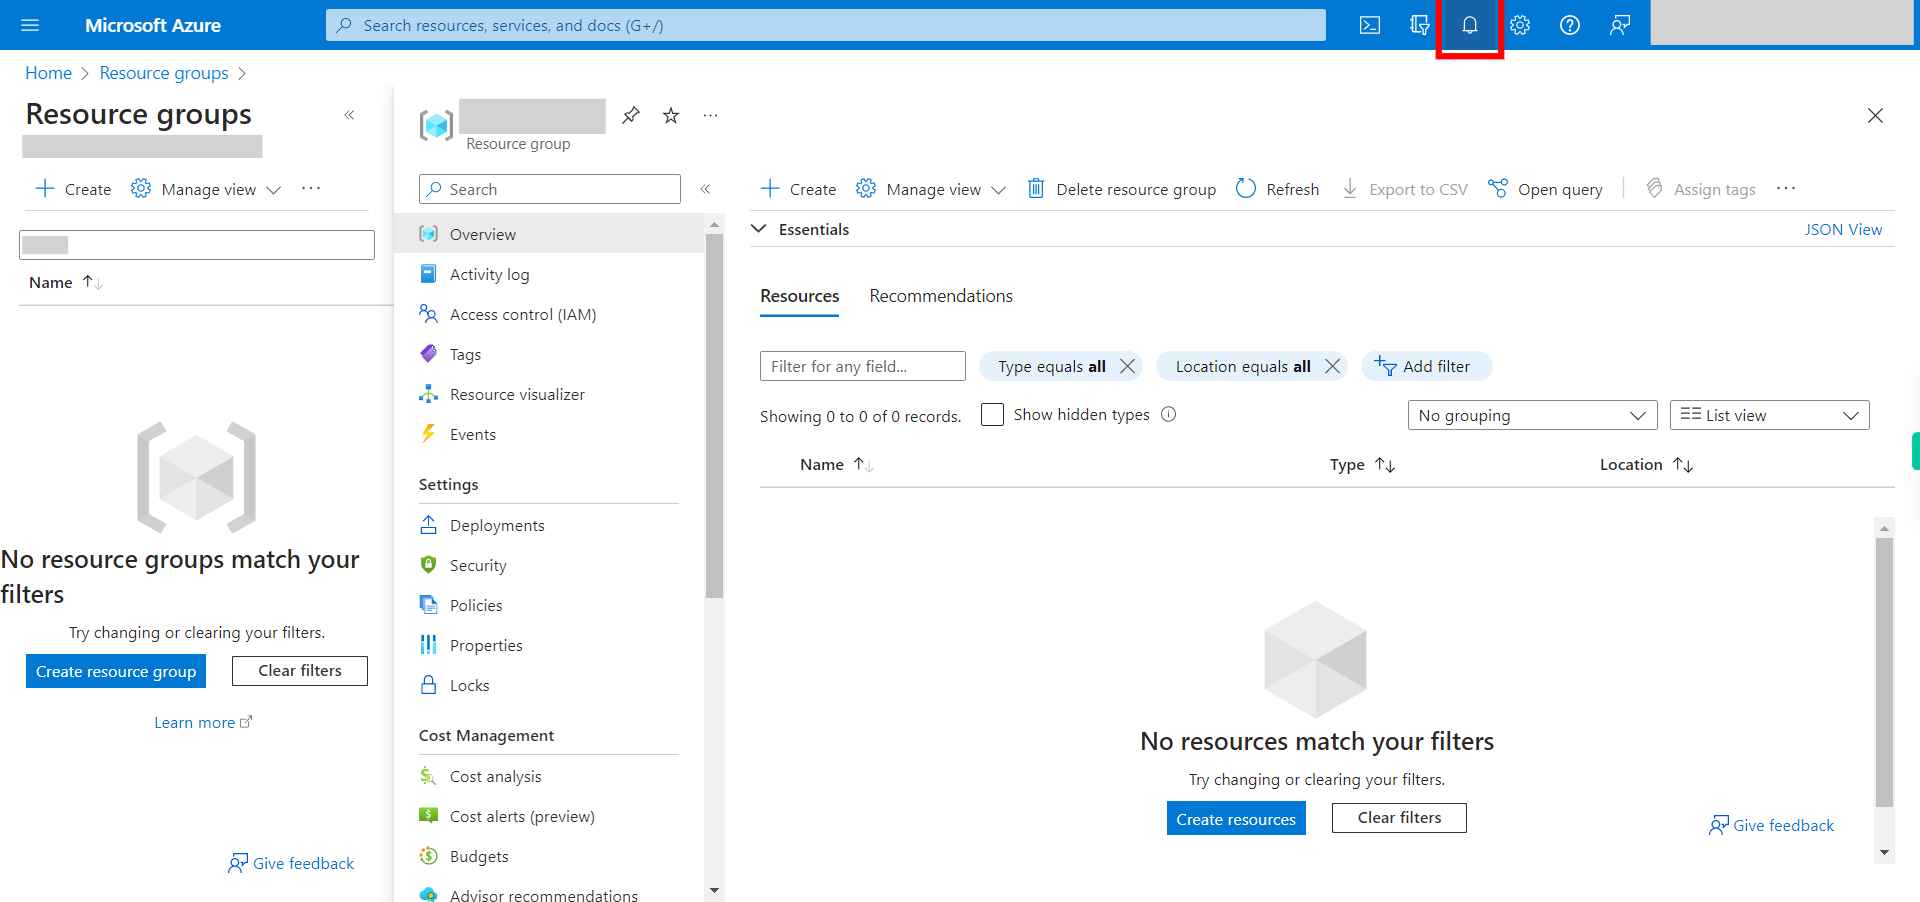
9. As the process might take a bit to complete, click 🔔 (Notifications icon) to check status.
-
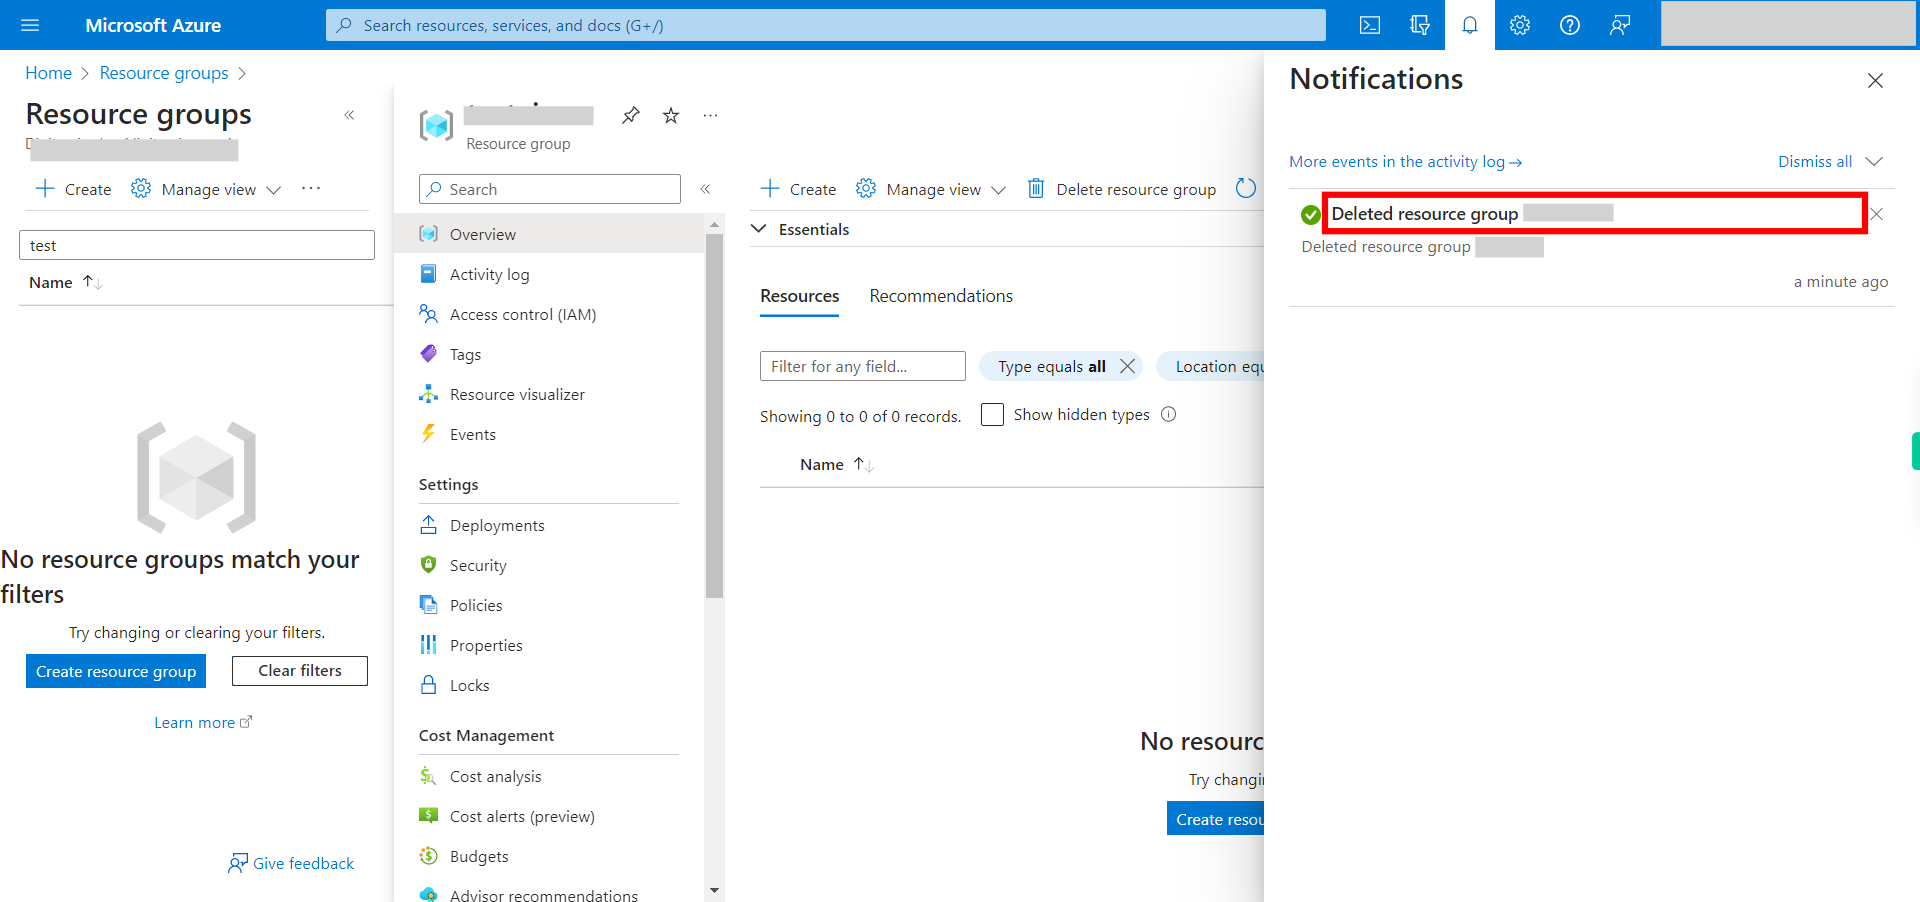
11.
10. This area allows you to check the status and once successful, you will see a message thus at the top. Once done, click on the Next button on the Supervity instruction widget.


